
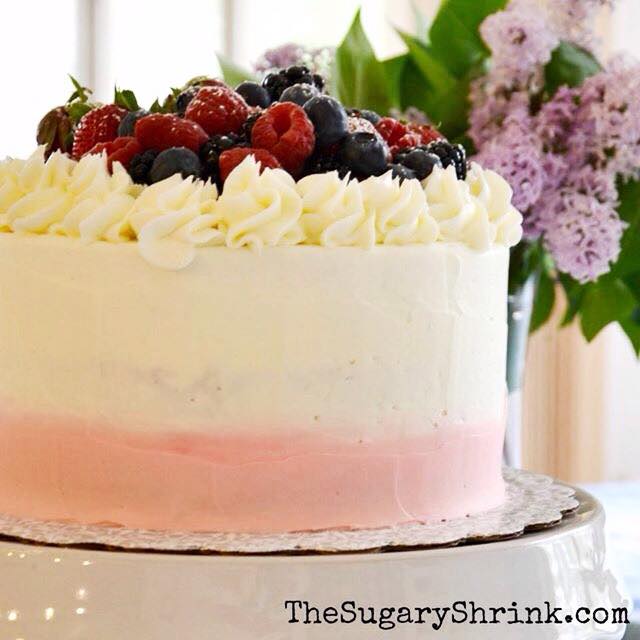
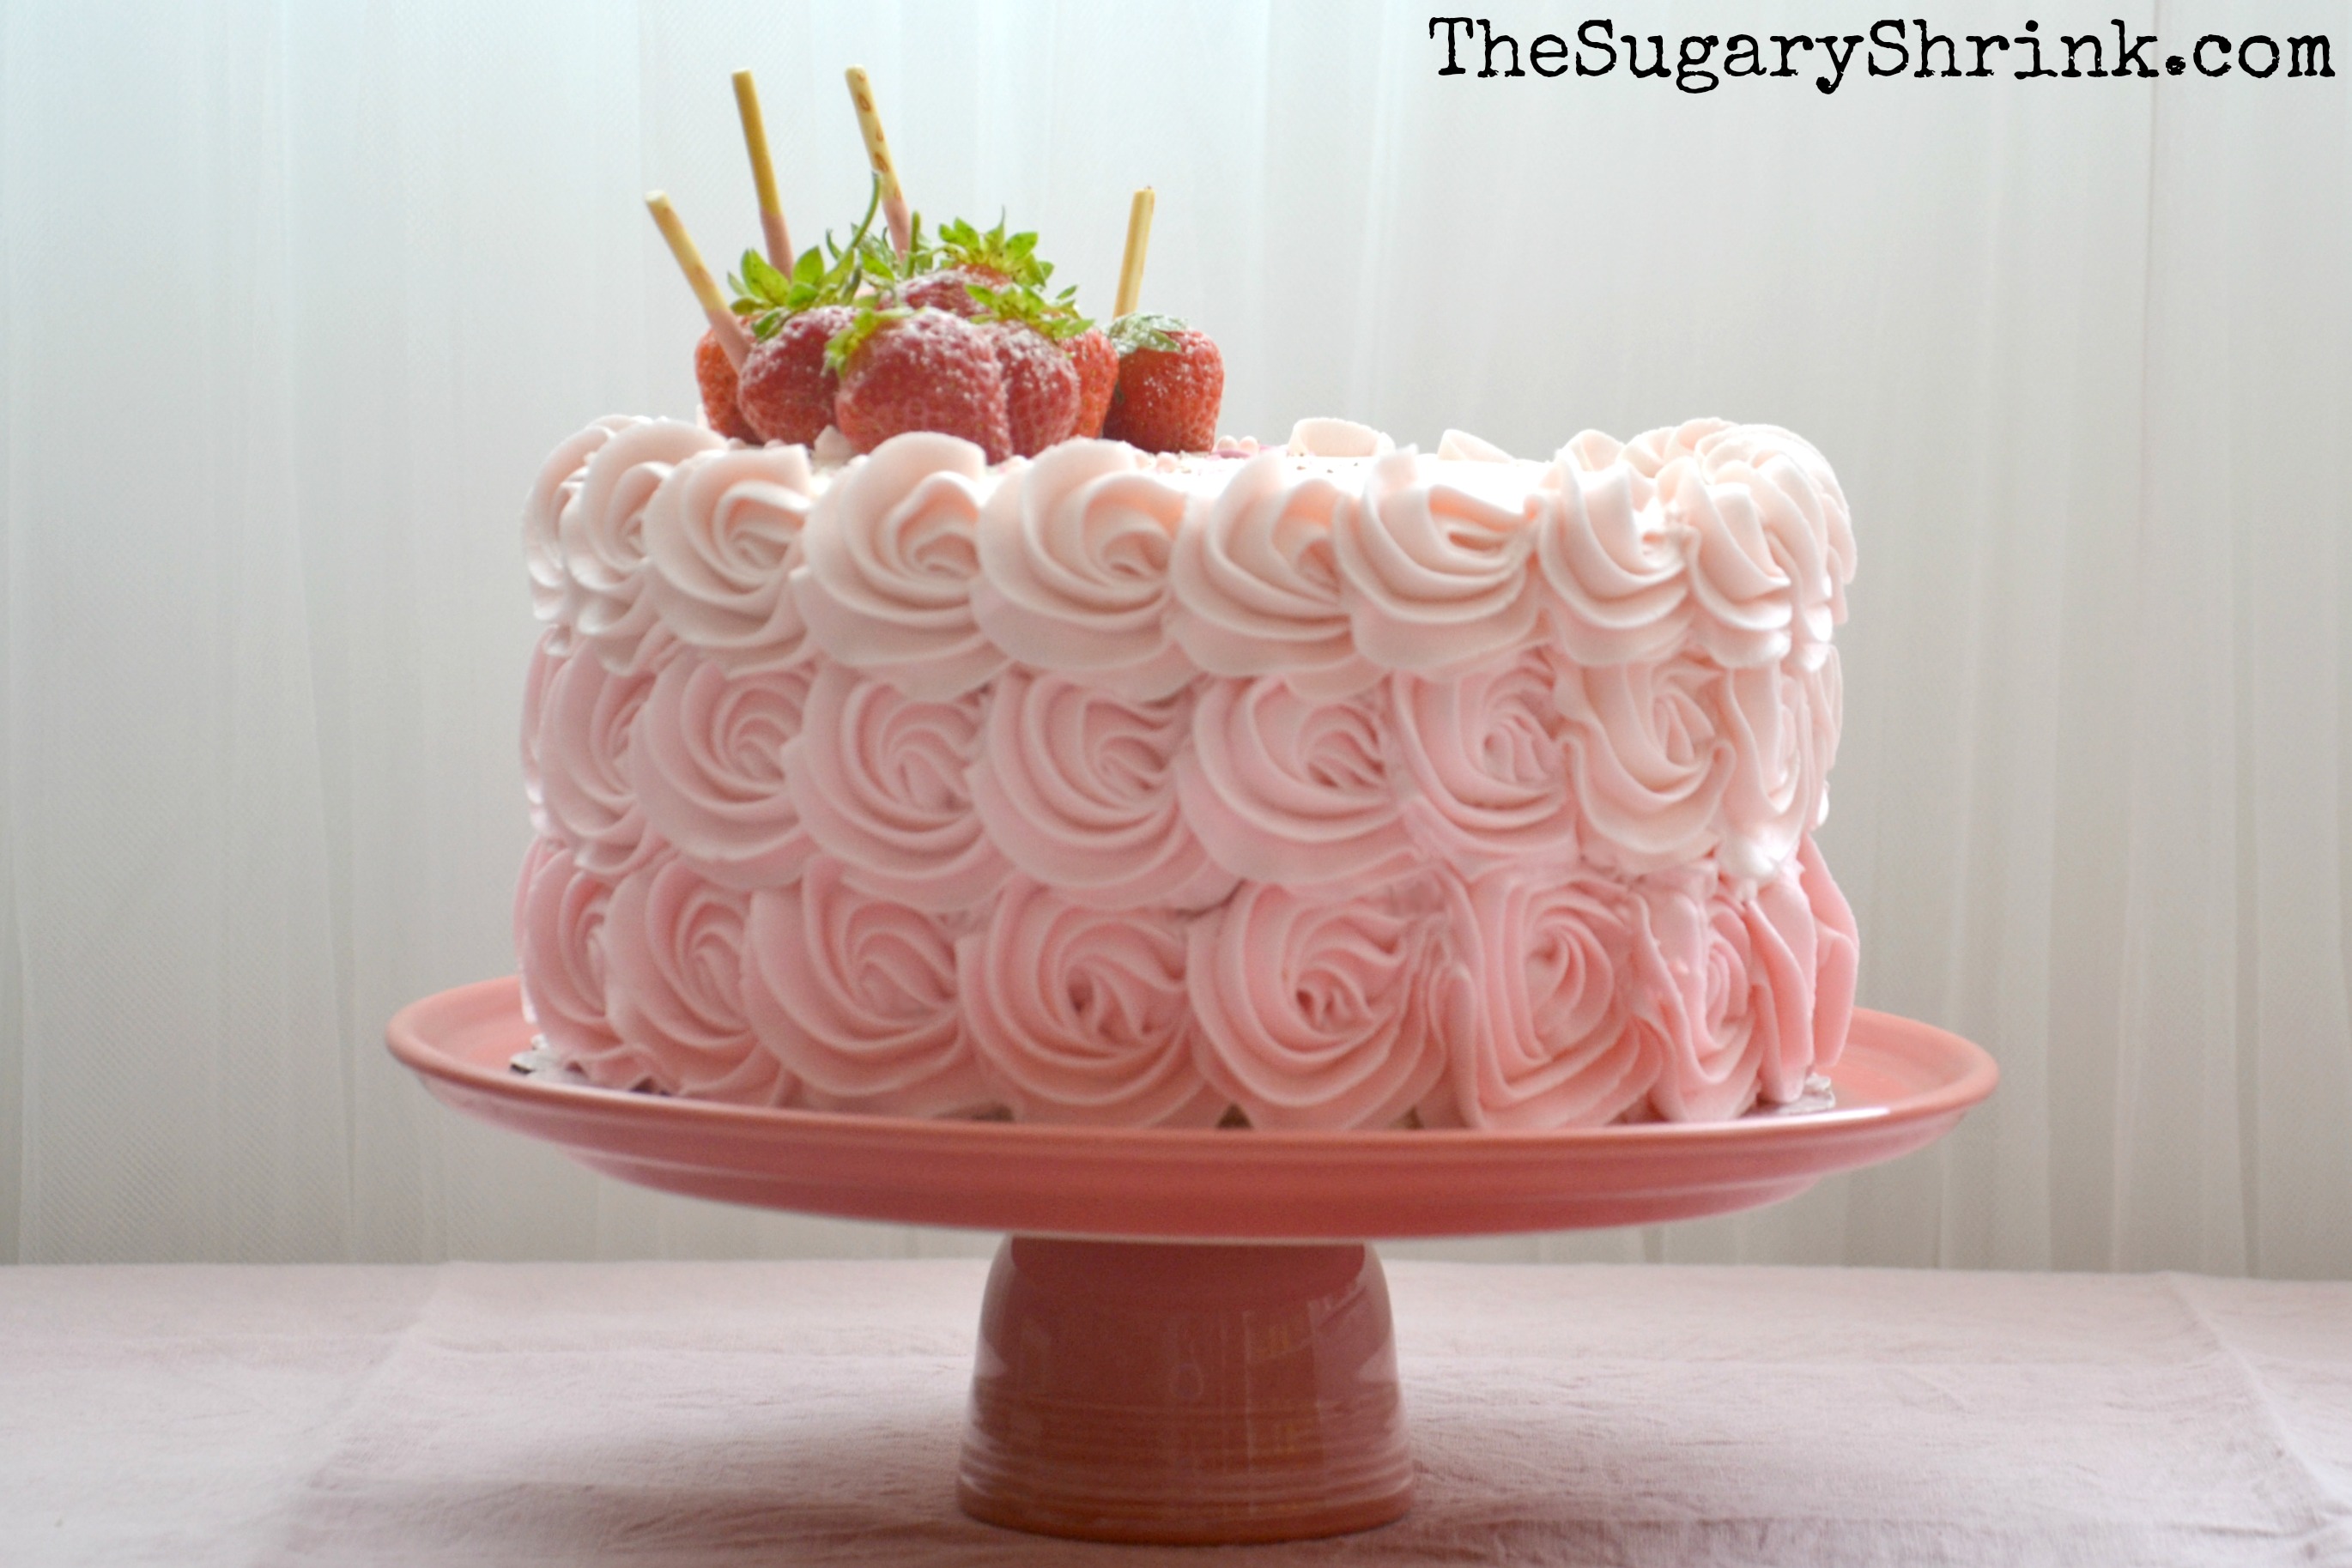
Strawberries & Cream Birthday Cake
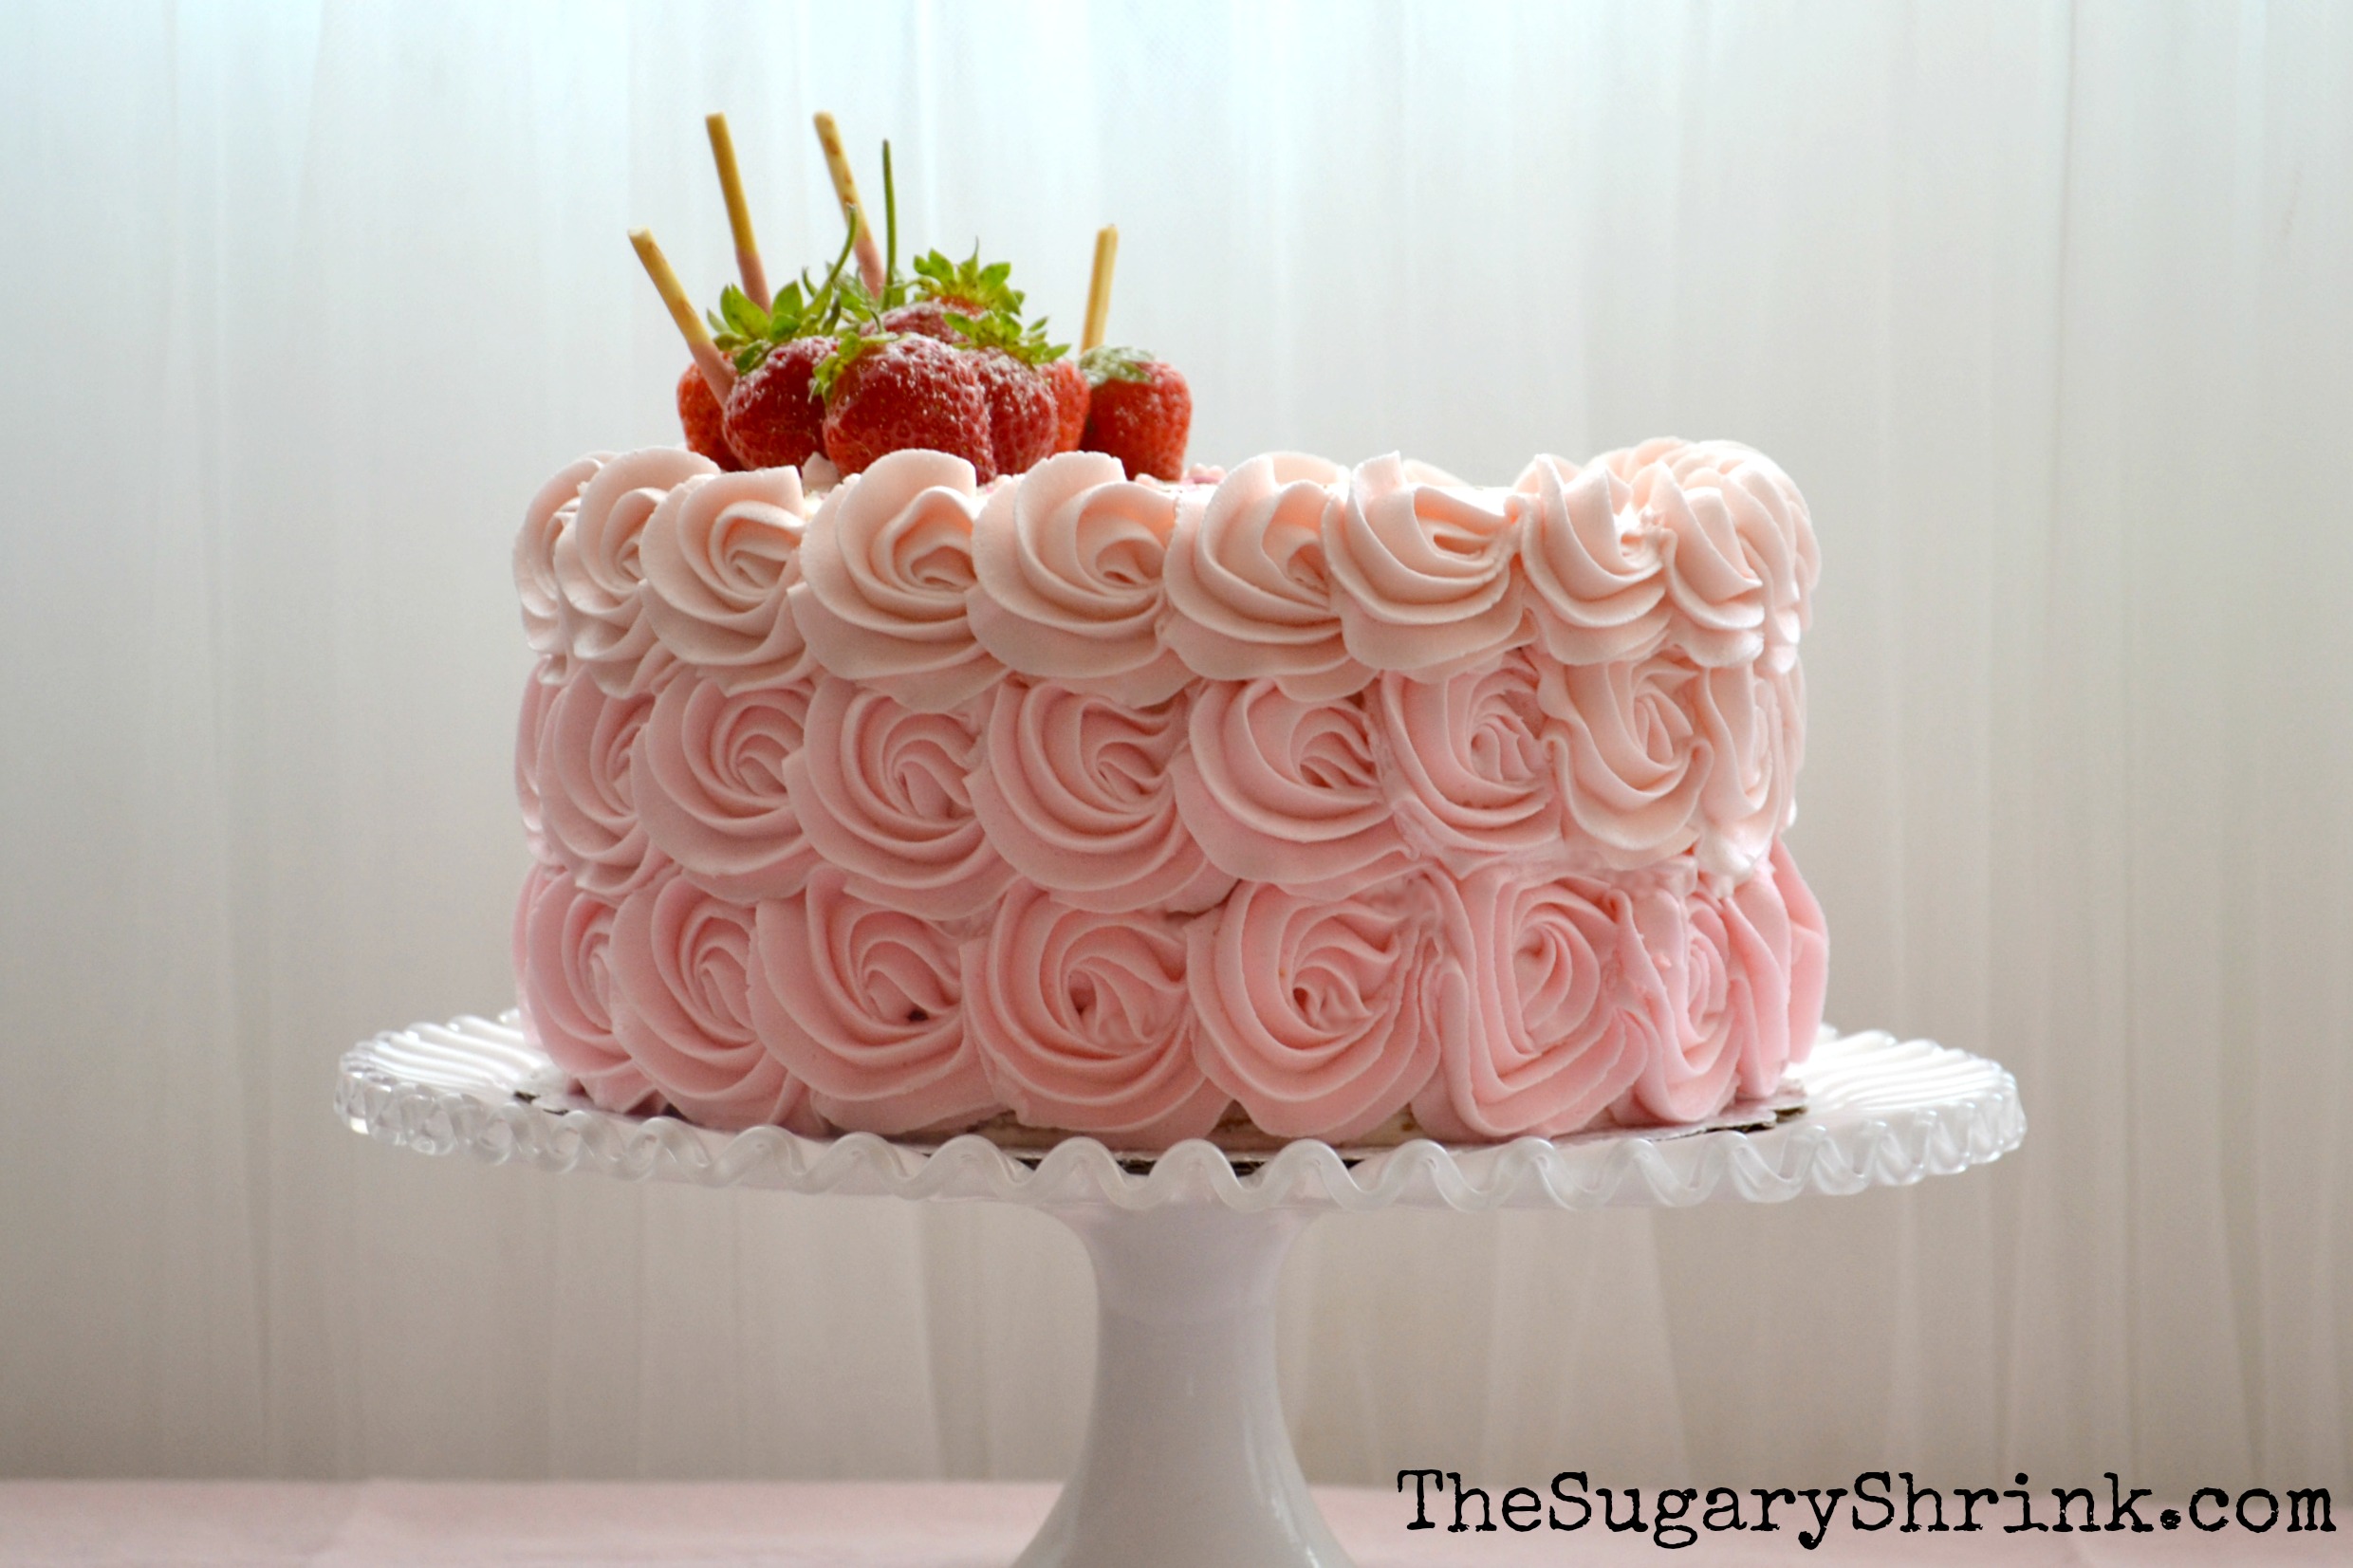
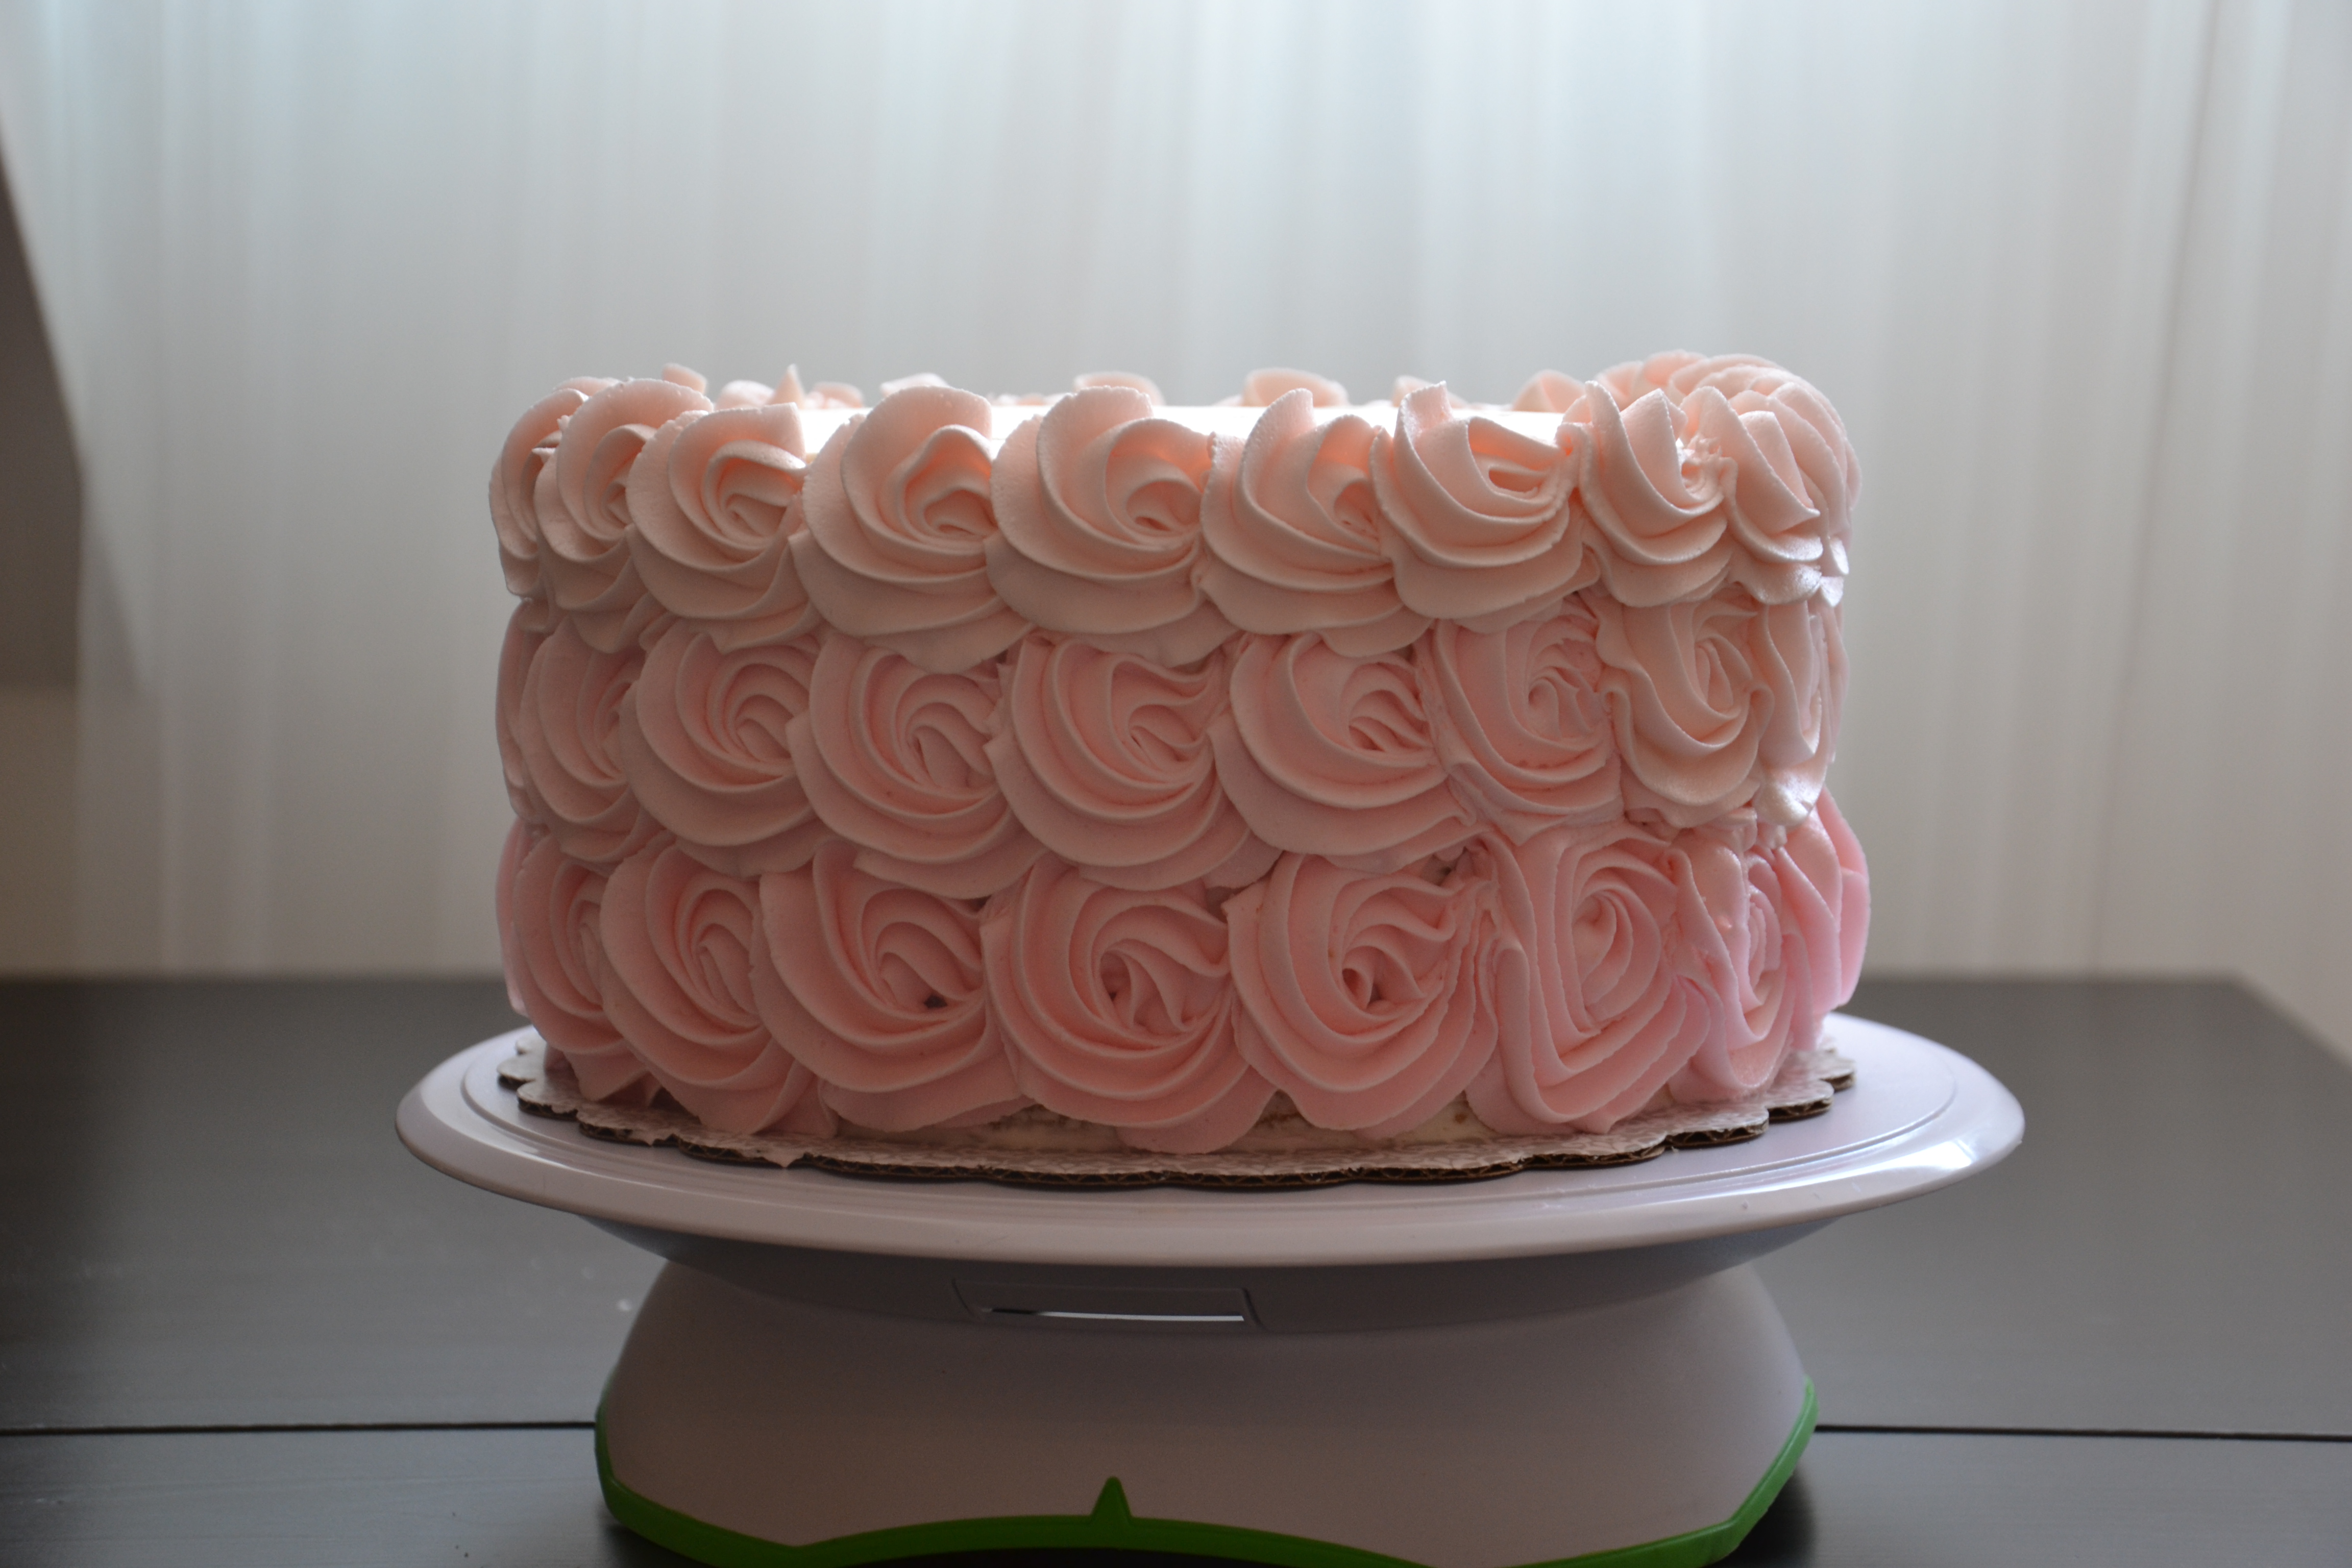
Triple-layer Vanilla Bean Cake, Lindt Dark Chocolate Ganache & Fresh Cut Strawberries filling, Strawberry Vanilla Buttercream Ombre Roses, and a garnish of Fresh Strawberries & Sugar Pearls
This was a birthday cake for a surprise party! I enjoy it when I get an email from a friend asking for a helping hand in executing a wonderful dinner party and cake for their loved one.
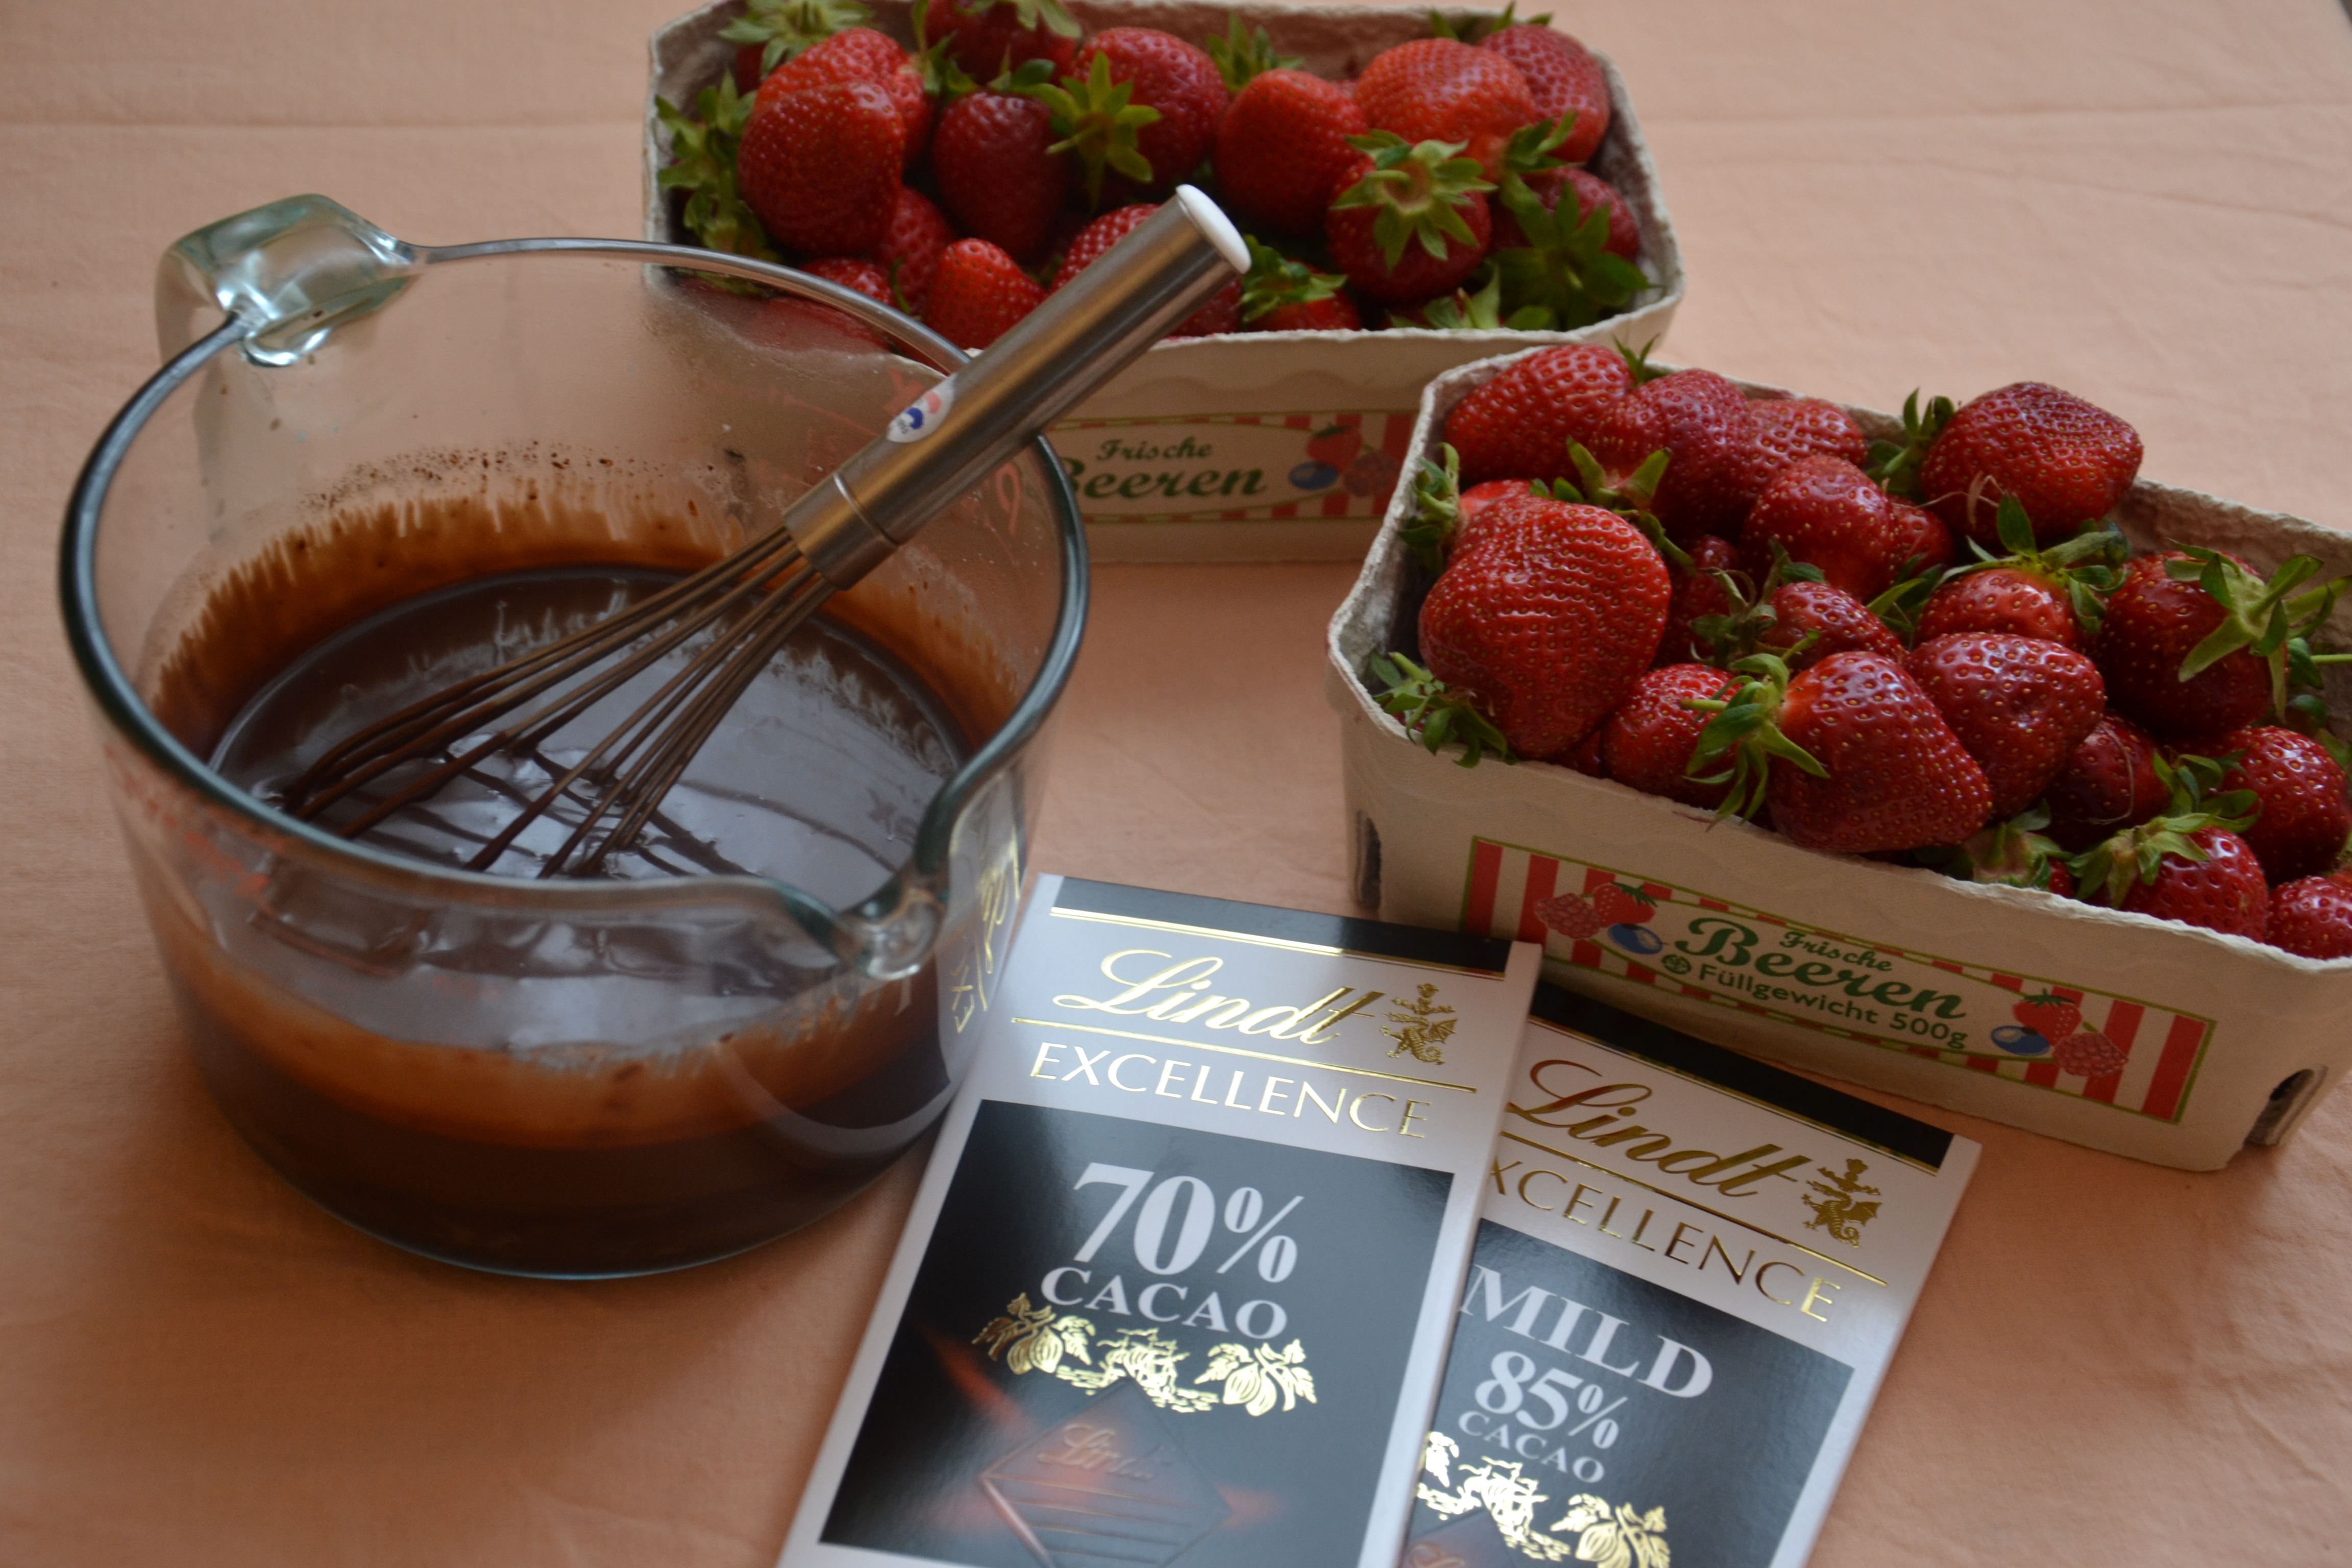
The guidelines were “she likes strawberries and cream” and “Lindt dark chocolate is a favorite.” Terrific, this is doable.
My Vanilla Bean Cake is a variation of my favorite Classic Vanilla Cake, but uses whole vanilla beans that are steeped in warm milk. Doesn’t that just sound delicious?
Due to the size of this triple-layer, 9″ round cake – I doubled the recipe. Umm… We’ll get to that in a minute.
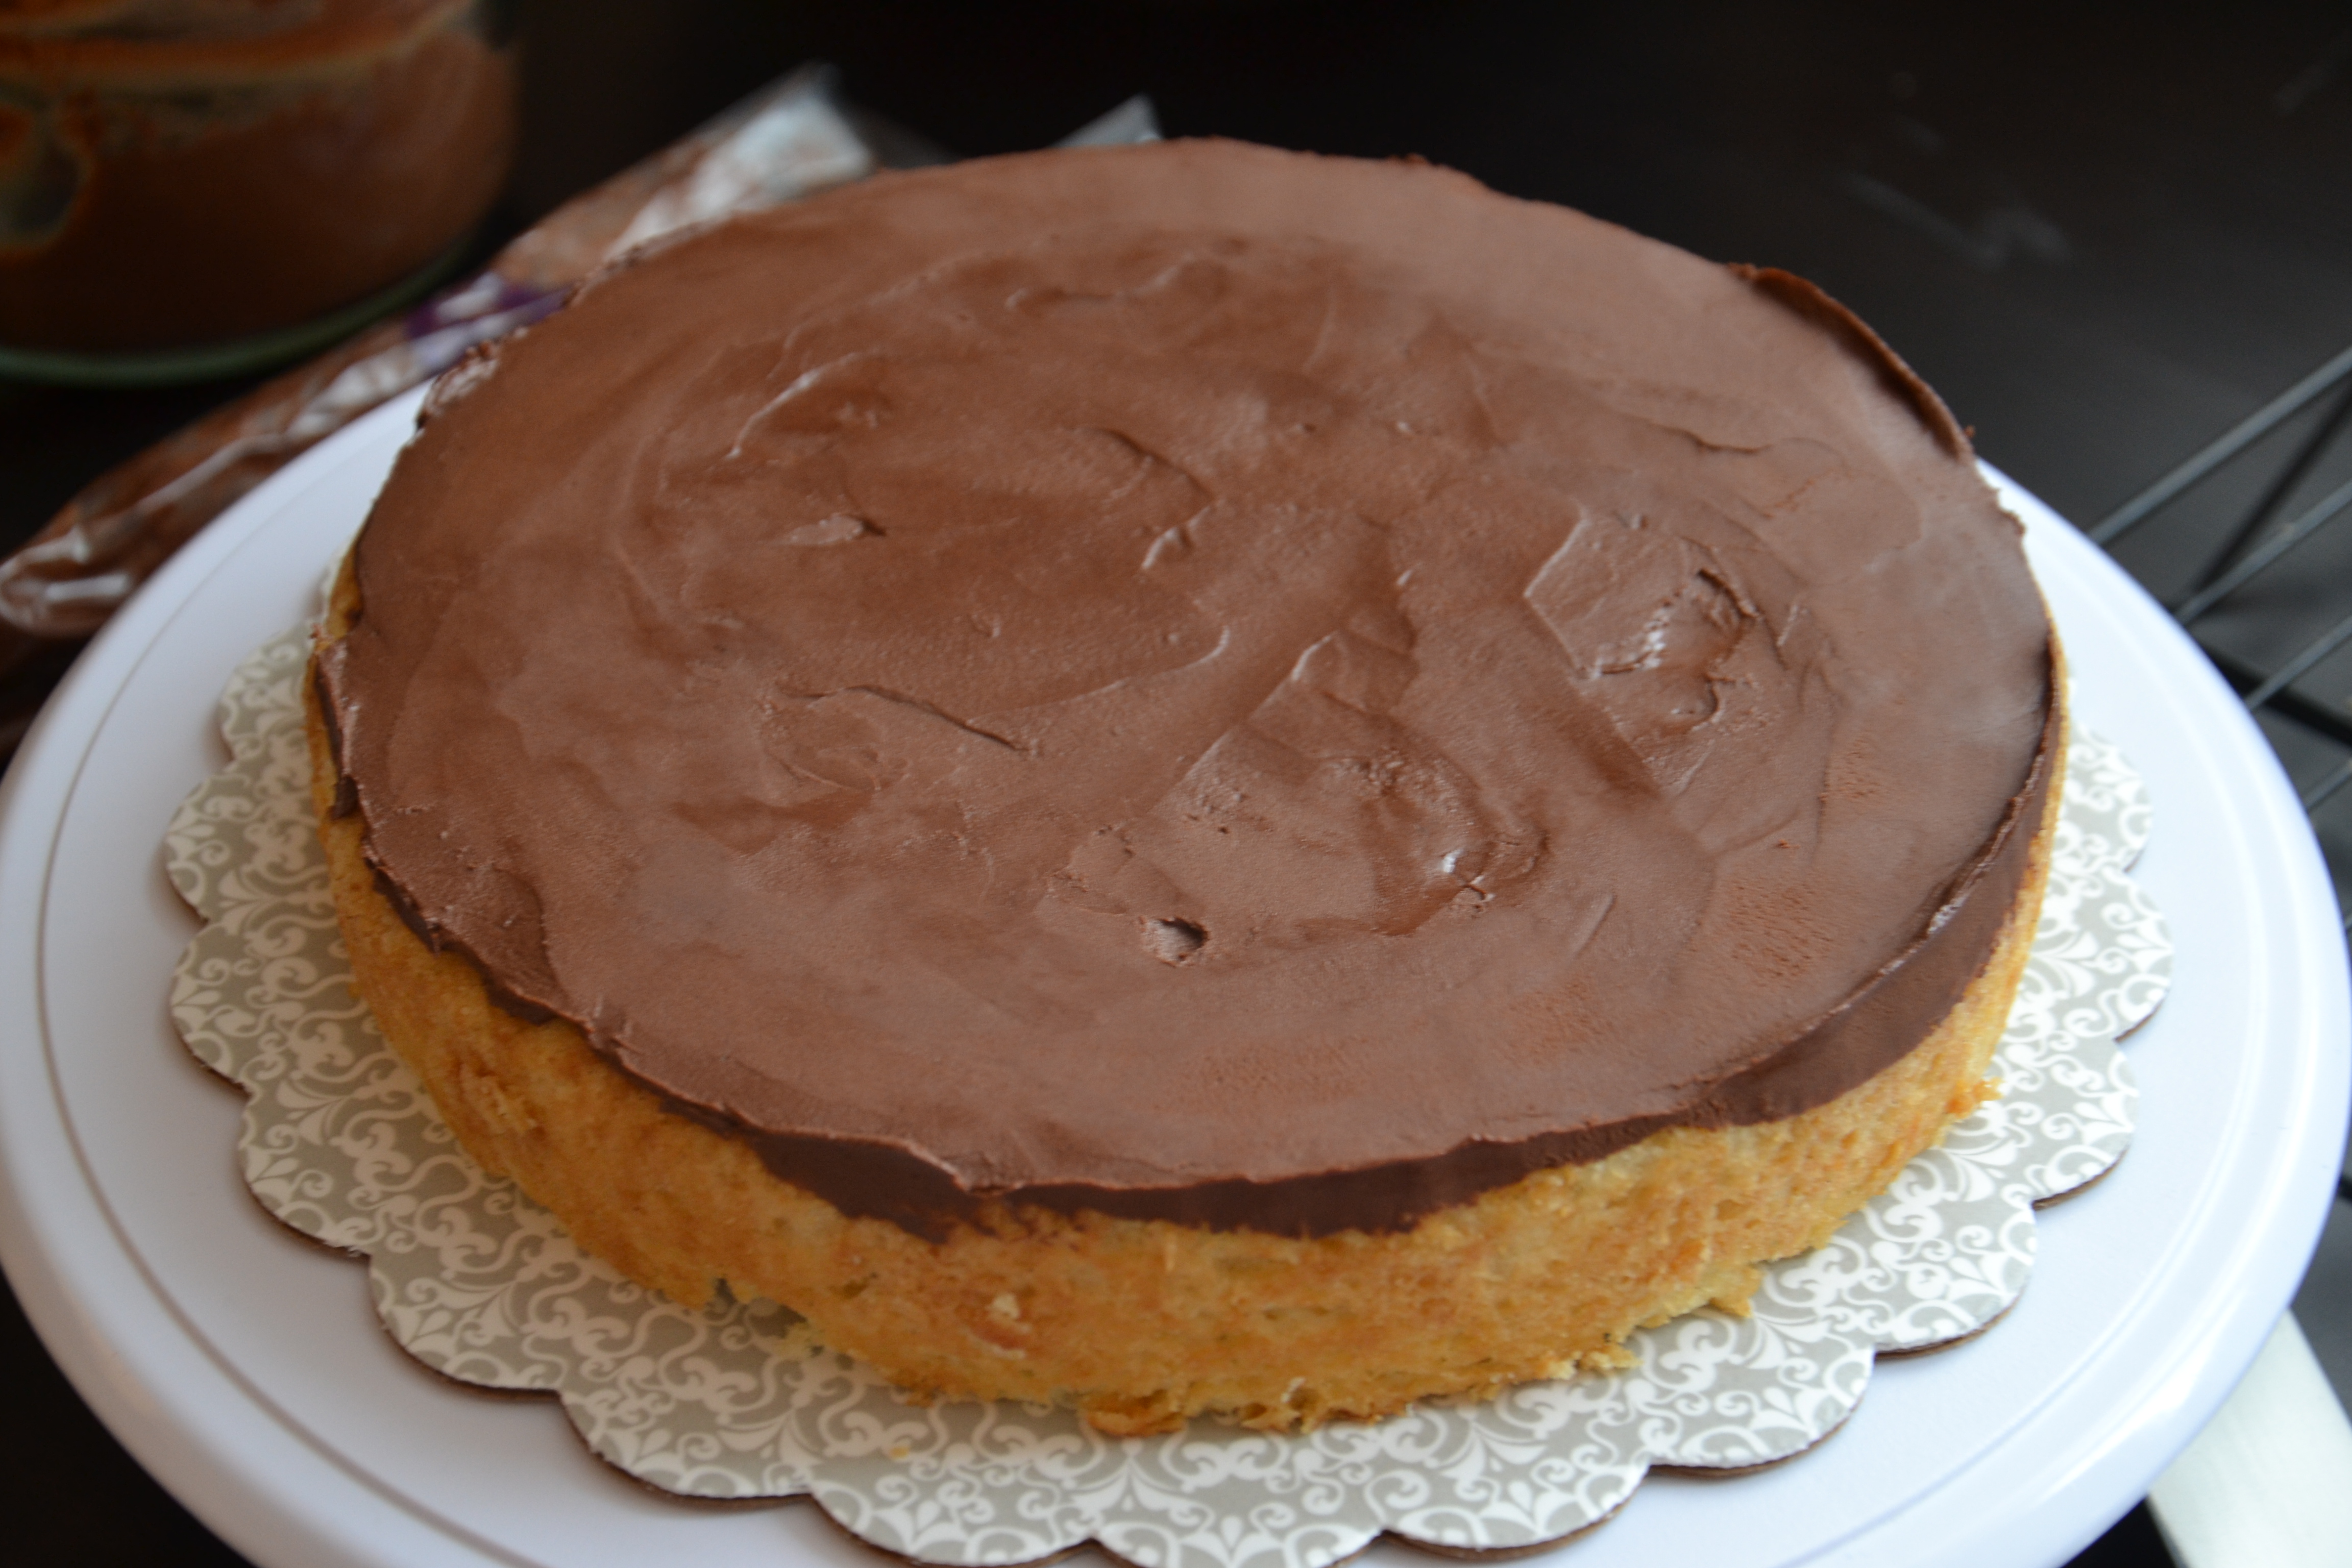
This is how the cake went together. First step, make the ganache. For the filling, the ratio was 200gr chocolate to 225gr heavy whipping cream and 1/2t dark vanilla extract.
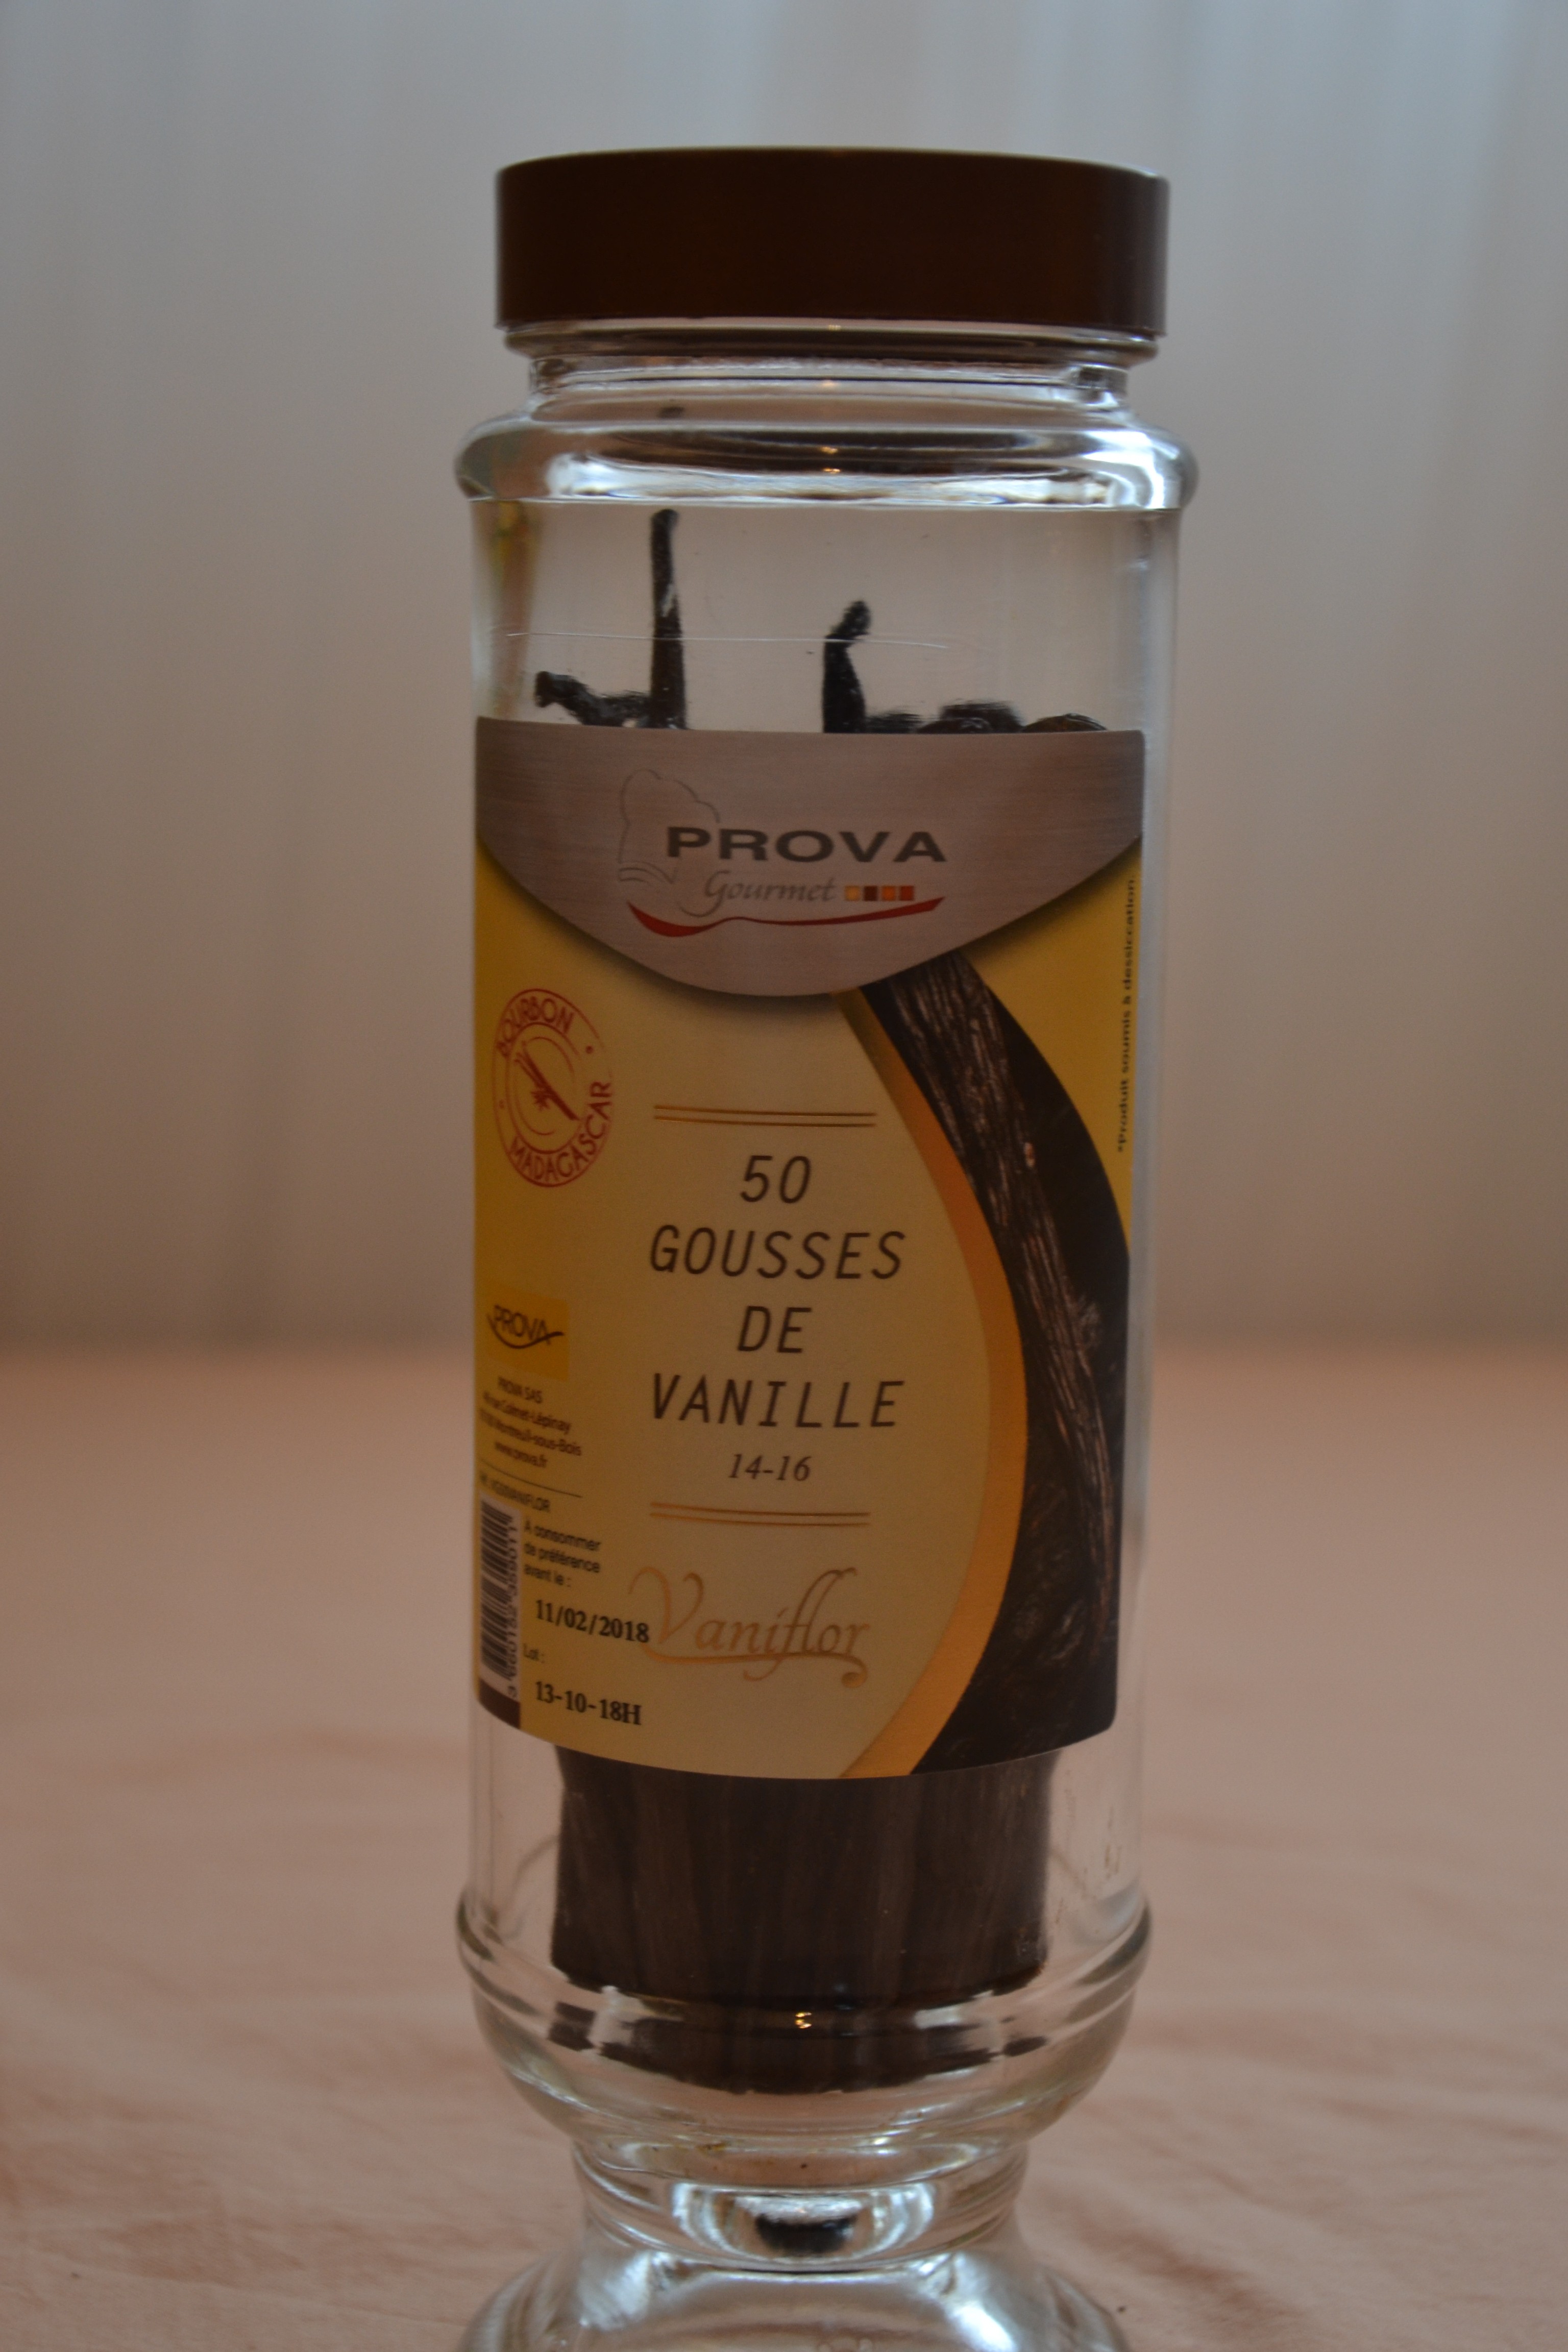
These are the vanilla beans I bought at G. Detou. Scrap the seeds from two pods, stir into 1c. milk, add open pods and heat (either on the stove or in the microwave) – but not to scalding, just warm.
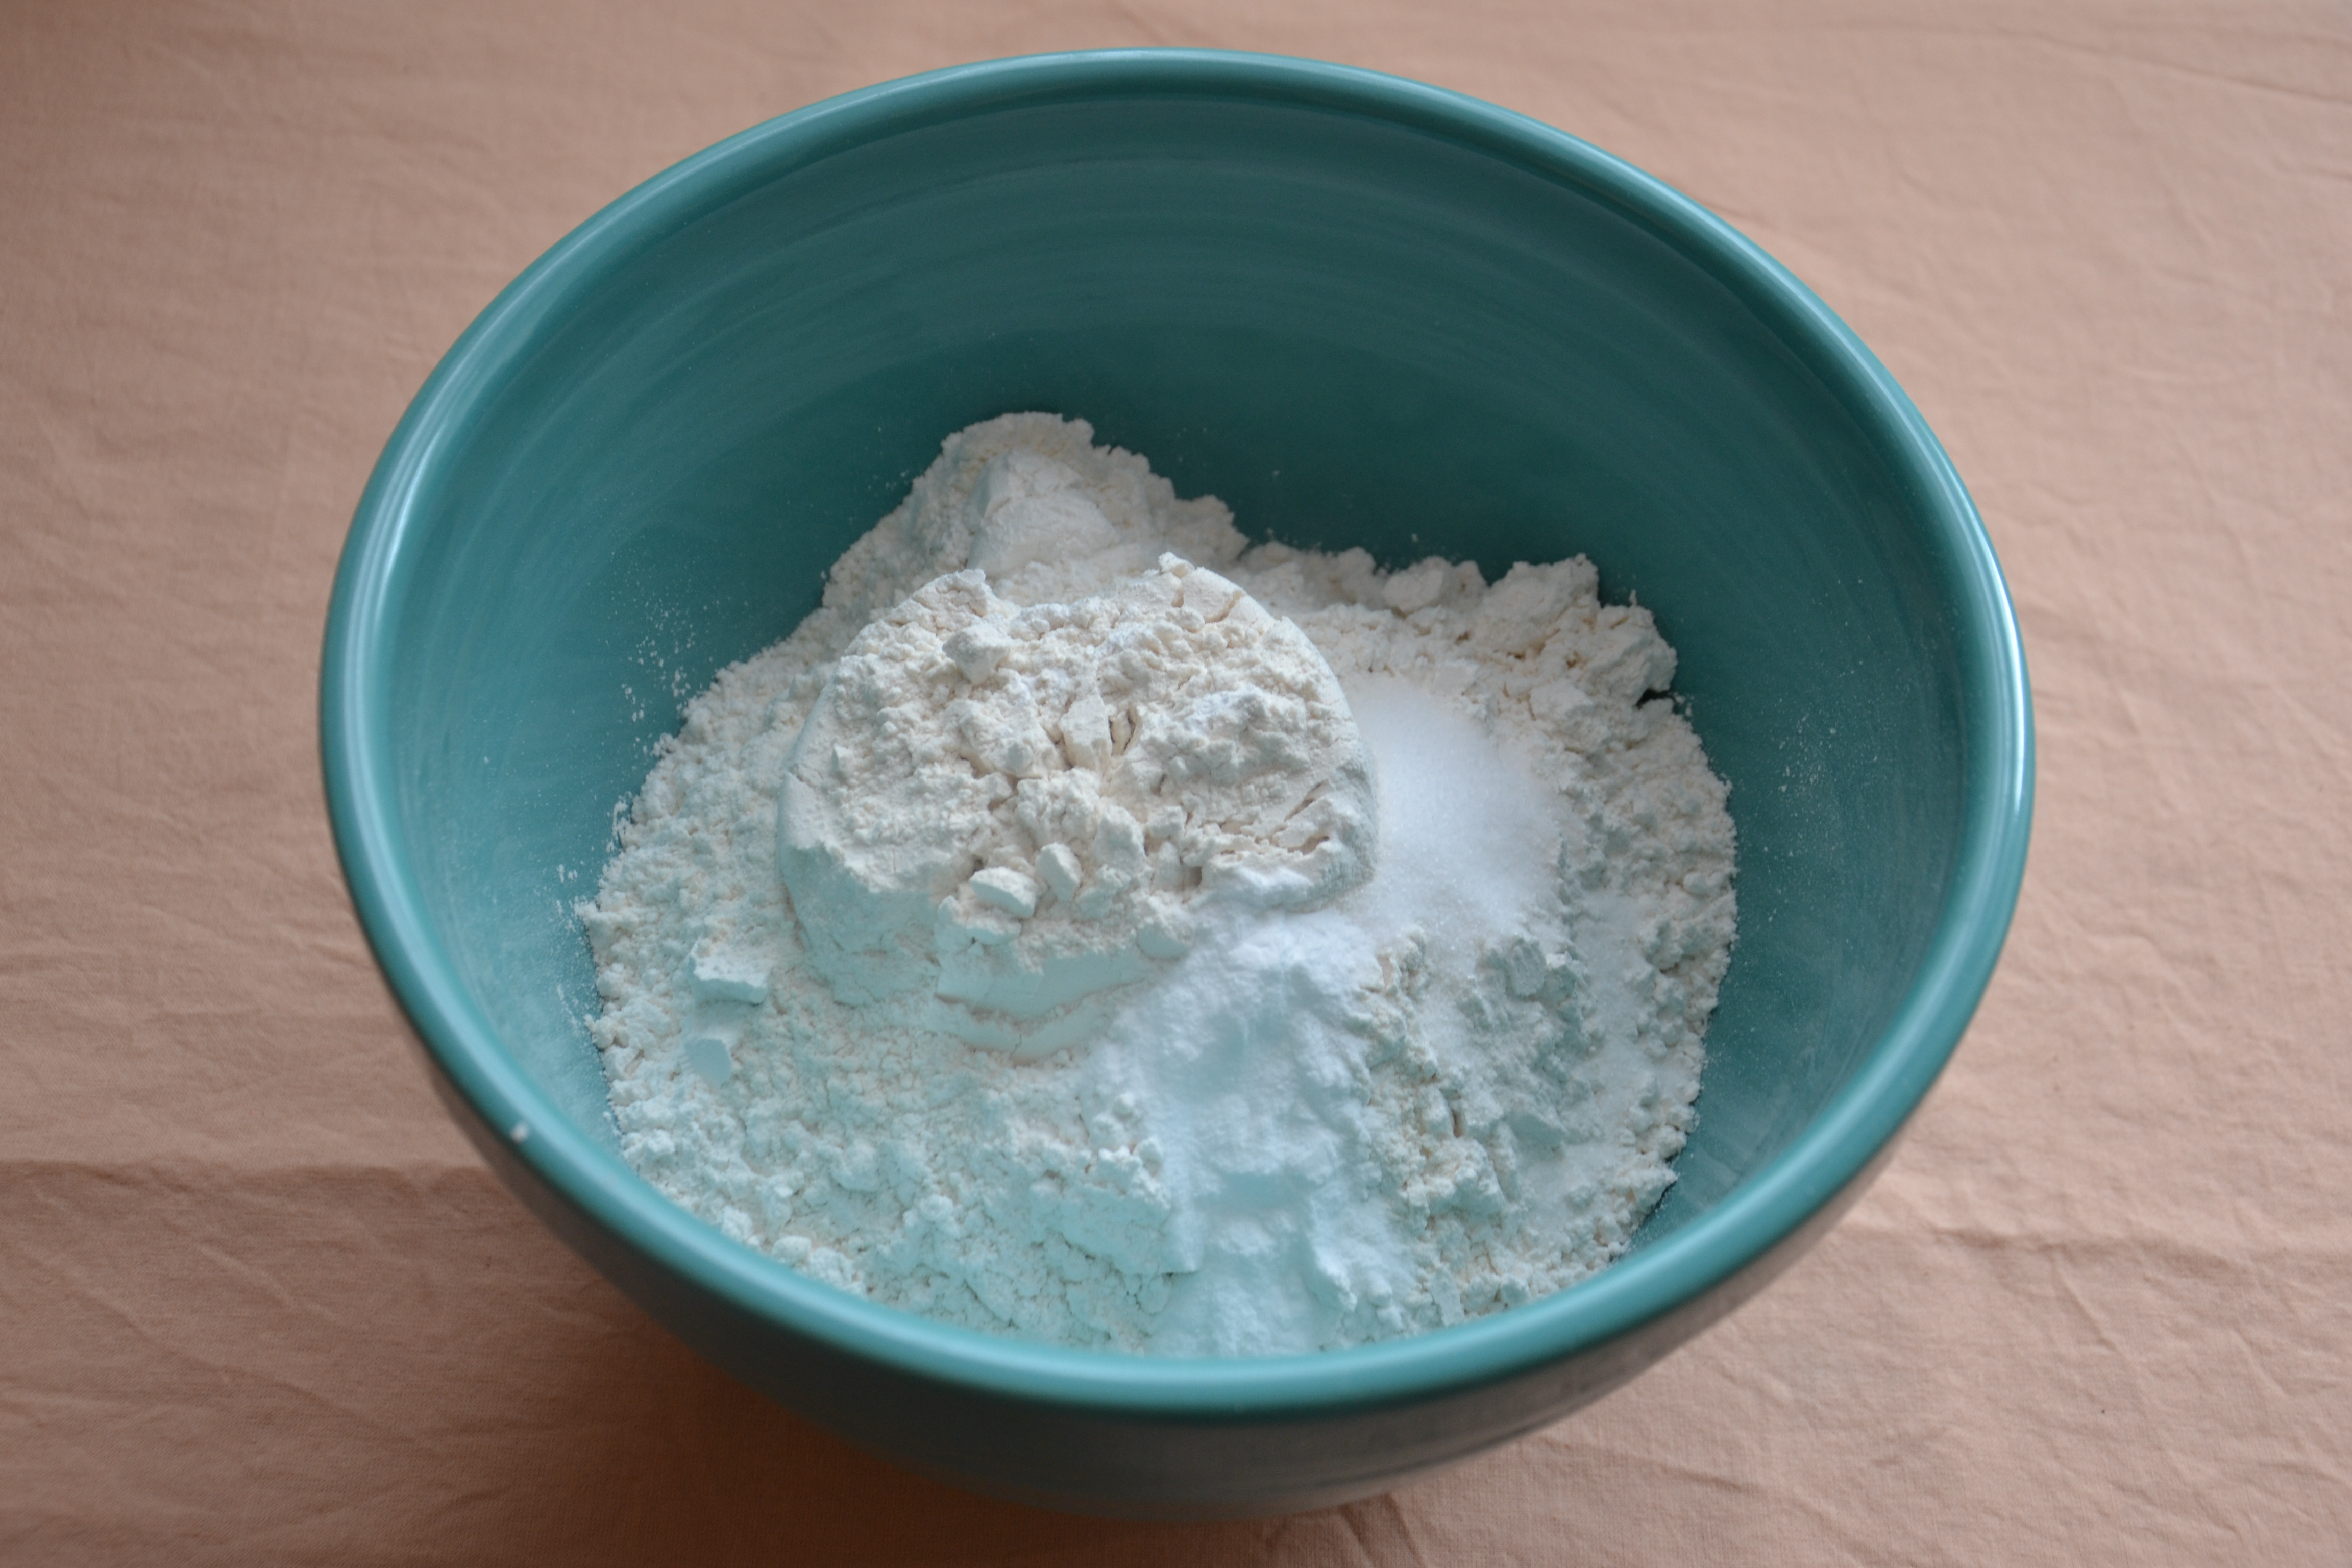
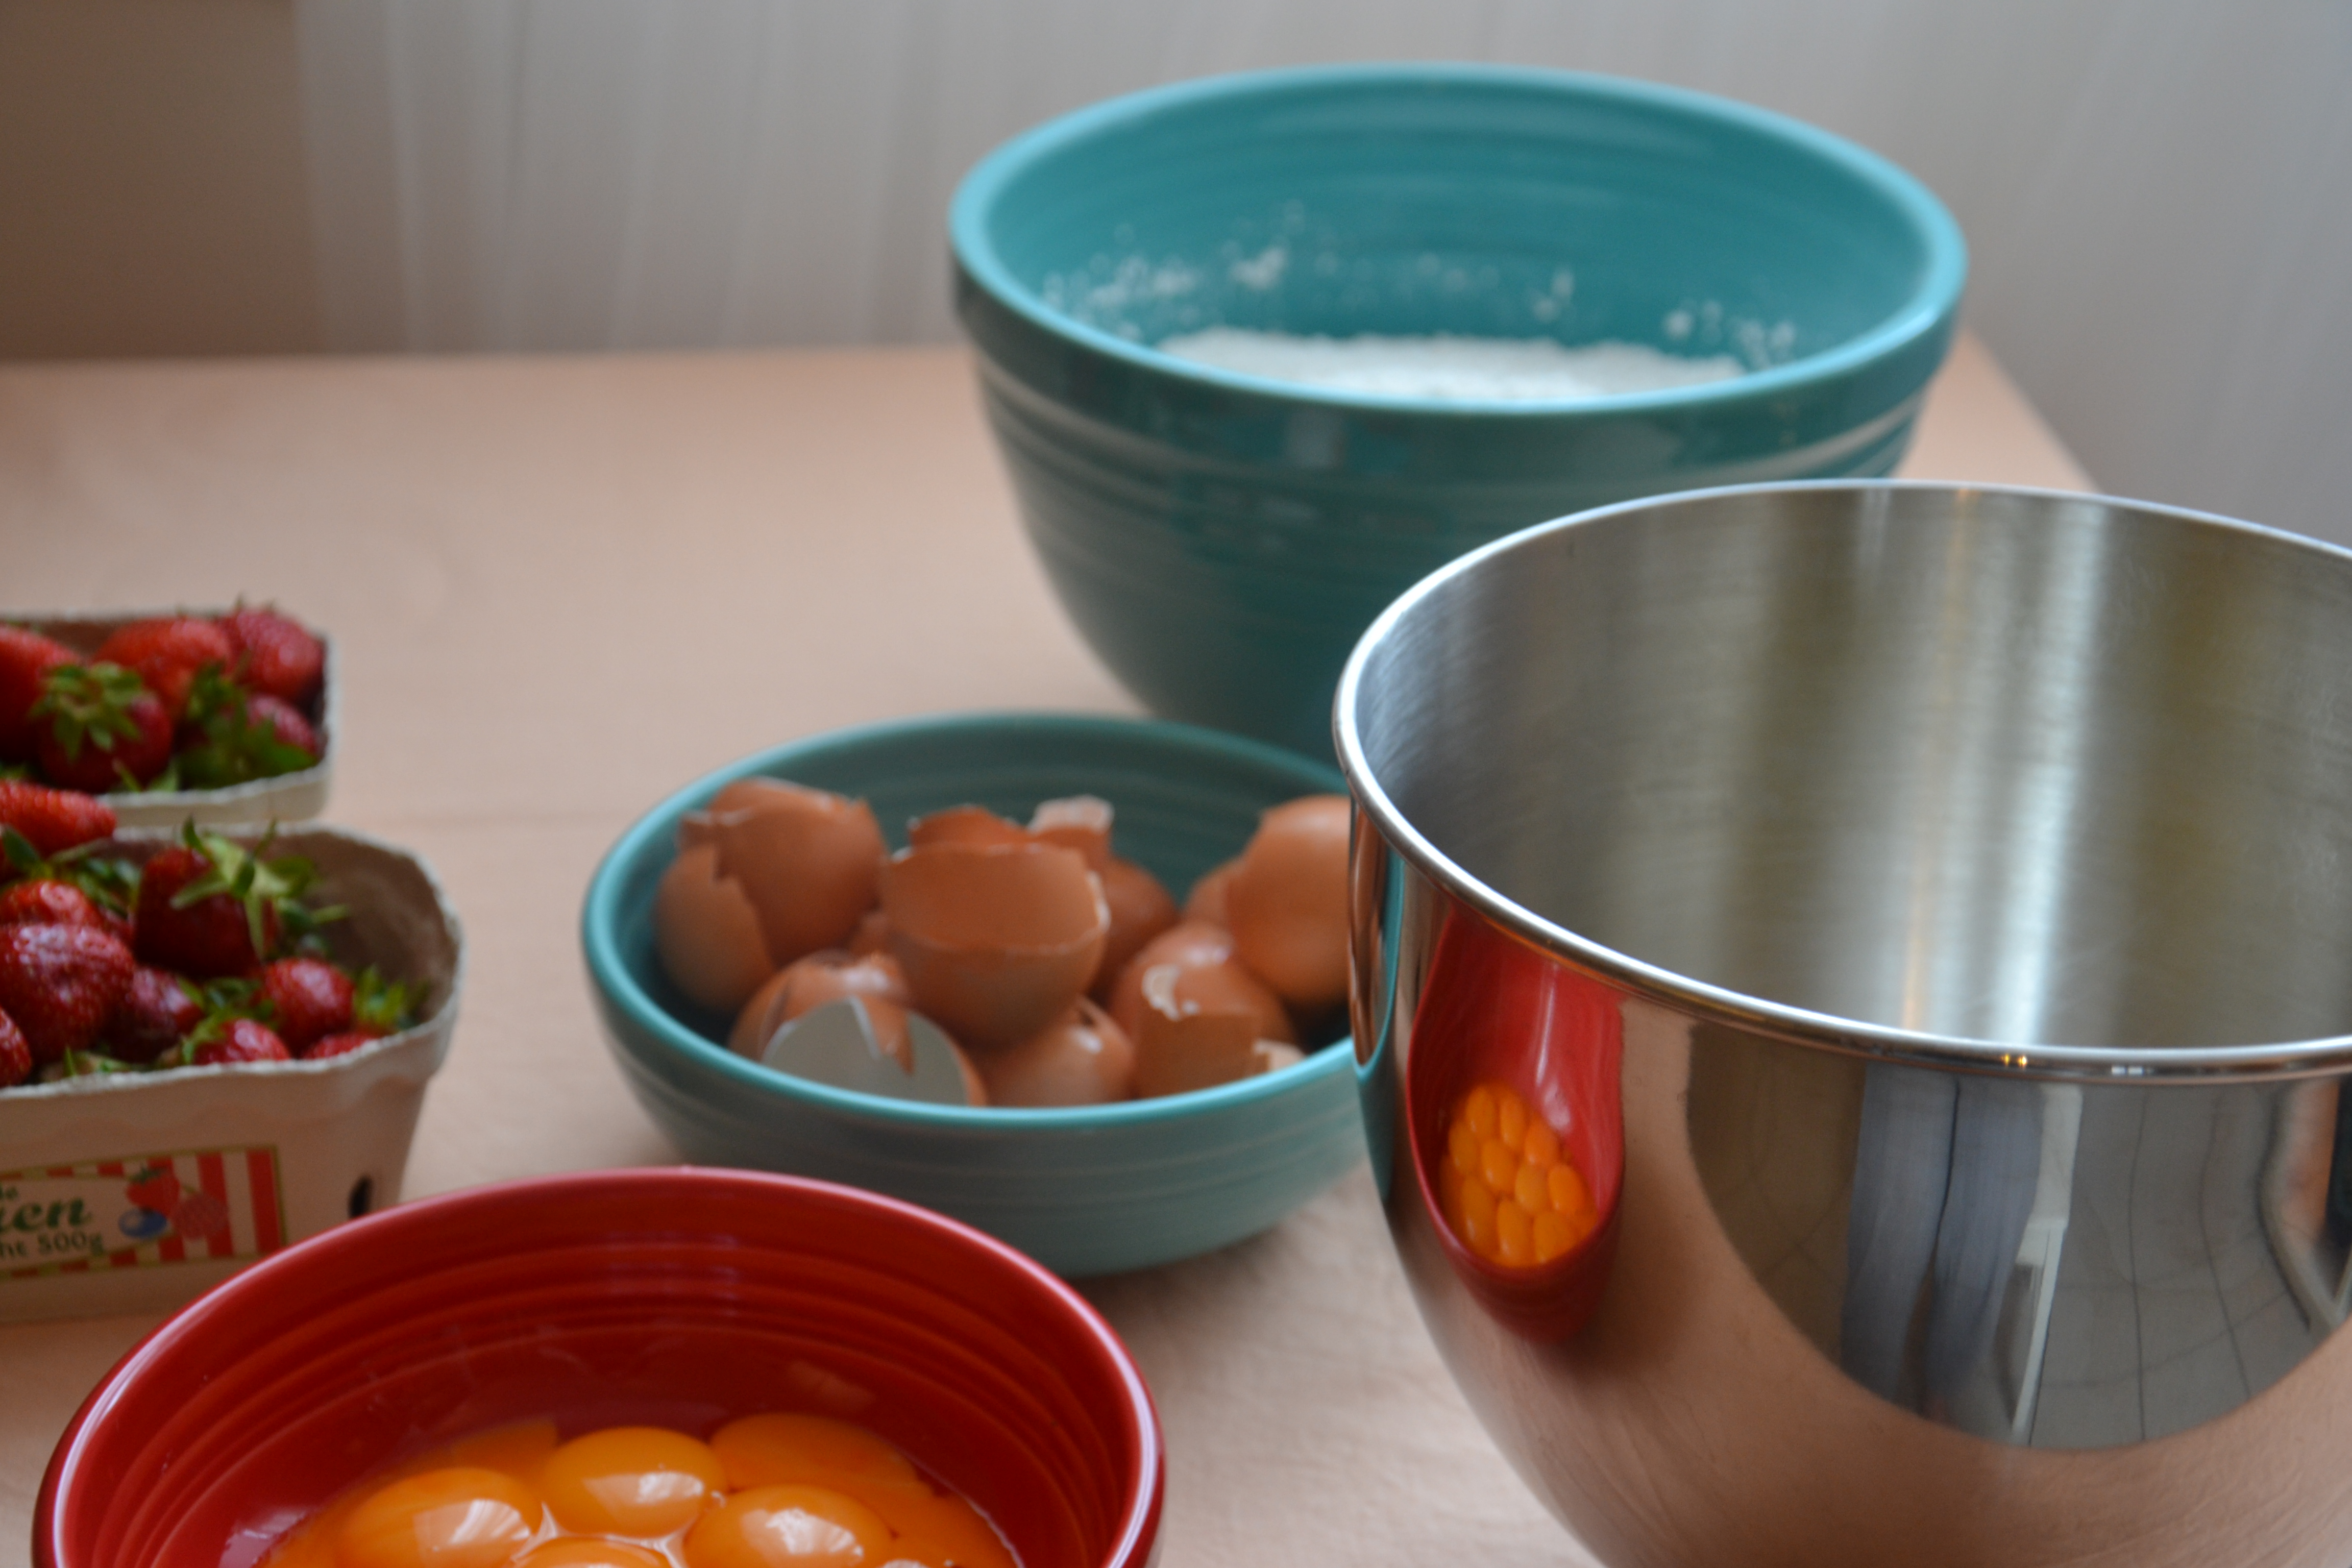
Mix dry ingredients, set aside. This was my first indication I could be in trouble on this recipe… that’s 5 1/3 cups of flour.
Second indication trouble could be on the horizon – one dozen egg whites.
The Classic Vanilla Cake recipe calls for four whole eggs – the sponge is delicious and a lovely yellow. When I want to make the cake white, I use six egg whites (no yolks to tint the sponge). Doubling the recipe meant doubling all those eggs. Err…
I do like how the KitchenAid mixing bowl reflects and warps the egg yolks in the Fiesta Medium Bistro Bowl.
After all the ingredients are mixed together before adding 2c milk and all that flour, my 6qt bowl was nearly over-flowing. “Houston, we have a problem.”
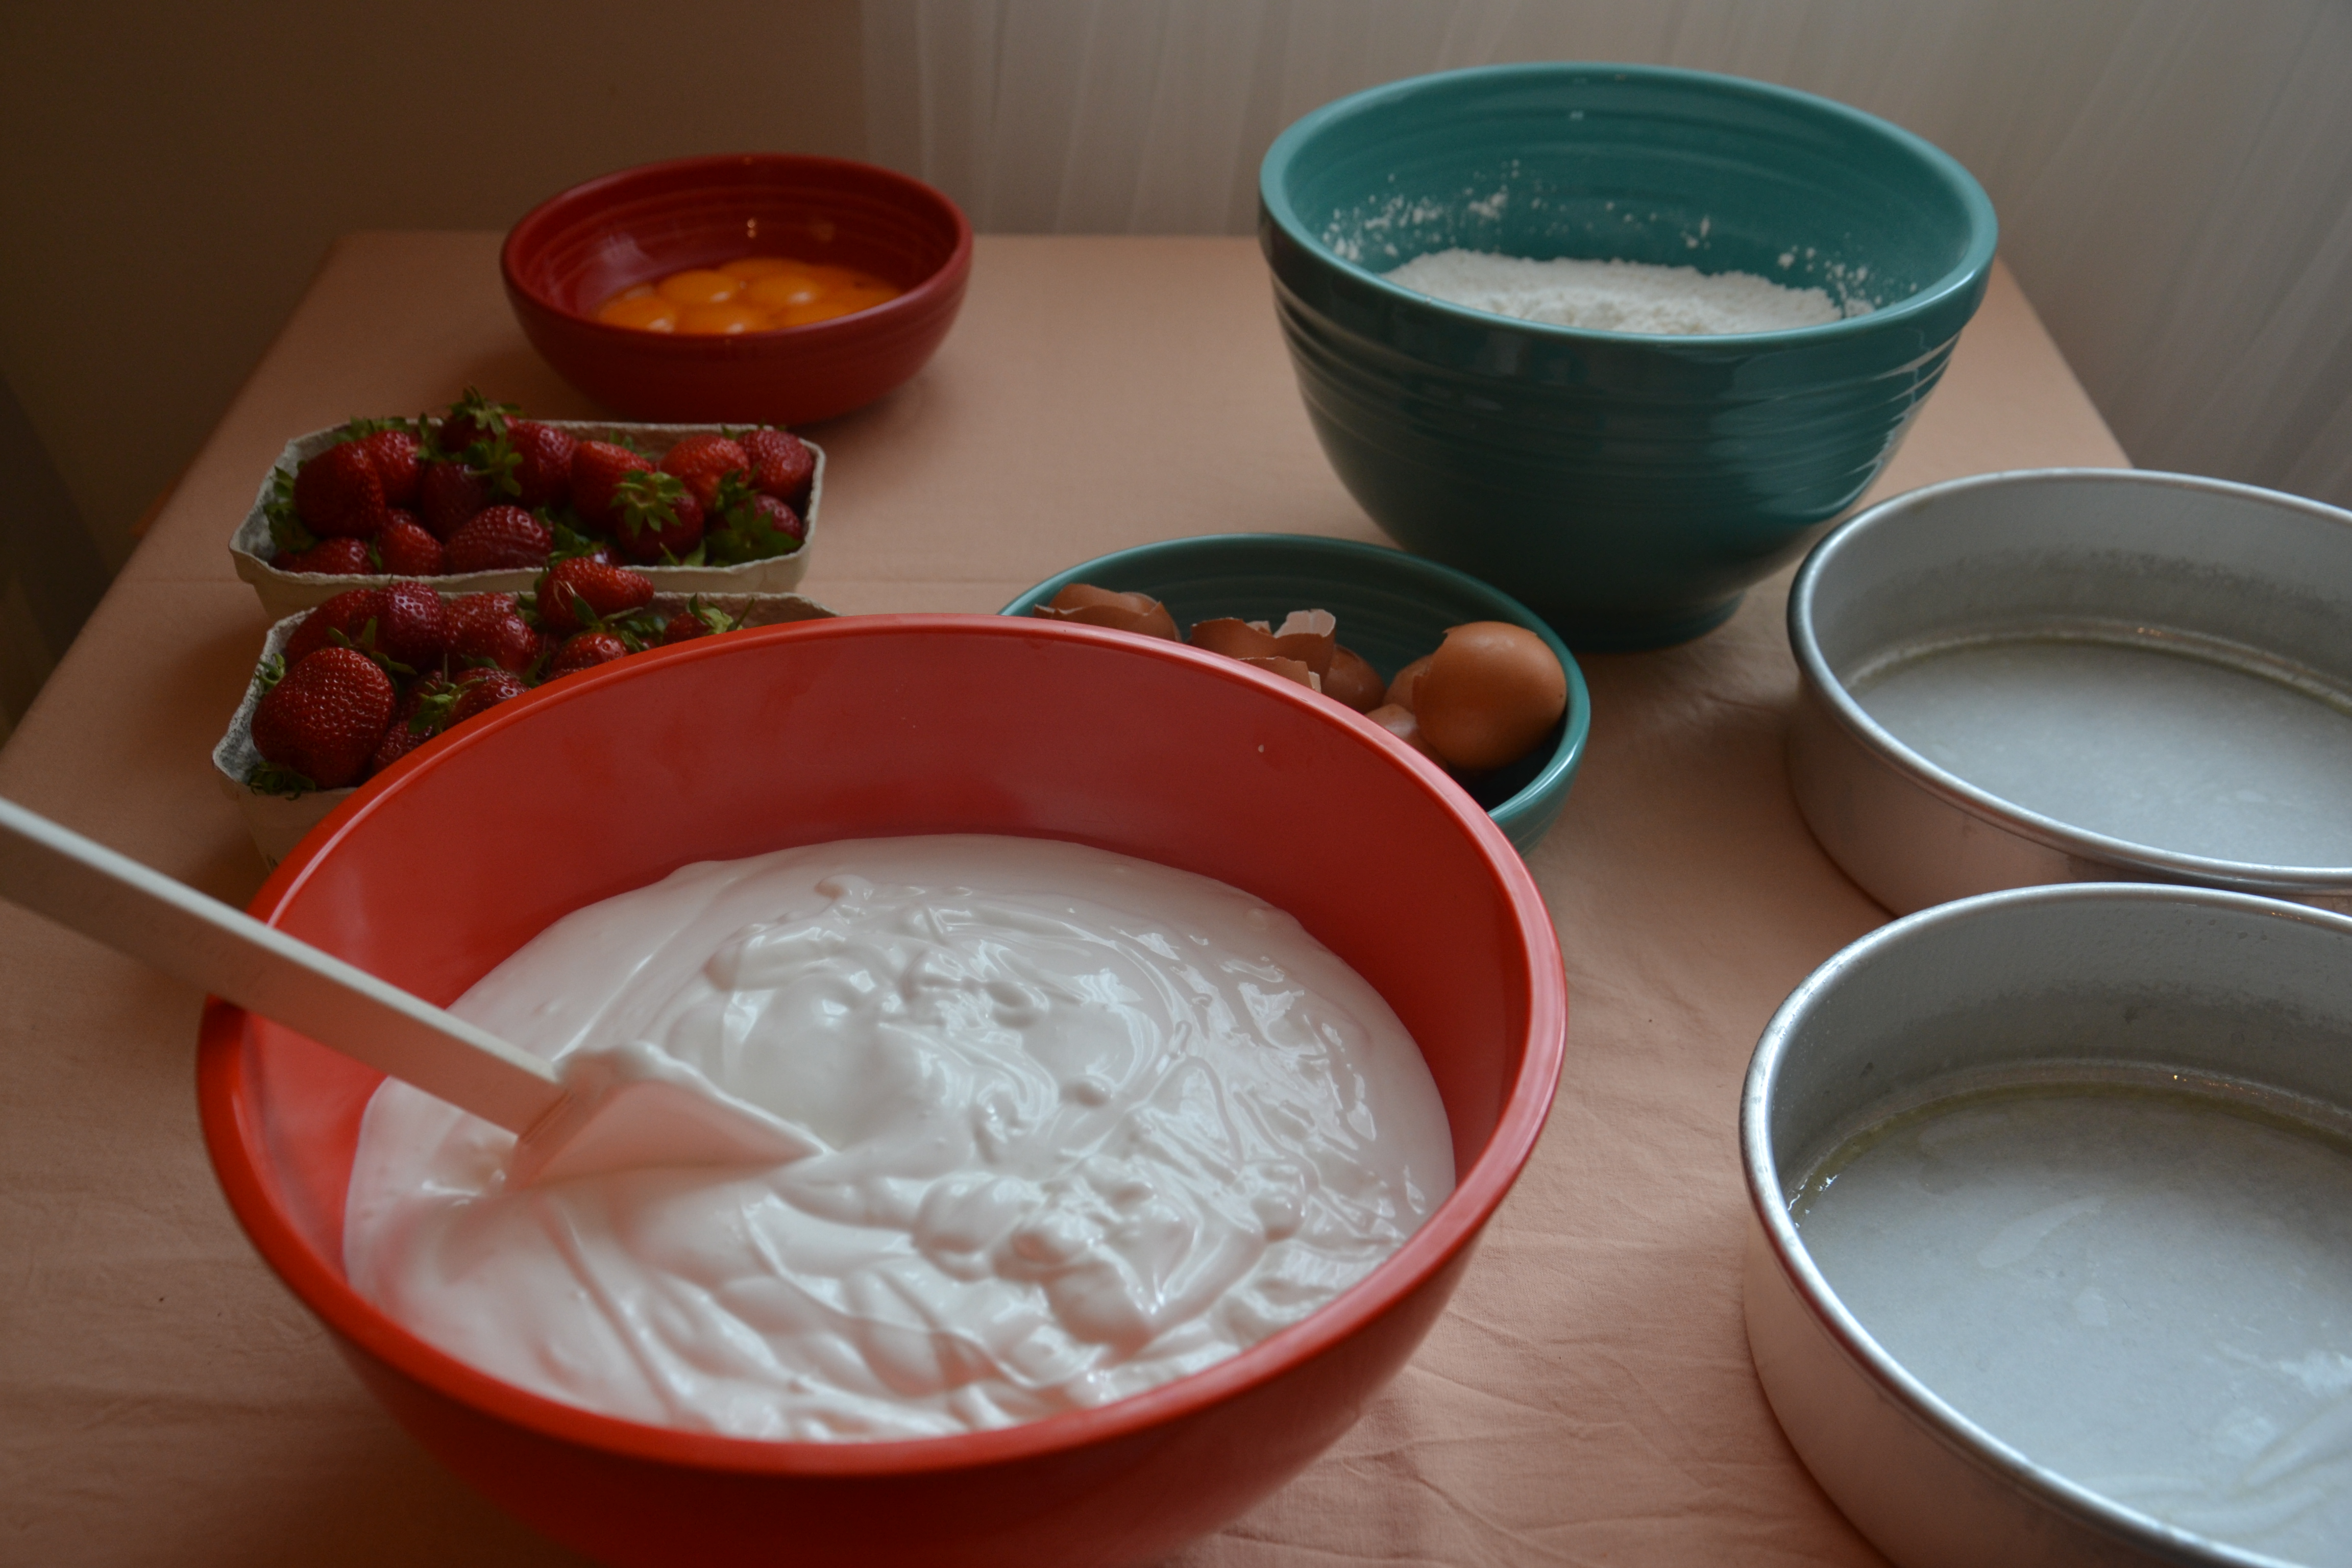
Slowly folding in the flour and milk made for a very delicate batter. This turned out to the benefit of the cake since the least amount of action combining the flour and eggs, the better.
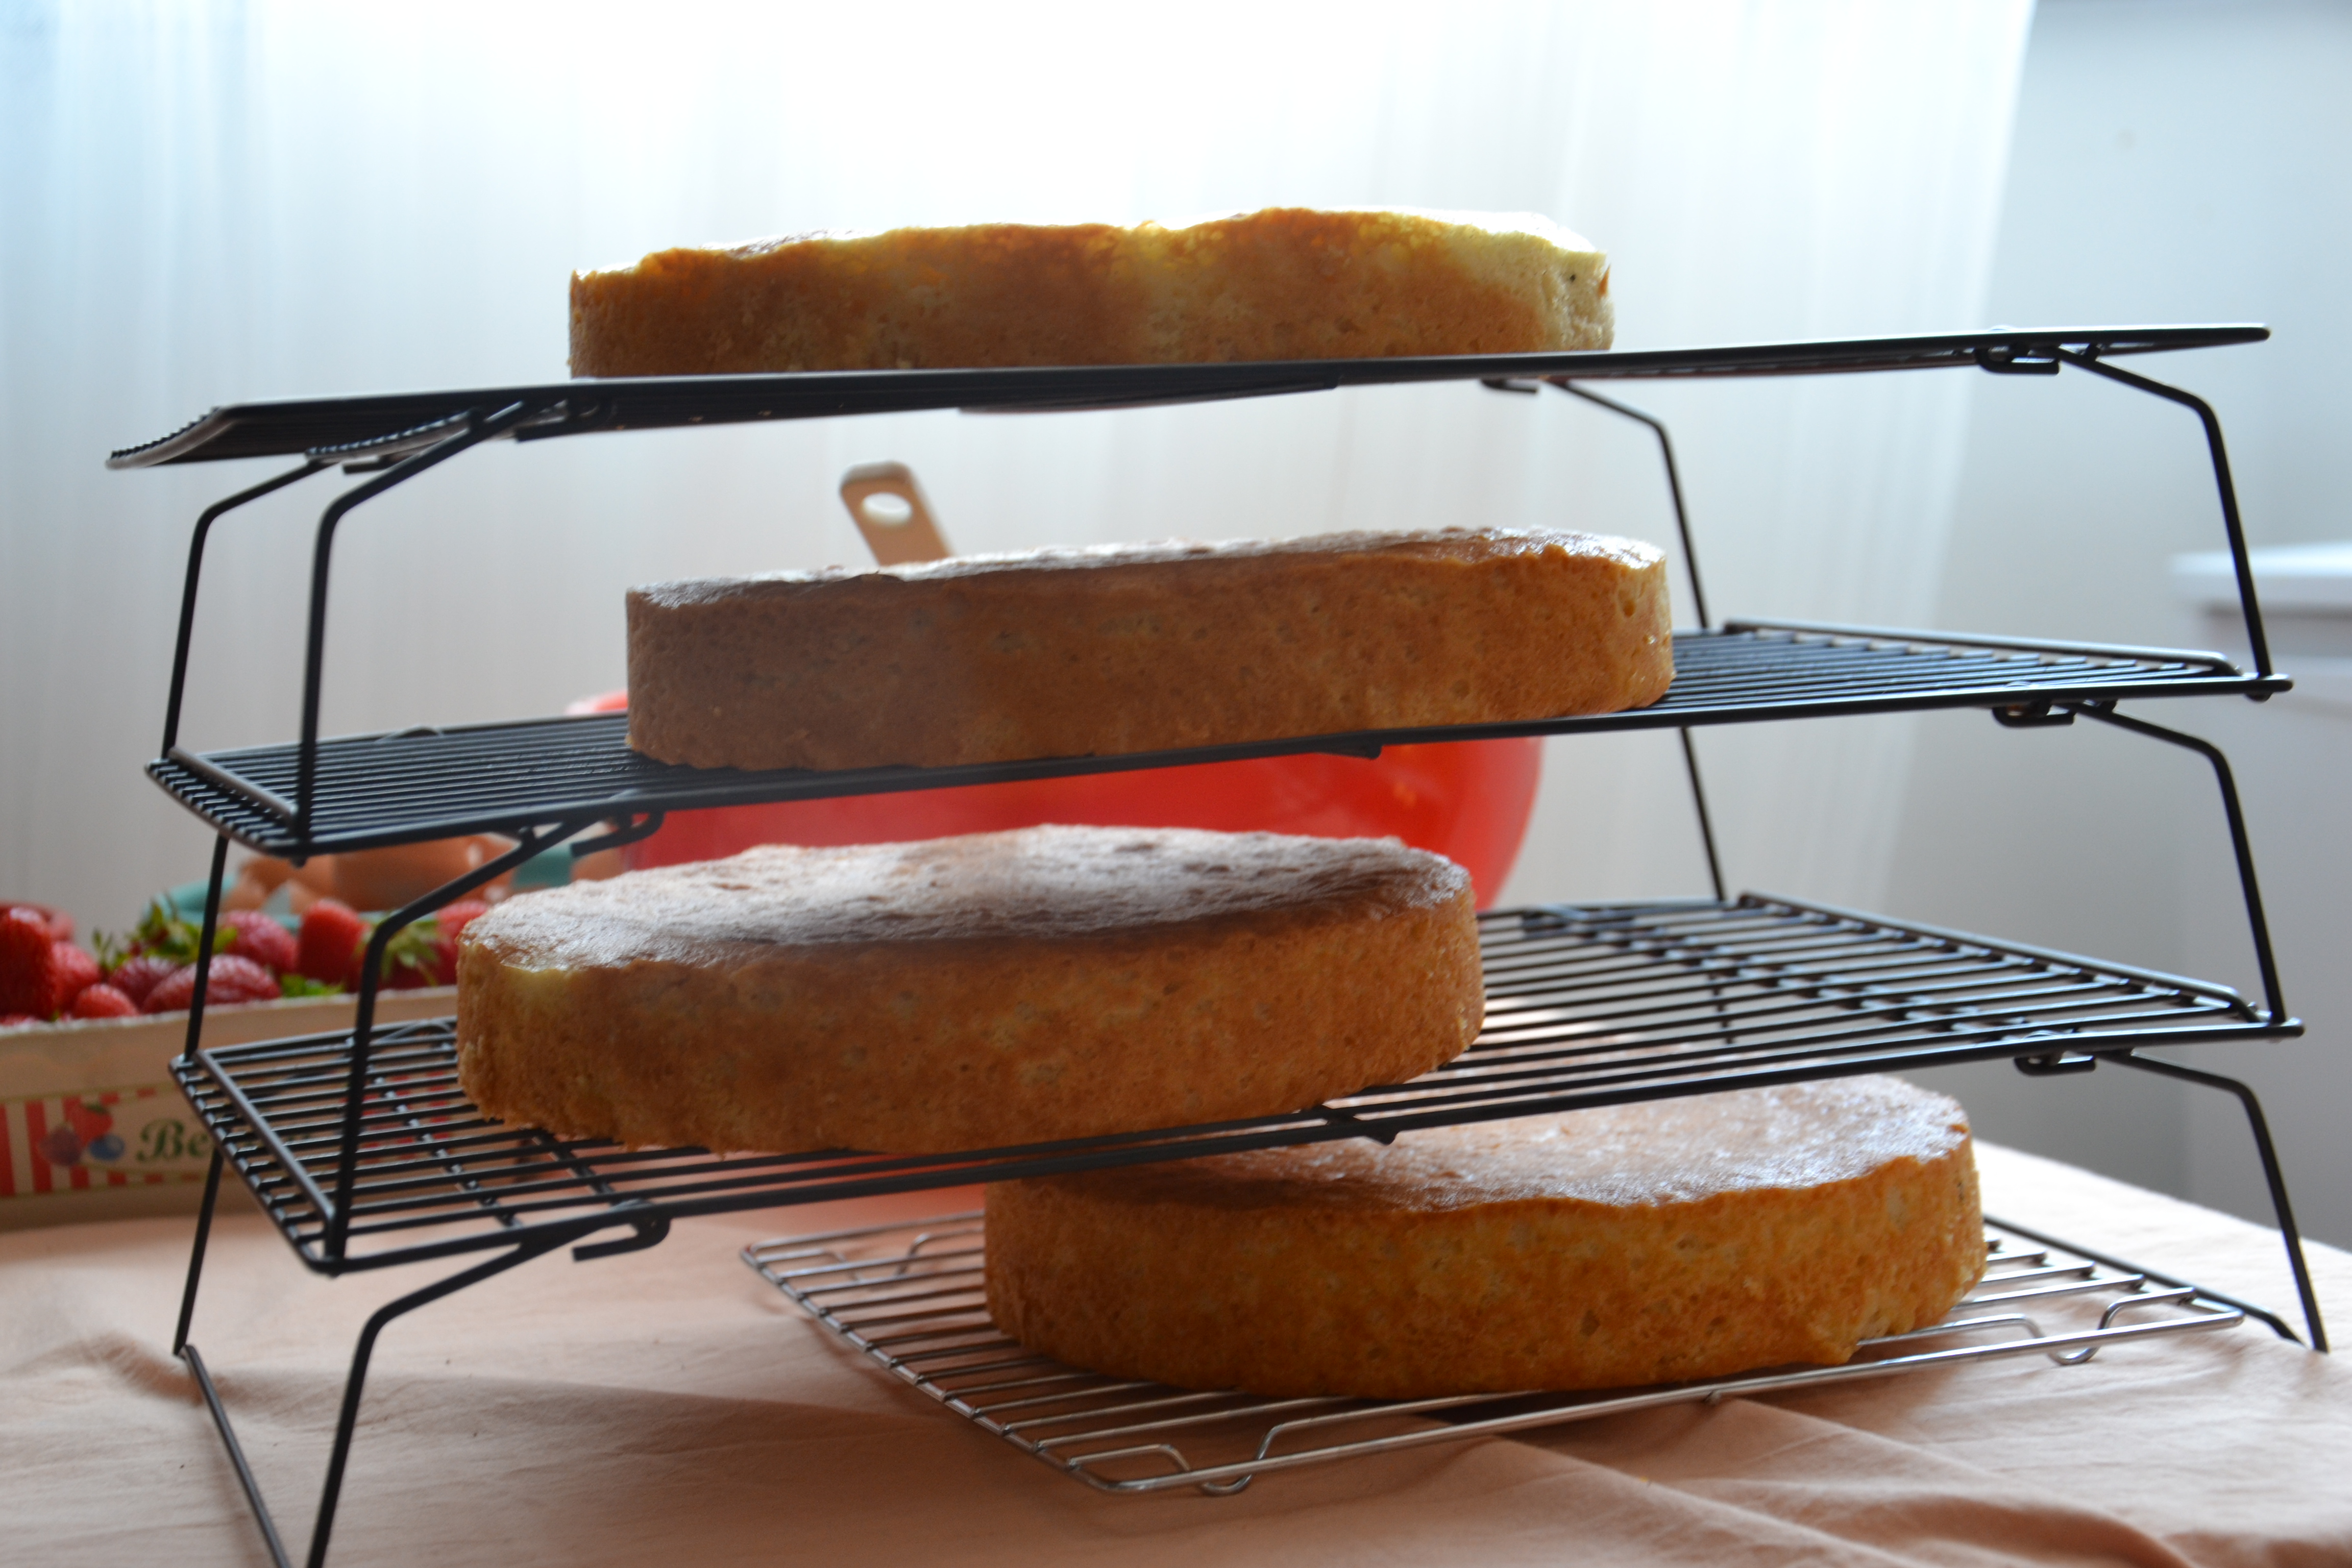
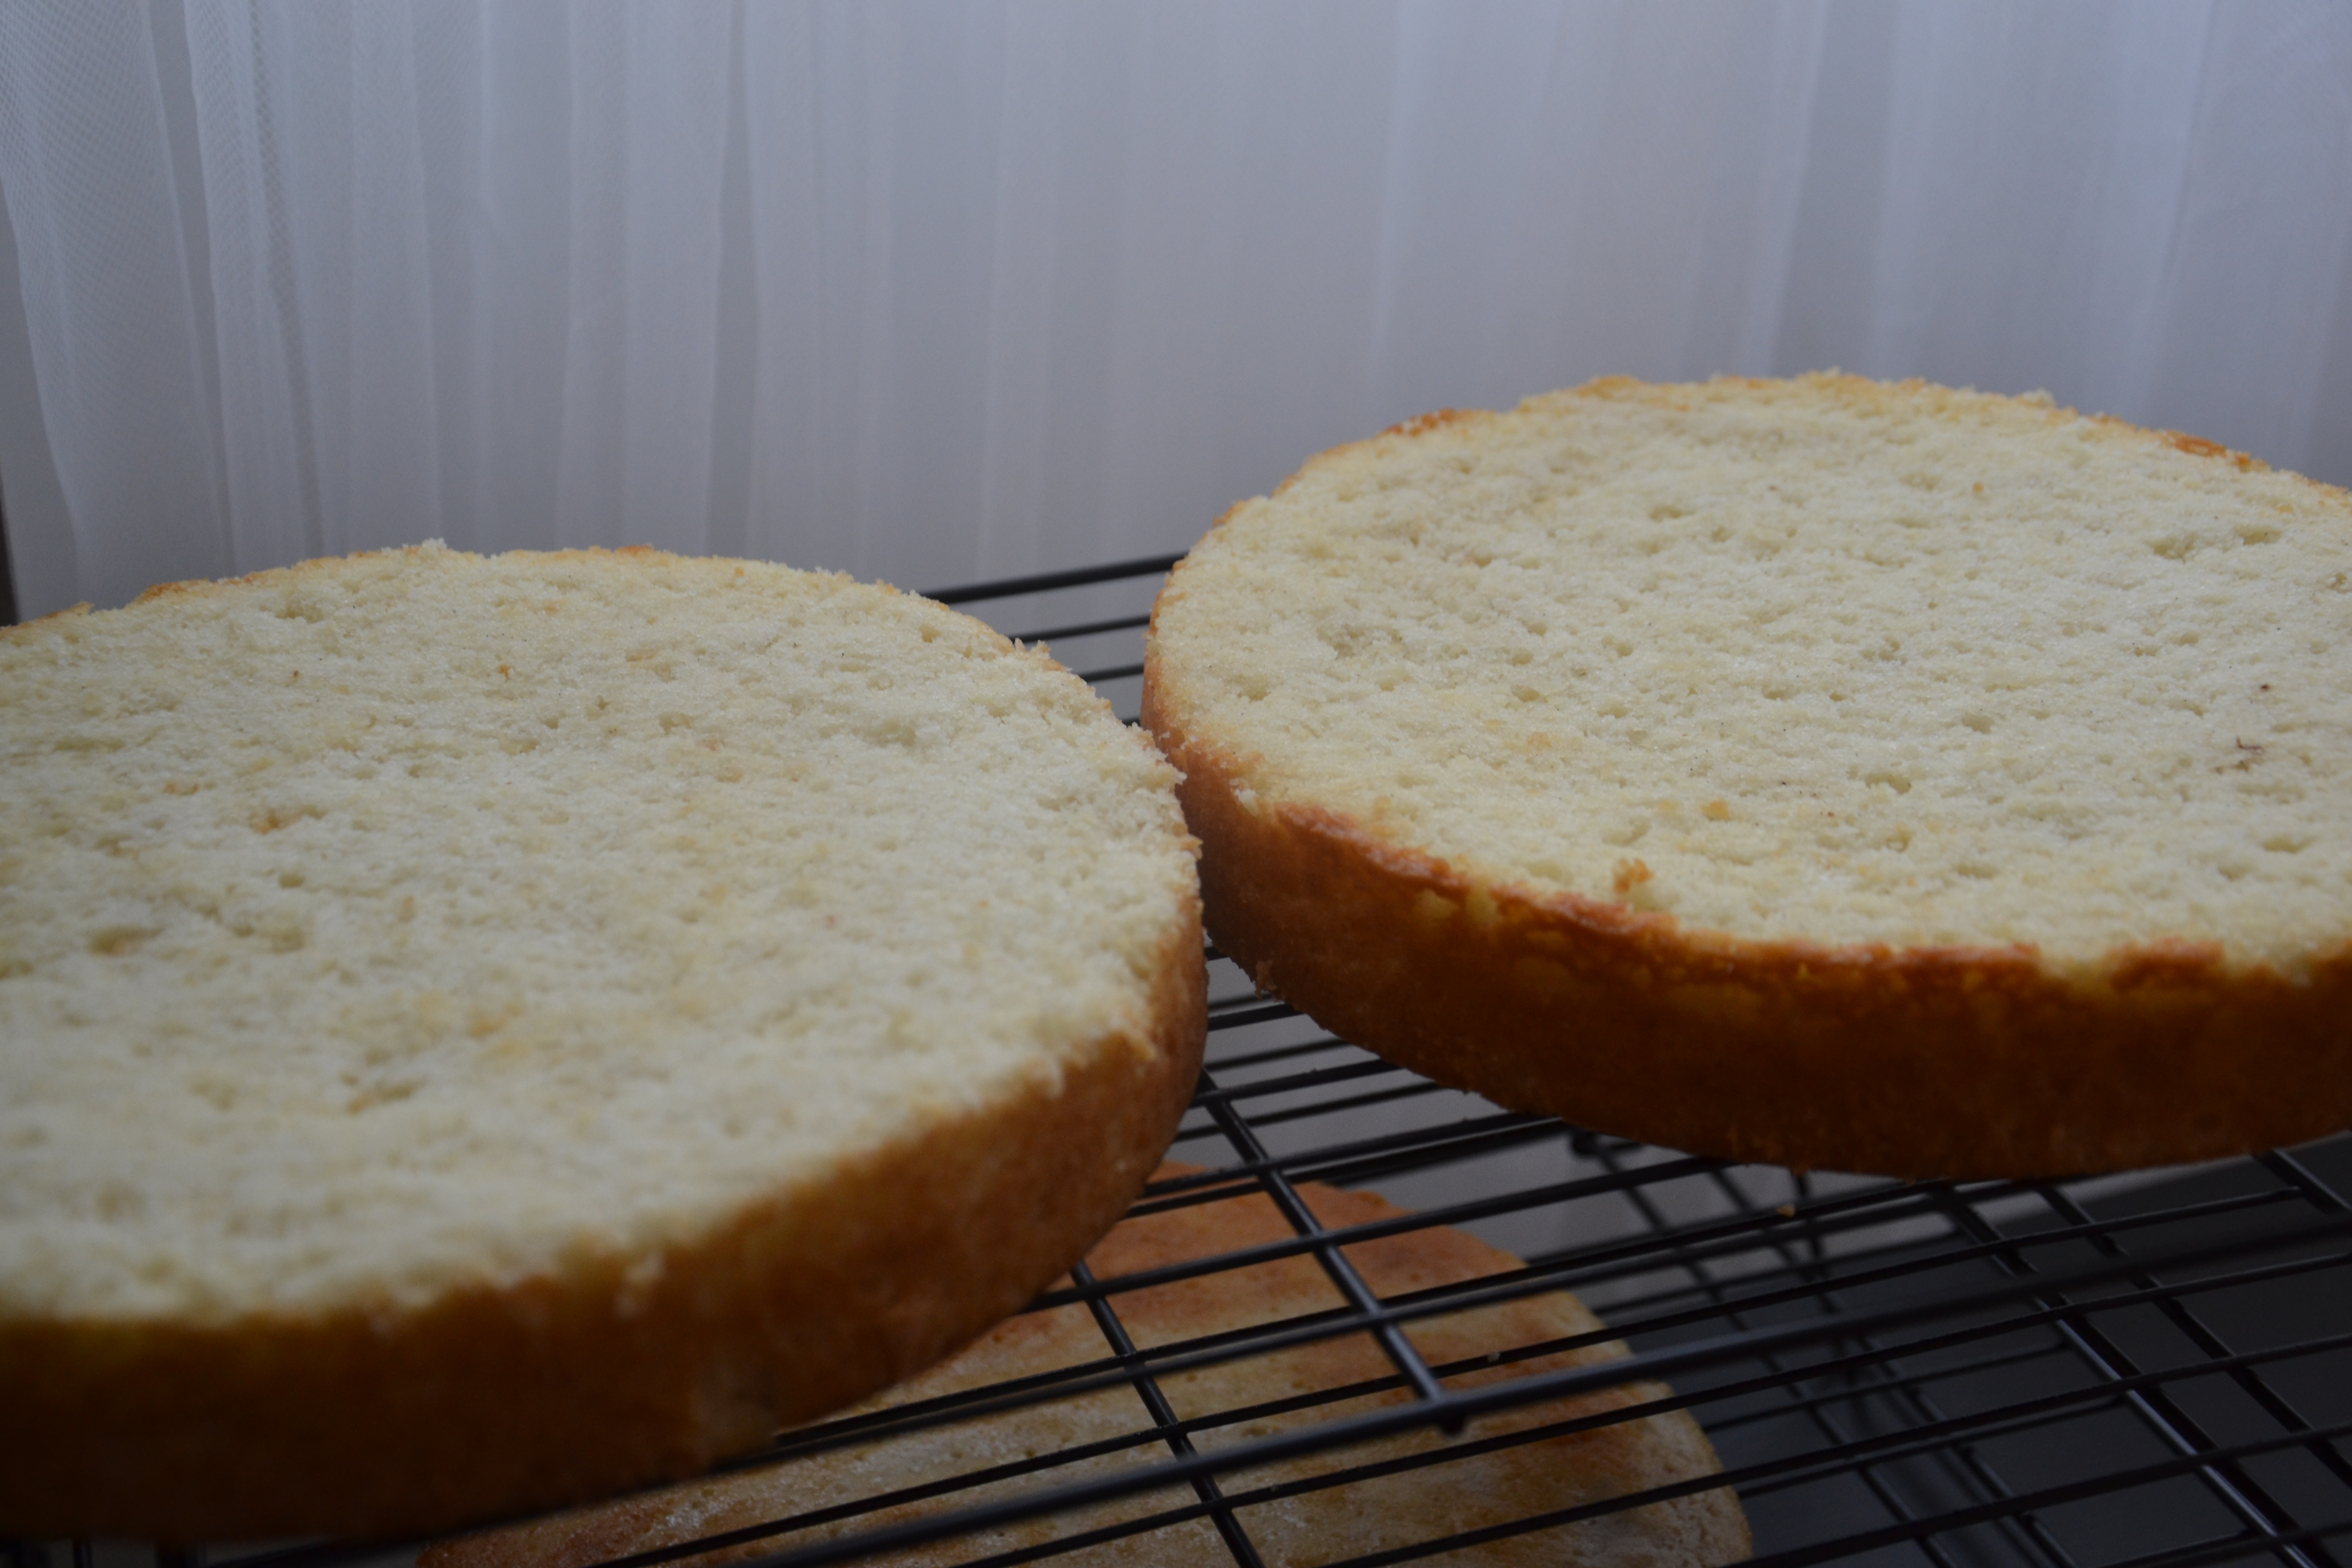
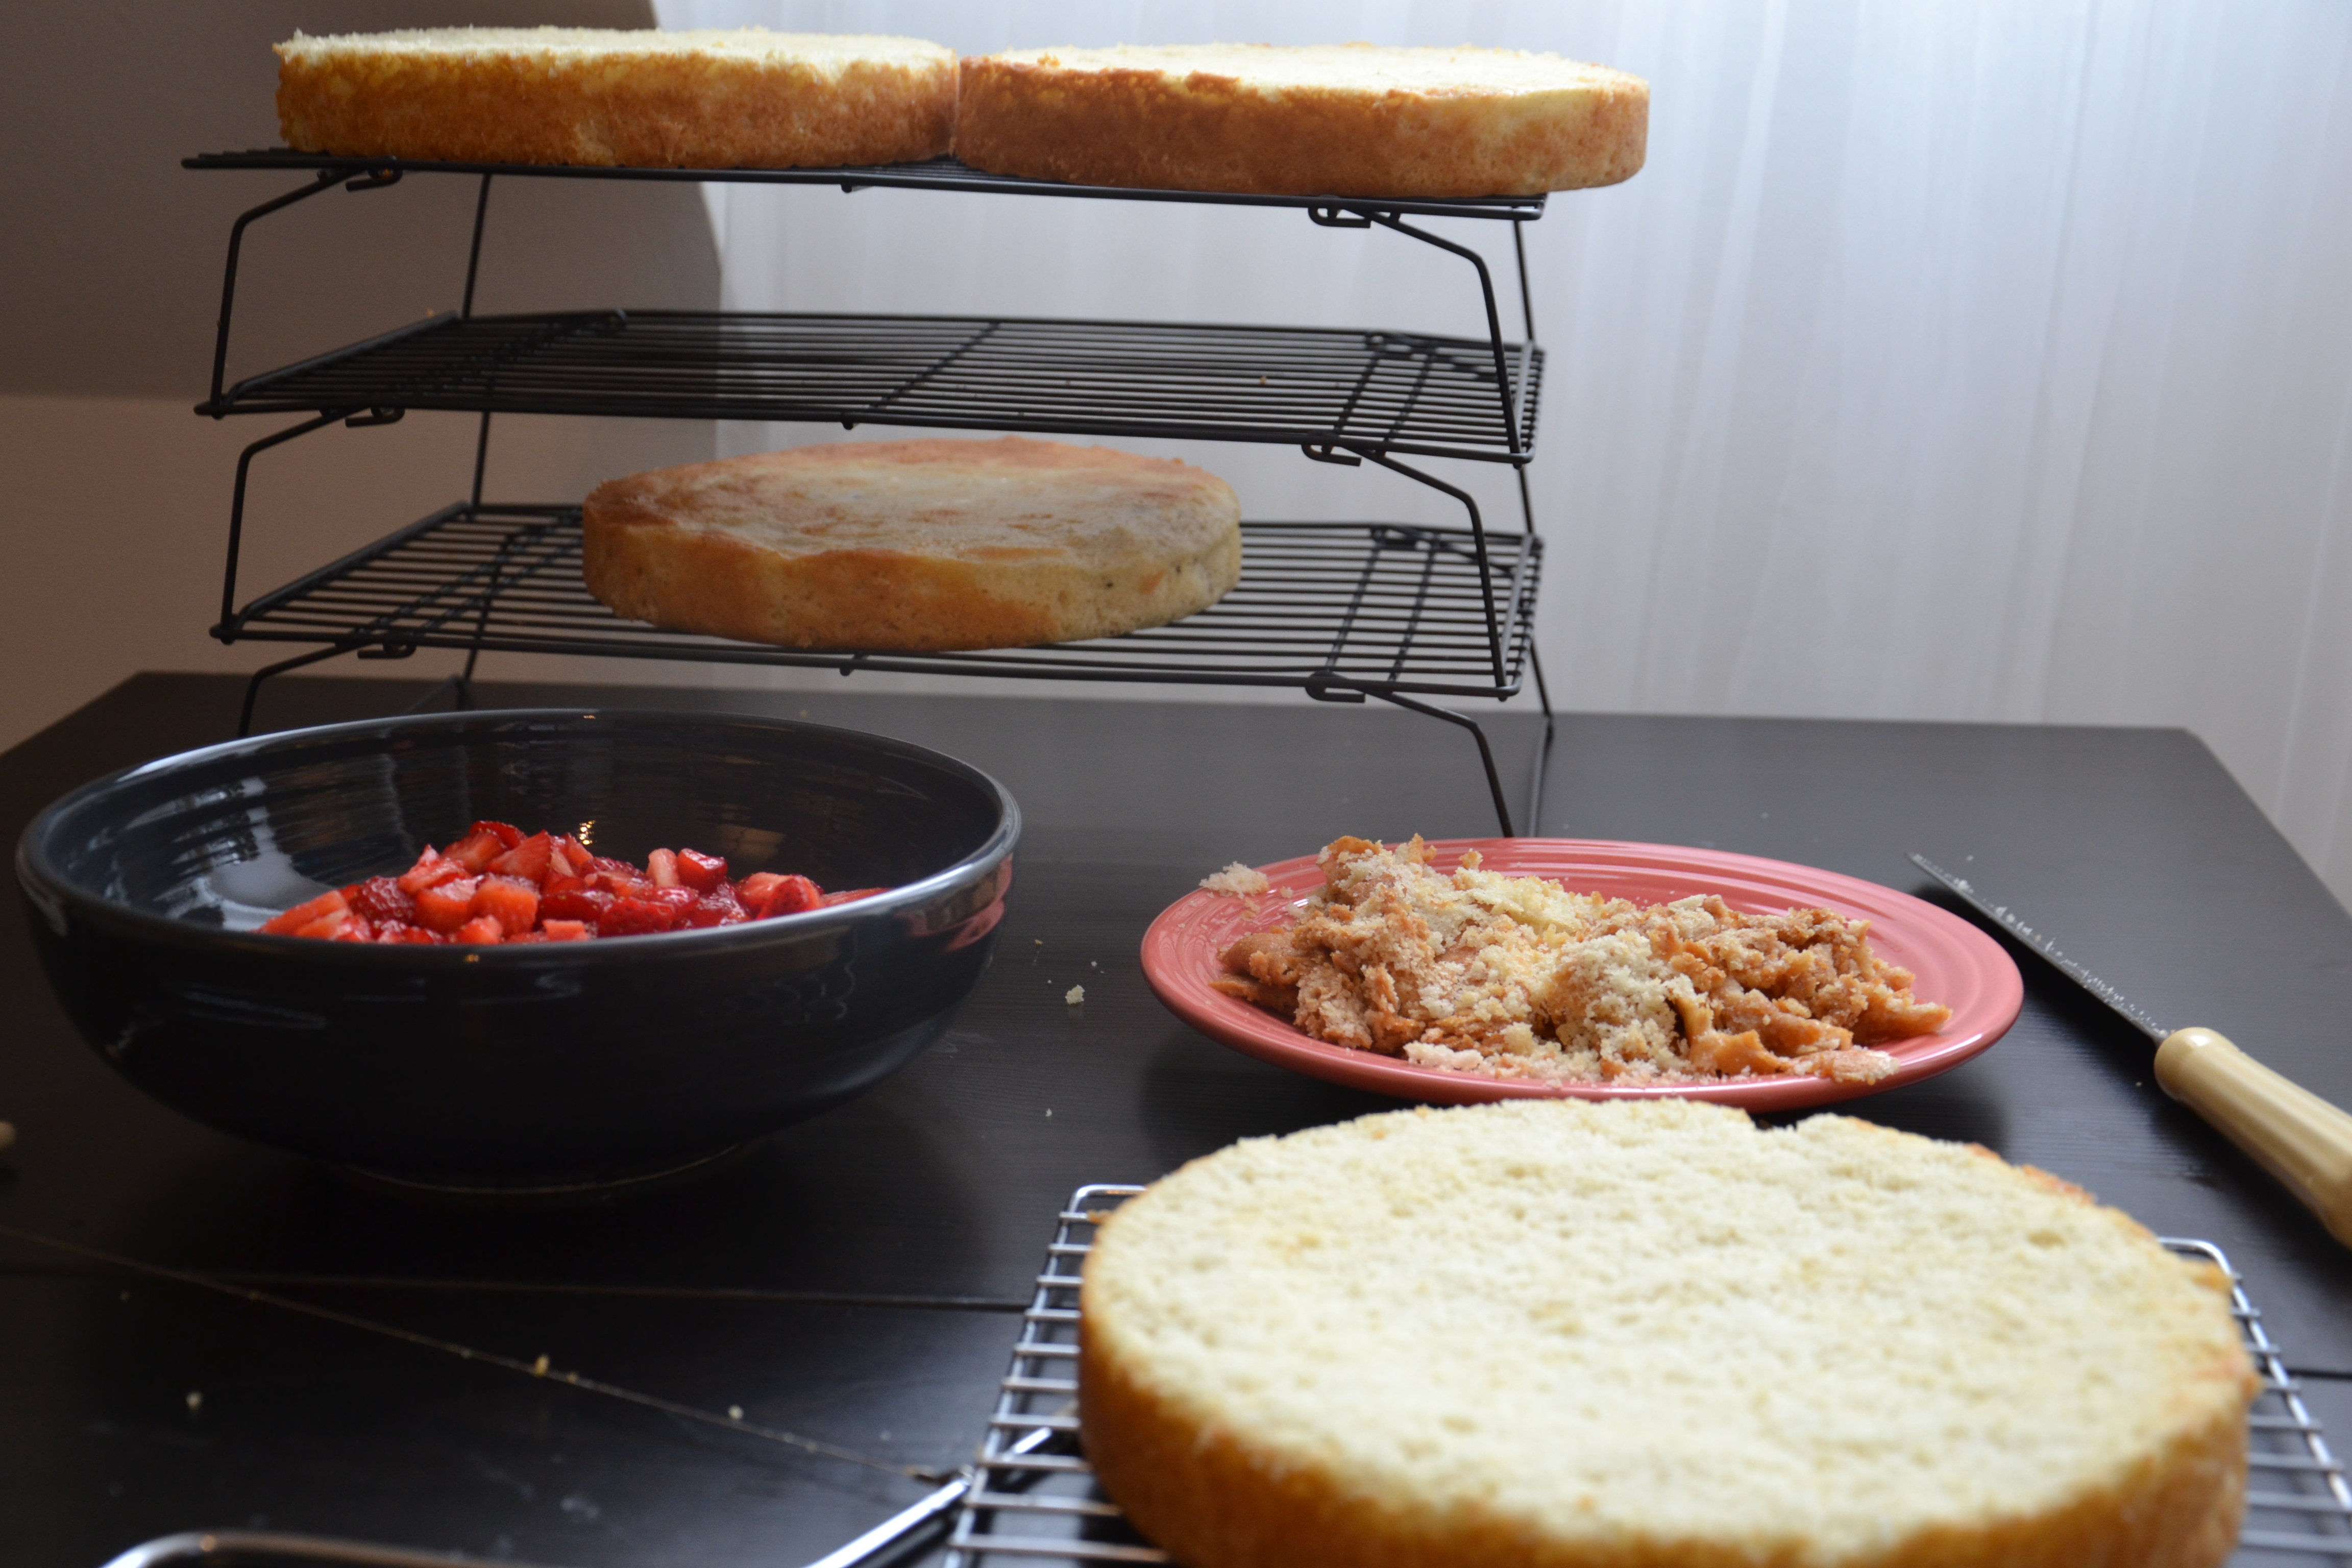
Using a parchment paper round at the bottom of the pan greatly reduces the darkening of the sponge. This is really handy later on when slicing away the baked edge.
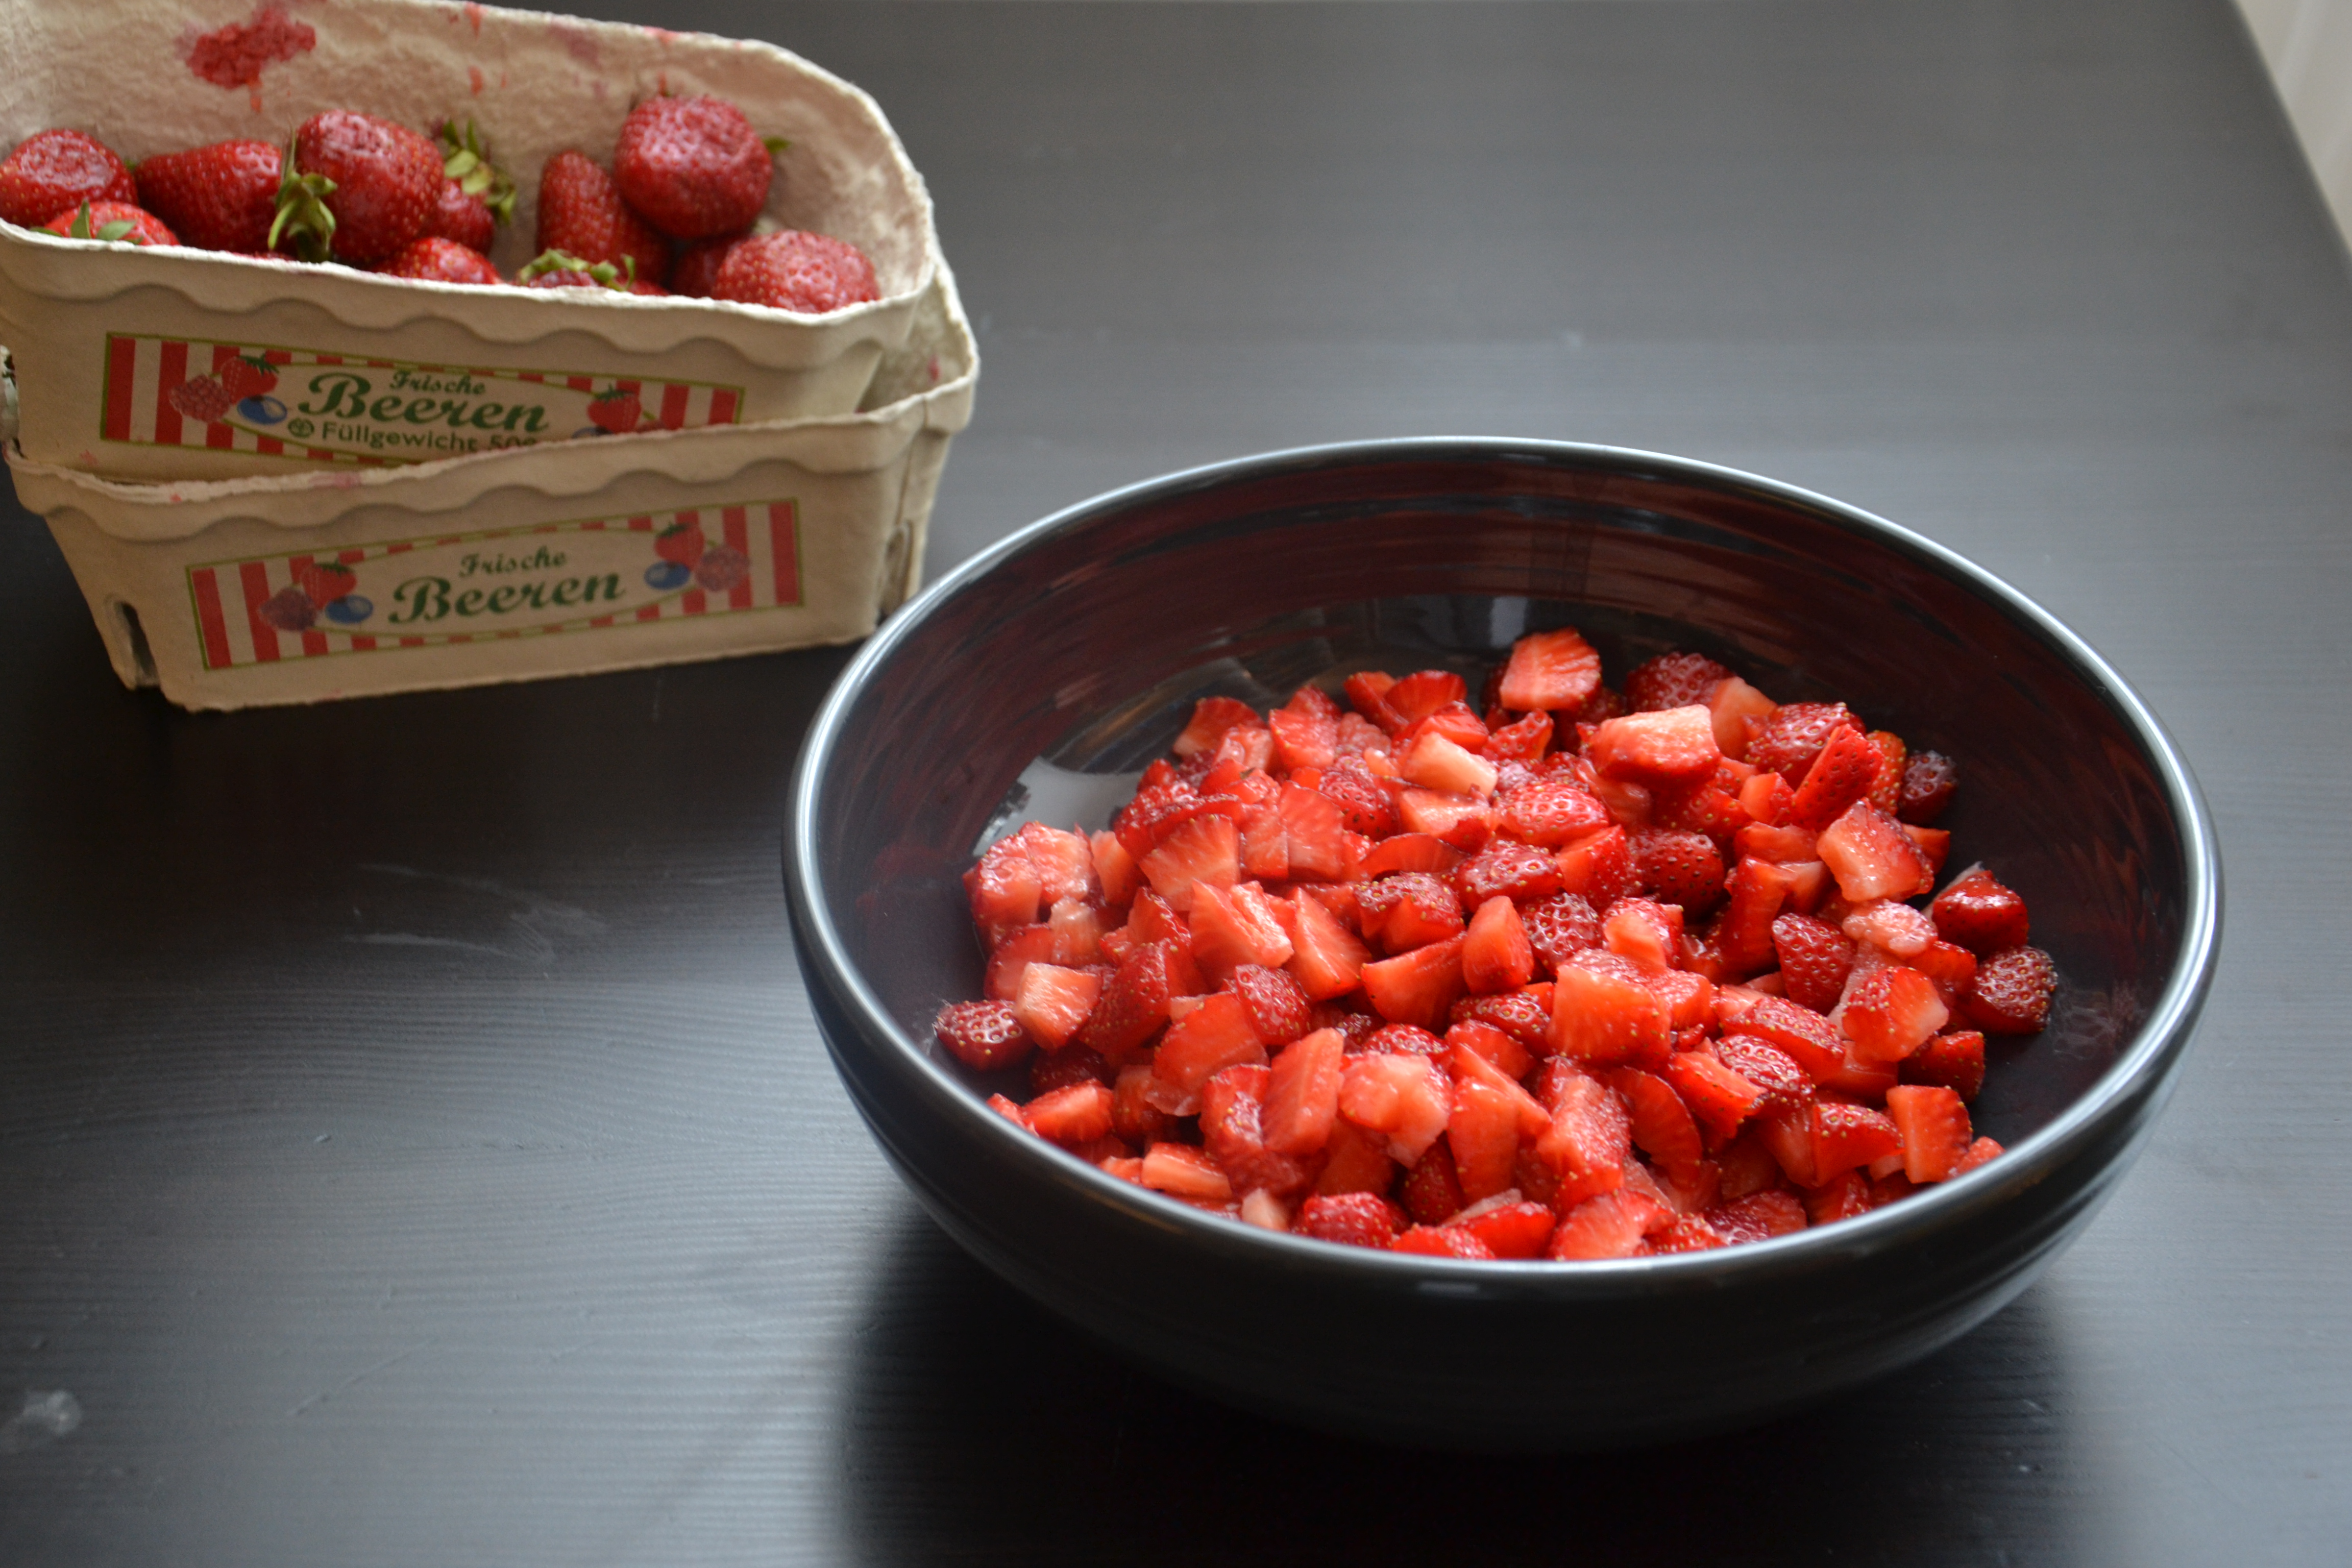
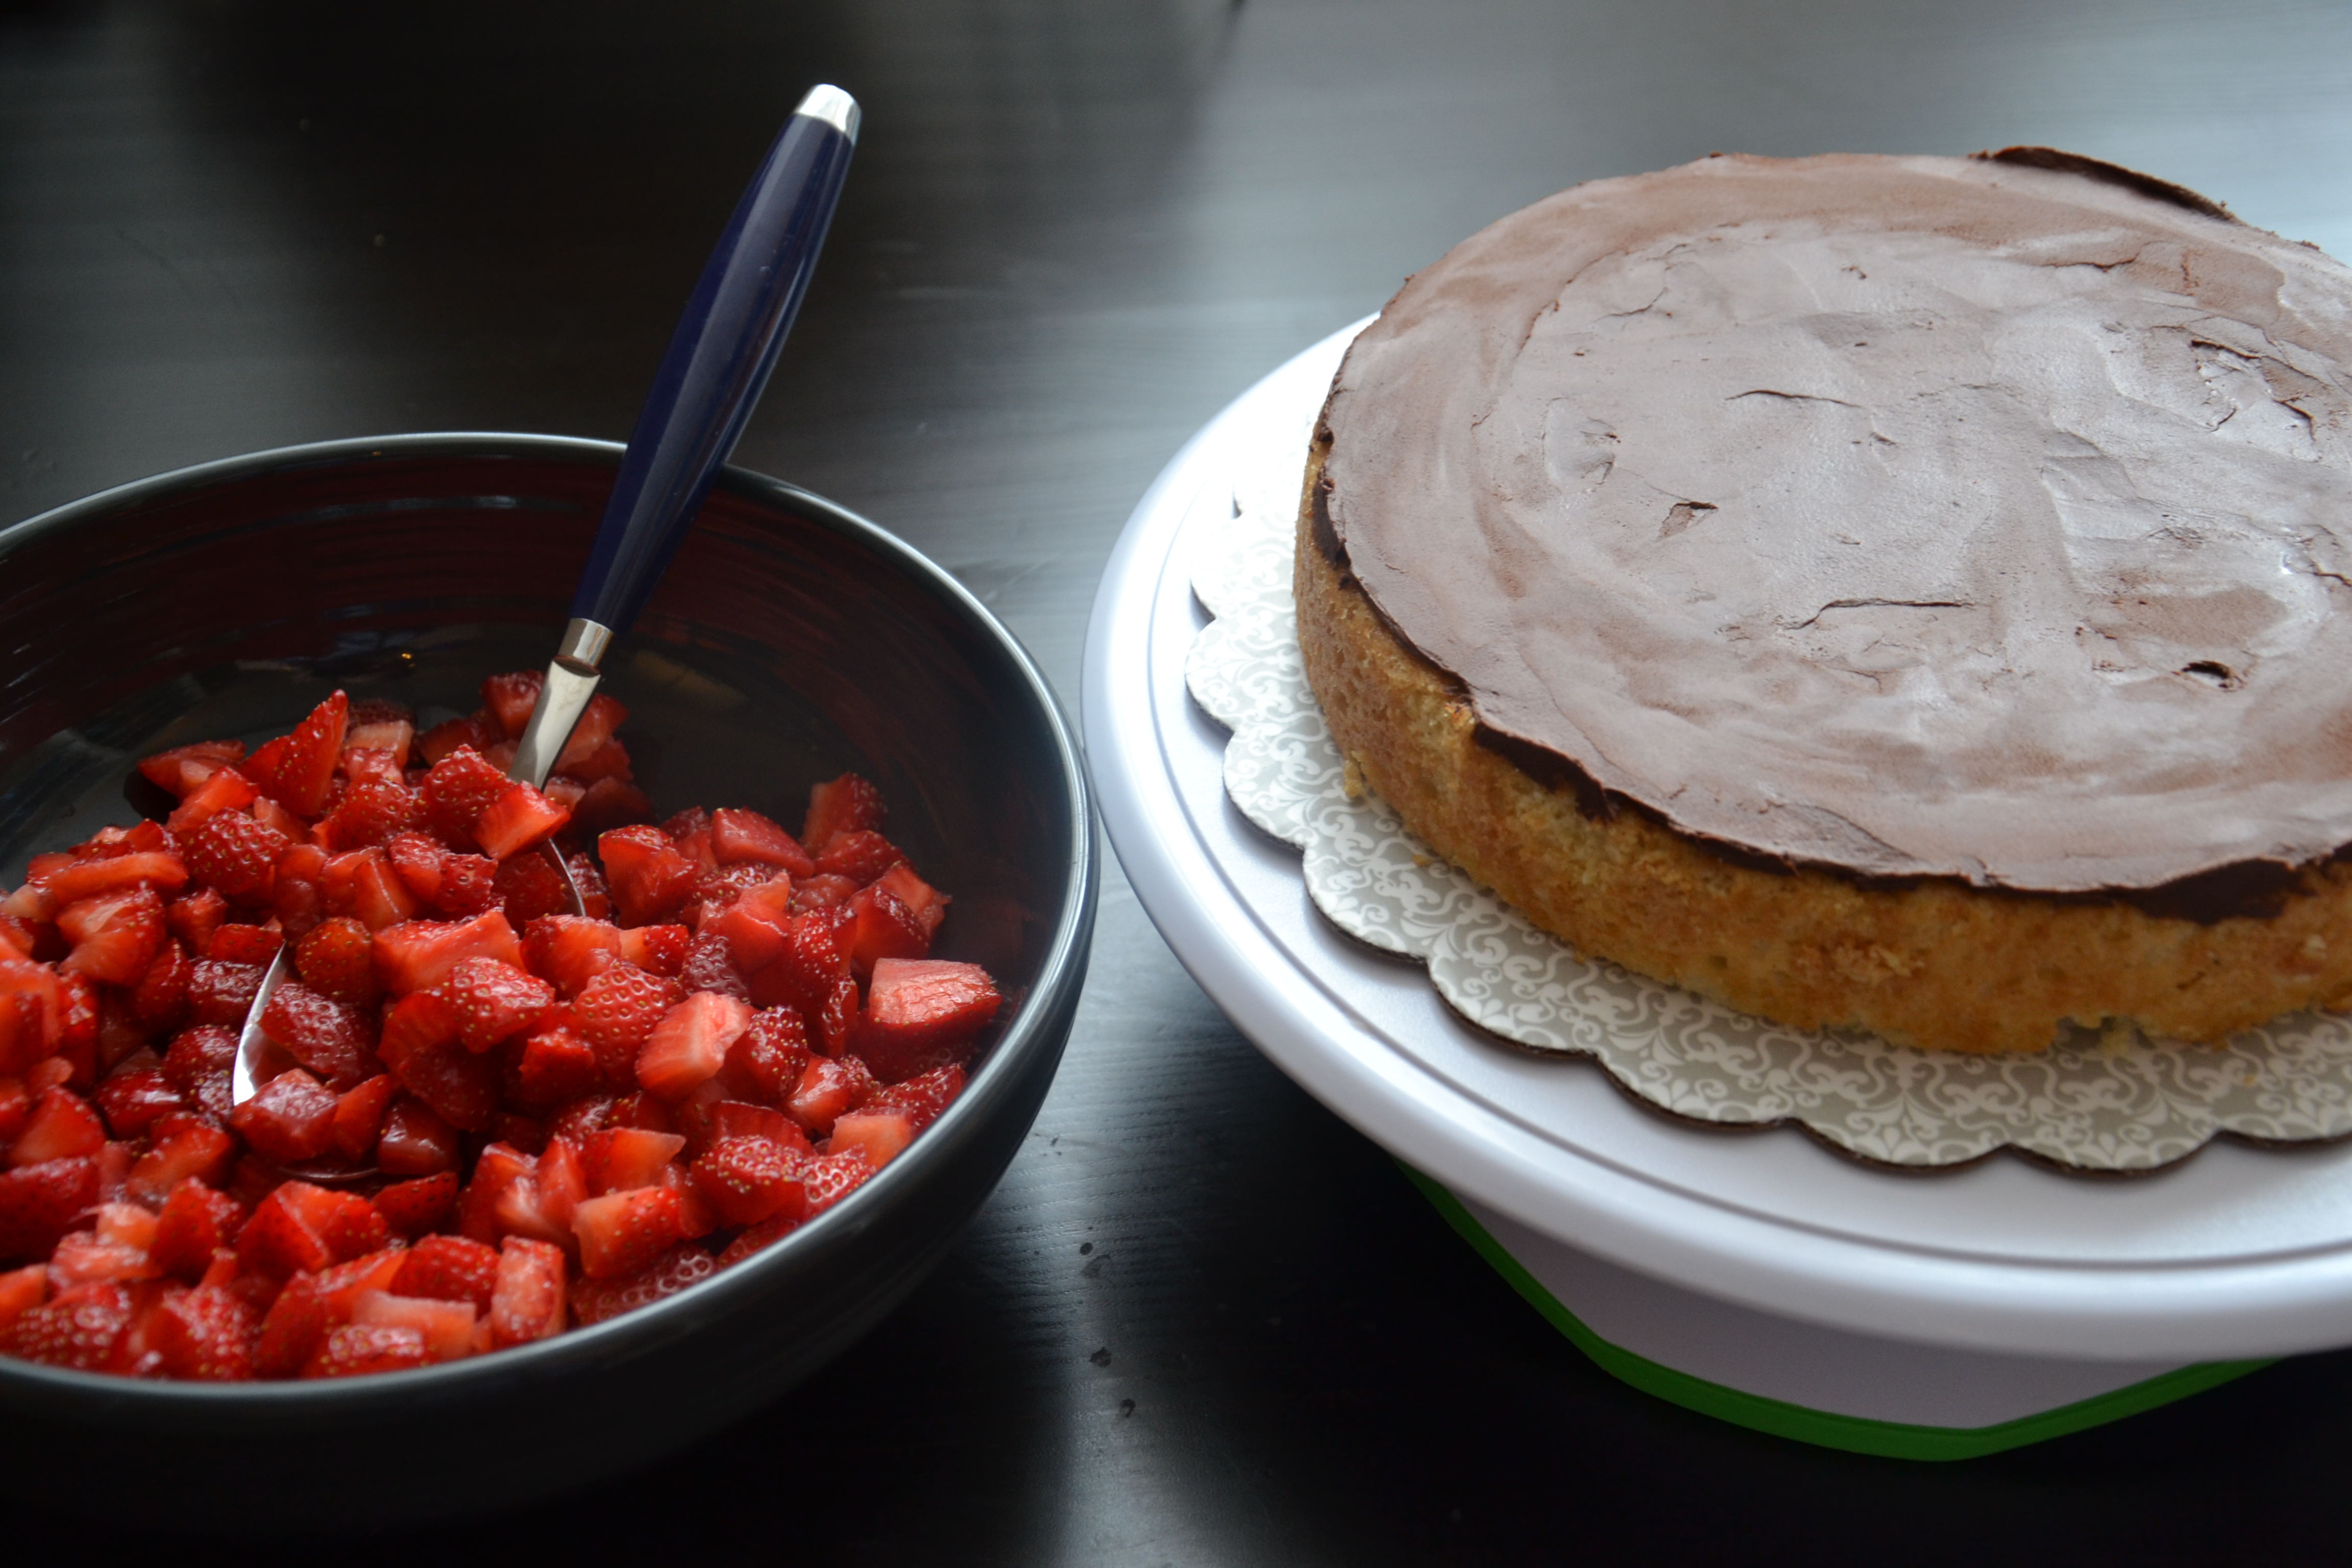
While the rounds cooled, I cut up the strawberries.
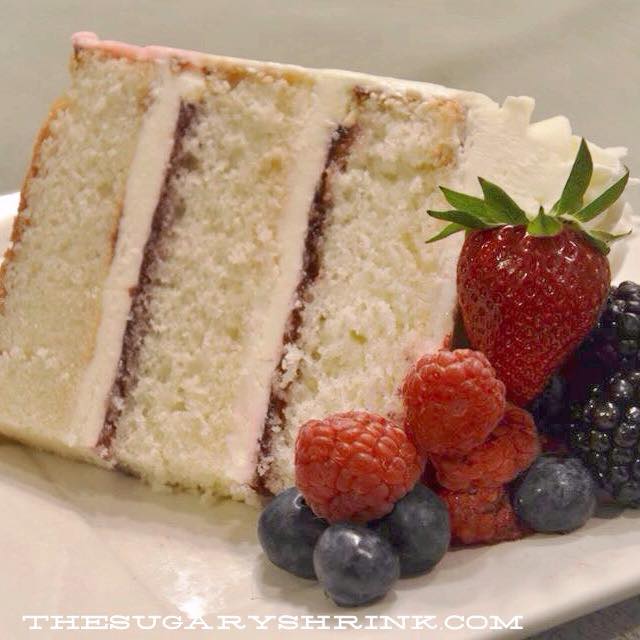
Removing the browned edge provides a clean line of color when the cake is sliced. I learned that the first time I baked this cake.
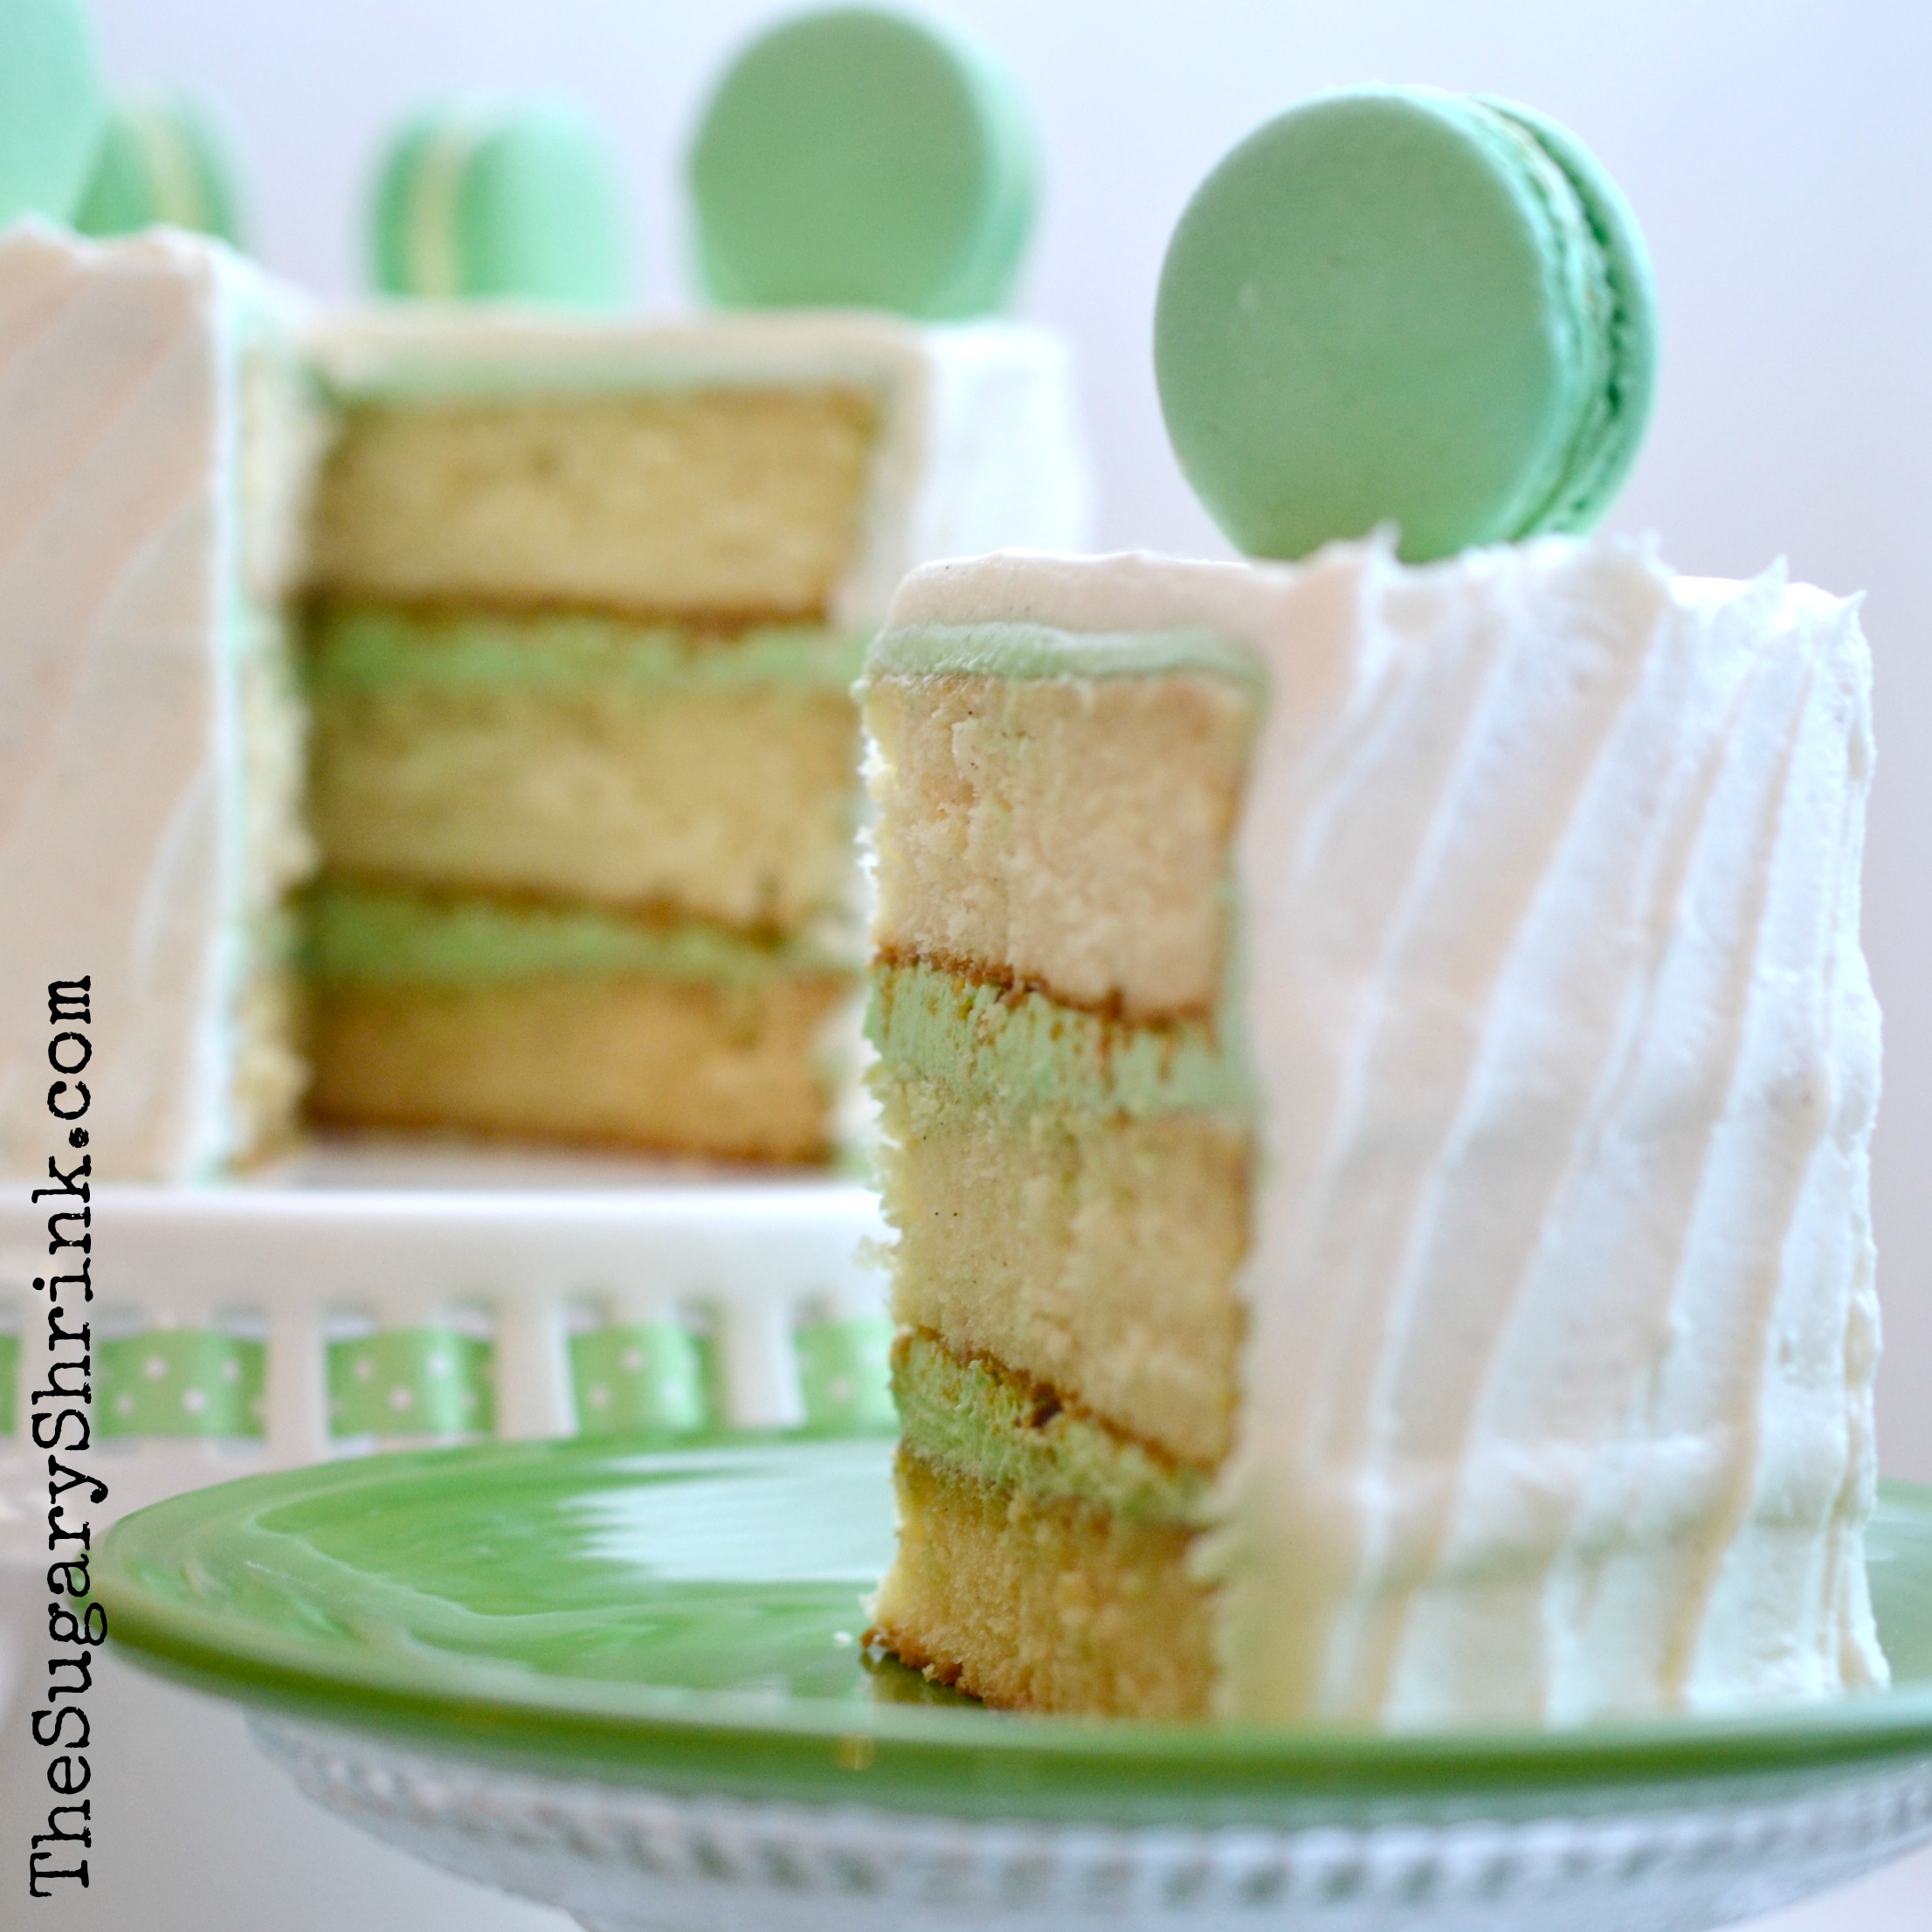
It’s really important to me that the outside and the inside of the cake are both lovely and delicious. The brown line visible in the Pistachio Cake slice is unfortunate. To avoid that mistake in the next white sponge, I needed to remove the very thin layer of the baked edge.
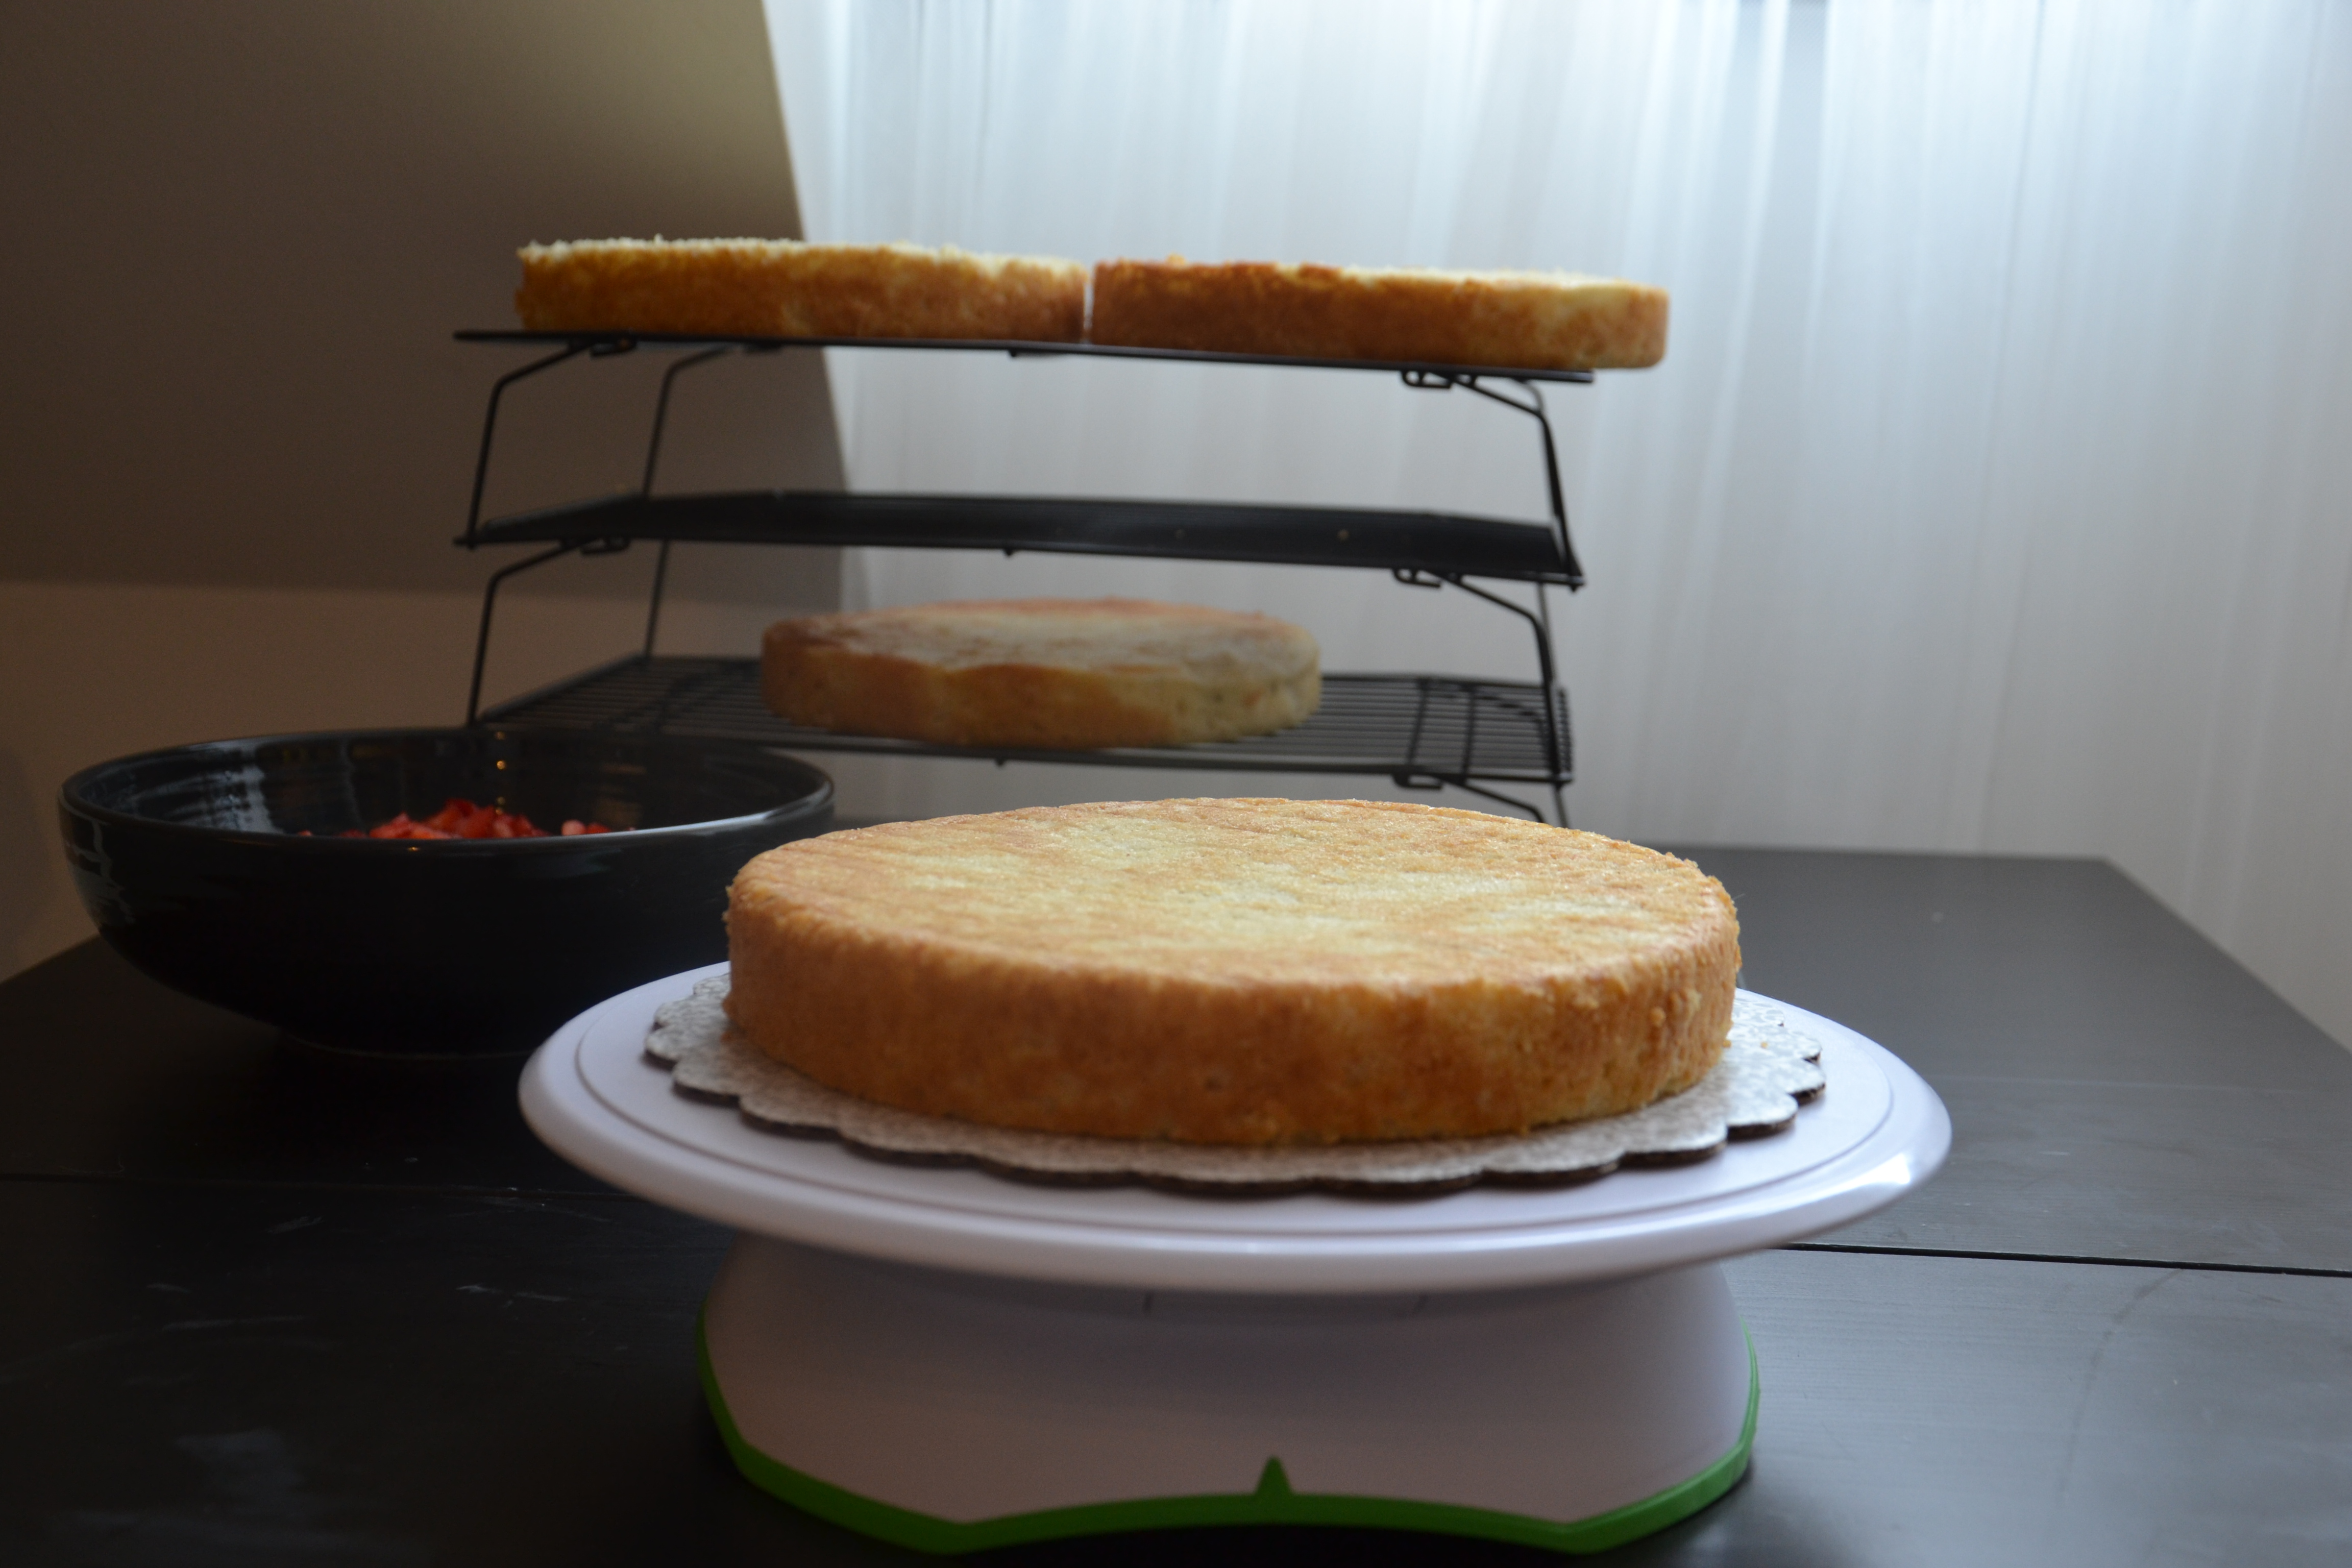
It worked. Yes, it’s an extra step and it is surely the case that some bakers won’t care. And that’s cool.

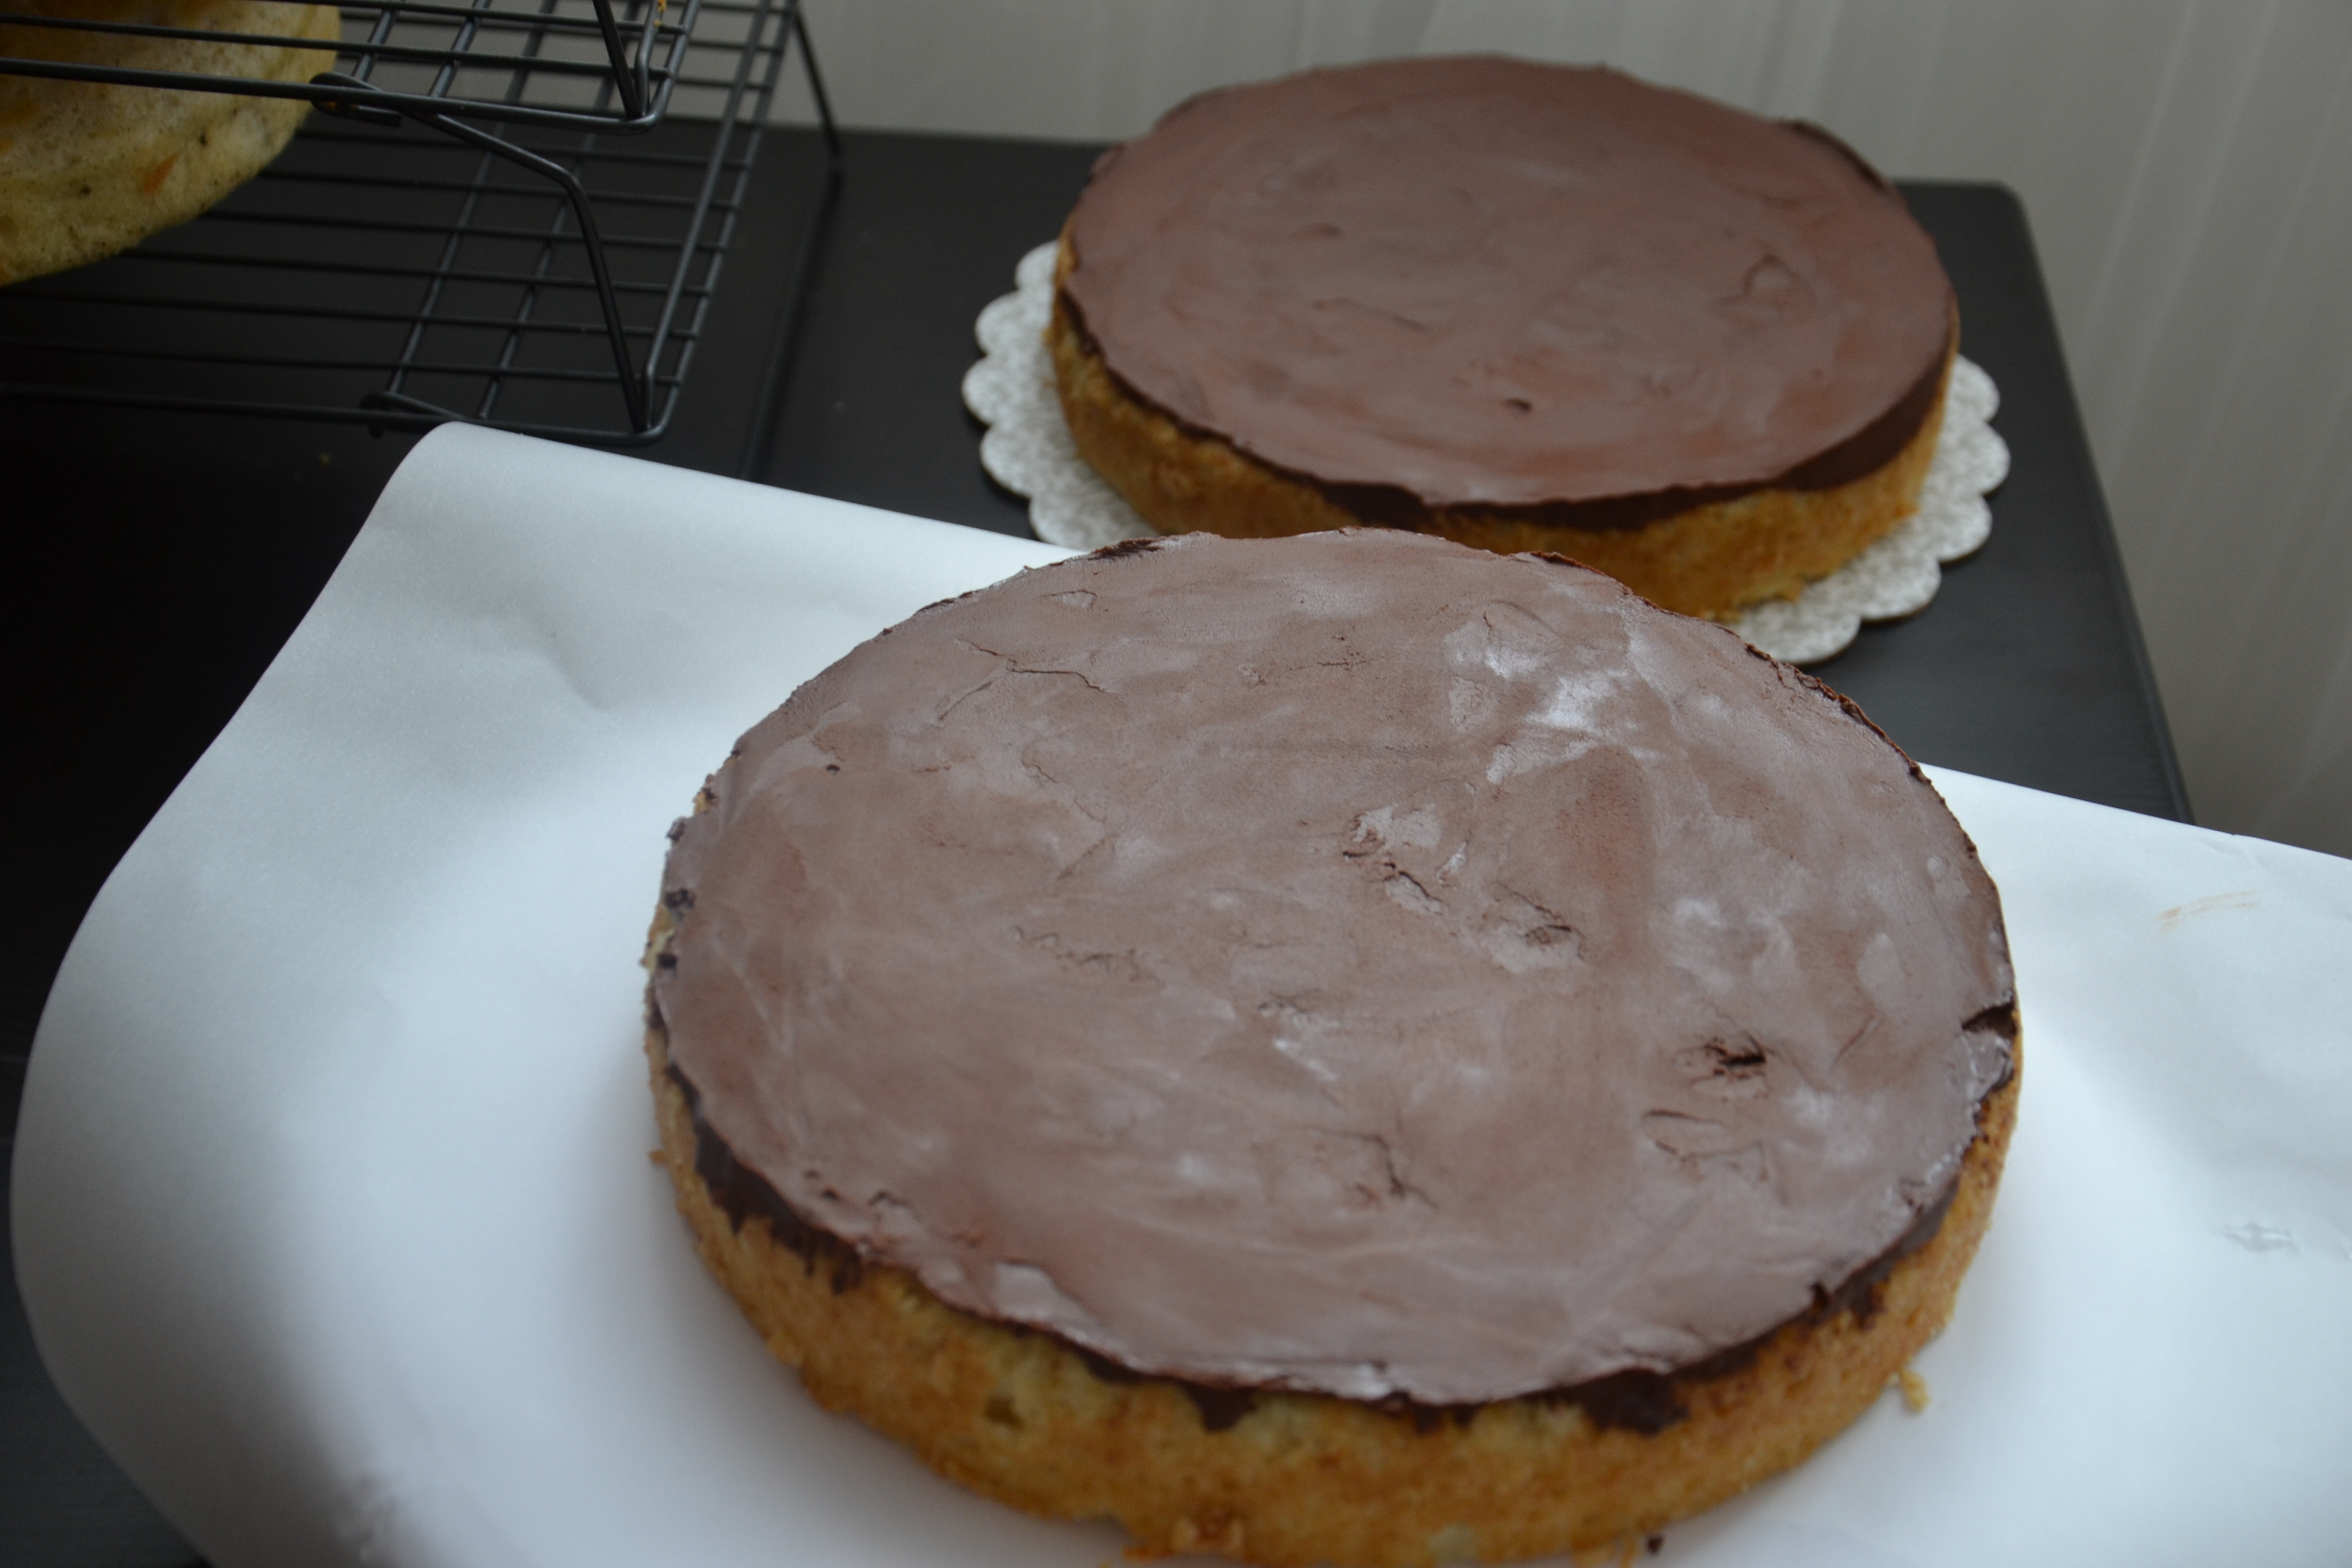
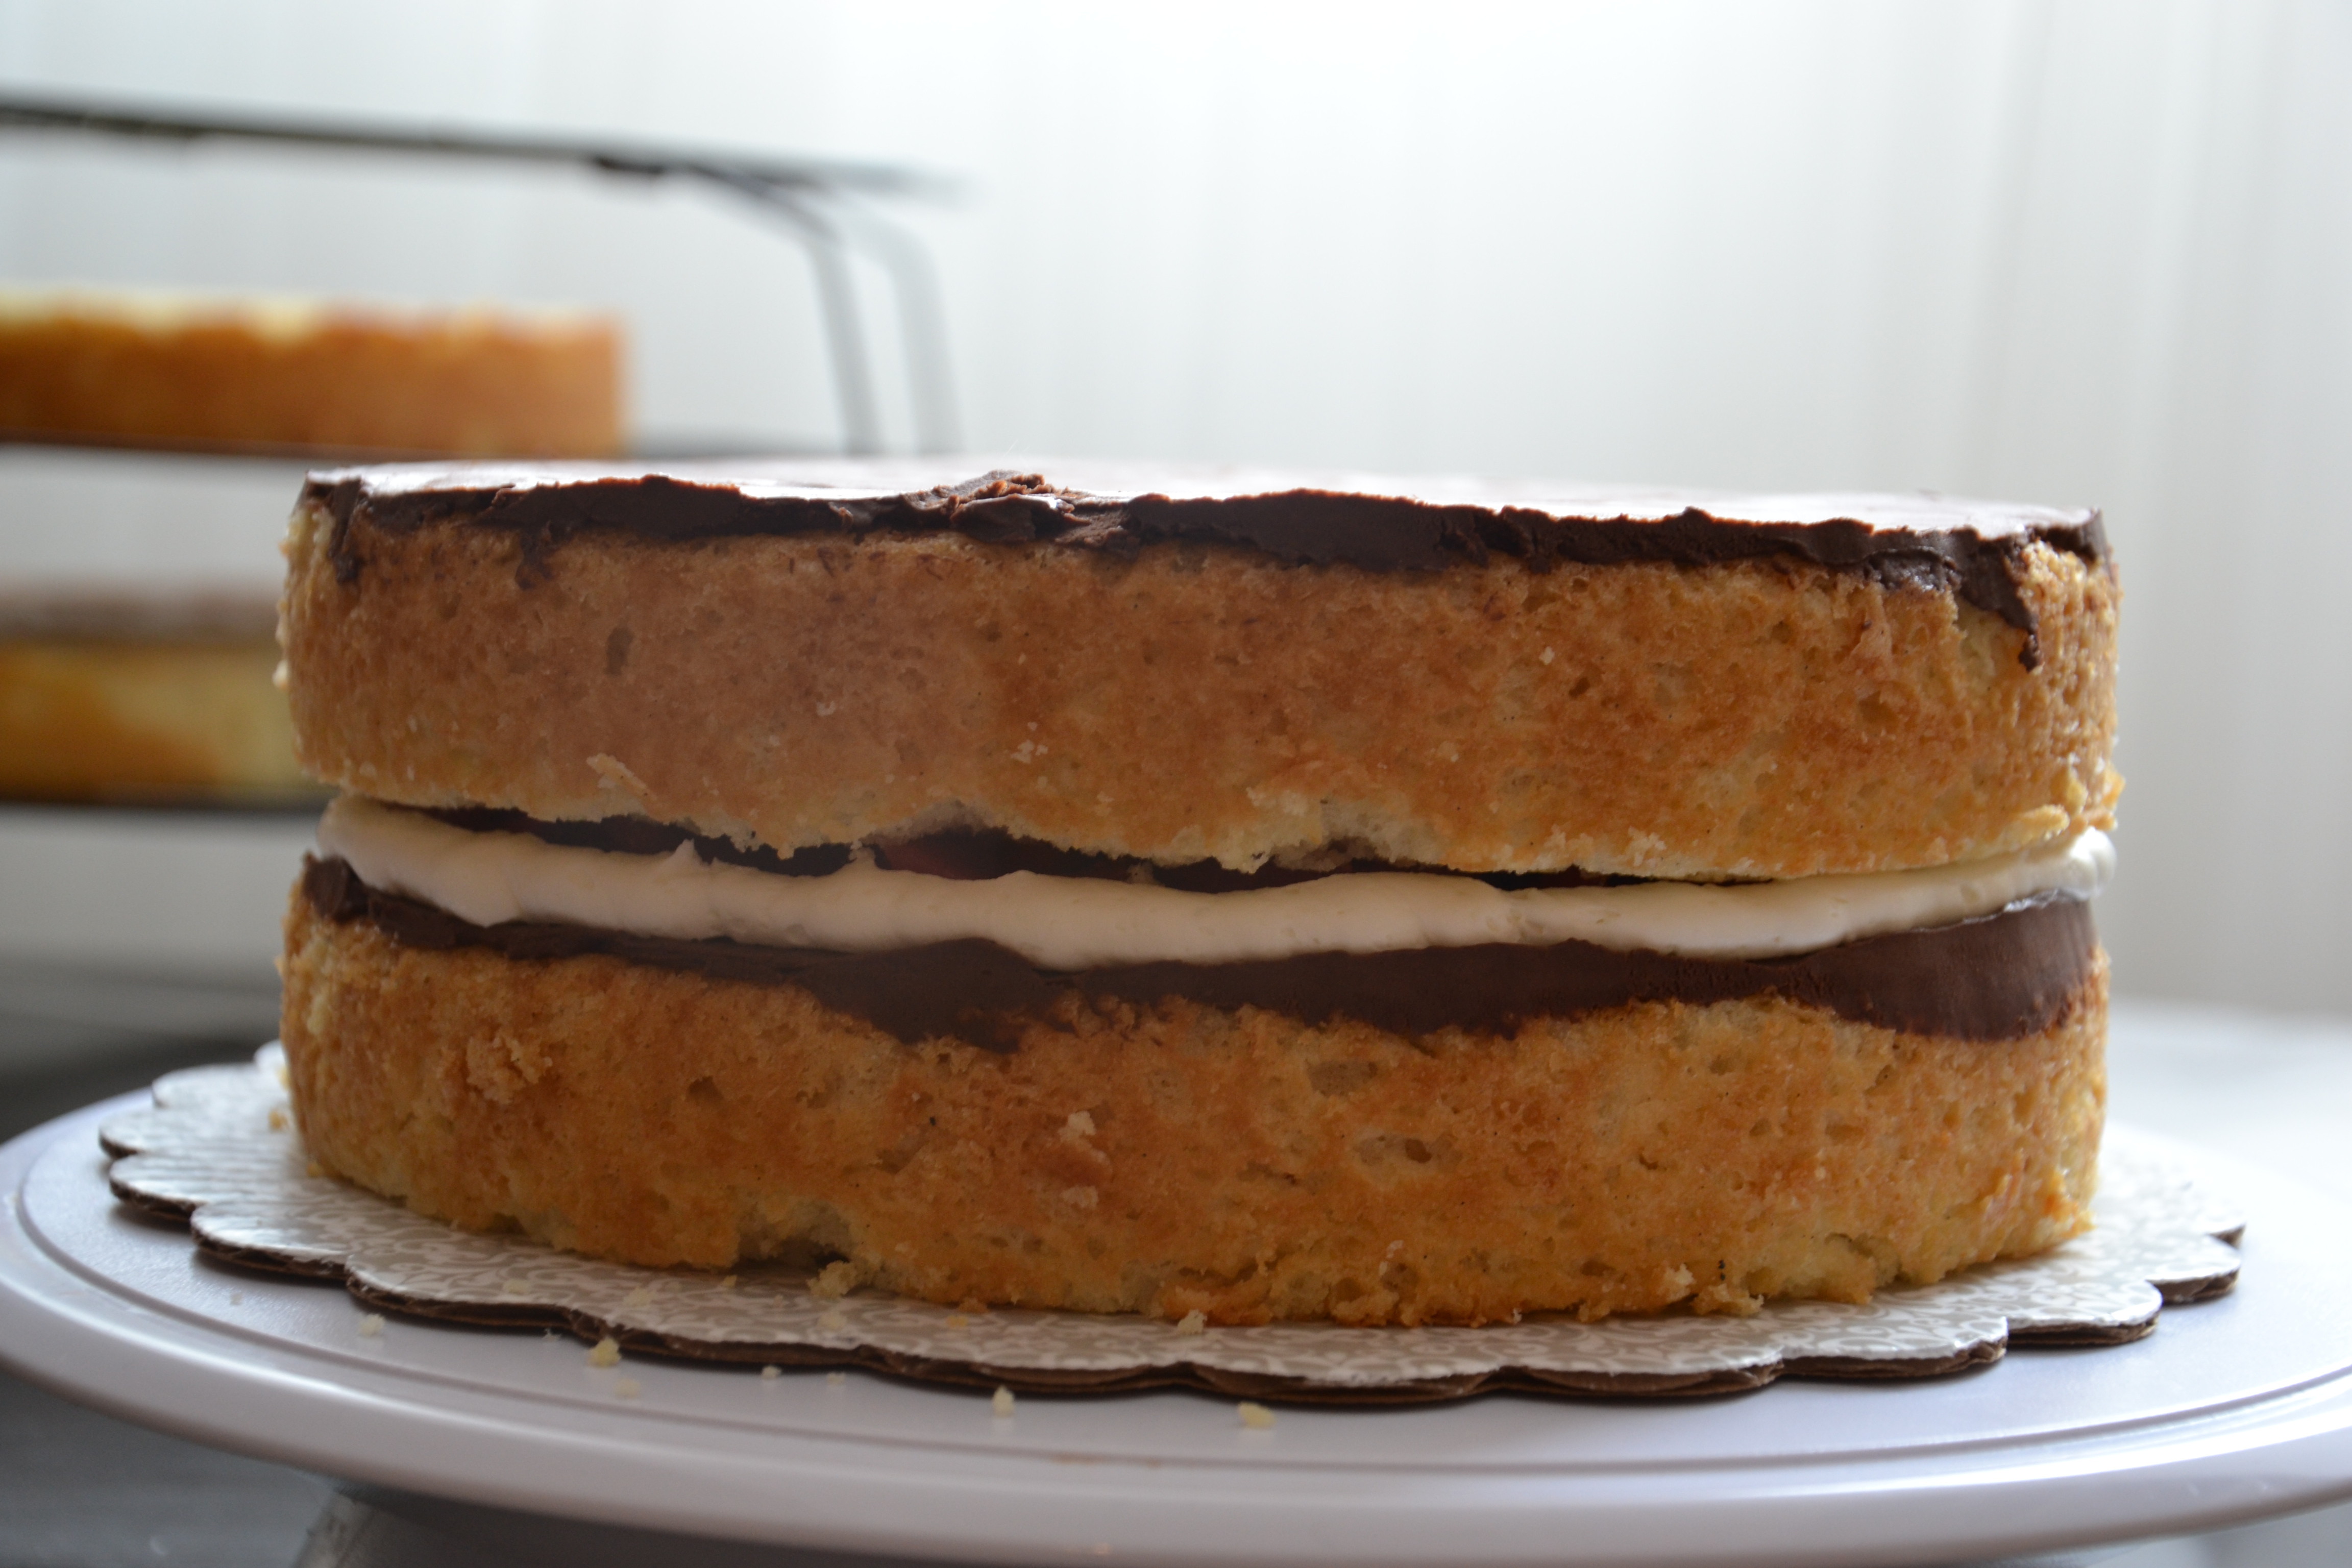
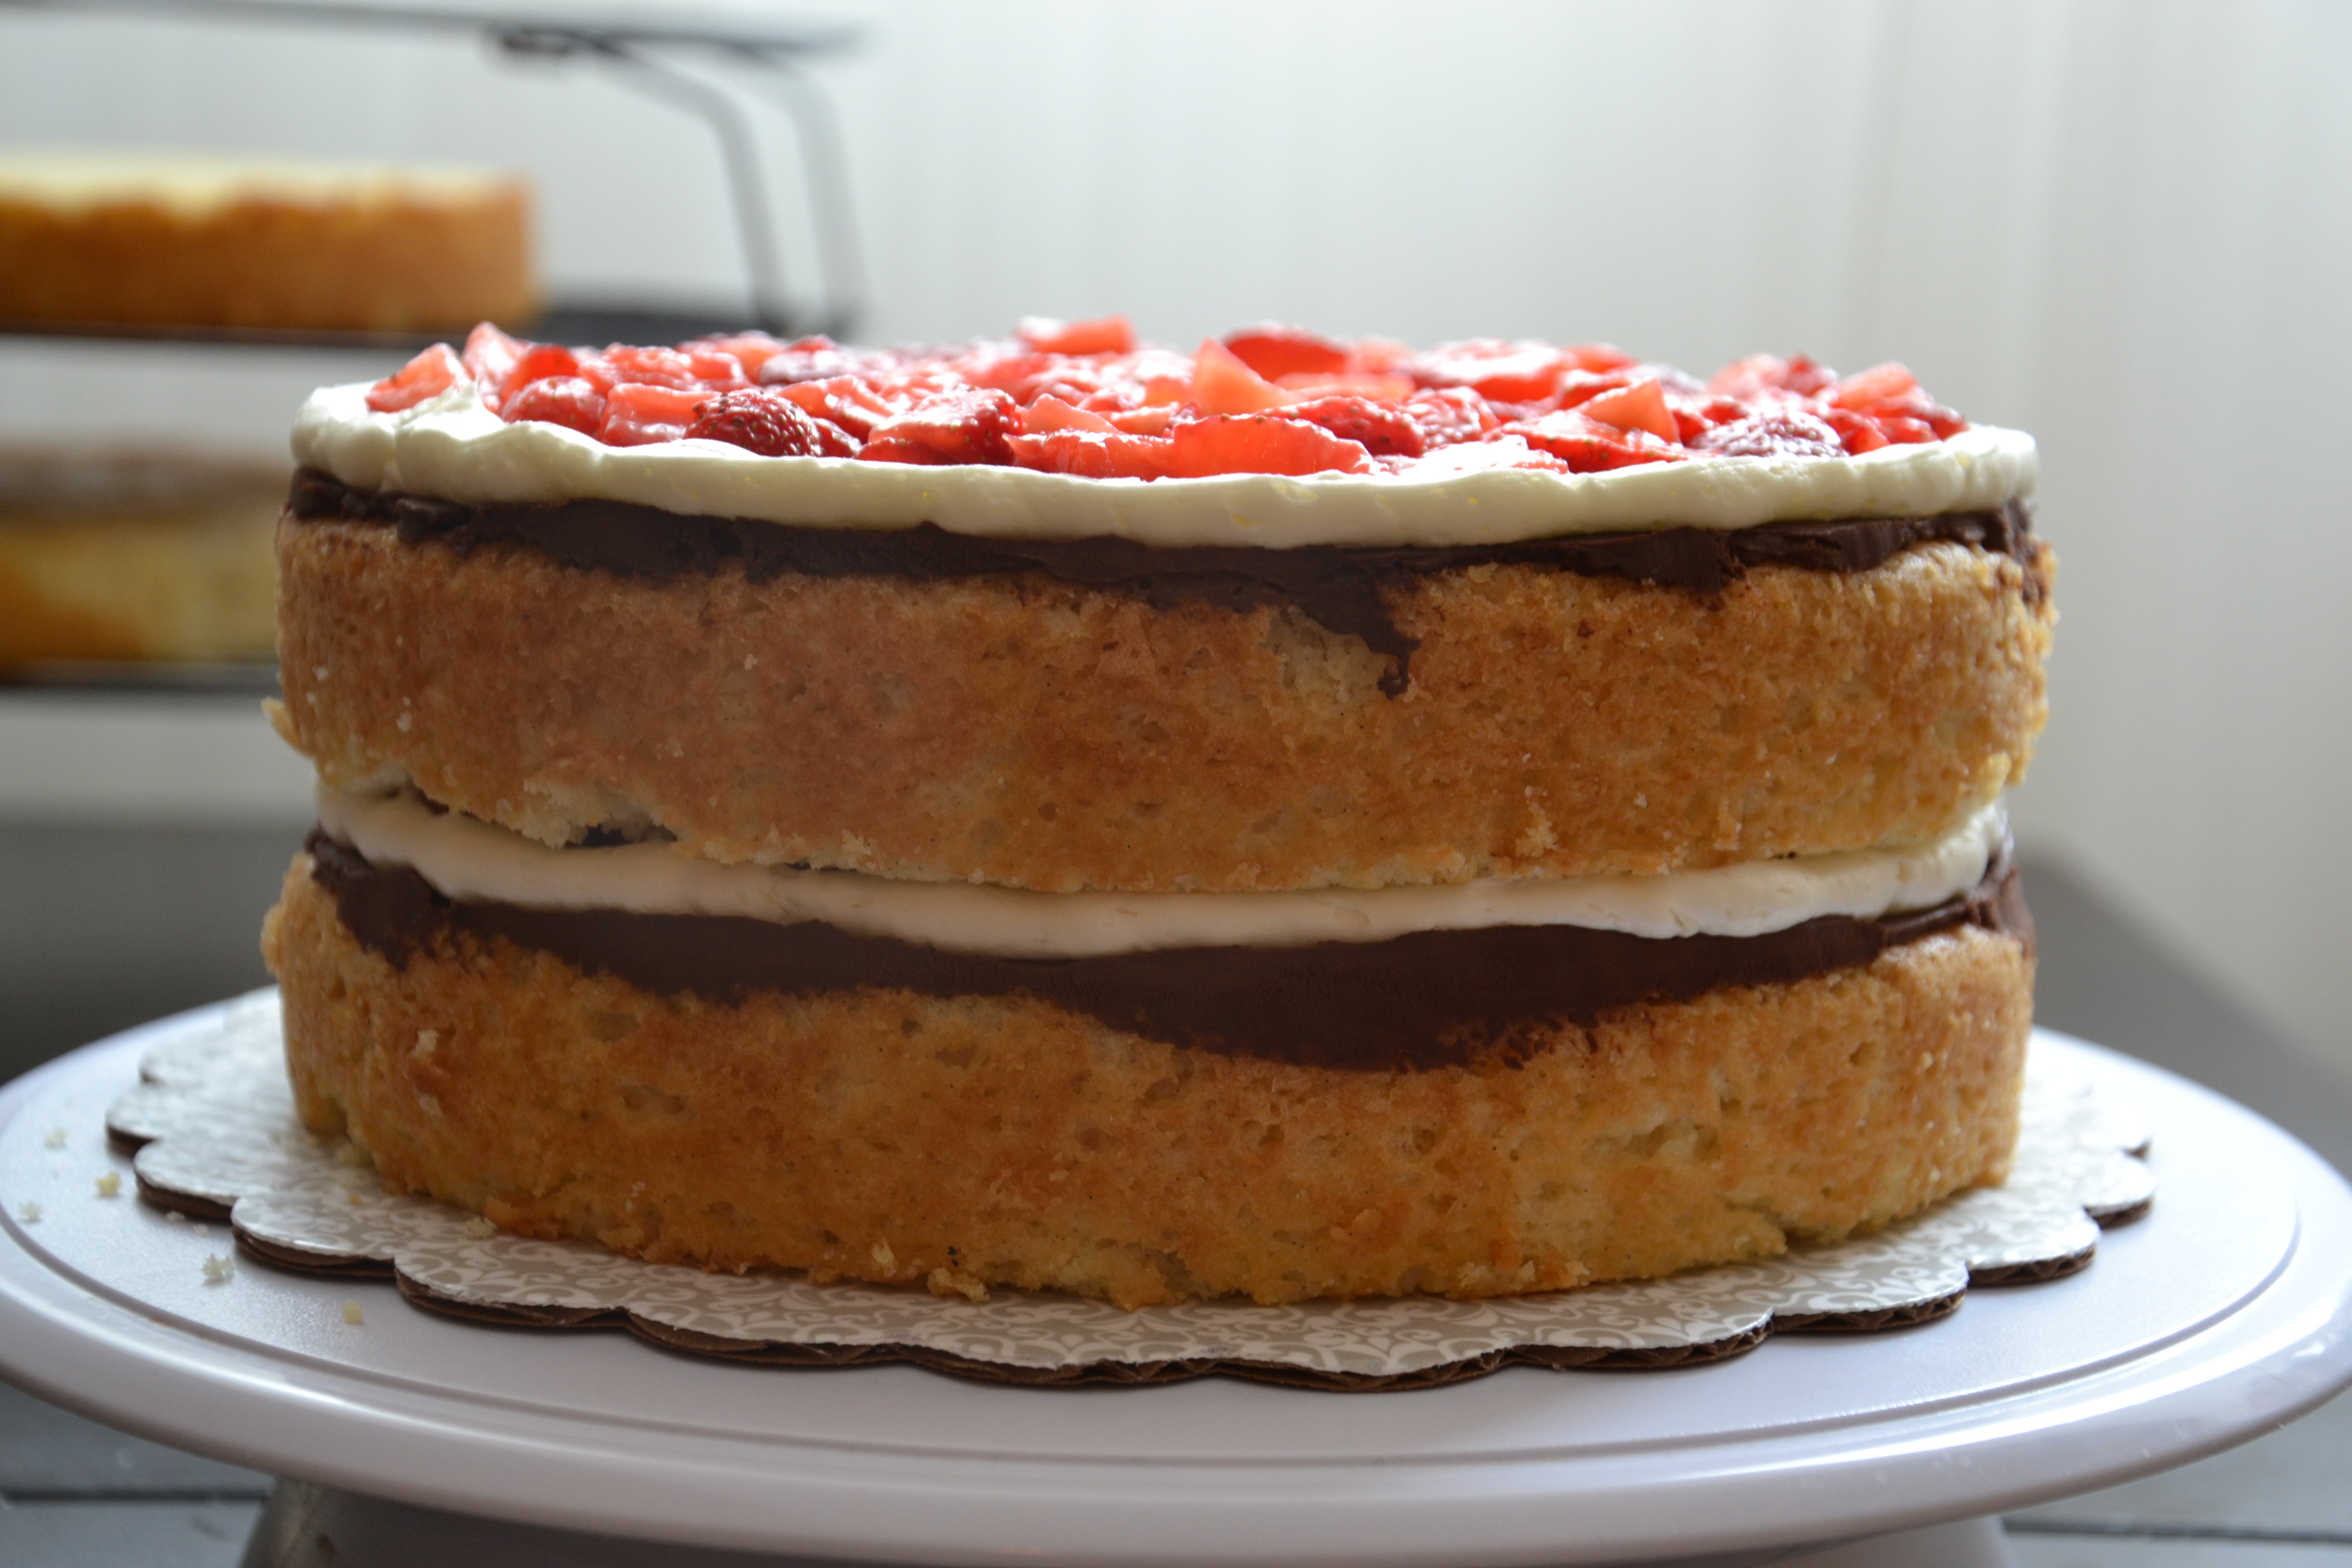
Time to start building the cake.
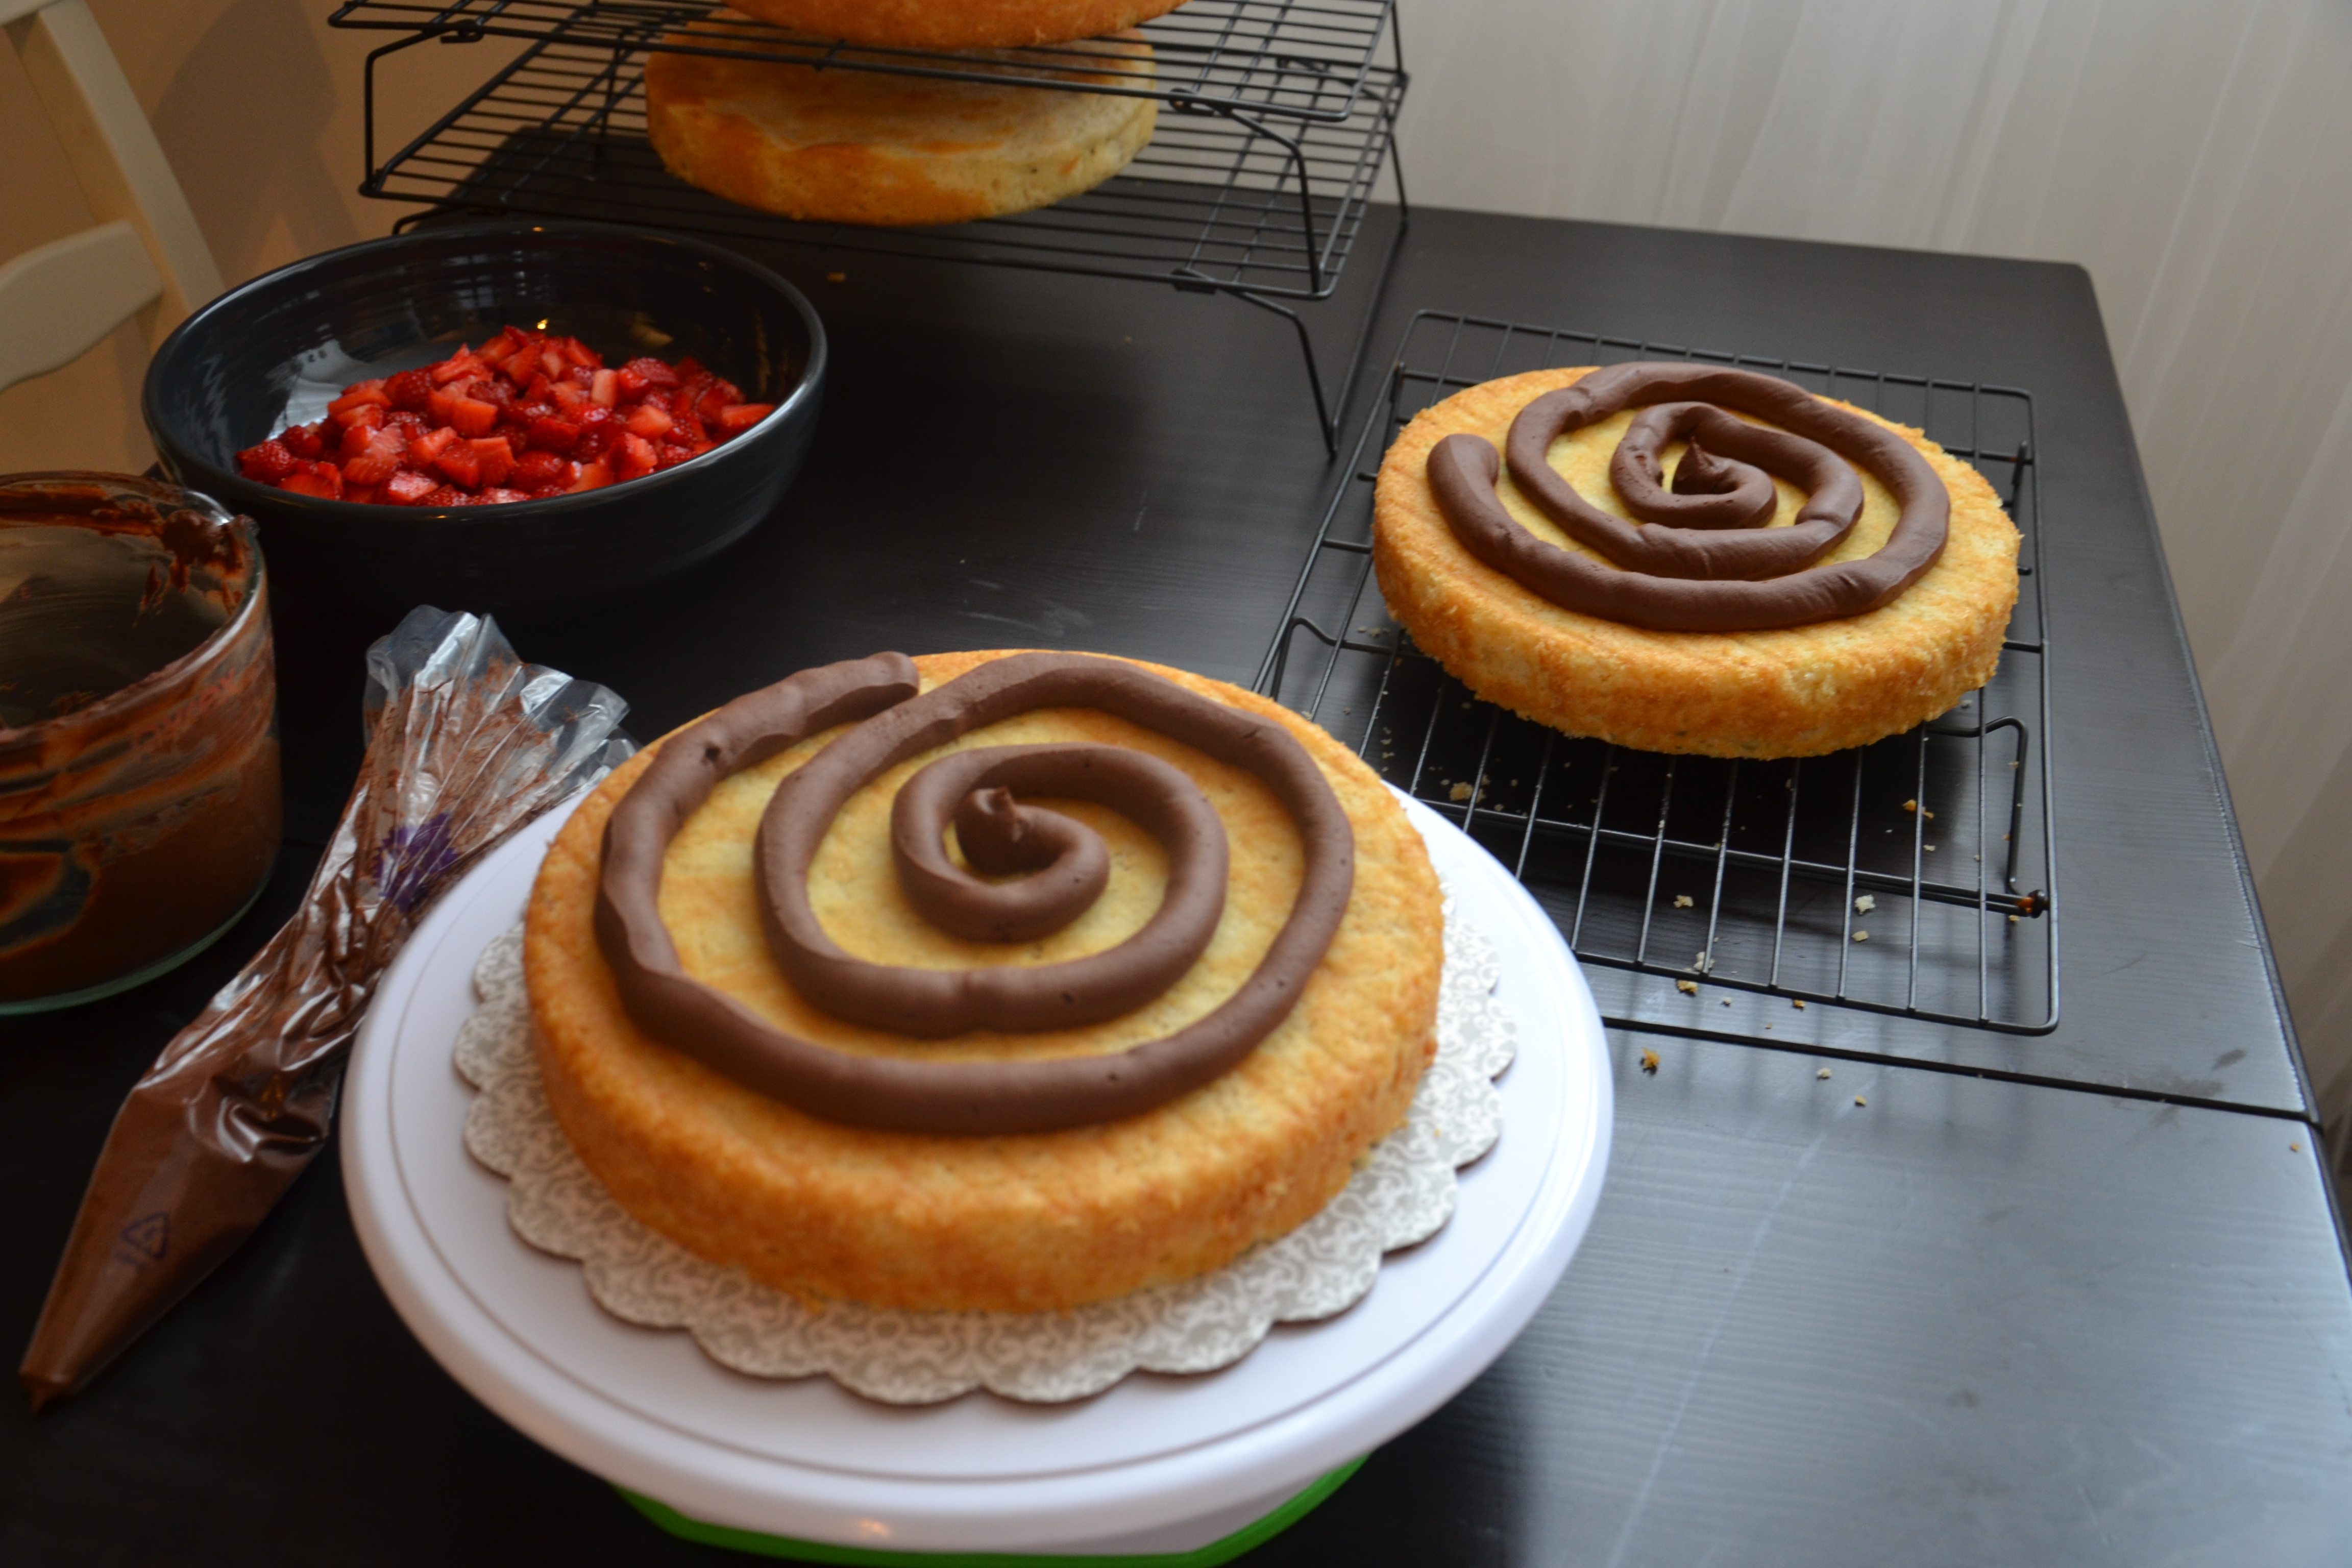
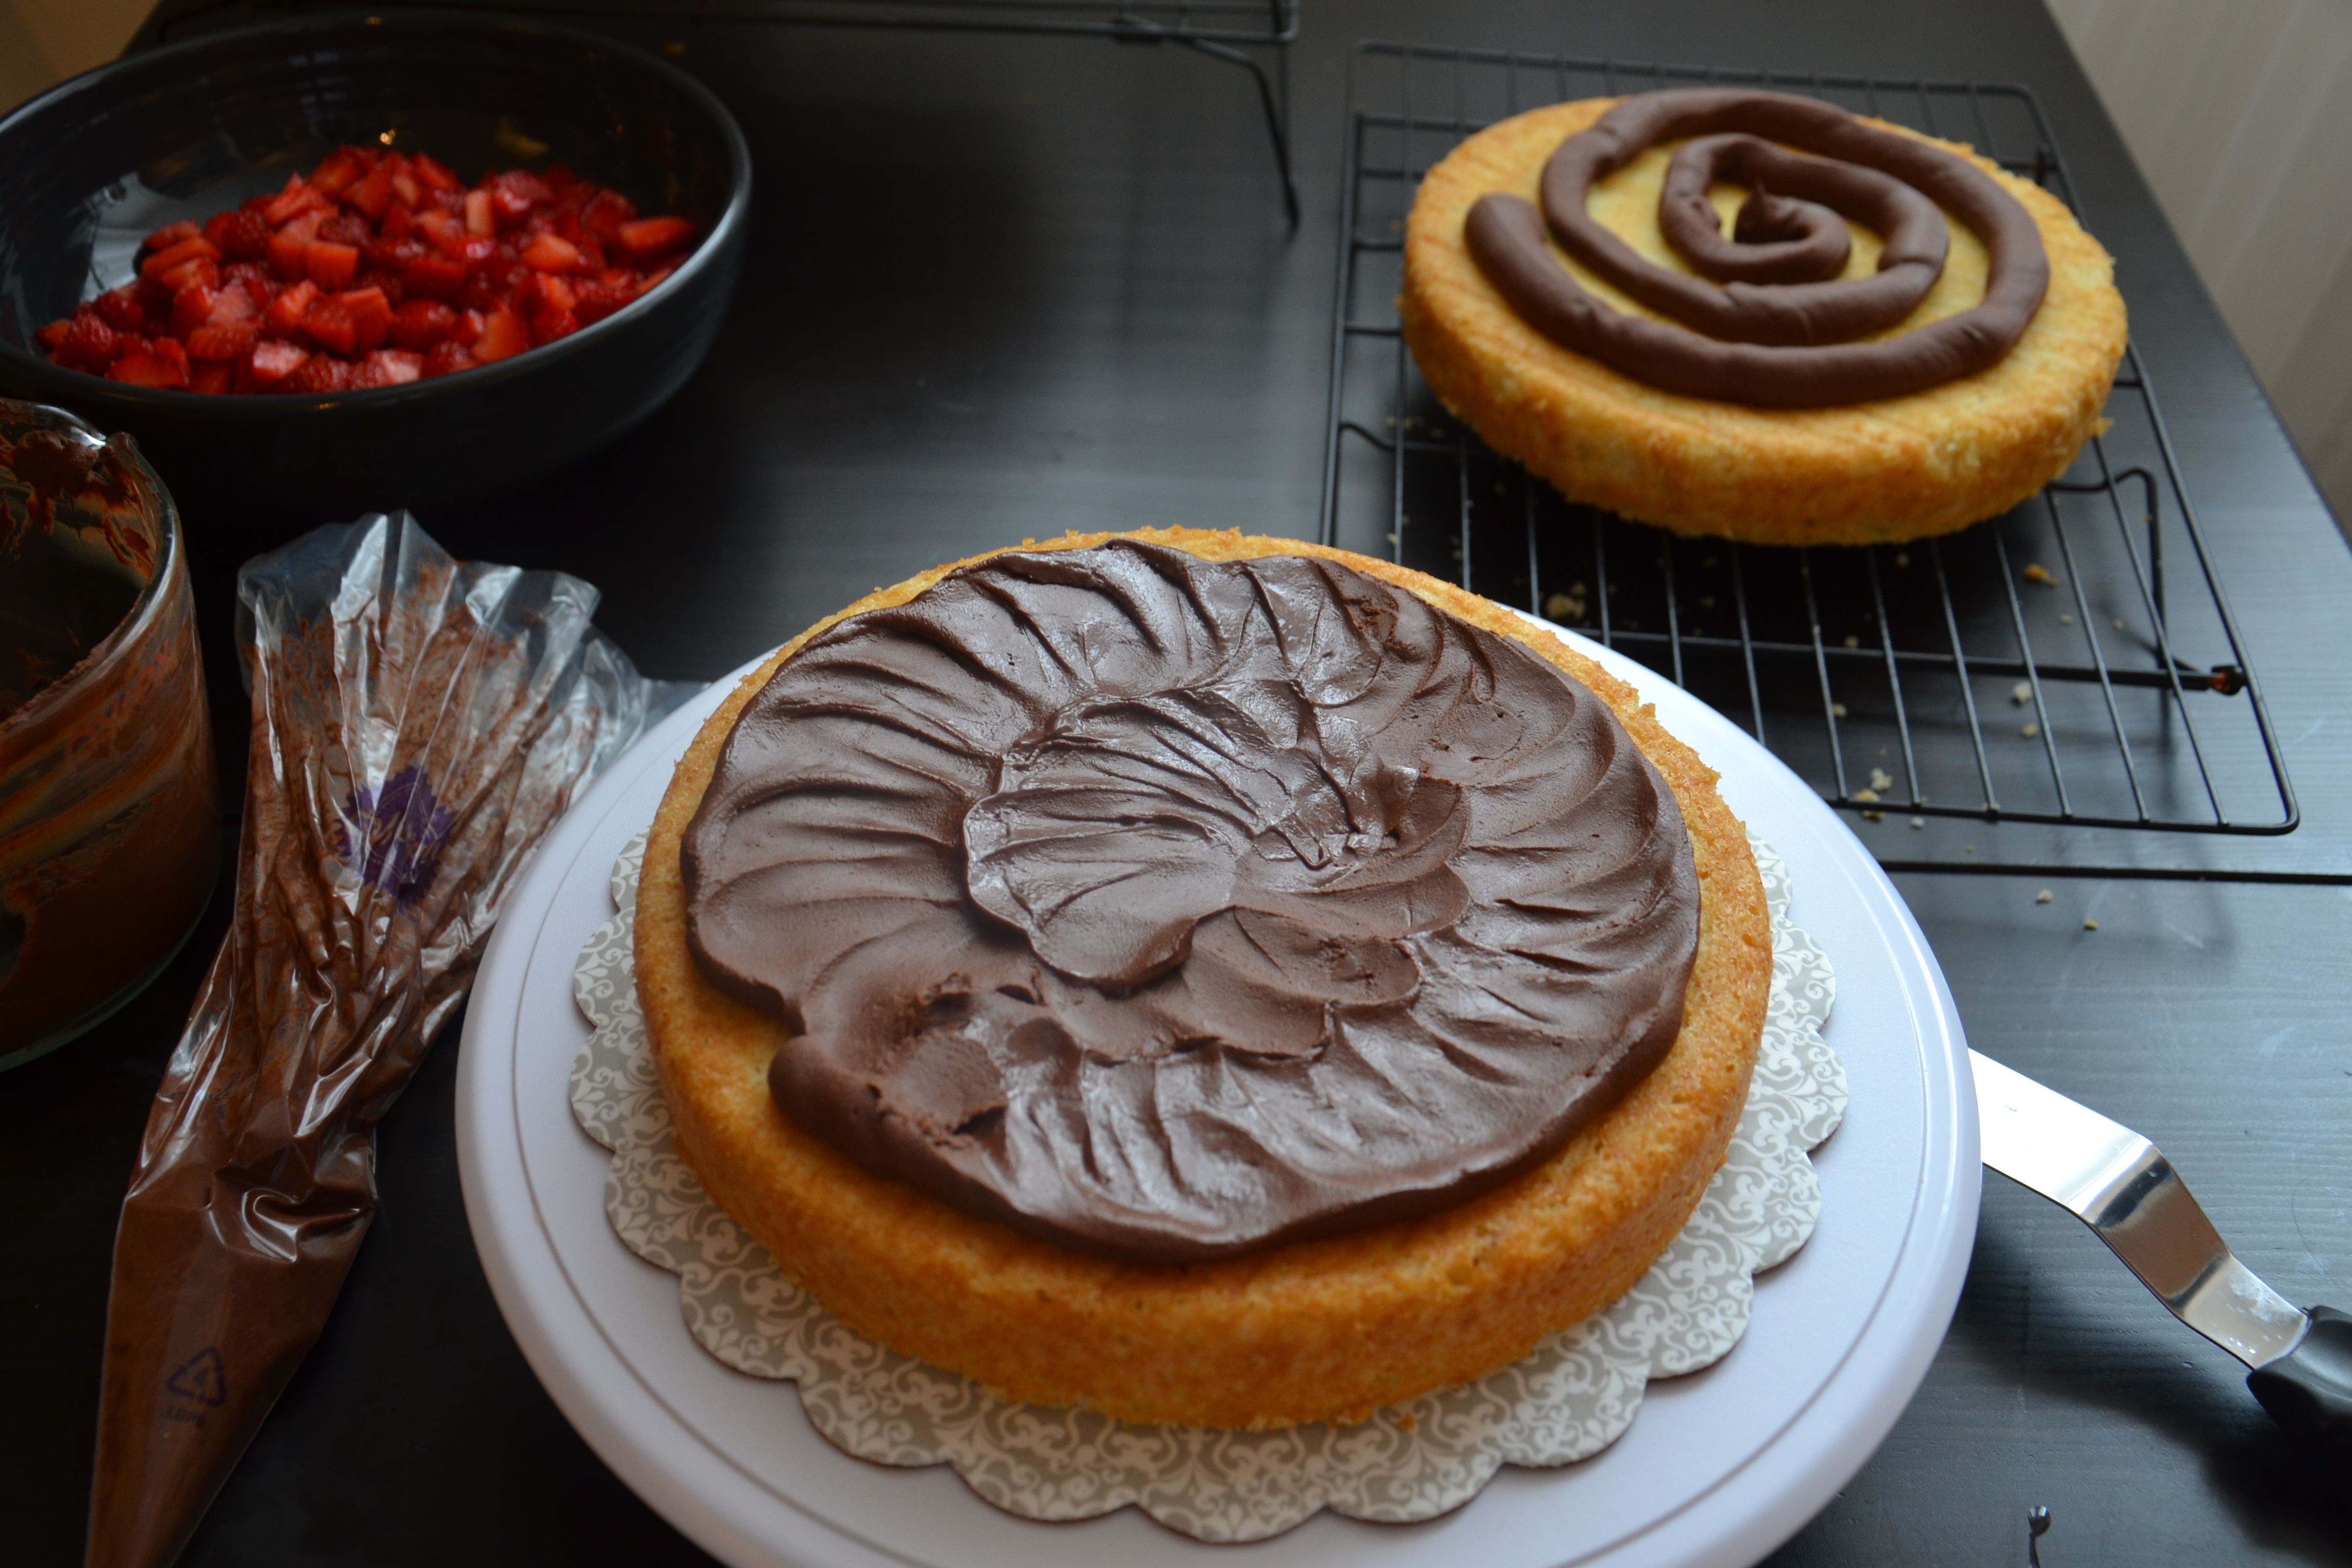
After I piped on the ganache, I smoothed it out with a warmed off-set spatula. I almost never work on the rounds separately and then stack, but spreading out the chocolate to make a thin layer would require pressure. Quite frankly, I didn’t want to smash the cake before it got to the party!
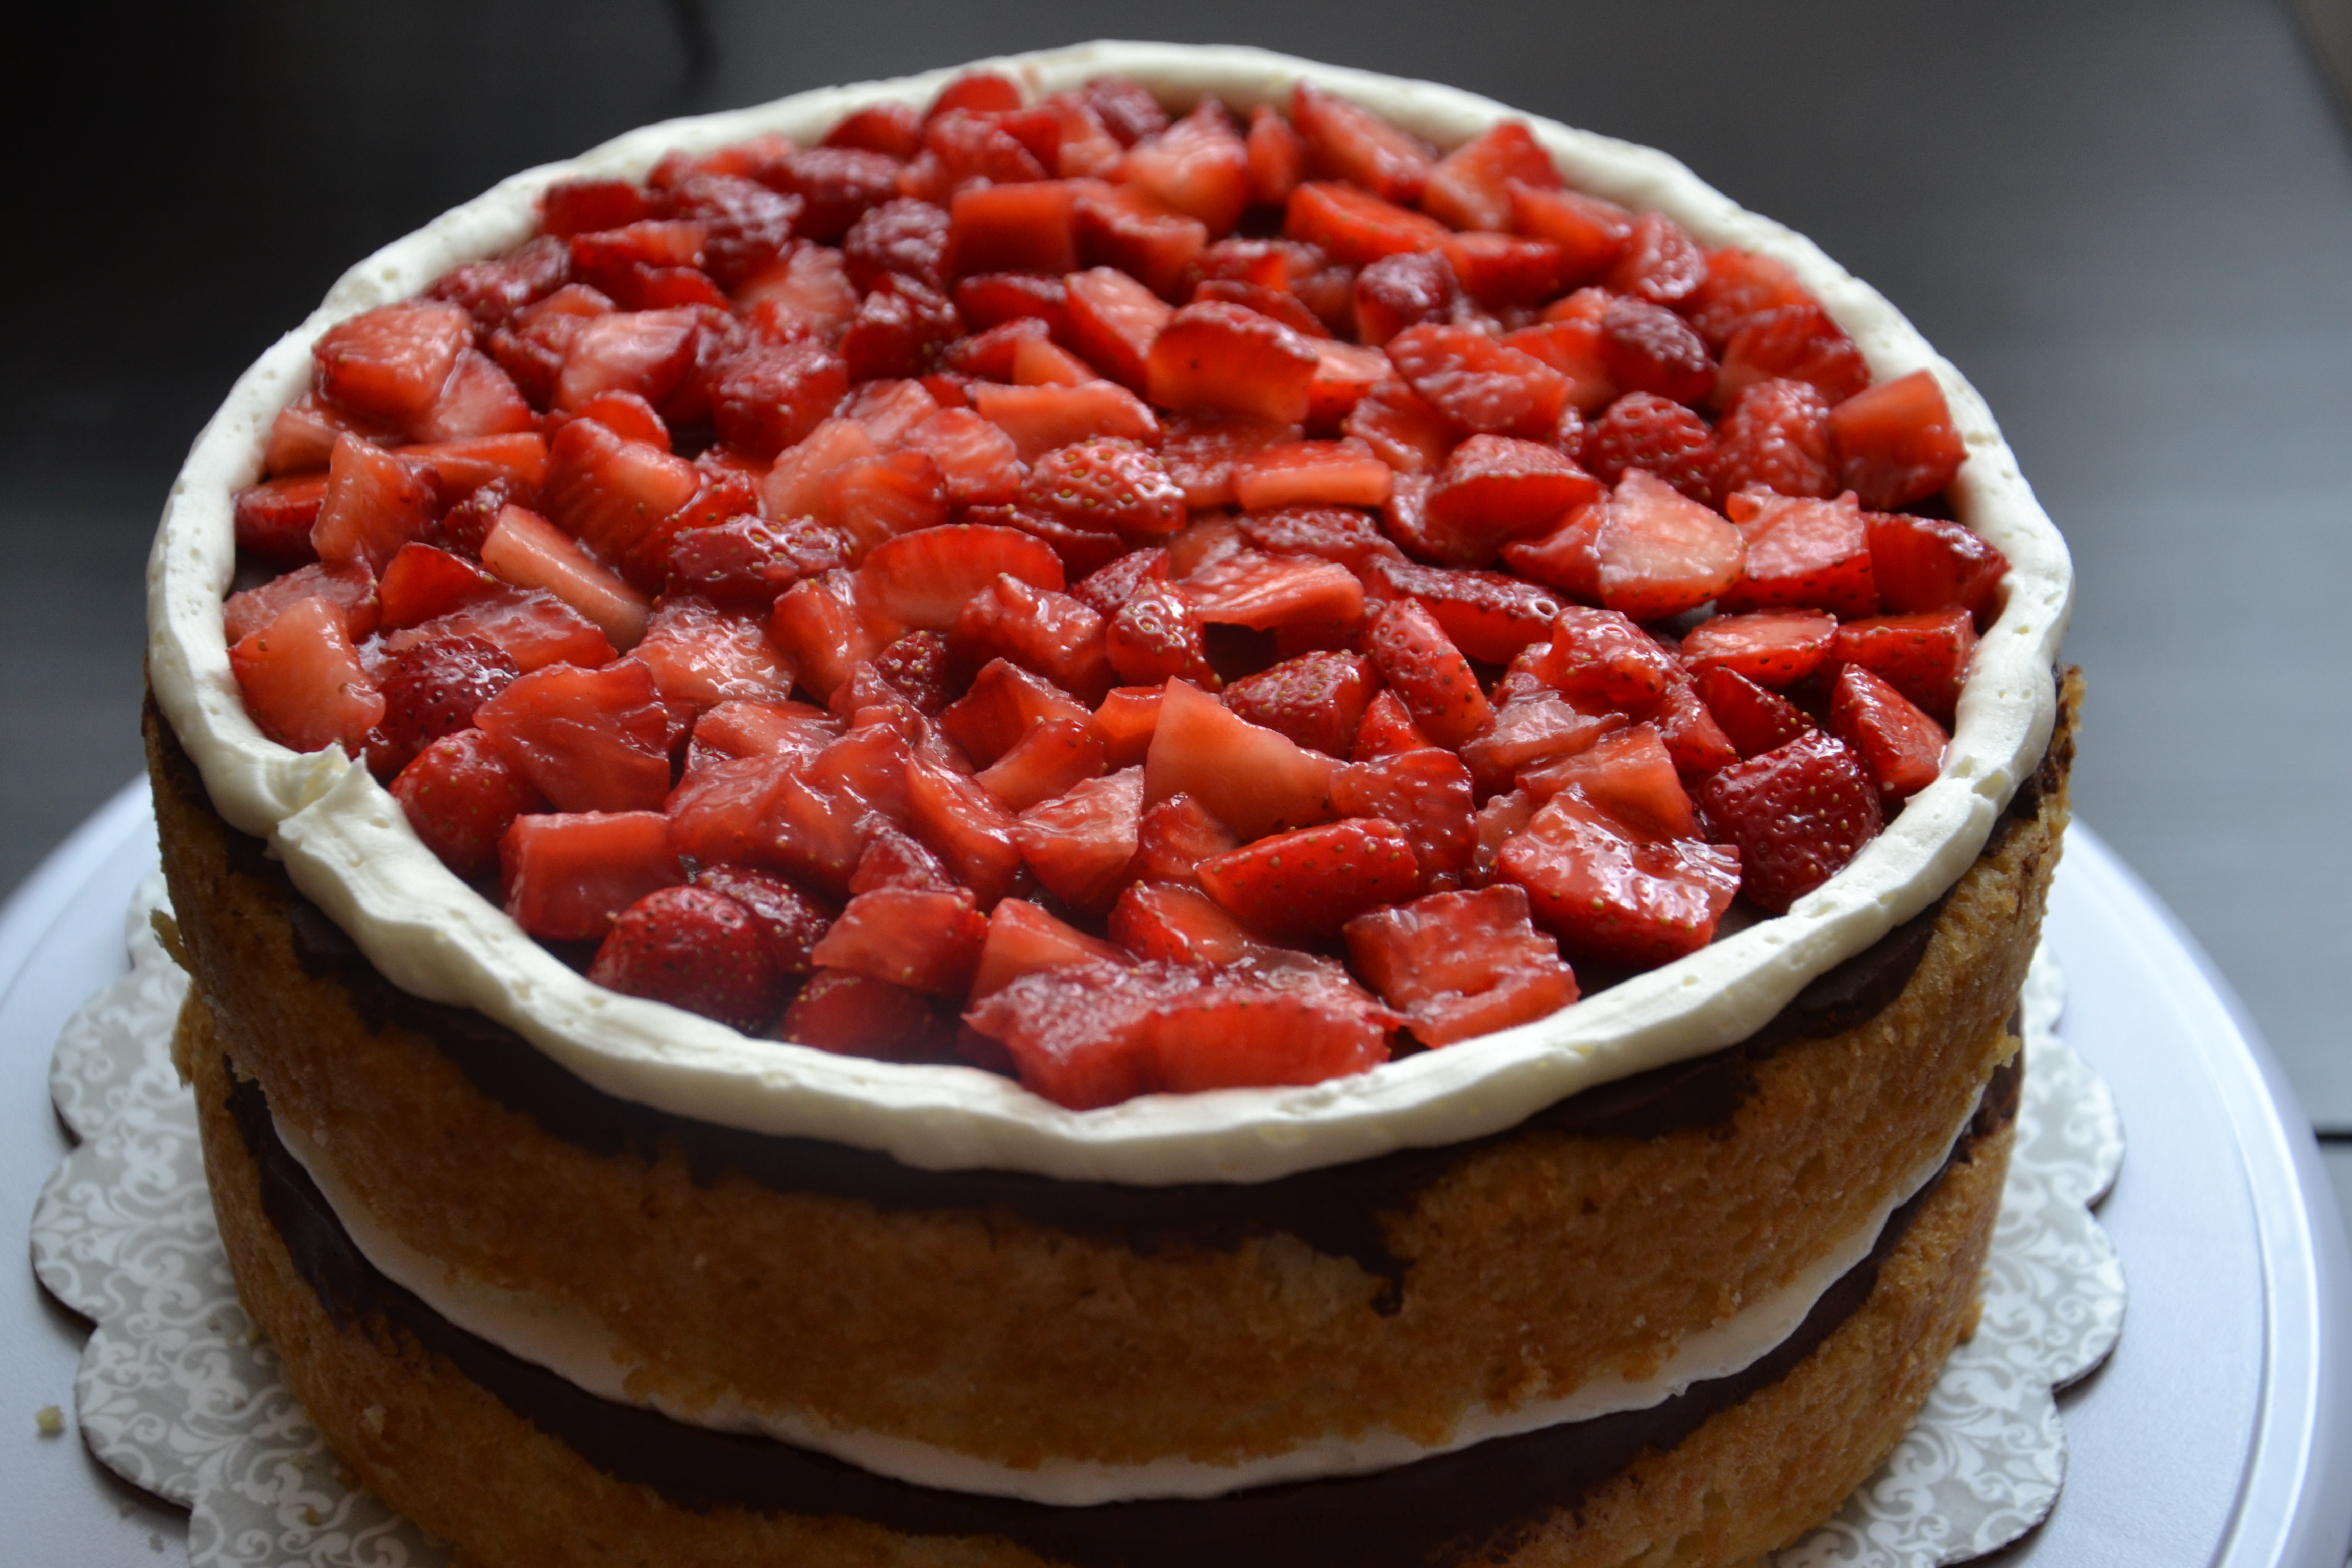
Using a slotted spoon, helps prevent unwanted strawberry juice at this layer.
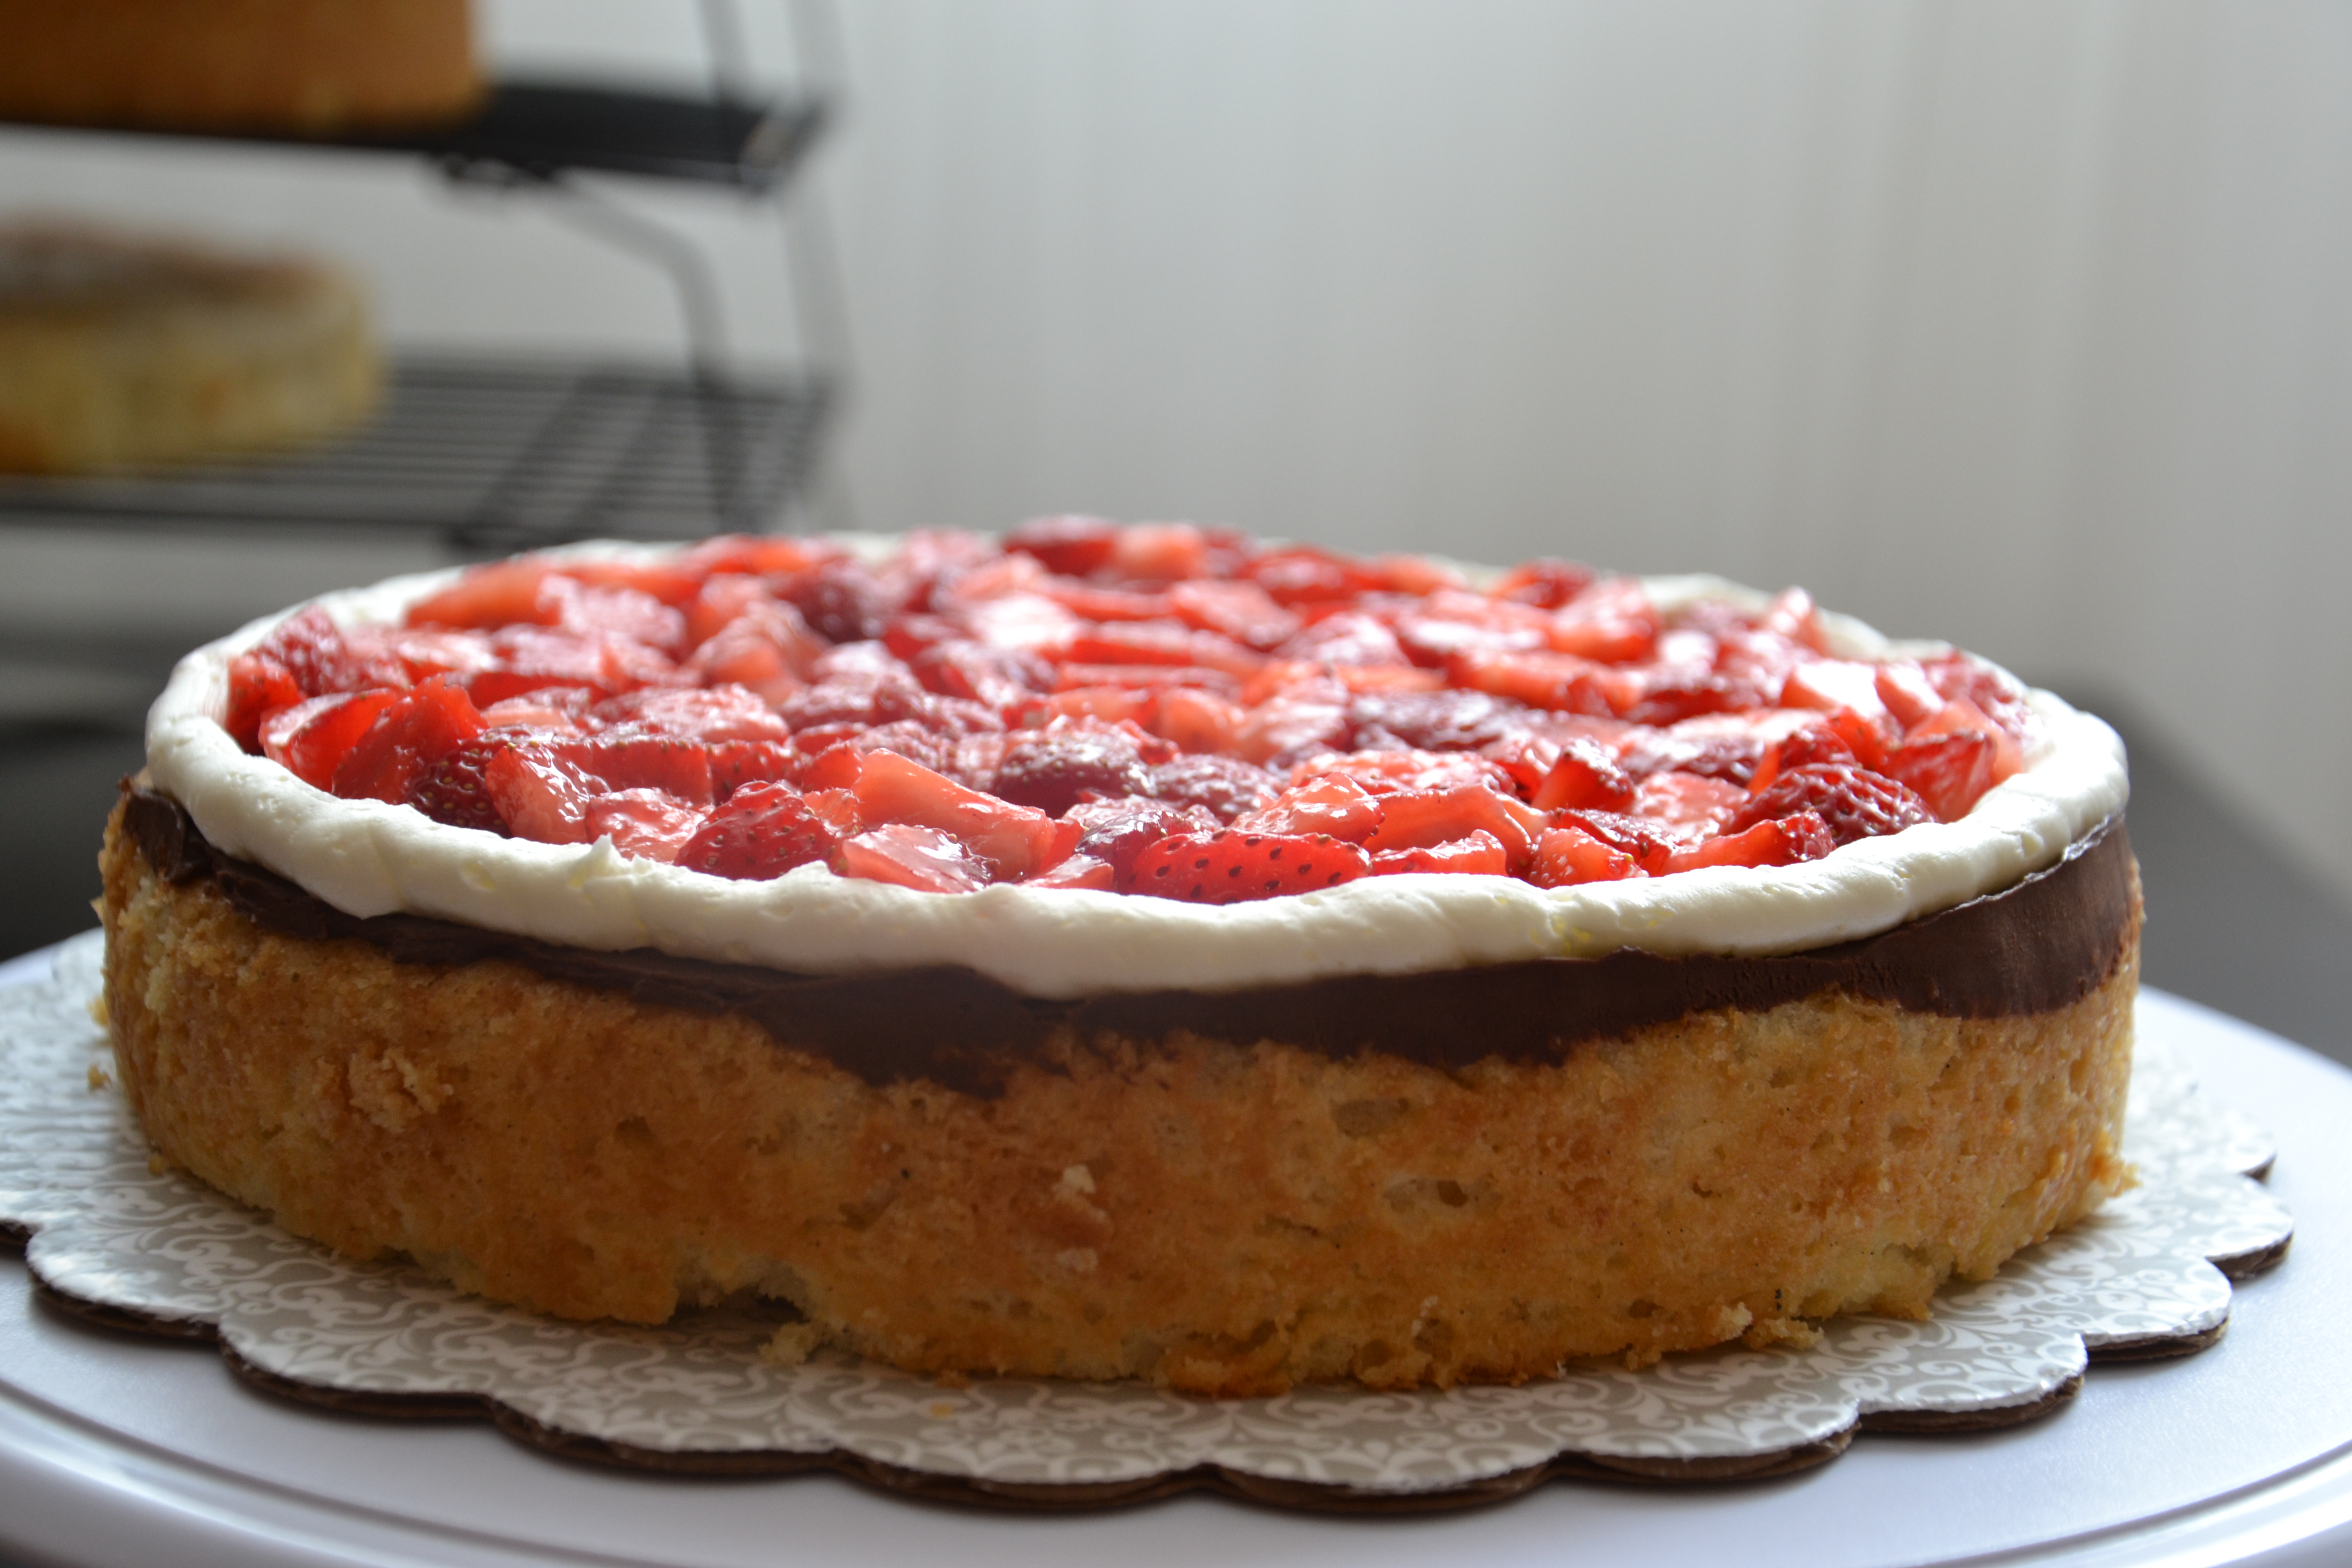
To keep the strawberries in the cake, a small wall of buttercream was piped onto the edge of the chocolate.
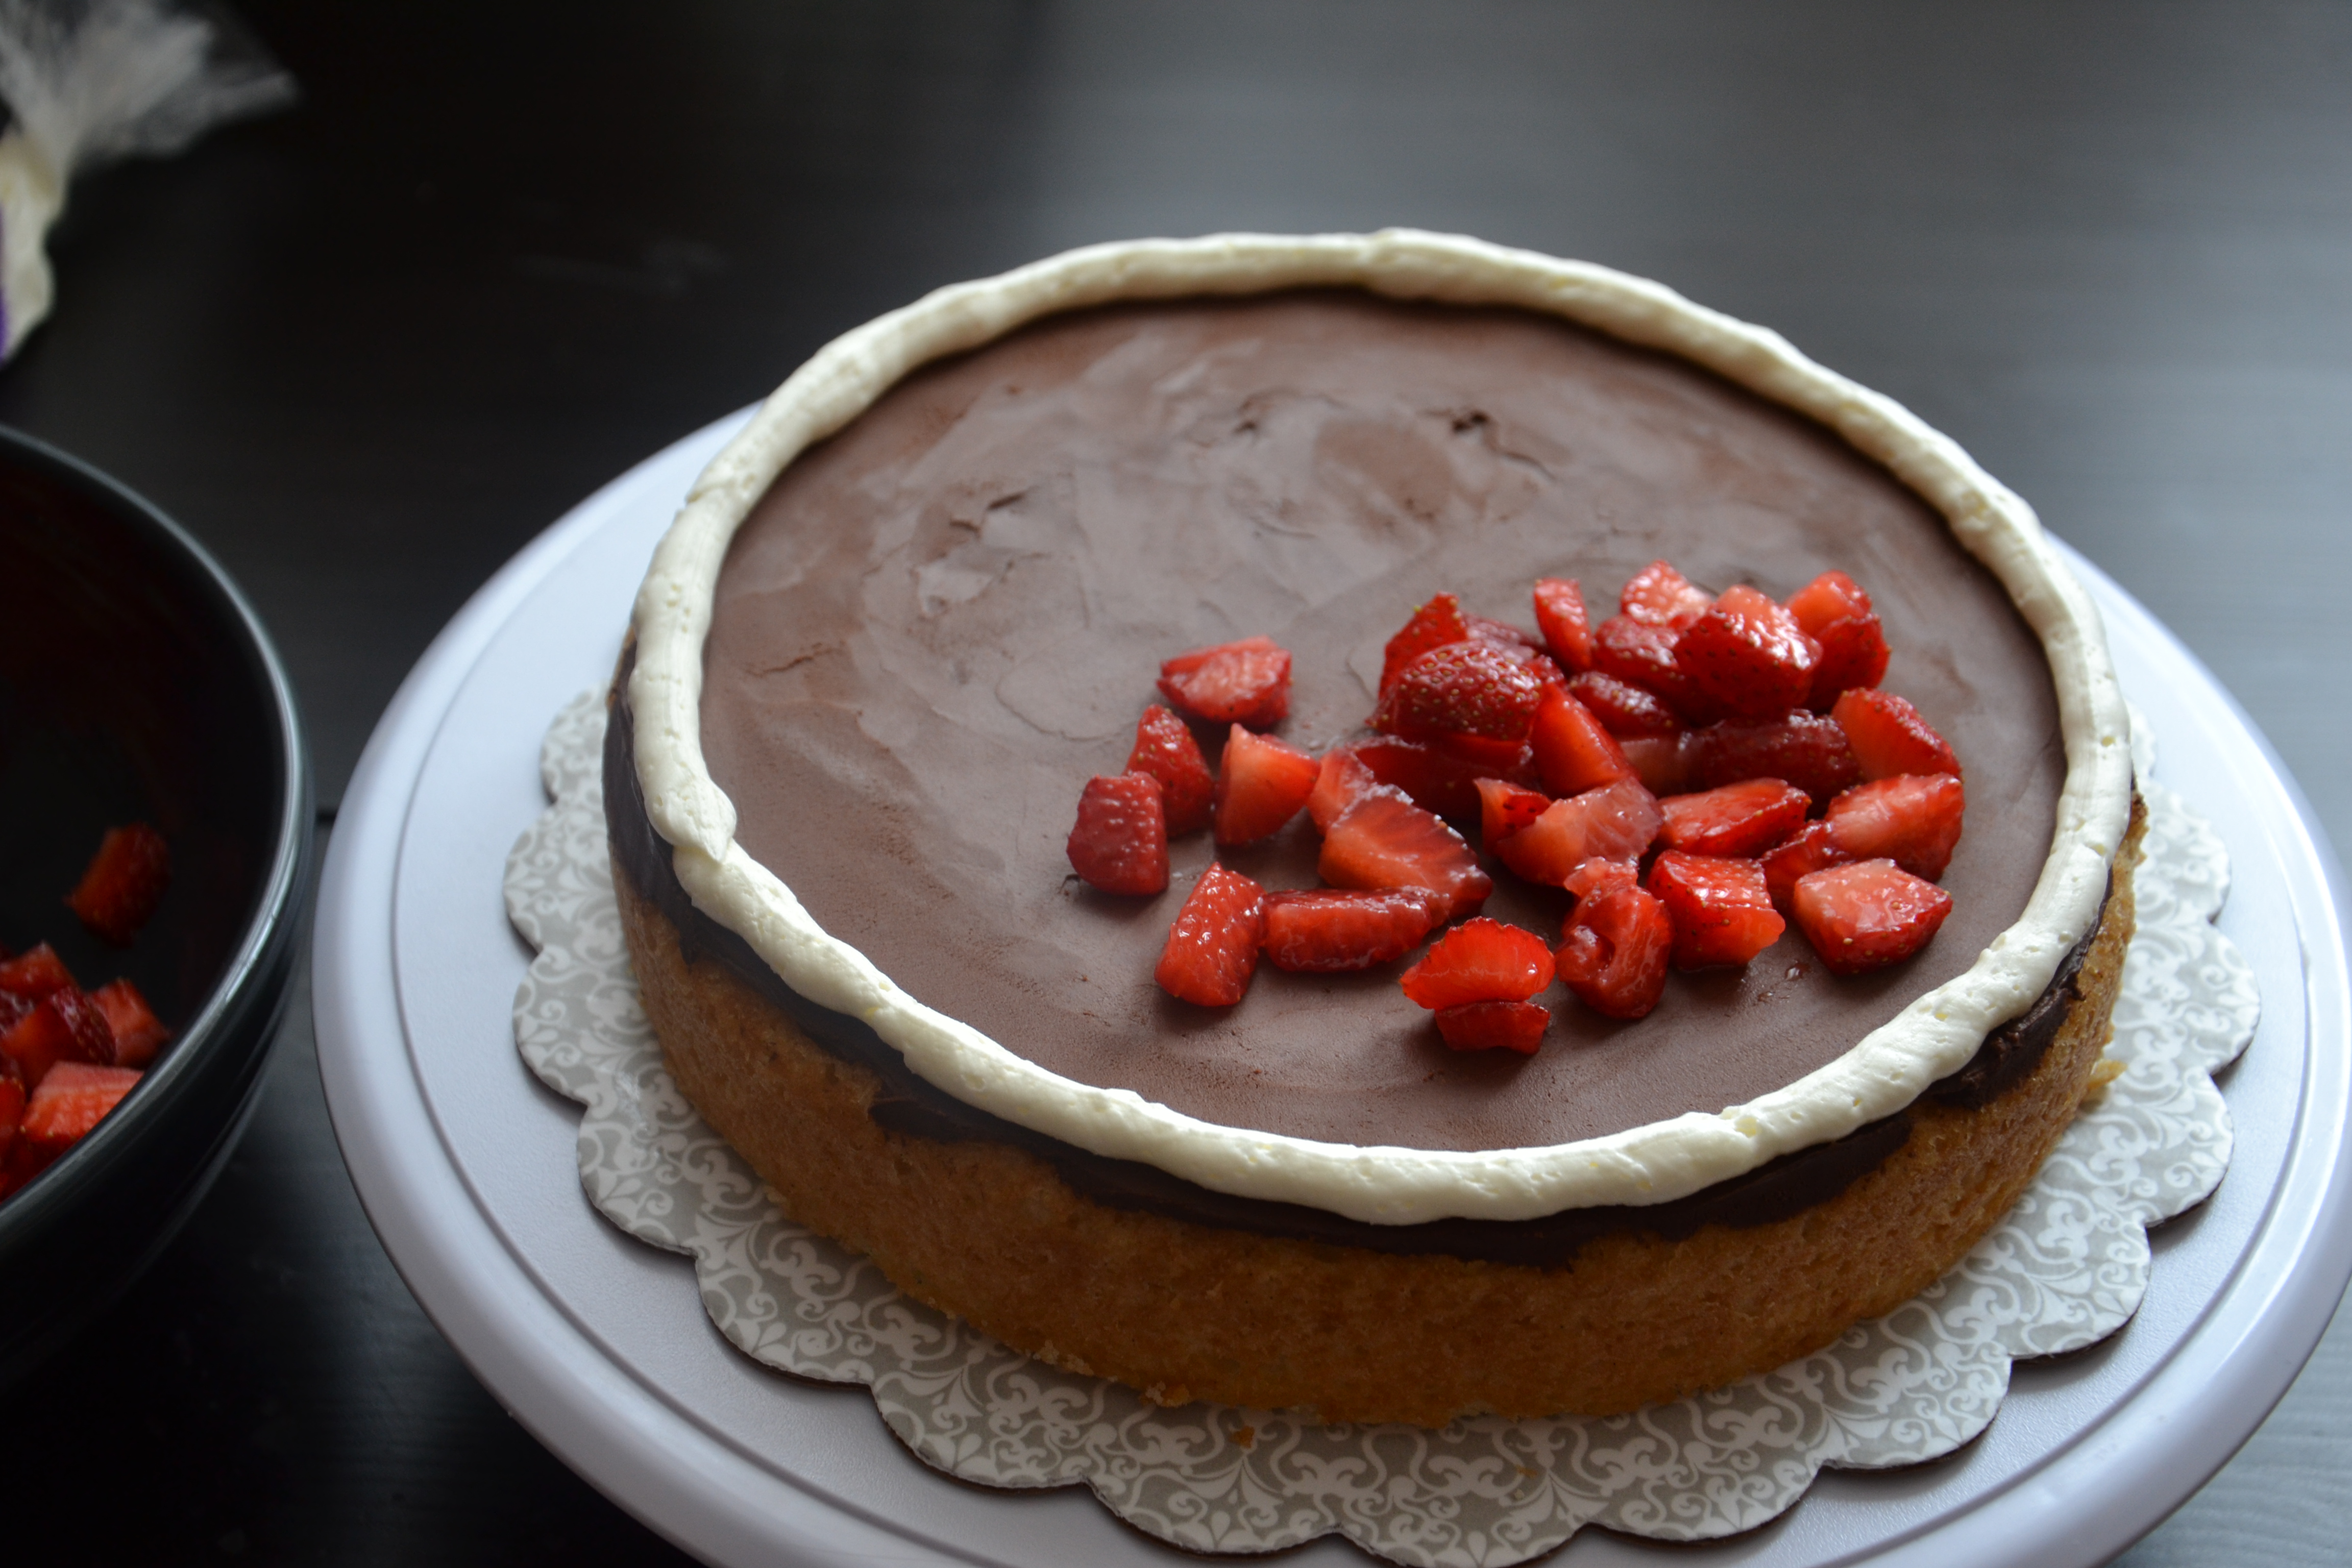
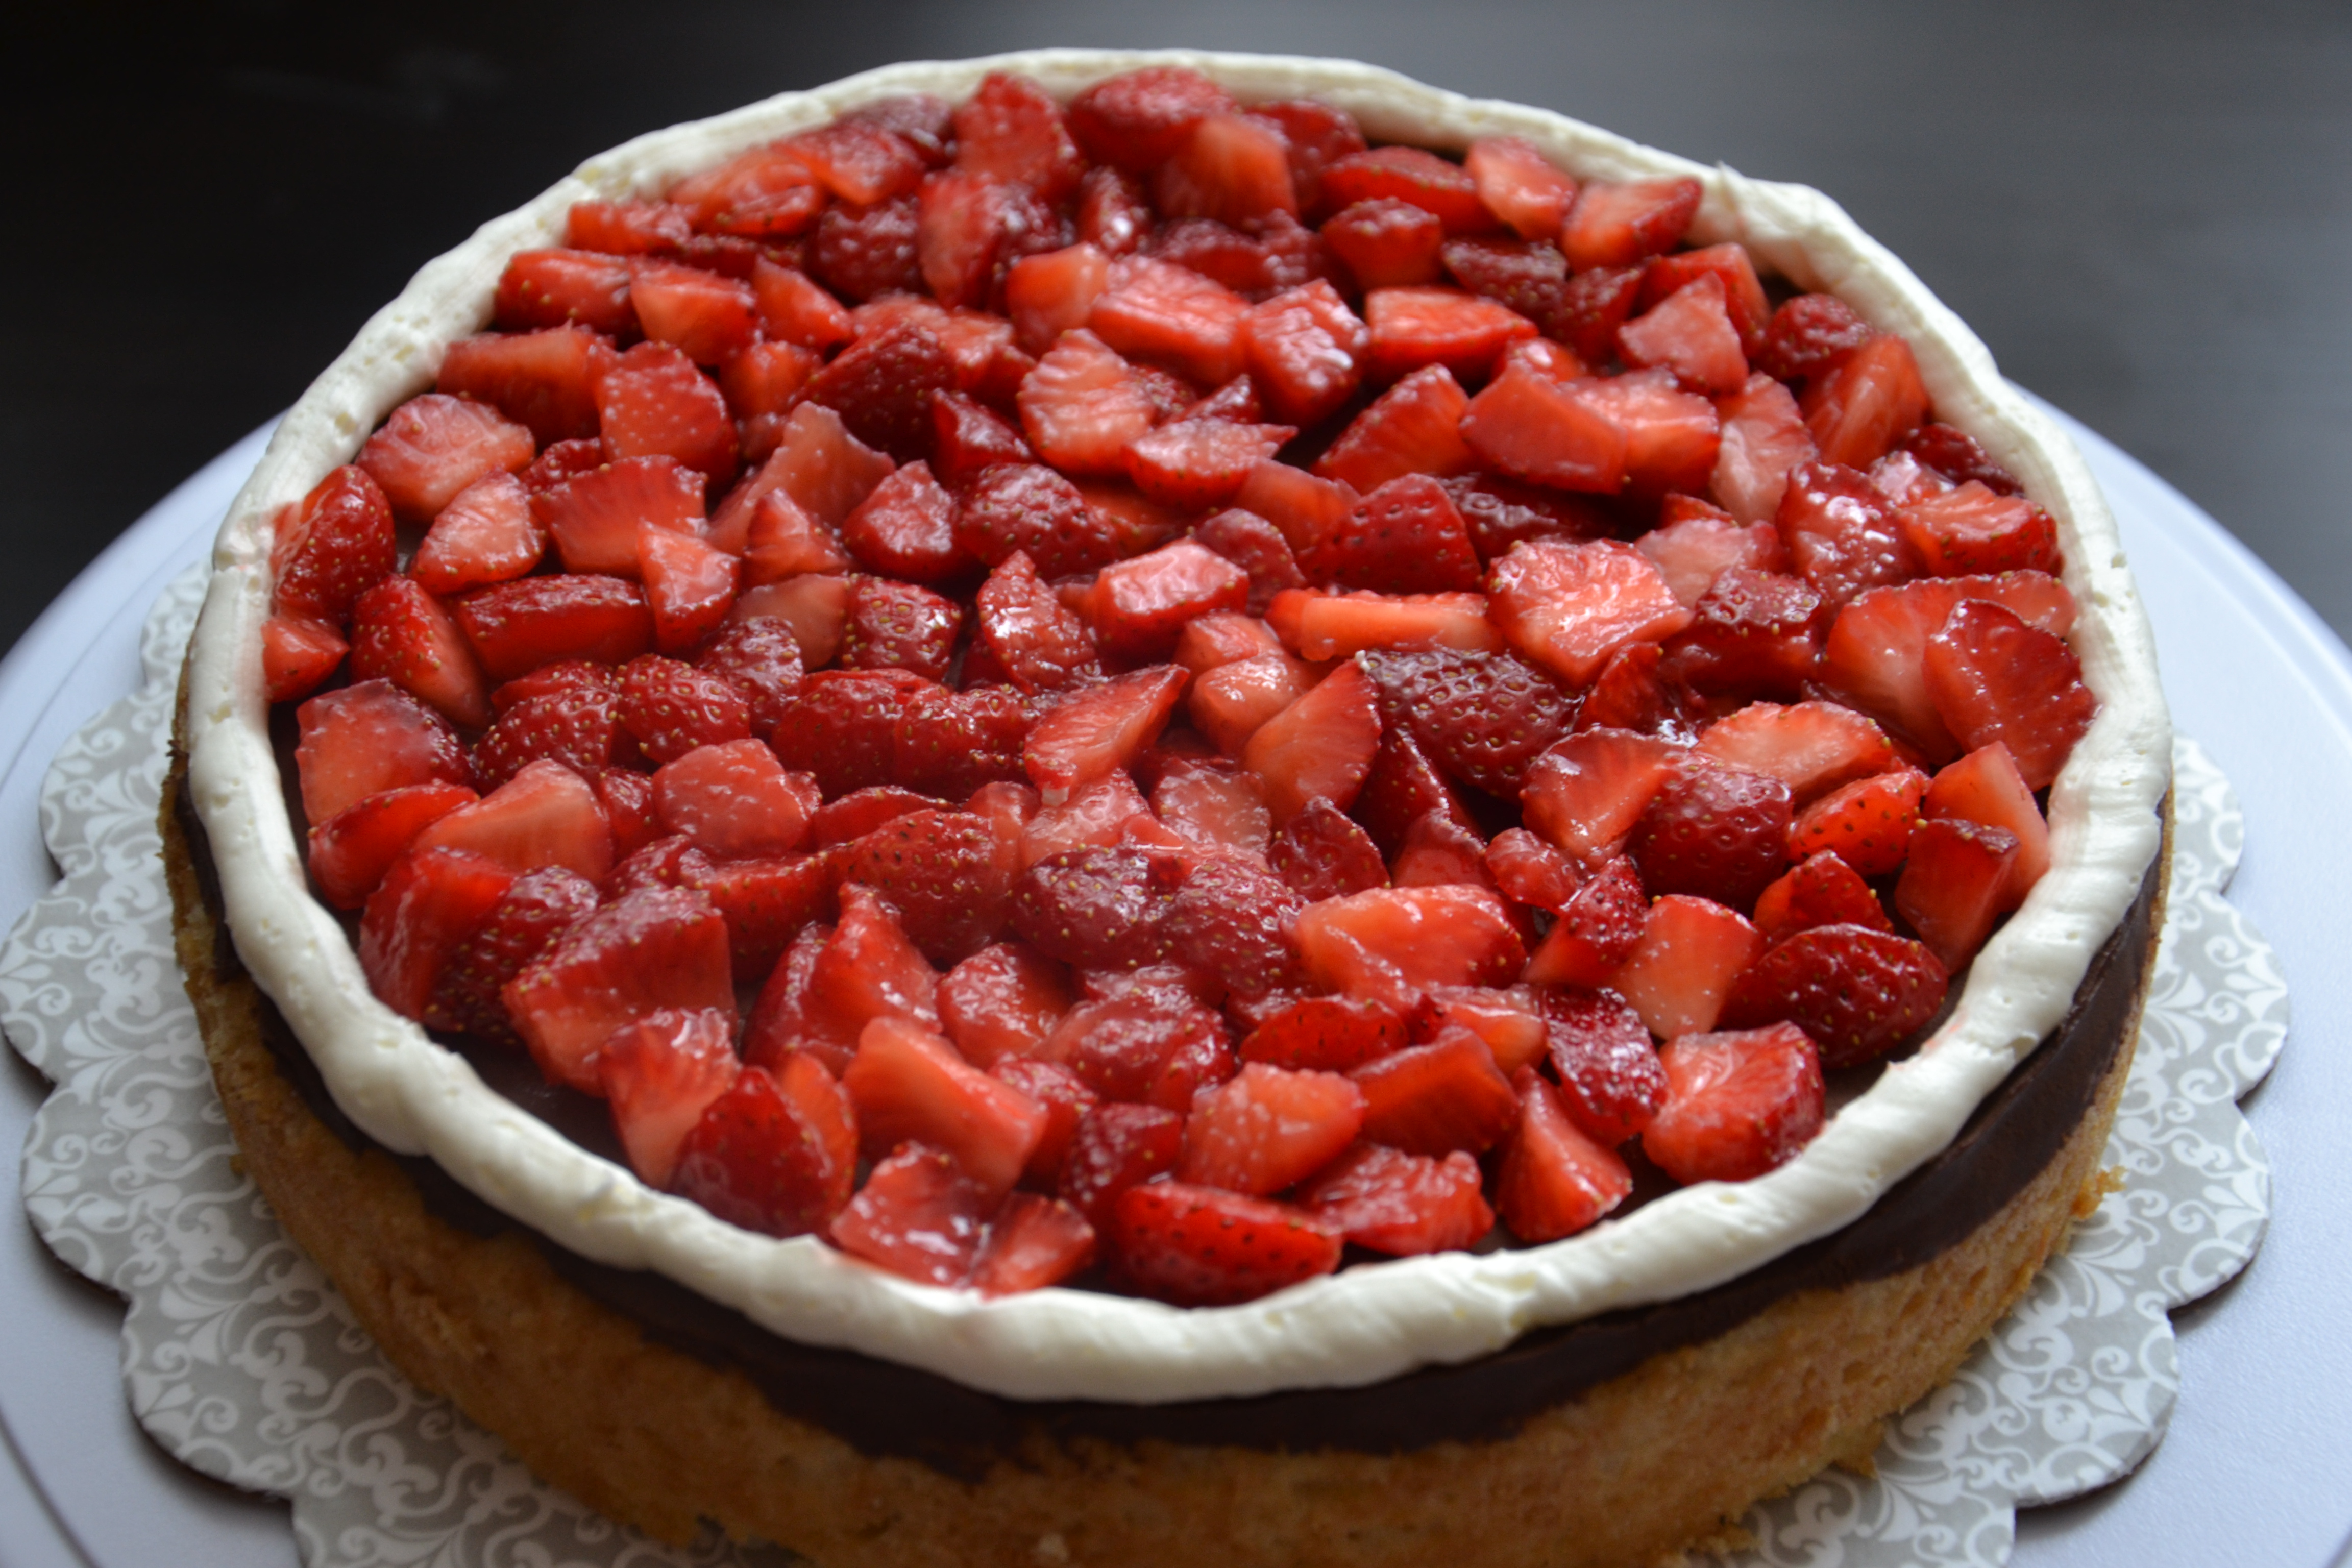
Covering every bit of the layer ensures nearly every part of the filling includes a fresh berry bite.
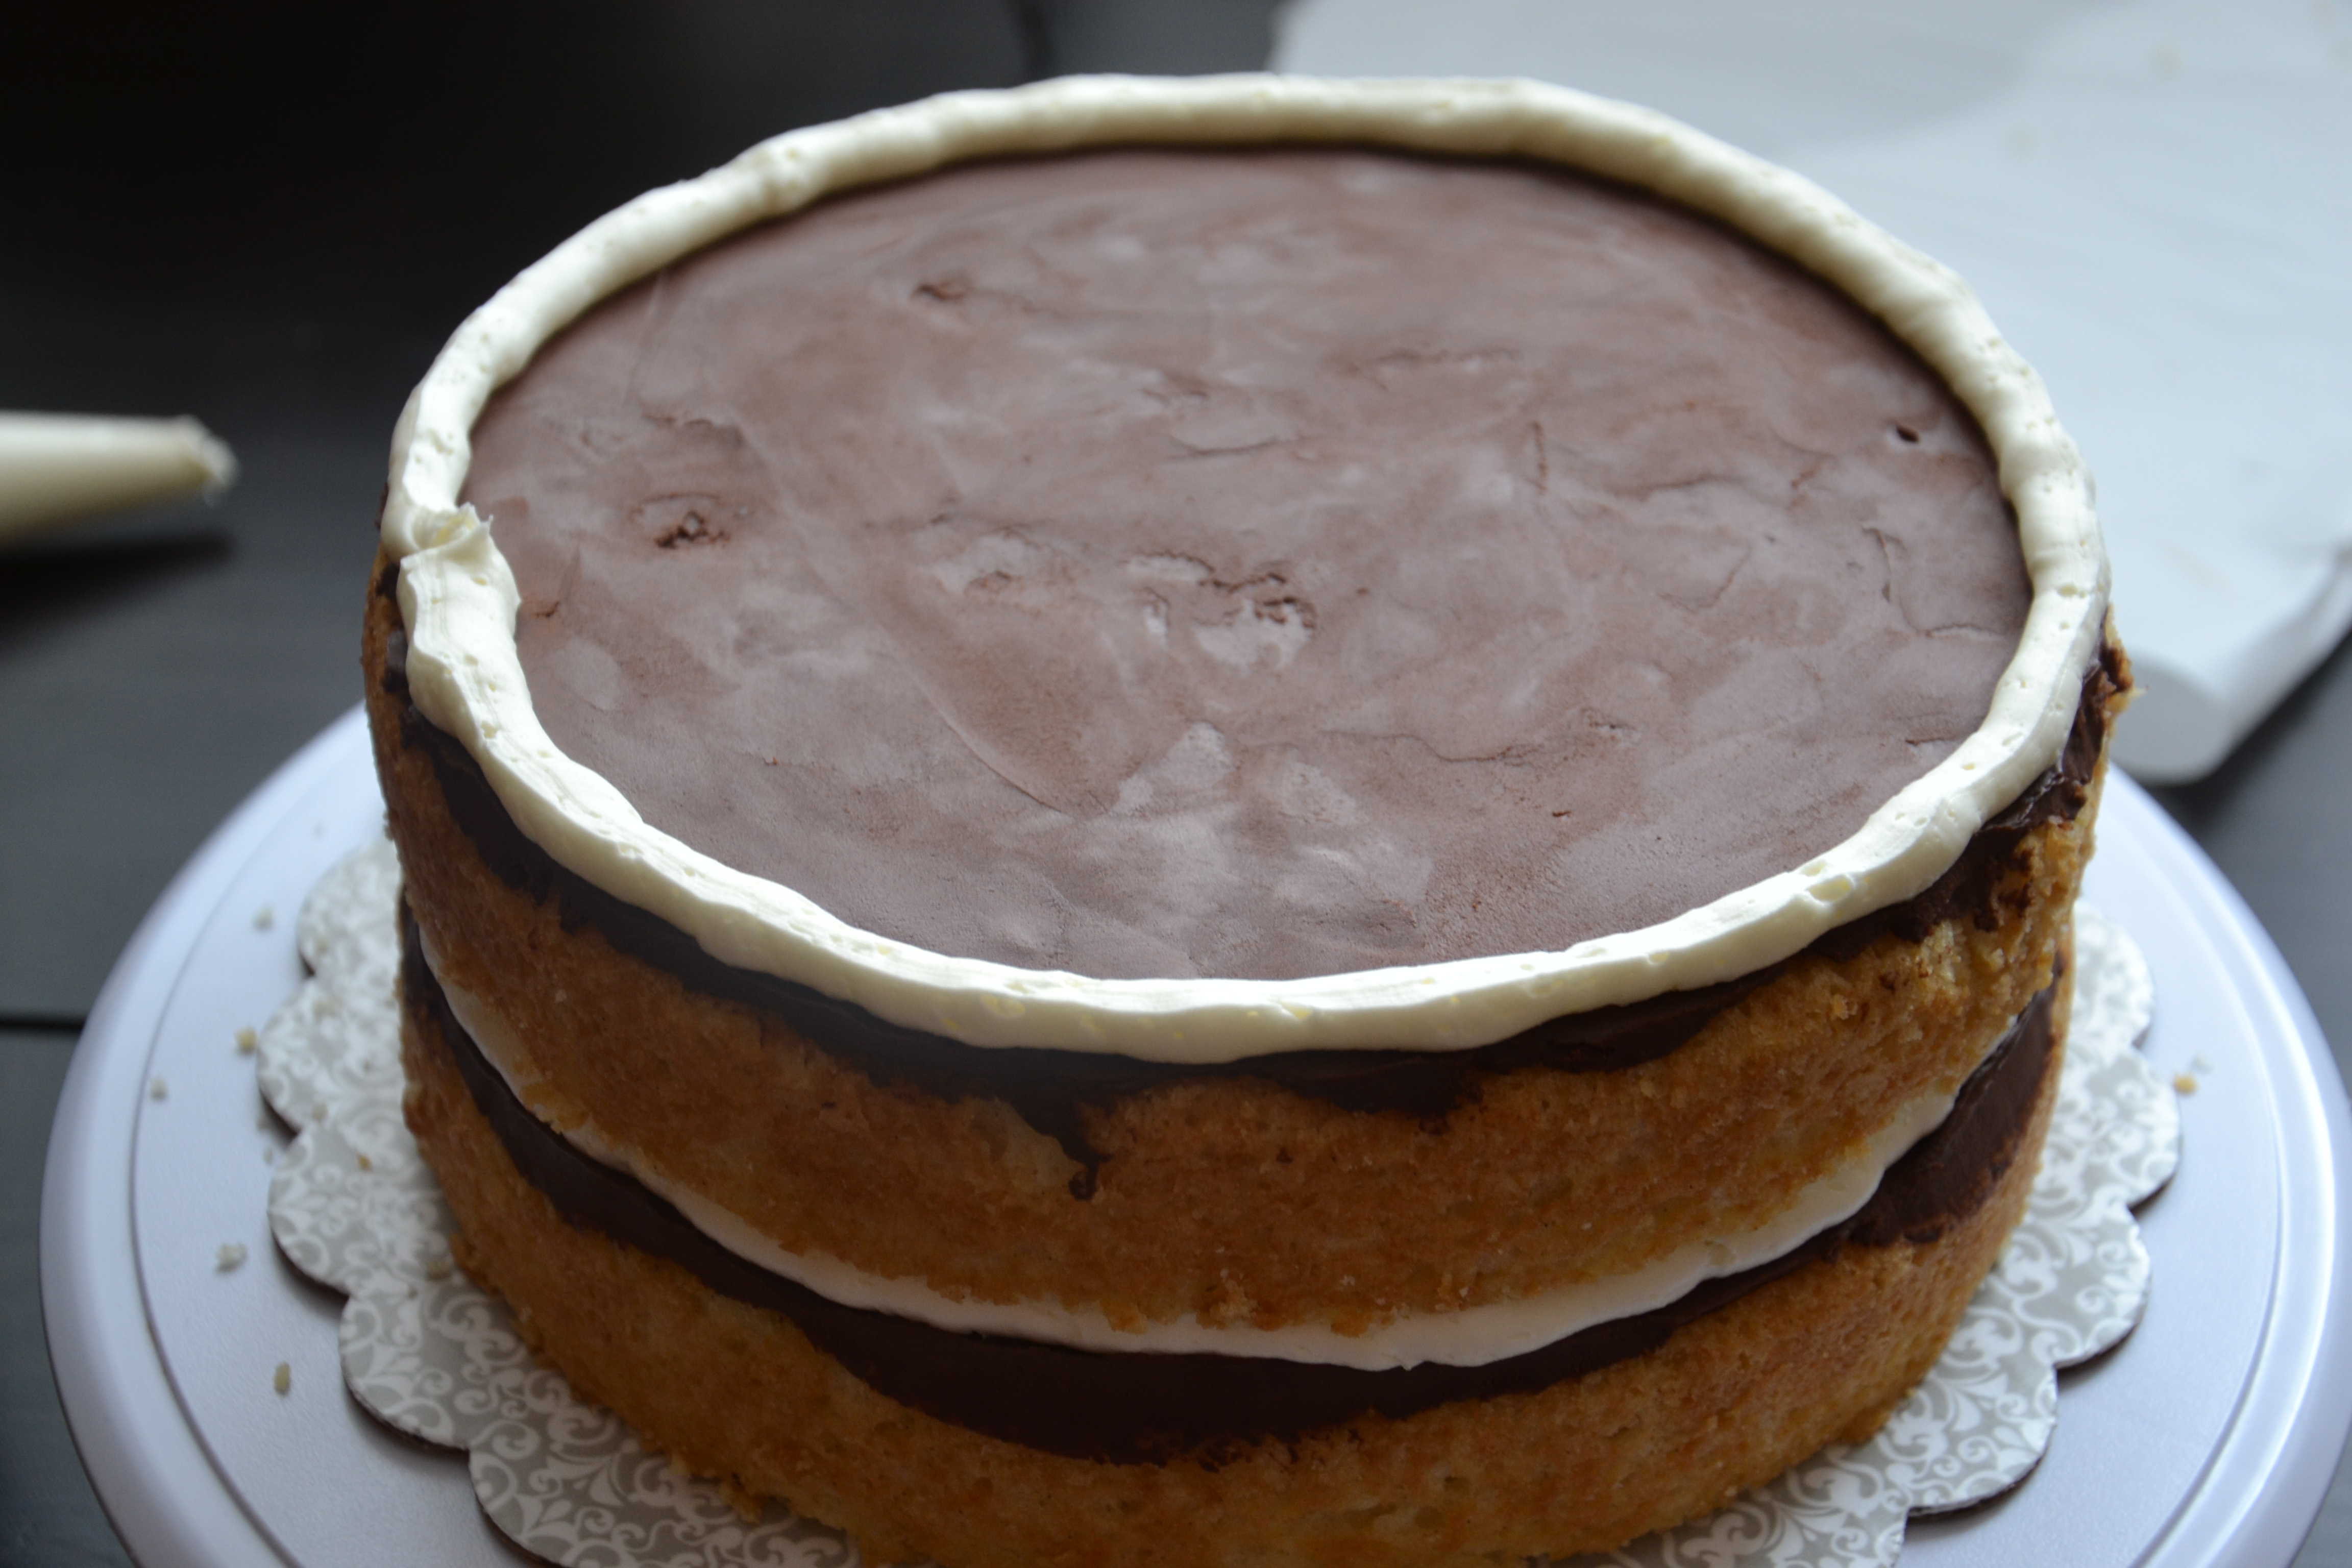
I did not add a dowel because I didn’t want to compromise the chocolate layer. If felt quite stable and I was comfortable not including this component.
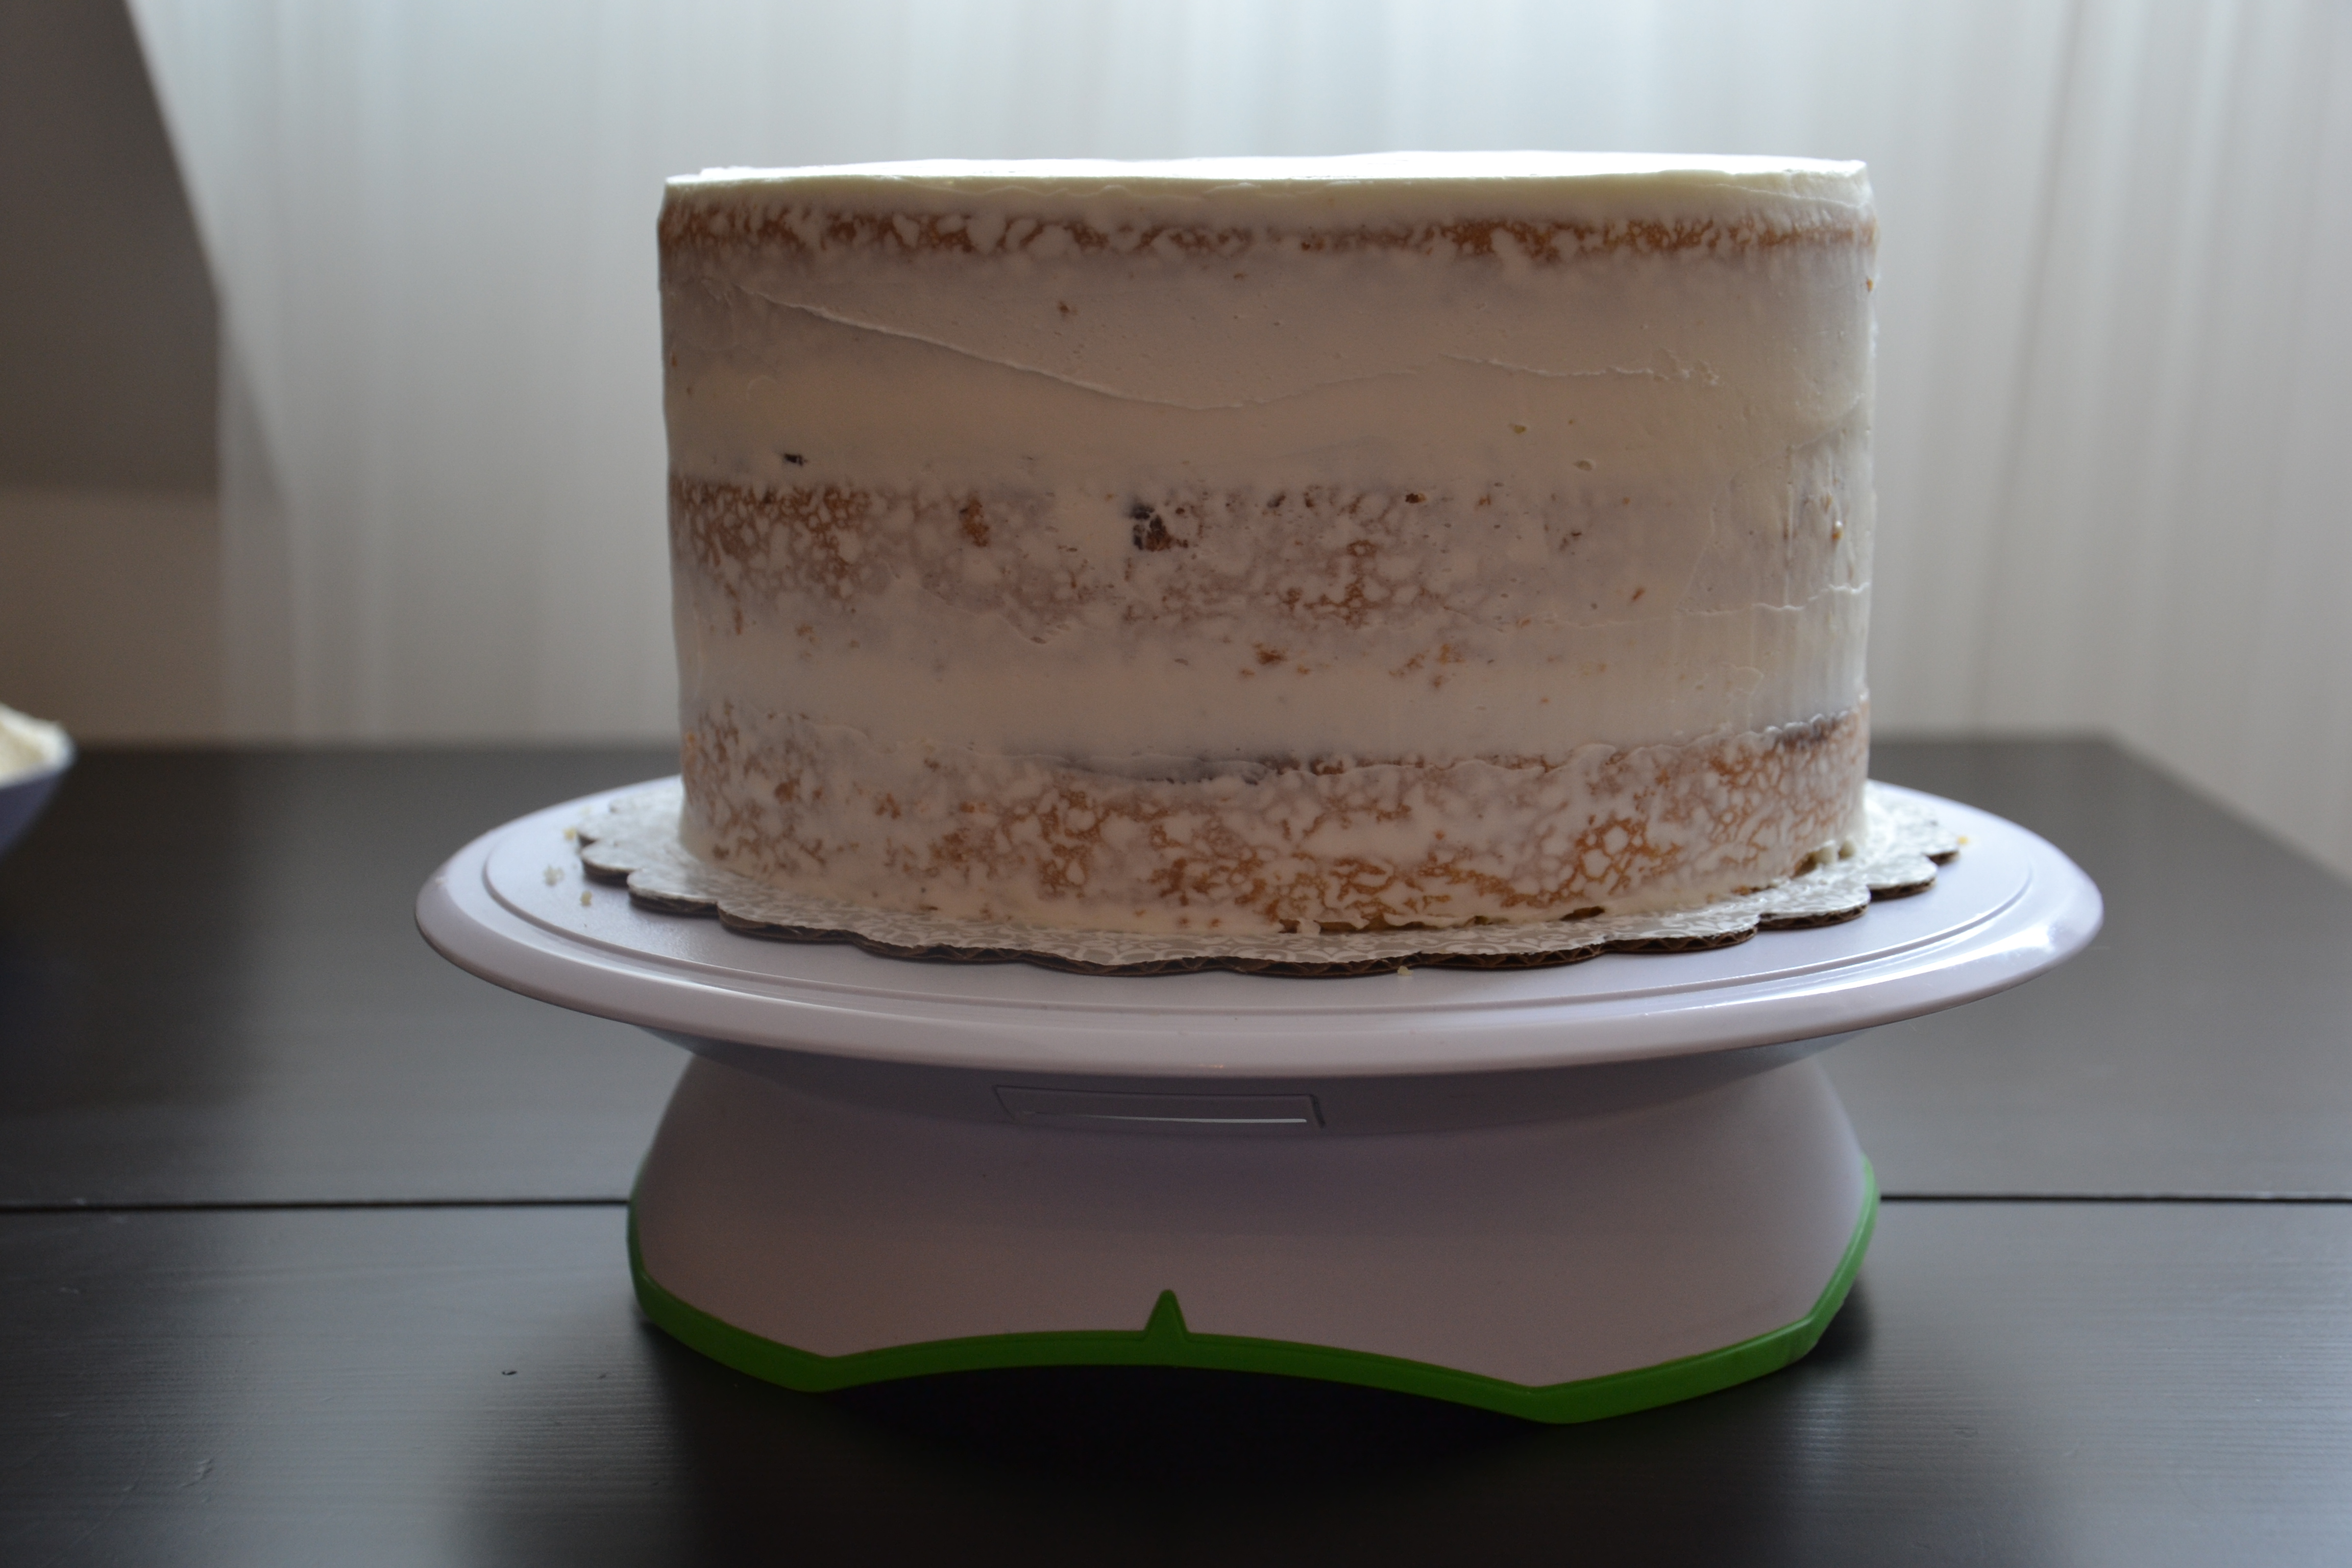
Crumb coated with a thin layer of Vanilla Buttercream.
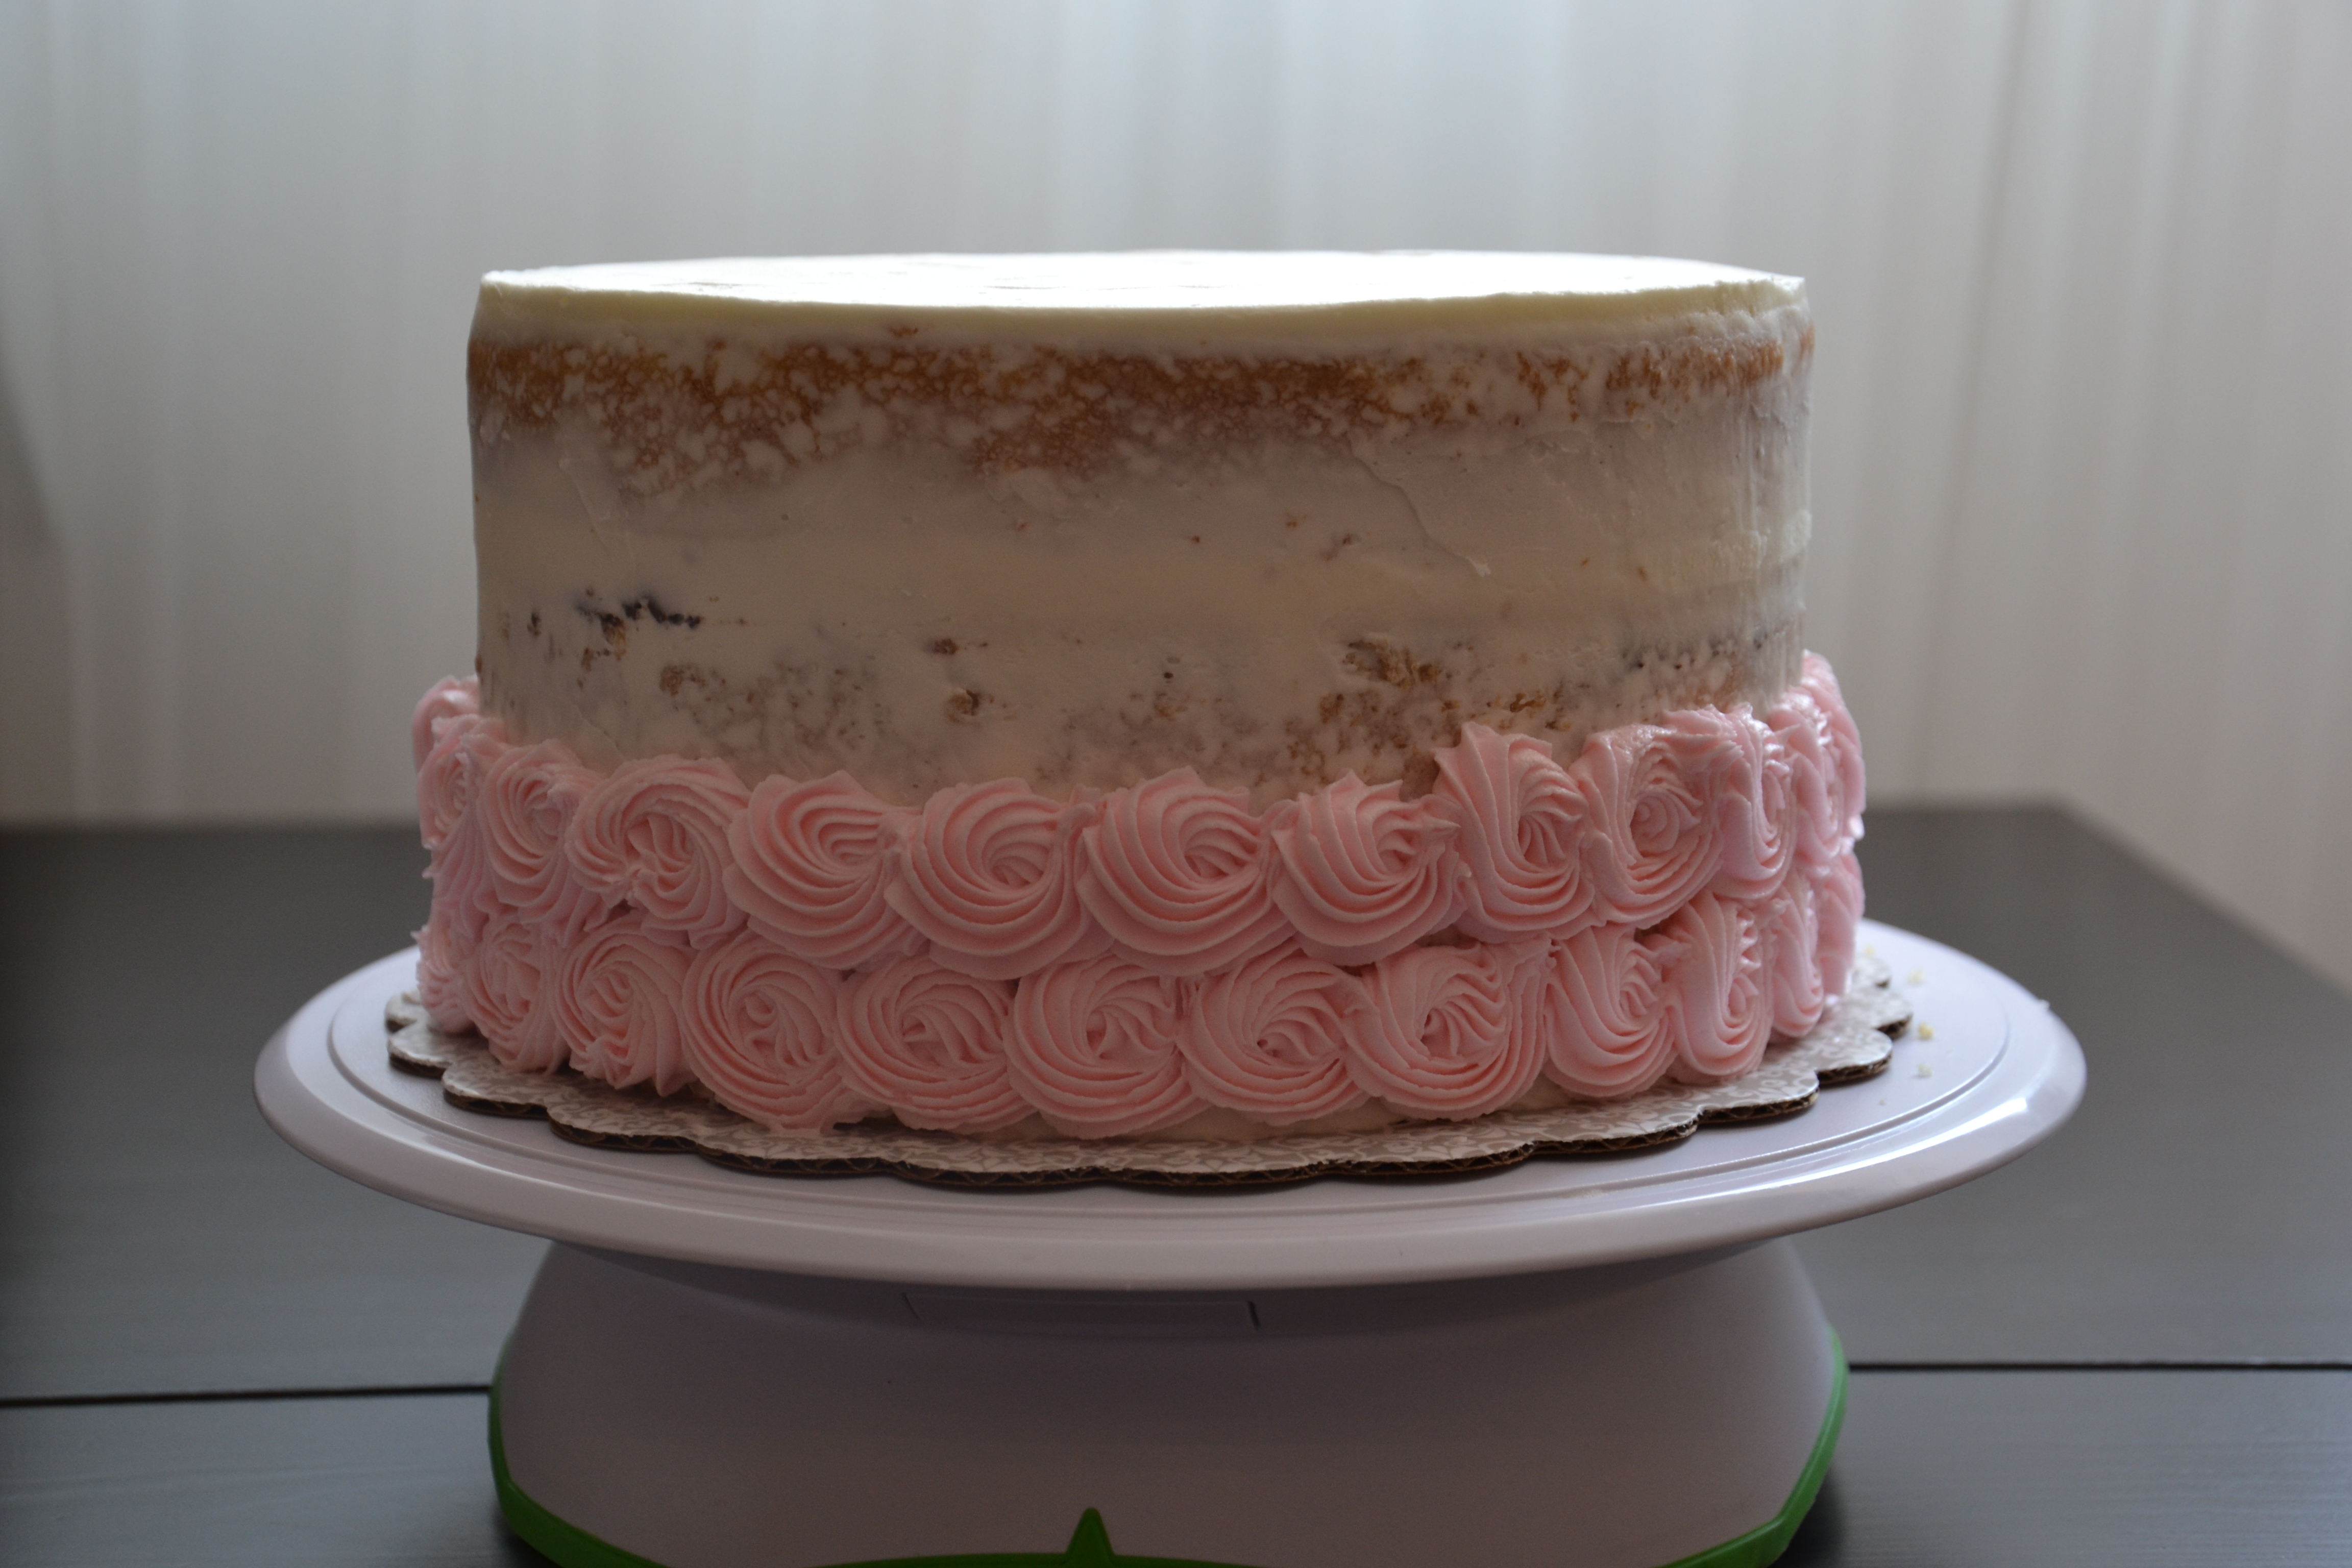
Starting with the Strawberry Rosettes… I didn’t like it. Not one bit.
With the spatula, all the frosting was wiped off and mixed back into the bowl.
This is a beautiful feature of cake decorating and buttercream… it’s incredibly flexible and if one design isn’t working, try another. It is no big deal.
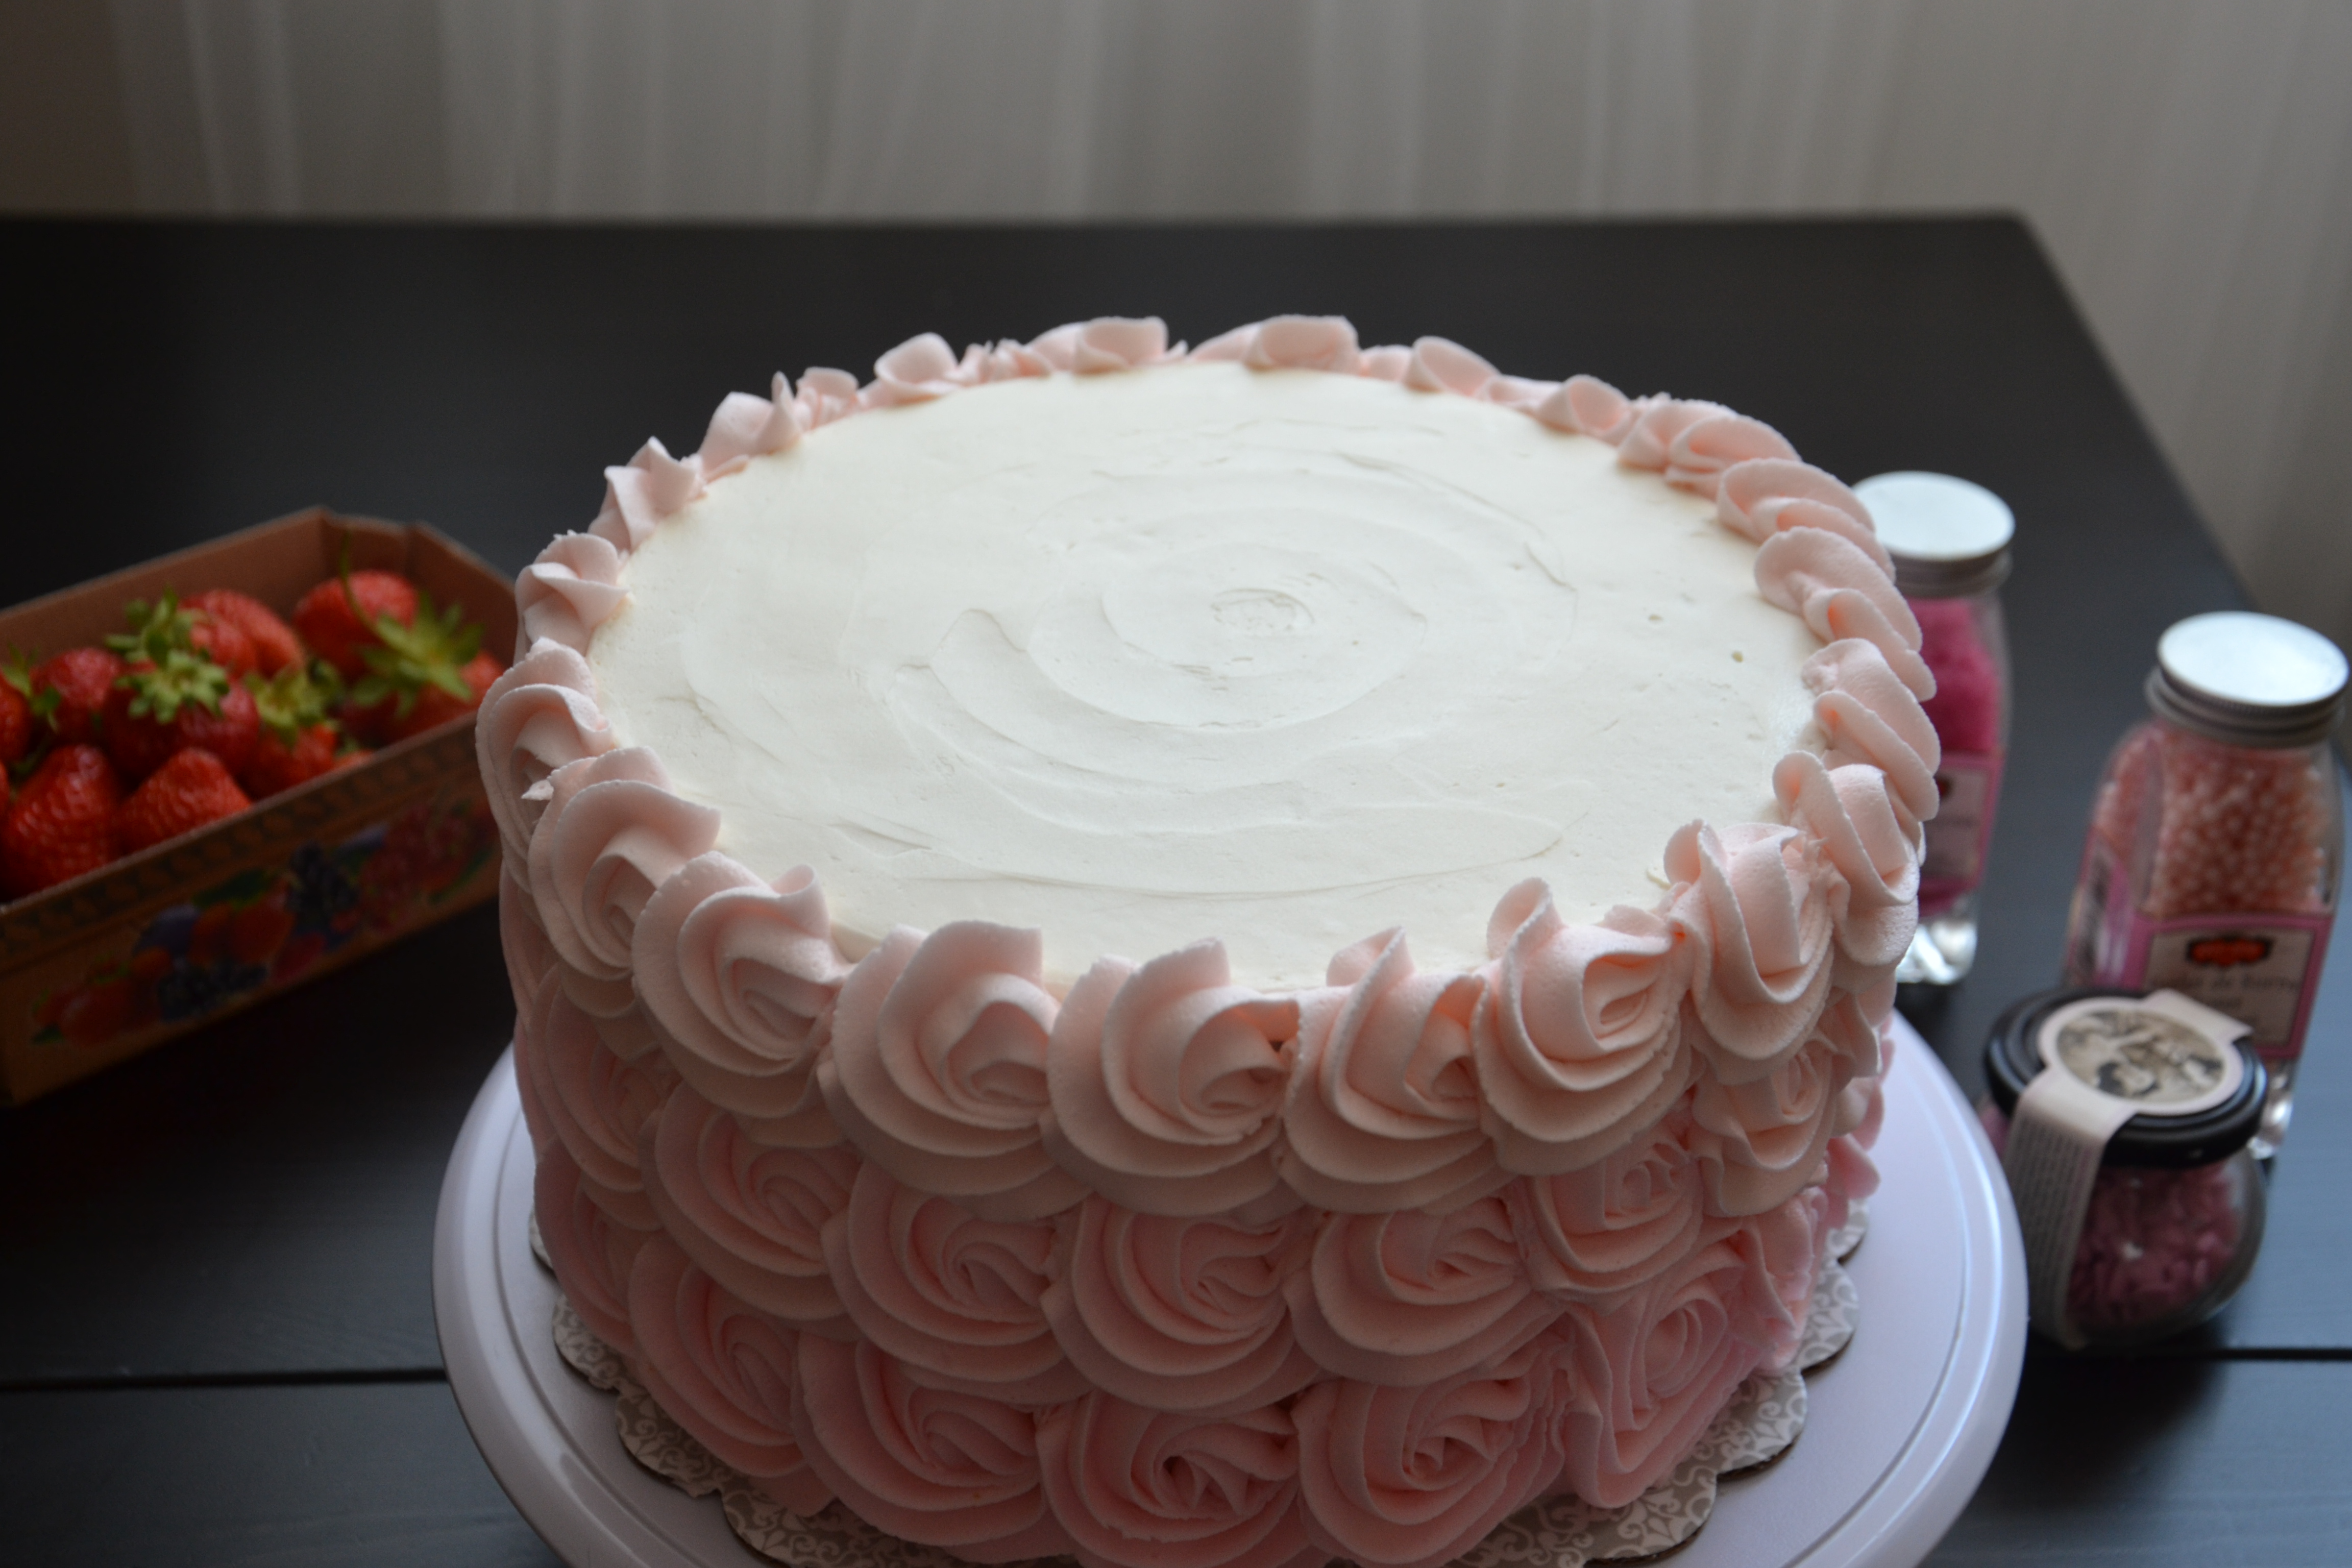
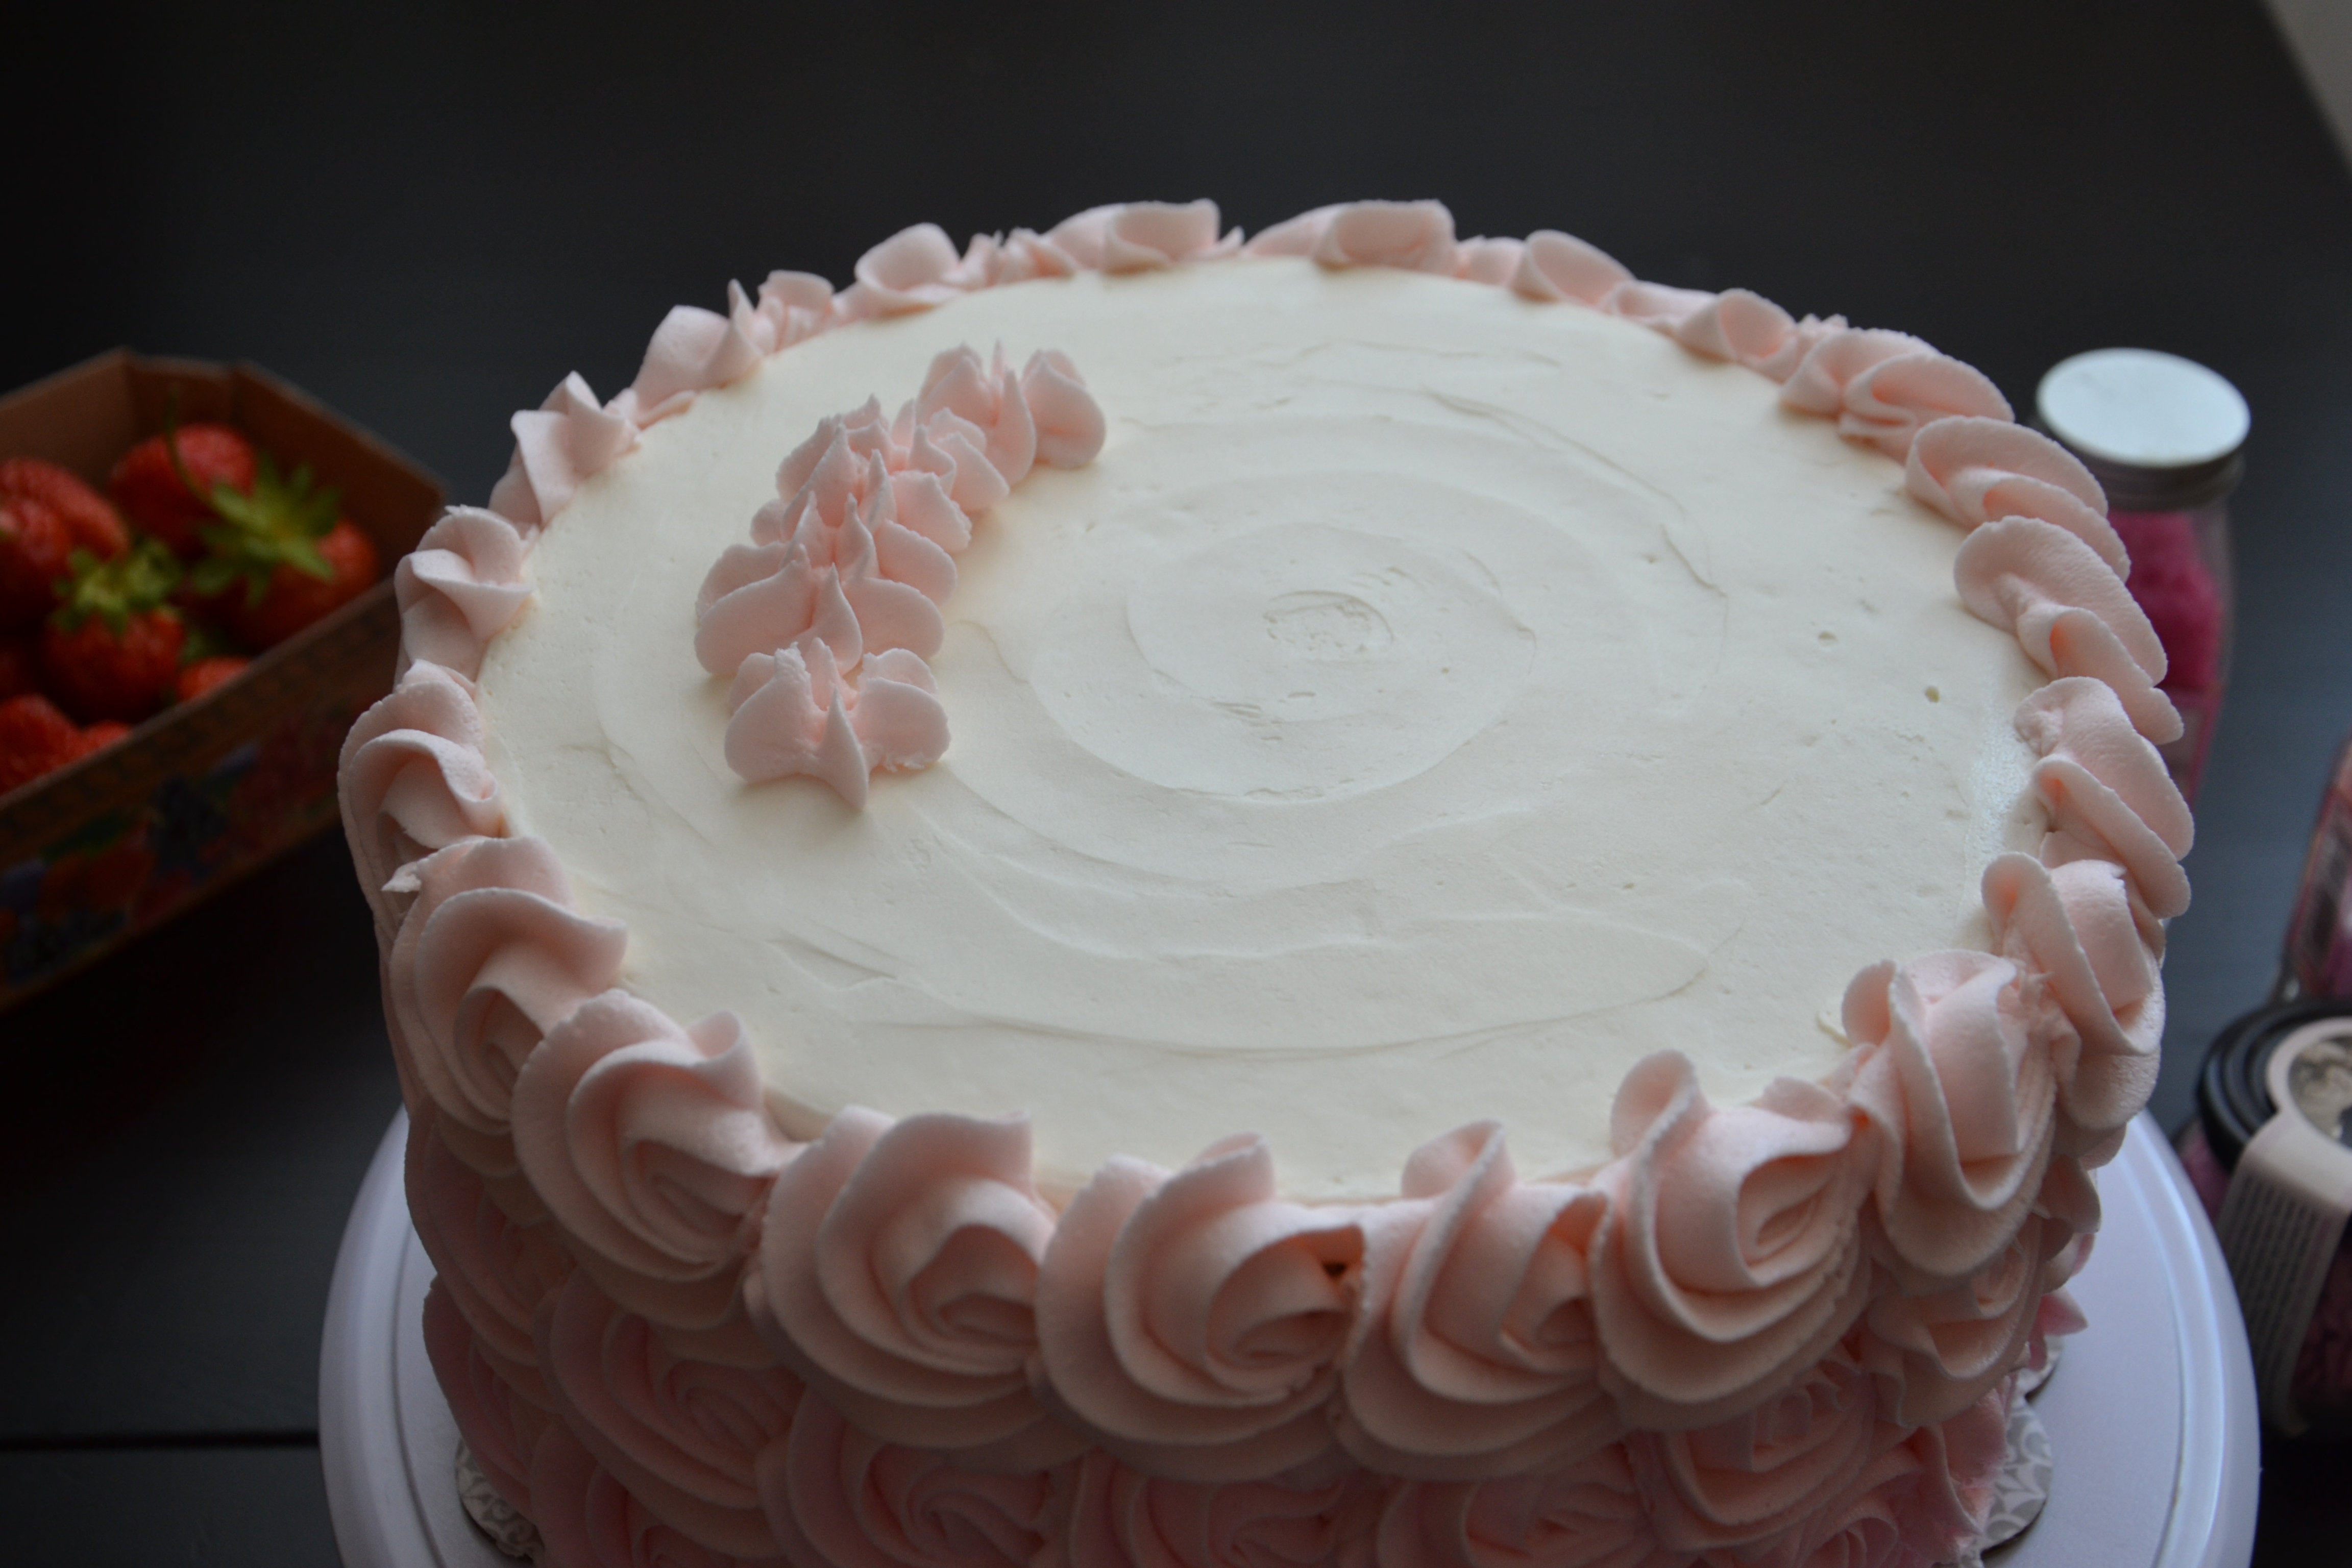
The little bits of buttercream on the top of the cake will support the fresh strawberries. I also added Strawberry Pocky Sticks for fun and texture. Sifting a wee bit of powdered sugar on the berries adds a sparkly touch.

Again, since this was a birthday cake – there’s no slice pic! And that’s ok, too.
At the end of the day, I got to design a really sweet cake.
Long-term sobriety is worth it. I get to have an amazing life with my life partner and we get to enjoy our people.

1 Response
[…] Time to bake the cake. First step, steep the vanilla beans in the buttermilk. I went in to greater detail on this step when I blogged about it with this Strawberries & Cream Cake. […]