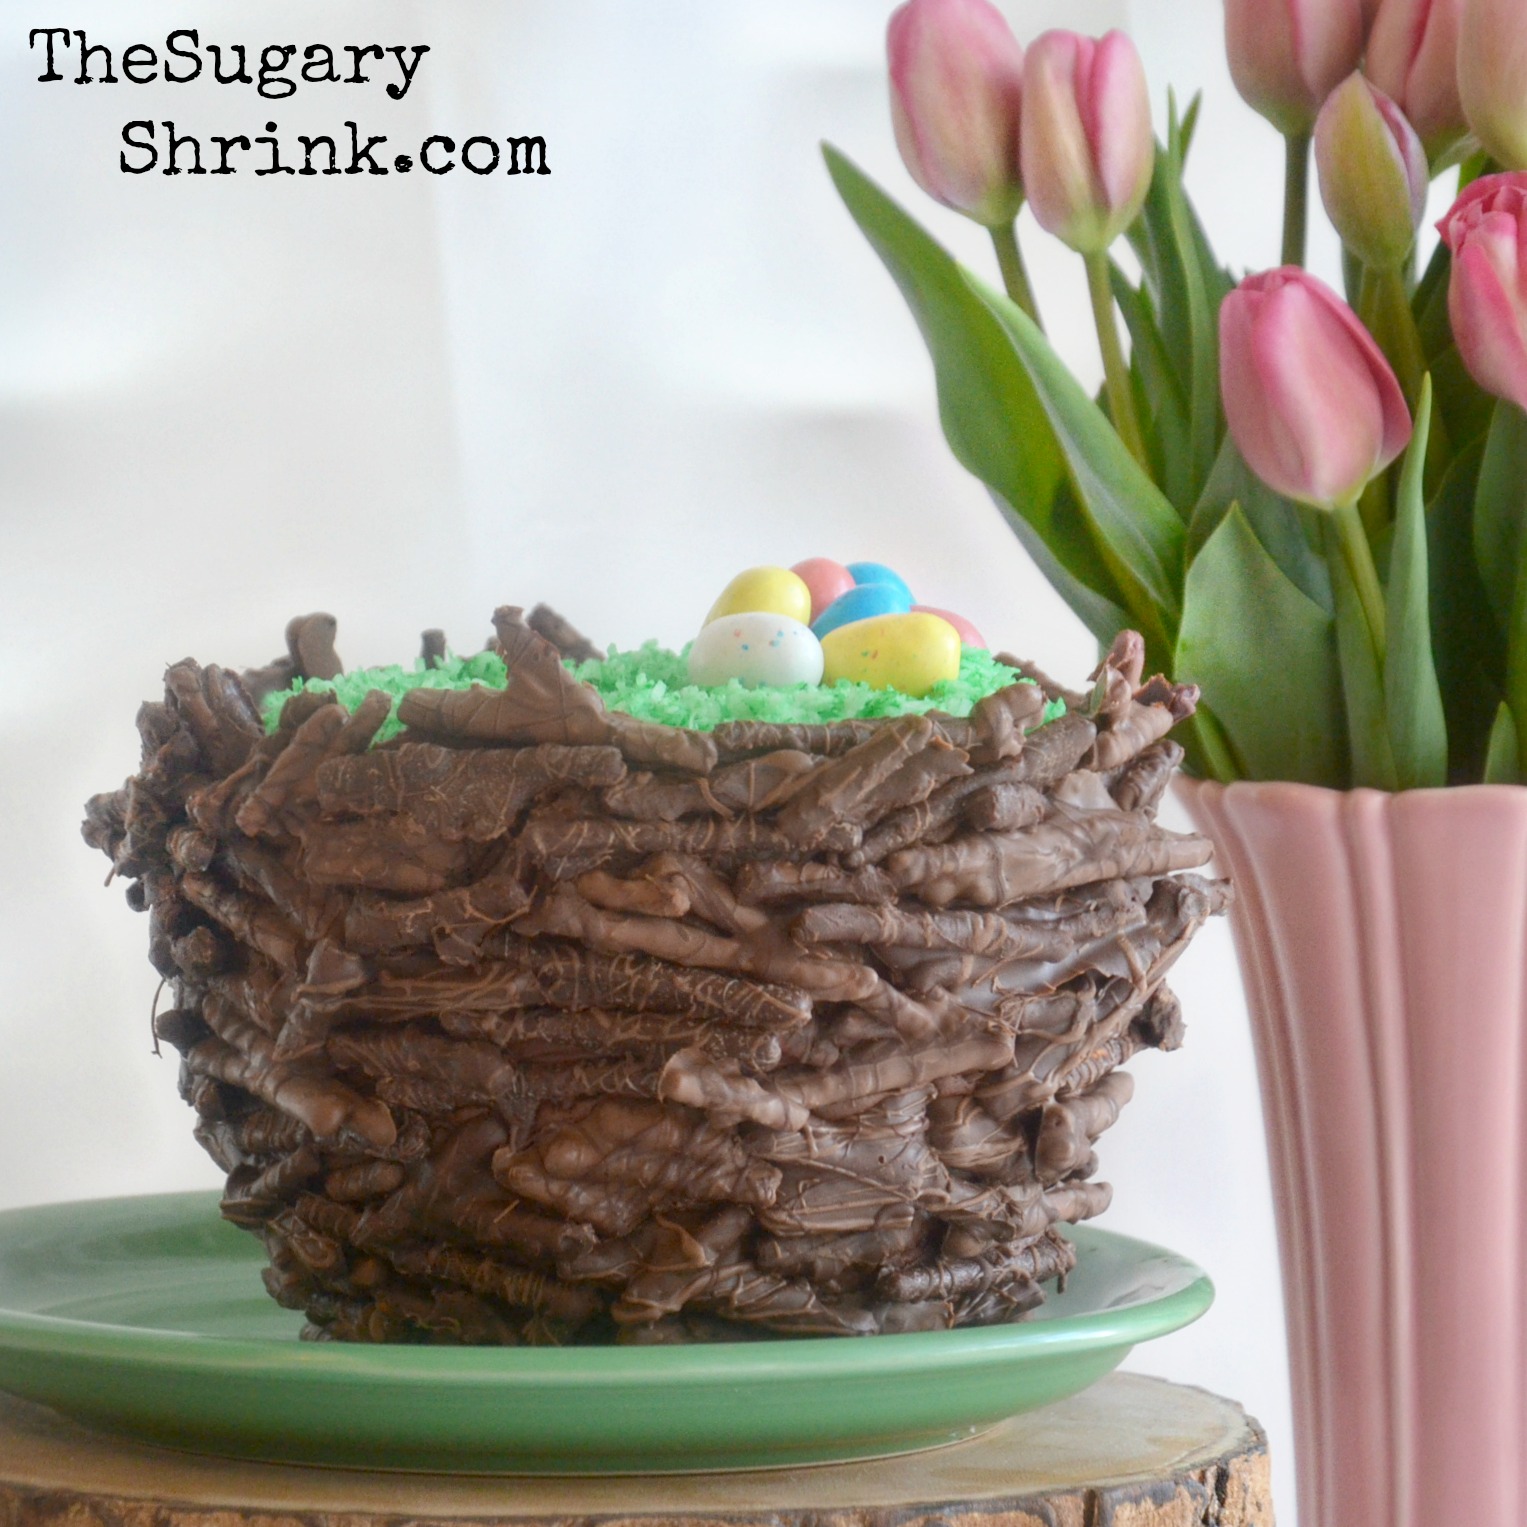
A Spring Nest

Spring has finally sprung! I’m so excited I can’t stand it. The perineals we planted last summer (which I swore were dead and nearly yanked outta the flower bed under the pine tree out front) … has begun growing and blooming! They look just so sweet. It is also the case we have a pair of nests out back left over from last year. And that was my inspiration for today’s cake.
How to construct a nest? I had been thinking earlier this week about a basket and didn’t want to create a standard buttercream basket pattern.. this requires more patience than I was willing to muster. I thought about a more rustic basket.. which lead to thinking of twigs.. which lead to.. what about a nest? With little ‘eggs’?
Thinking it through.. I needed a nest shape and twigs and eggs.
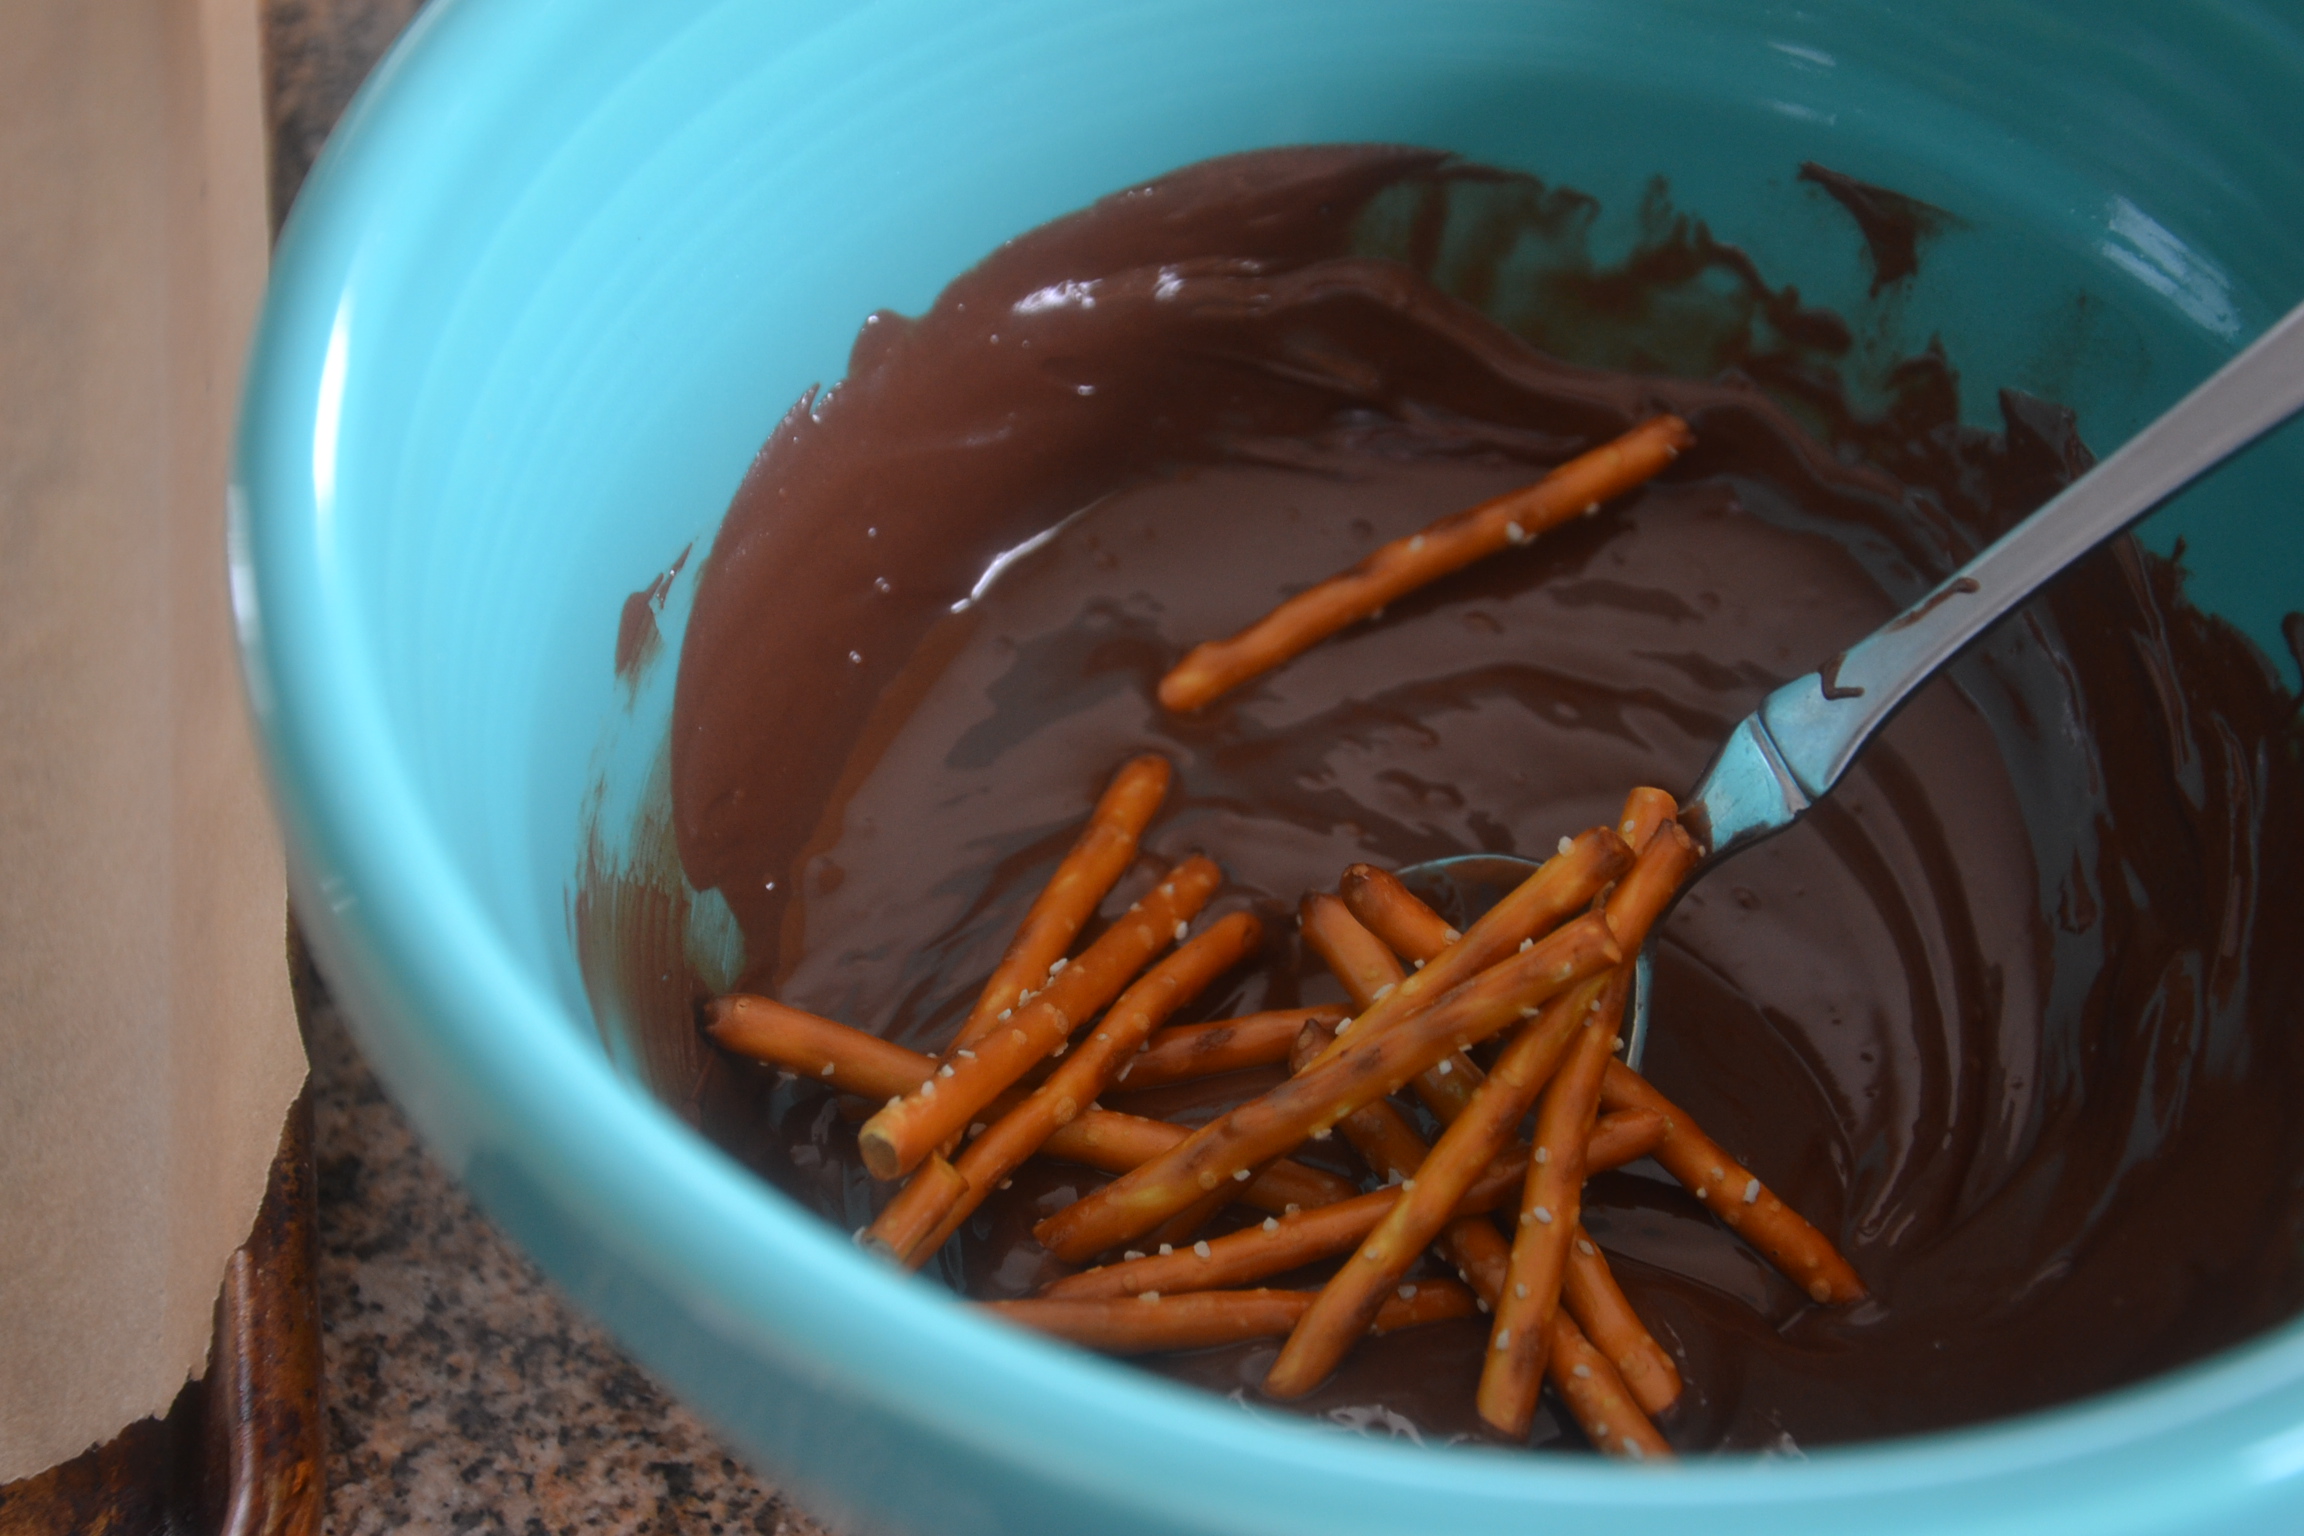
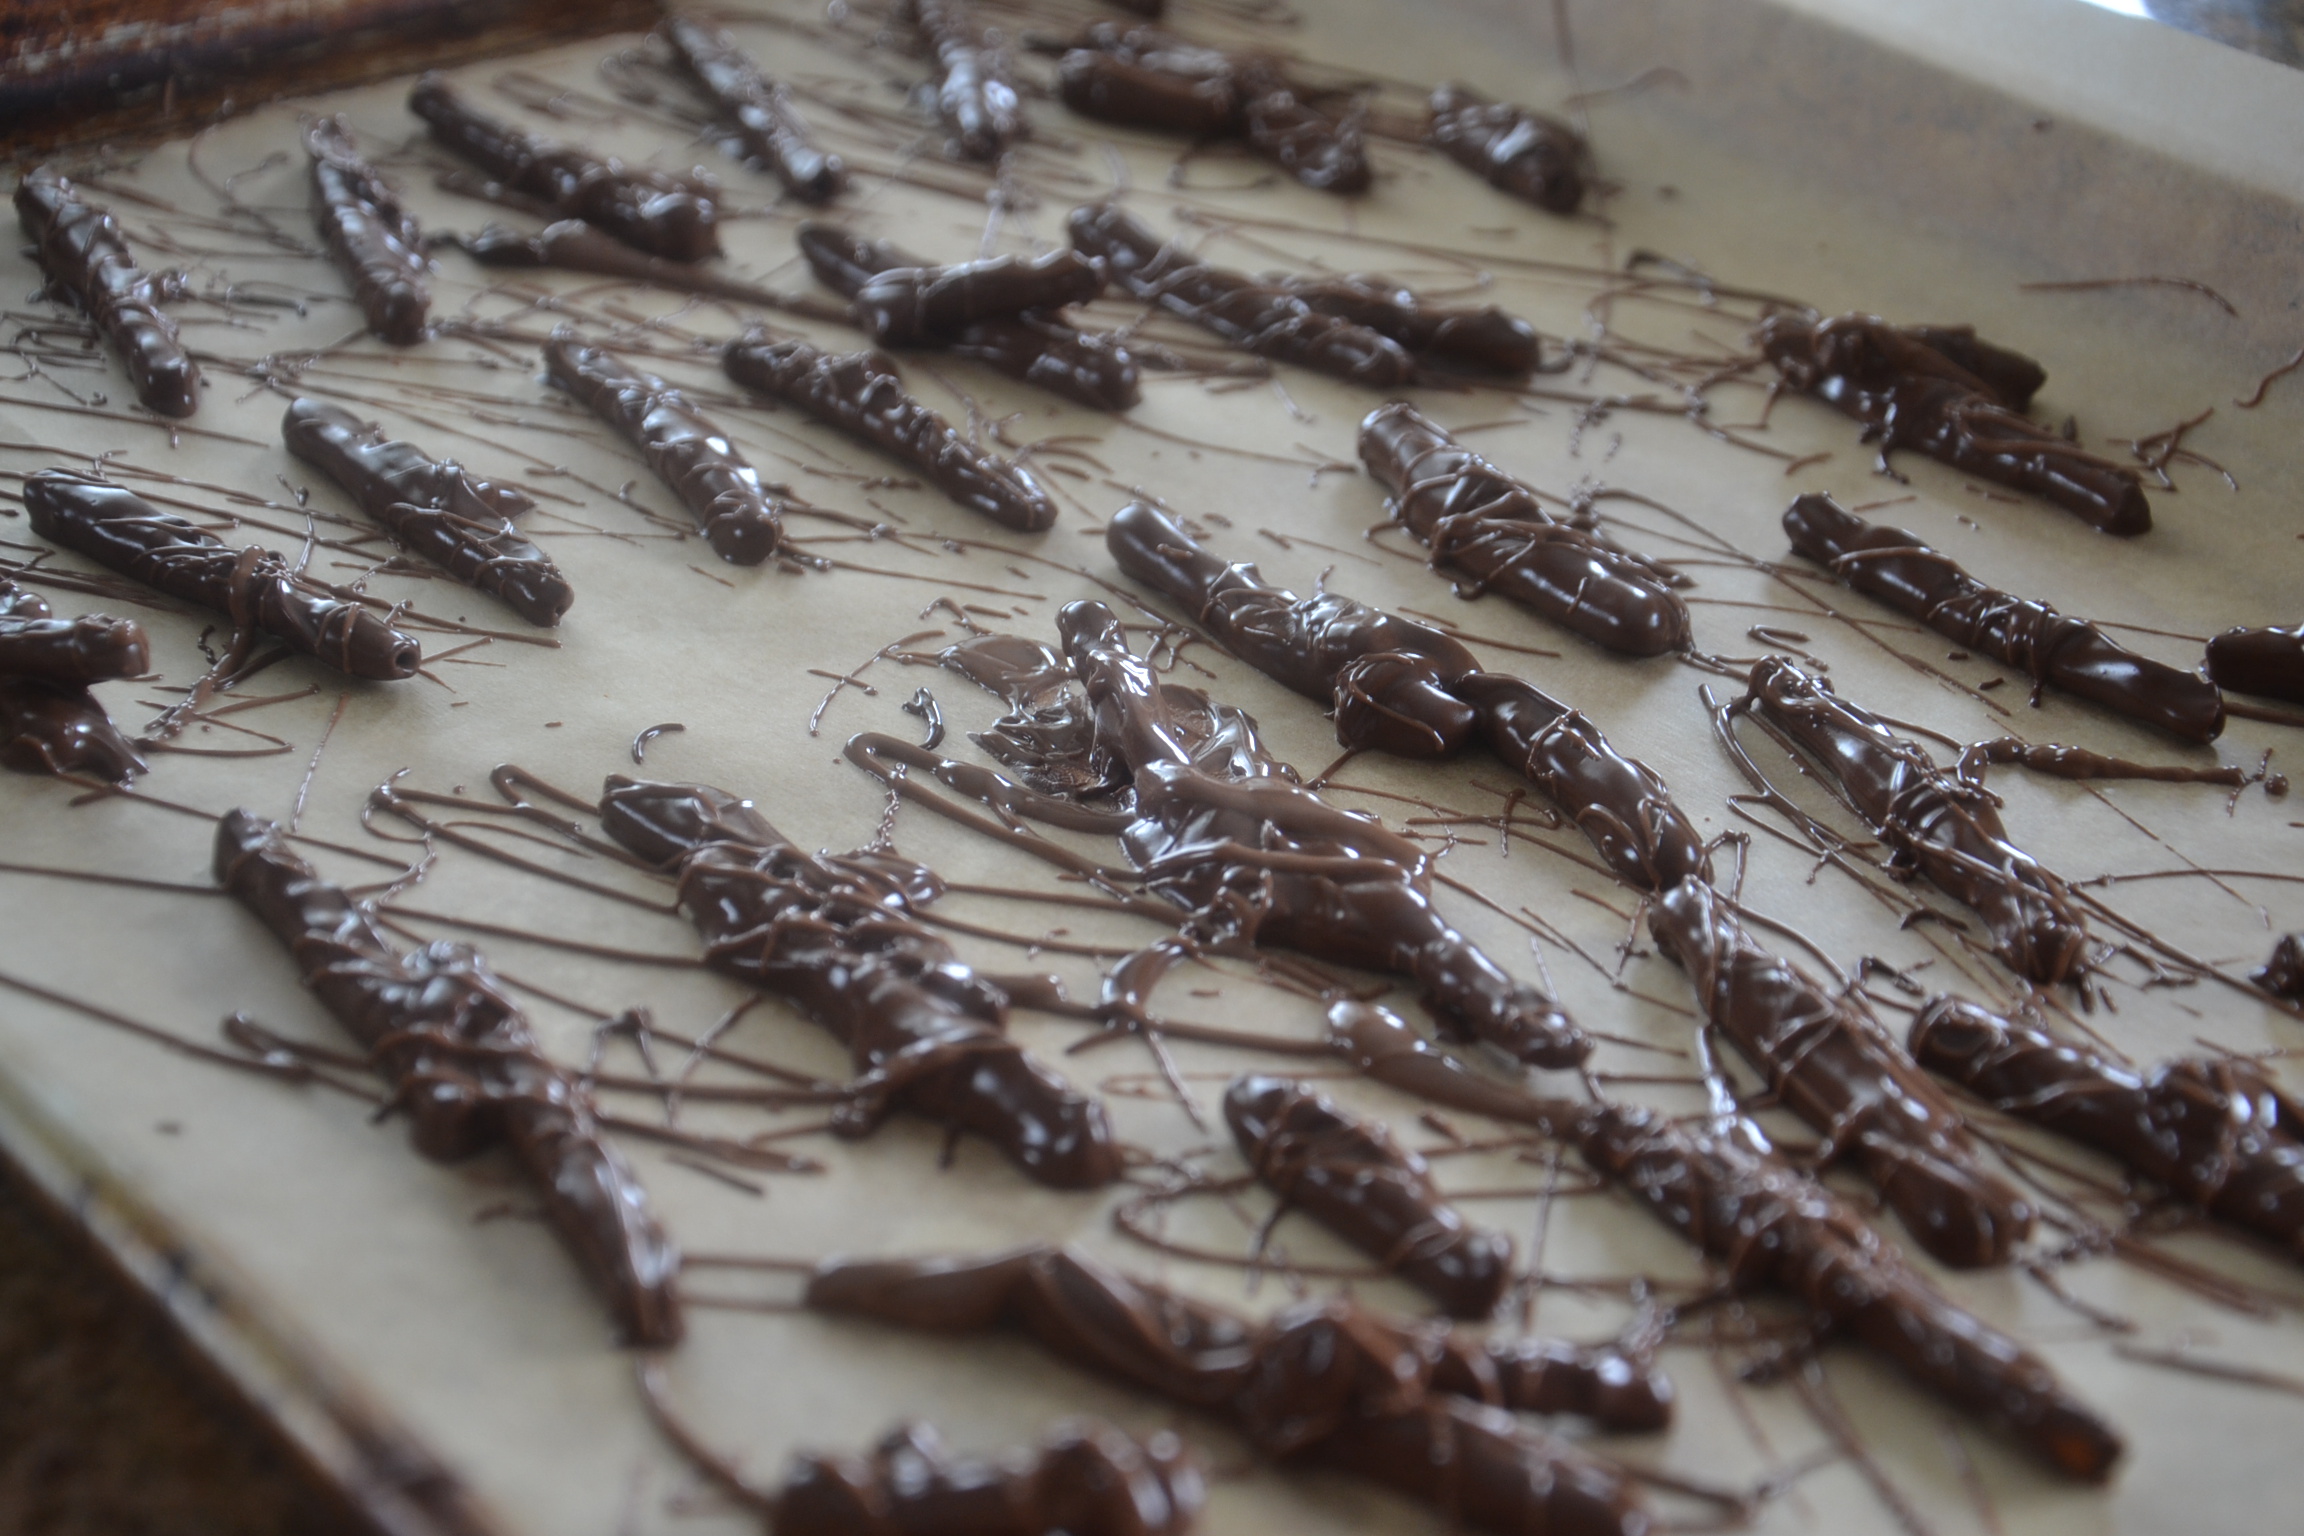
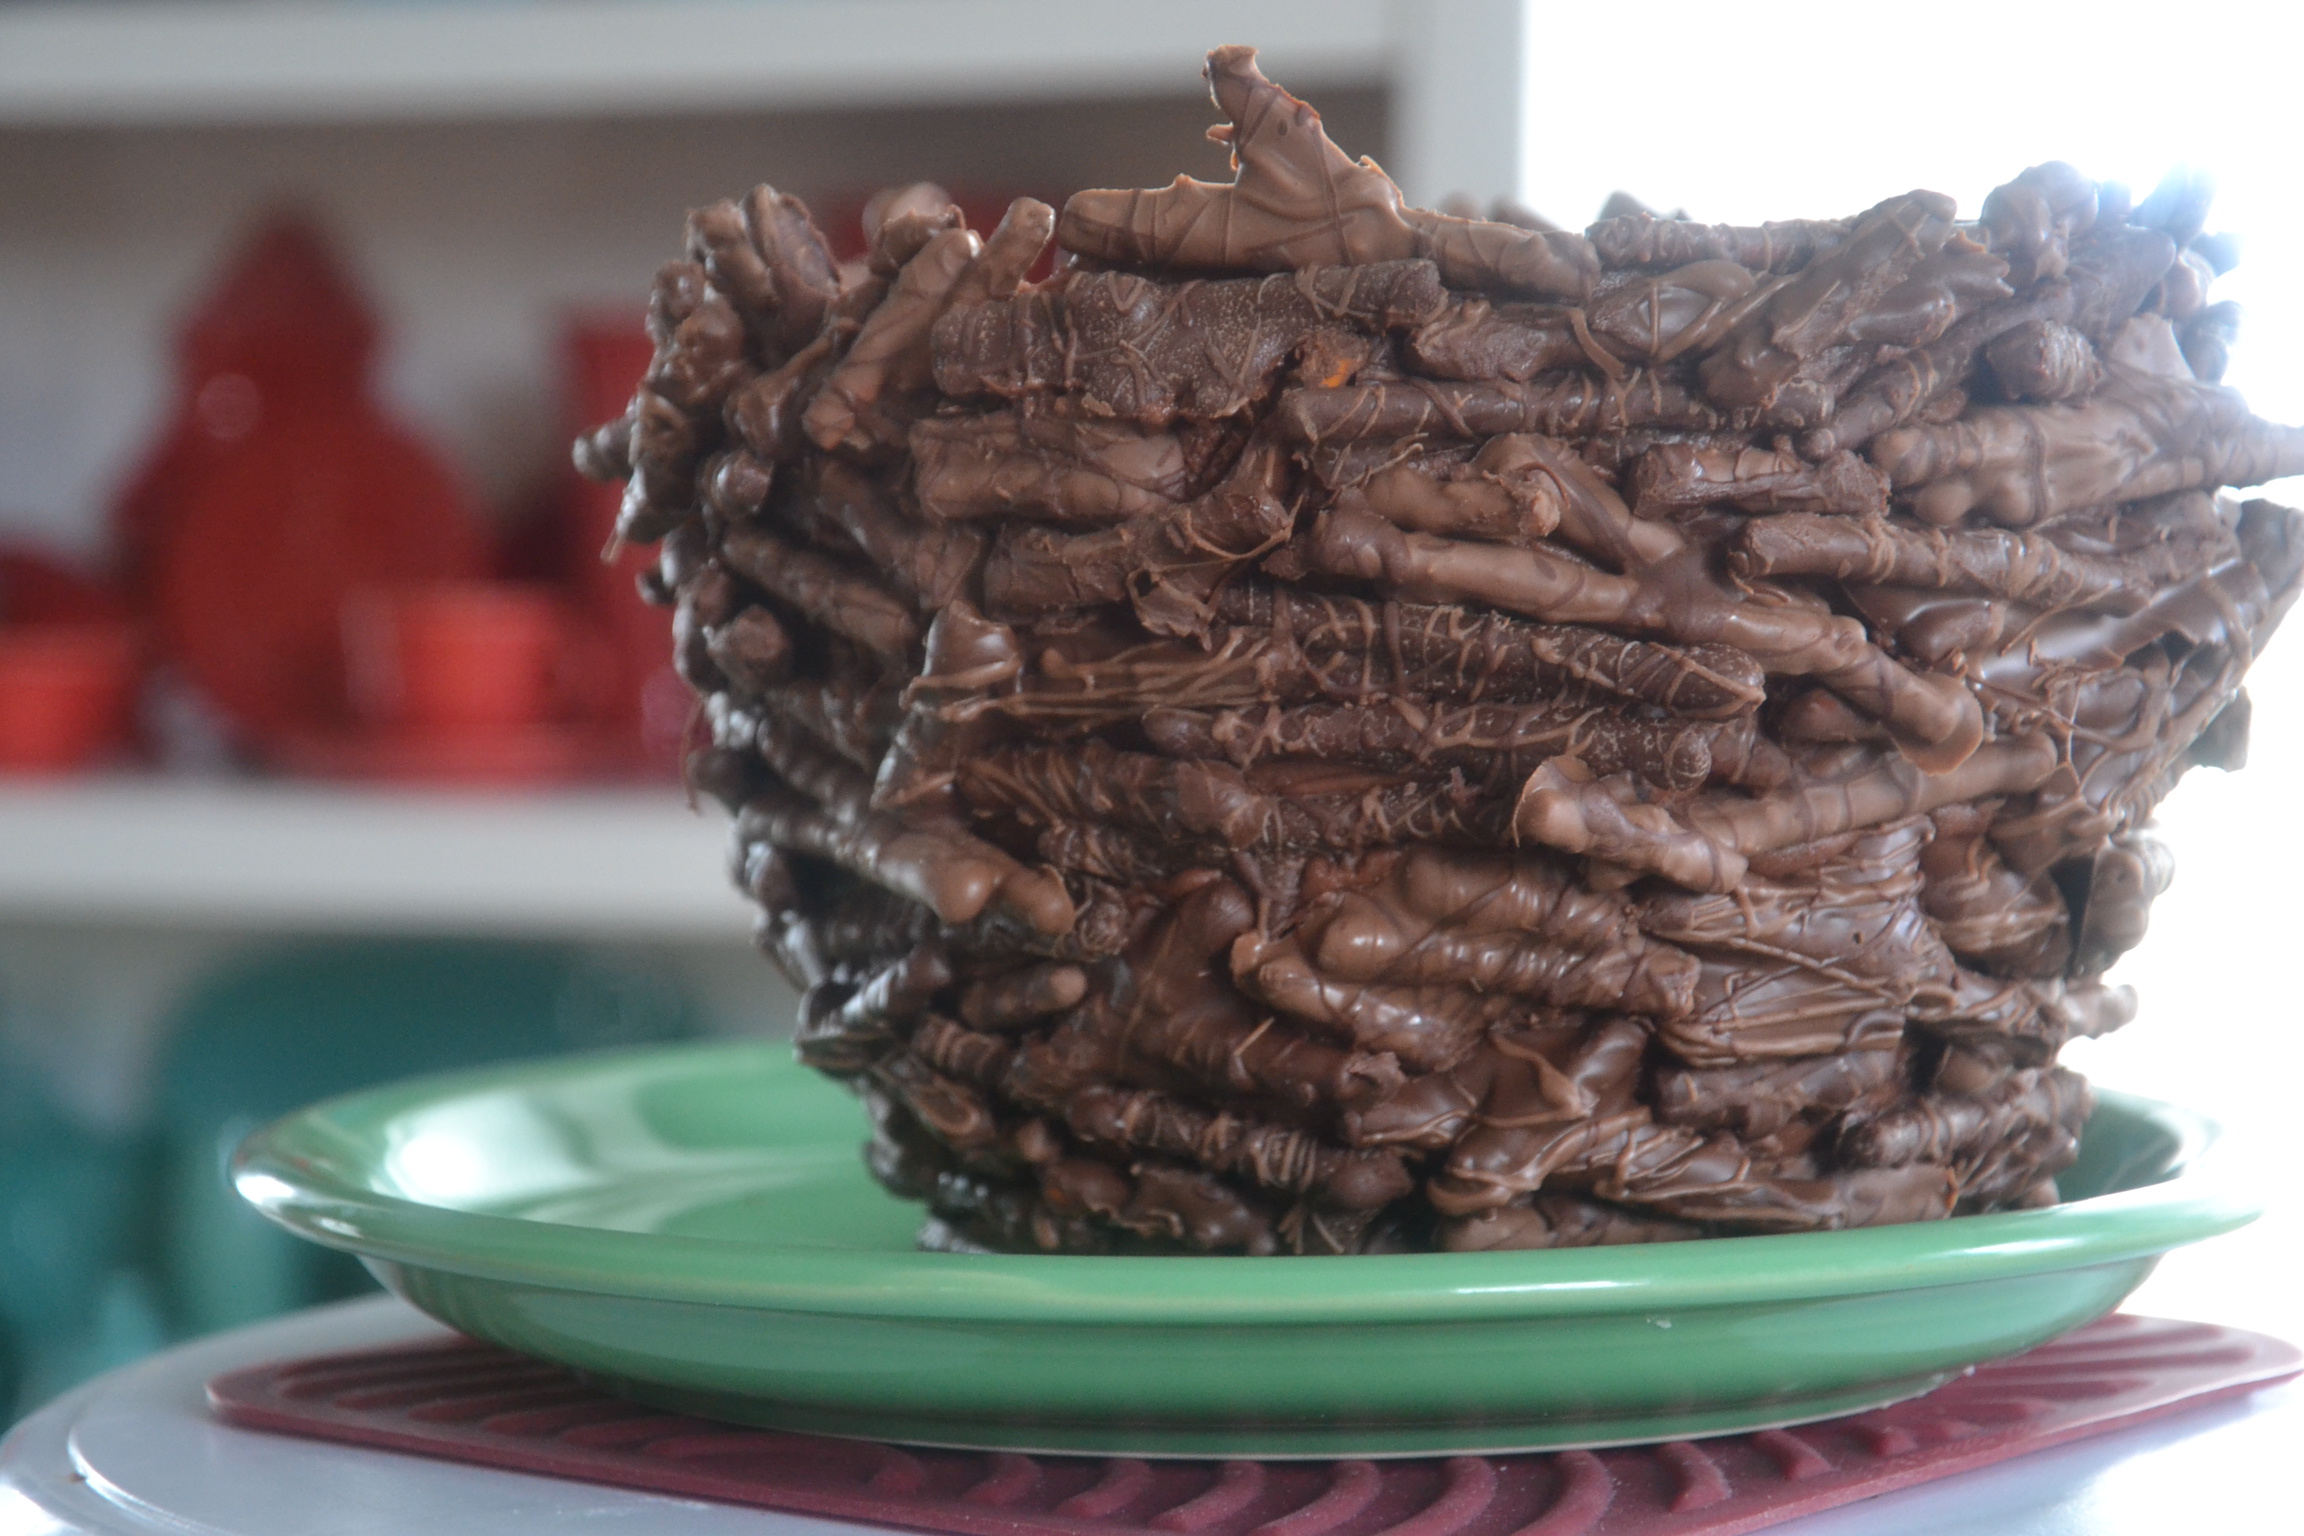
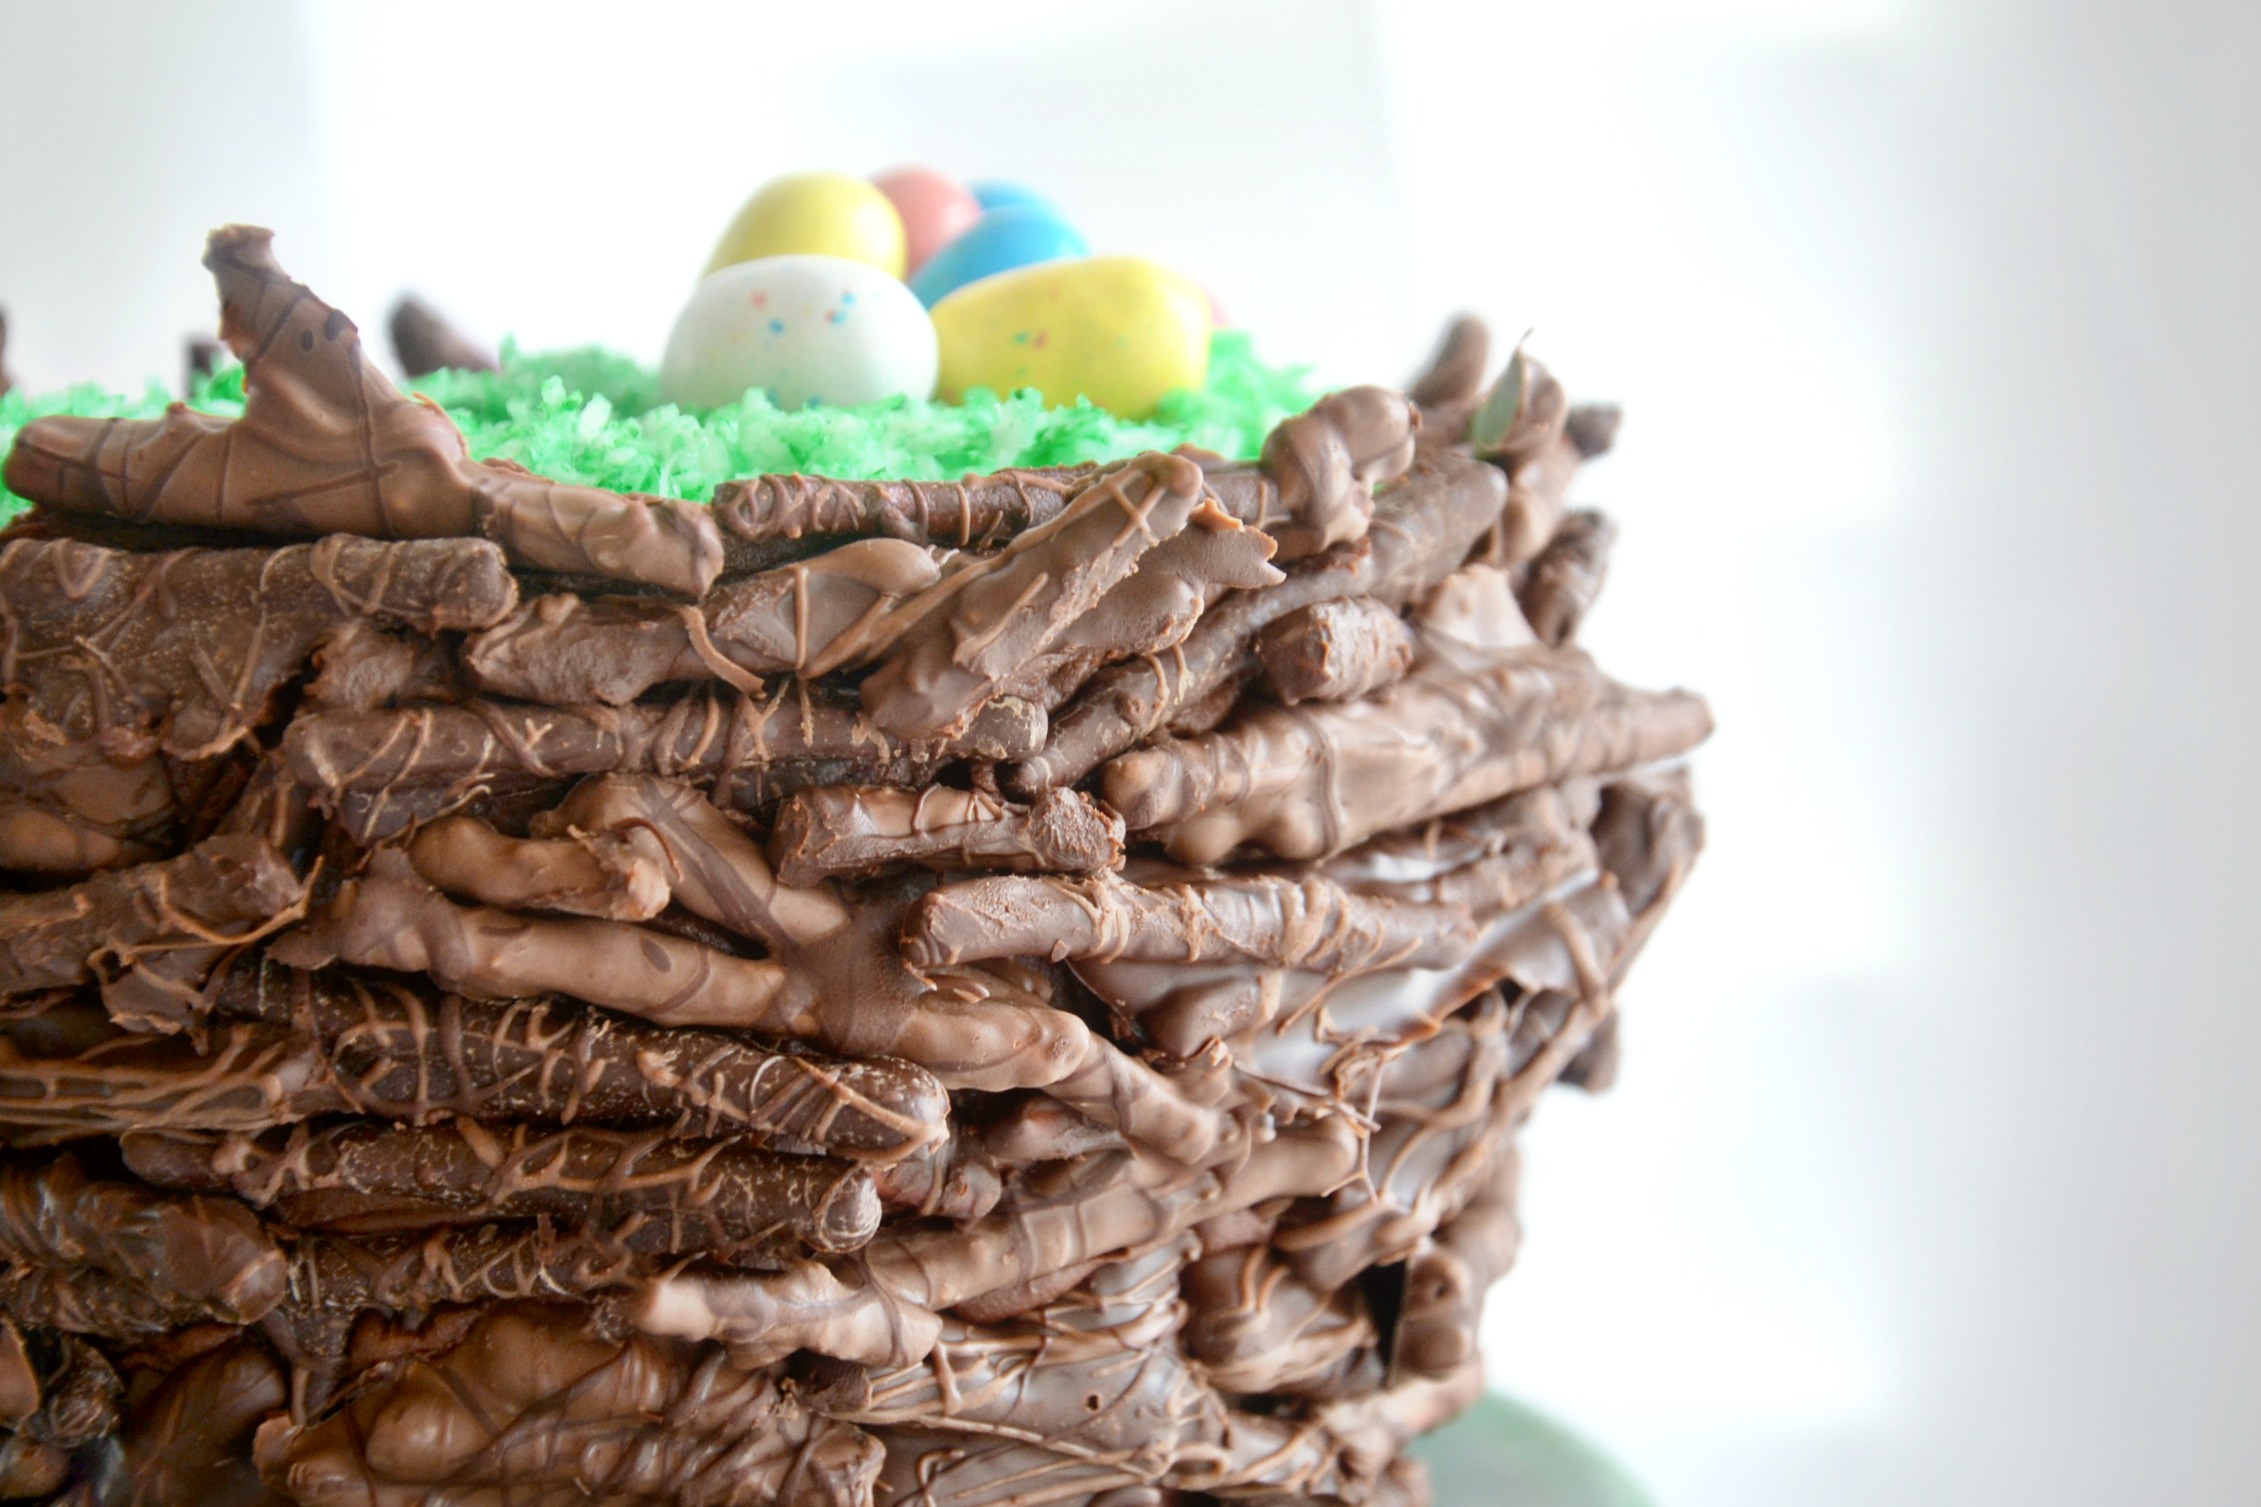
Starting with the sticks. Pretzels seem like a natural fit and who doesn’t love chocolate covered pretzels?? I love the crunch and the saltiness combined with the sweet of the chocolate. I knew it would be important to ensure the twigs had dimension and texture with a variety of light and dark. I melted several different chocolates with a wee bit of coconut oil to aid in smoothness.
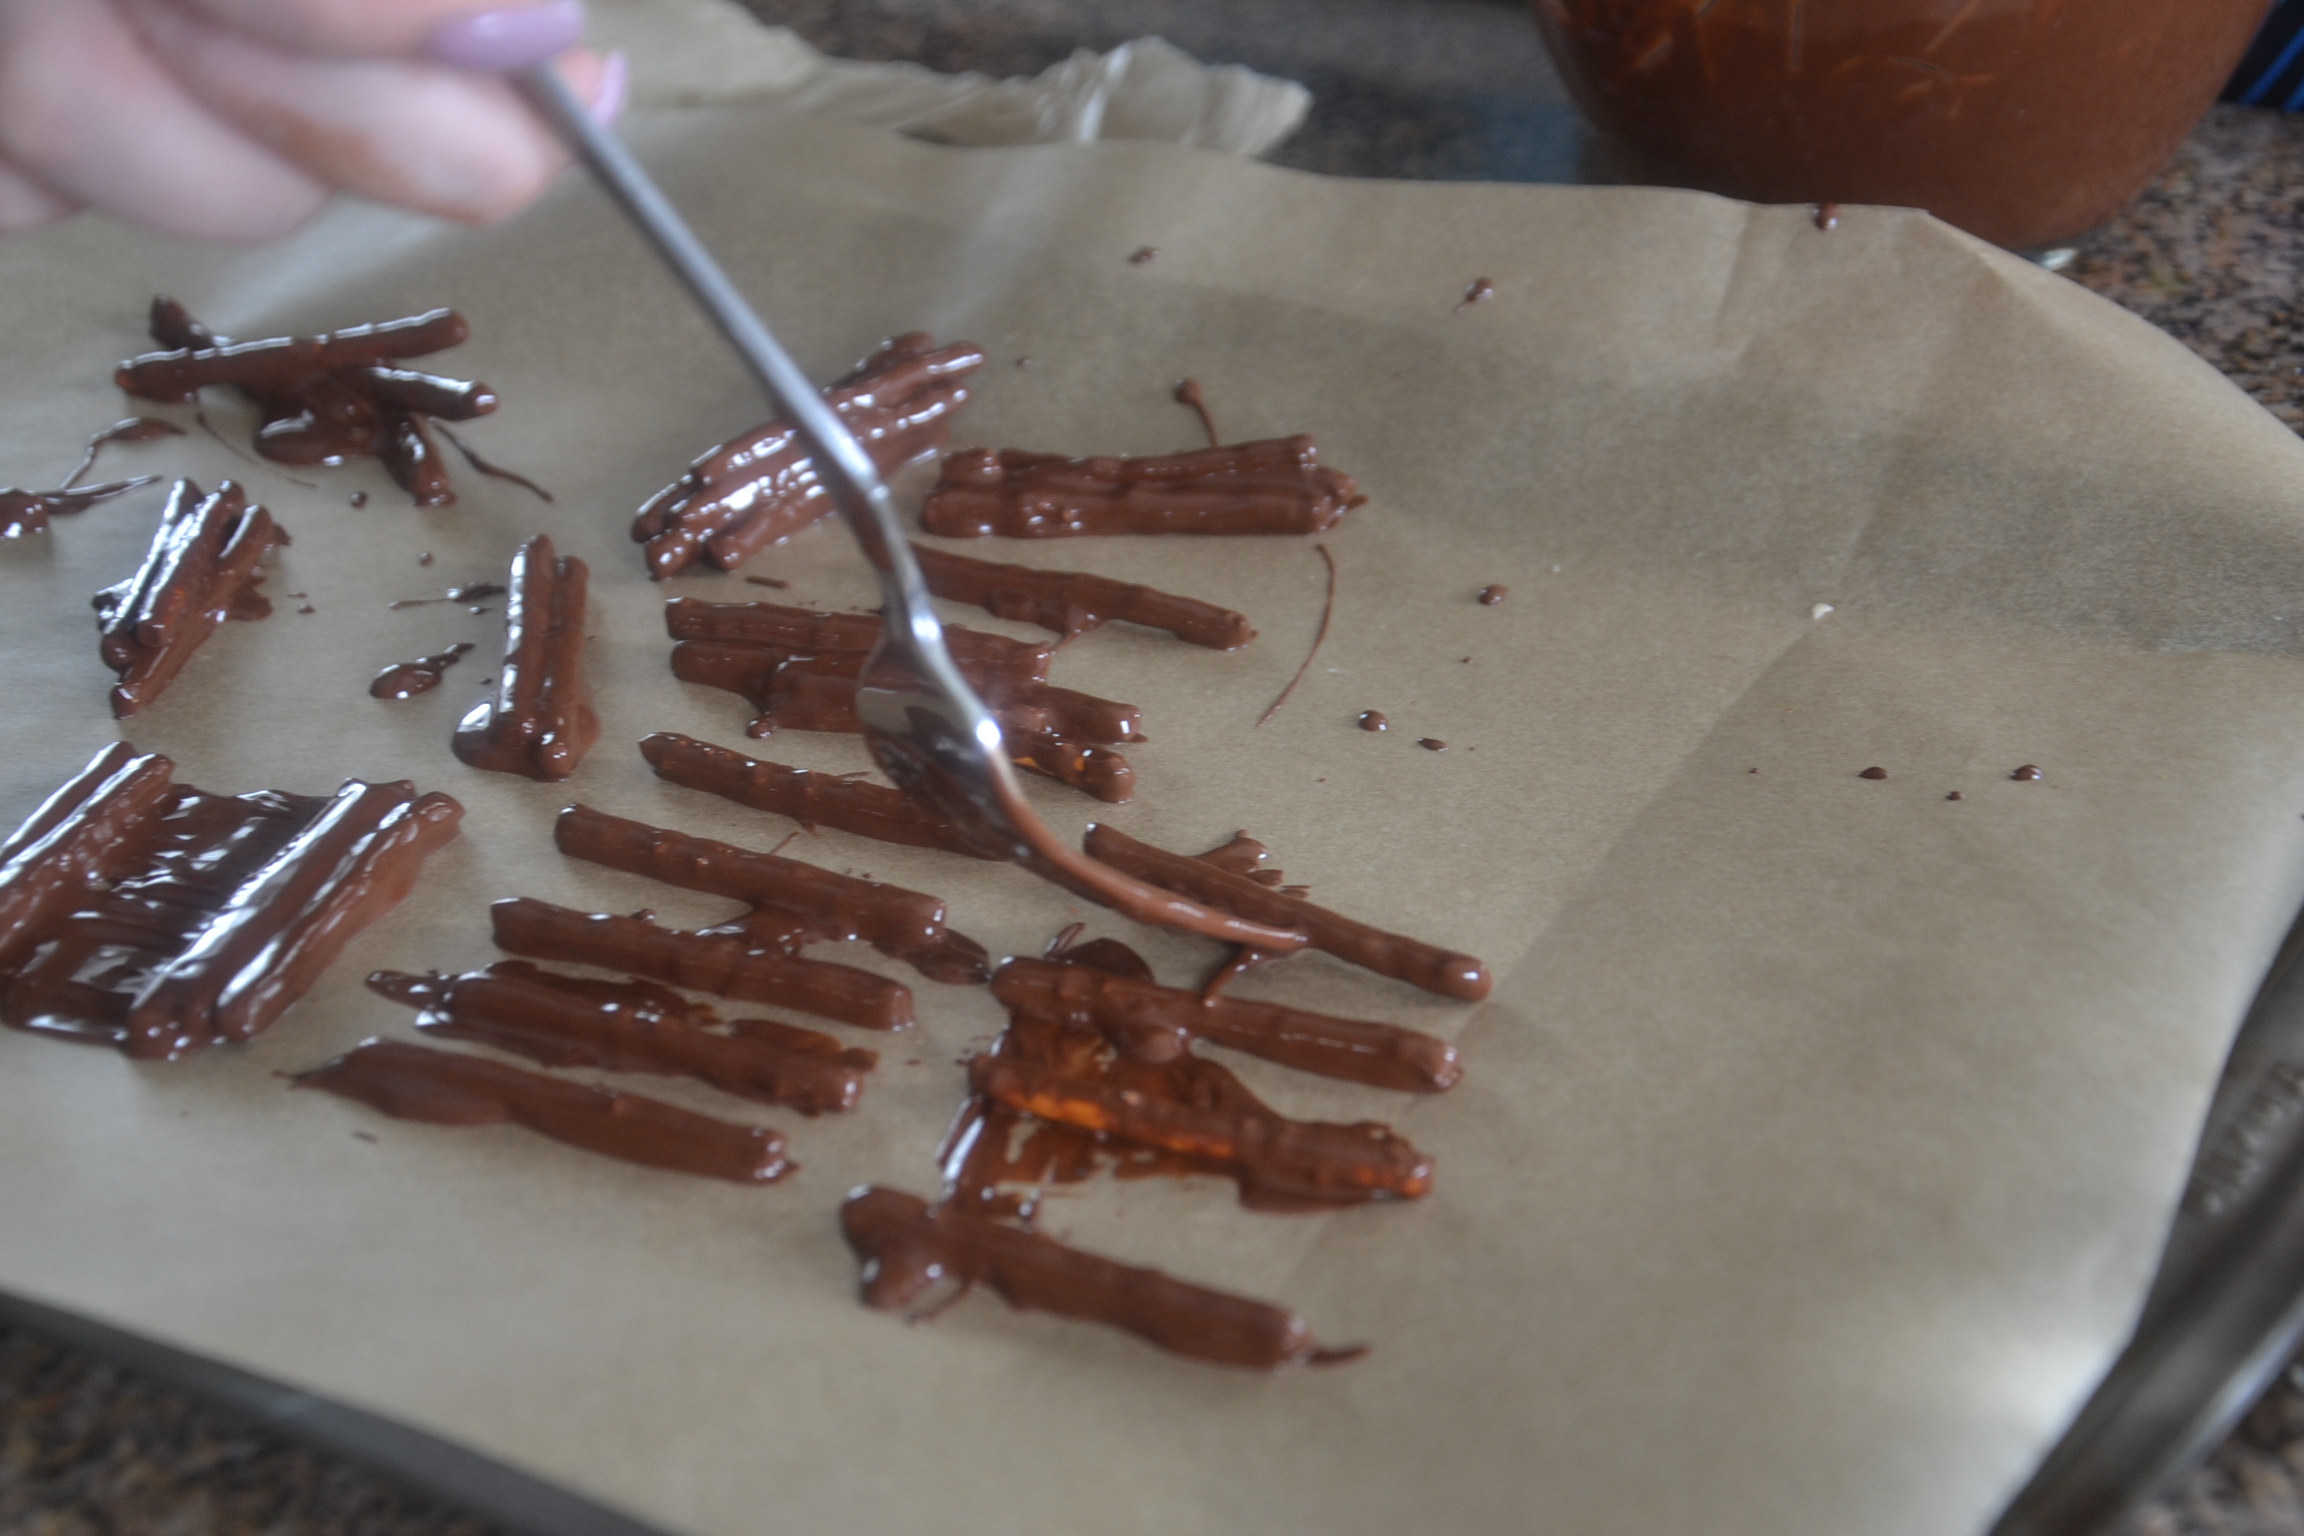
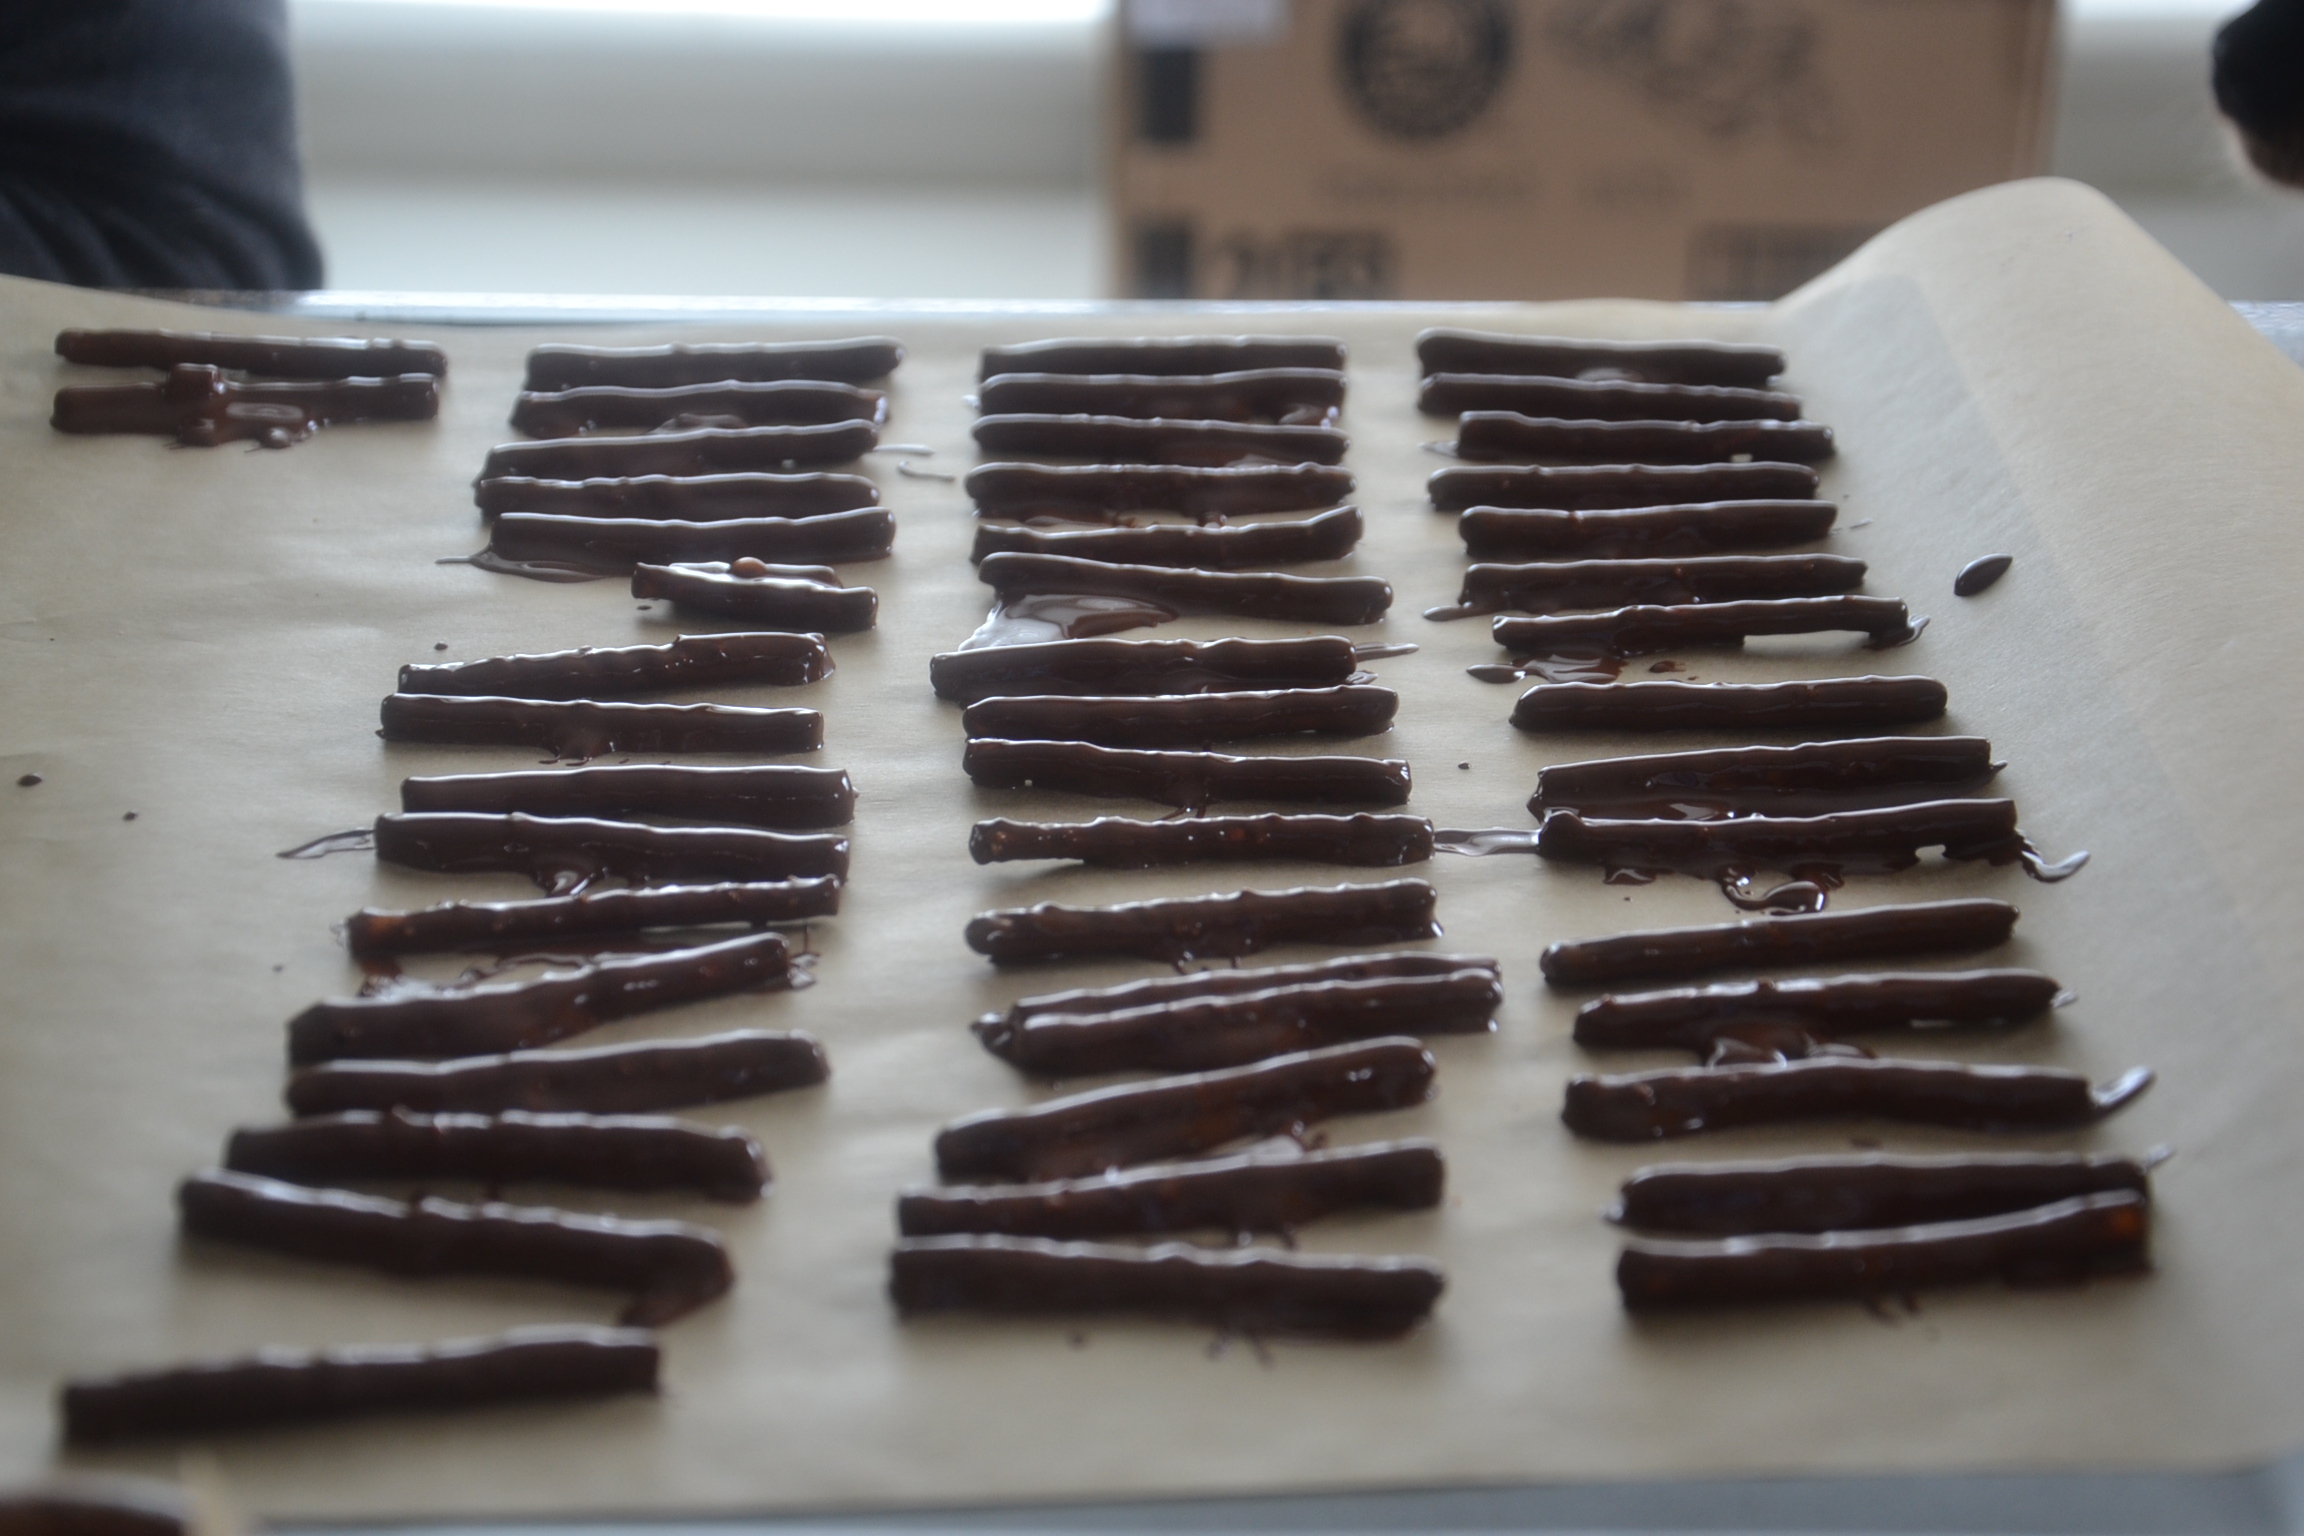
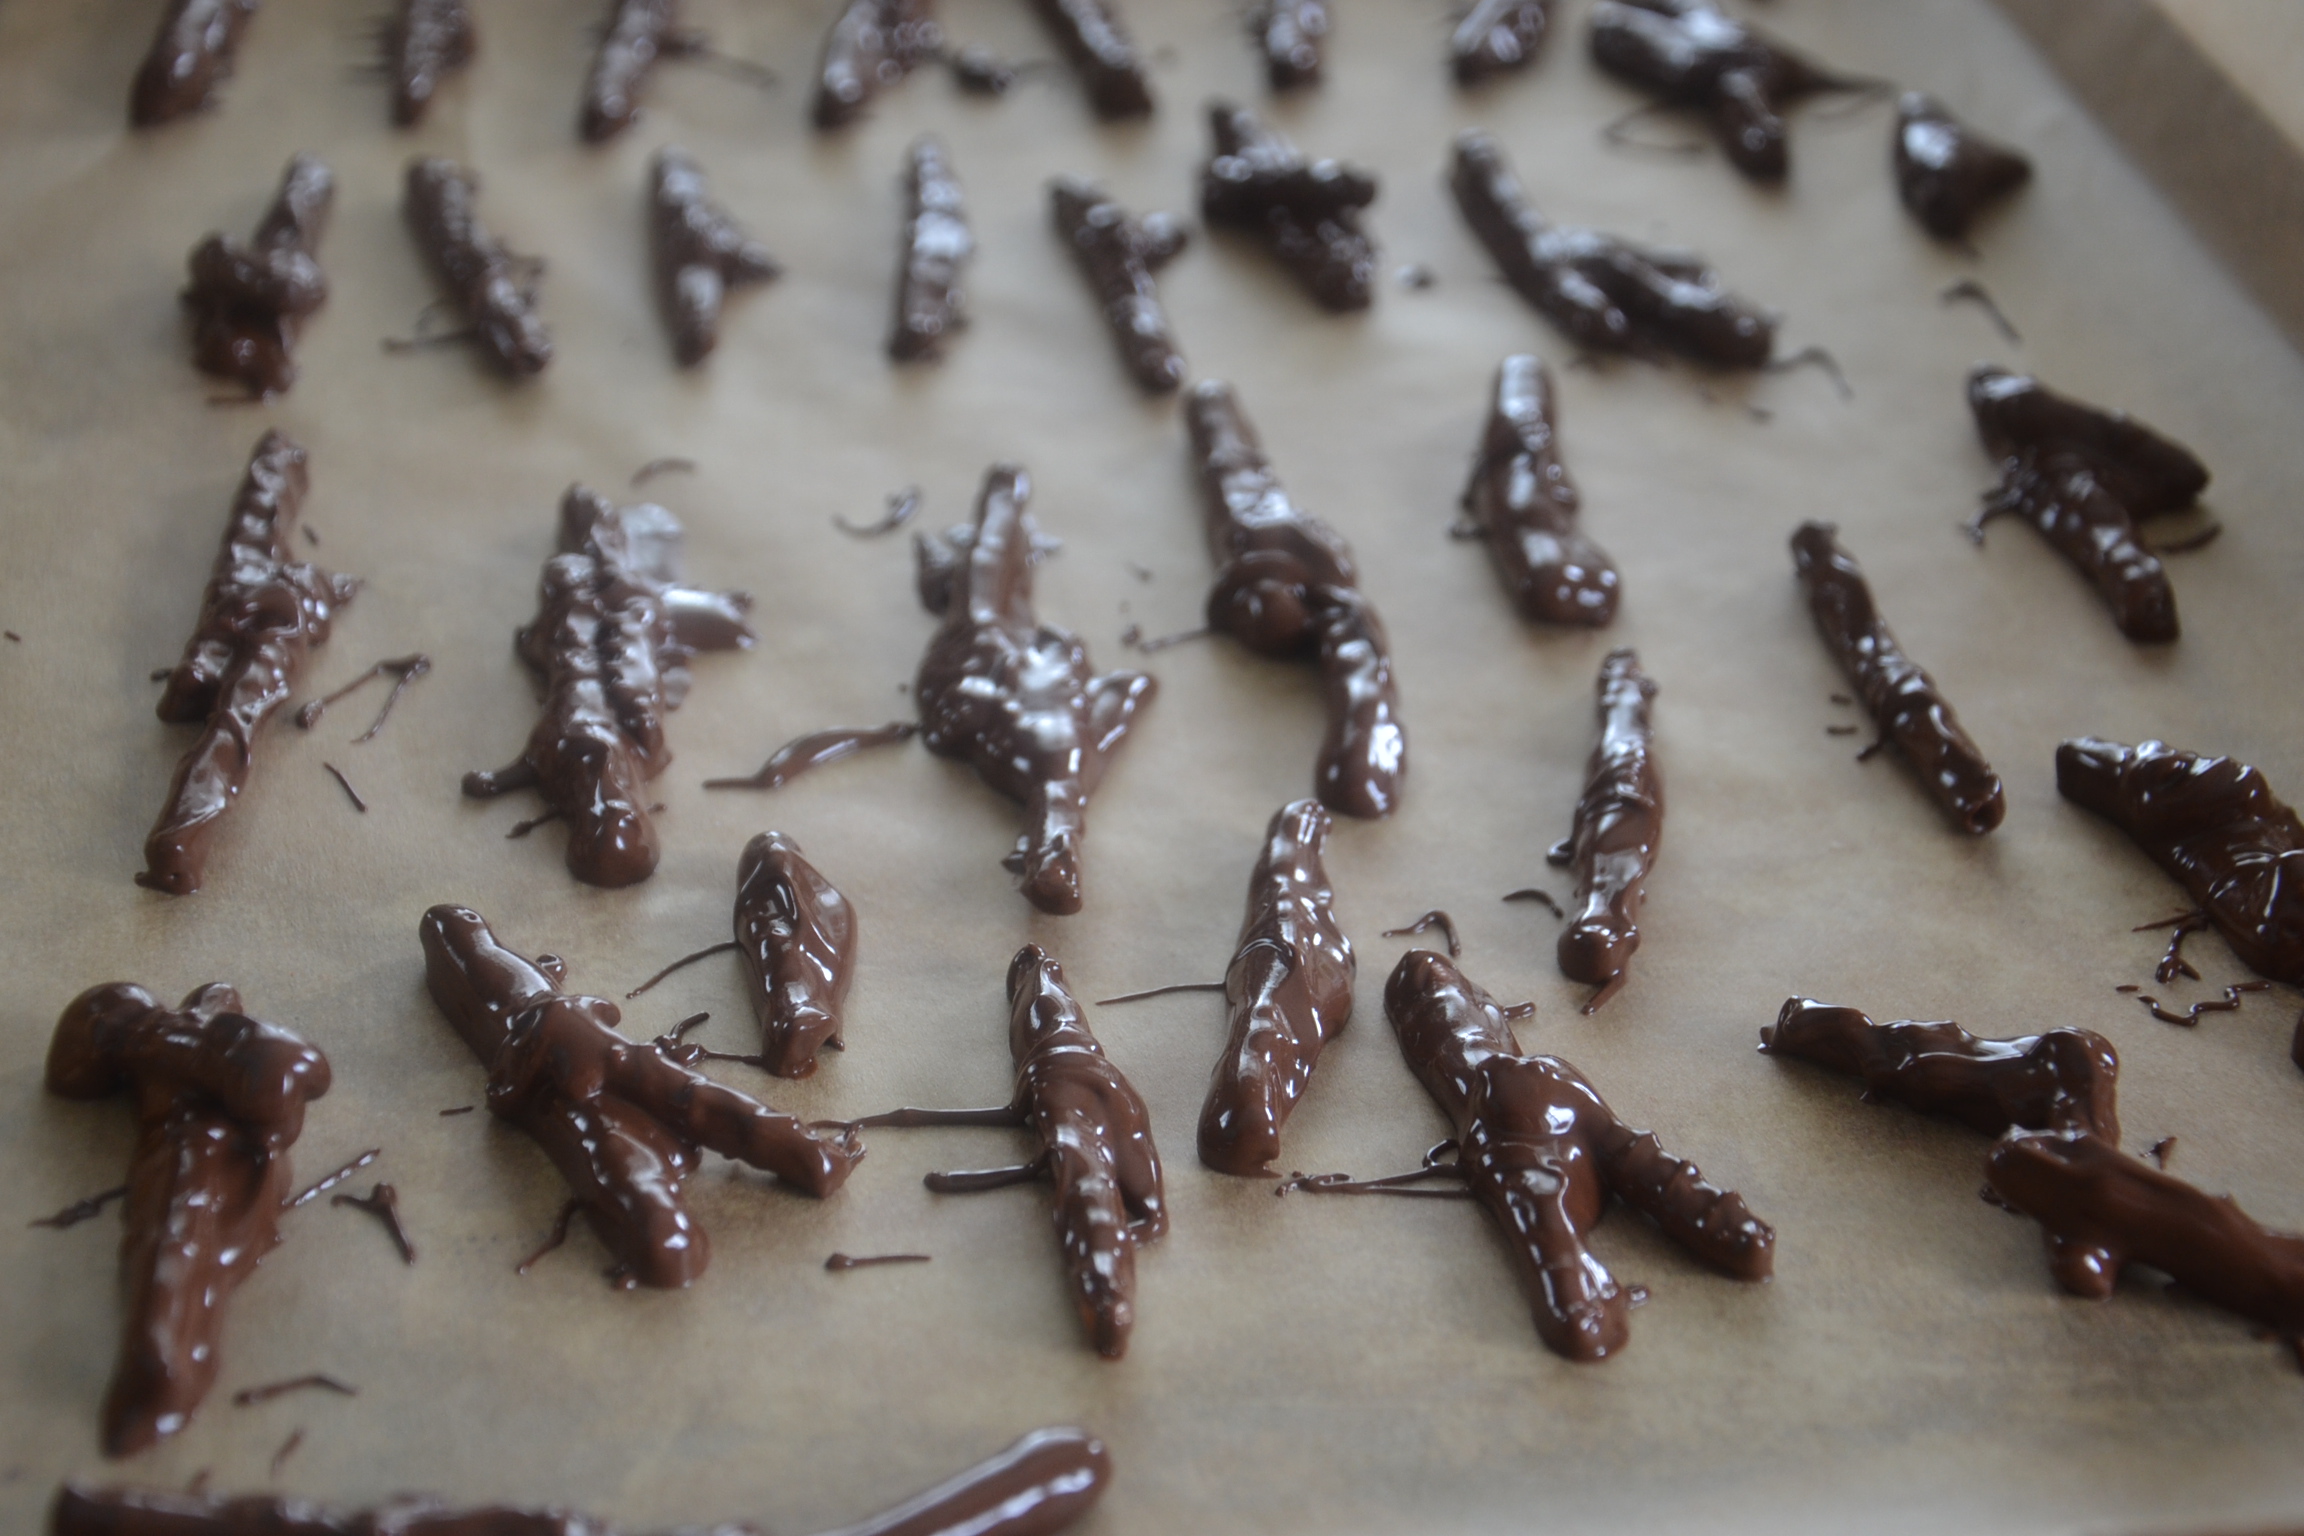
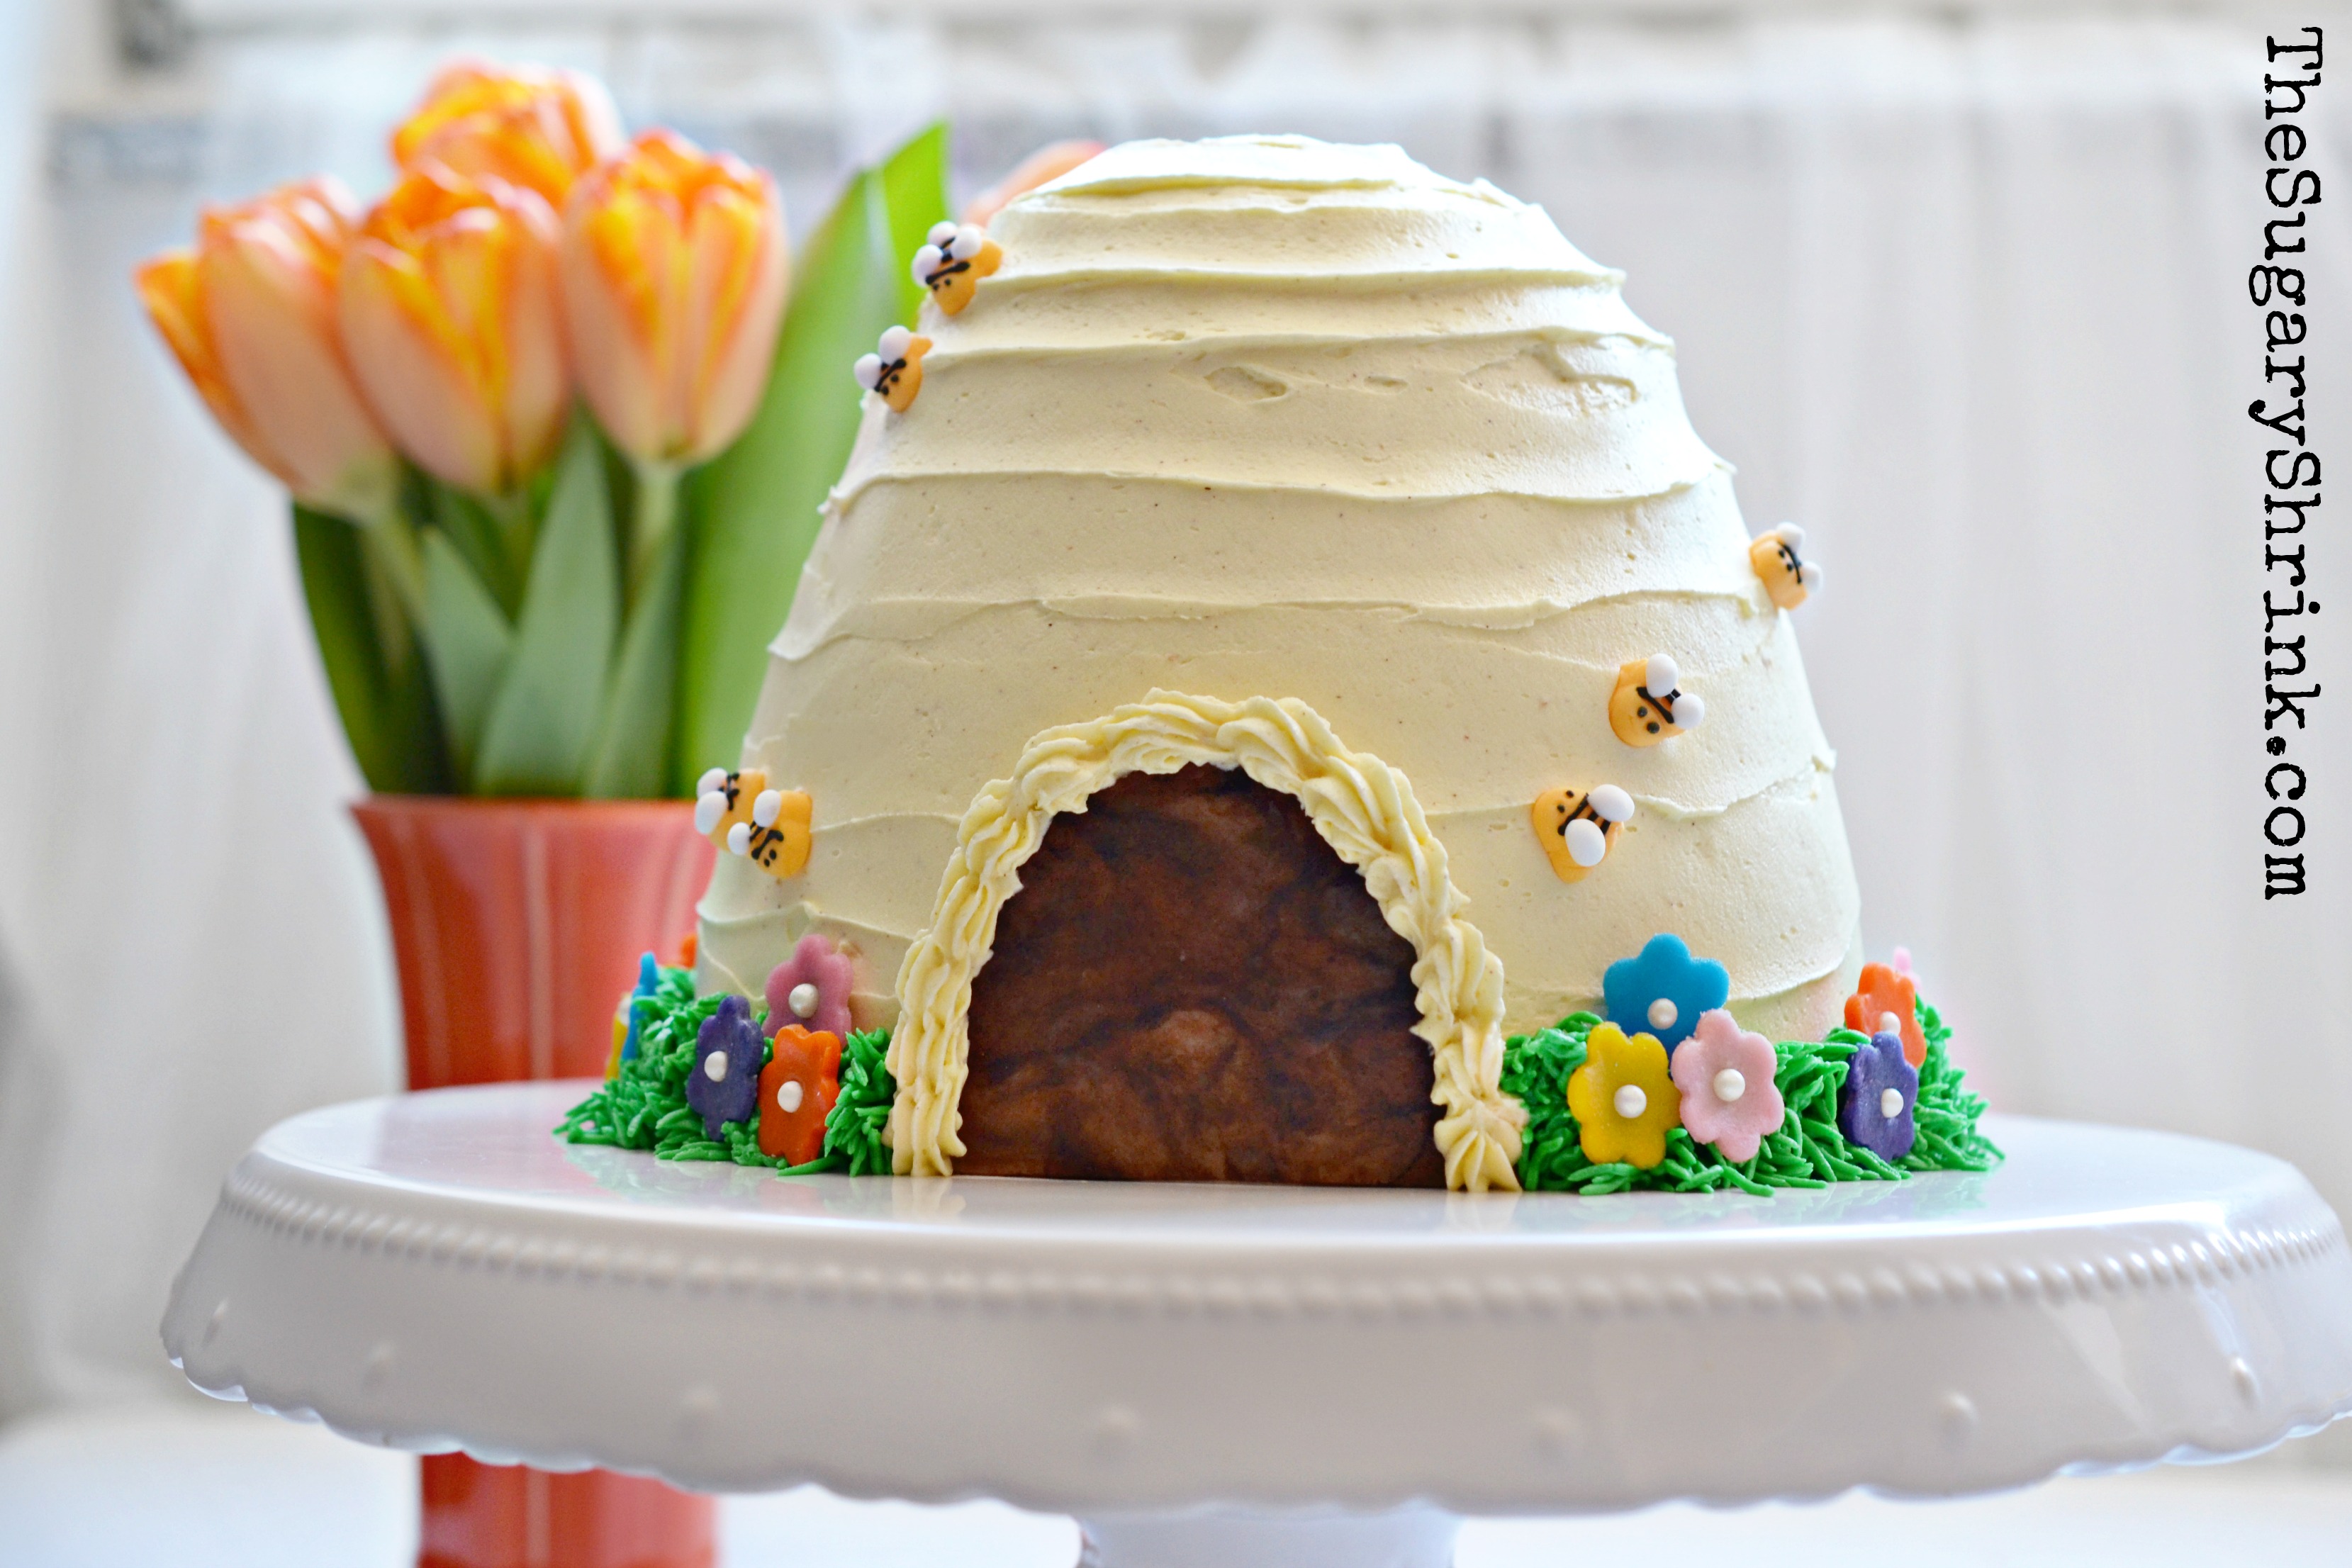
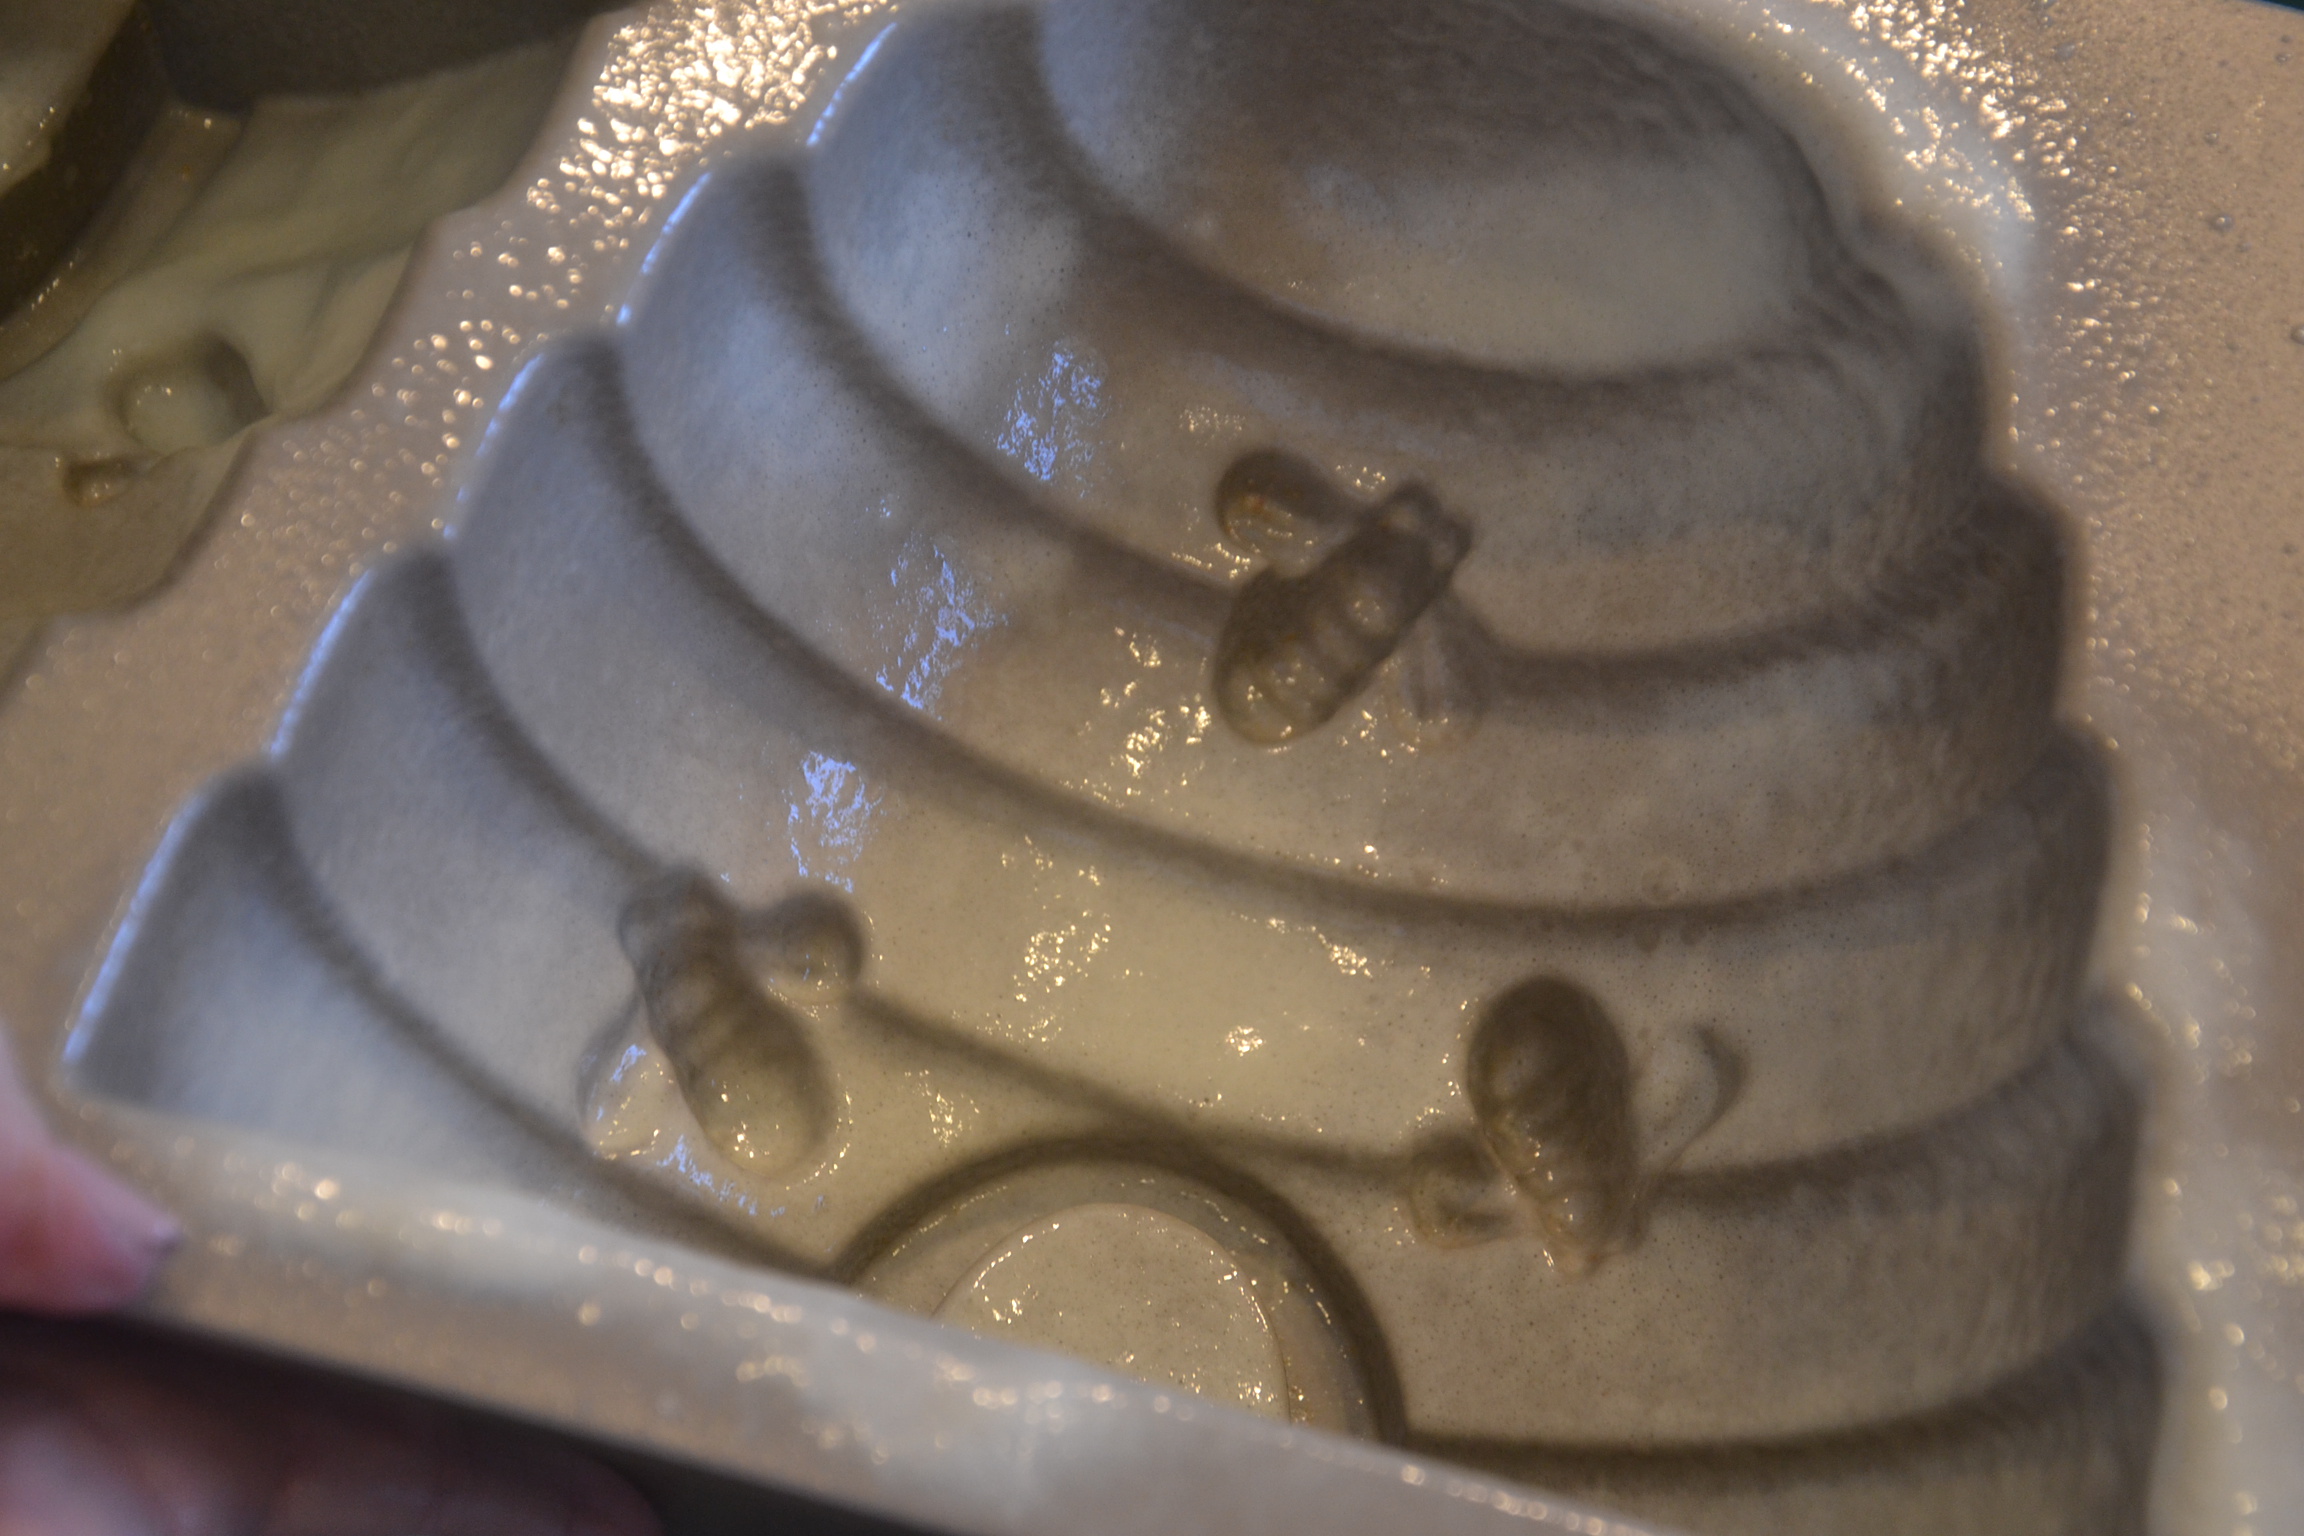
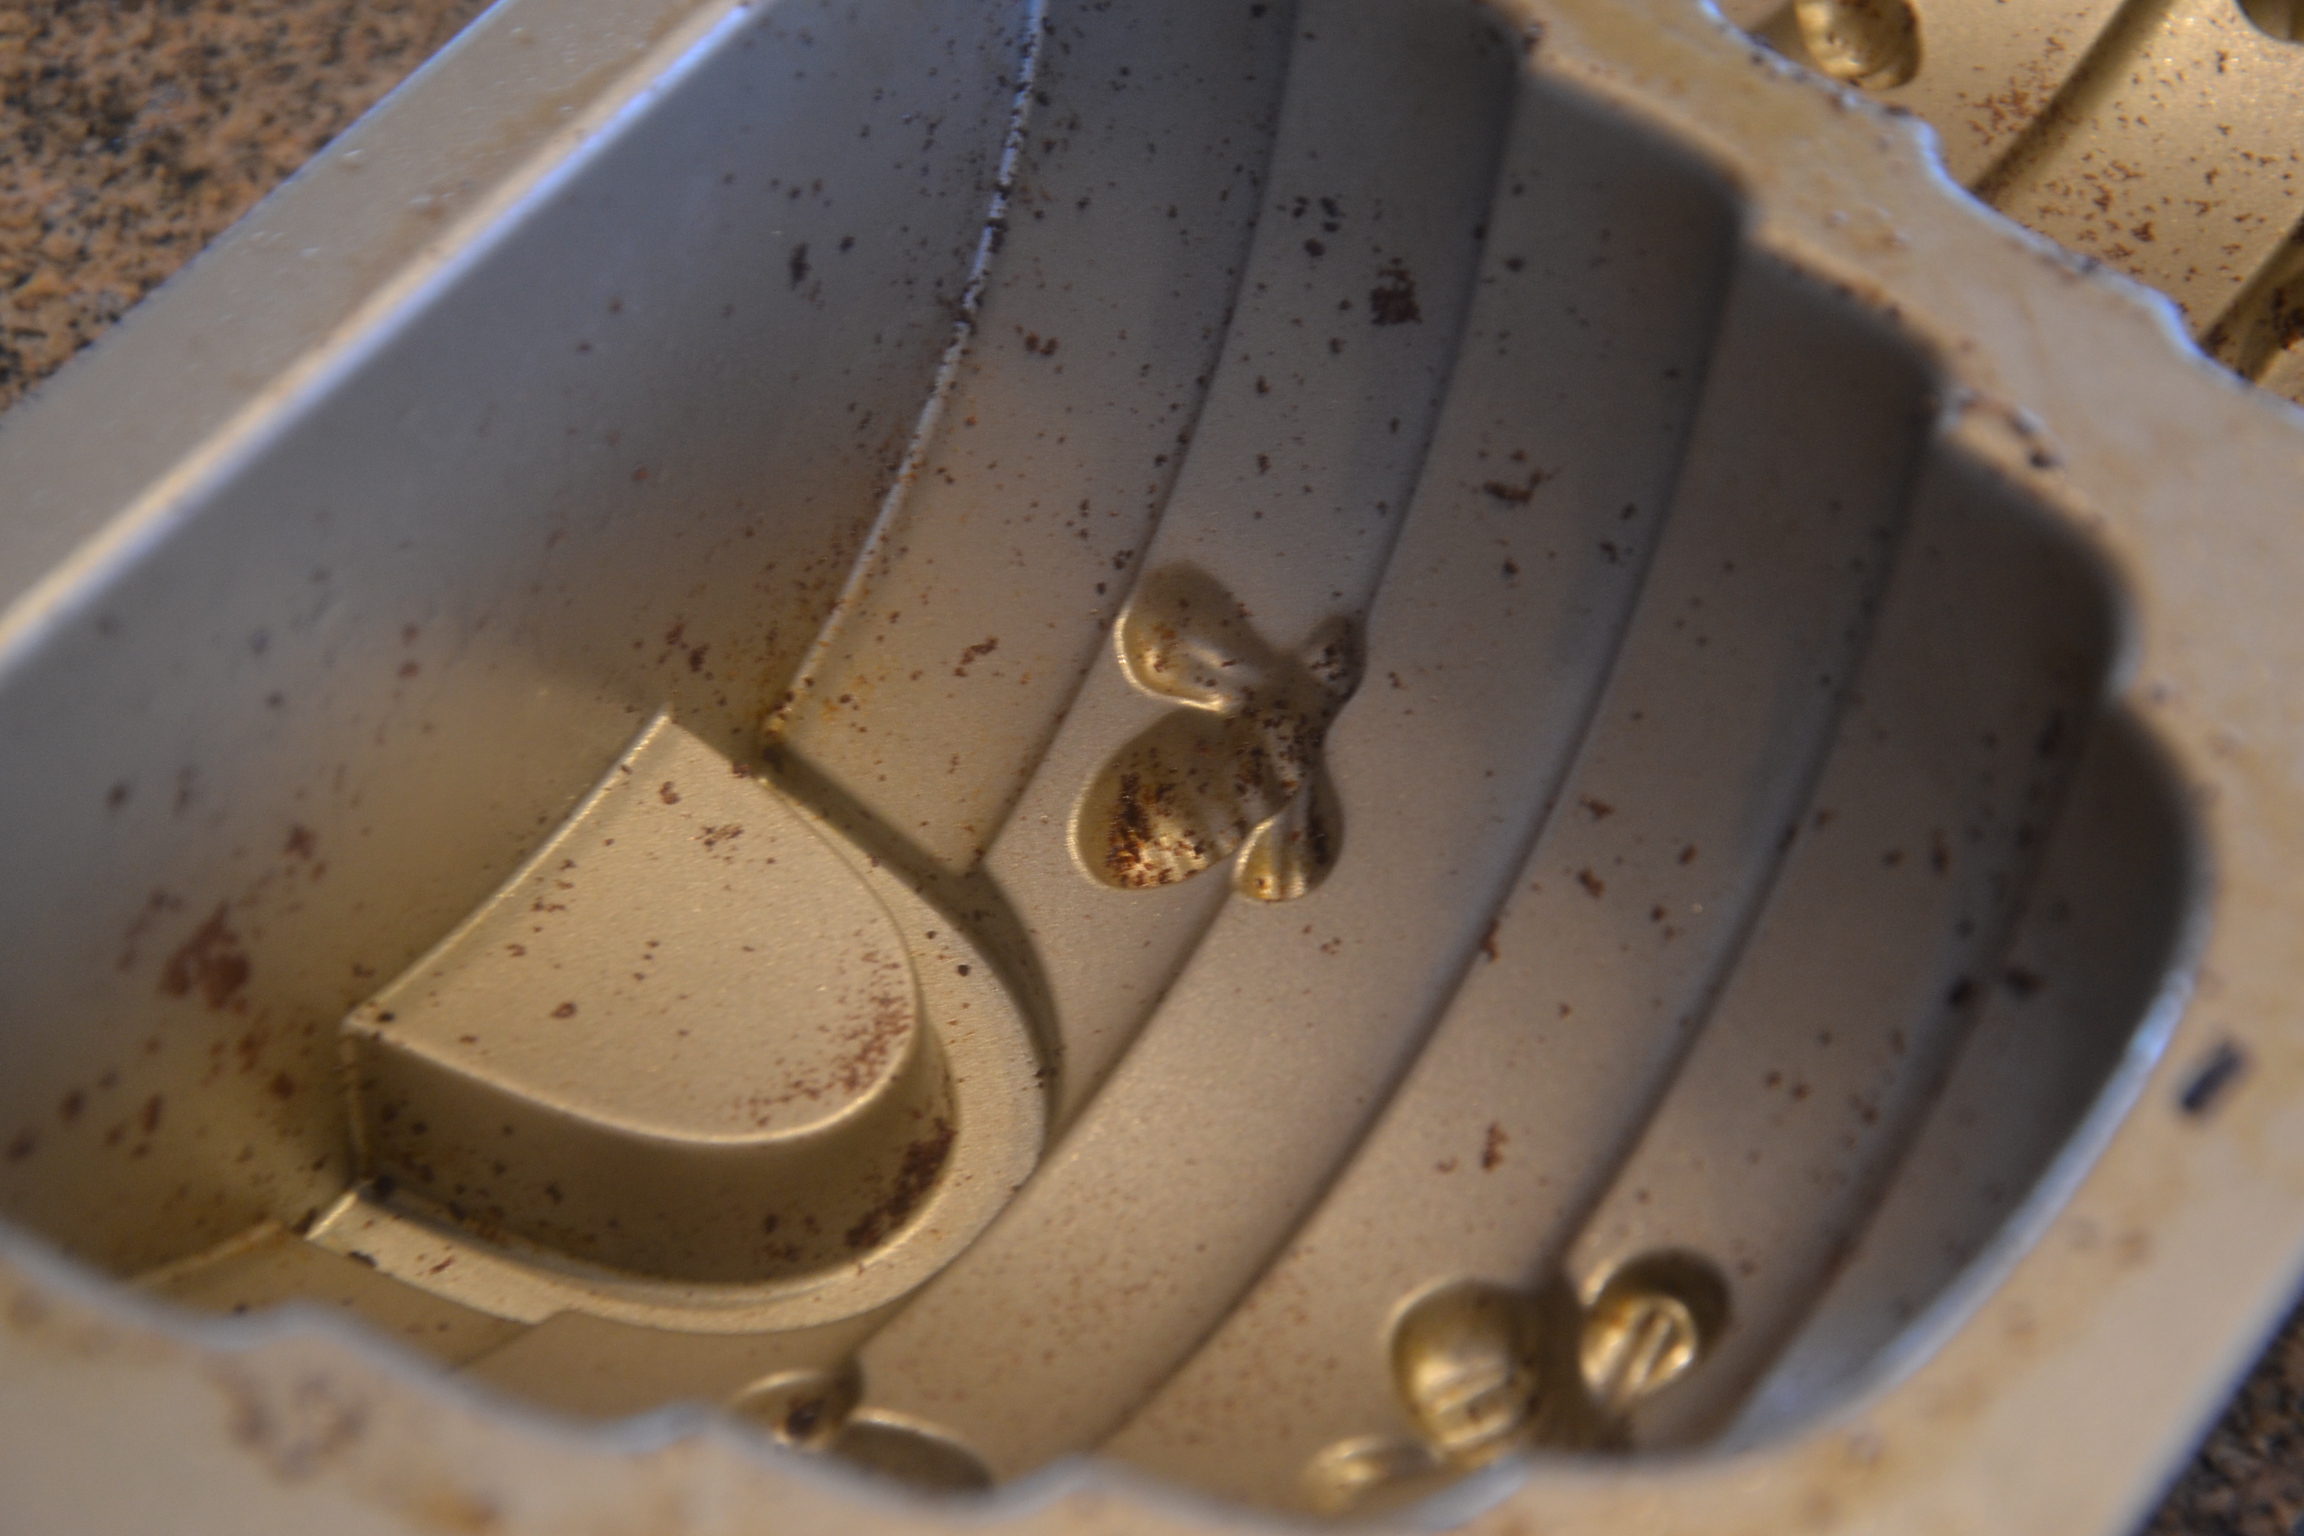
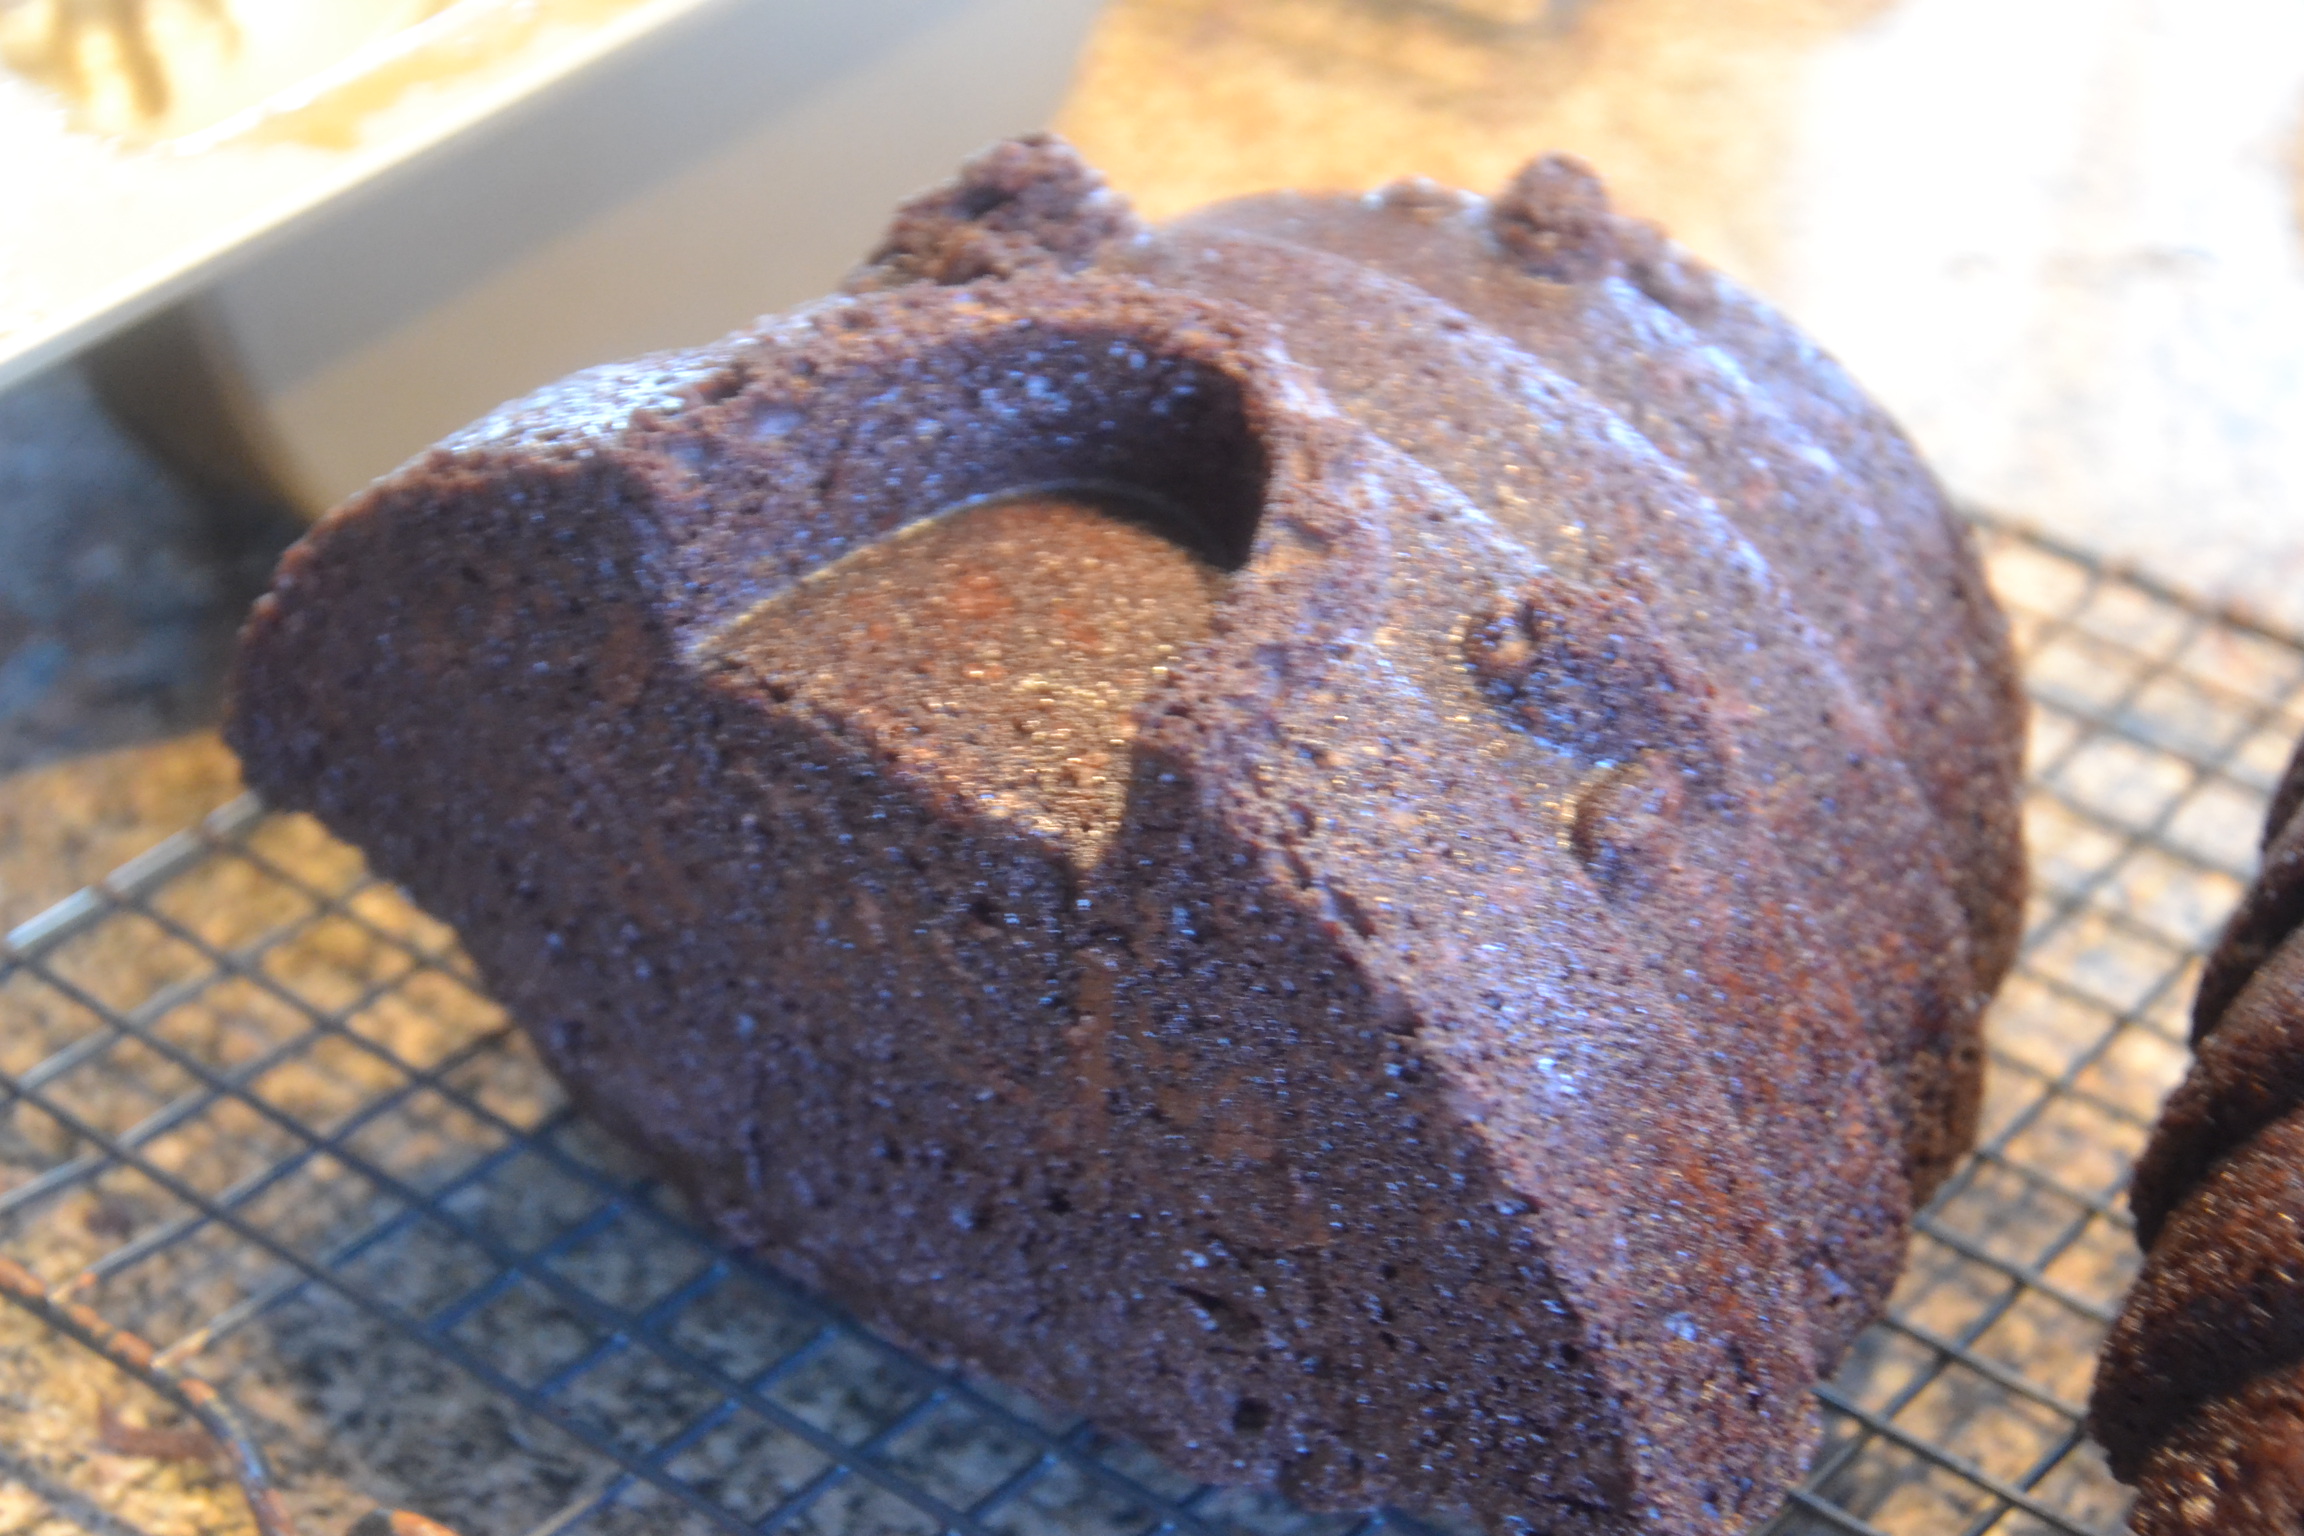
I popped the trays of sticks in the refrigerator while getting to work on the cake. I wanted a delicious Dark Chocolate Cake to pair with the sticks. My Nordic Ware Bee Hive cake pan was perfect for a nest…when inverted. I’ve loved using this pan for it’s amazing bee hive shape and I’ve pressed it into service when I needed a Christmas Tree and a Totoro sculpture. Check’m out here and here.
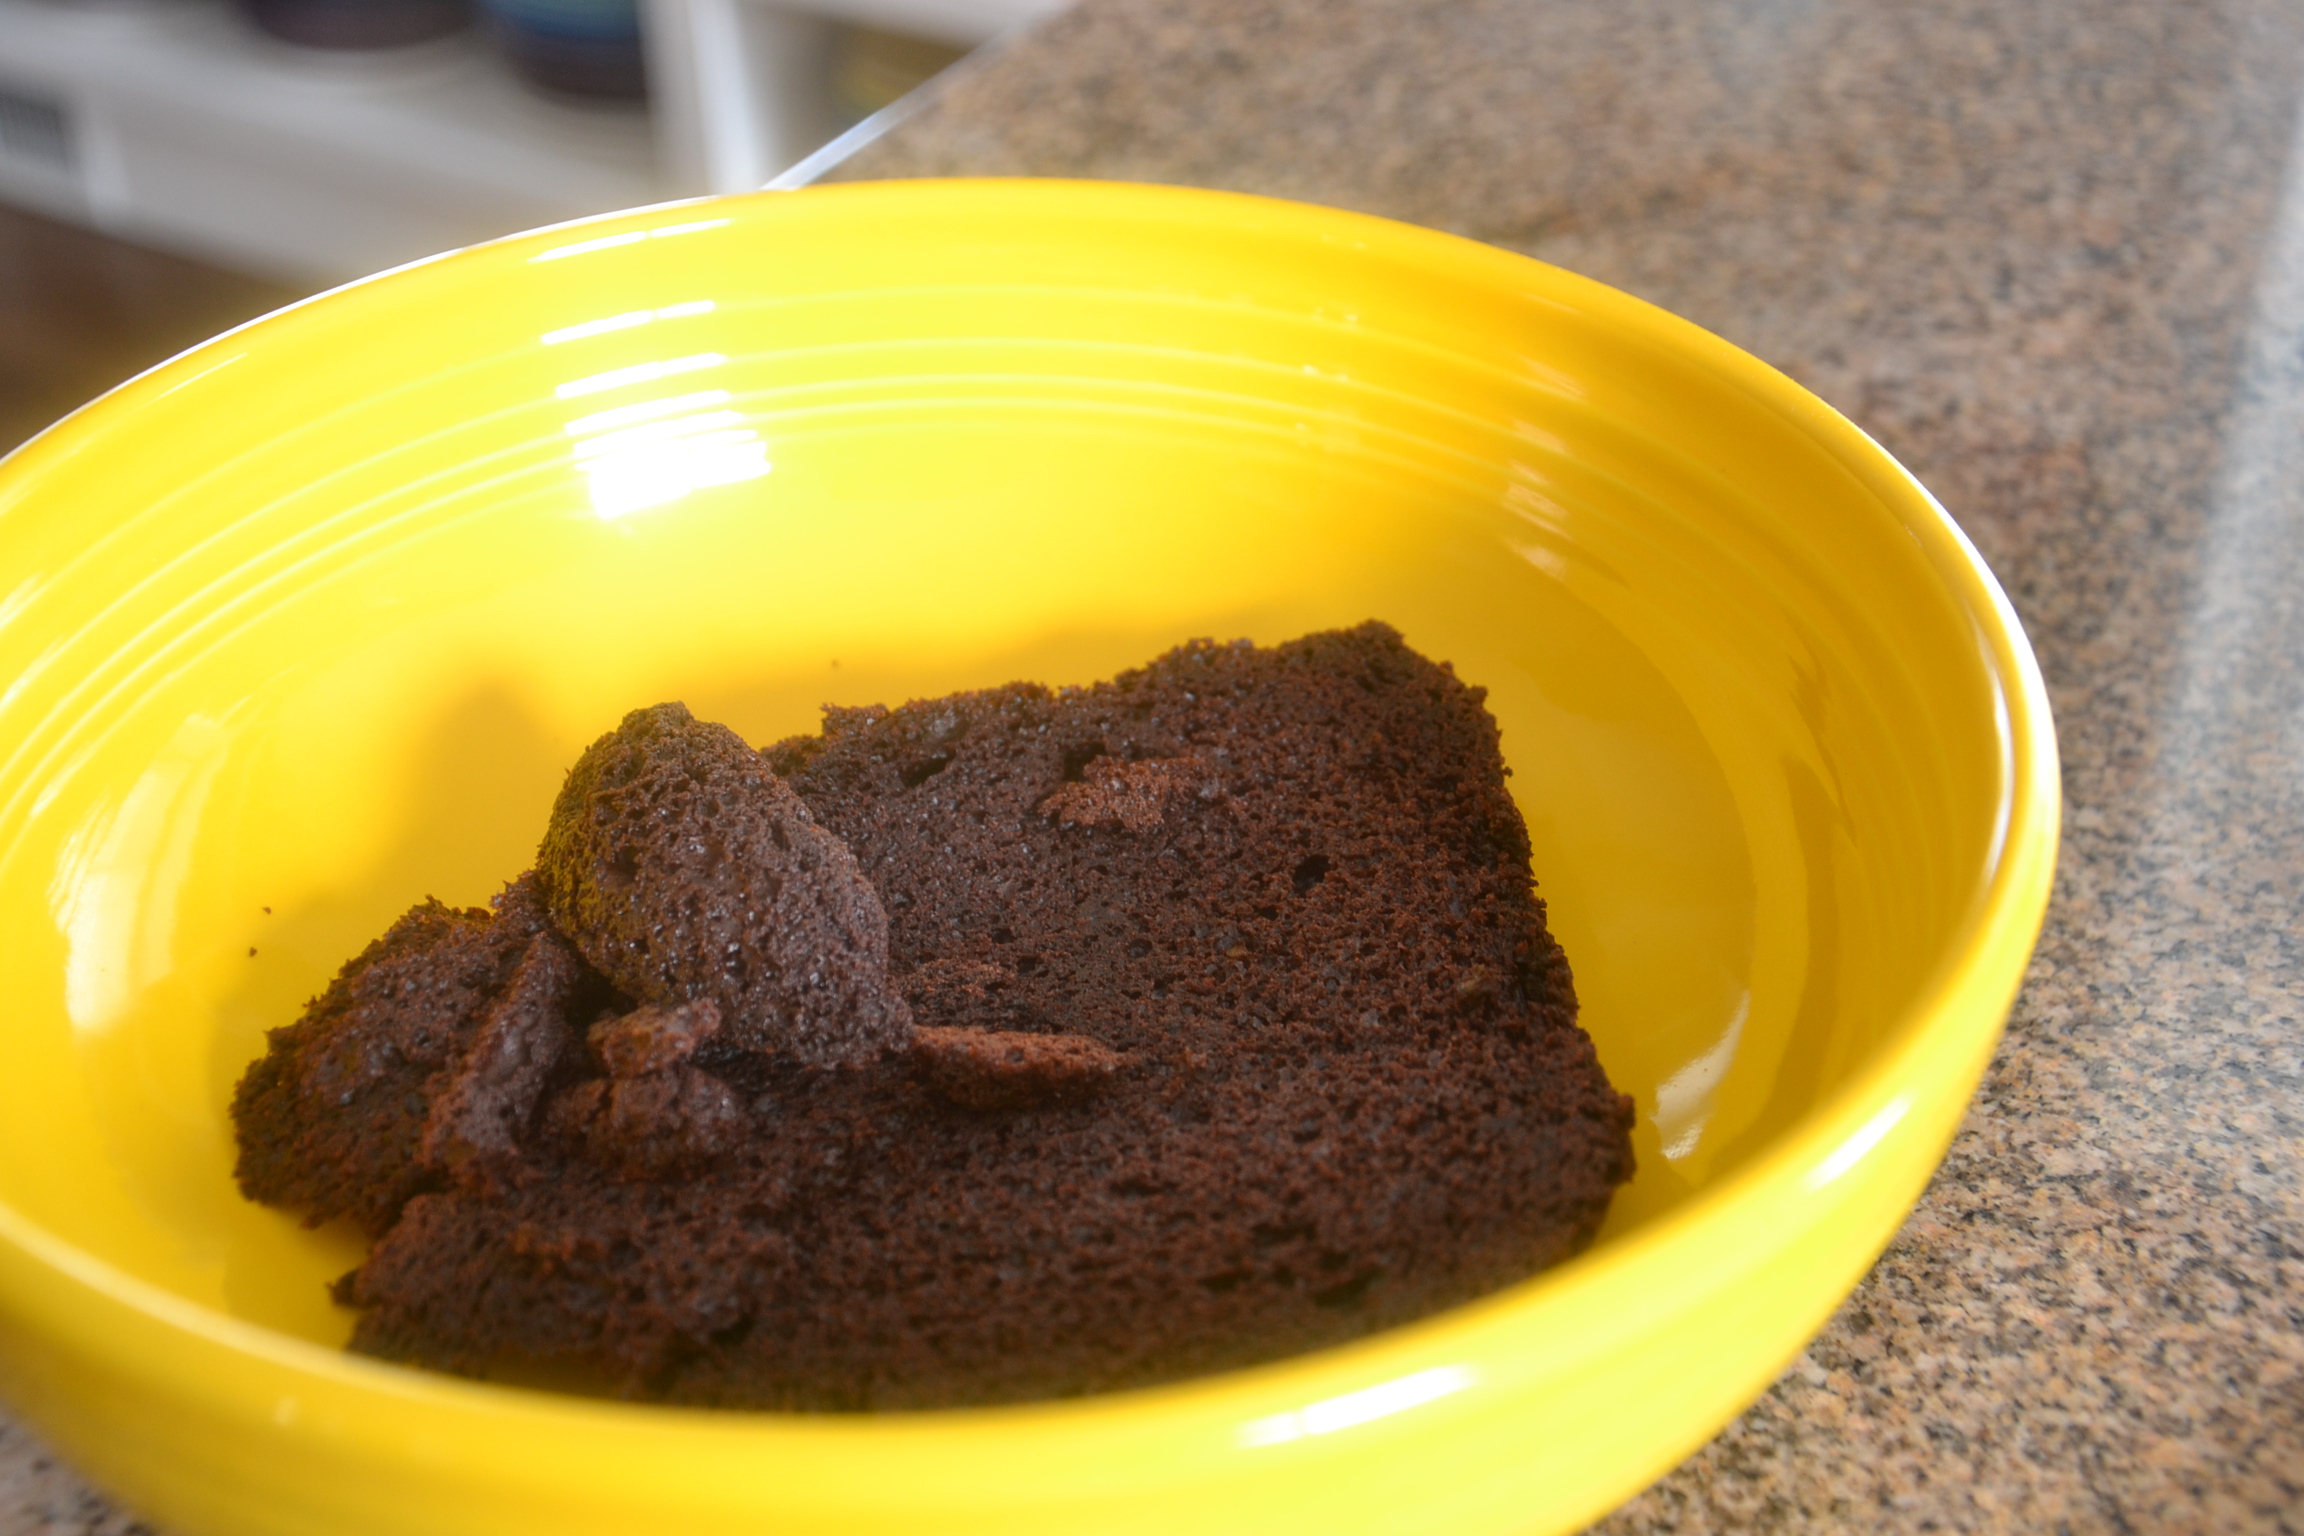
I overfilled the two sides of the bee hive pan – which is perfectly ok. The cake baked beautifully and during construction I can use the excess to make a few cake pops – it’s a win/win. When baking in my Nordic Ware pans, I always use a baking spray that includes flour. I’ve had 100% success in releasing the cake when following this suggestion.
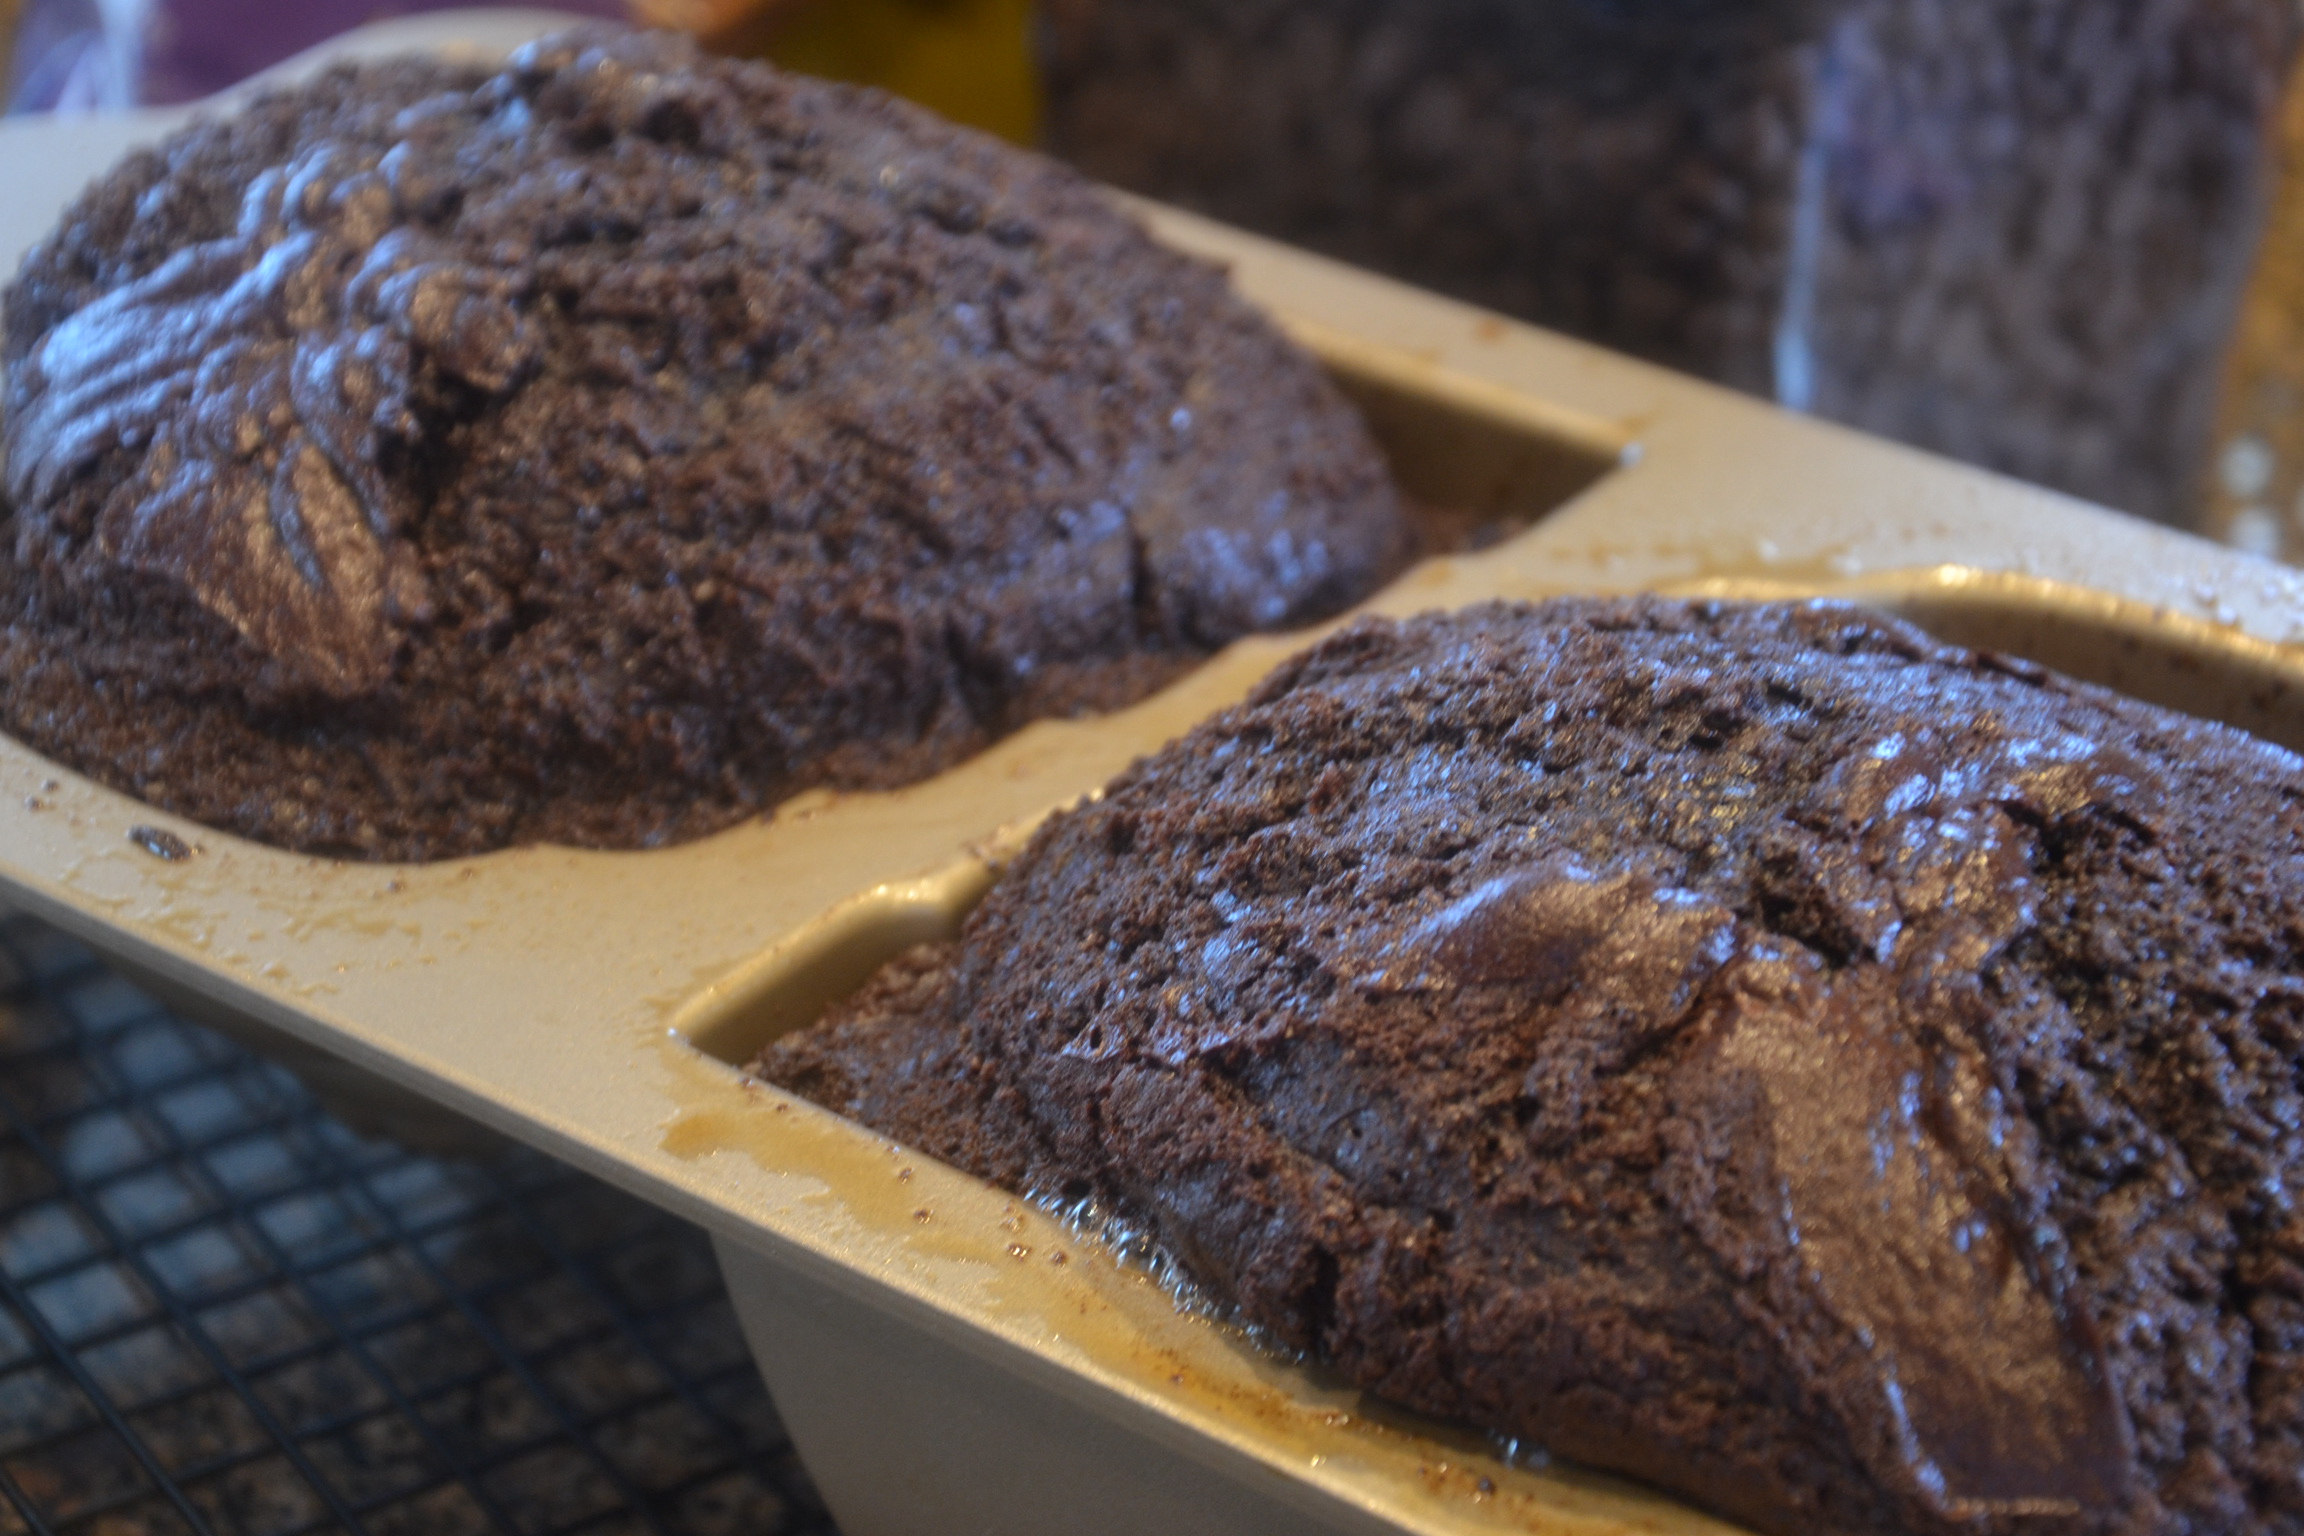
After allowing 10 minutes for cooling, I gently pressed the leading edge of a mixing spatula to help release the sponge. That’s a great looking beehive… err nest.
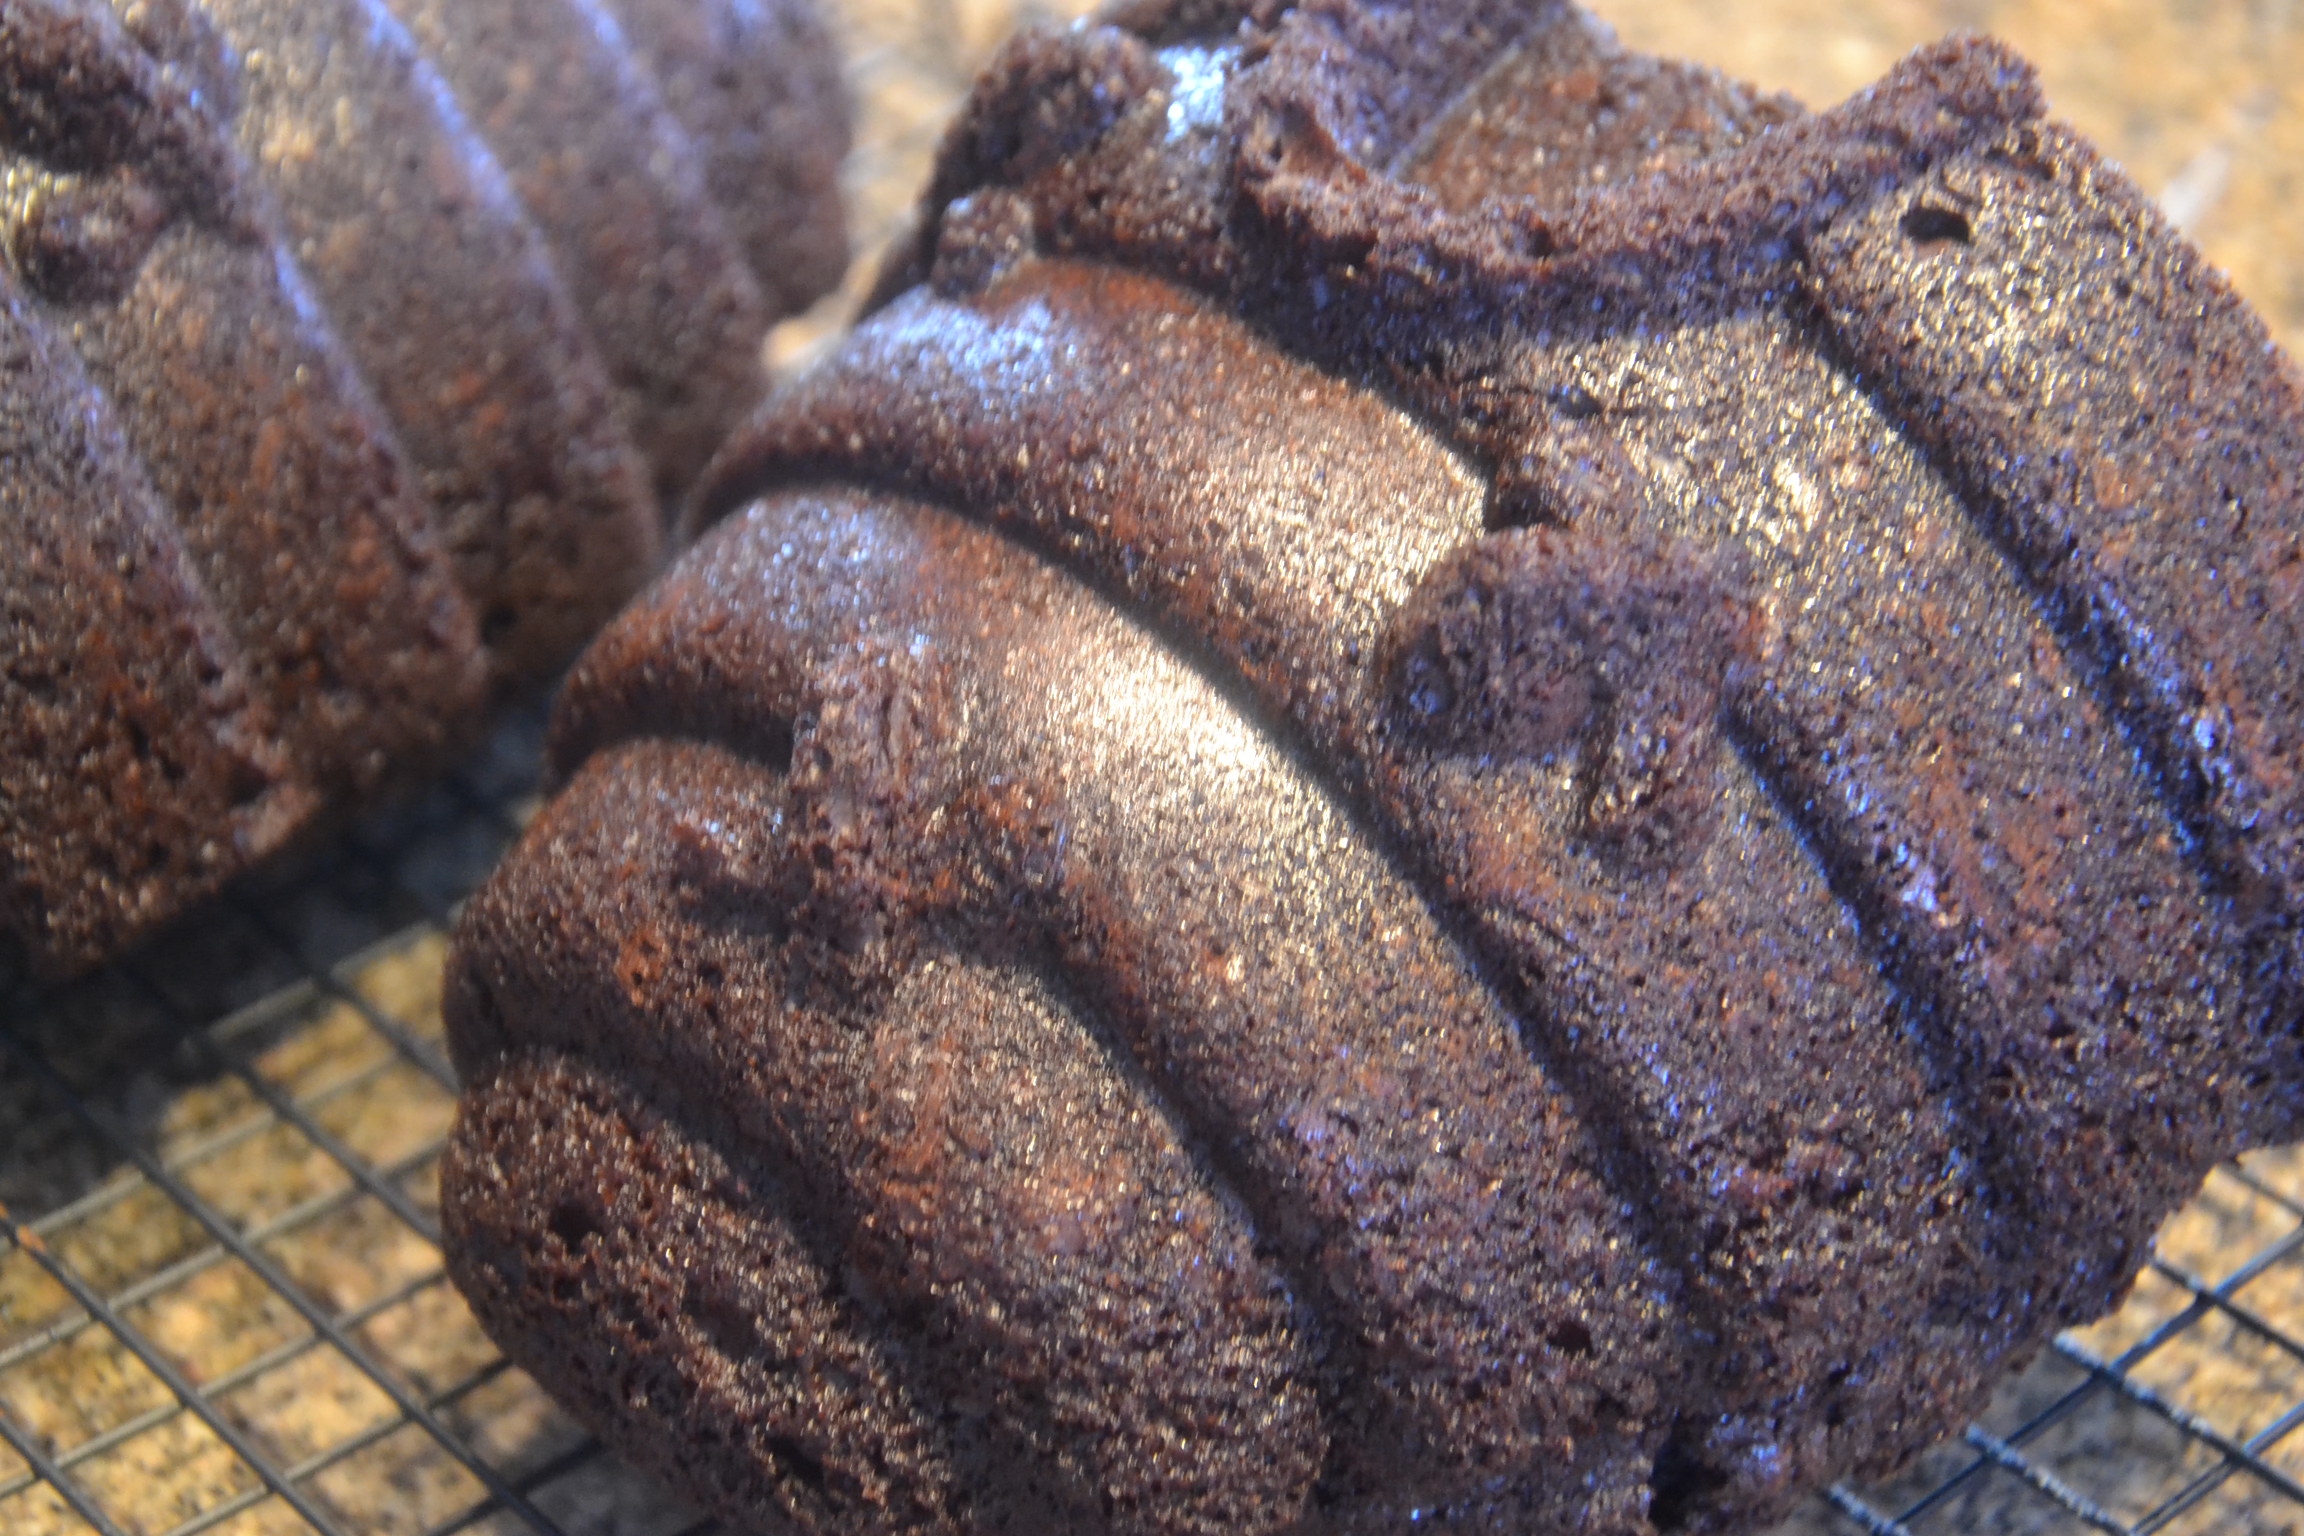
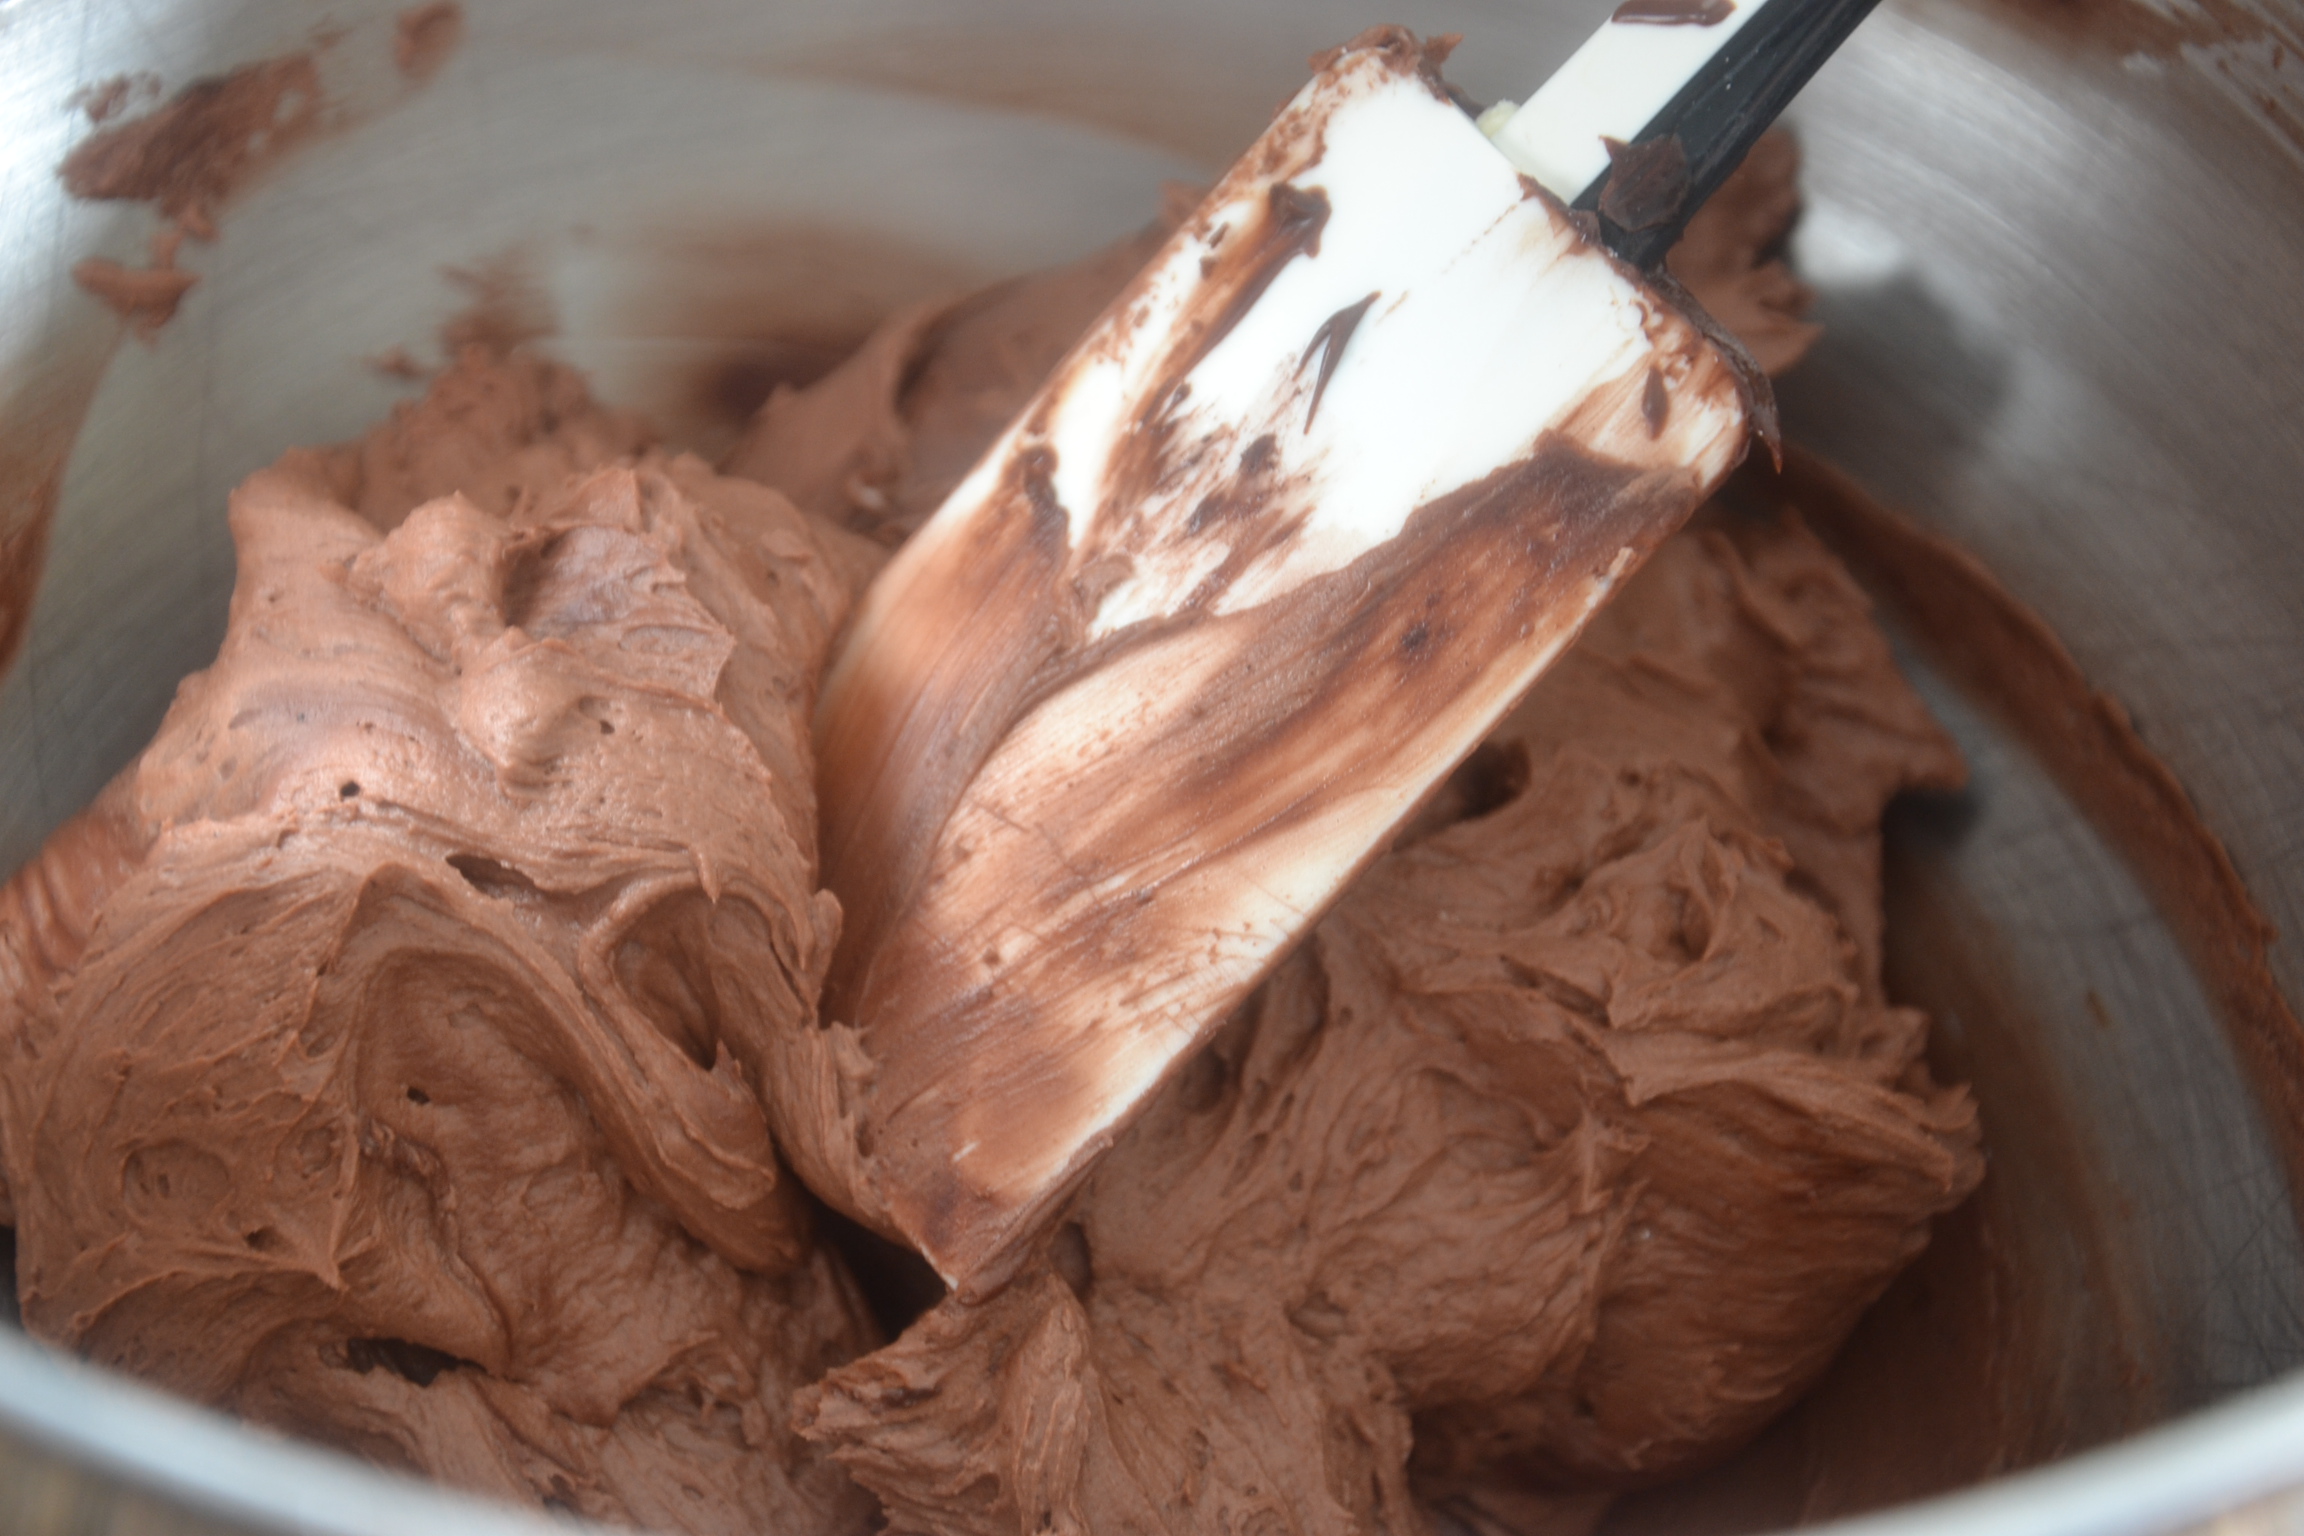
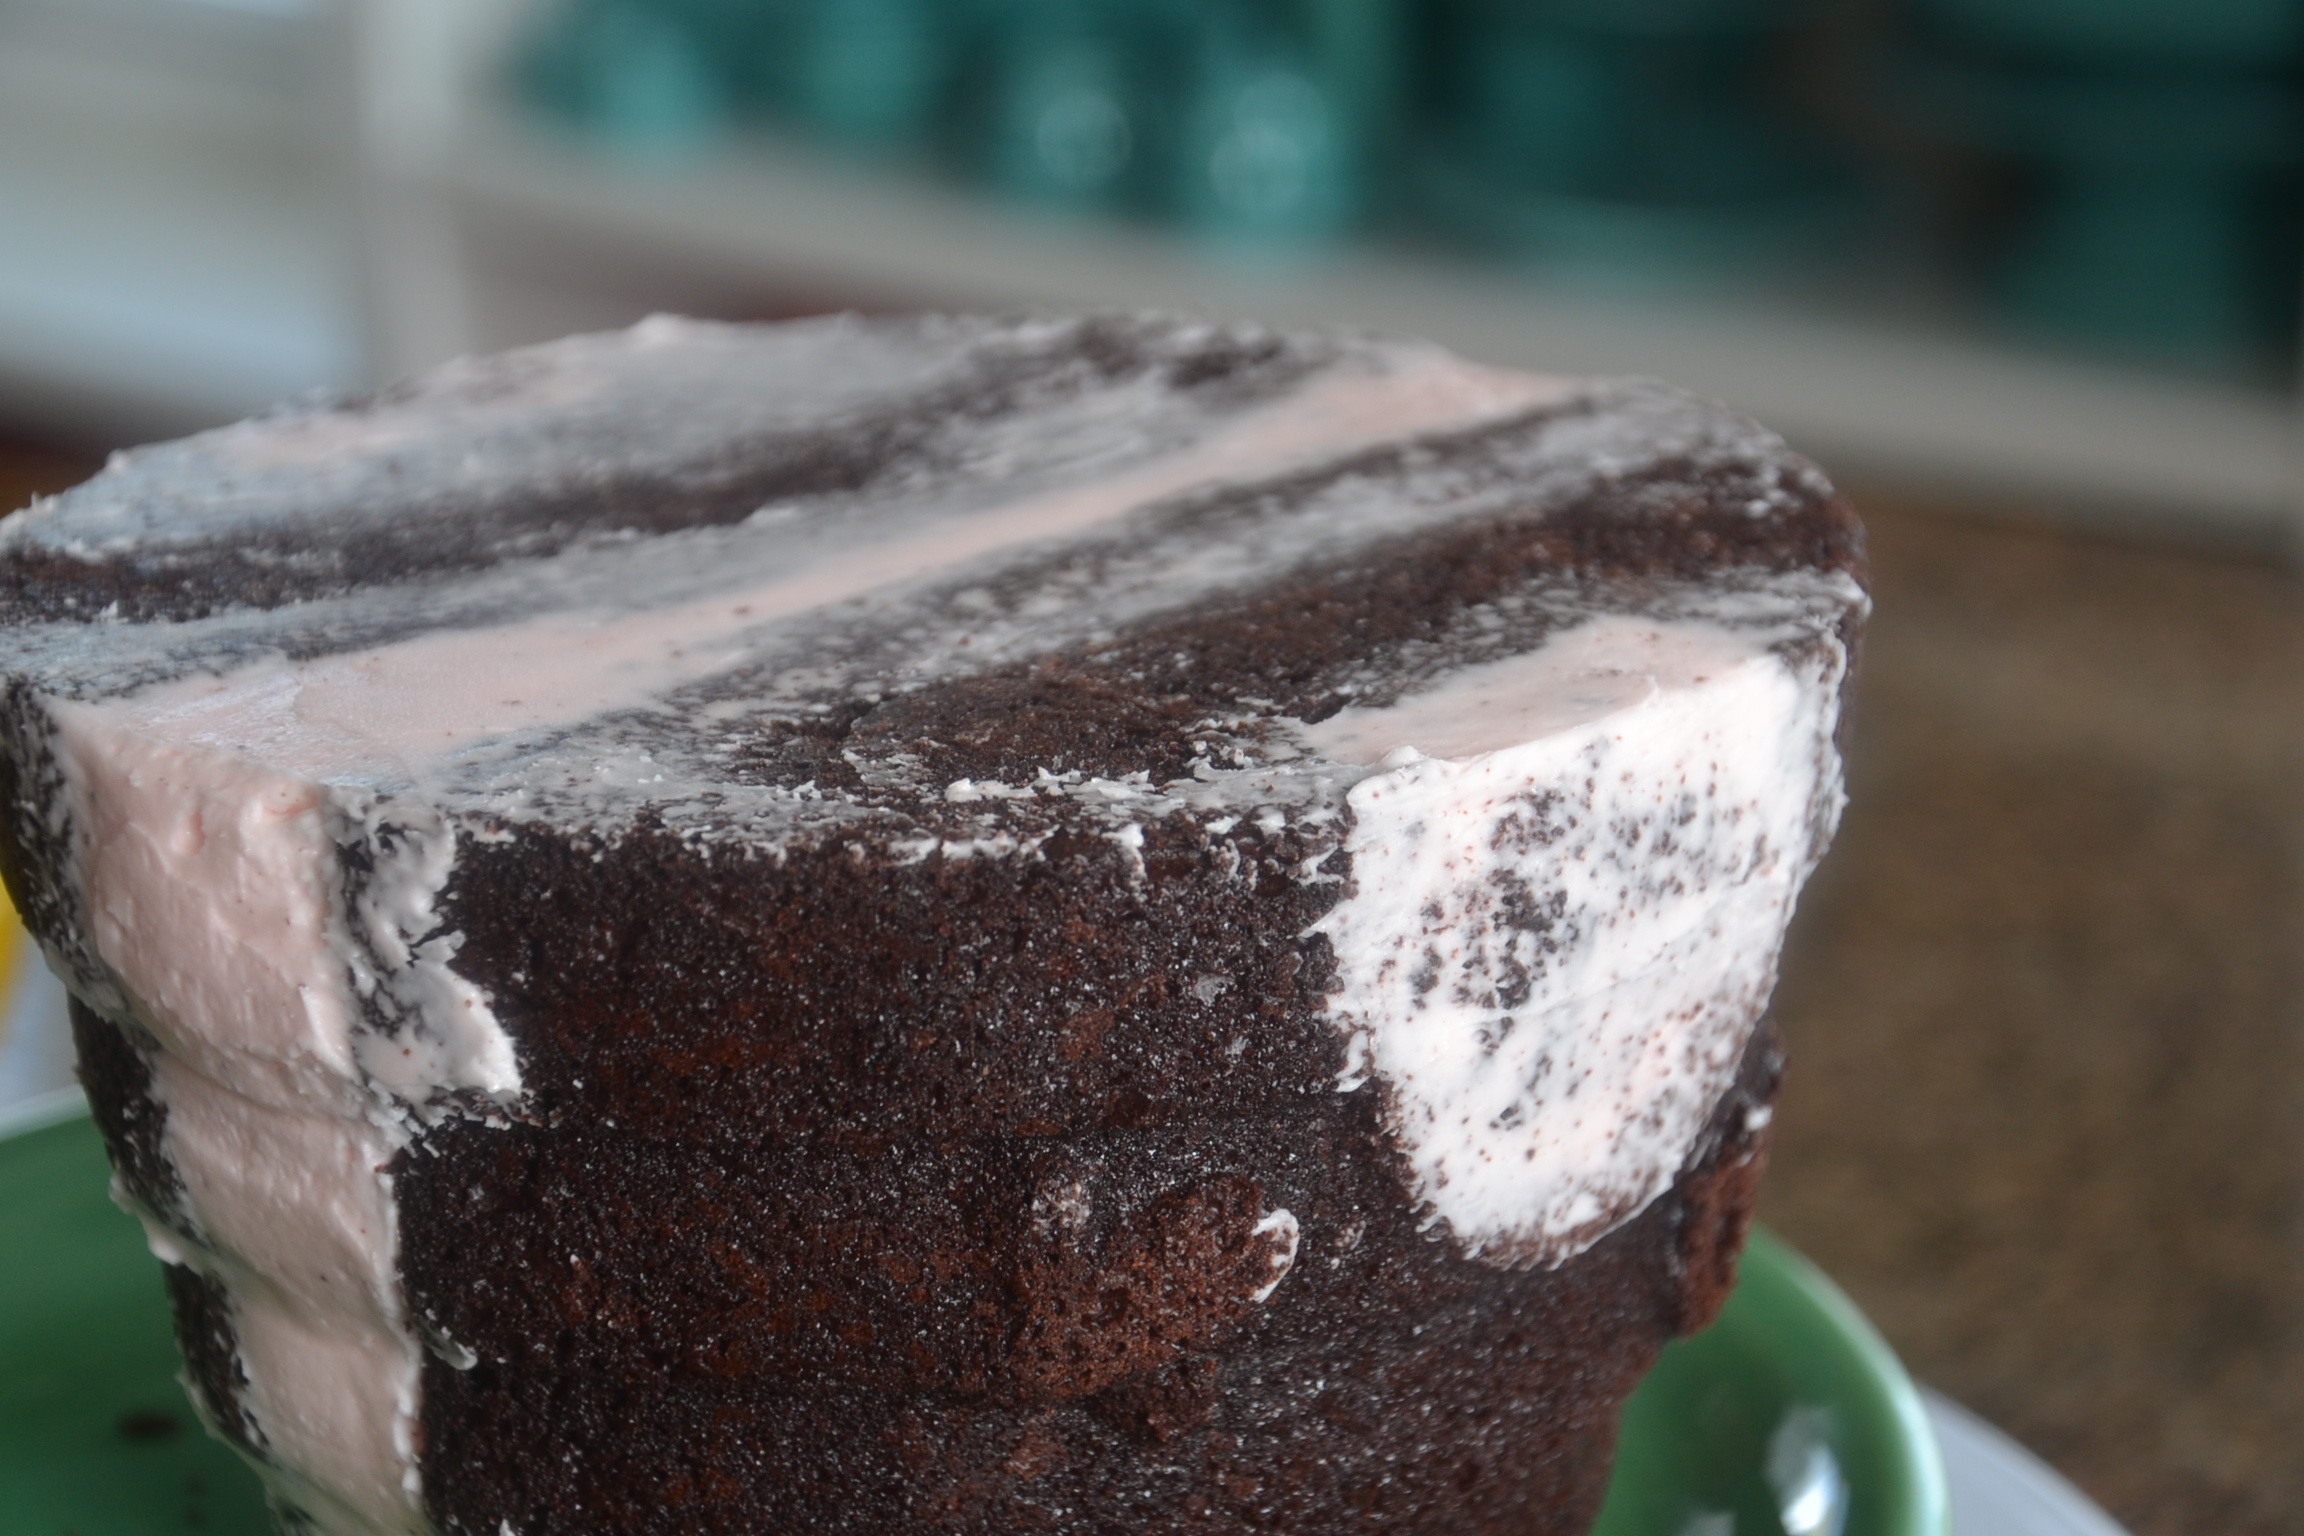
I covered each half with plastic wrap and placed in the refrigerator over night. The next morning I prepared some buttercream – Vanilla Buttercream tinted light pink and a Chocolate Fudge Buttercream for the crumb coat to hold/support the twigs.

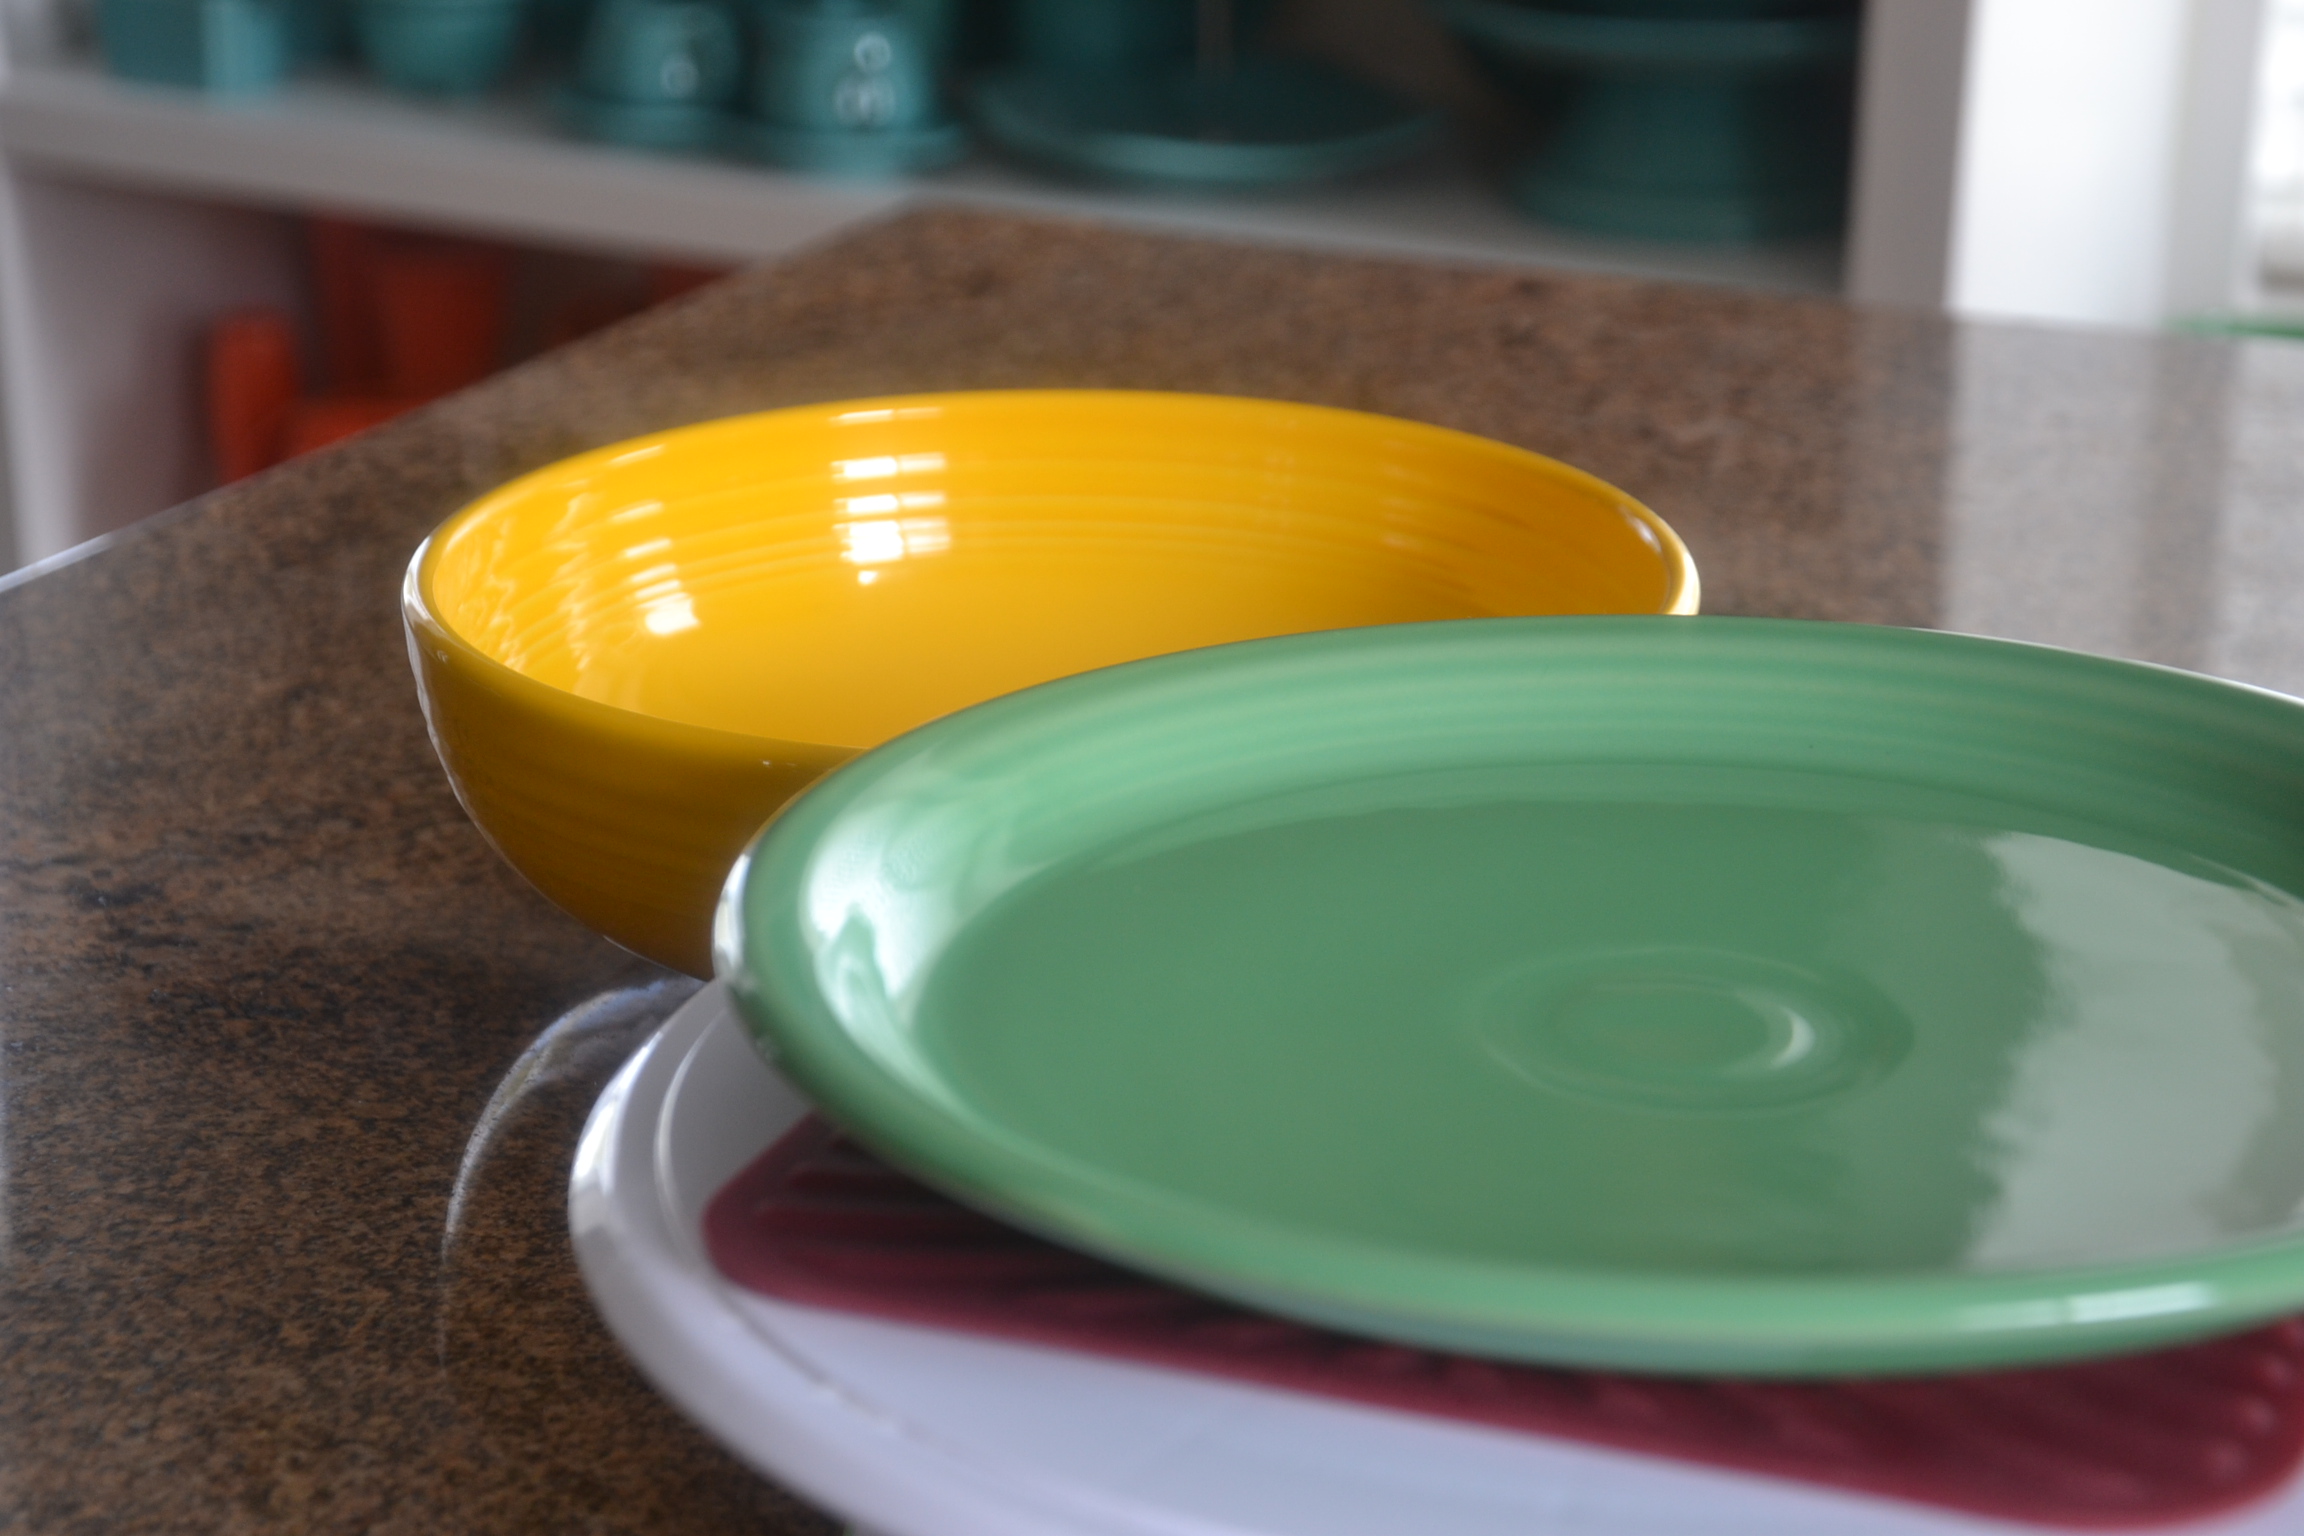
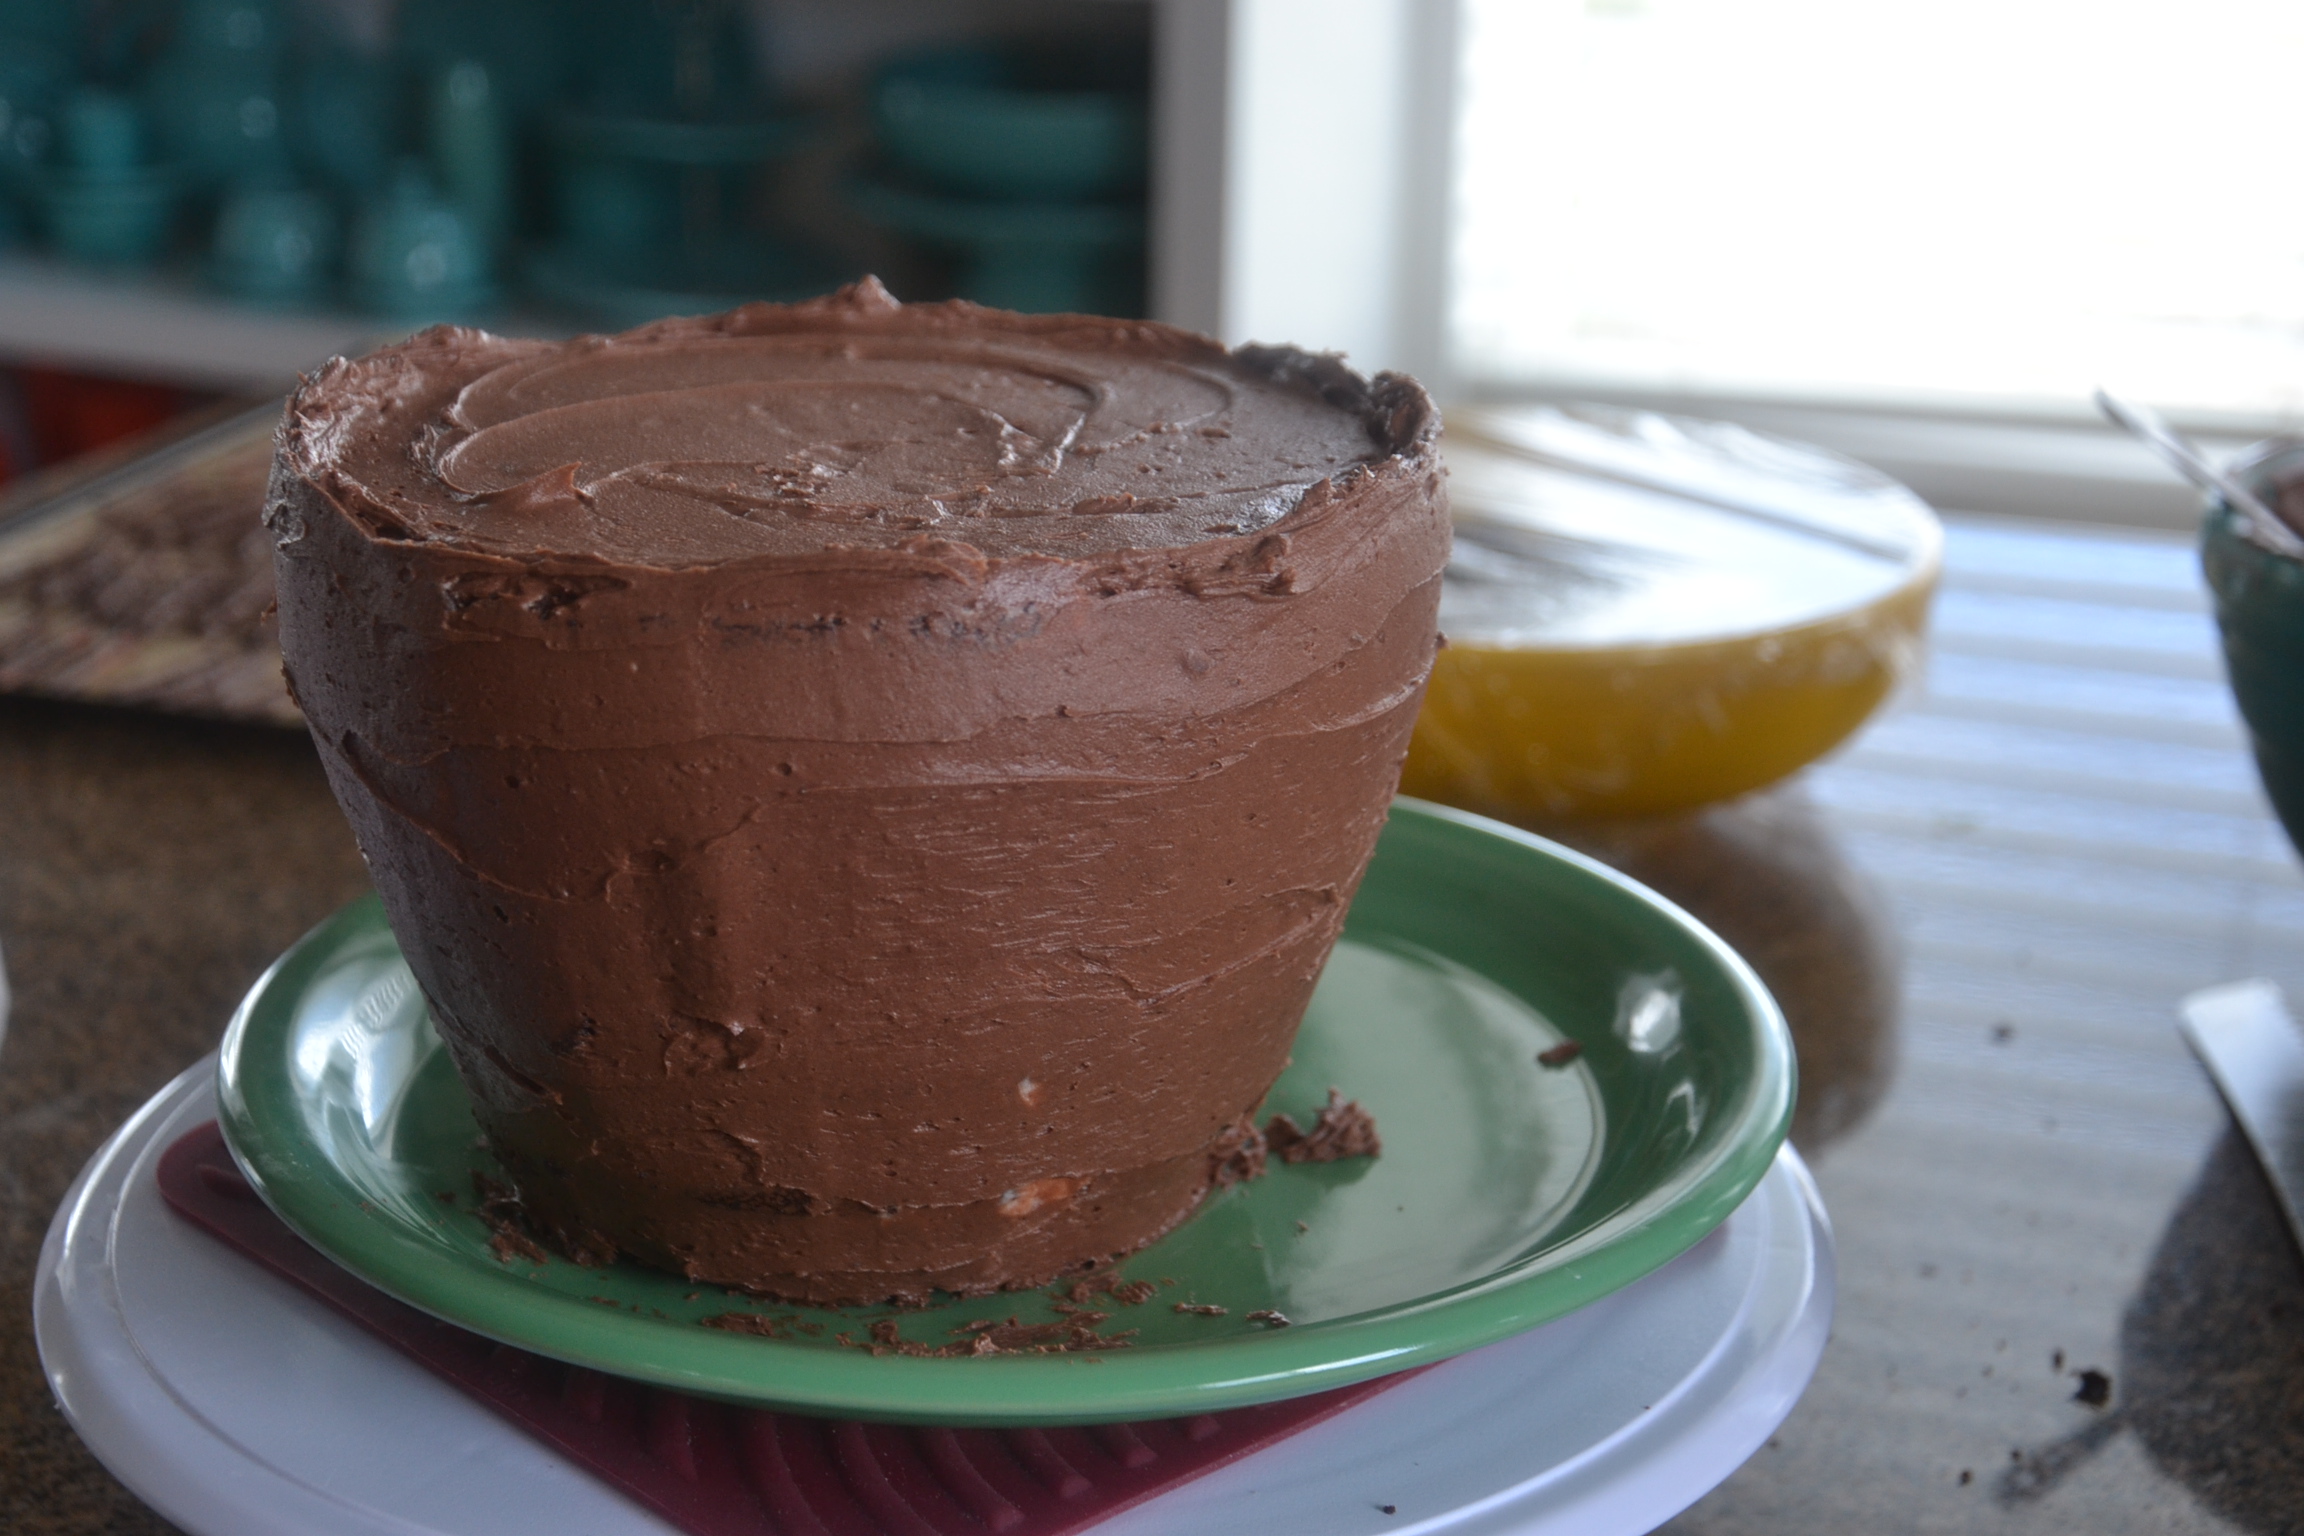
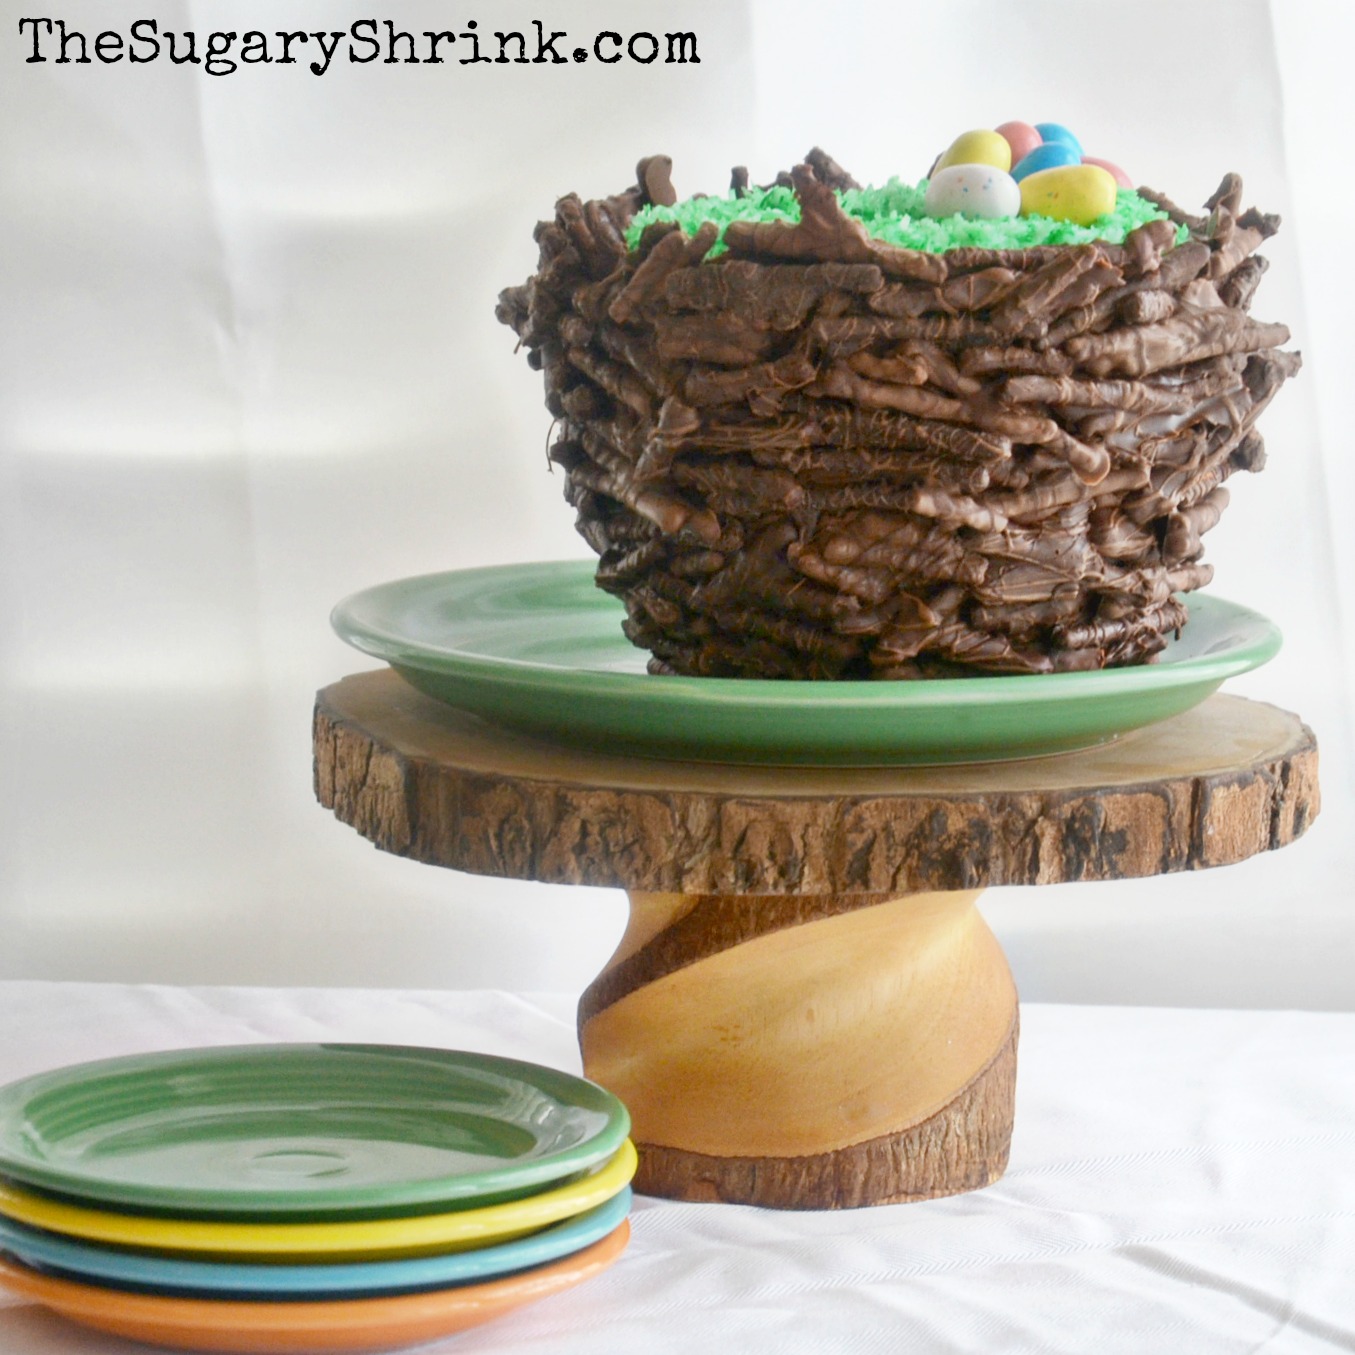
Time for construction. Prepare both halves of the bee hive by trimming away the excess from over-filling each half and I planned to take off one or two of the smallest levels at the top of the hive/bottom of the nest. I had already decided I wanted to the chocolate nest to sit on Homer Laughlin Fiesta Dinnerware recently introduced color: Meadow! It’s an ideal color to host this cake. I have never been disappointed when using these incredibly sturdy plates, bowls, and vases.

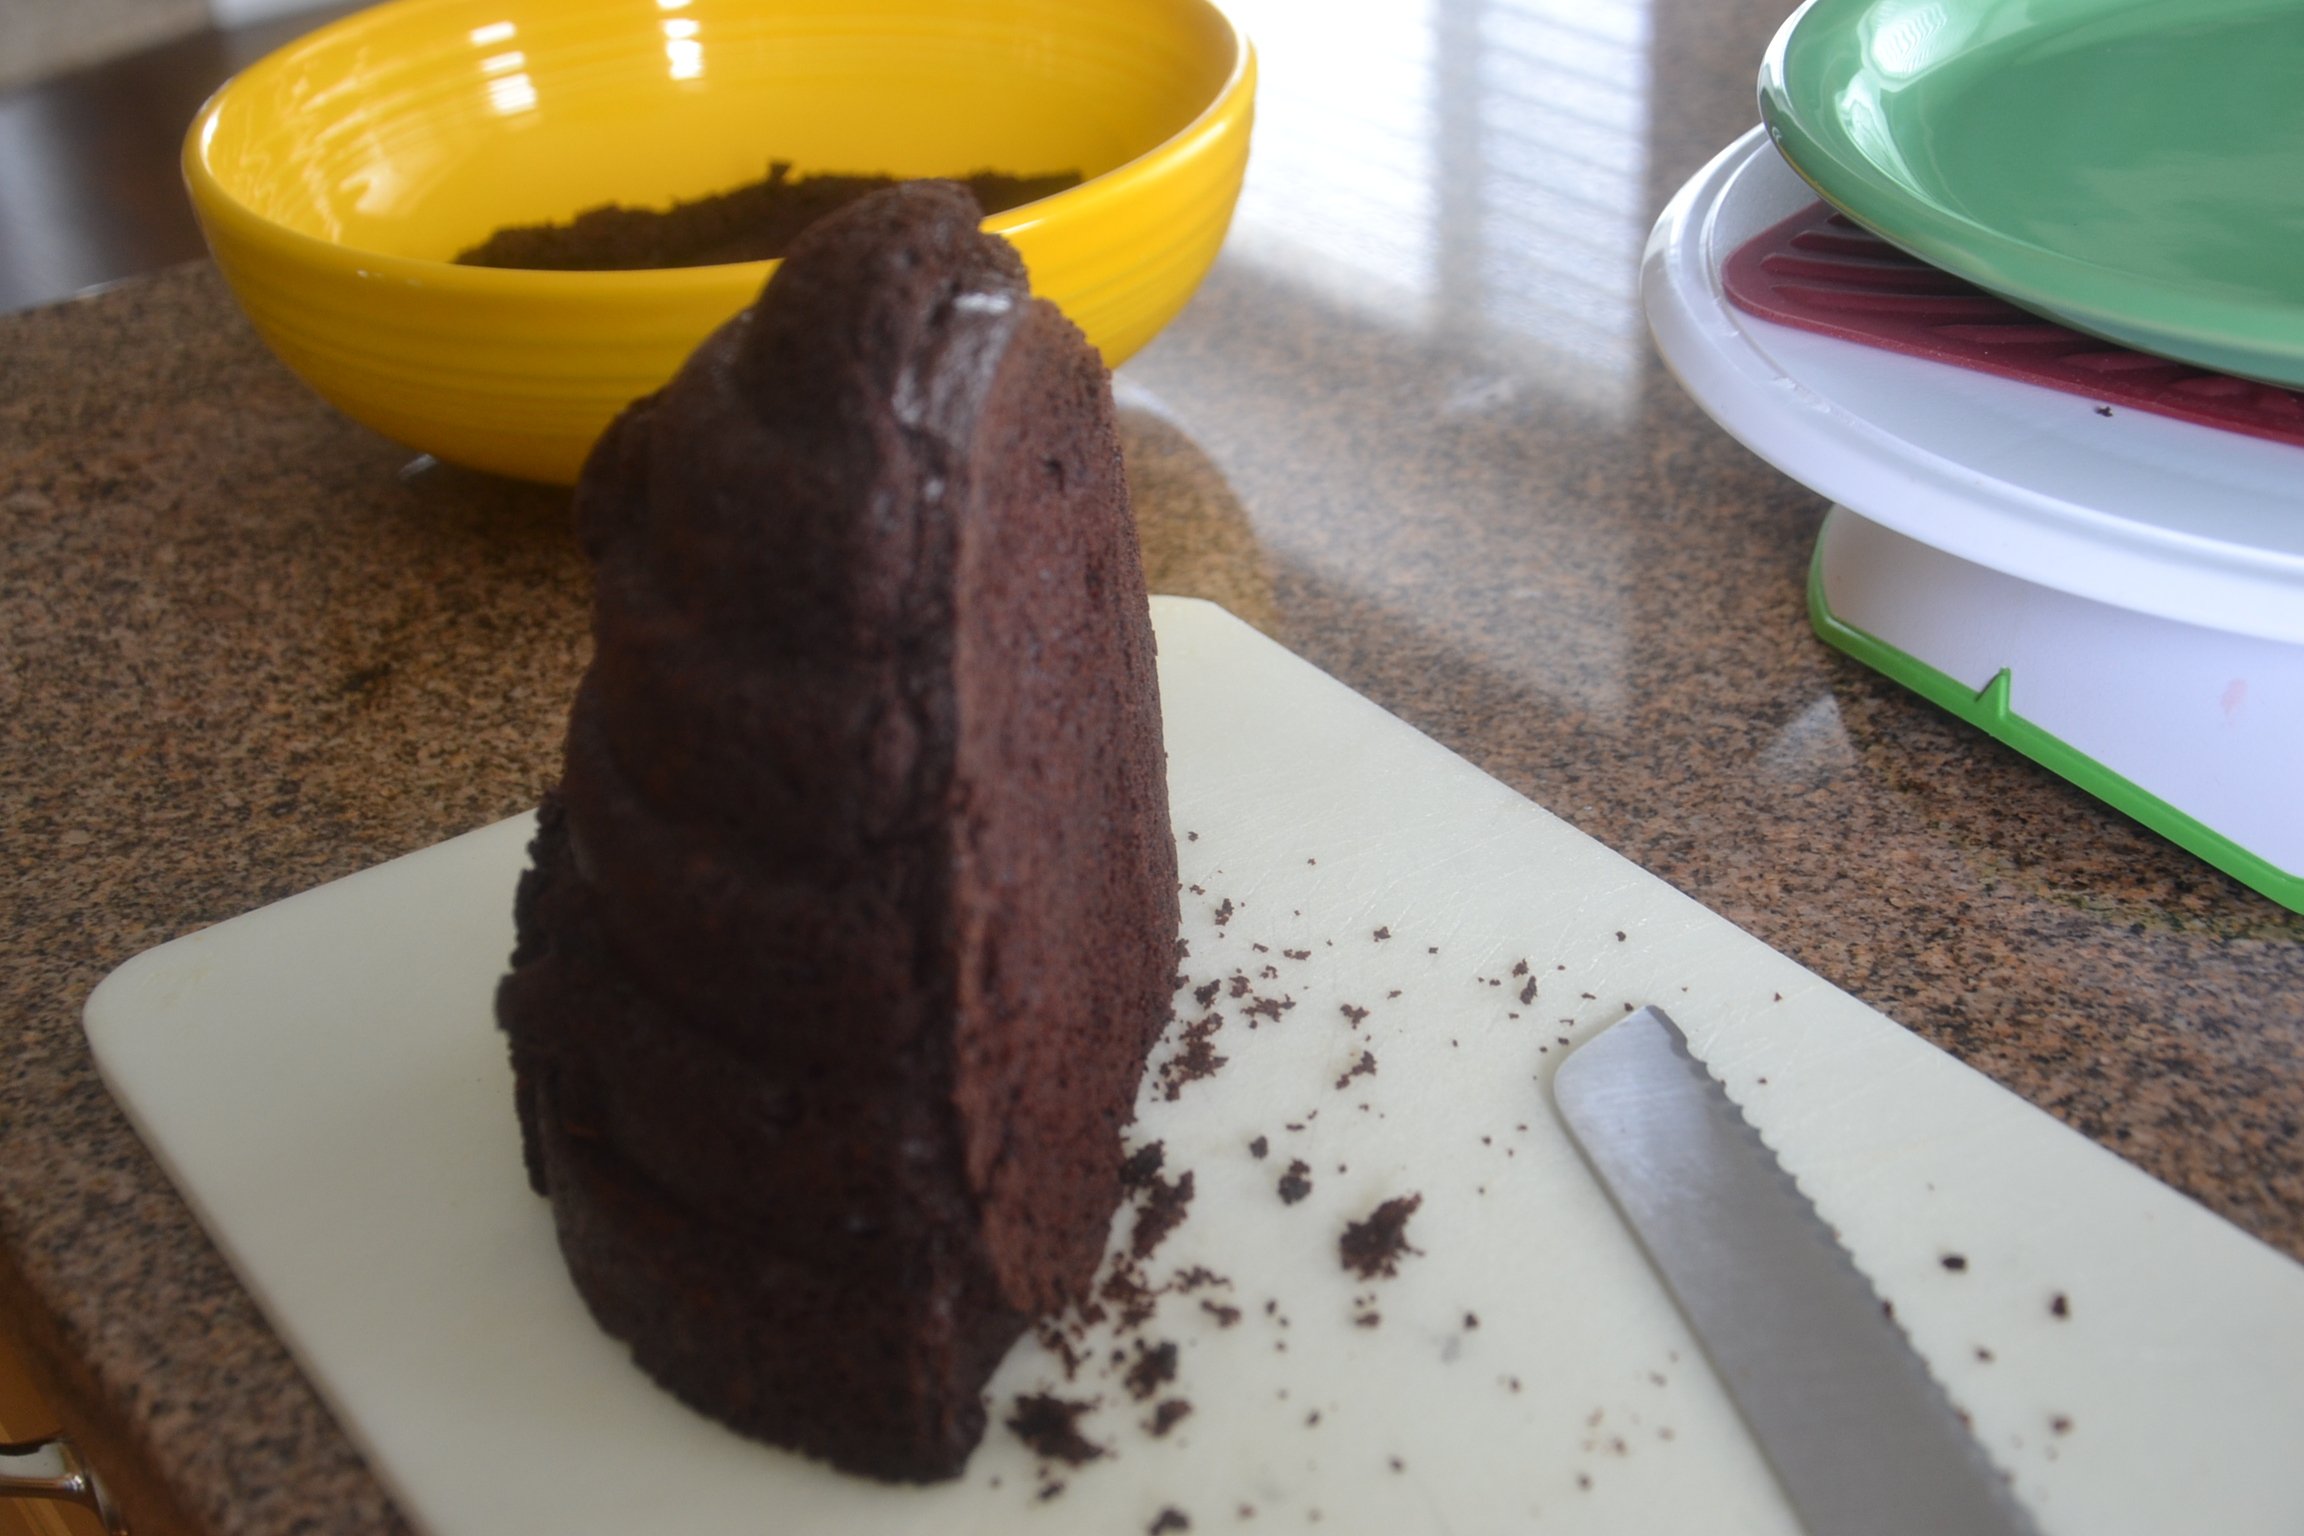
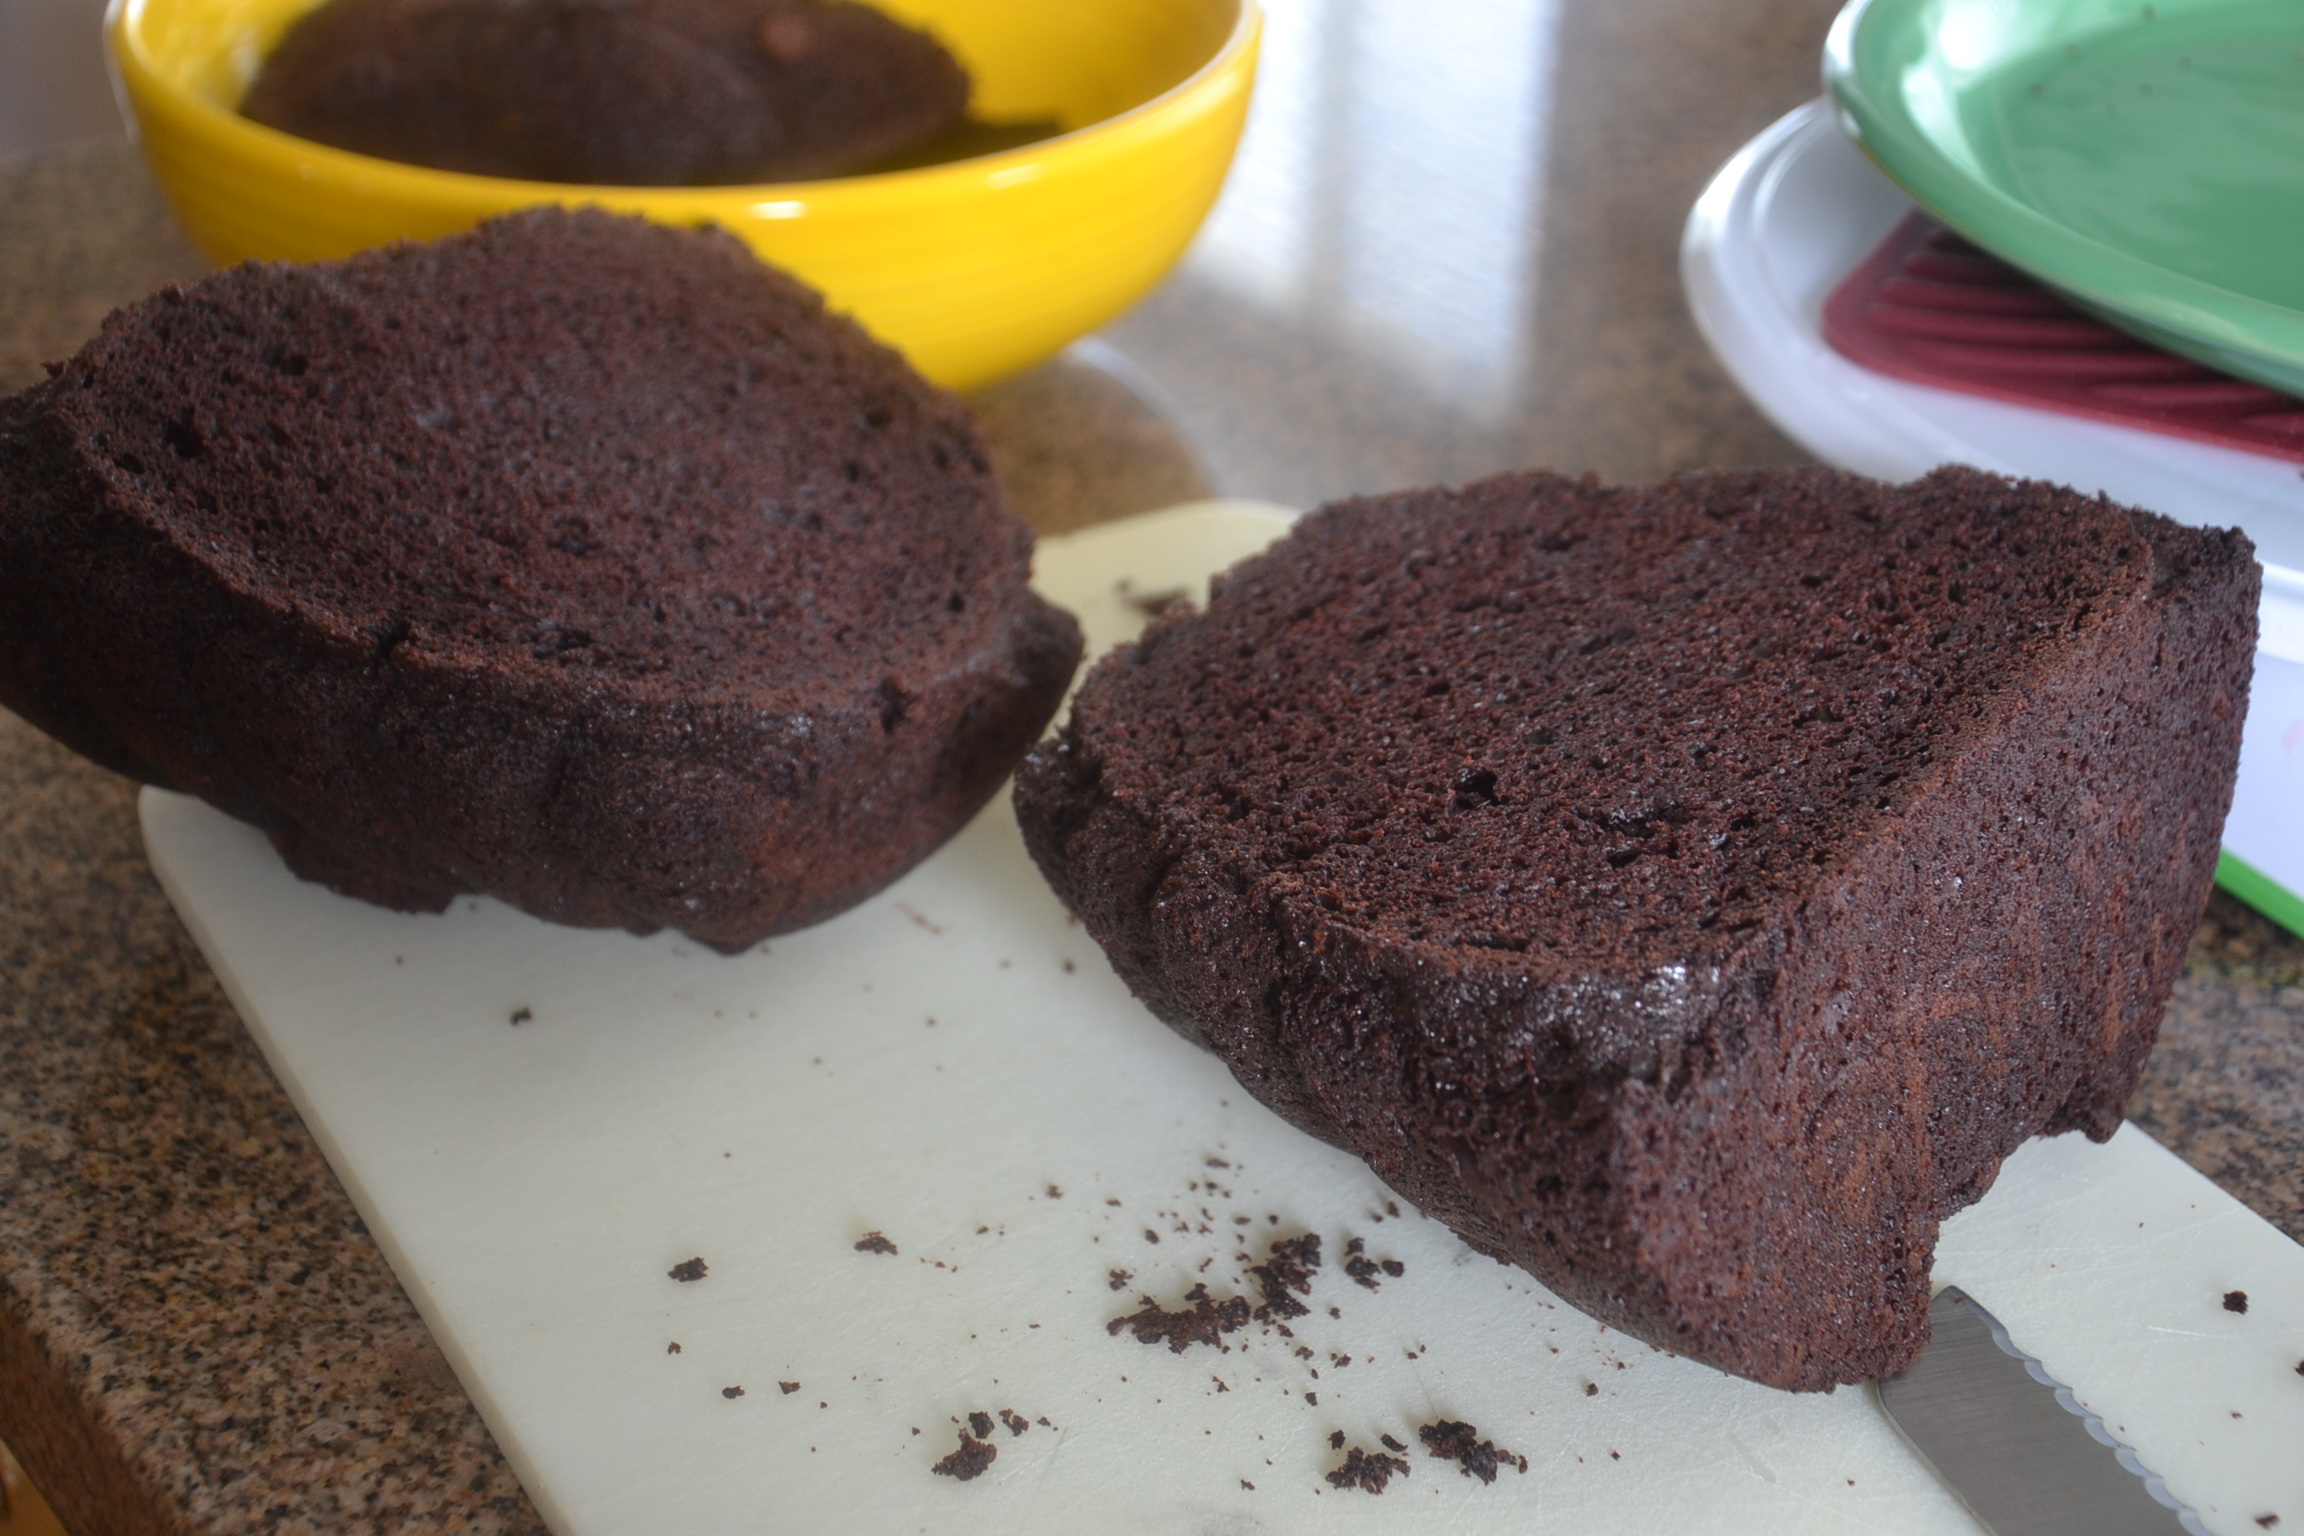
It turns out, I only took one level off the top. Saving the excess and keeping it airtight will help ensure the sponge will remain fresh until the cake pops can be mixed.
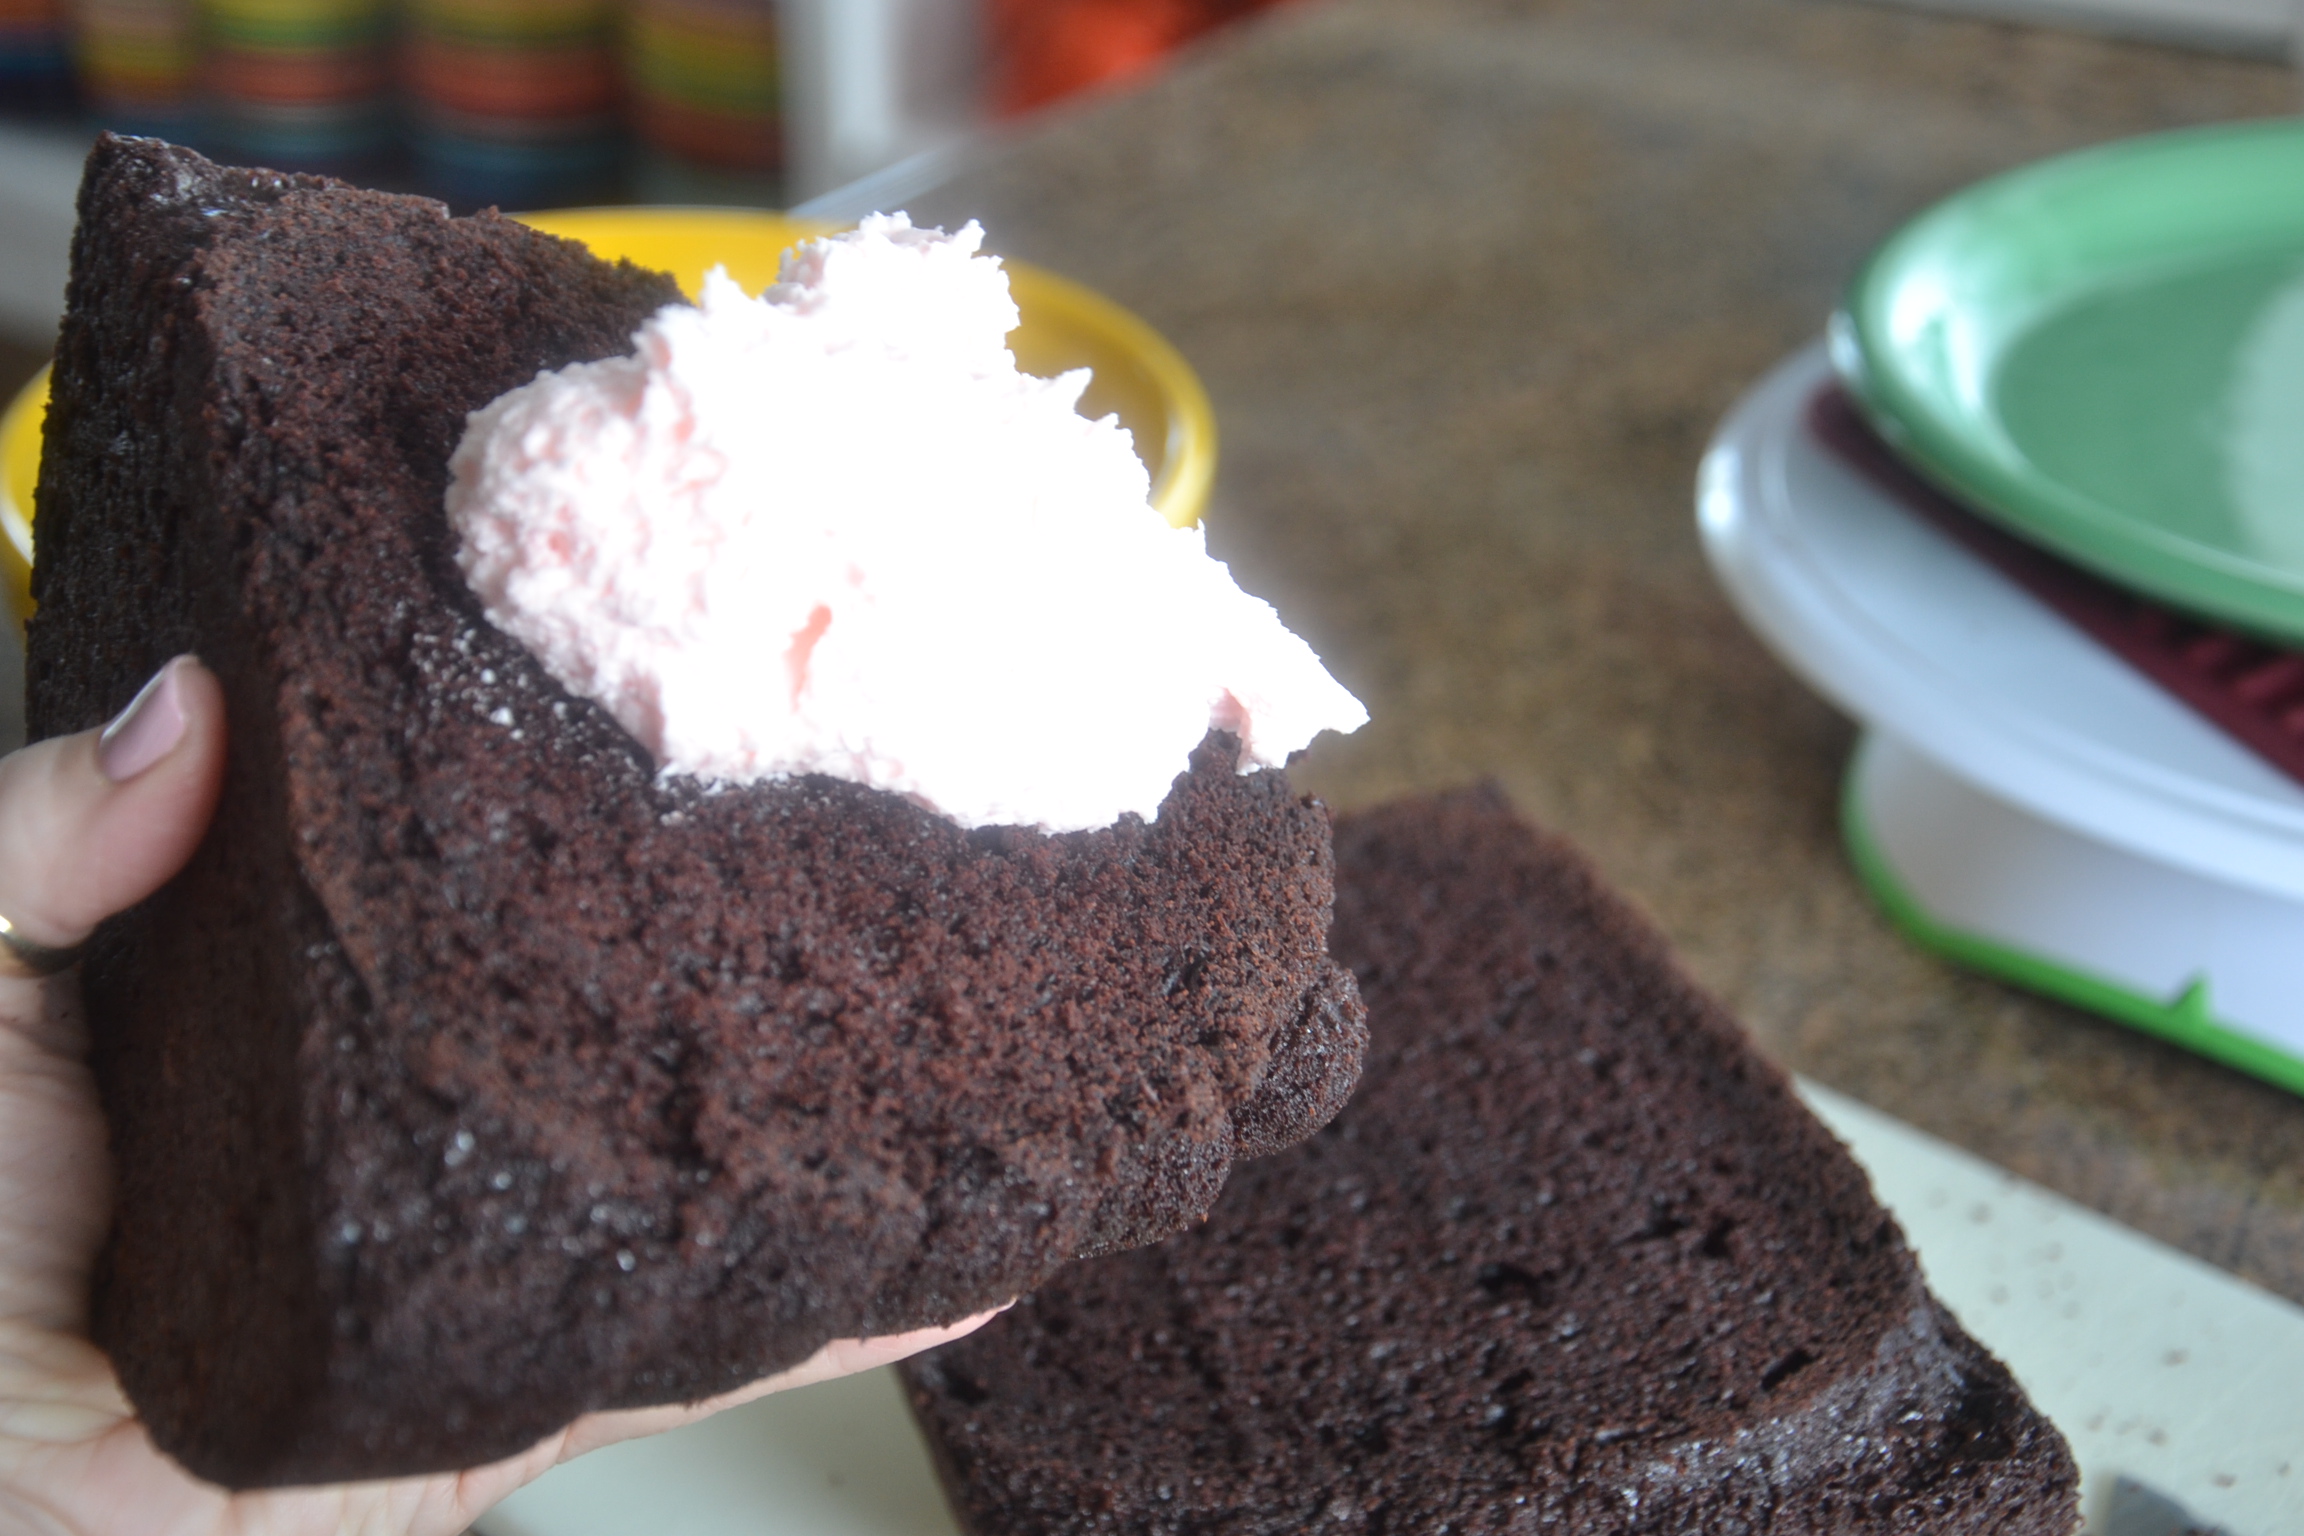
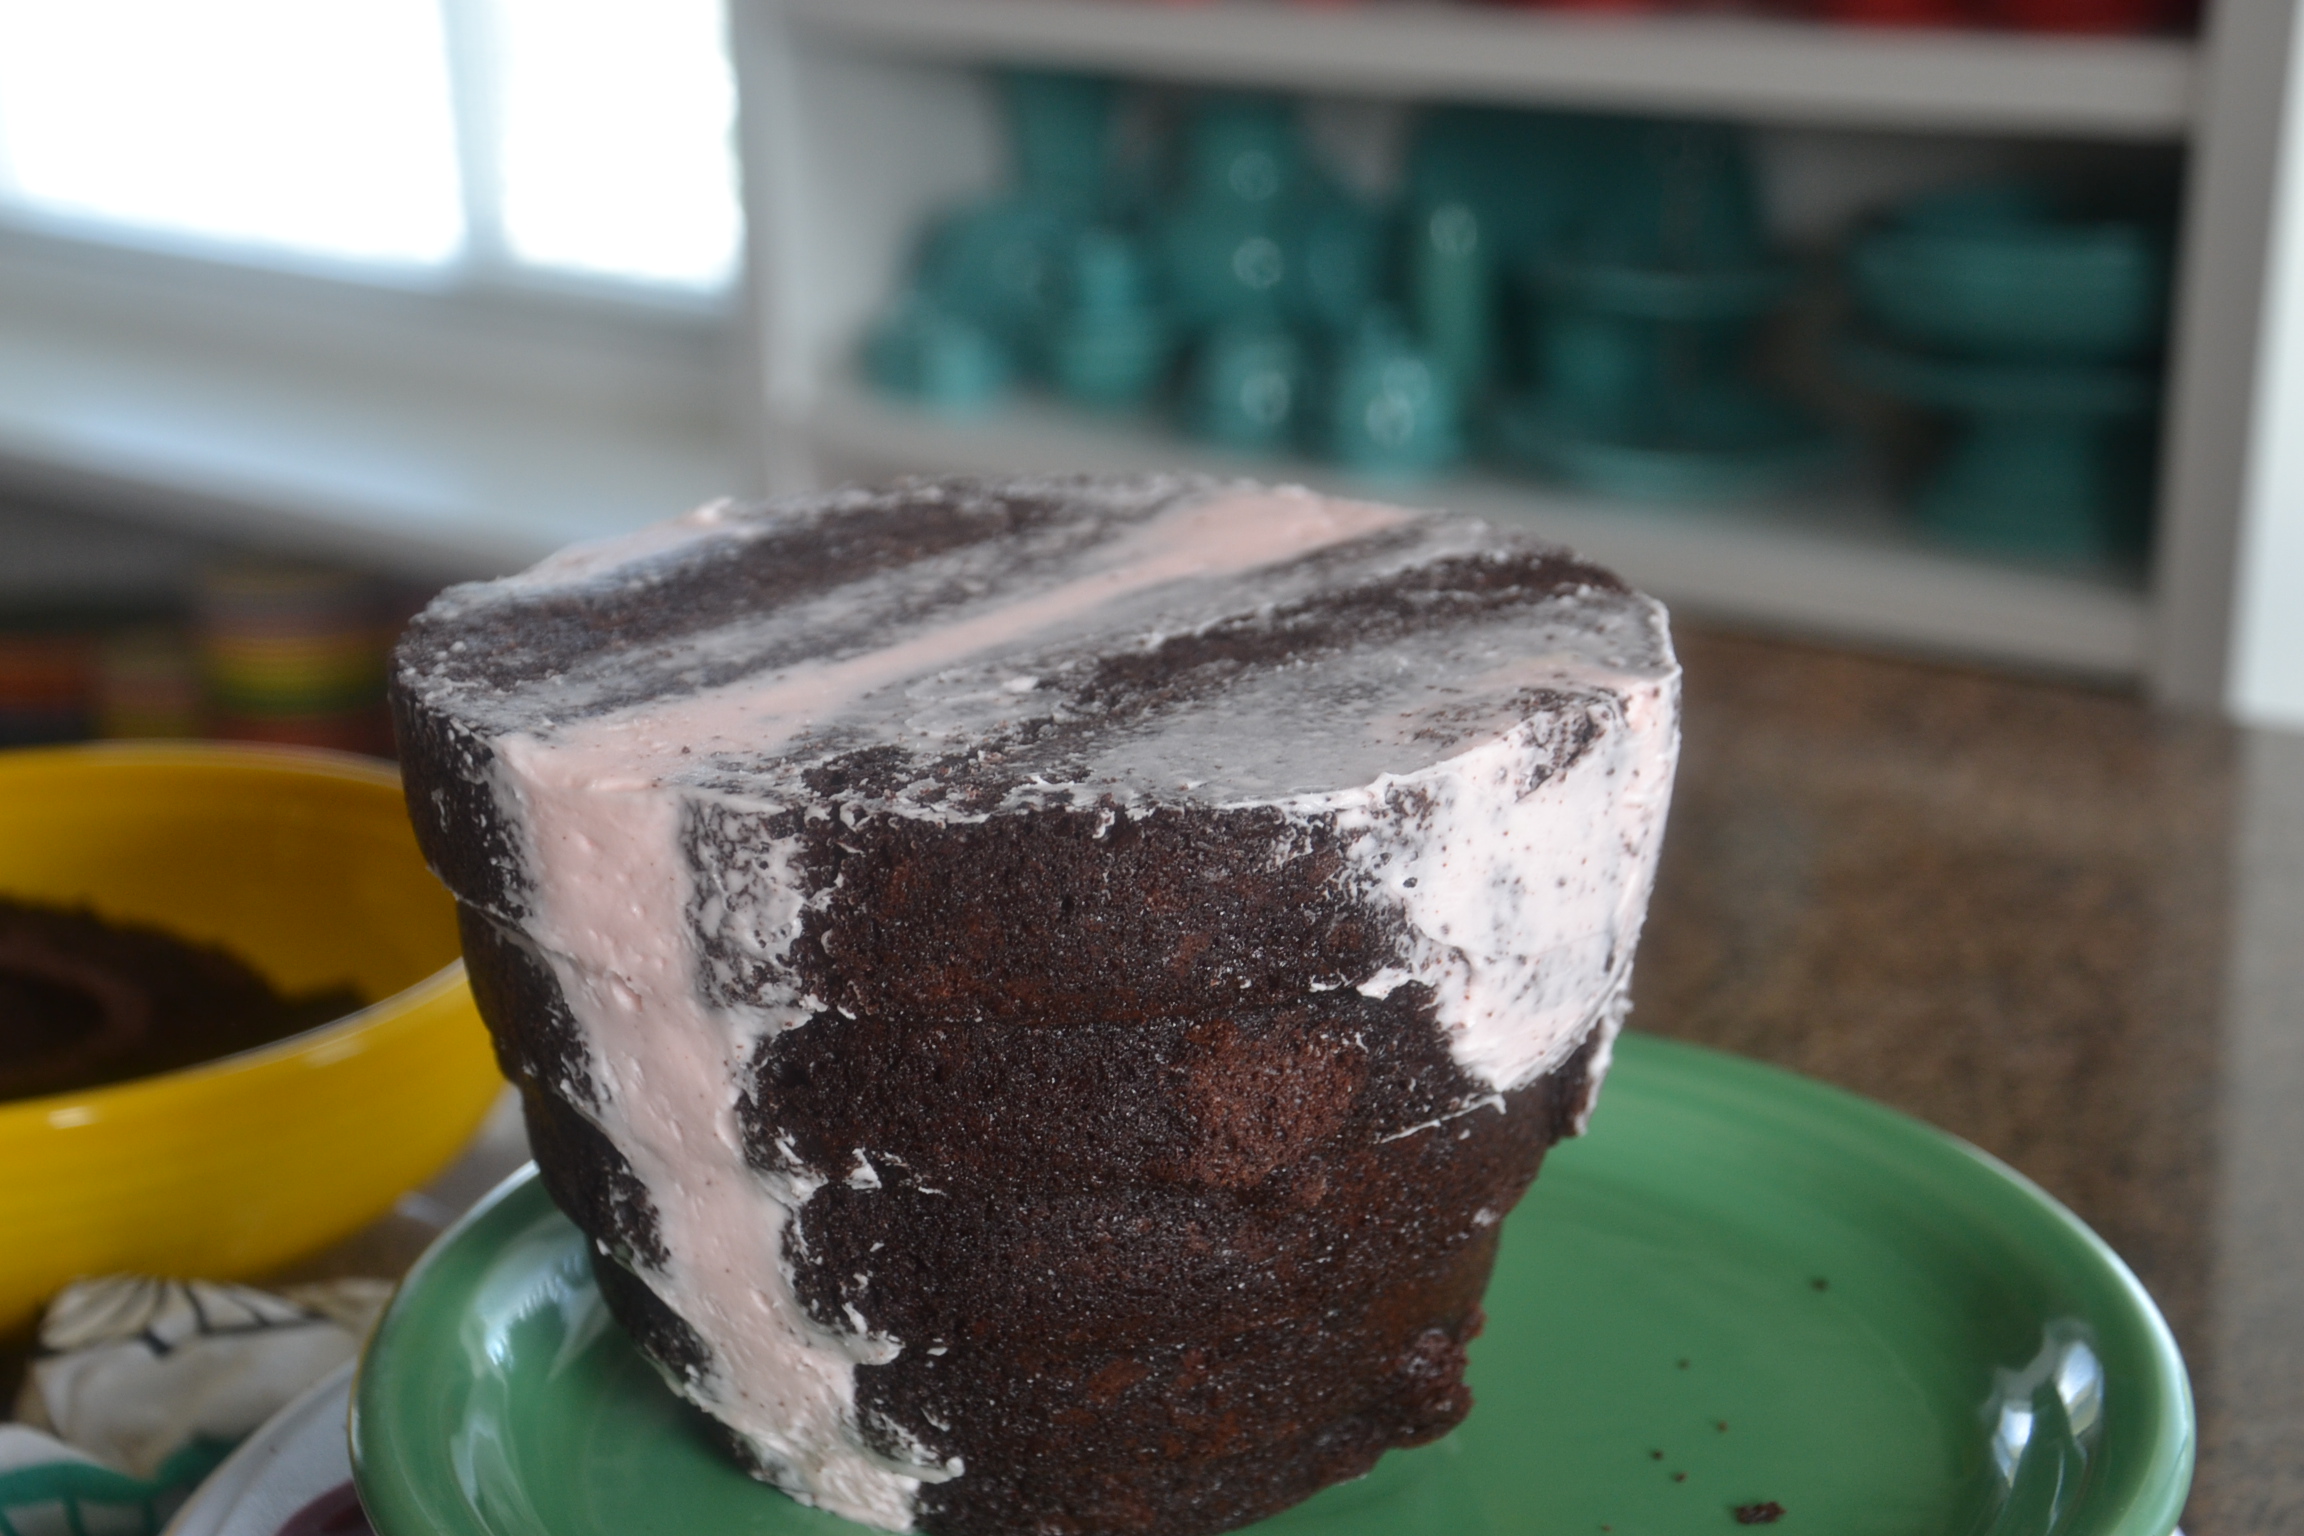
Both halves of the bee hive have an “access door.” By placing a small bit of sponge and buttercream into the space, the cake can be filled out.
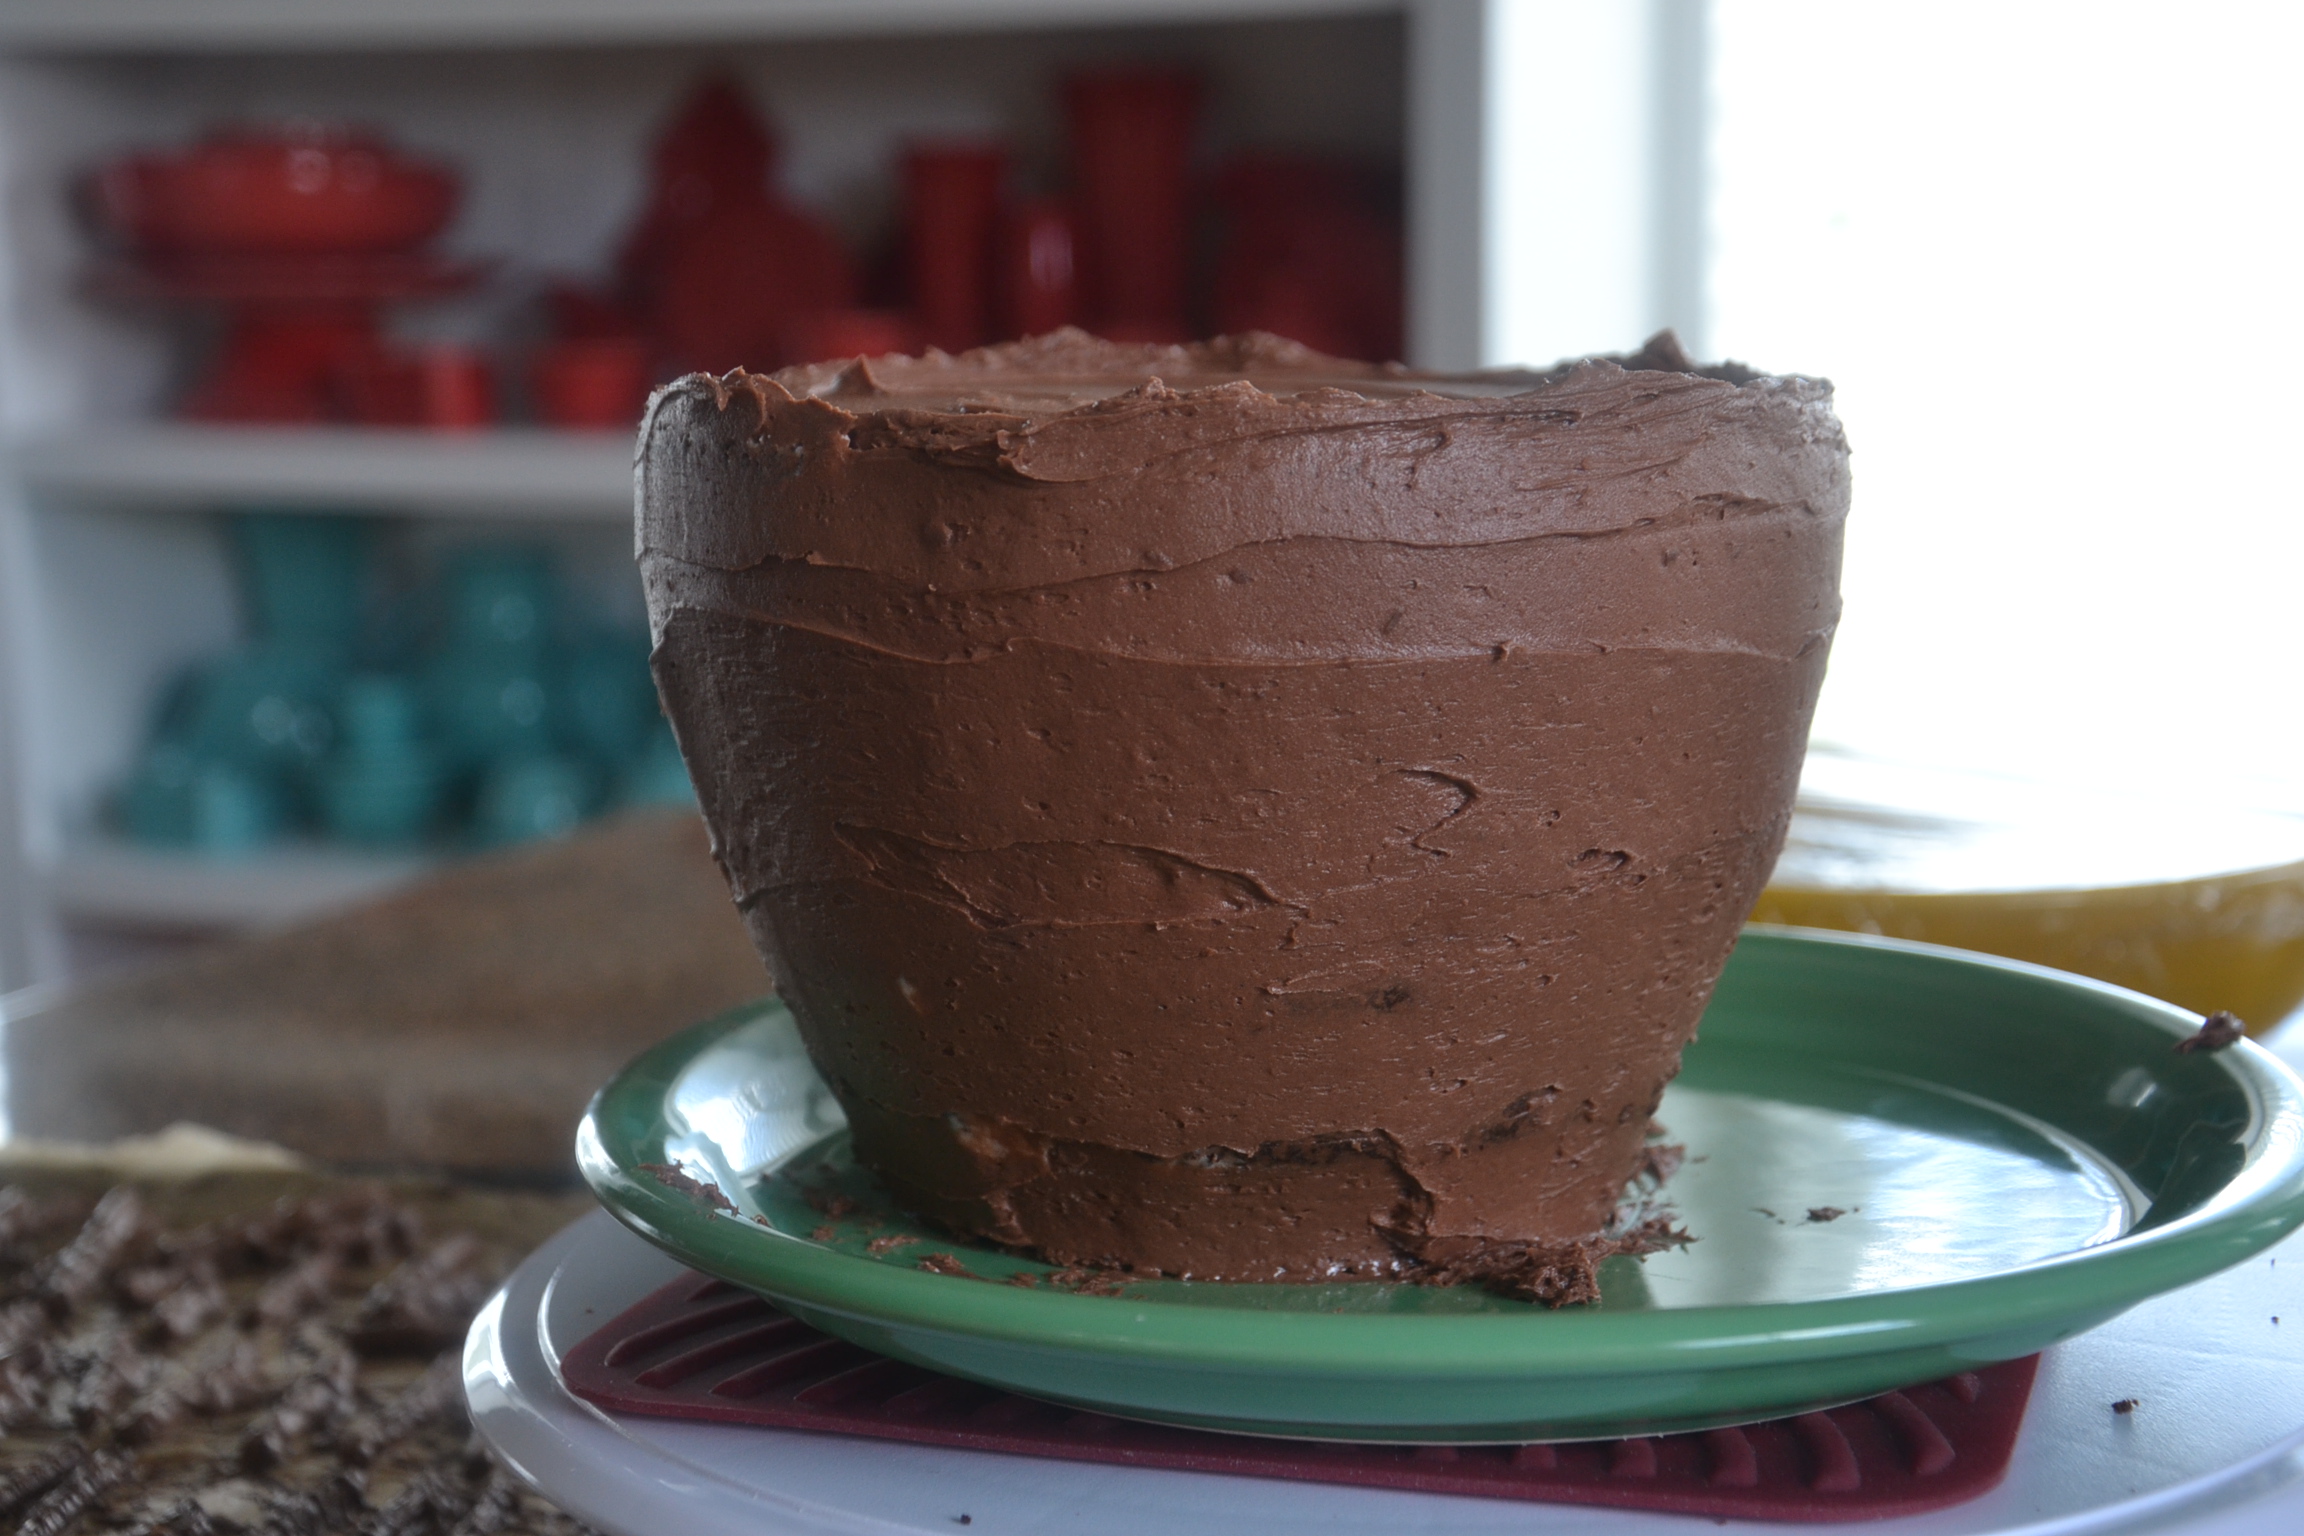
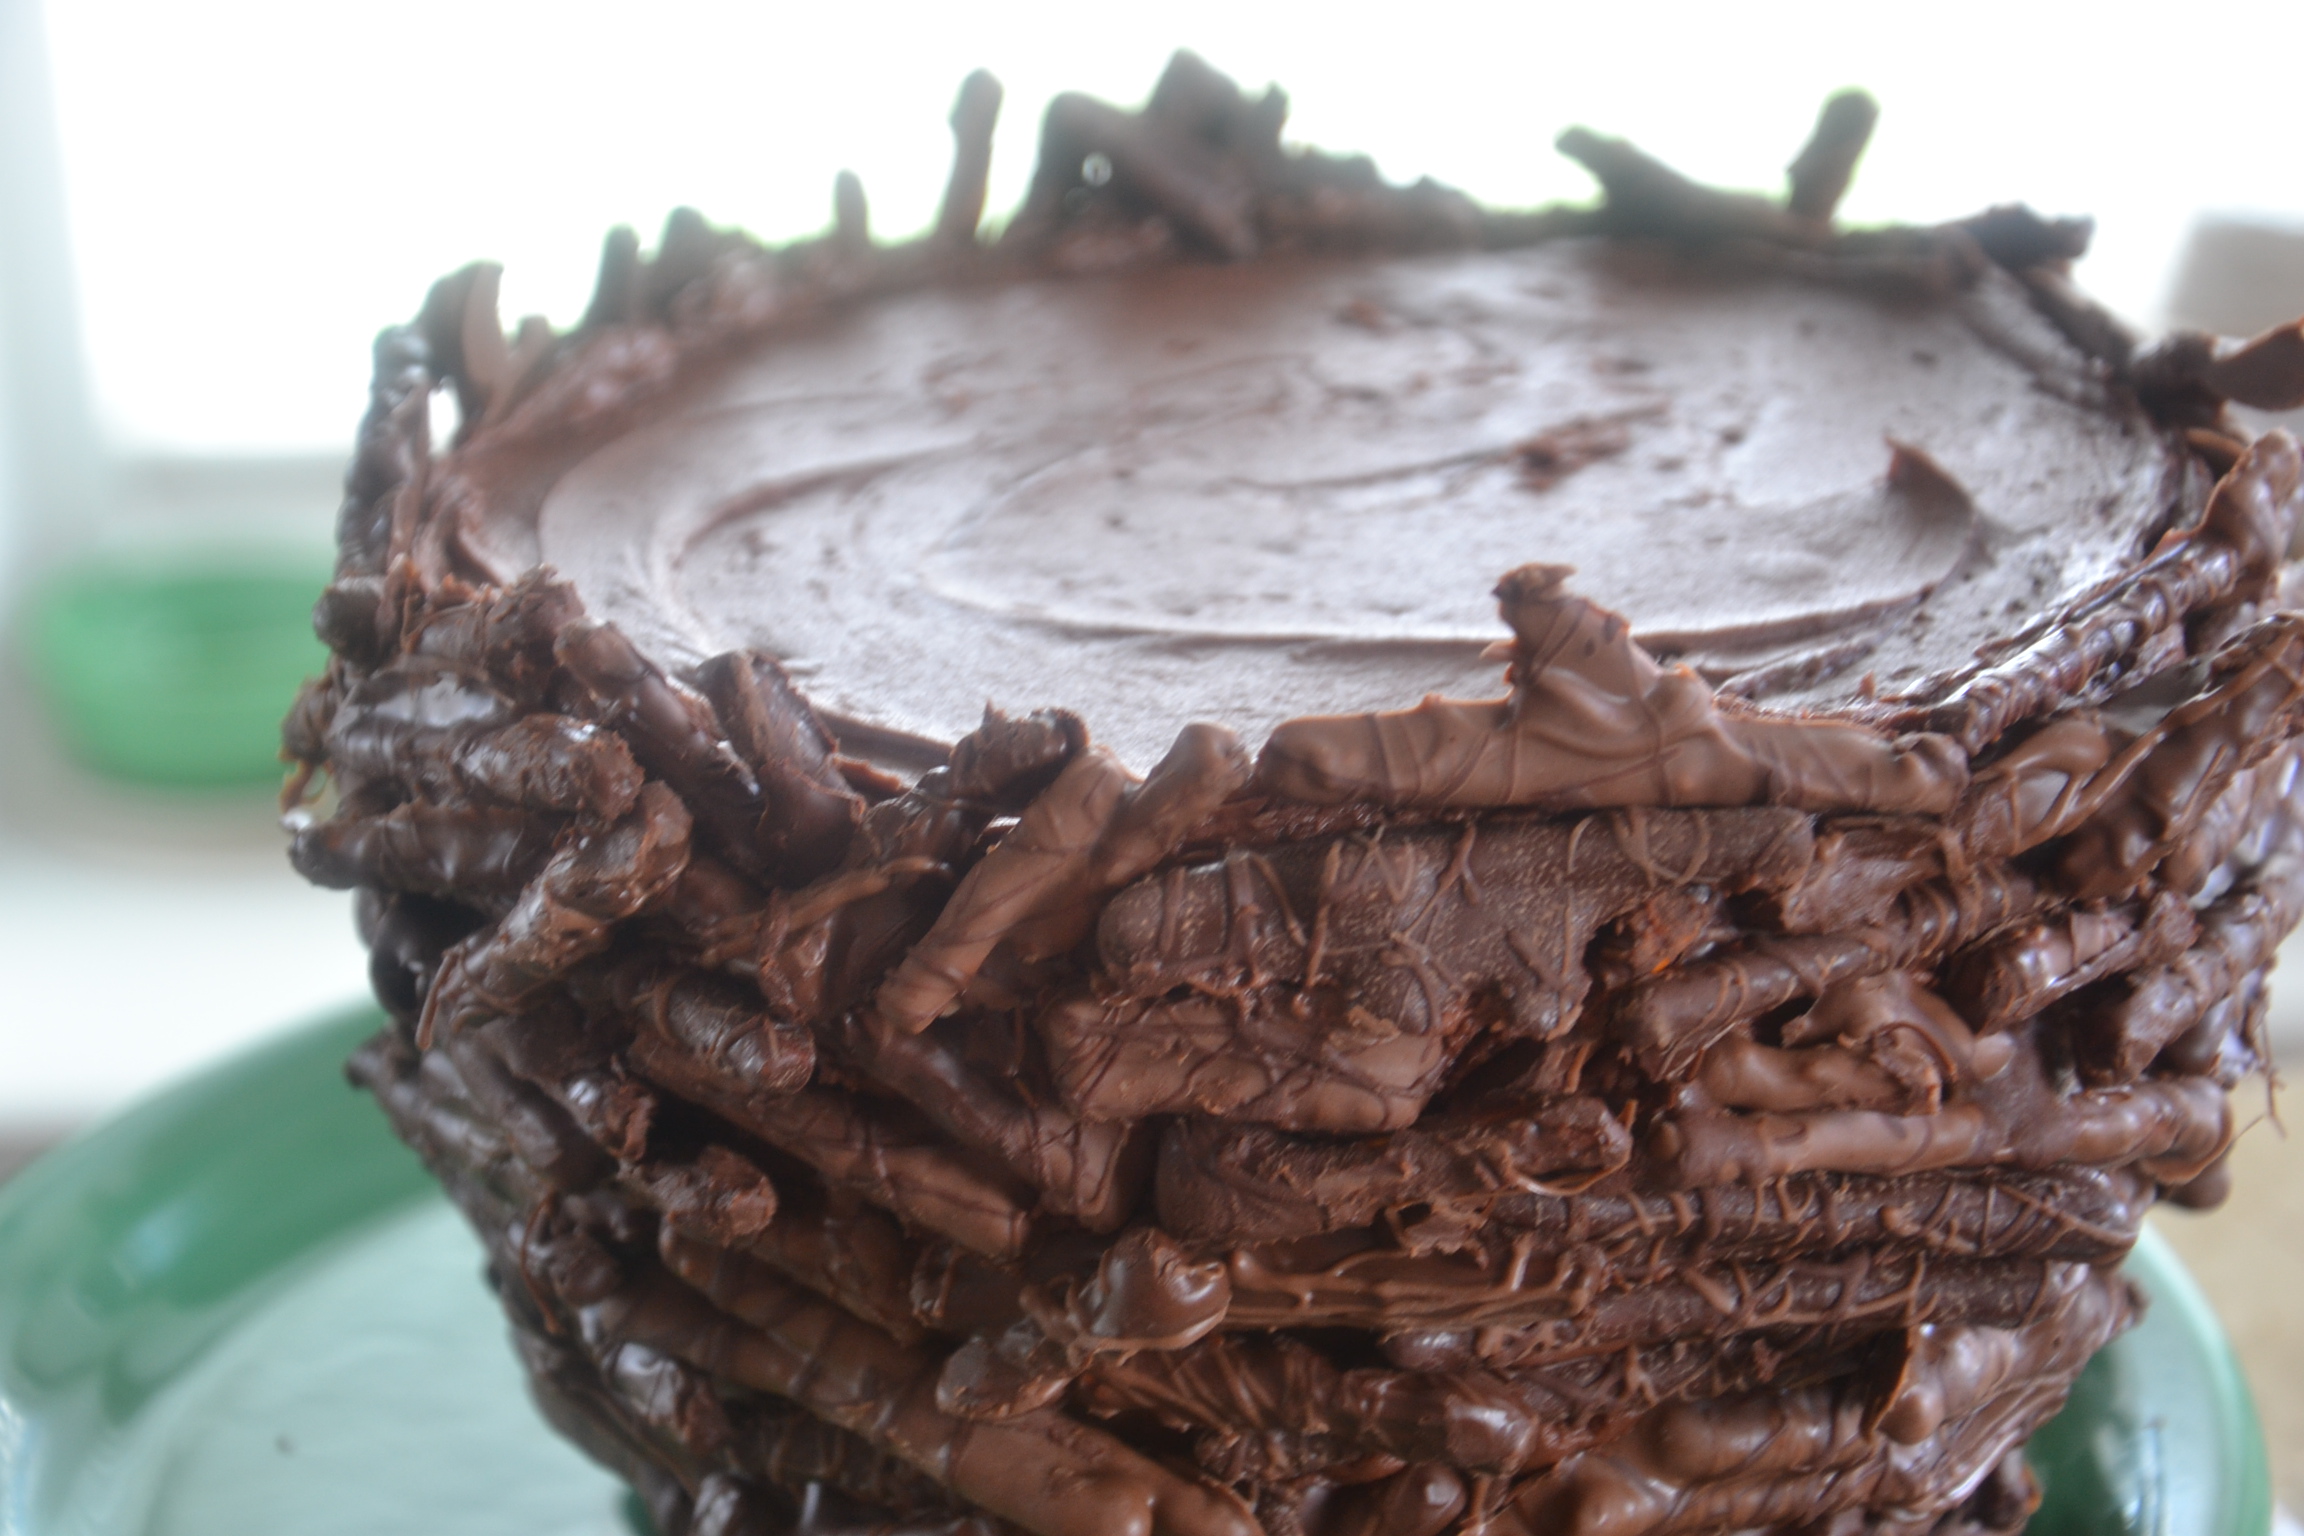
Time for the Chocolate Fudge Buttercream – and the closer I get to this stage the more I remind myself that I don’t really know what I’m doing!
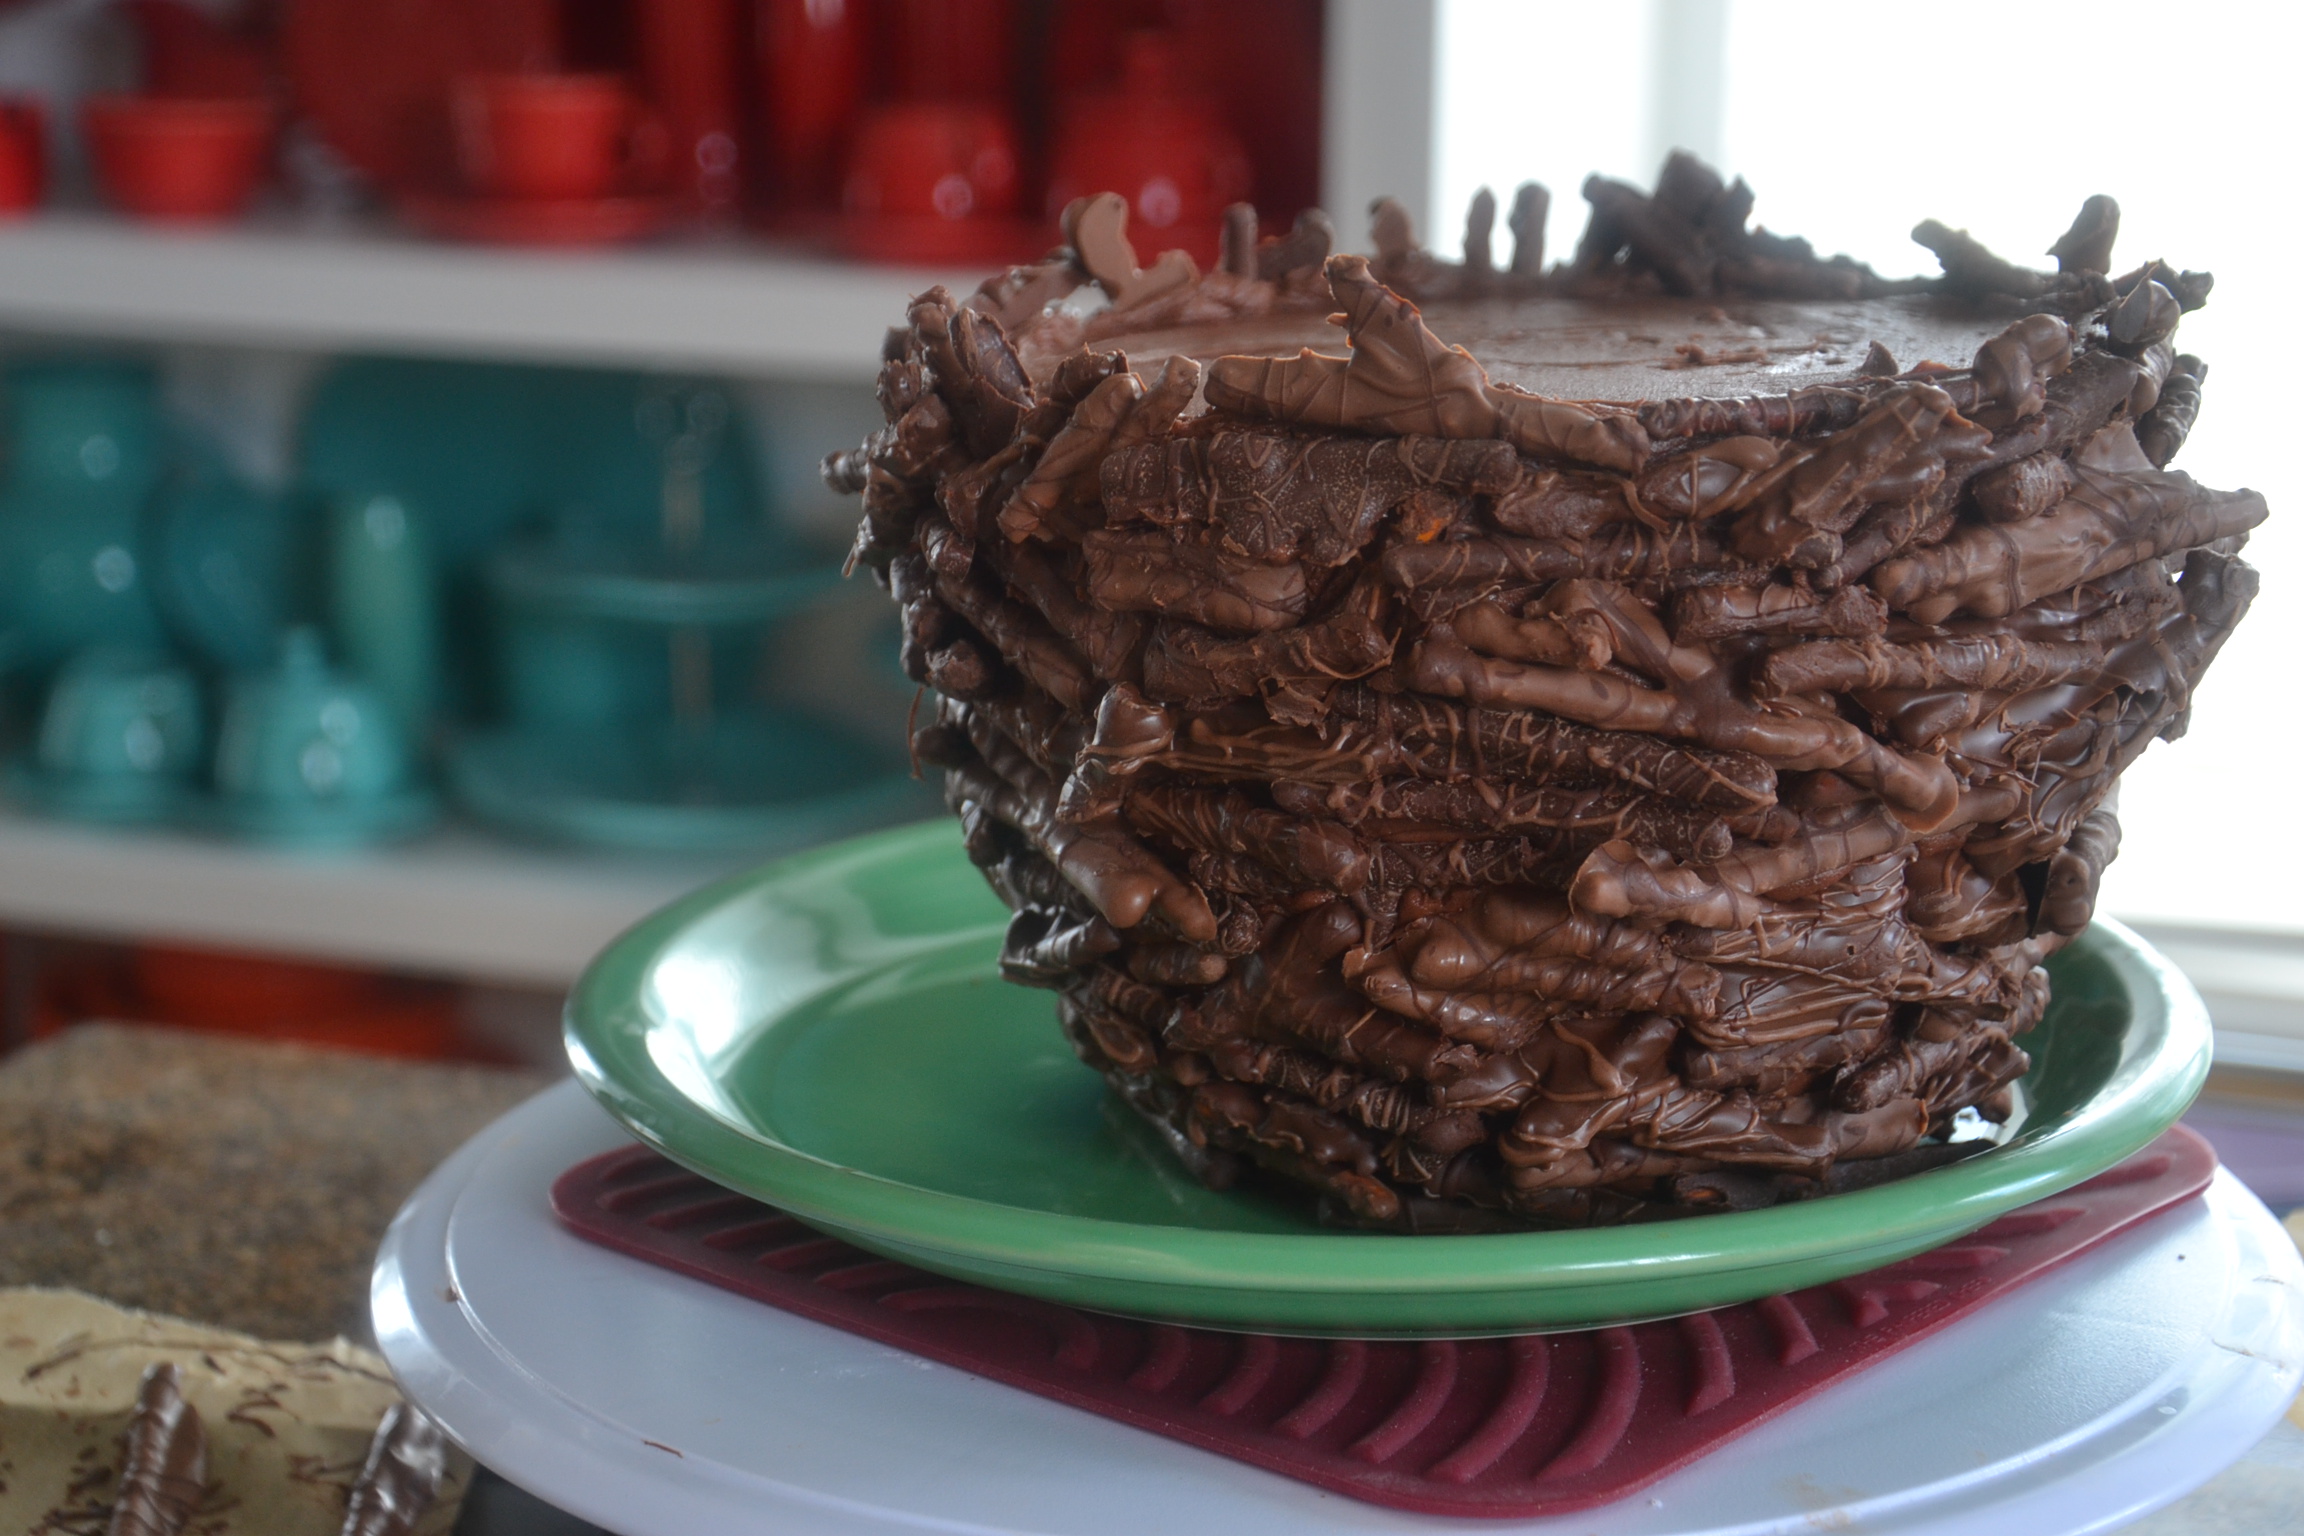
As I began working with the pretzel sticks, it became clear this method would be just fine. It could even become a group project with a couple decorators working at once. Several of the potential problems did not happen and it was super helpful to have different shades of chocolate, different sizes, and a mix of shapes.
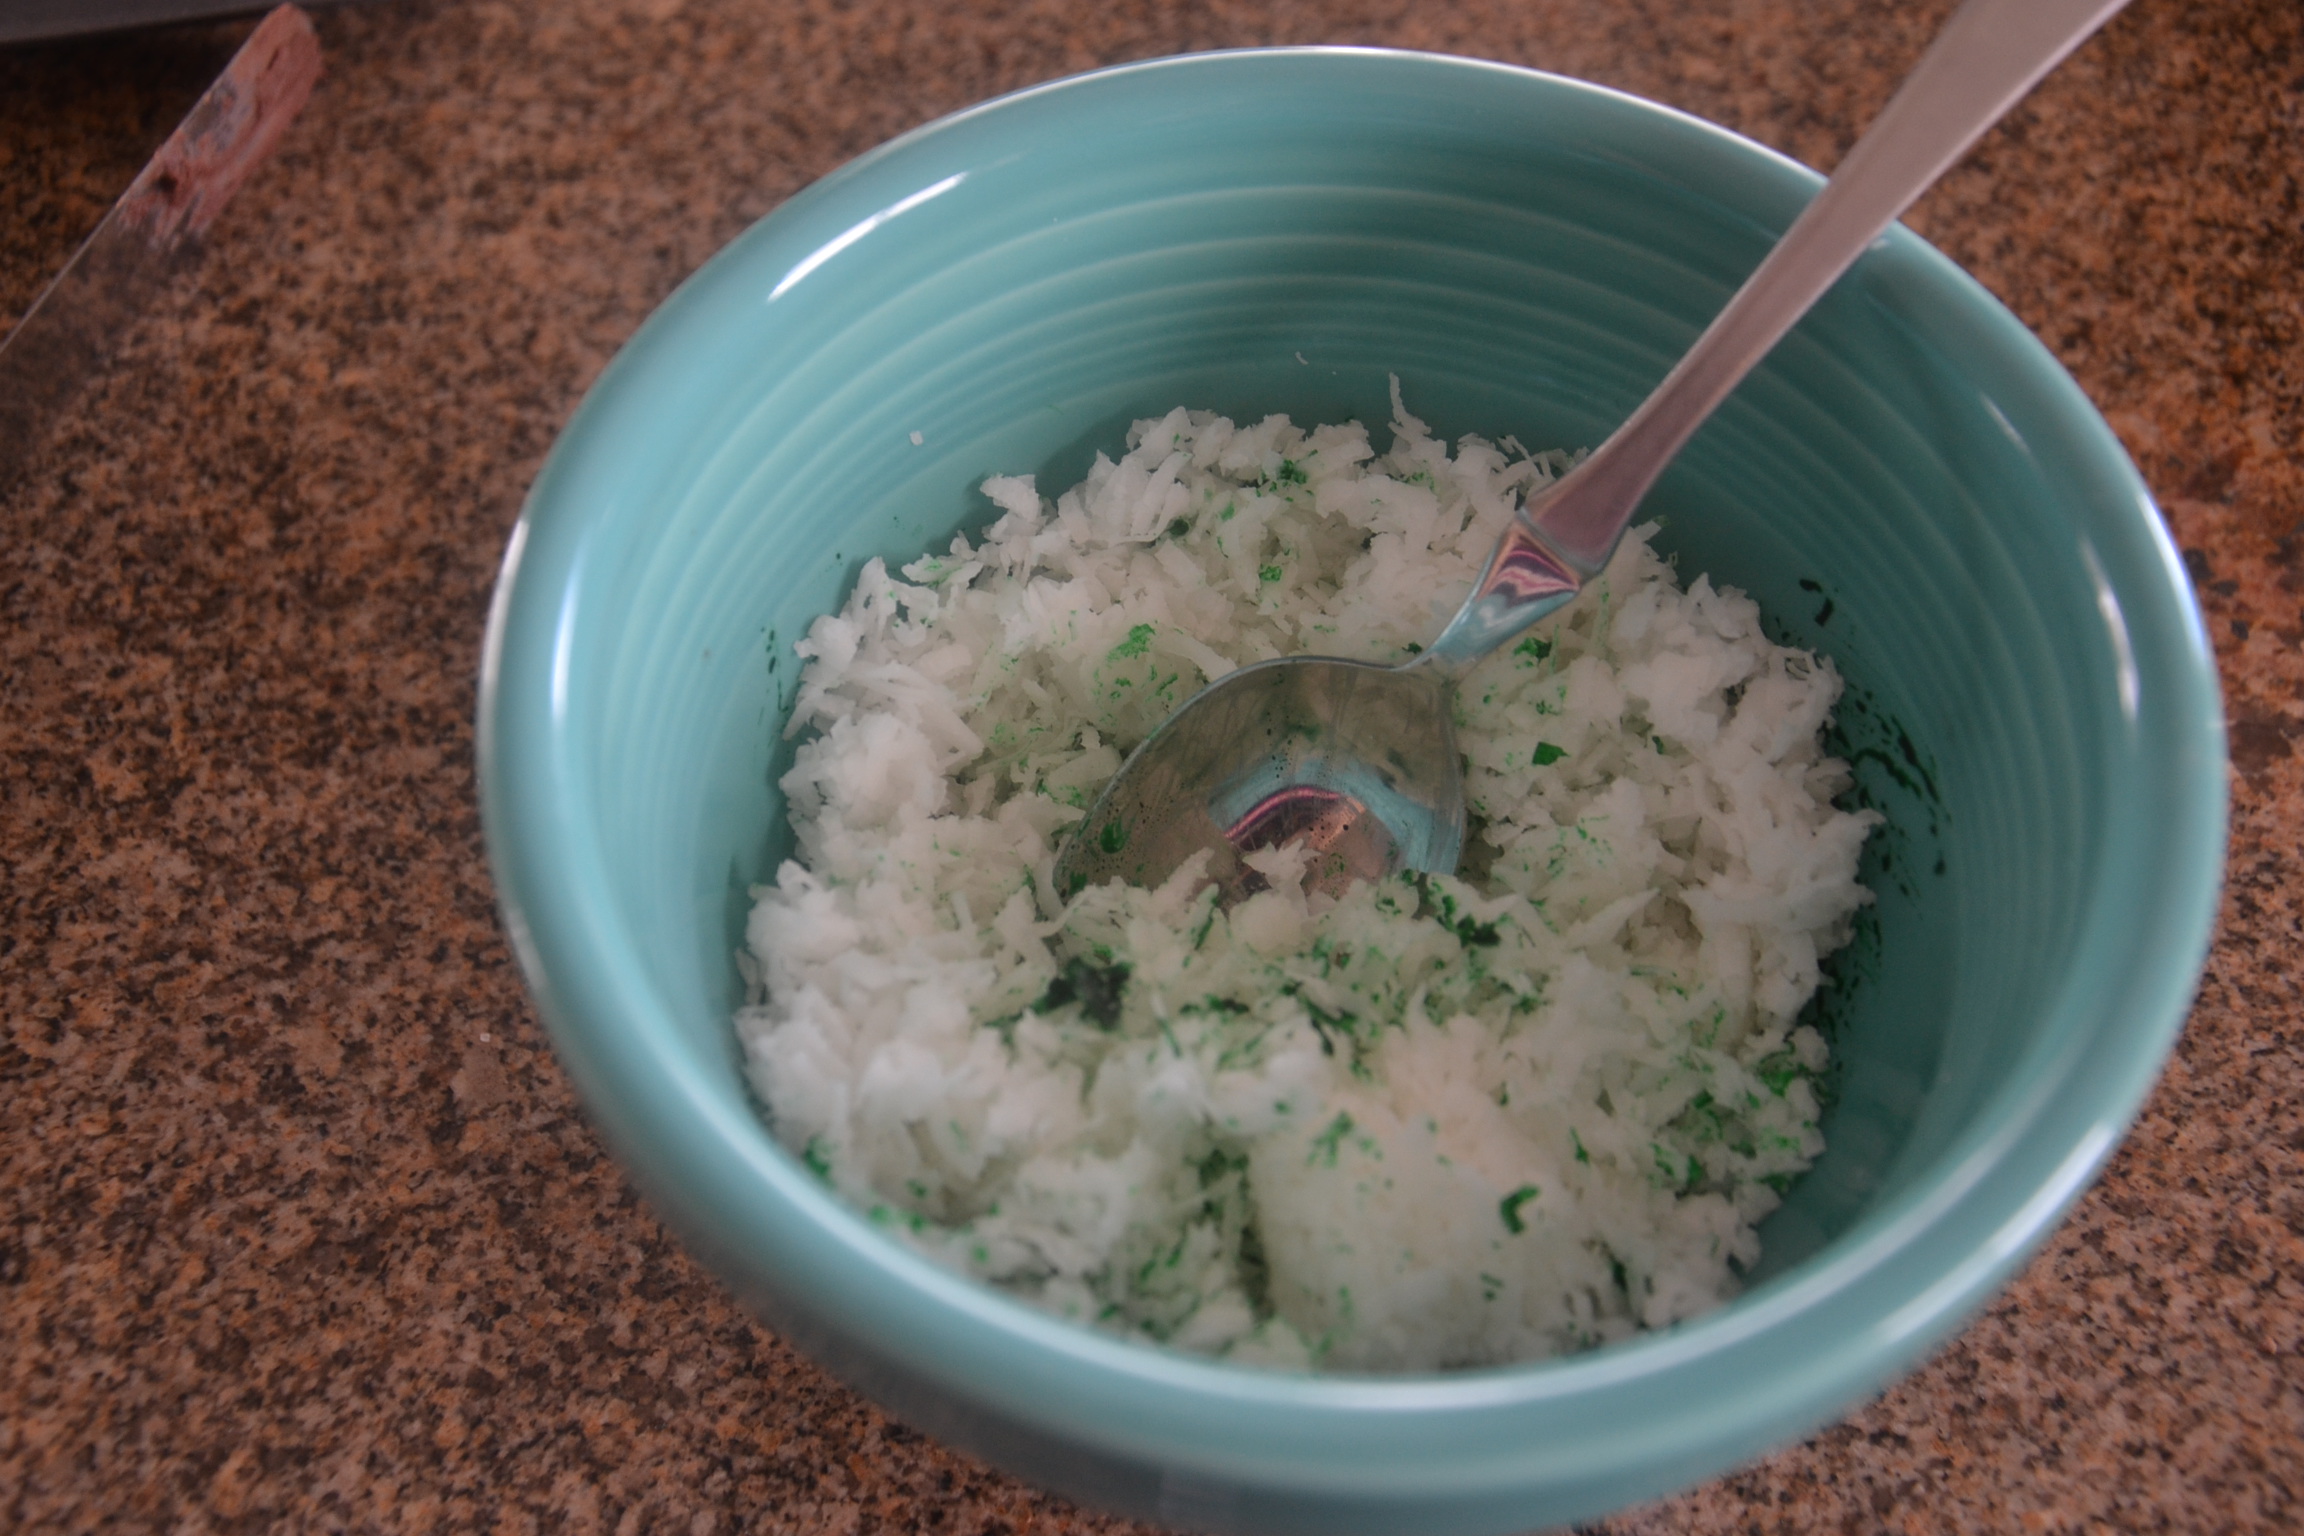
The final steps to finishing this design includes the green grass and eggs. A little bit of green food coloring with coconut is just the ticket. A few Robin Eggs from Hershey Whoppers completes the look.
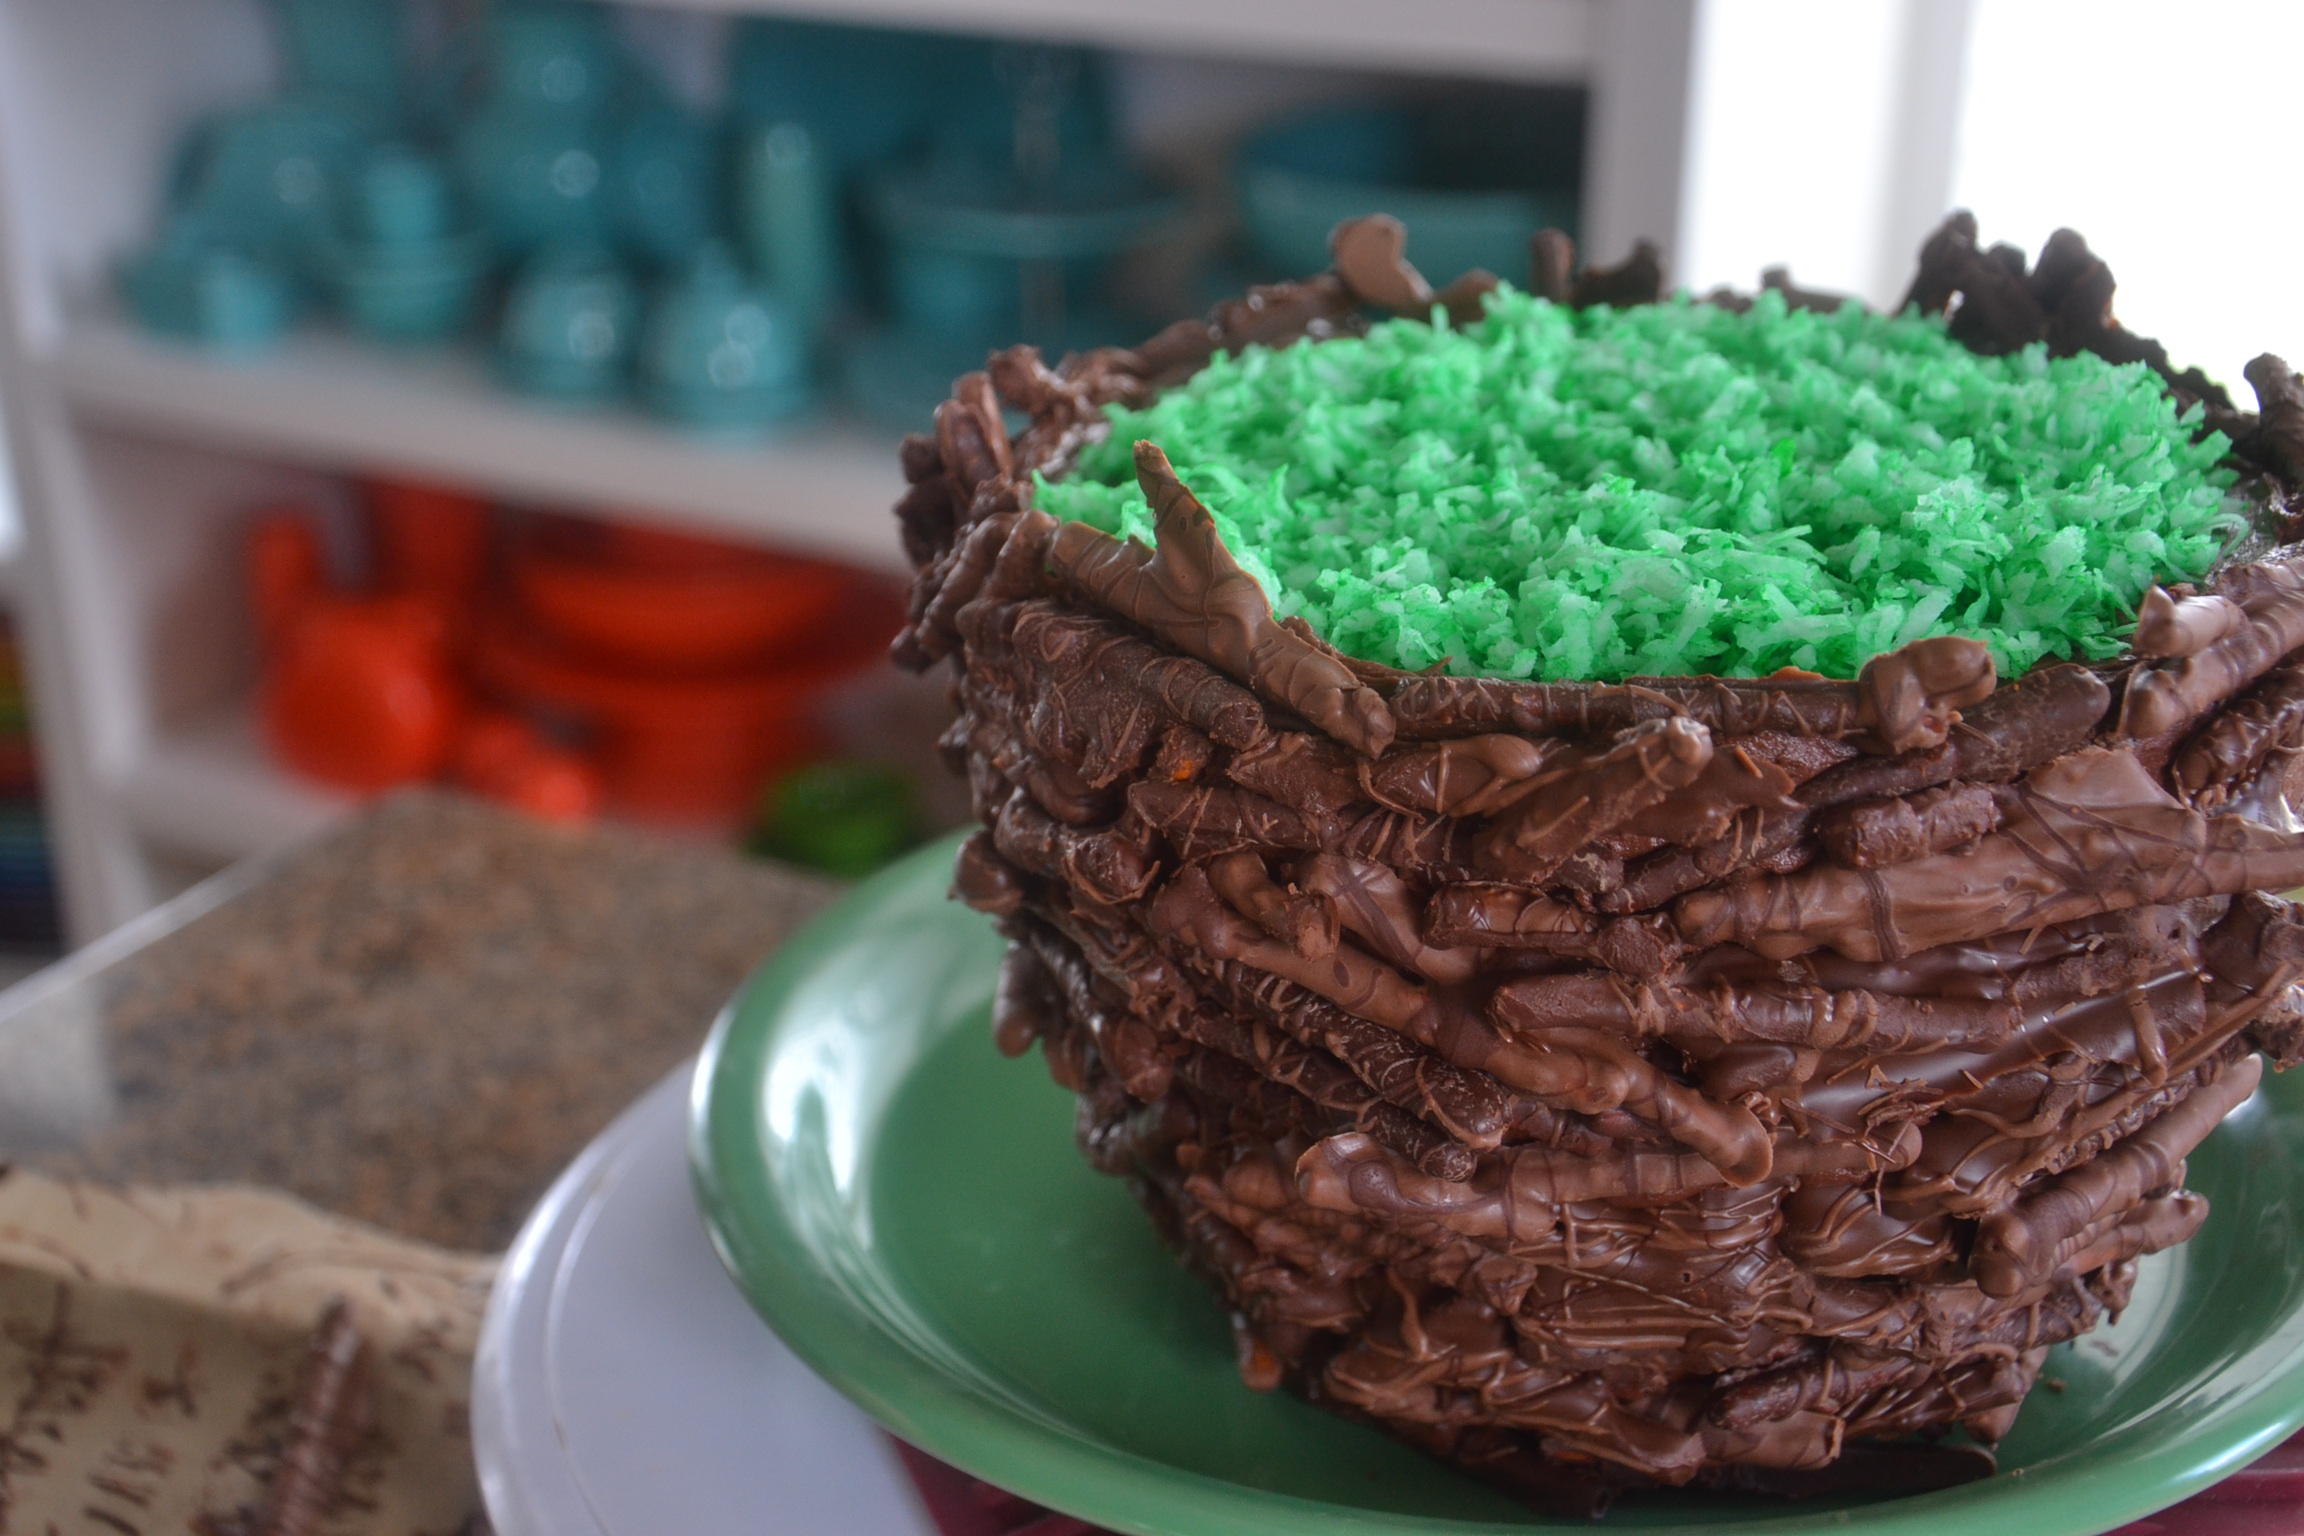
After it was all put together, focus turned to making a lovely image. I plan to add this cake to a small Easter Dessert table.. and hope it smoothly blends in with the other sweets.
Working on this project was super fun. There is a whole lotta room for experimentation with this method as well as much leeway for errors. Moving sticks about was very forgiving – I can’t wait to slice this one!
I get to live an amazing life. I have an incredibly supportive life-partner husband and our people come visit us. Gratitude begins with sobriety one day at a time.