St. Patrick’s Day Parade…Recap
I love holidays even if I don’t always get to the details of celebrating and acknowledging a celebration.
When I was a wee sprout, St. Patrick’s Day was put in the ‘win’ column when I remembered to wear green to school in order to avoid getting pinched by my peers. Looking back, that seems rude.
Raising our people, I made doubly-sure to have plenty of green t-shirts, socks, headbands, and jackets on hand so no one would have to scrounge around. From time to time, there was even the ‘Kiss Me, I’m Irish’ graphic tee. Which now seems like a bad idea for high schoolers… named Murphy. #motheroftheyear
Unfortunately, I’ve noticed a significant uptick in the machinations parents accomplish in order to make the day fun and interesting… including green foods, naughty leprachauns, and glitter. Yikes! I want to say, “Cut yourself a break and go for the temporary tattoo. Call it good and have some cake.”
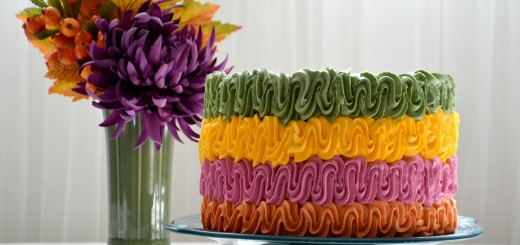
I did back a small series of St. Patrick’s Day-themed cakes and cupcakes. I wanted to show you how these went together. They are approachable and doable for most home bakers.
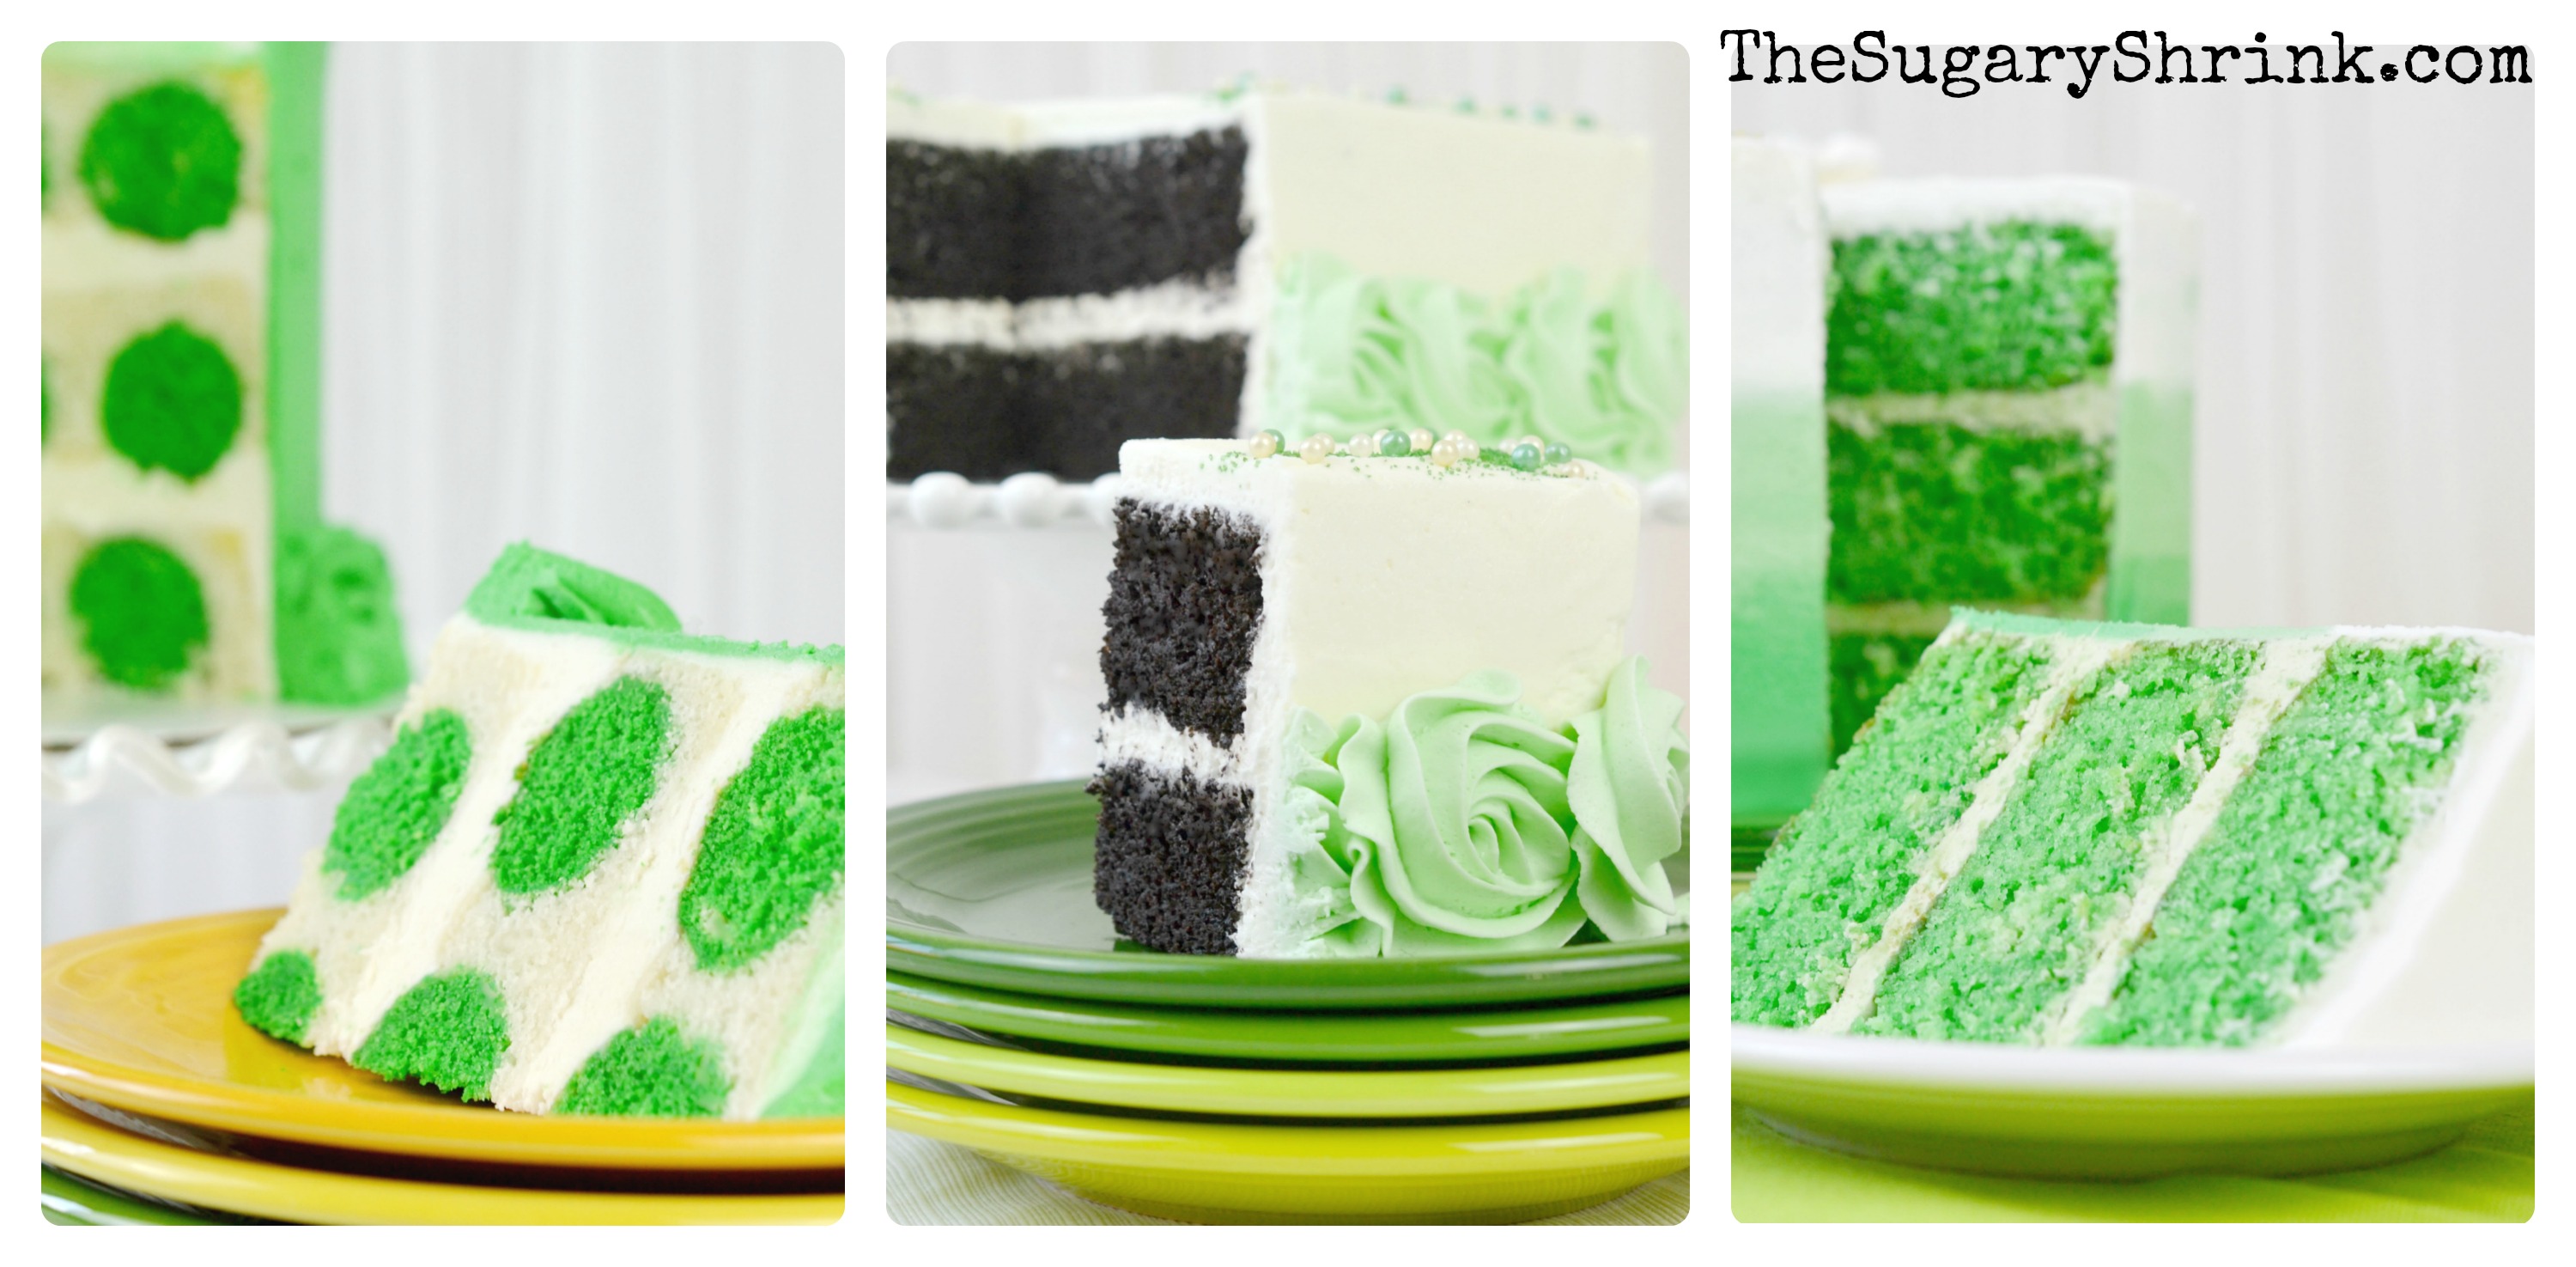
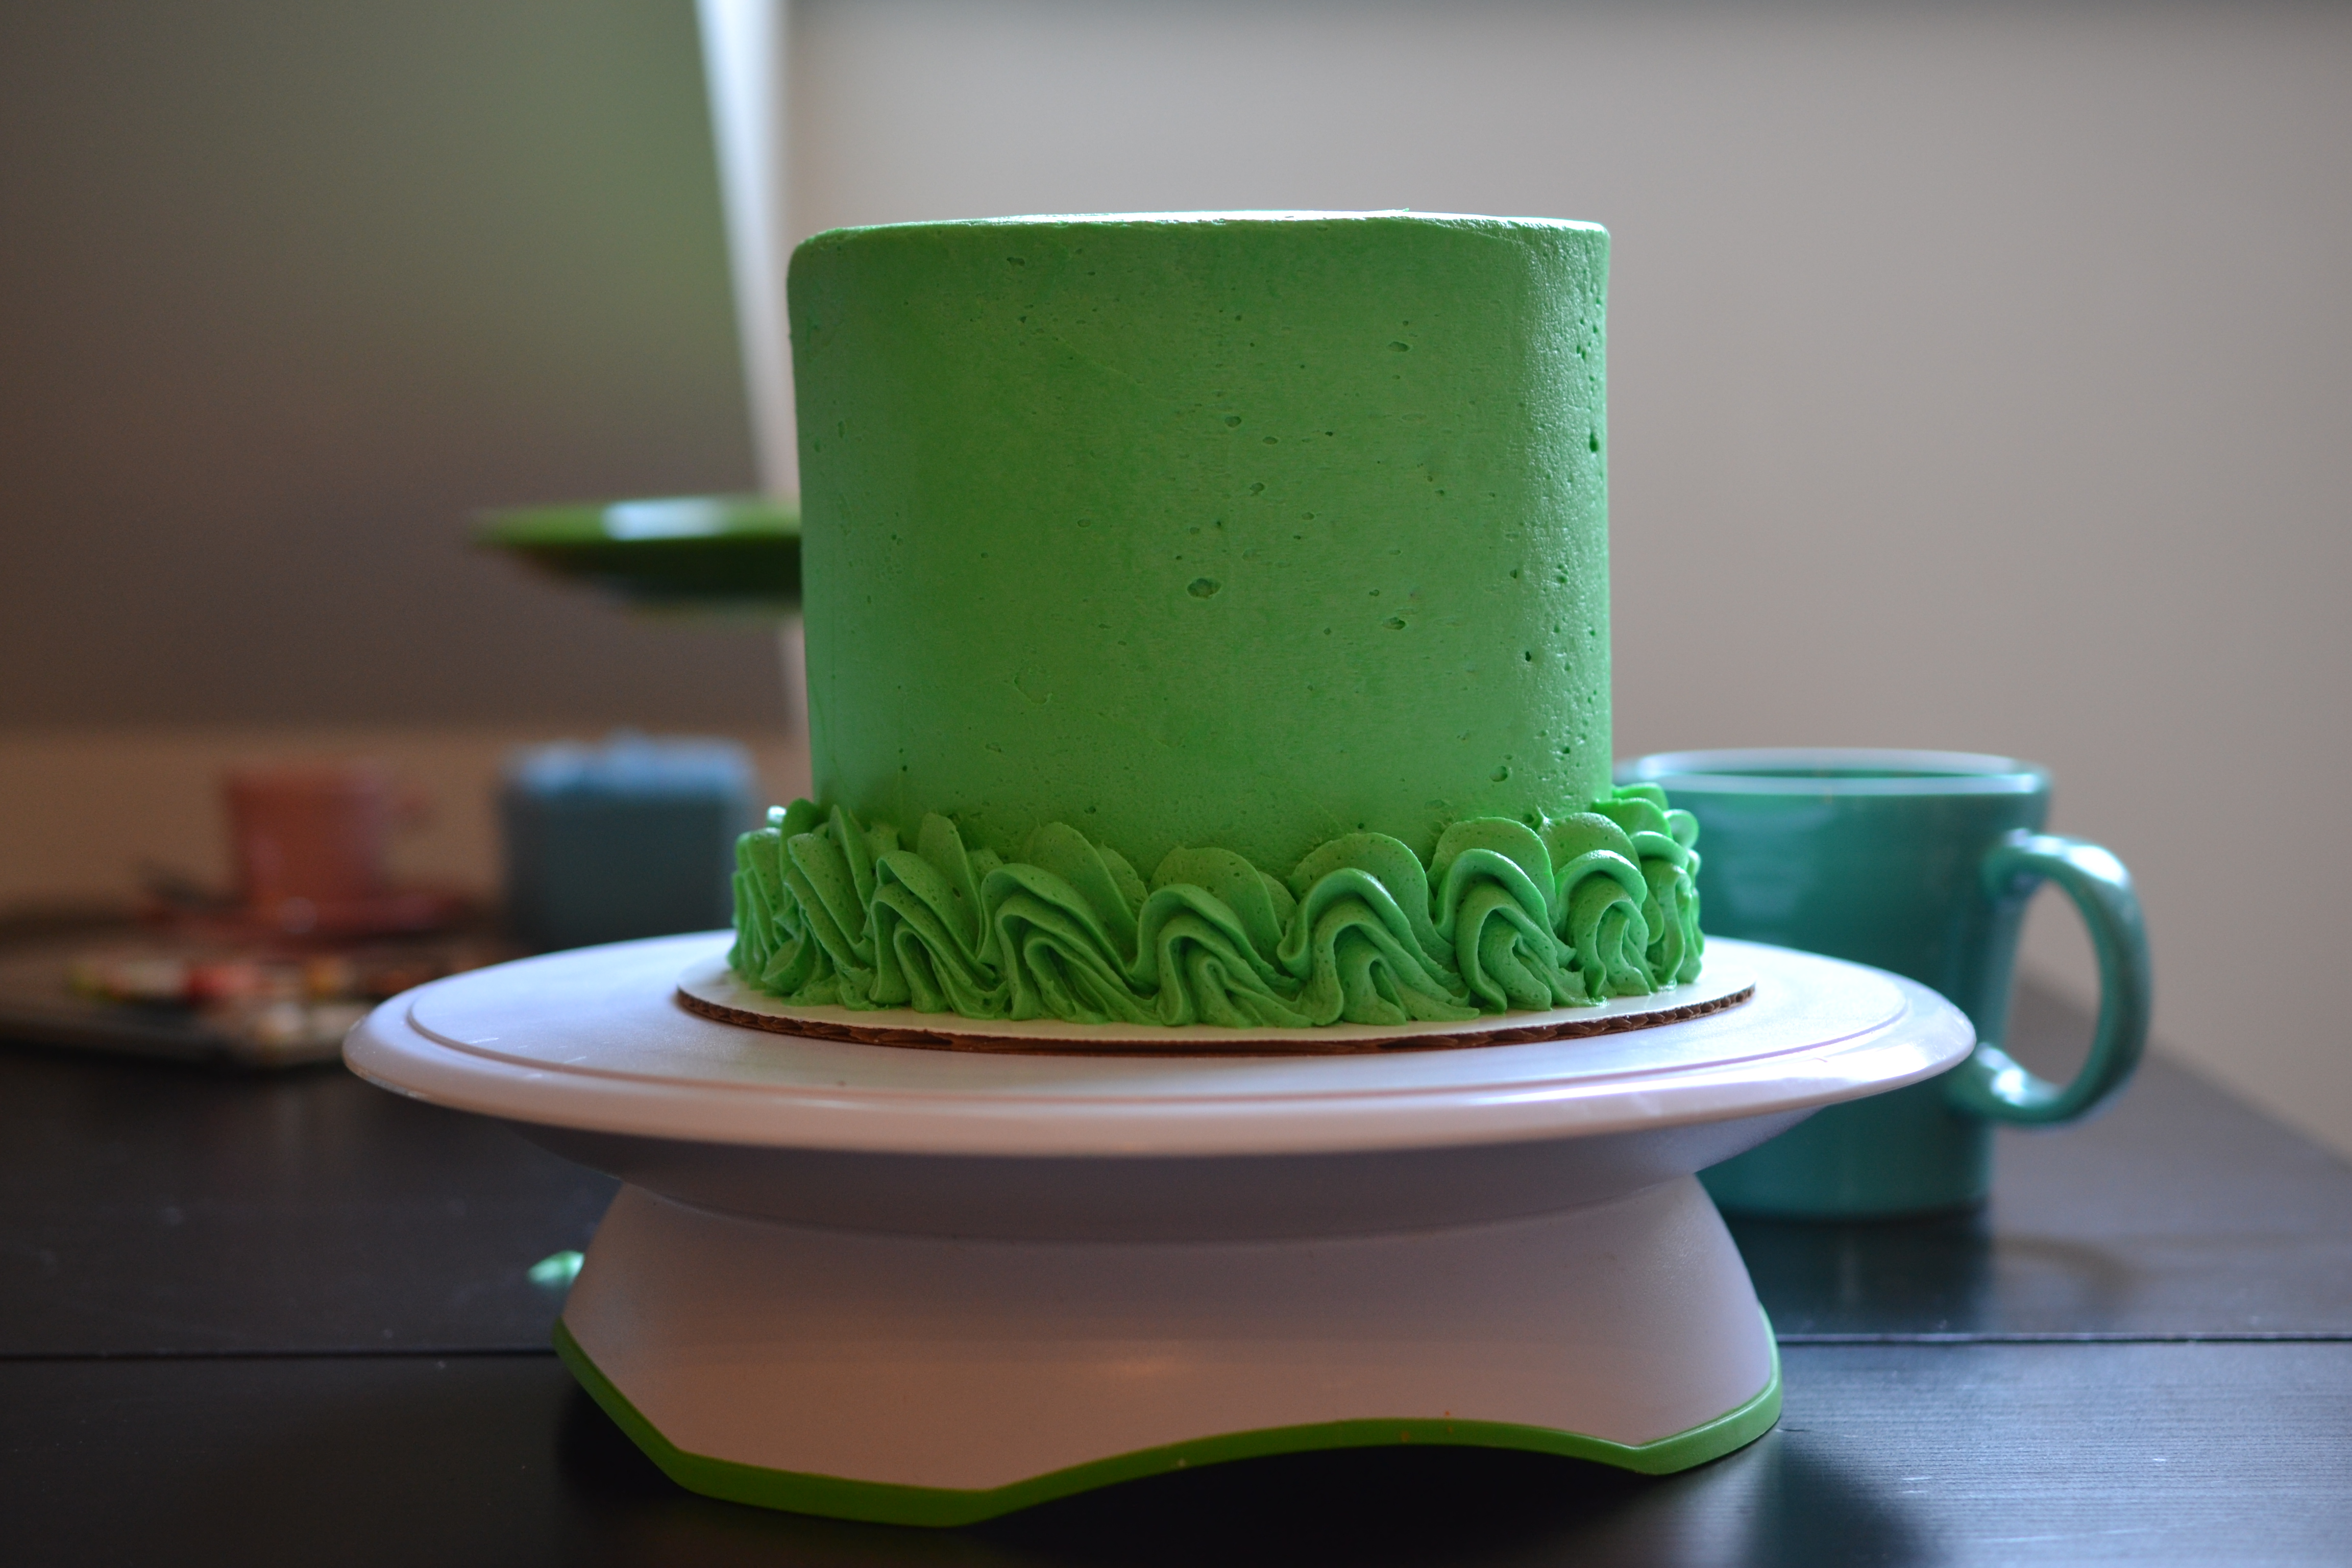
The Classic Vanilla Layer Cake with Green Polka Dots is a super fun cake. I’ve blogged about them here and here …and my cakes have improved over time with practice.
I love using my Nordicware Cake Pop pans – they’re so great, I bought two and use them for special projects like this polka dot cake.
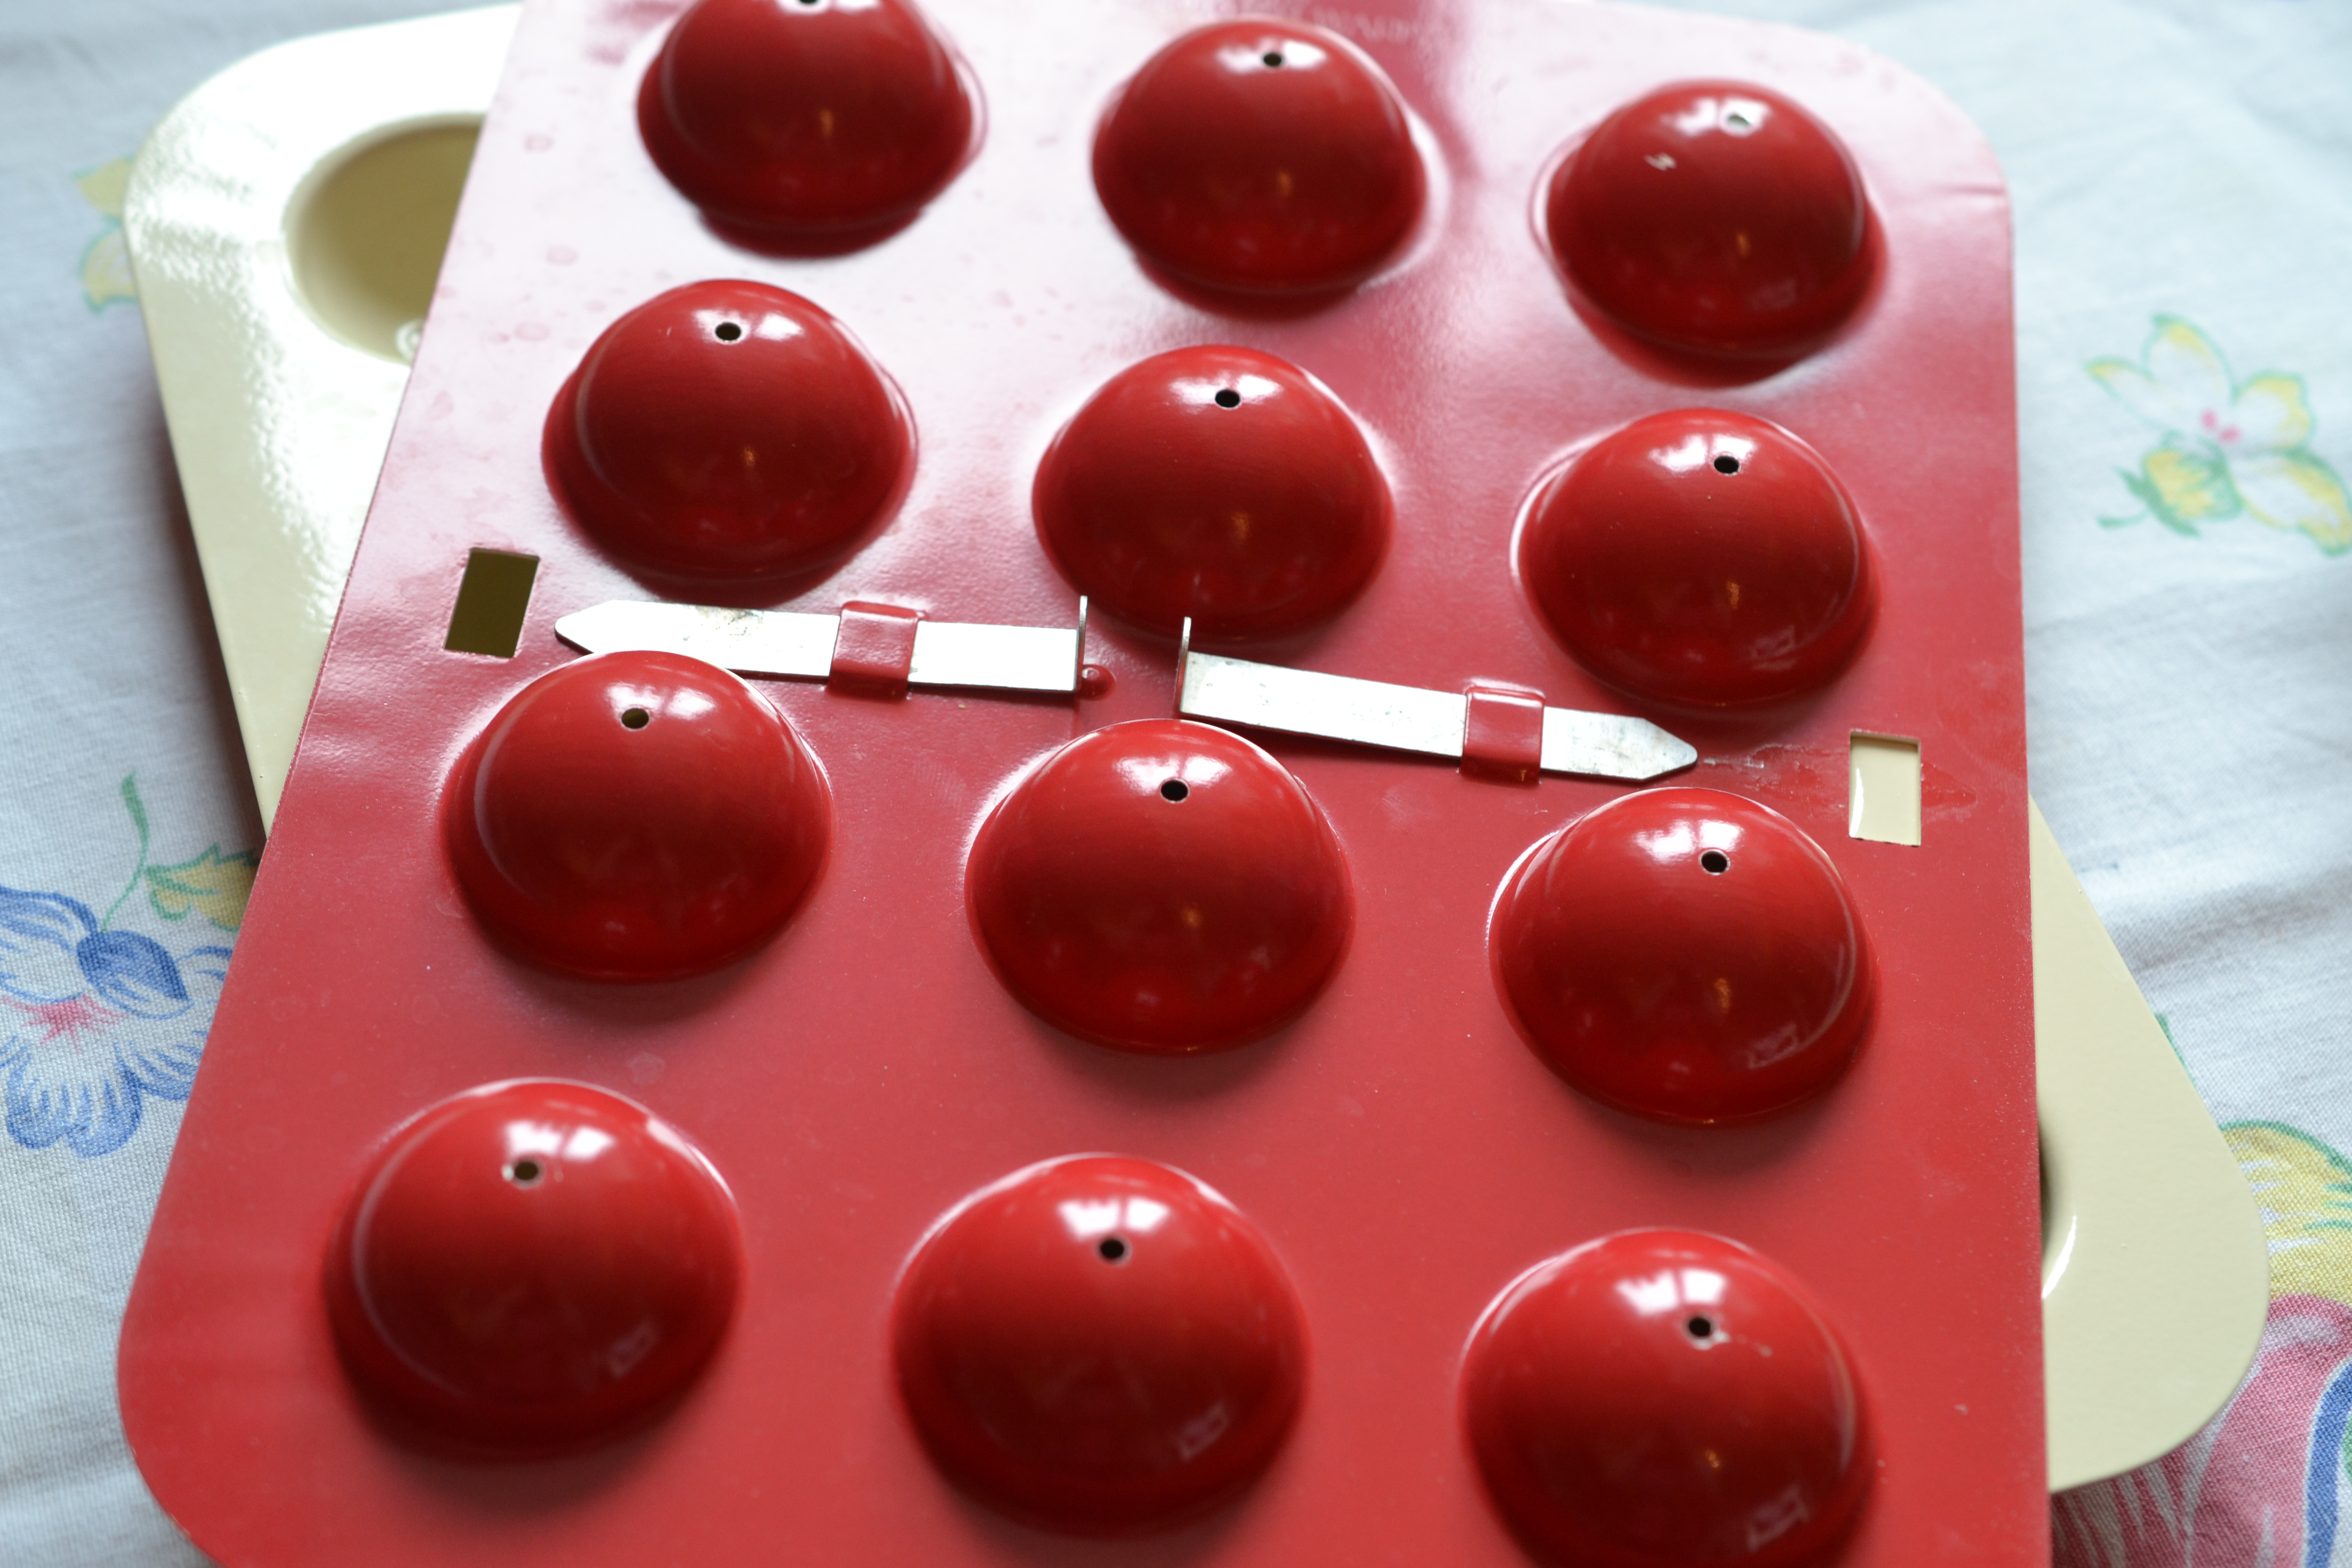
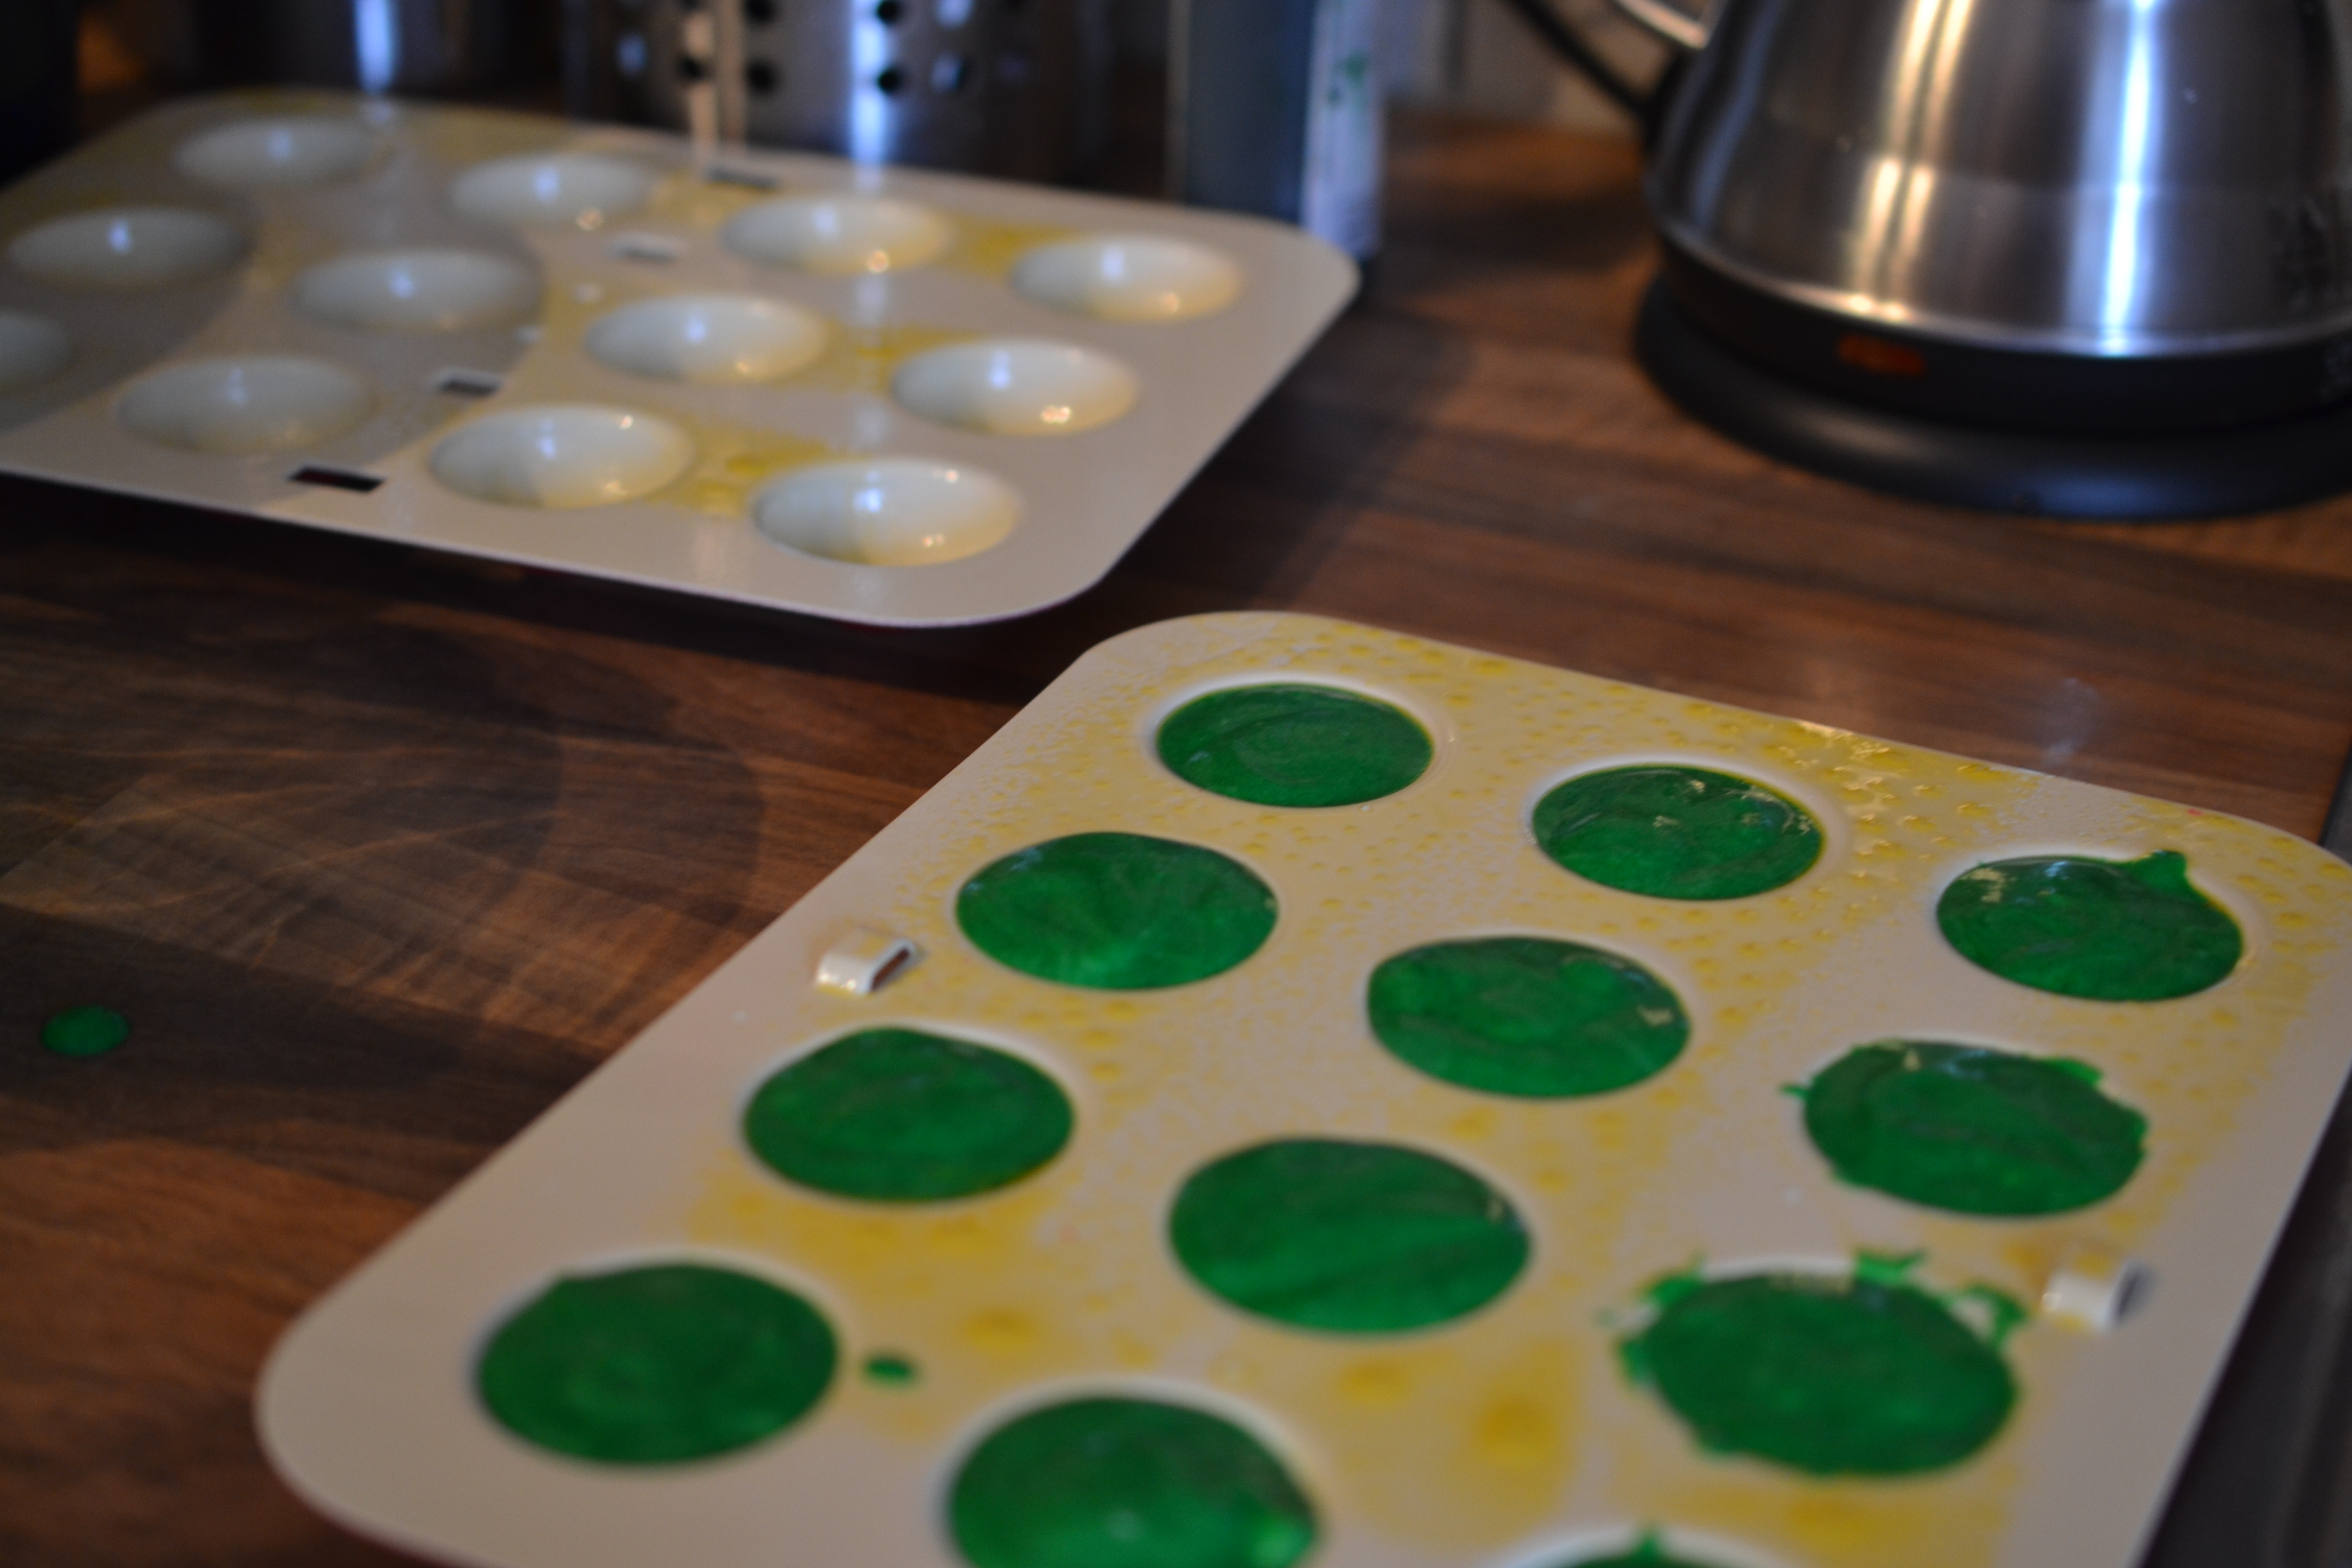
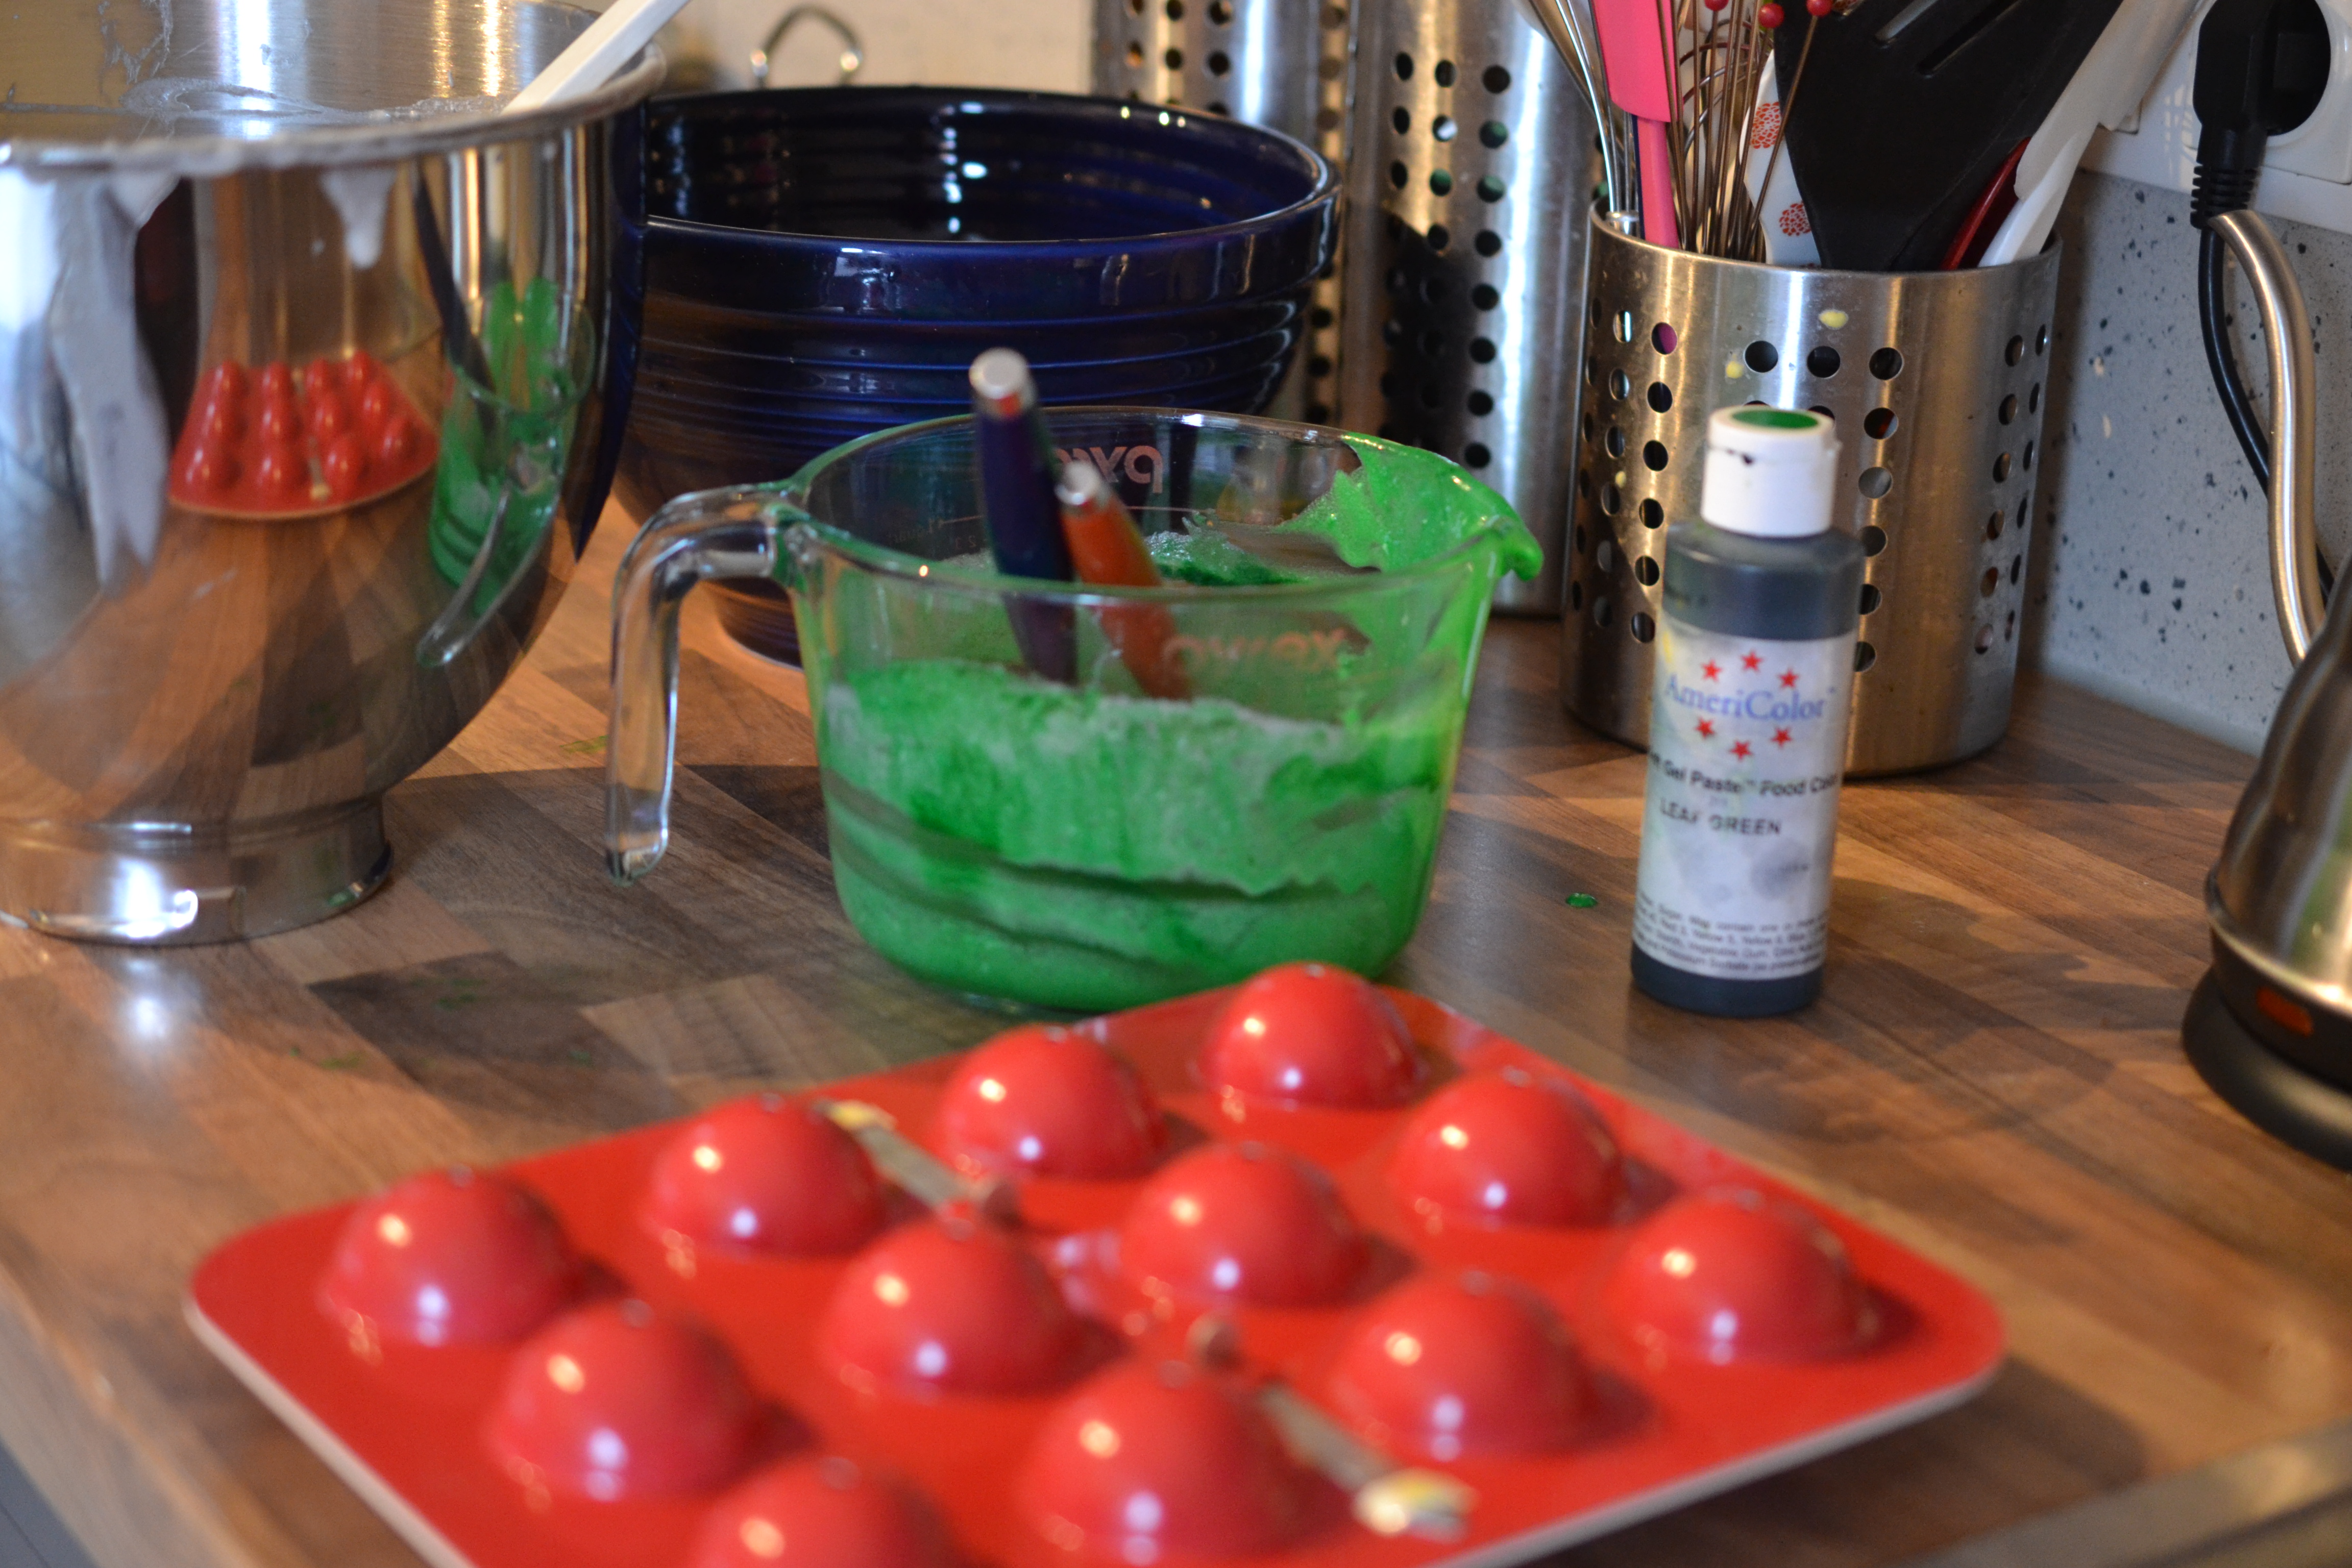
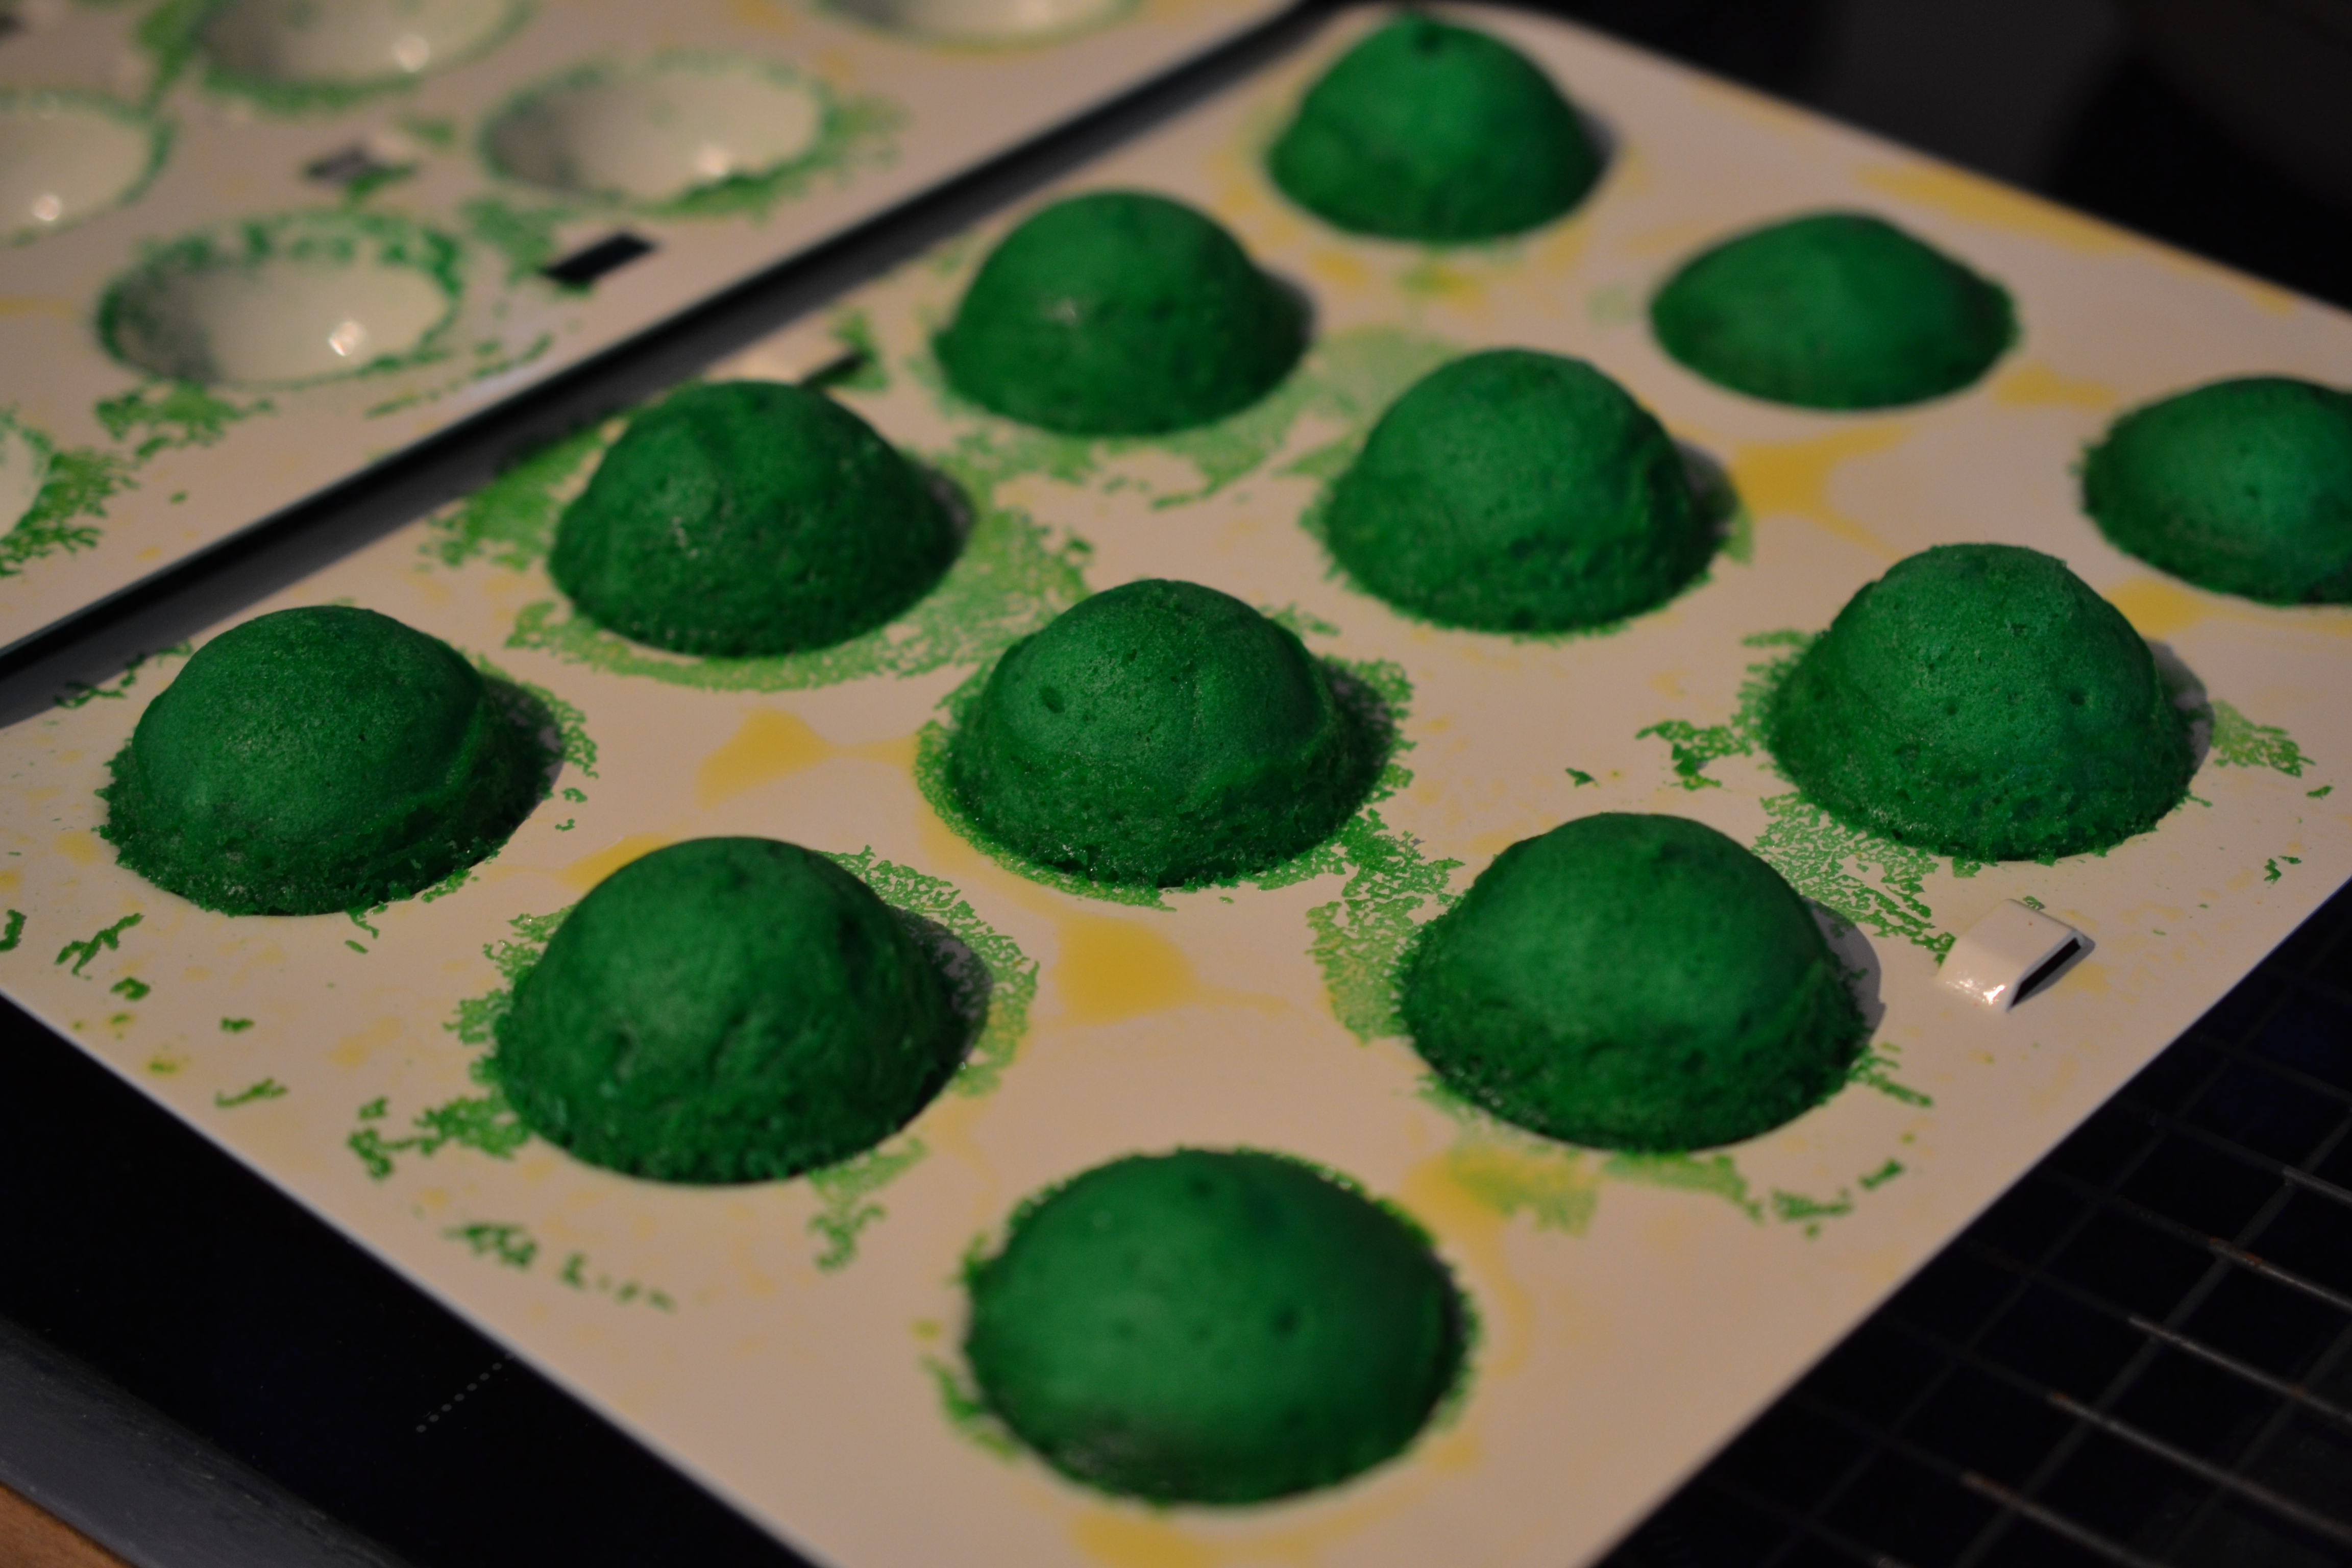
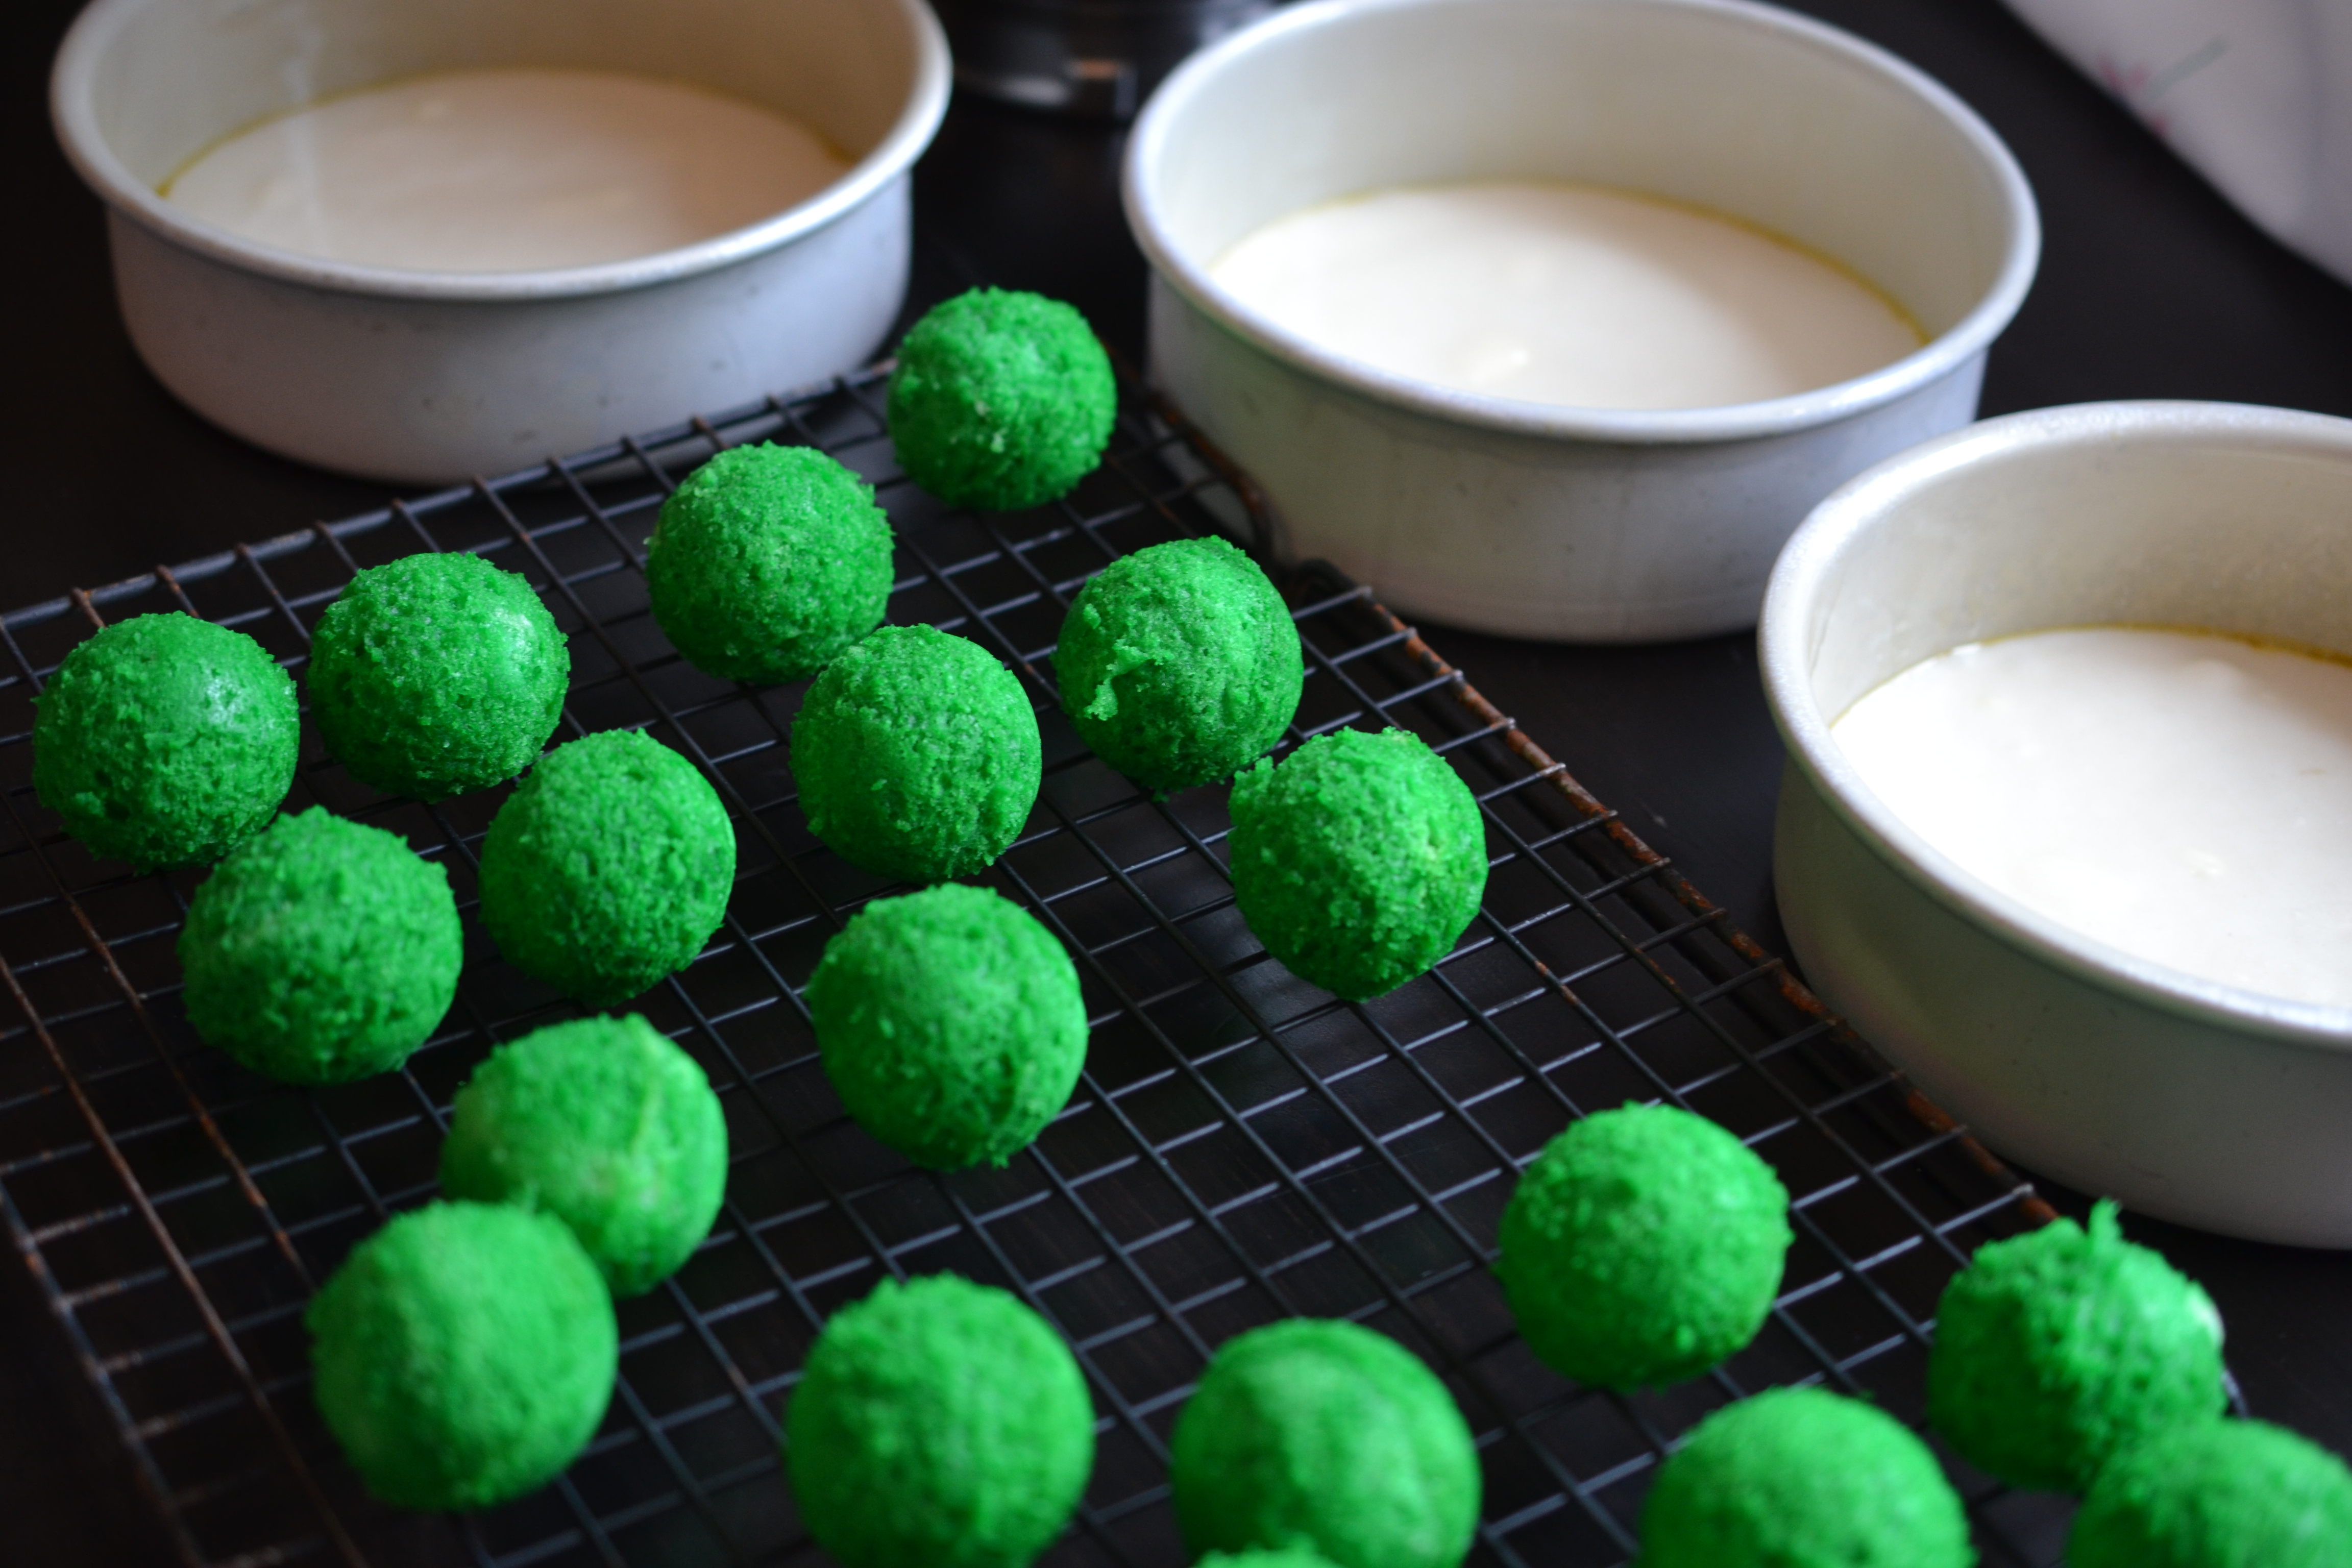
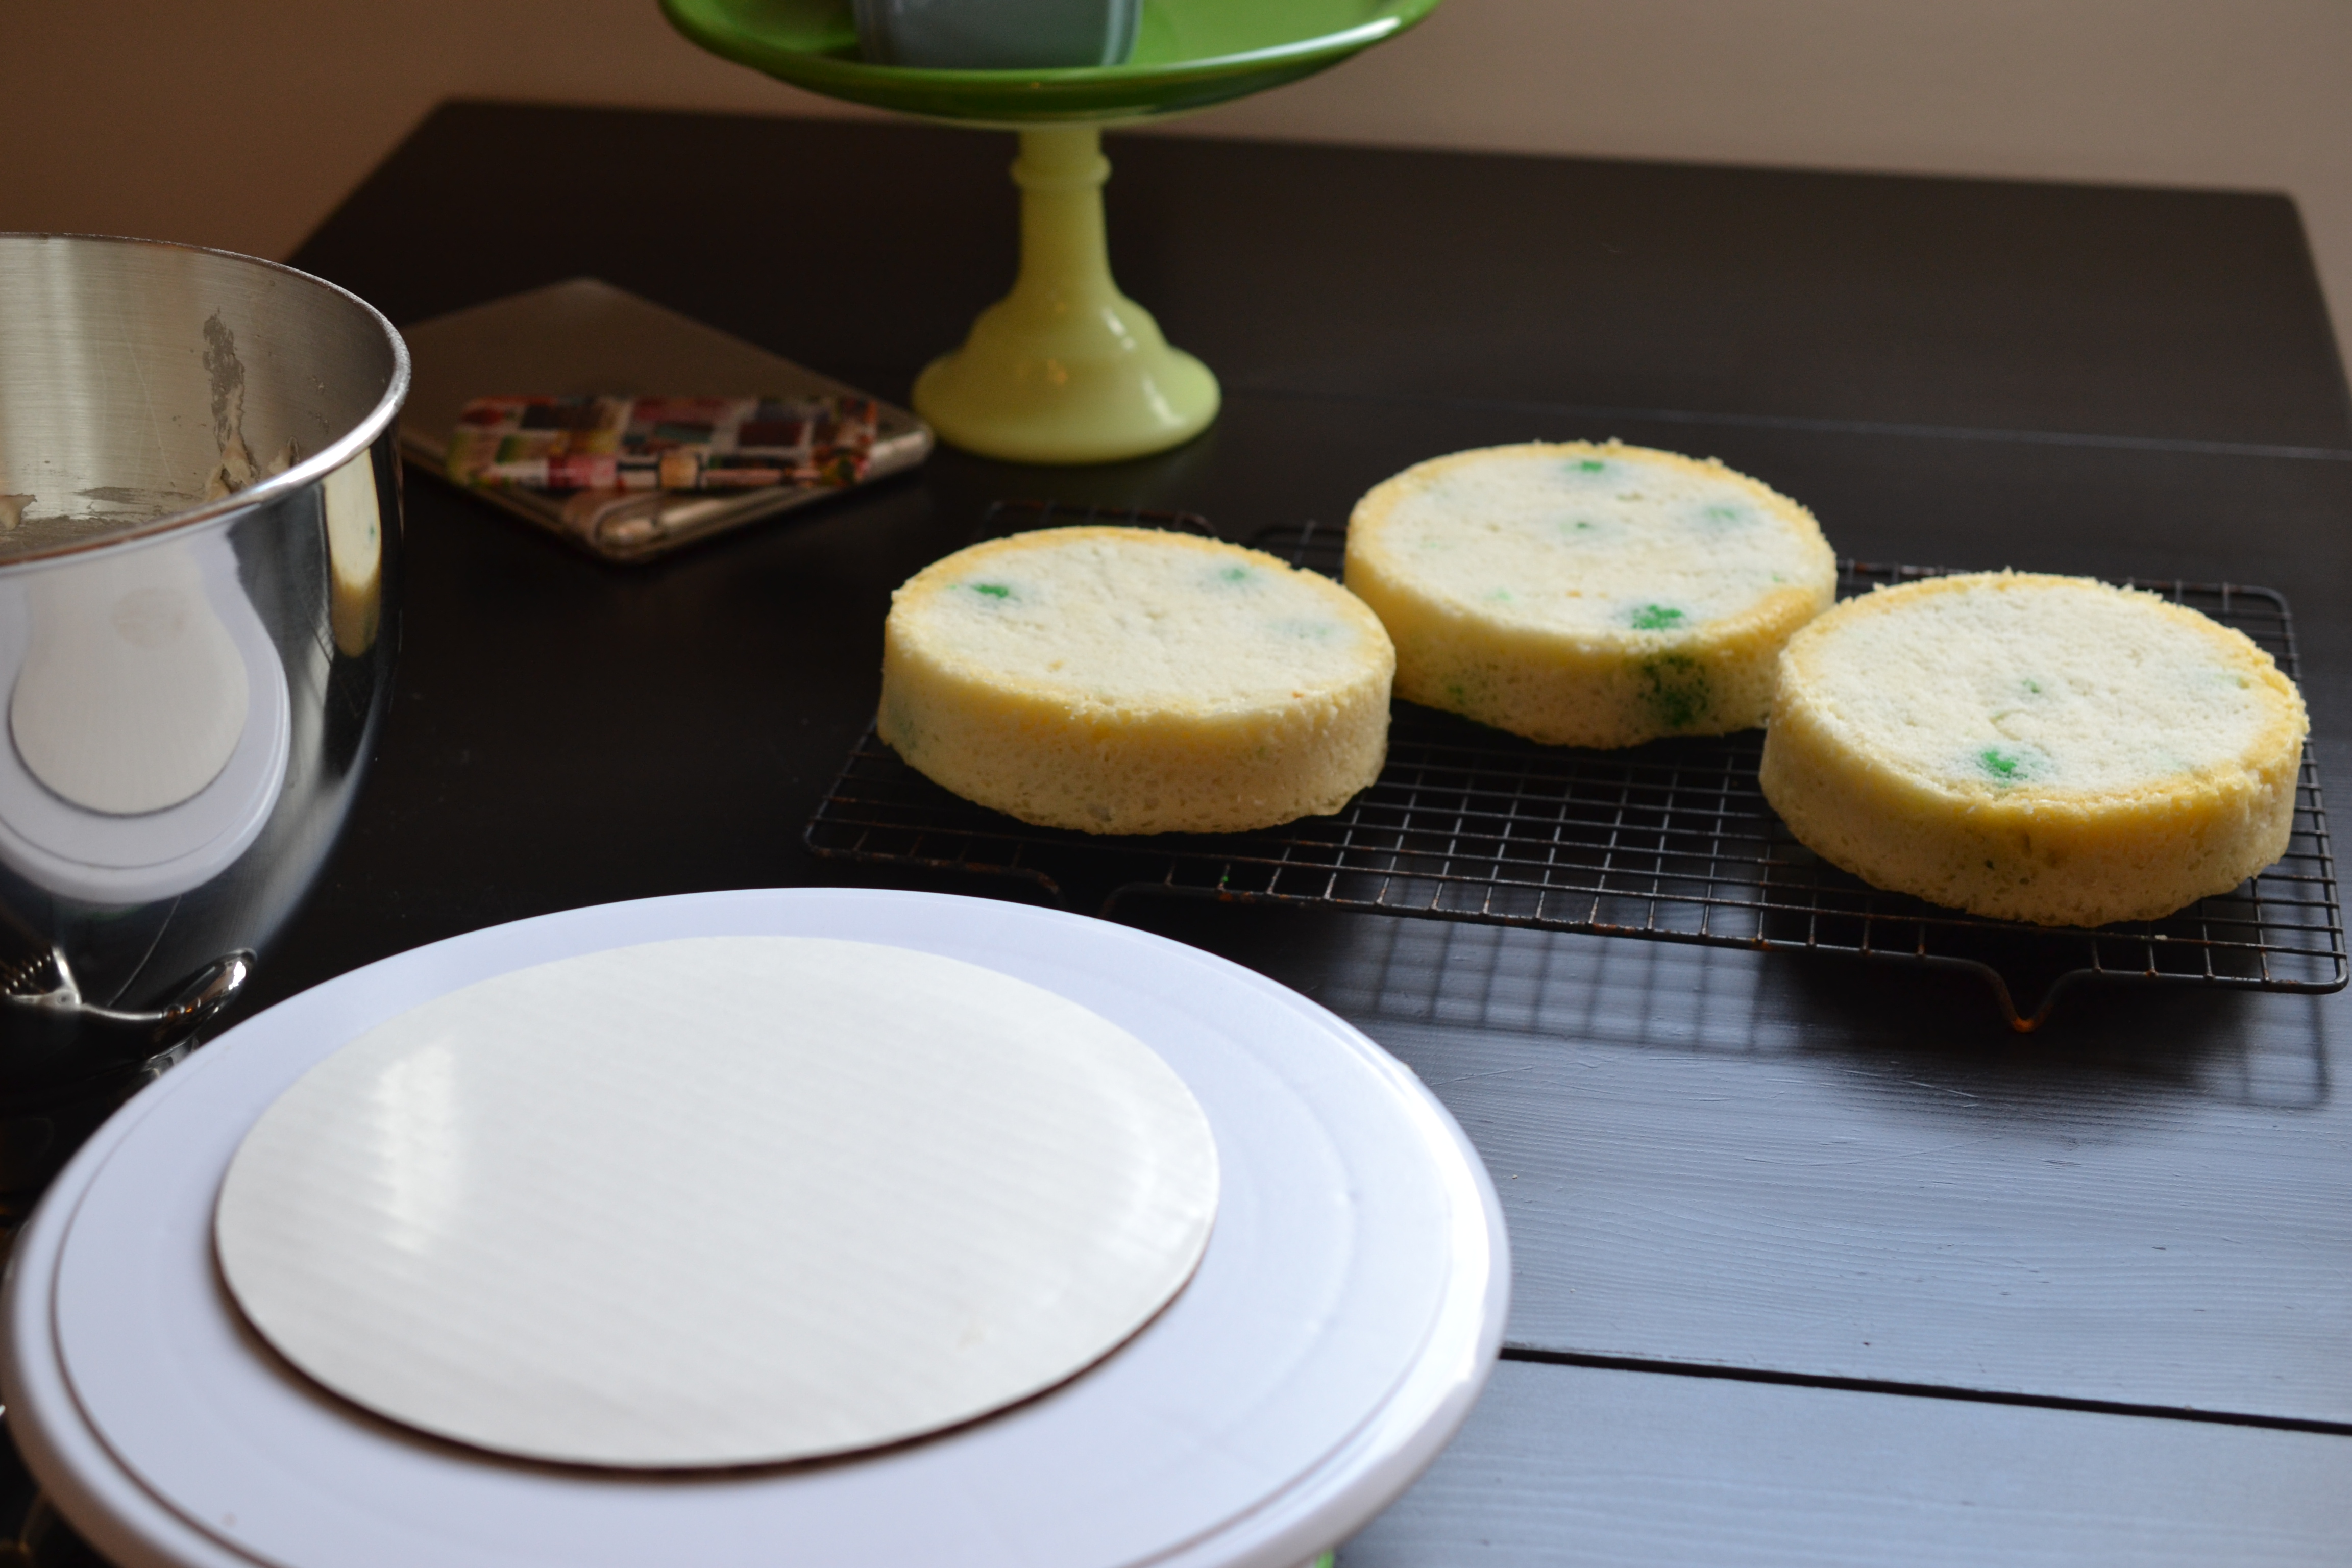
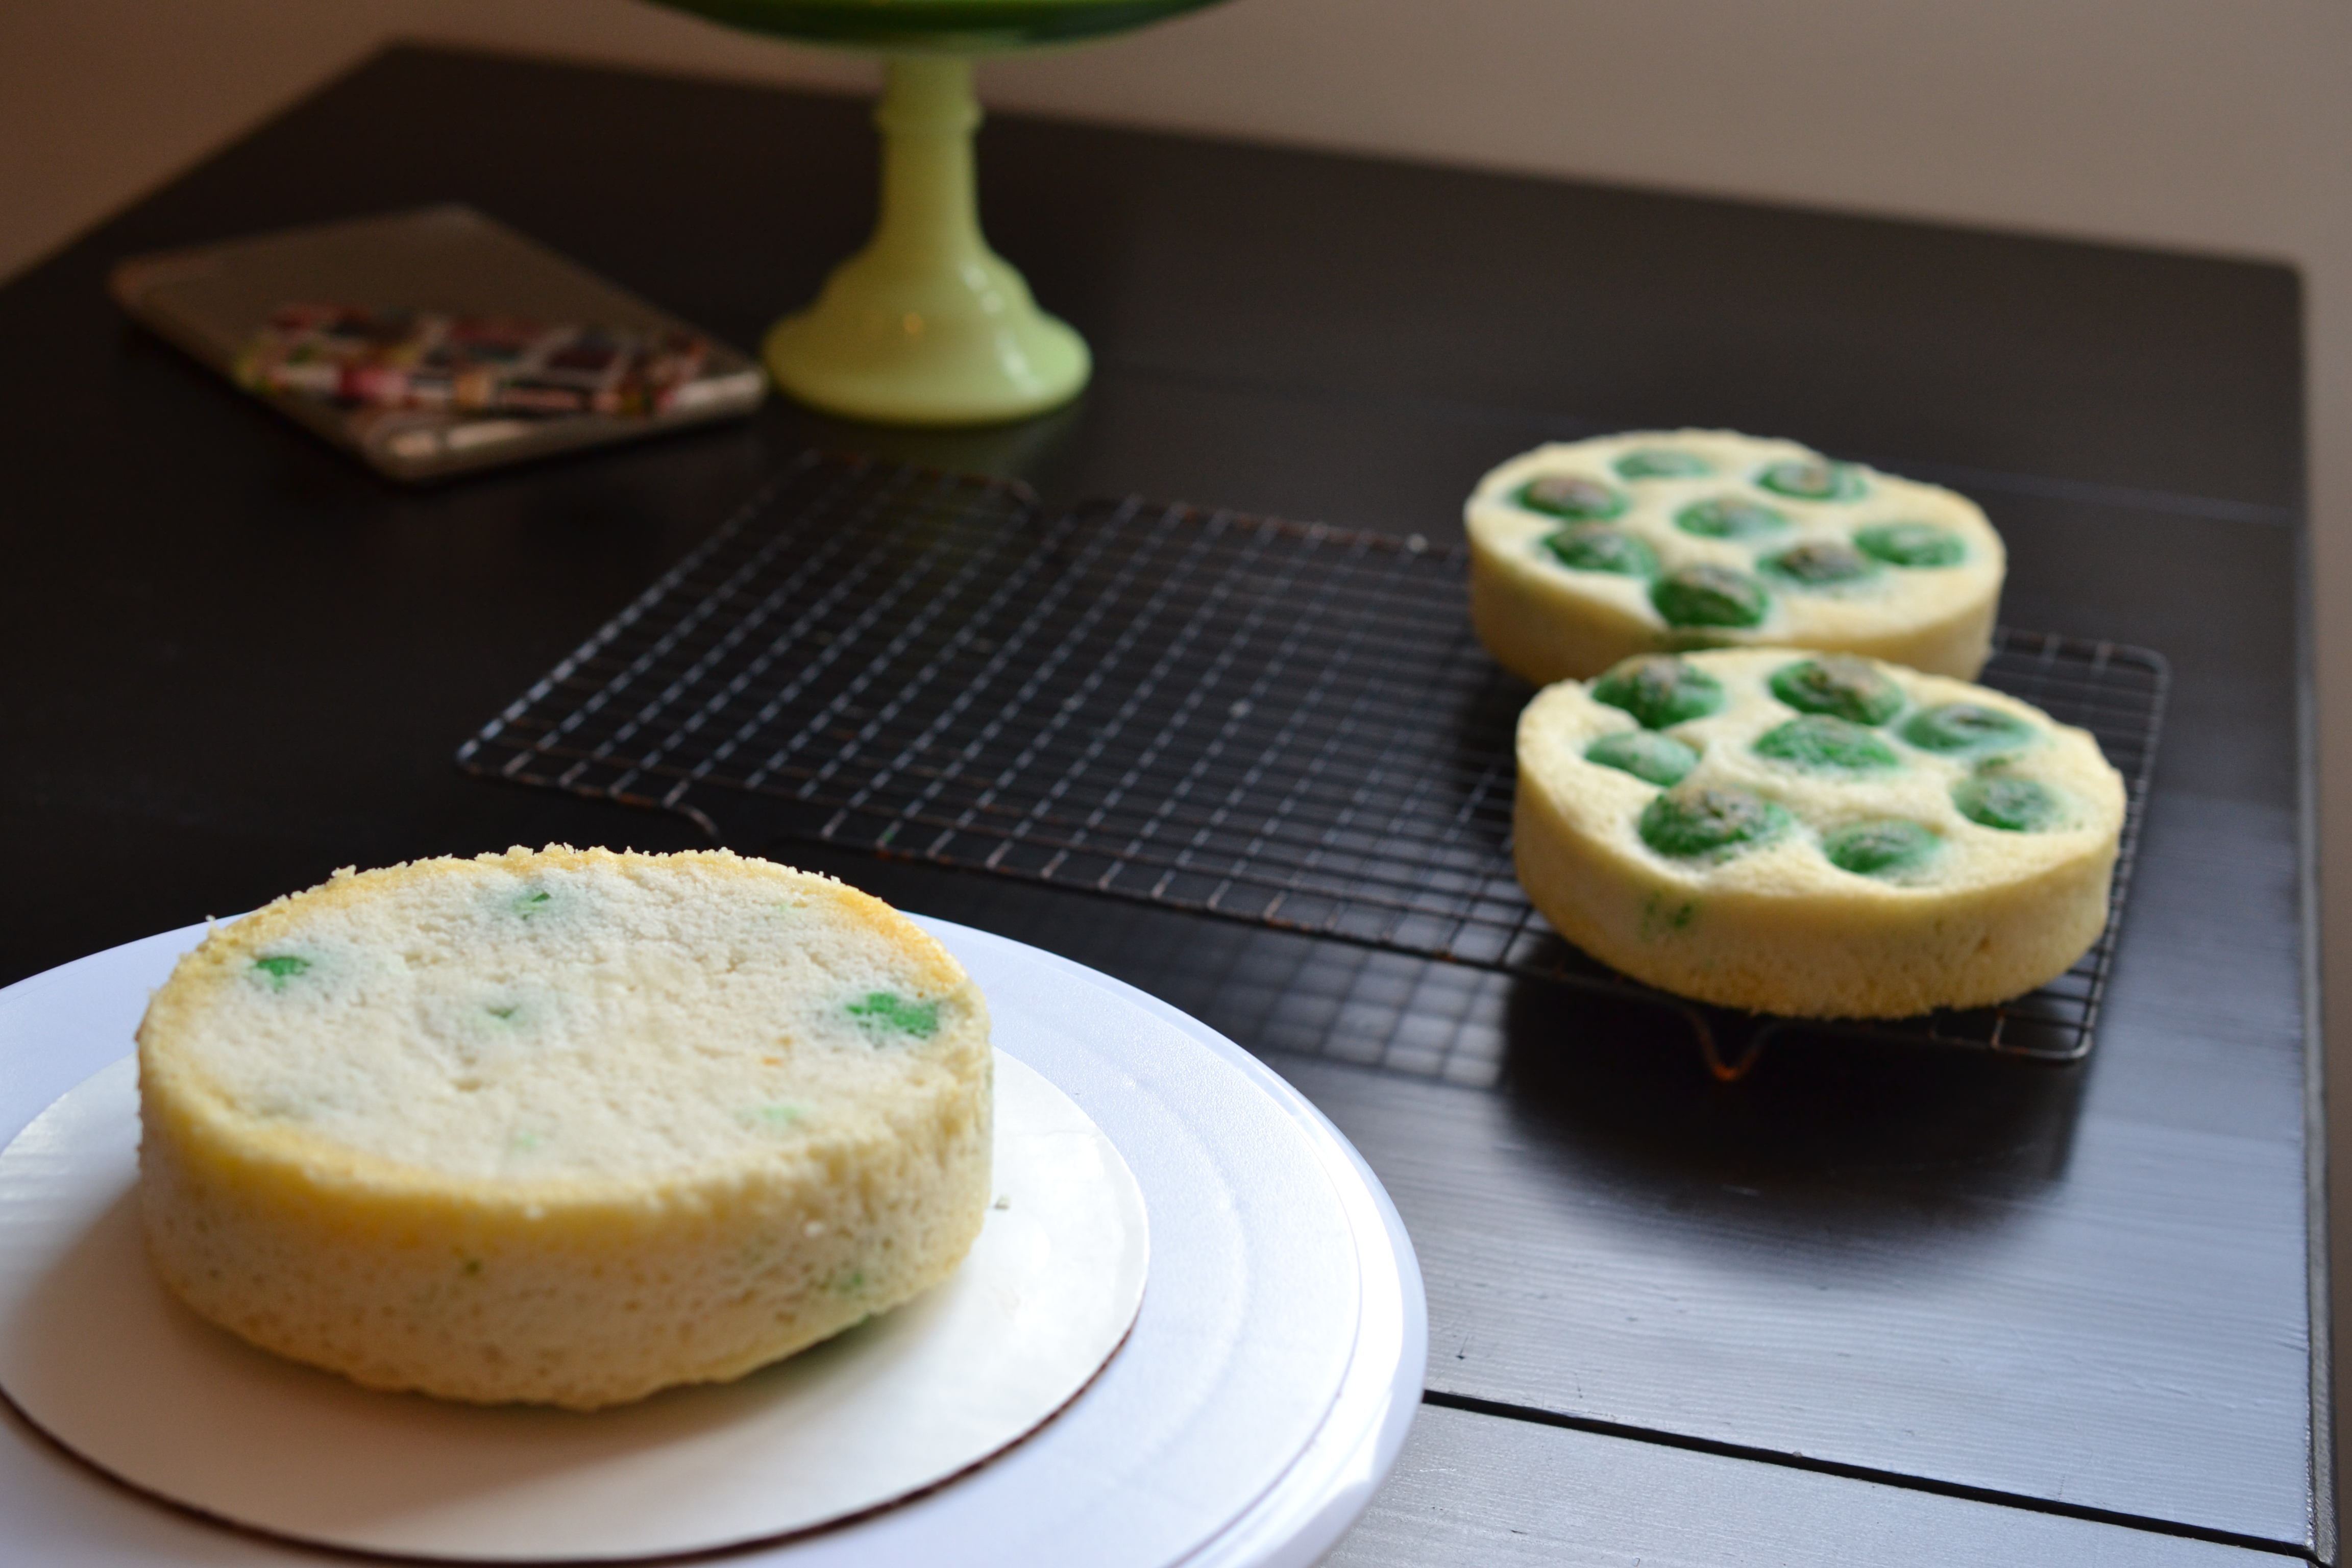
I don’t bake the cake pop polka dots completely – just 12 minutes. It’s enough to keep the form together and it will continue baking in the cake layers. After they’ve cooled a bit, I trim away any small bits with around the middle; scissors are a great tool for this task.
Pour a small amount of batter in the cake pan (enough to cover the bottom), place the dots, then cover with remaining batter.

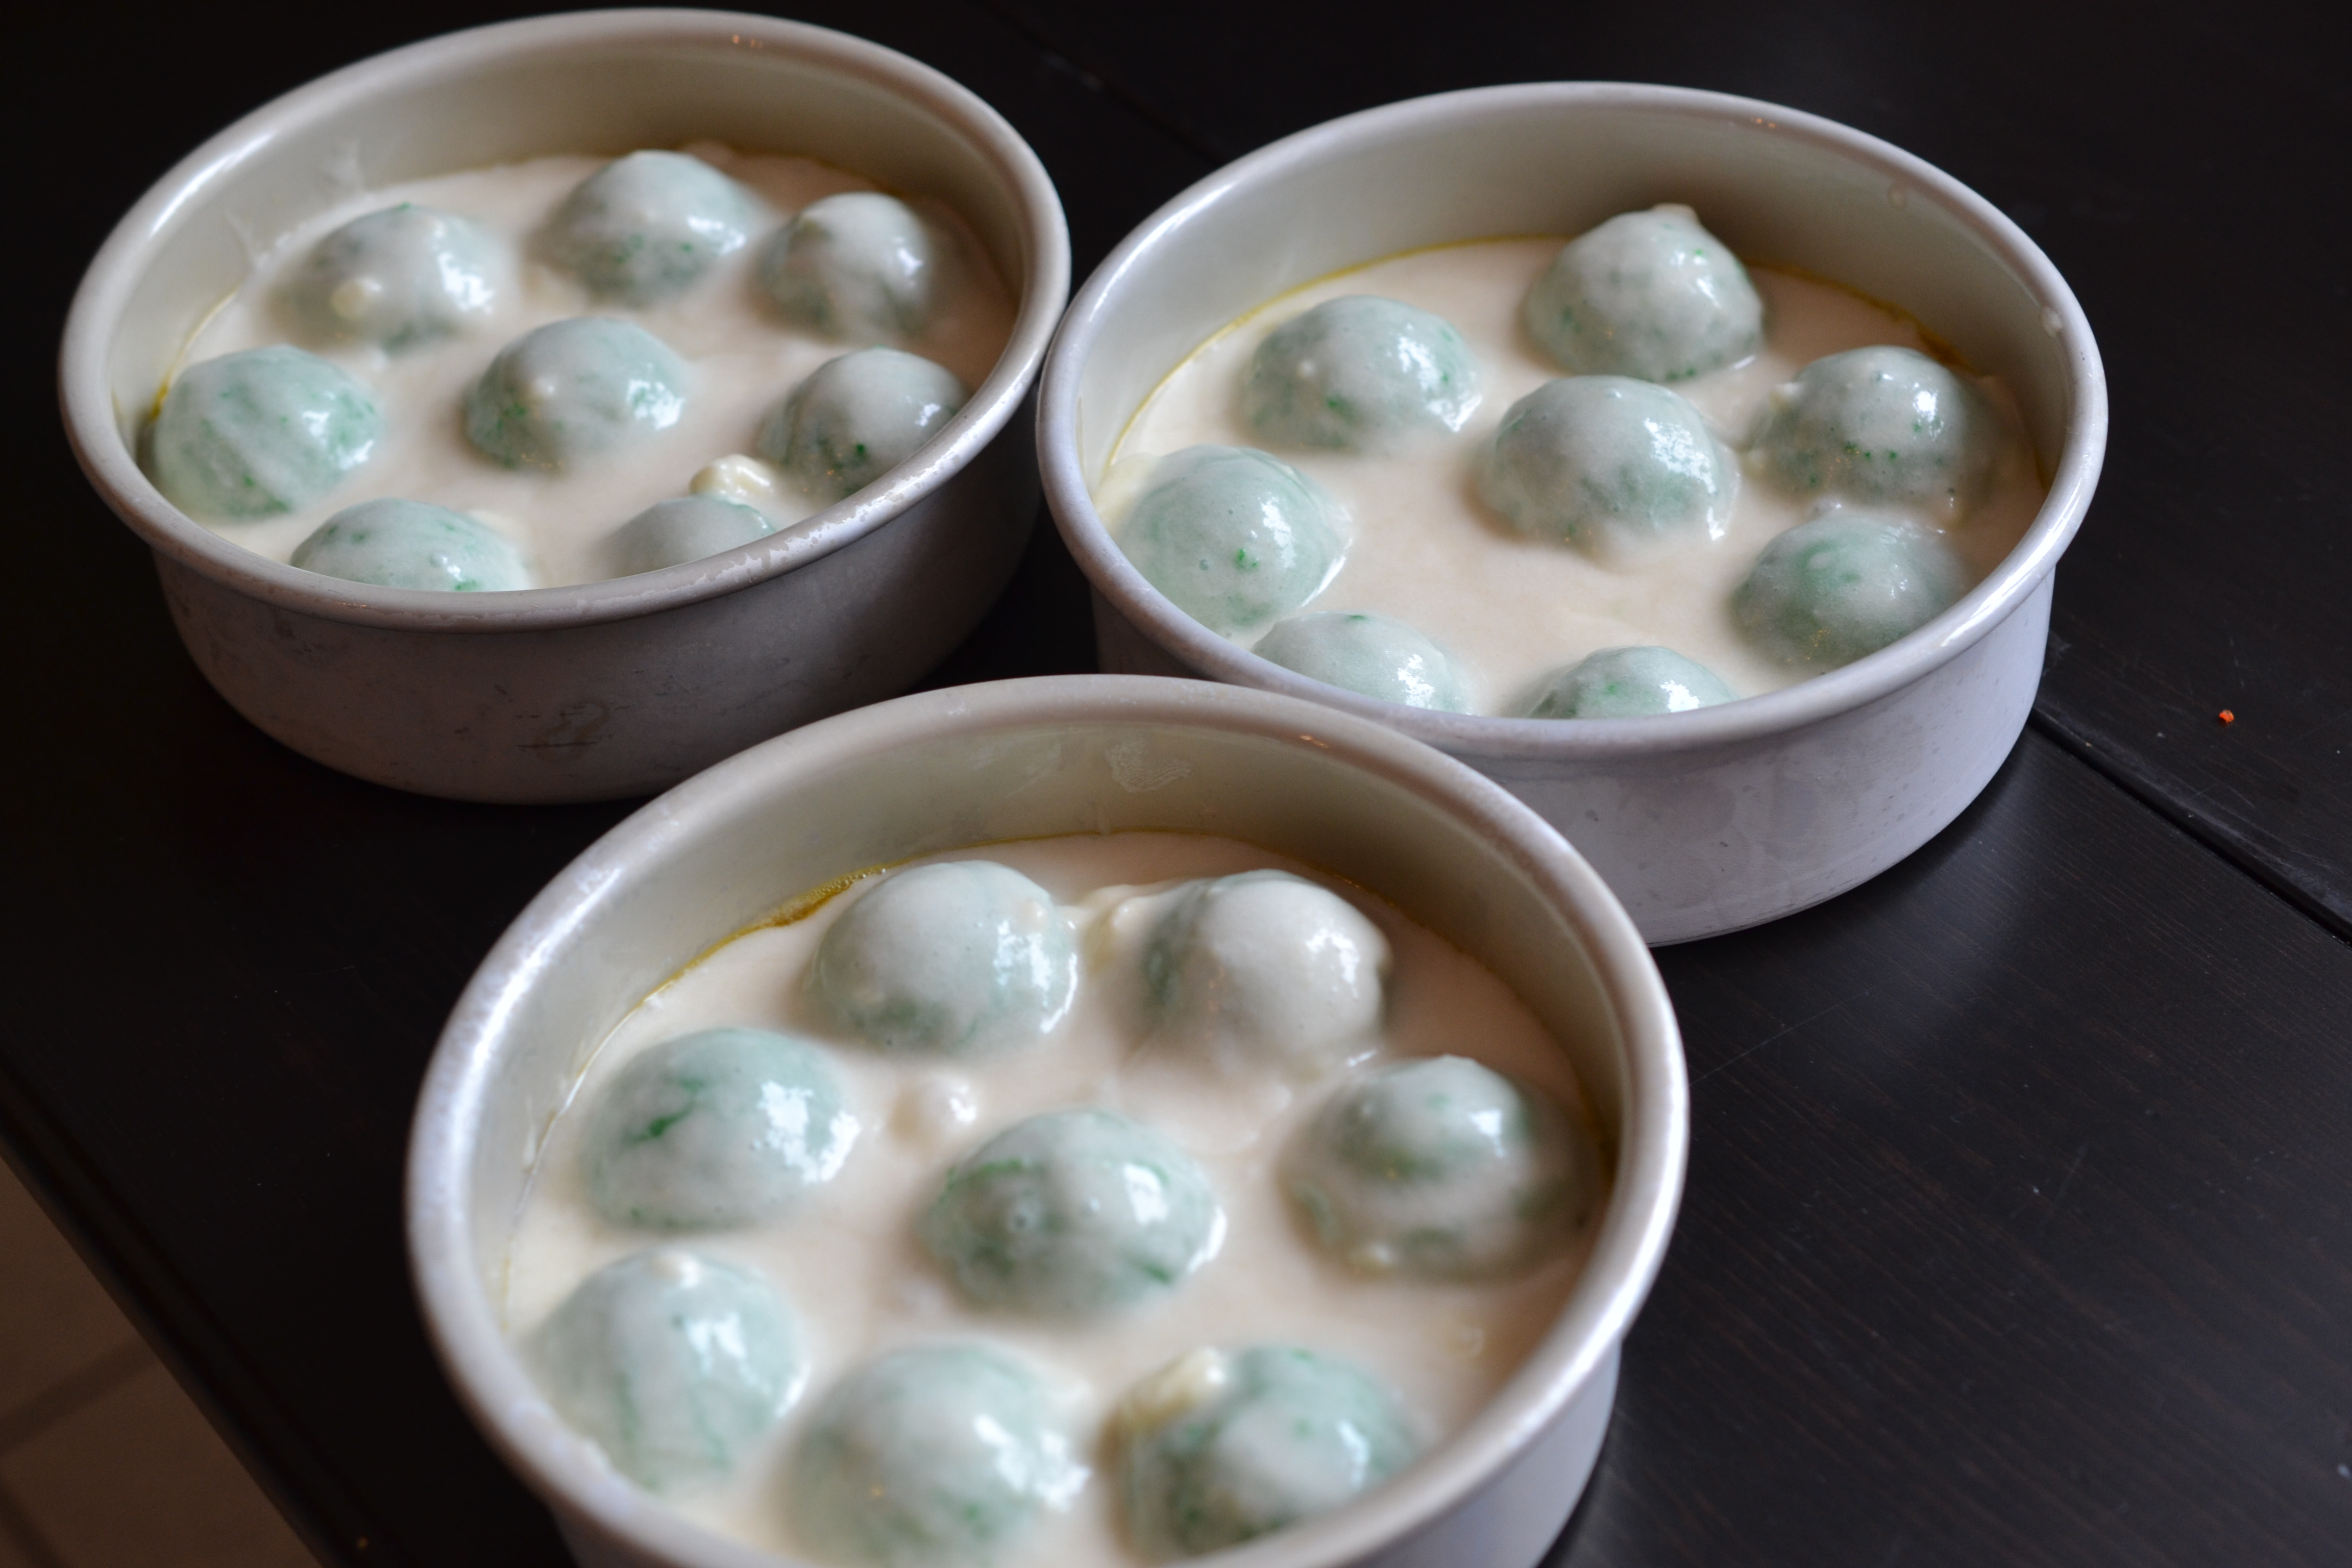
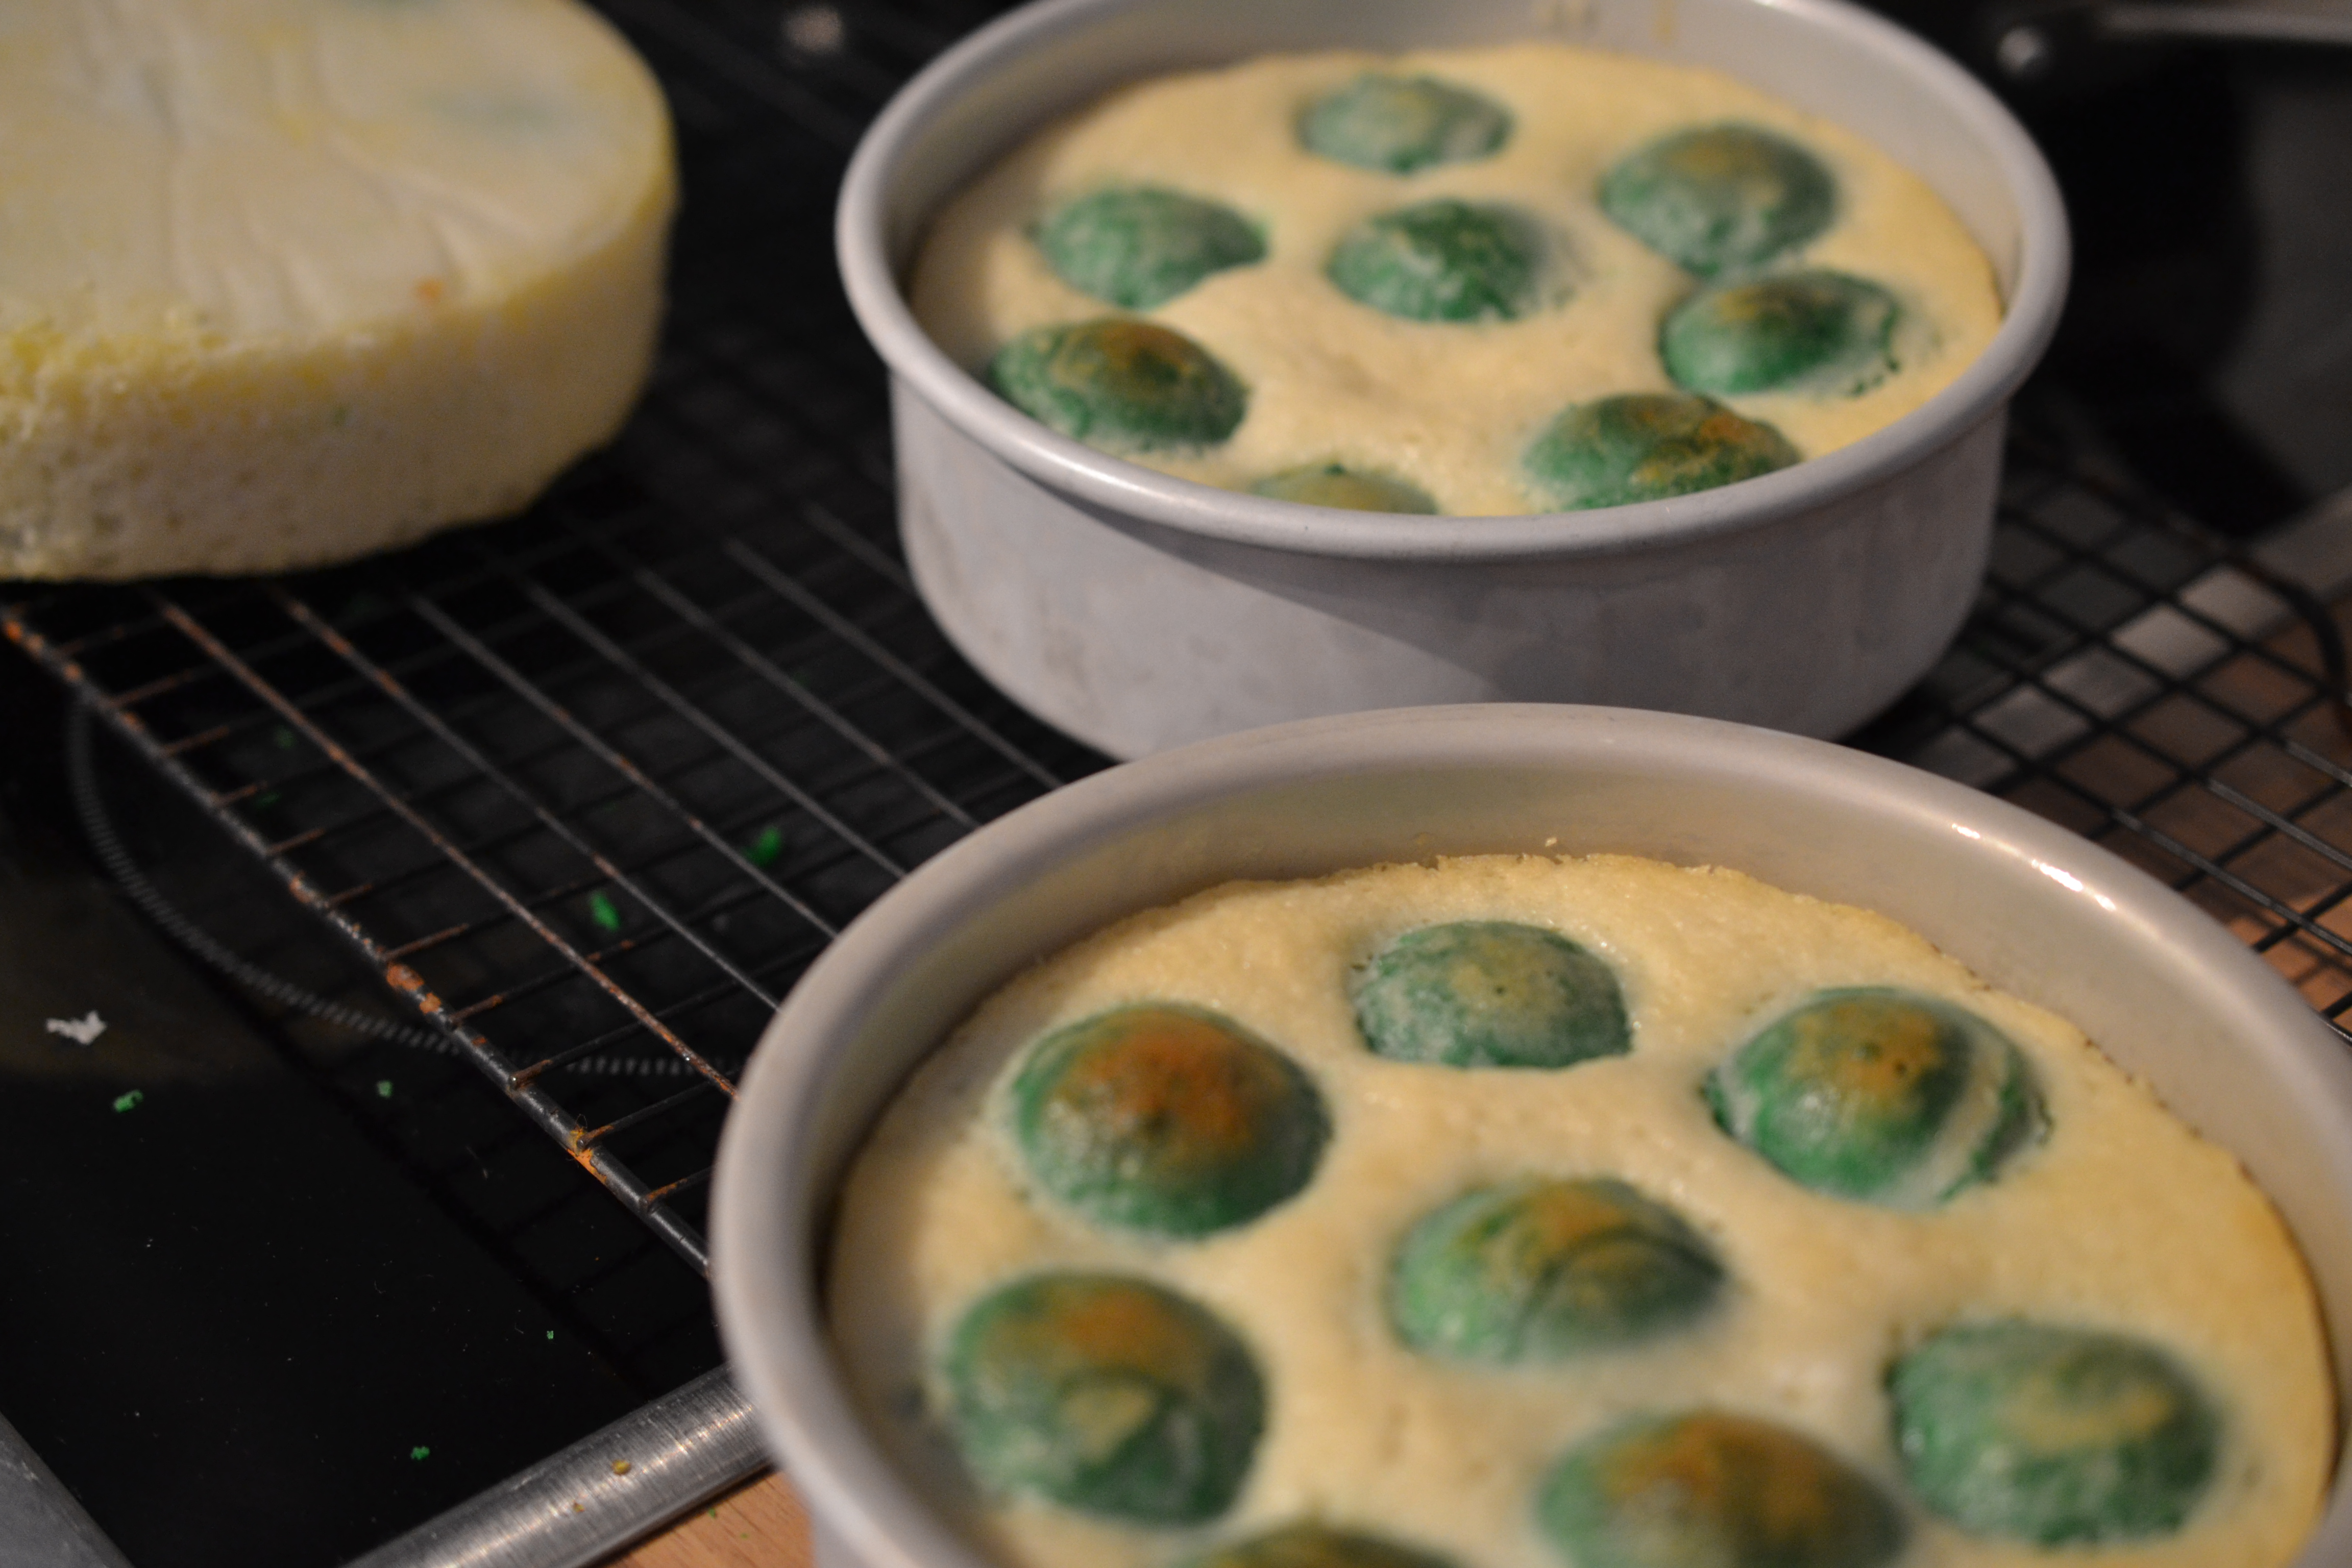
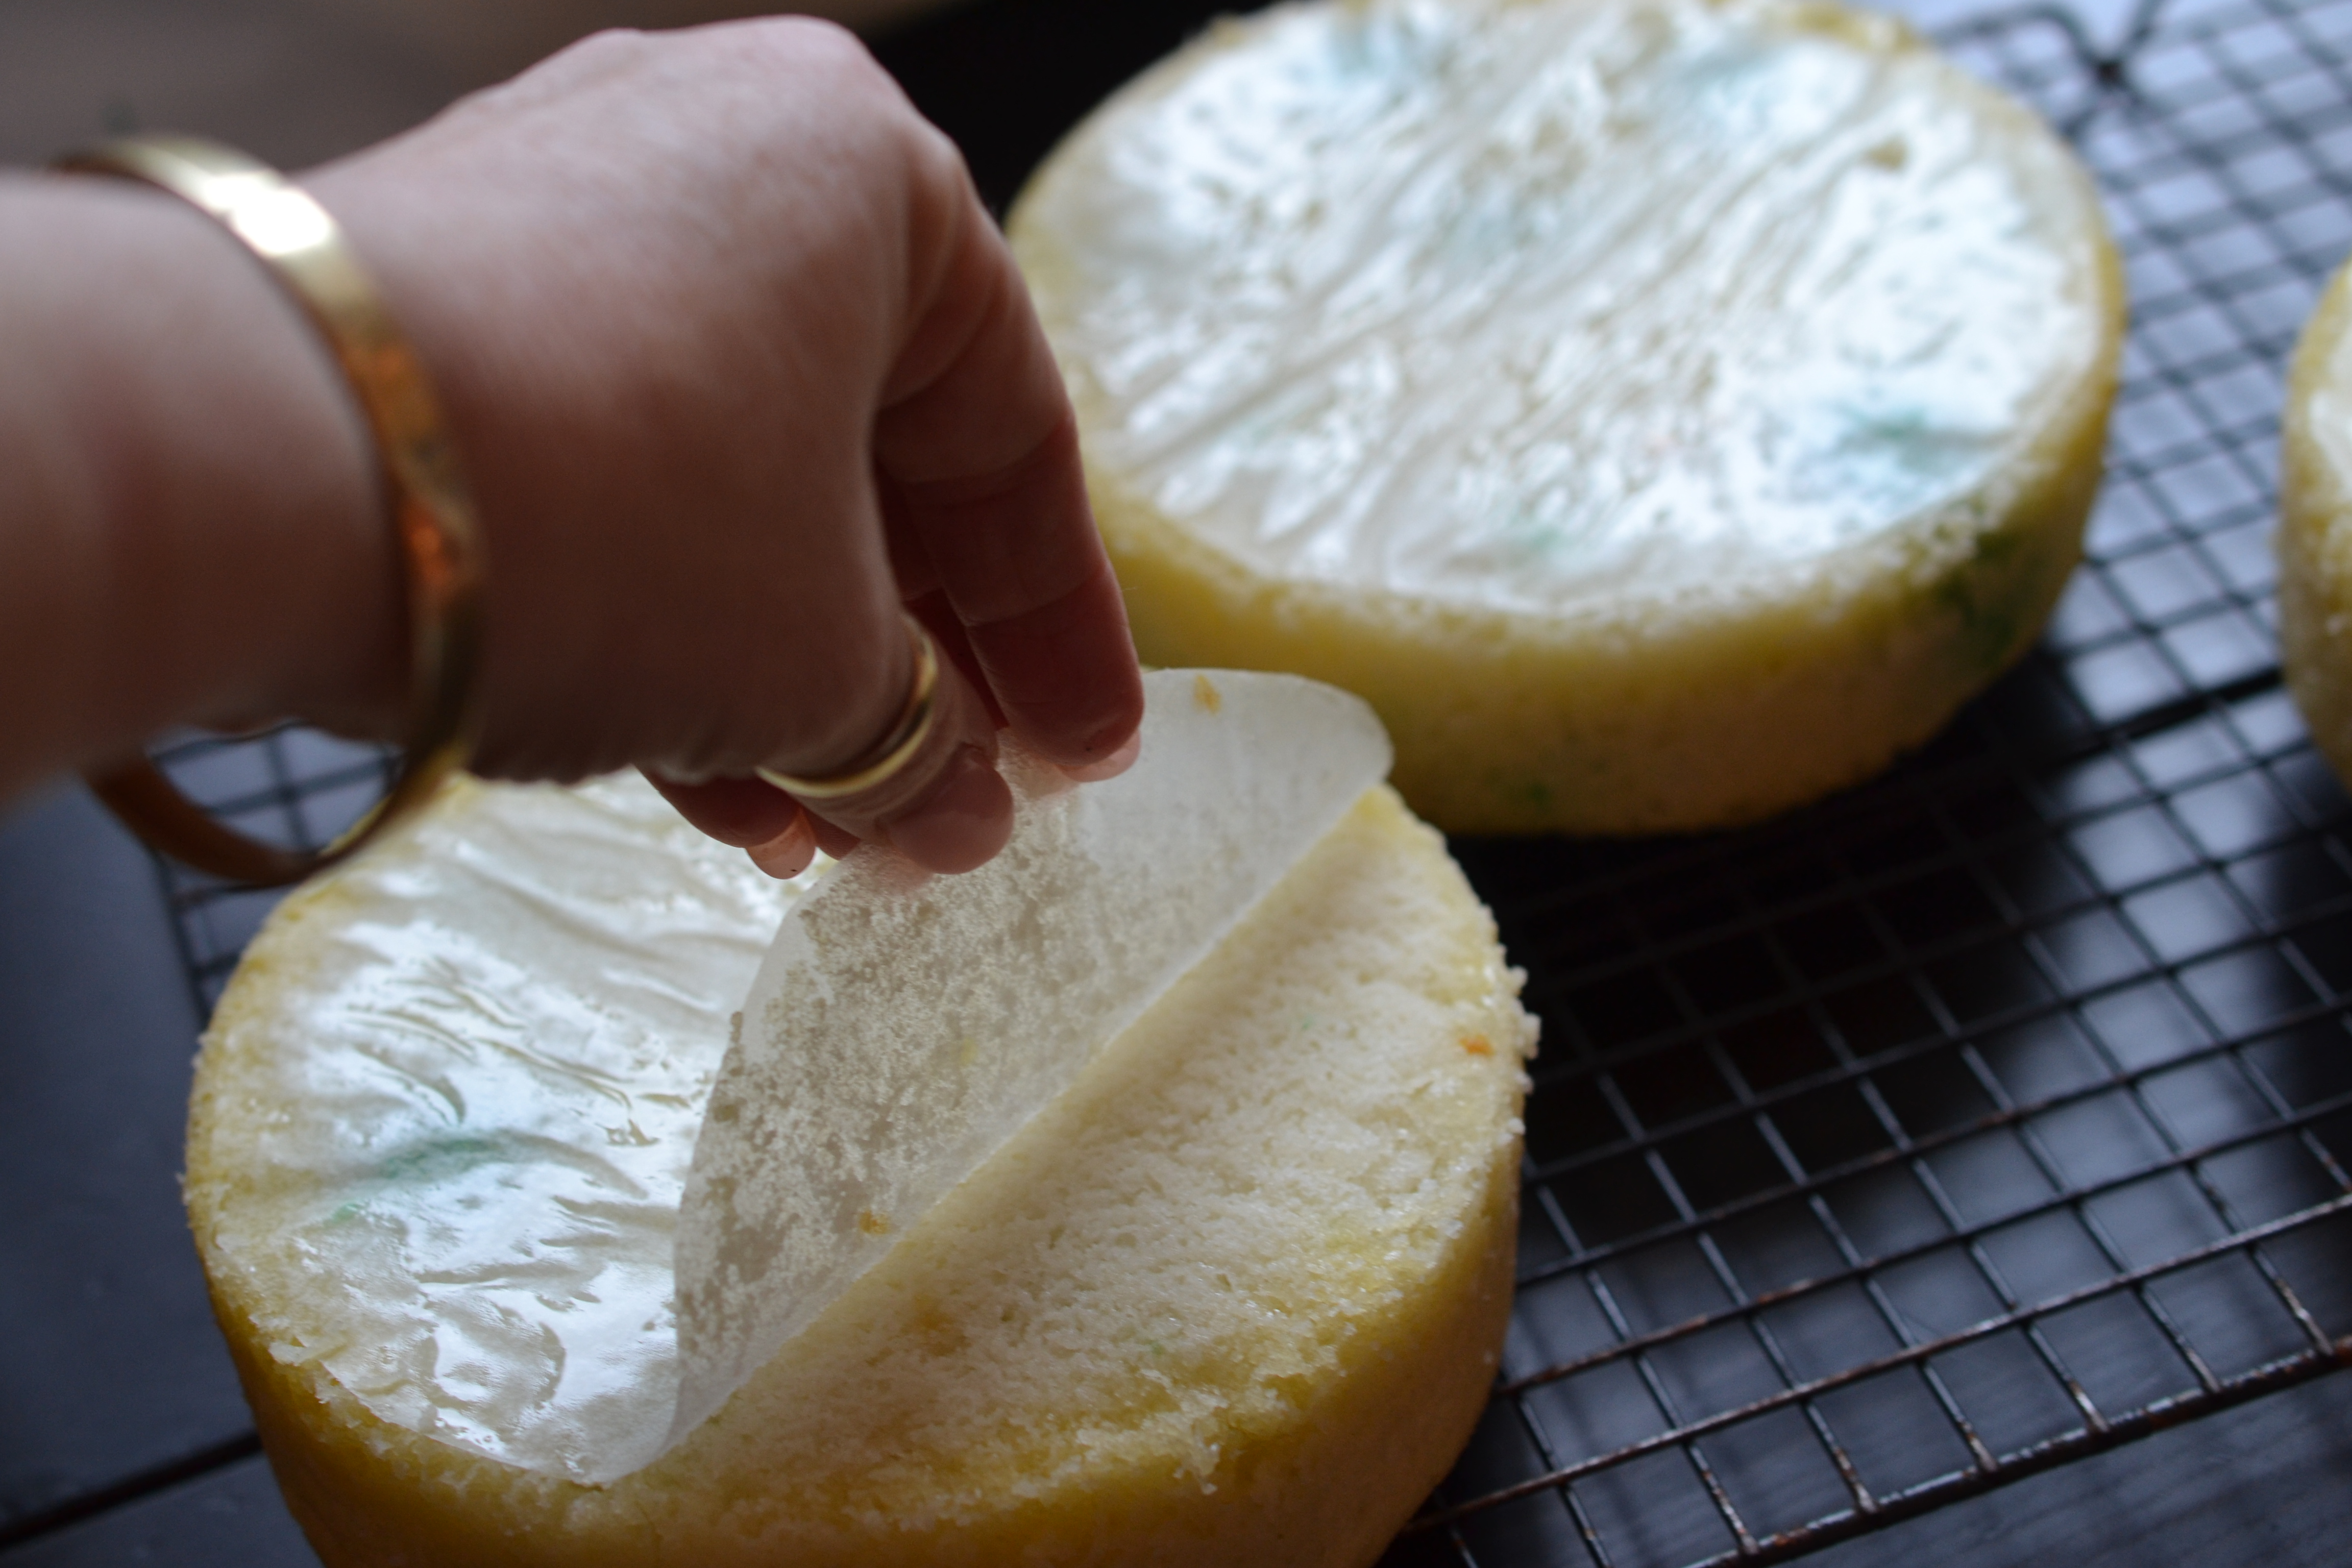
Be kind to your and use parchment paper to line the cake pan.
Warning – this is a tall cake. That’s ok.
I added additional buttercream to each layer to accommodate the dots settling into the filling.
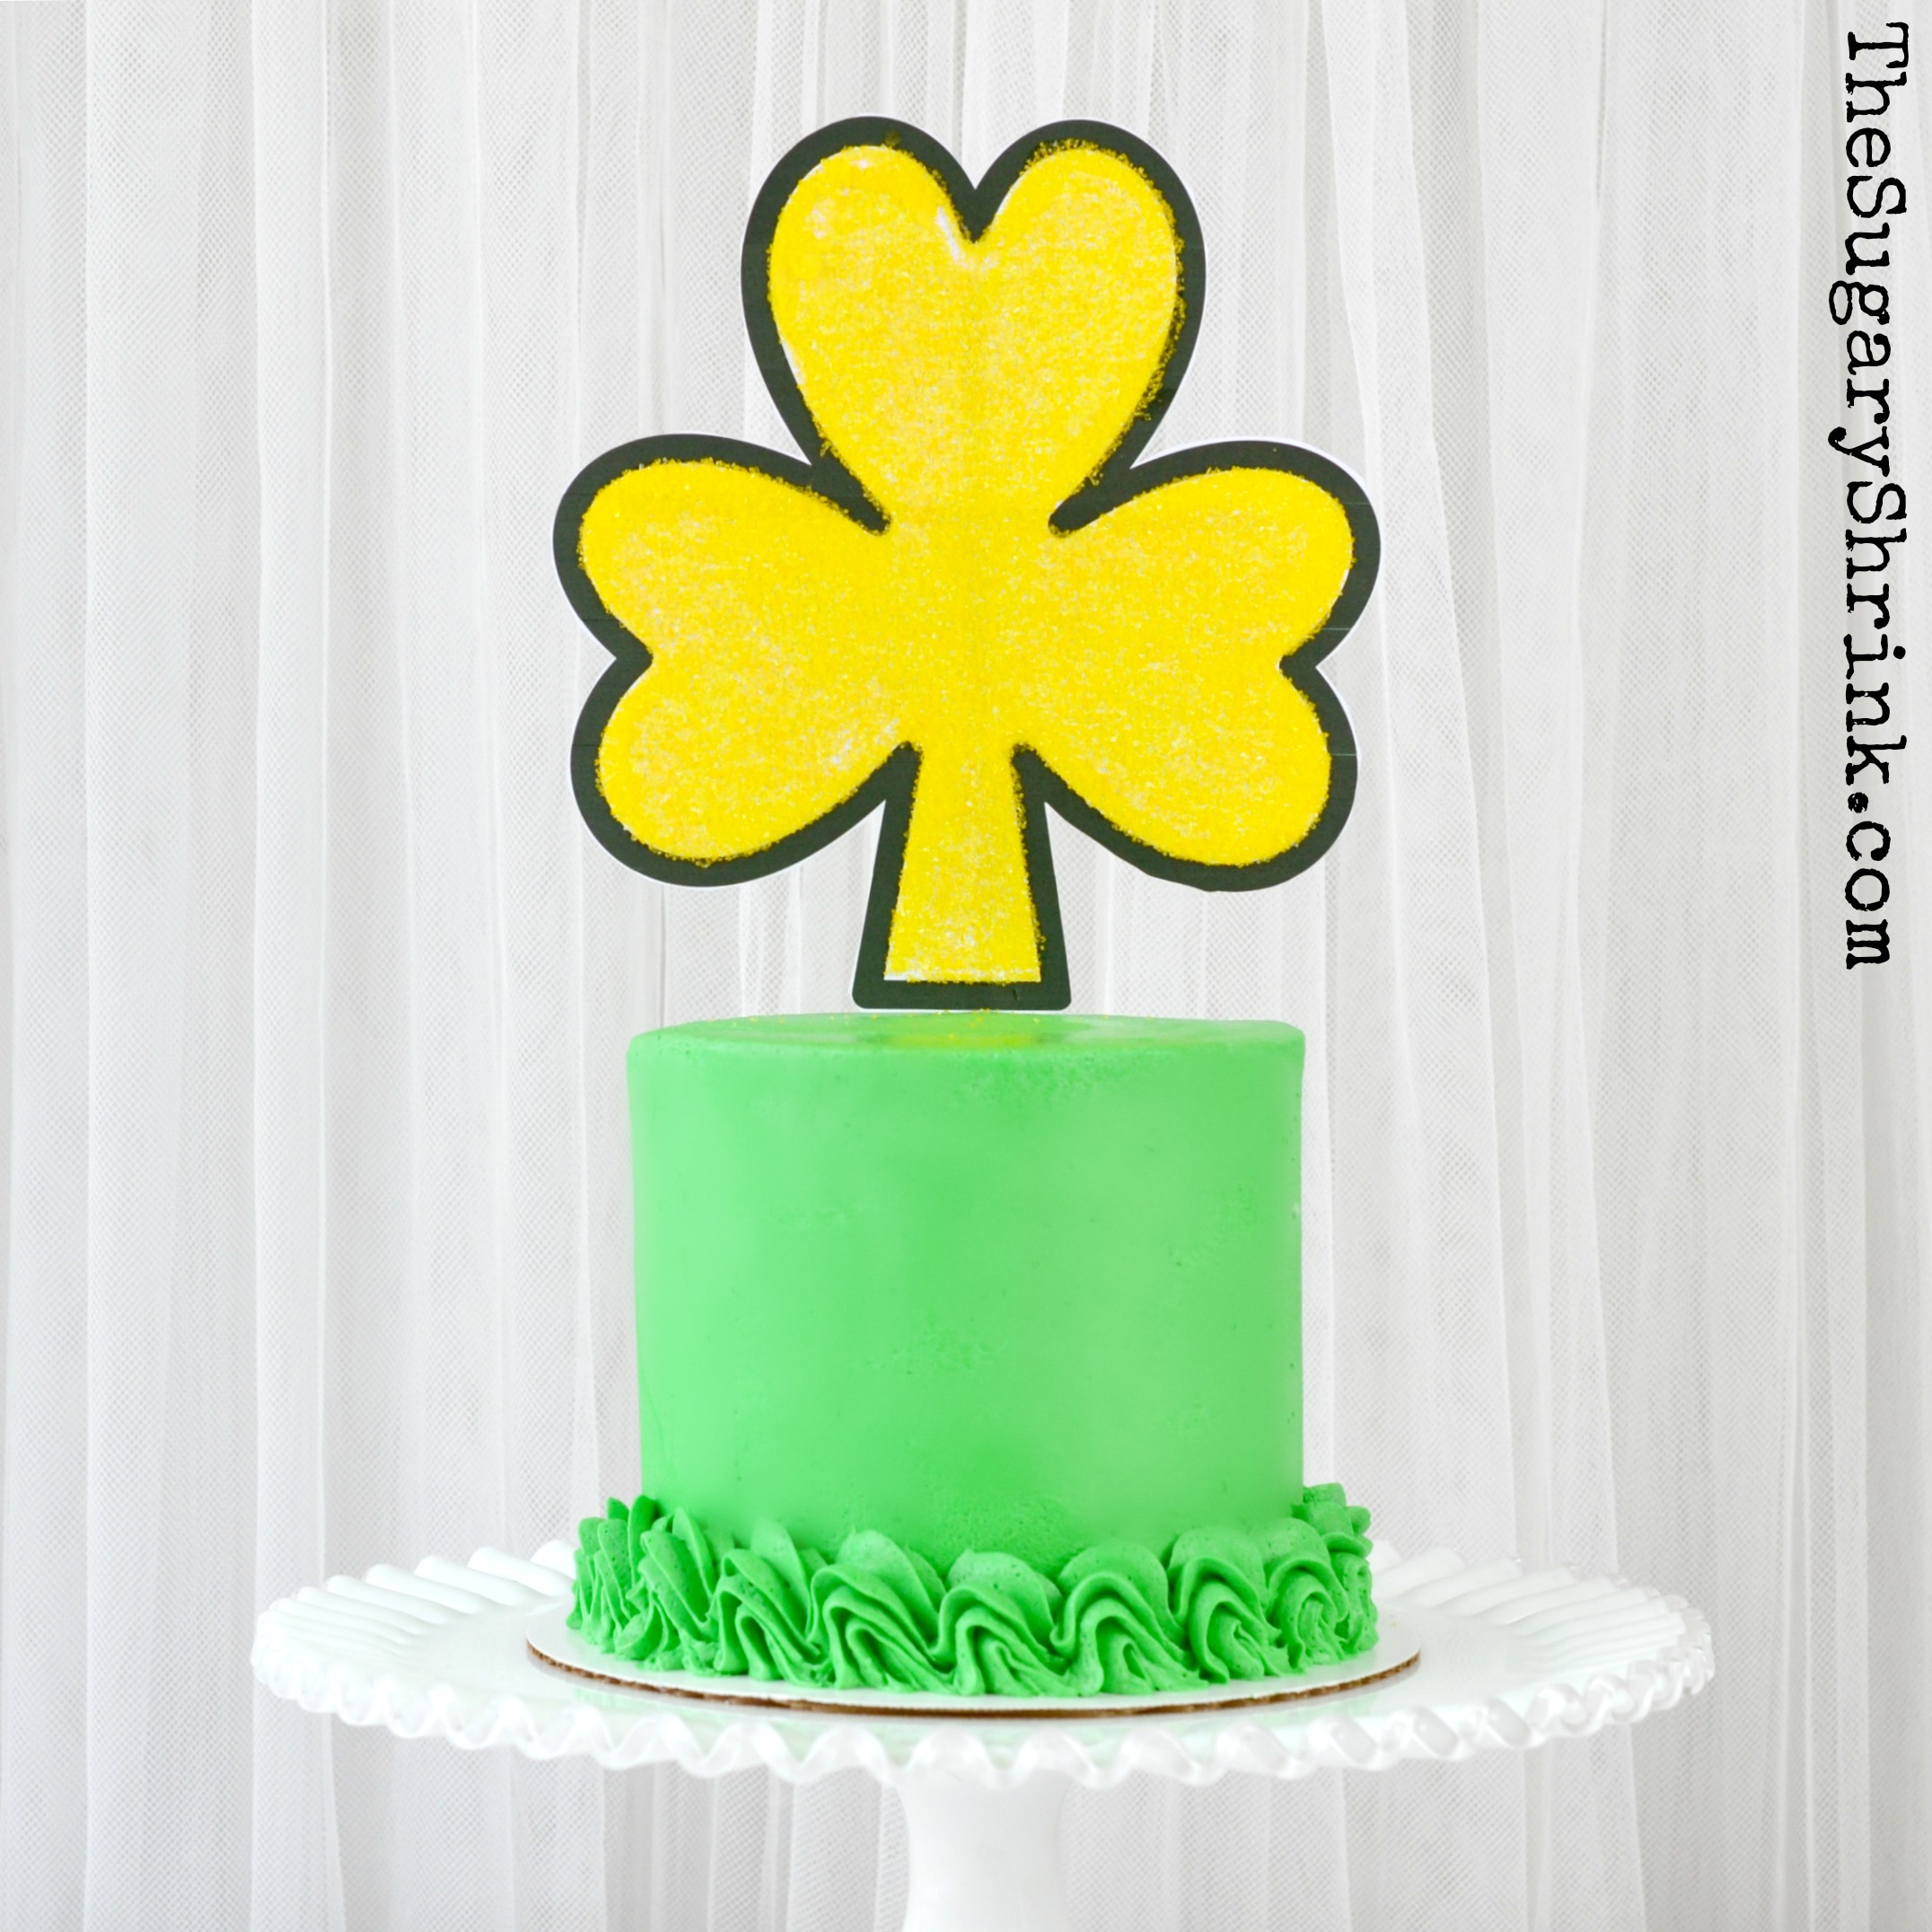
While it was sitting up in the fridge, I tinted more Vanilla Buttercream and went to work on the over-sized topper.
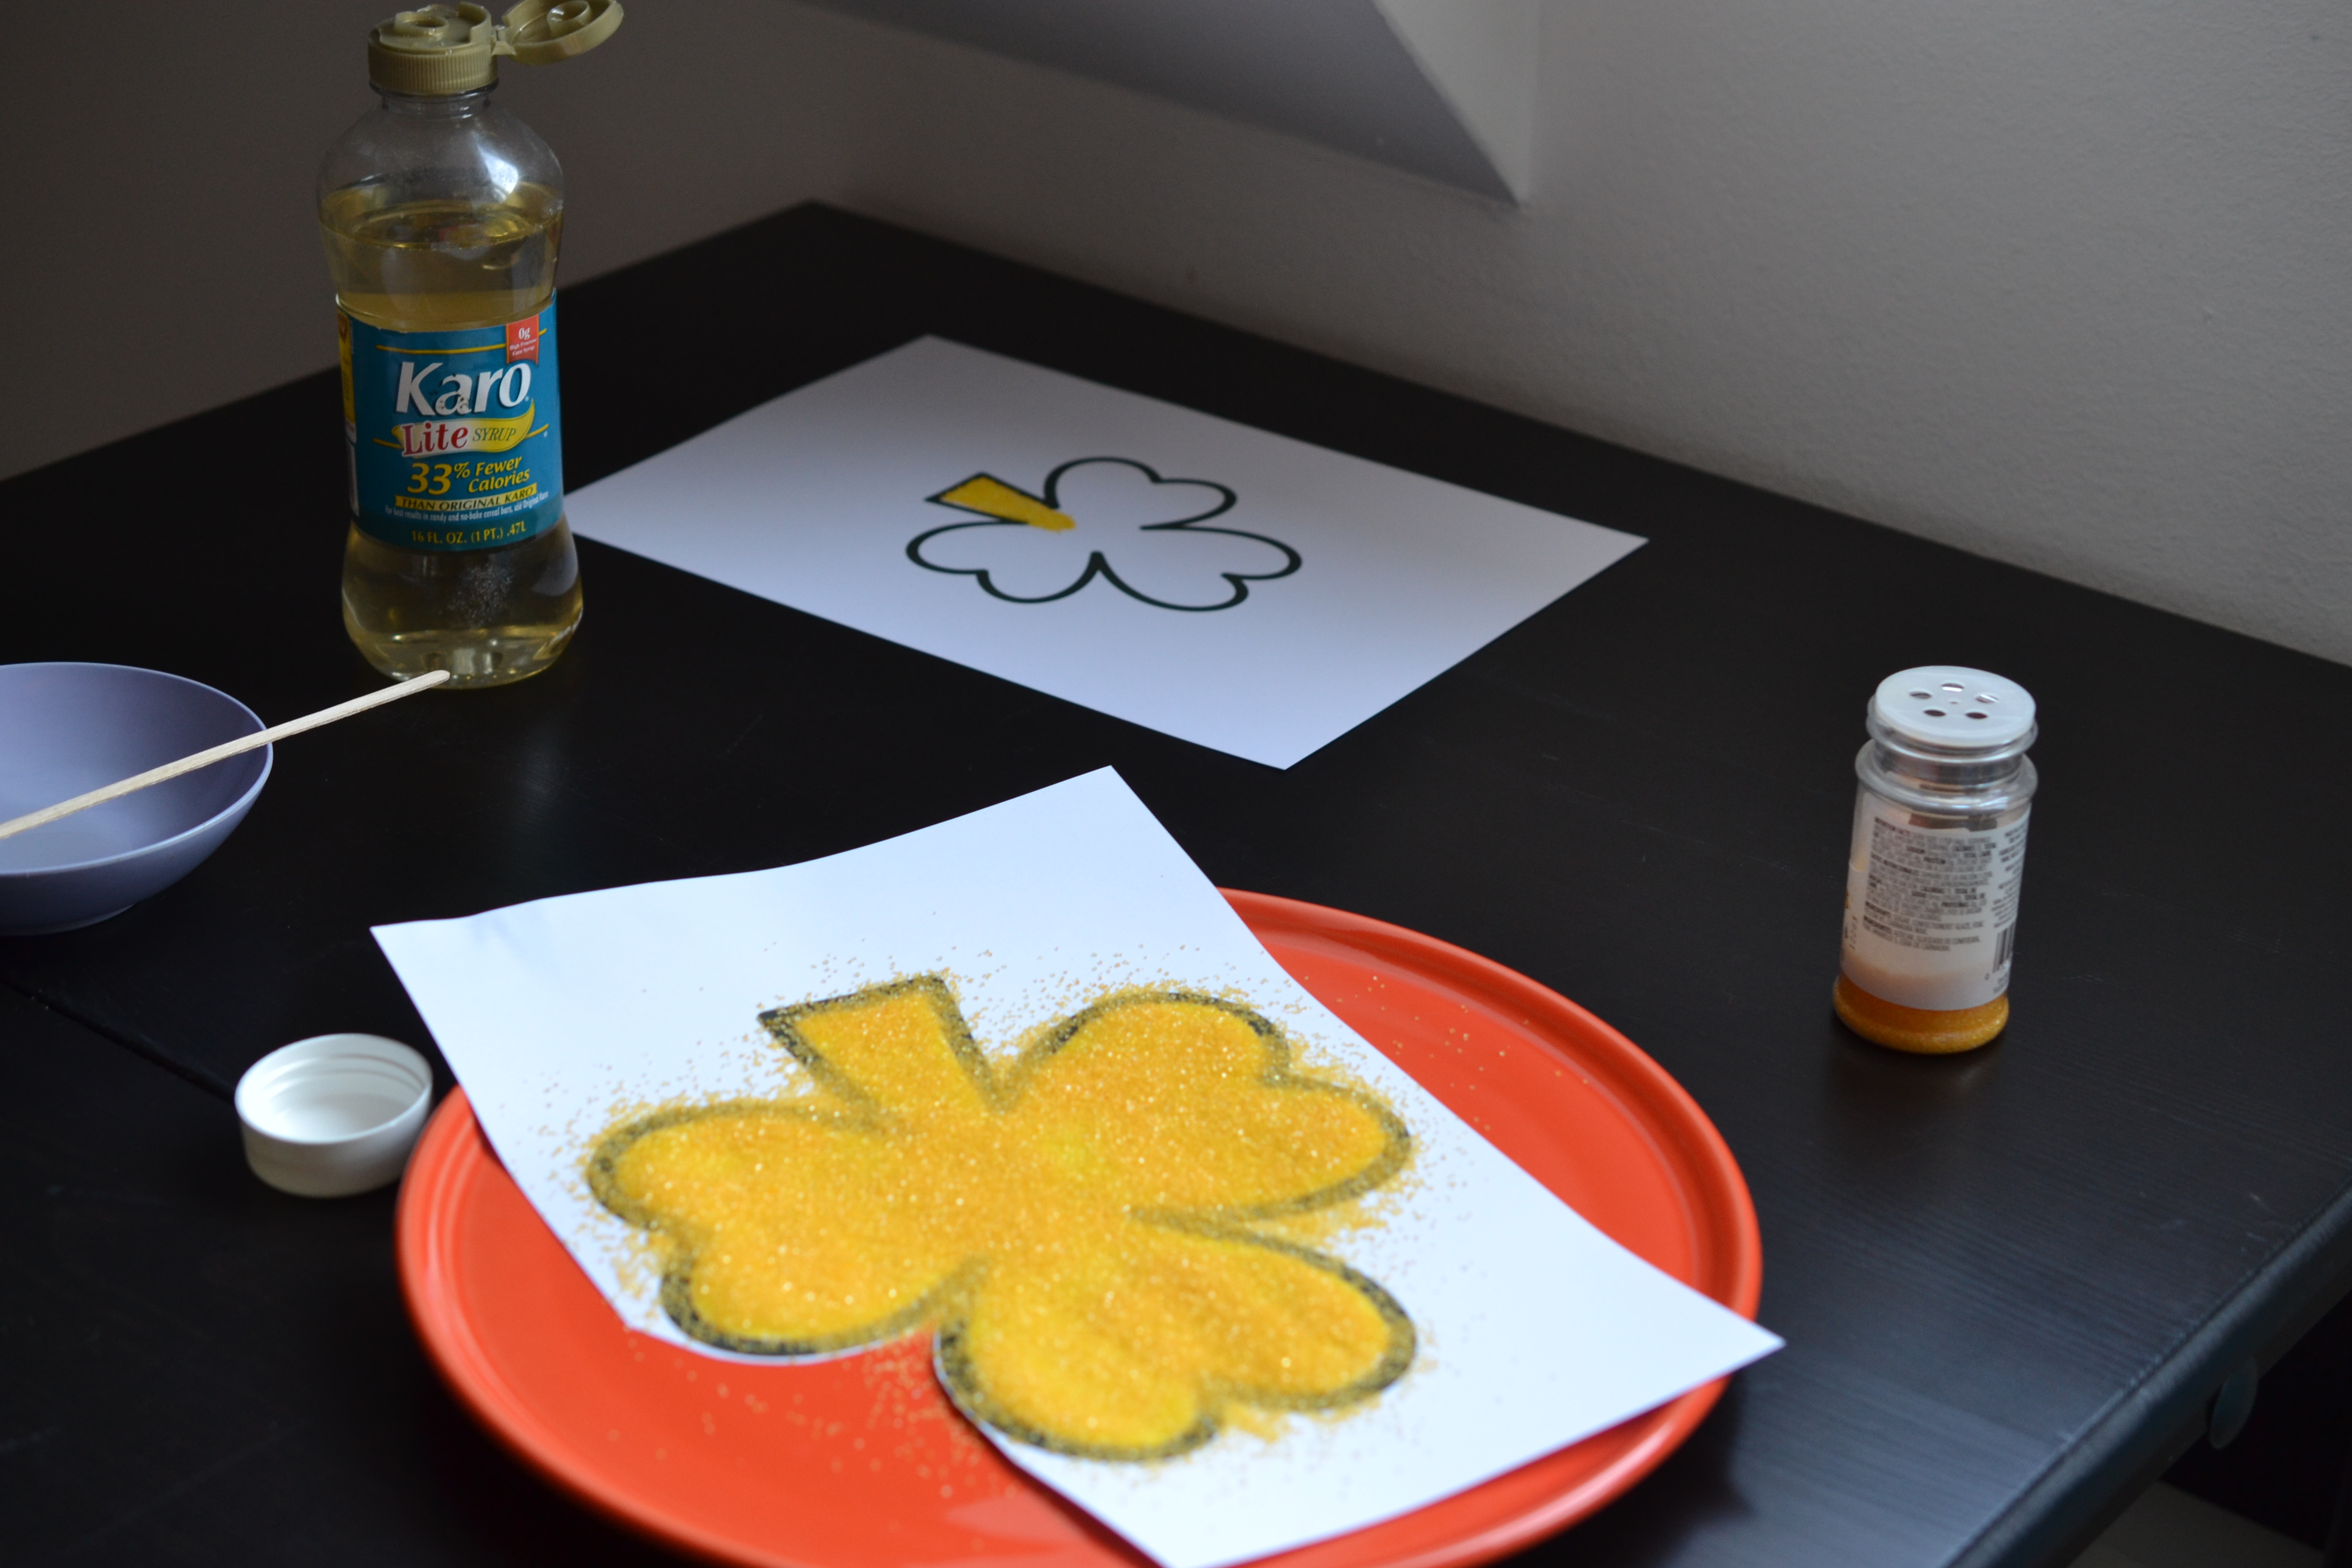
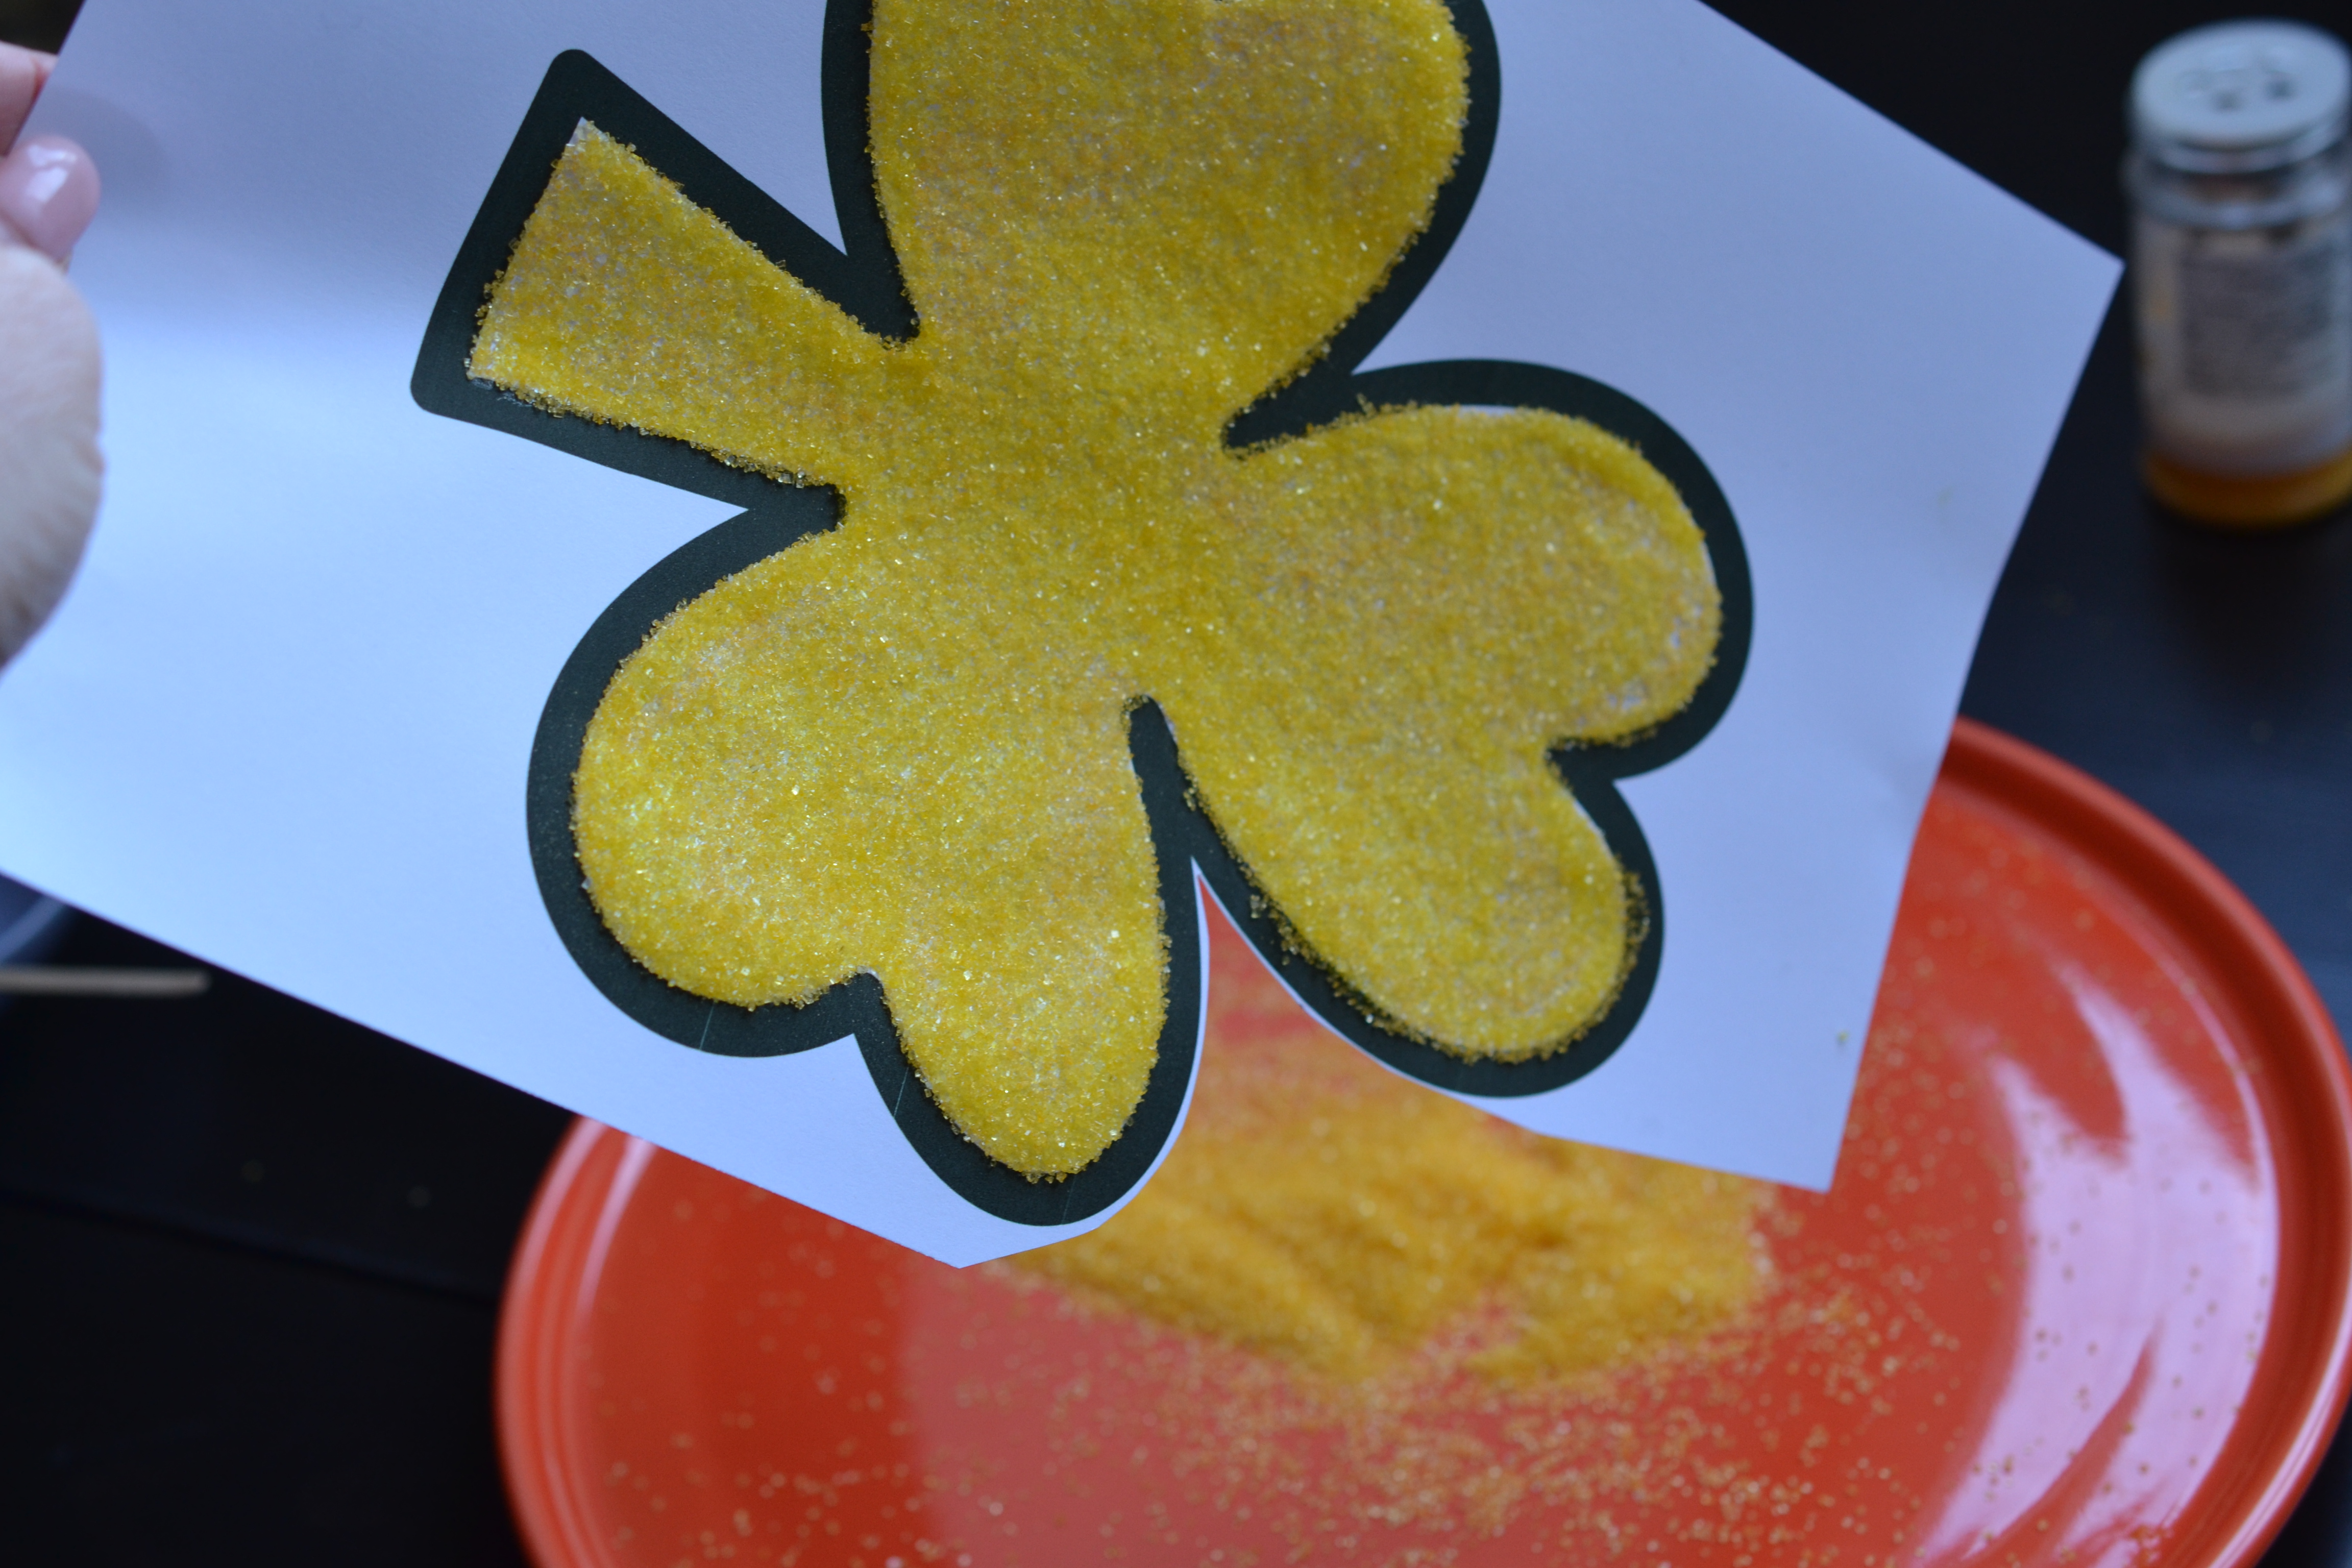
I love the scale of this shiny, golden shamrock.
…..and the slice. Always a fun moment for a polka dot cake!

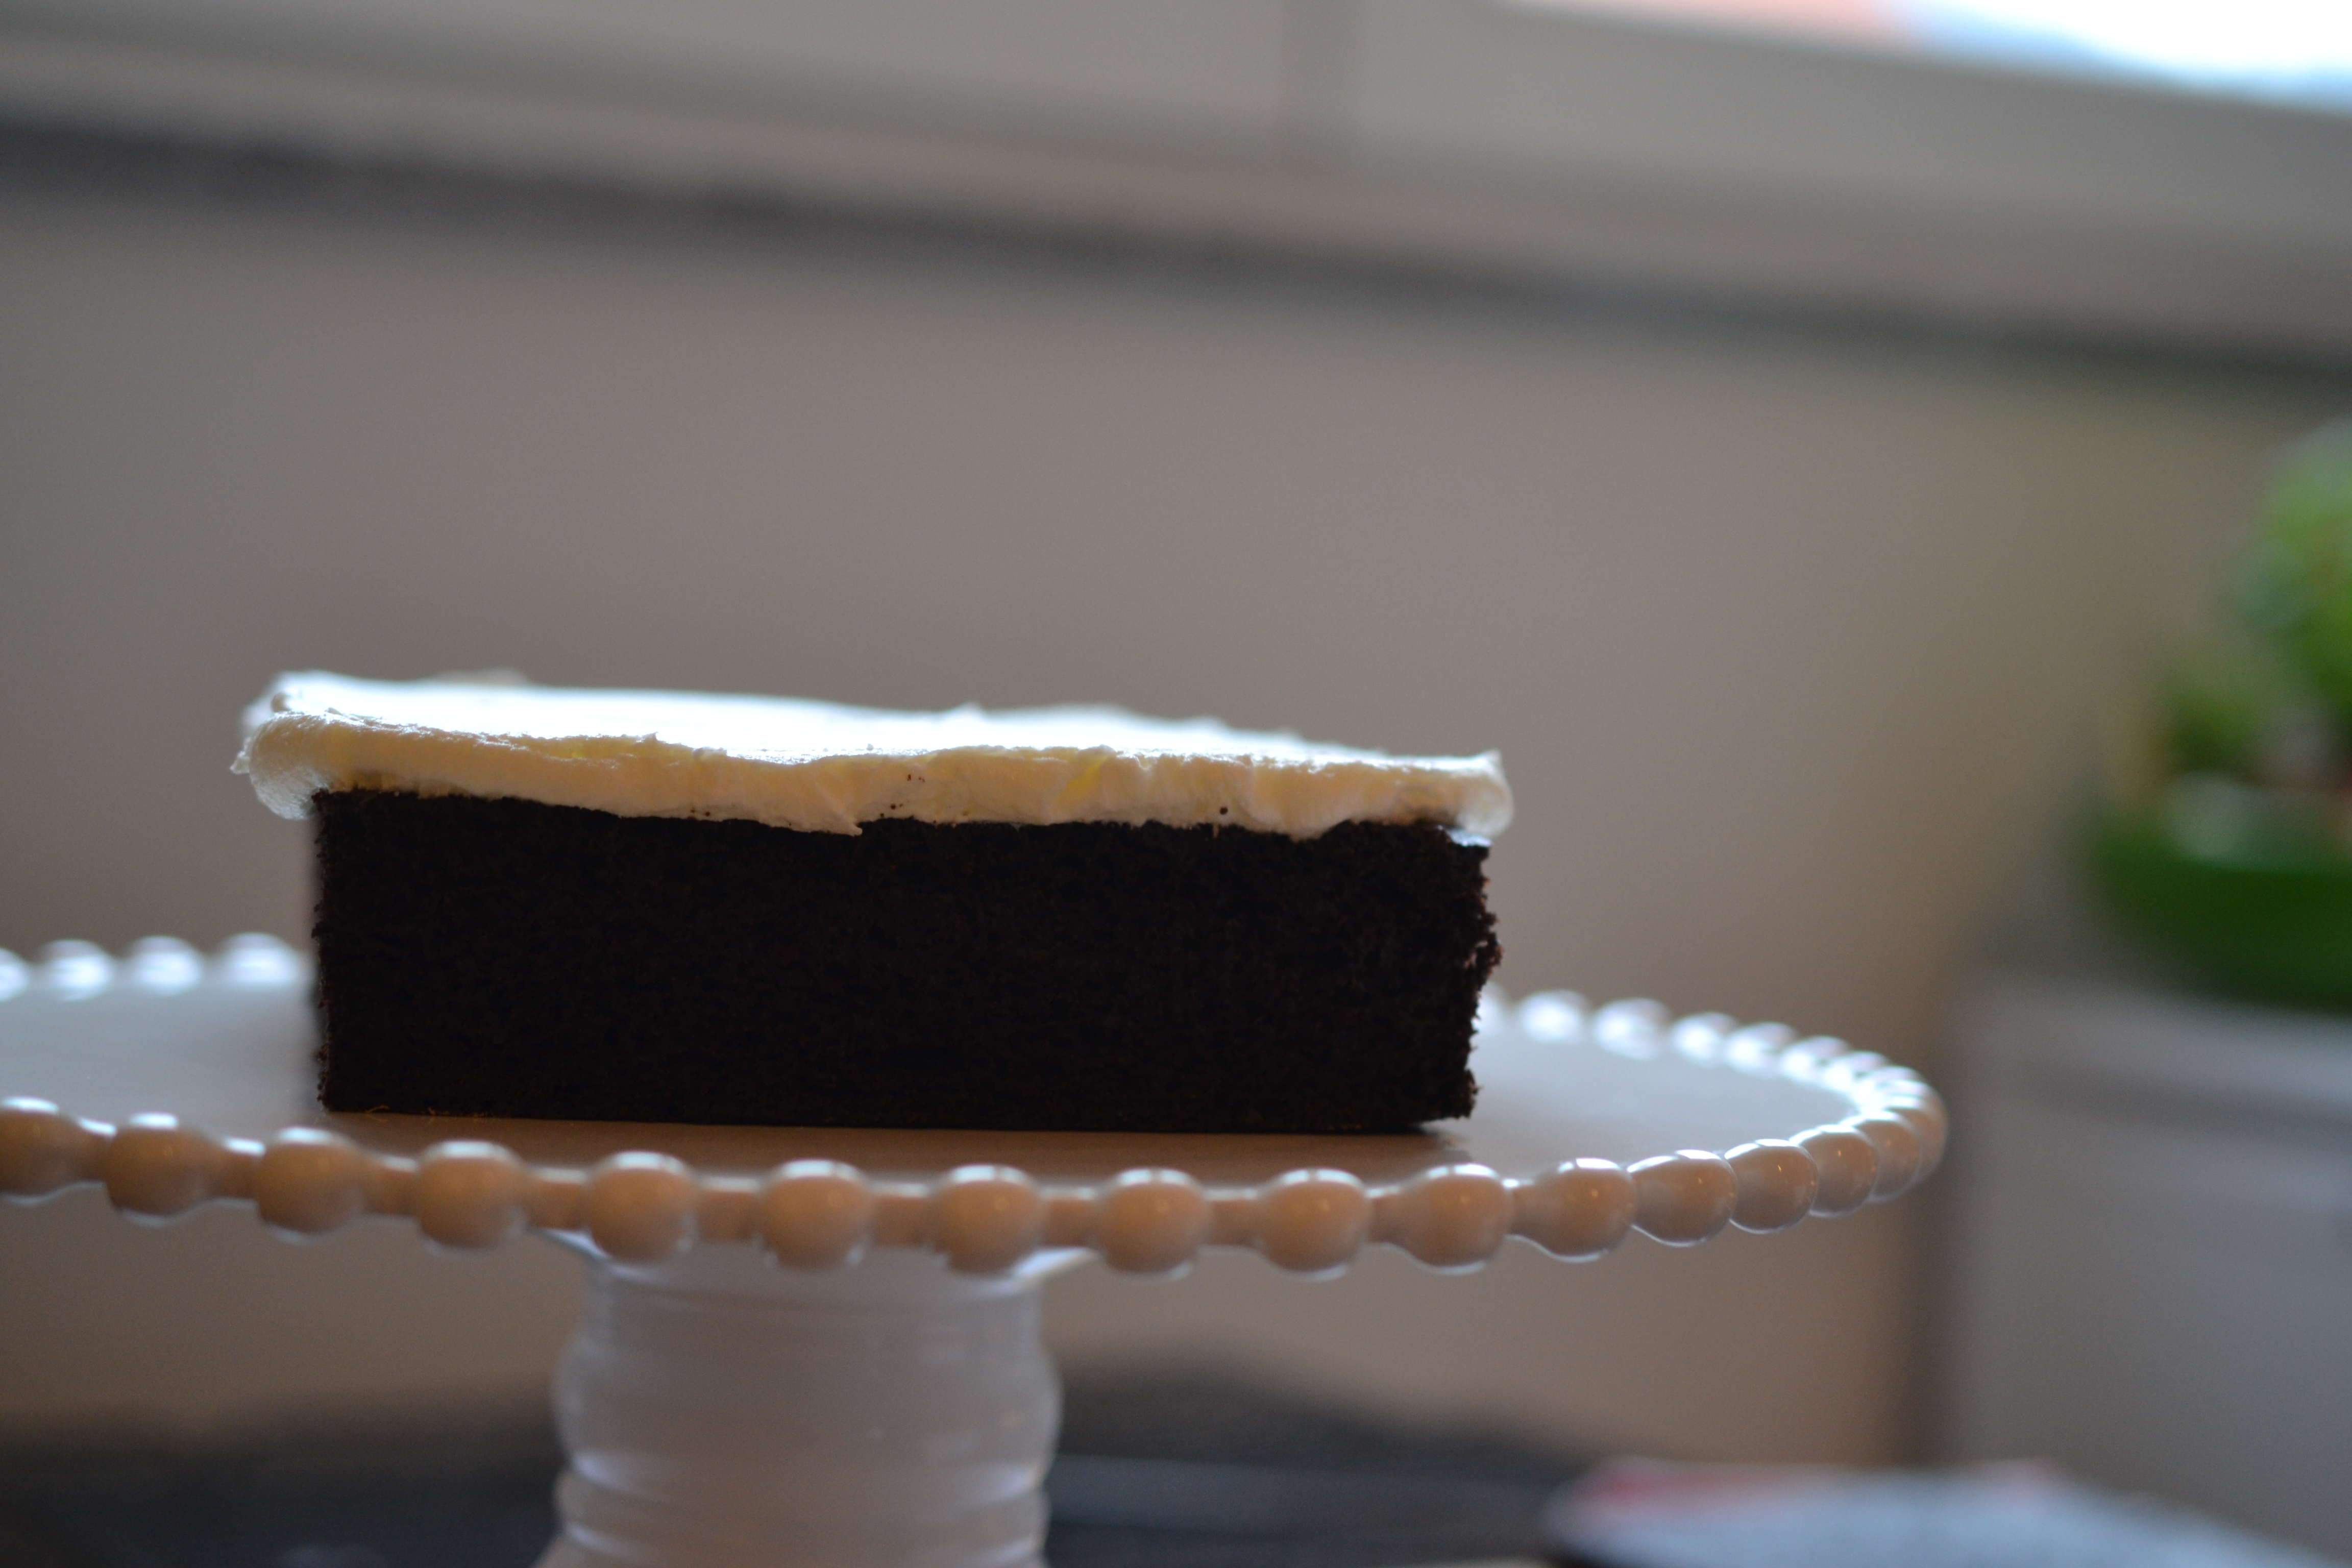
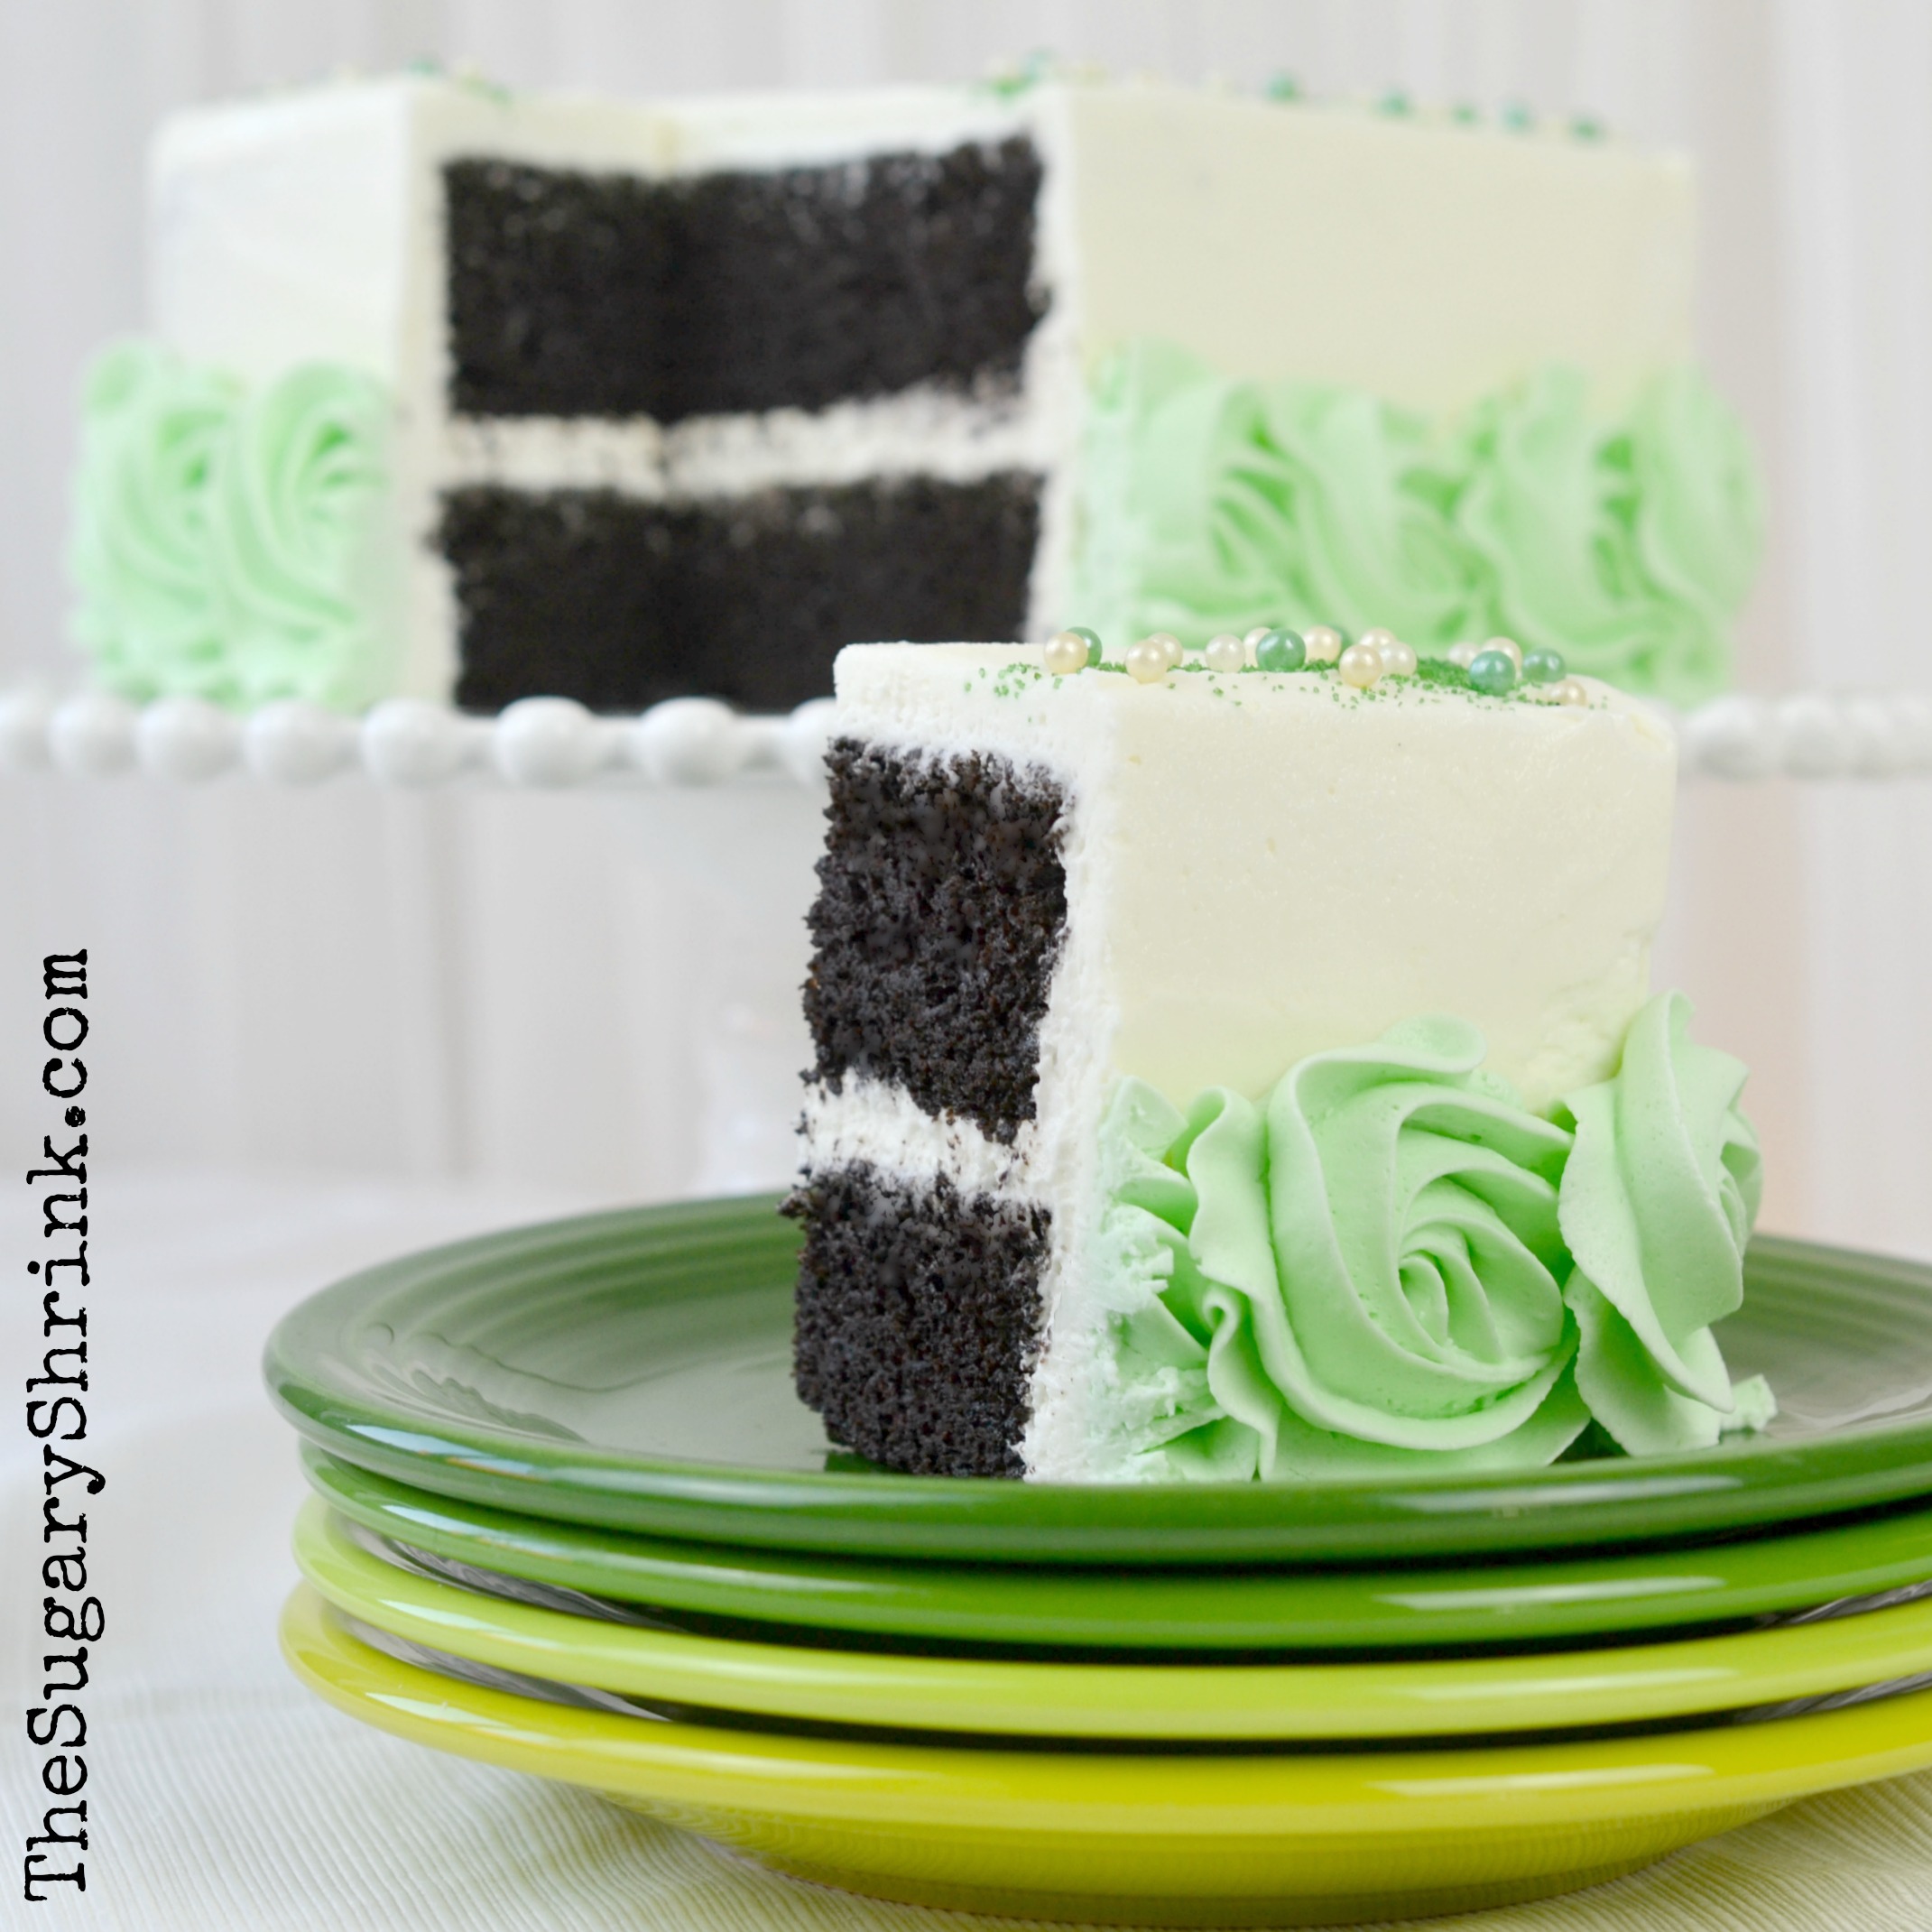
The Double-layer Square Chocolate Cake began life as a 9×13, single pan, high speed, get-it-done cake.
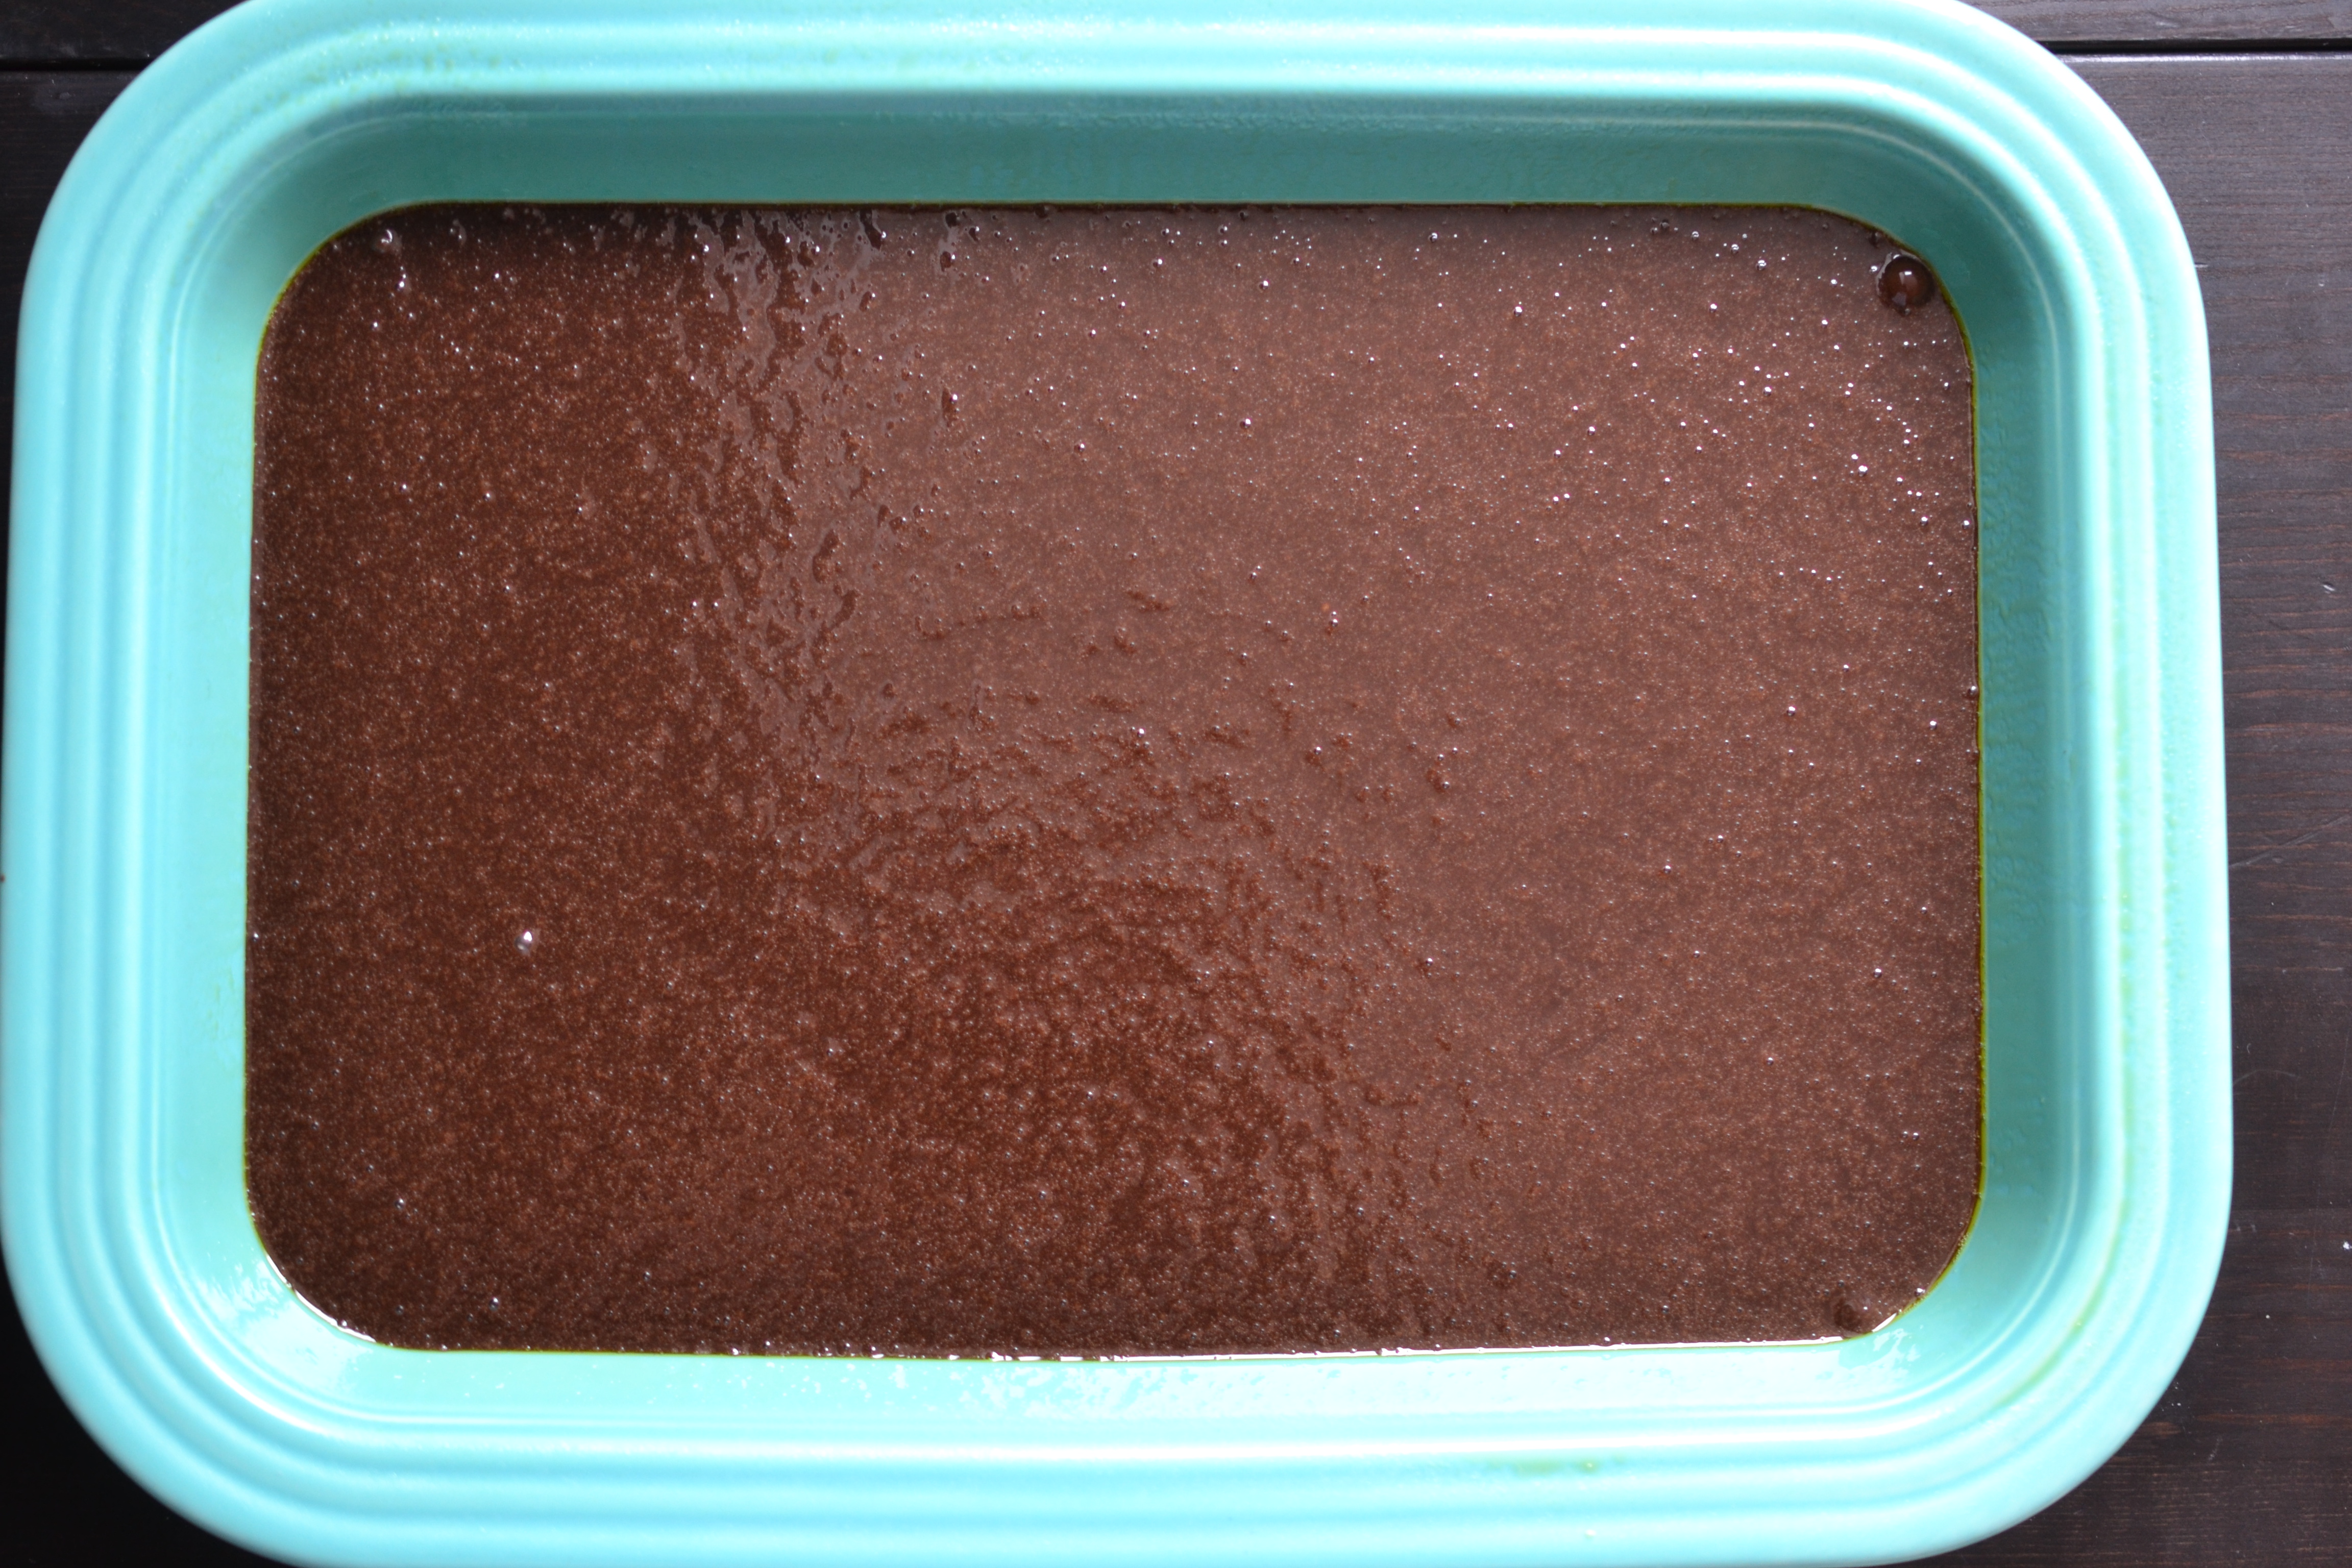
My Homer Laughlin Fiesta Dinnerware 9×13 baker is perfect for cake… it bakes evenly and keeps the cake incredibly moist.
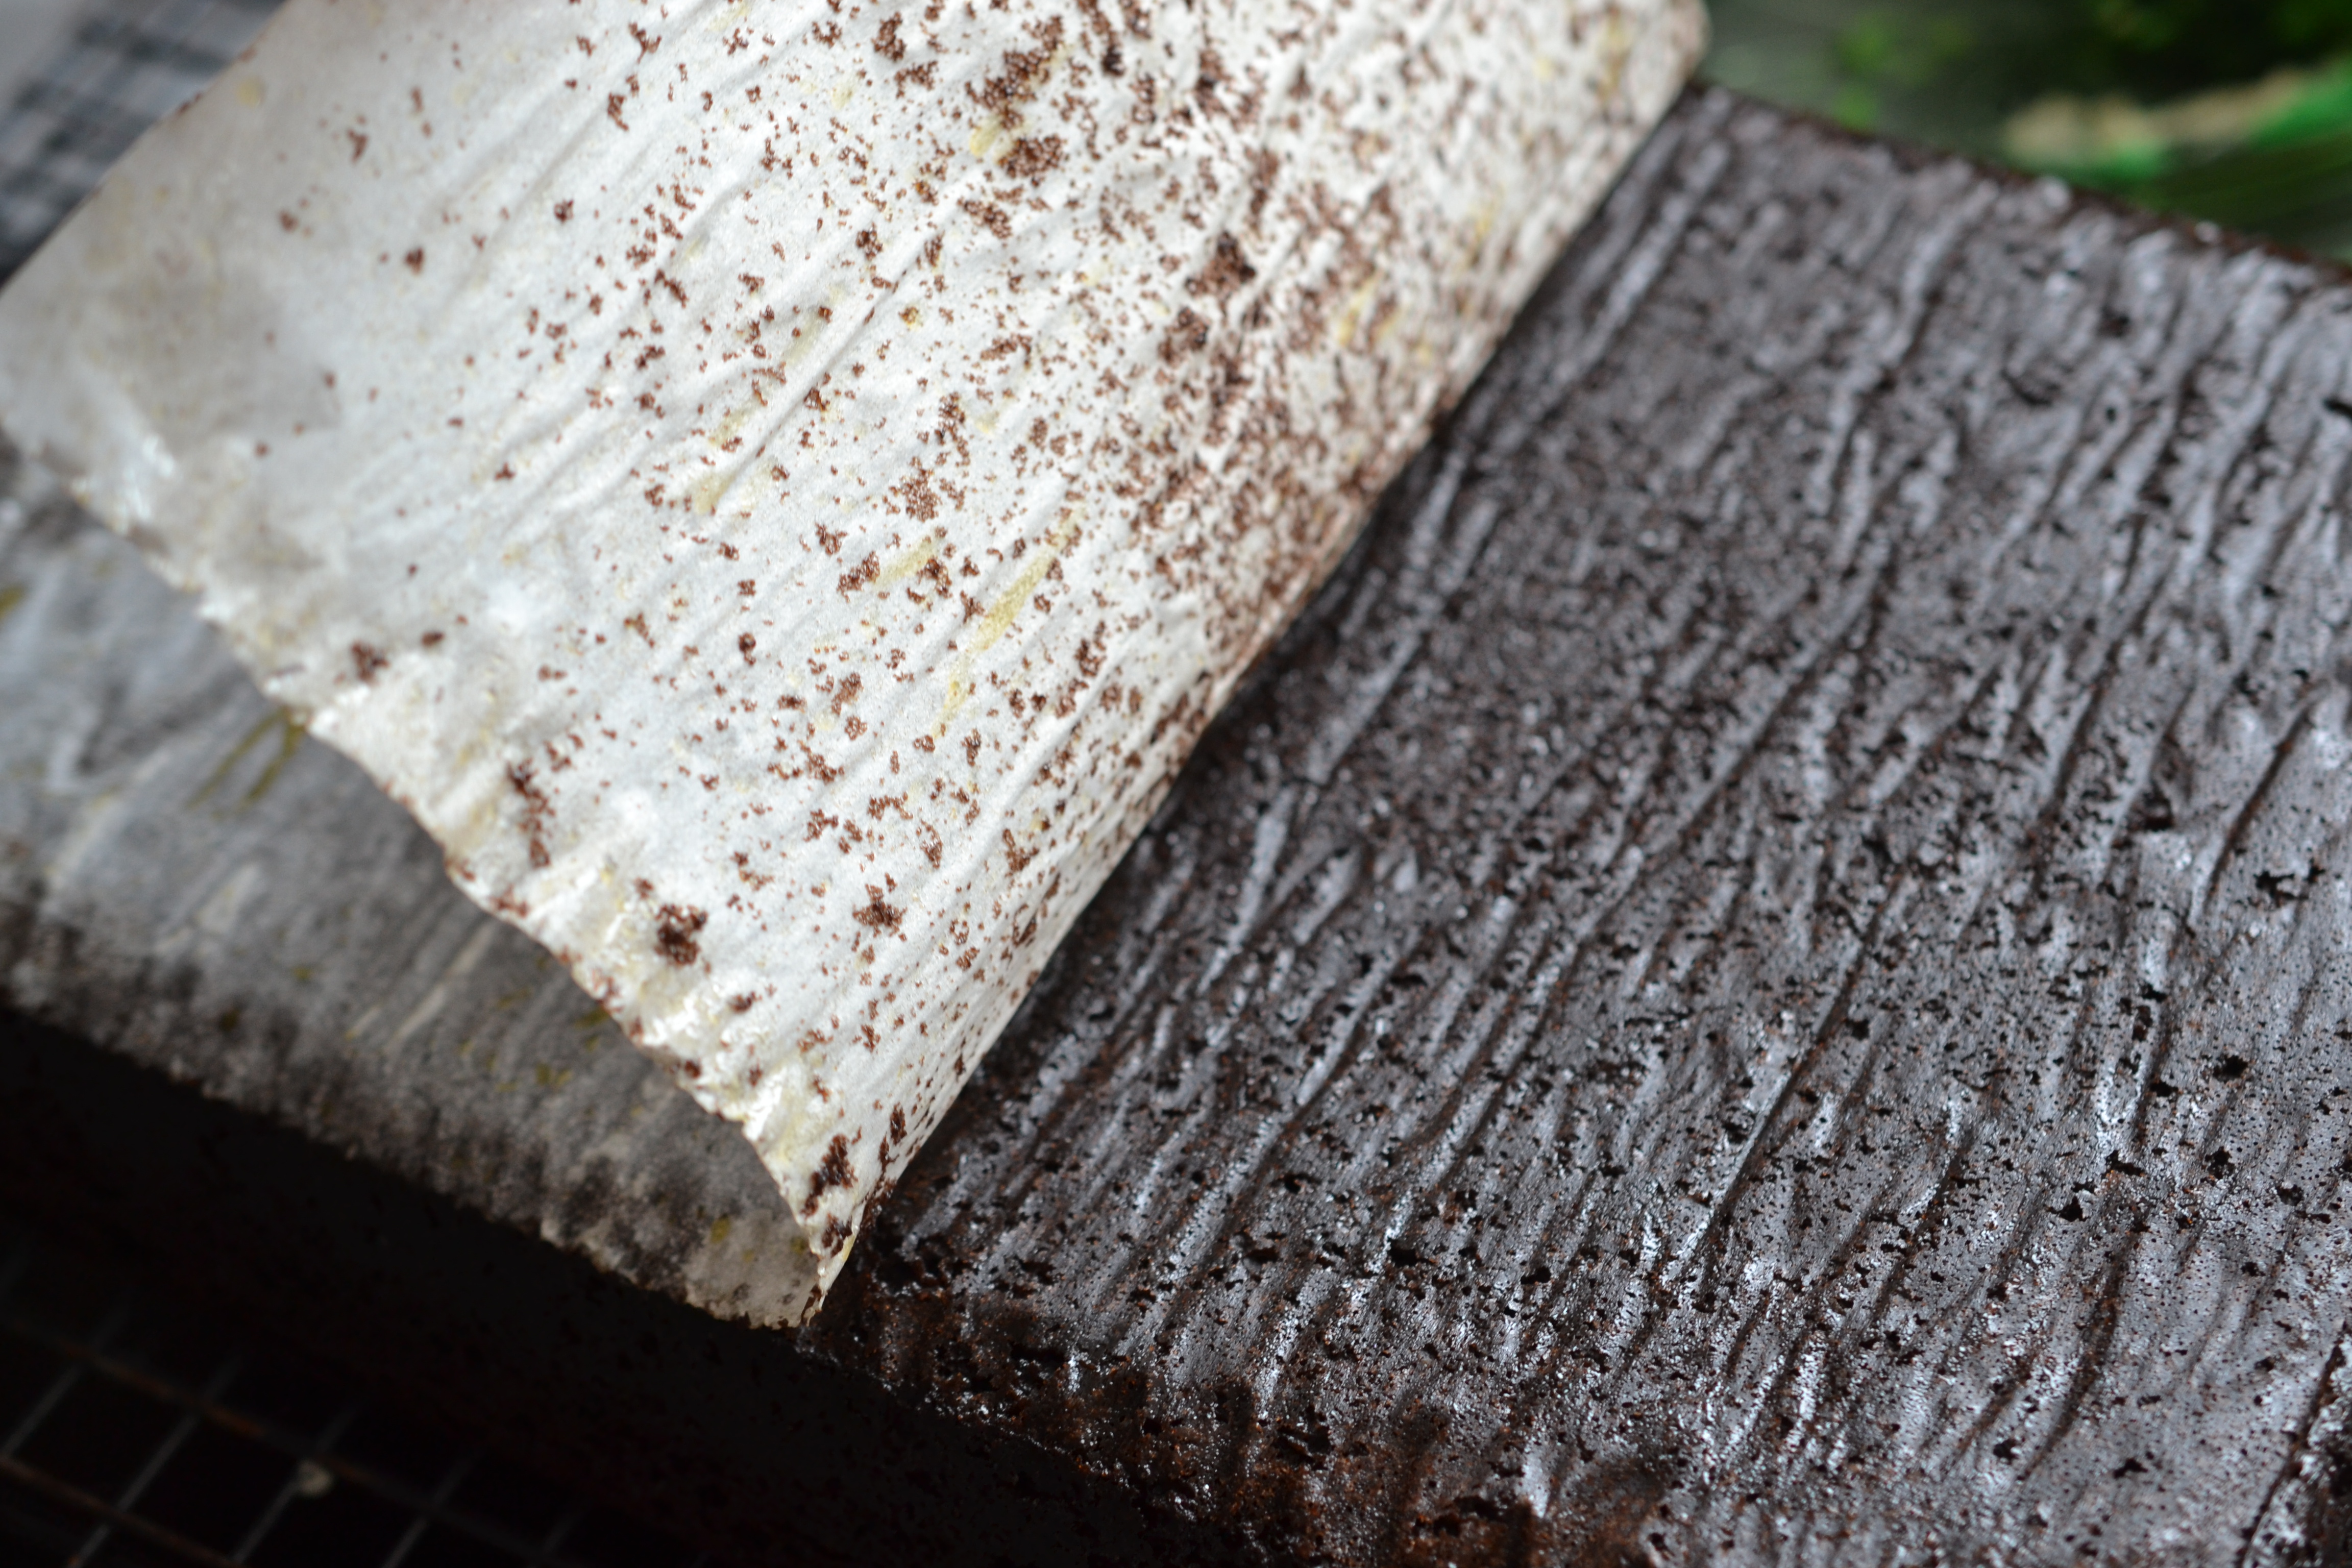
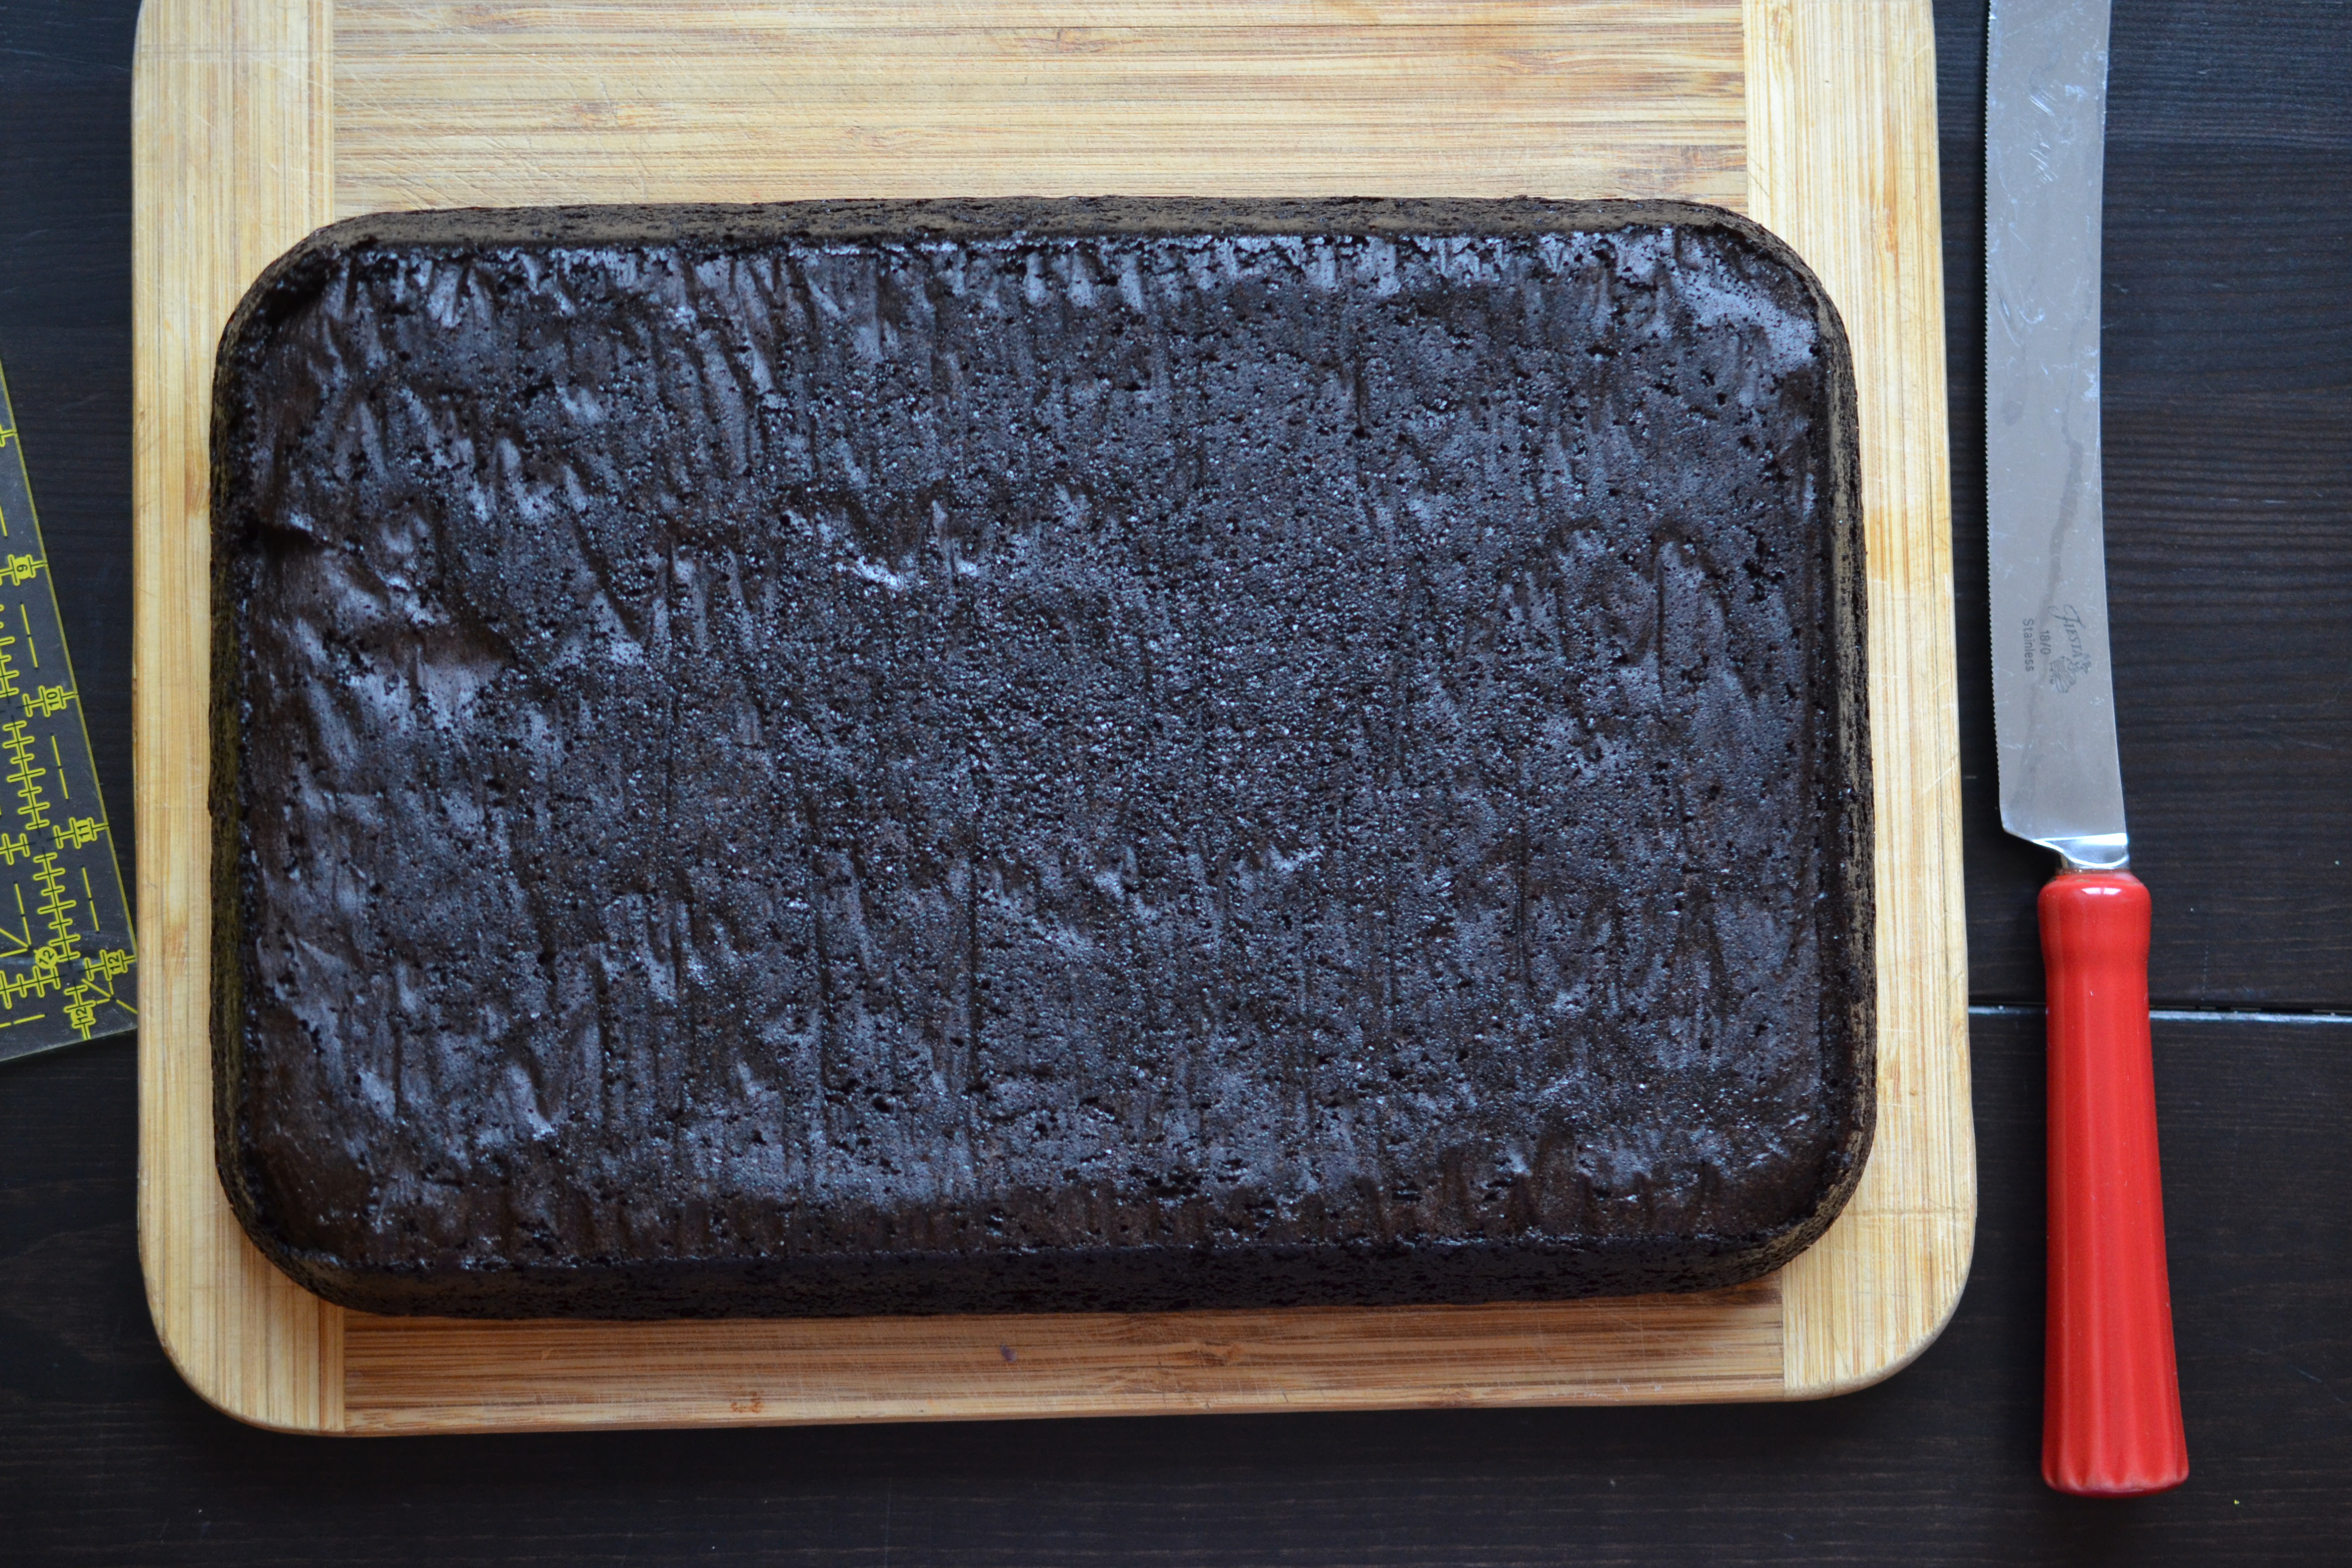
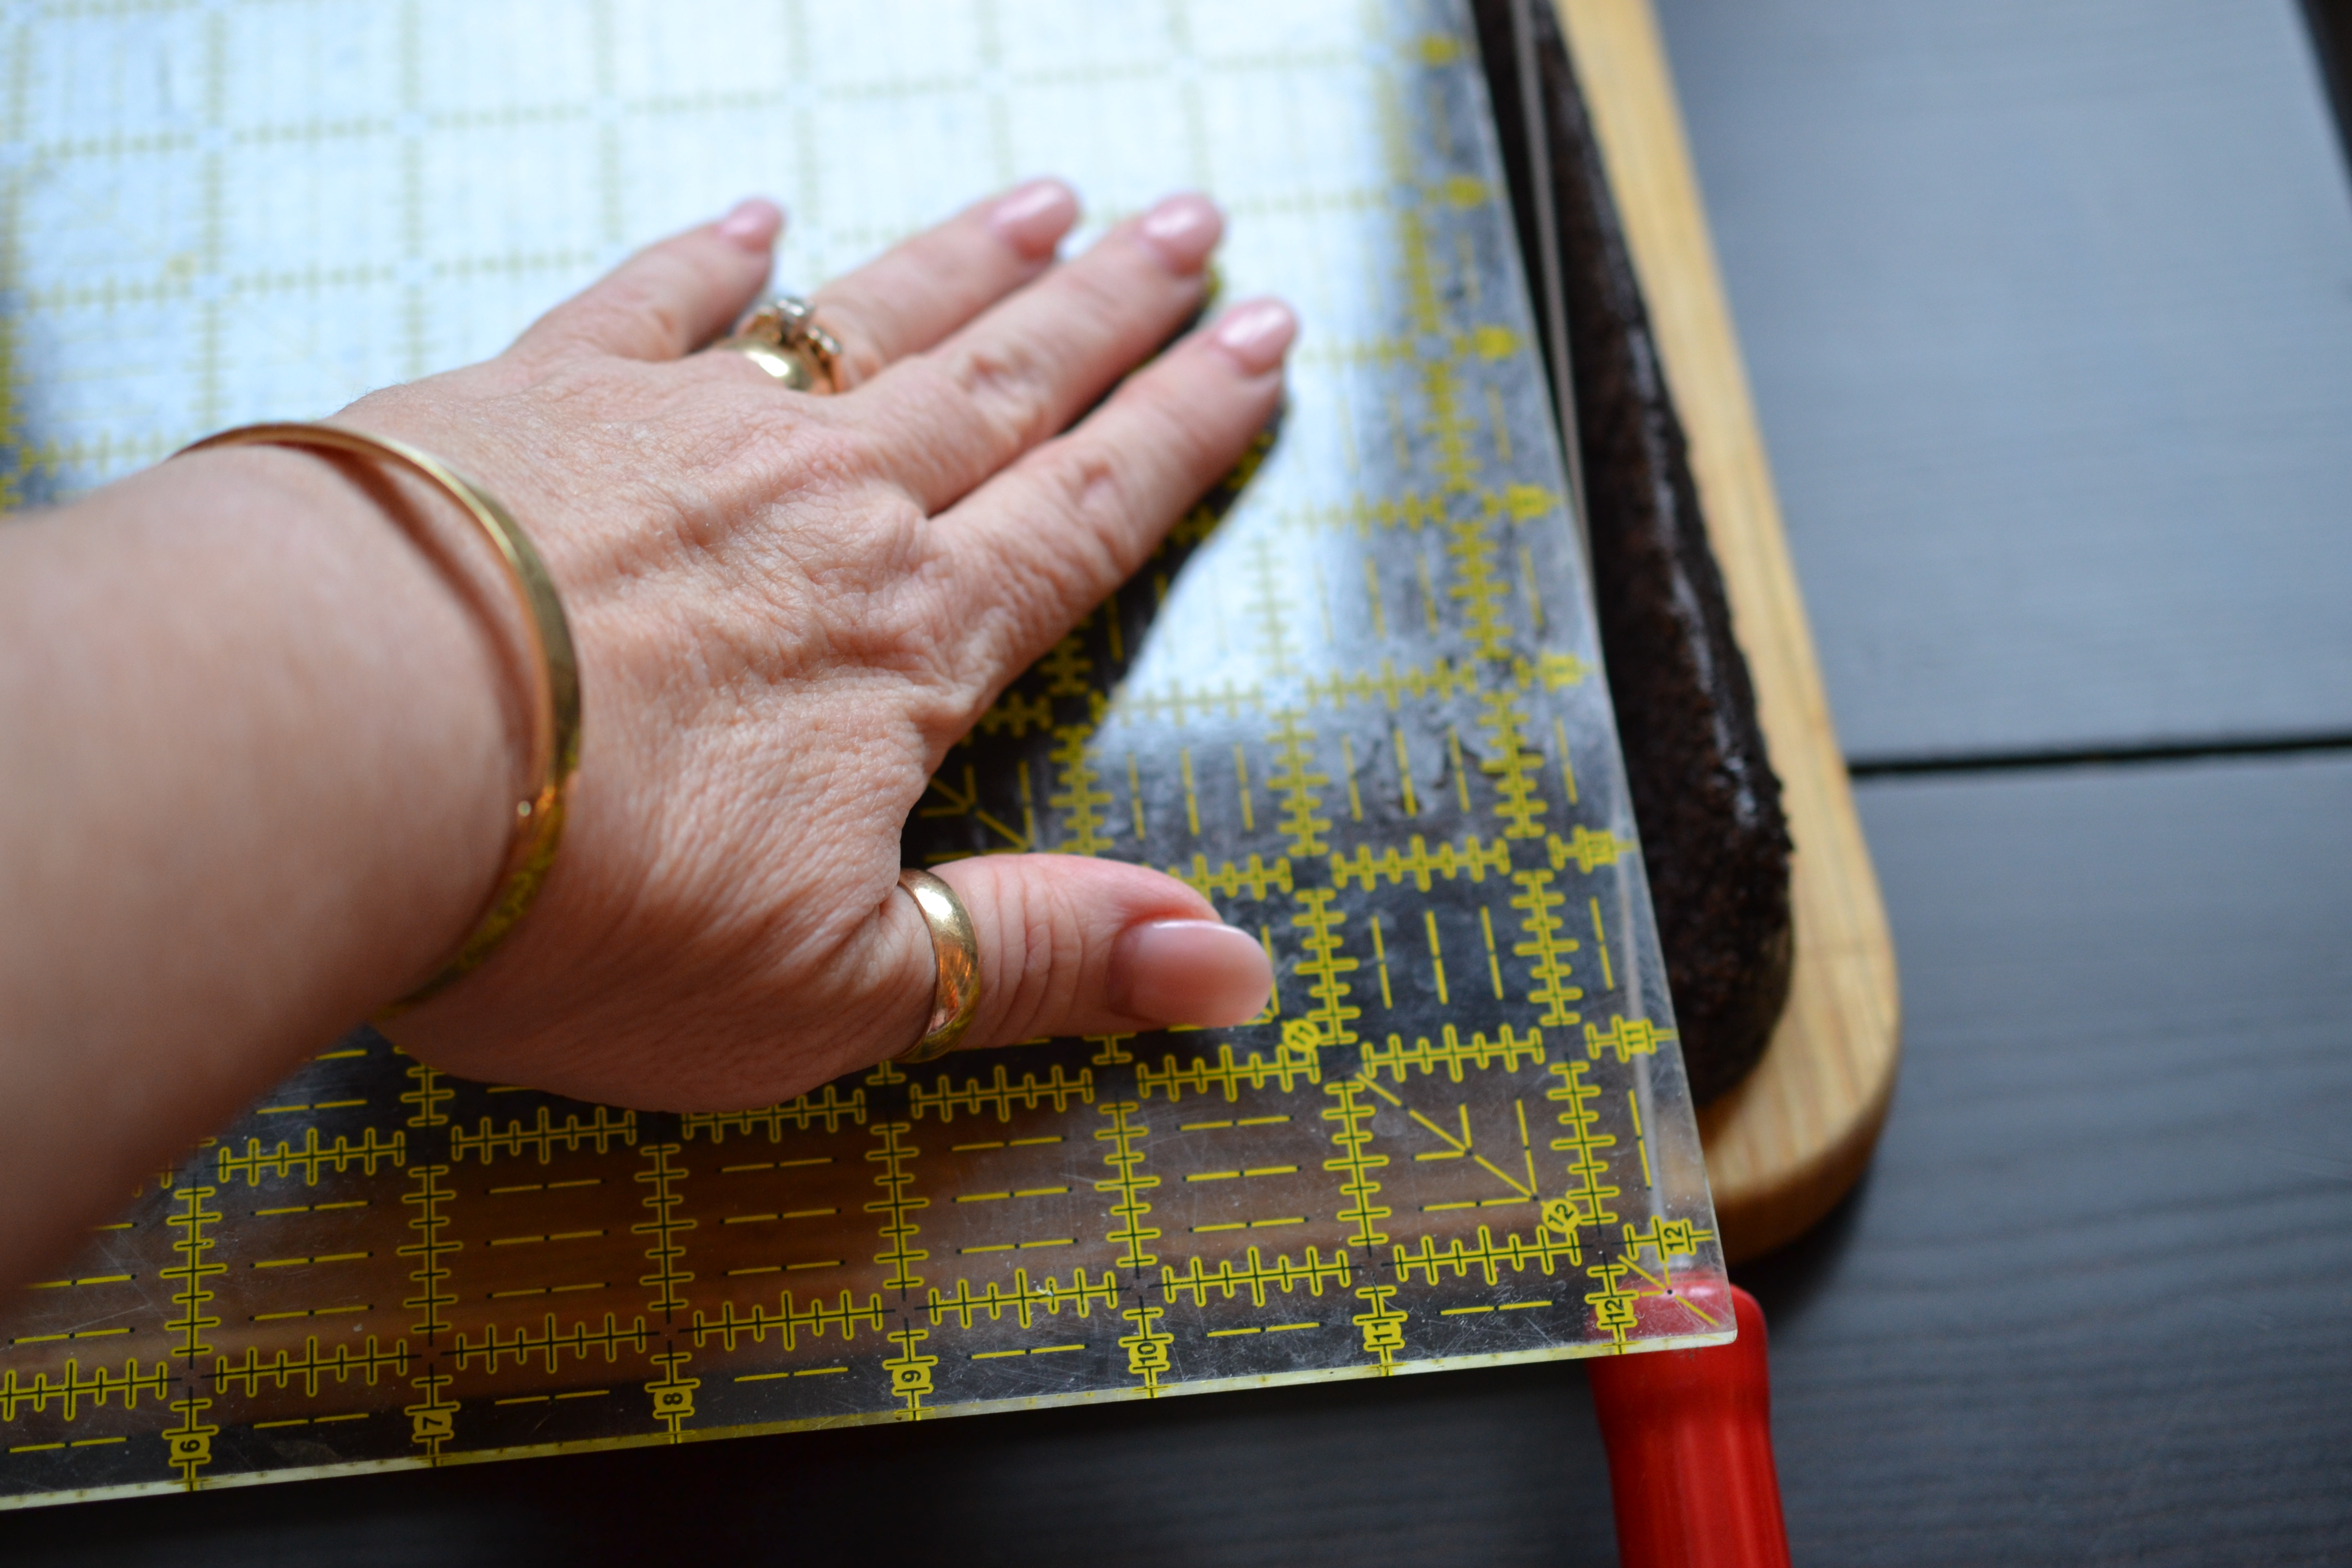
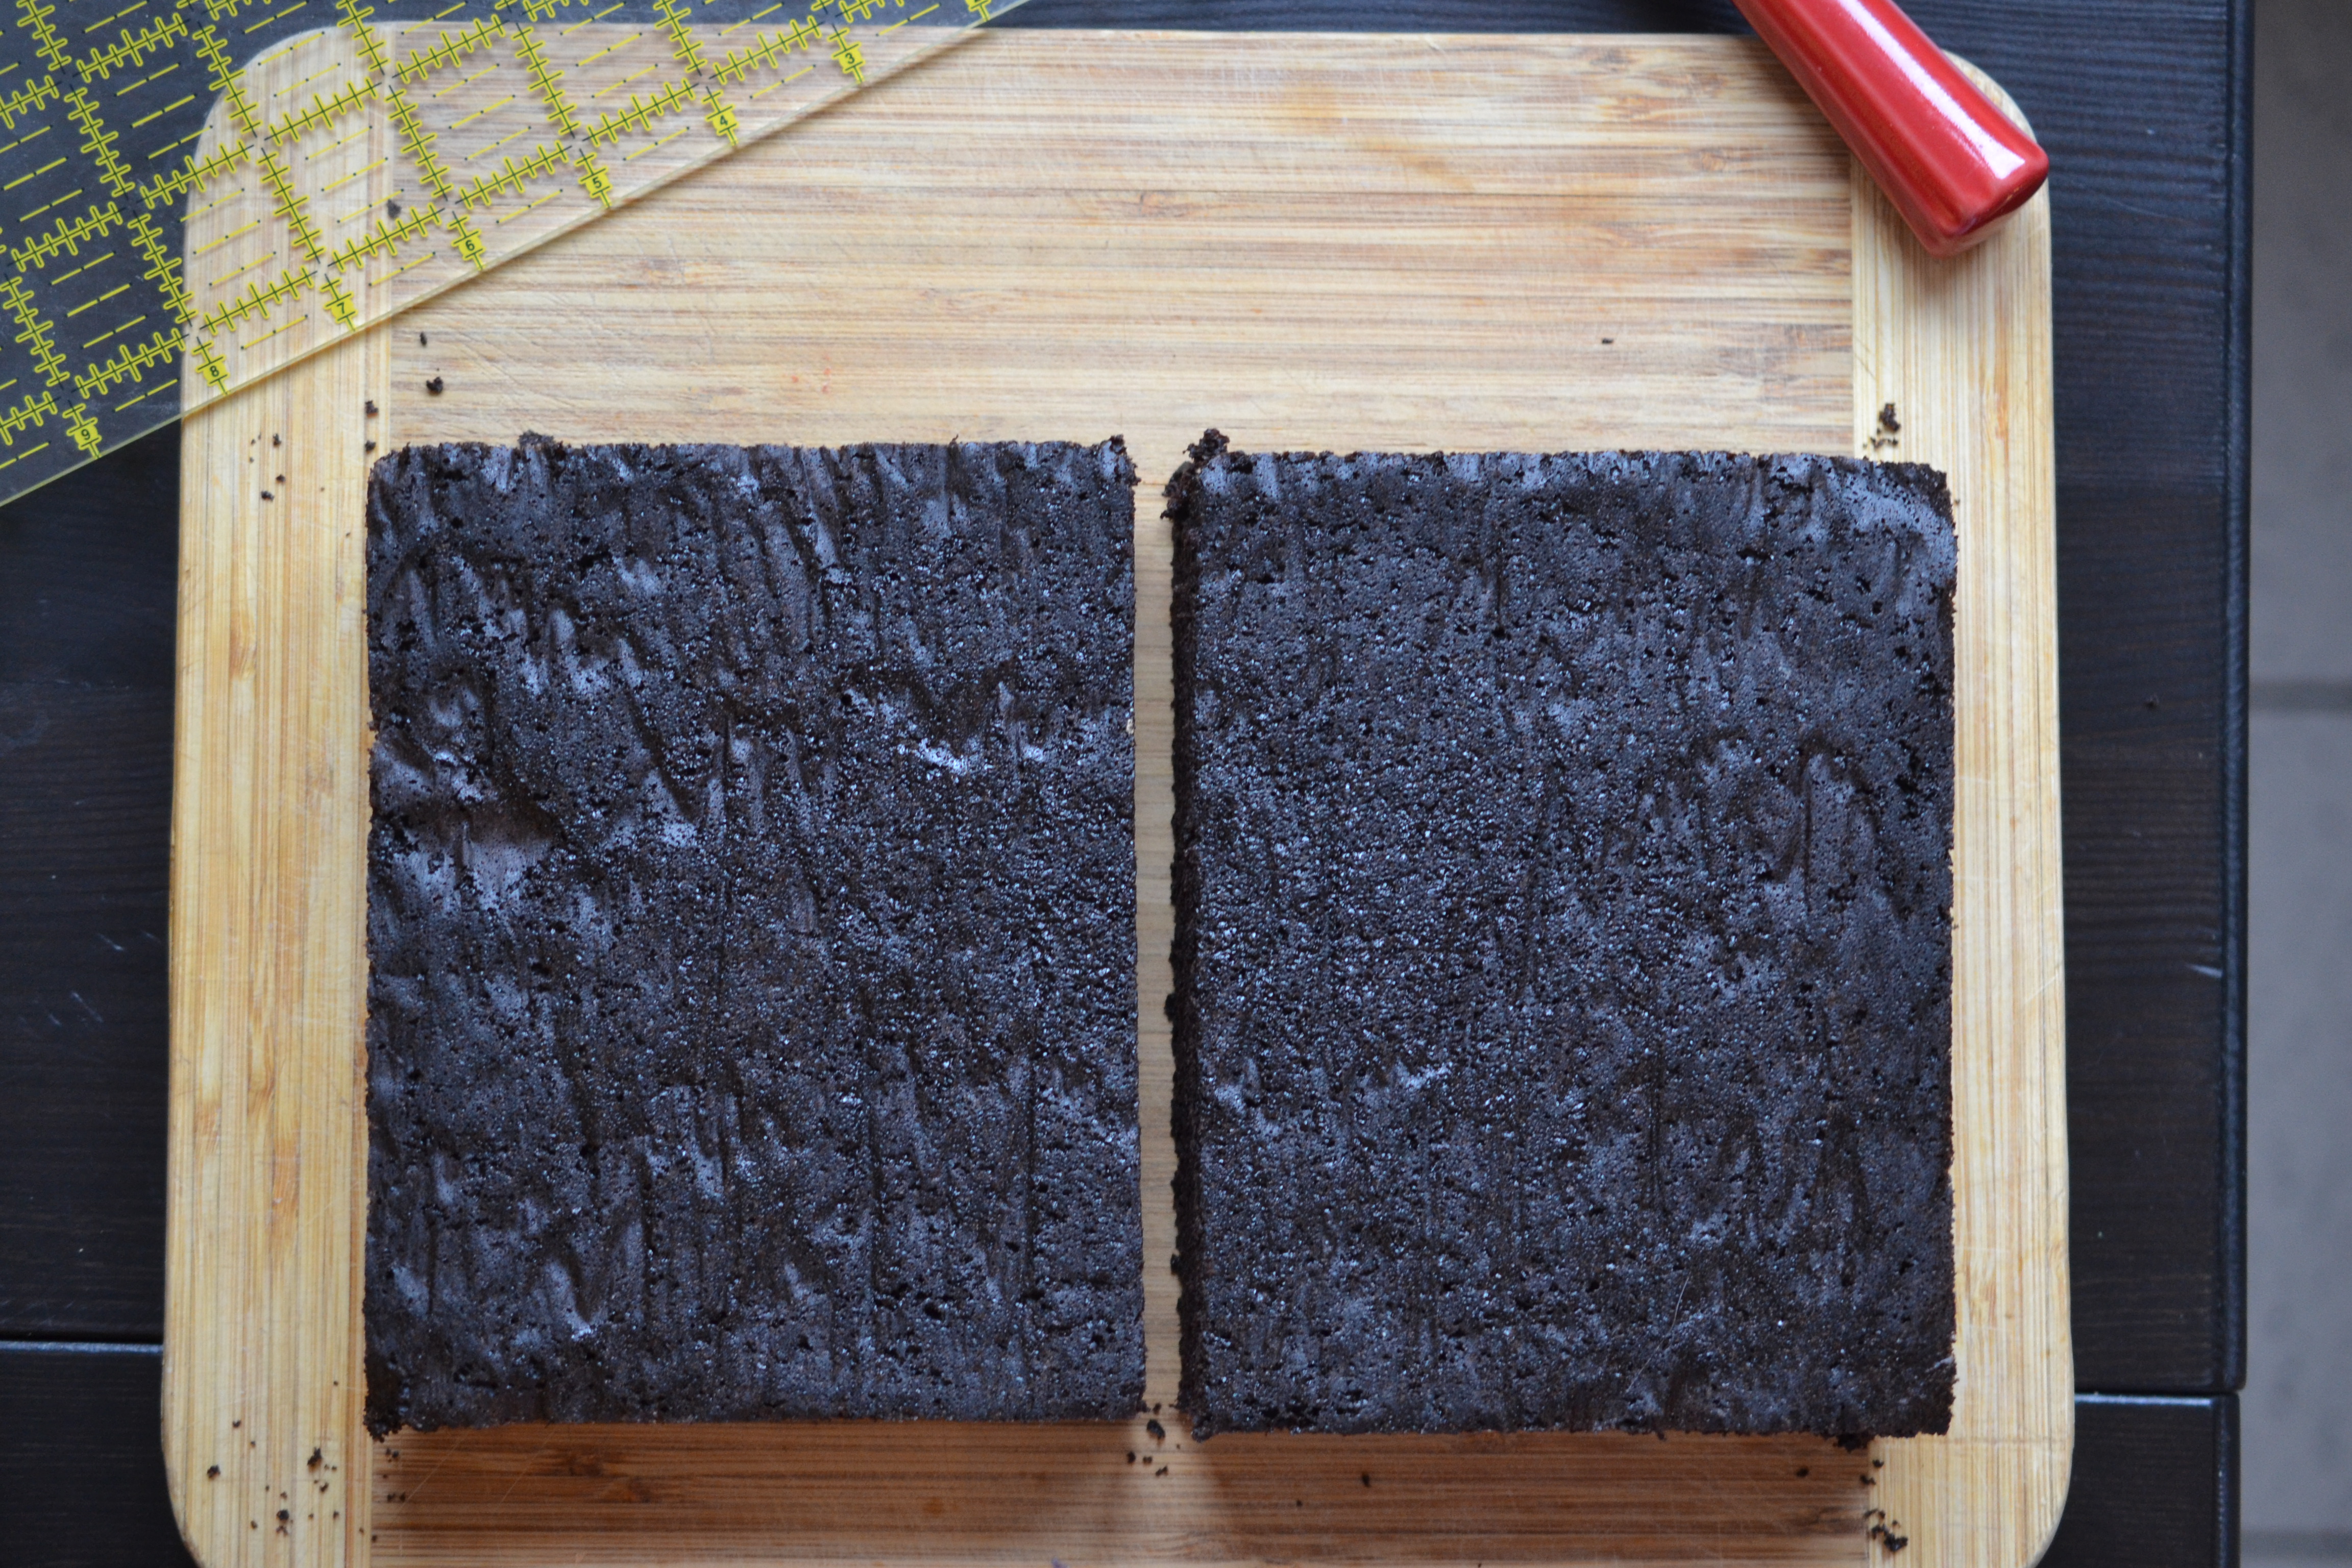
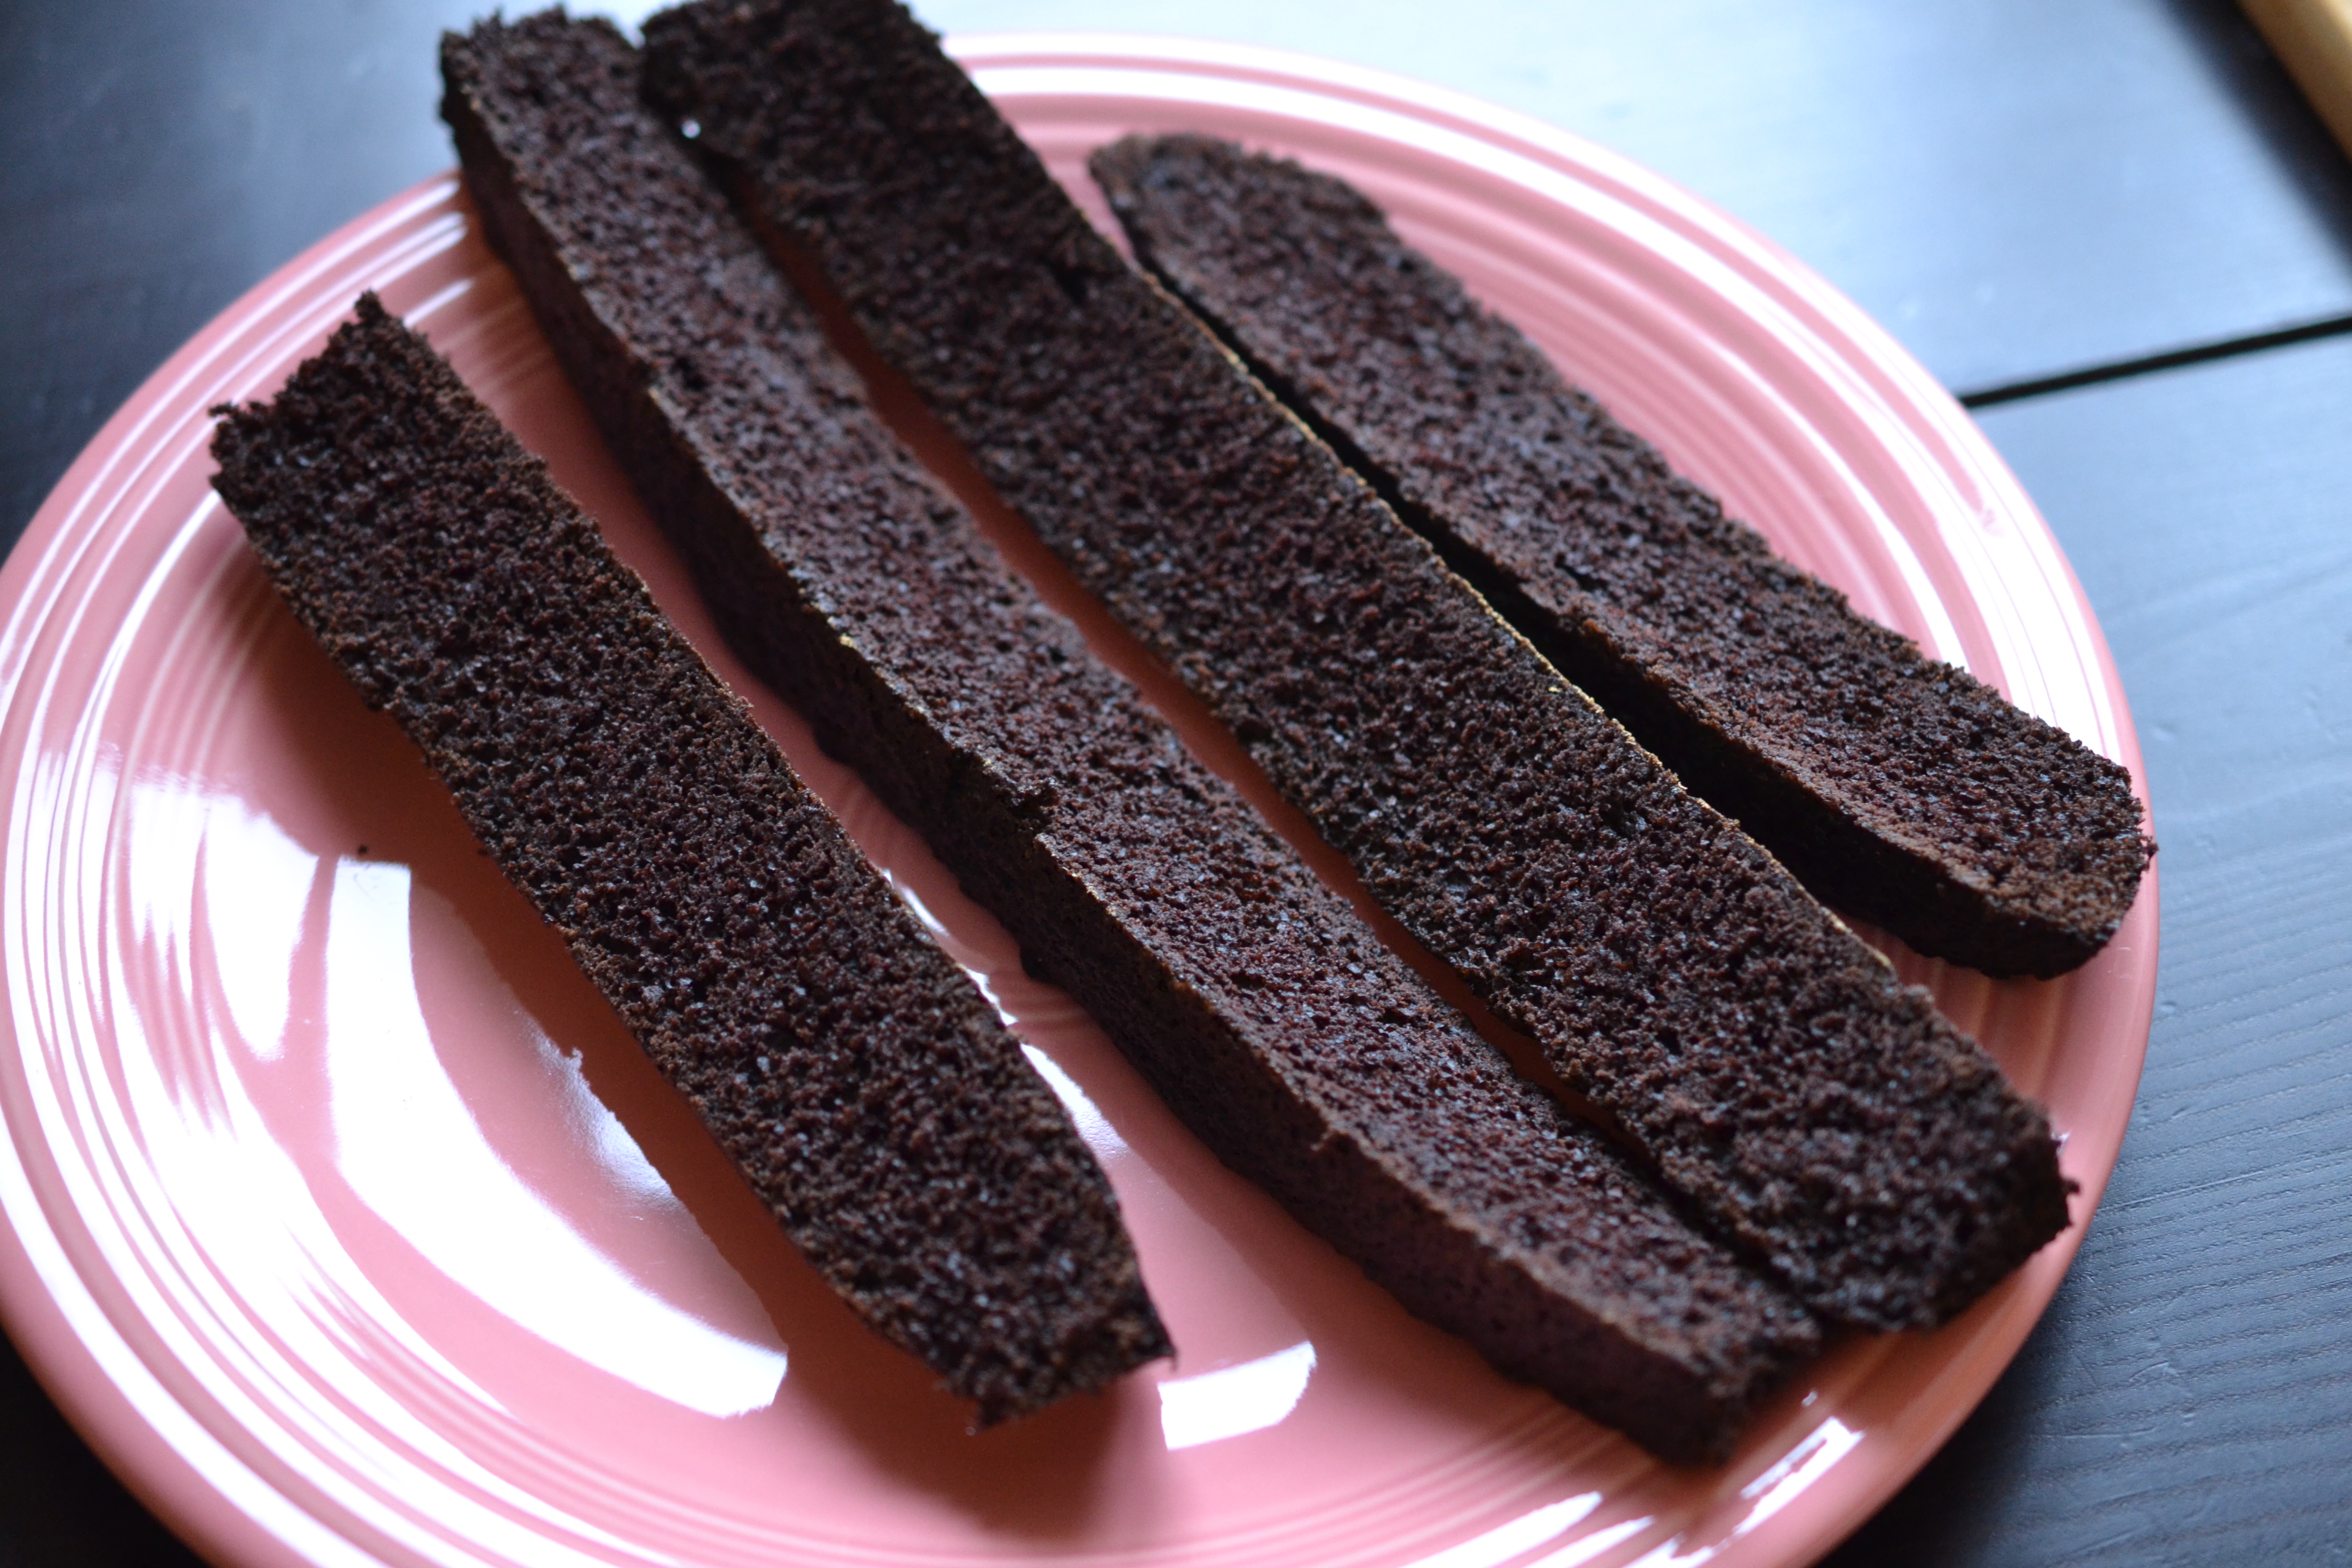
Once the cake was out of the oven for 10 minutes, I released it onto a cooling rack. When it was completely cooled, I placed it on a cutting board and trimmed away the slanted edges to give the cake nice, clean, vertical sides.
Slicing the whole cake into two equal portions, stacking, filling, and frosting makes for a layer cake baked in a 9×13 pan.

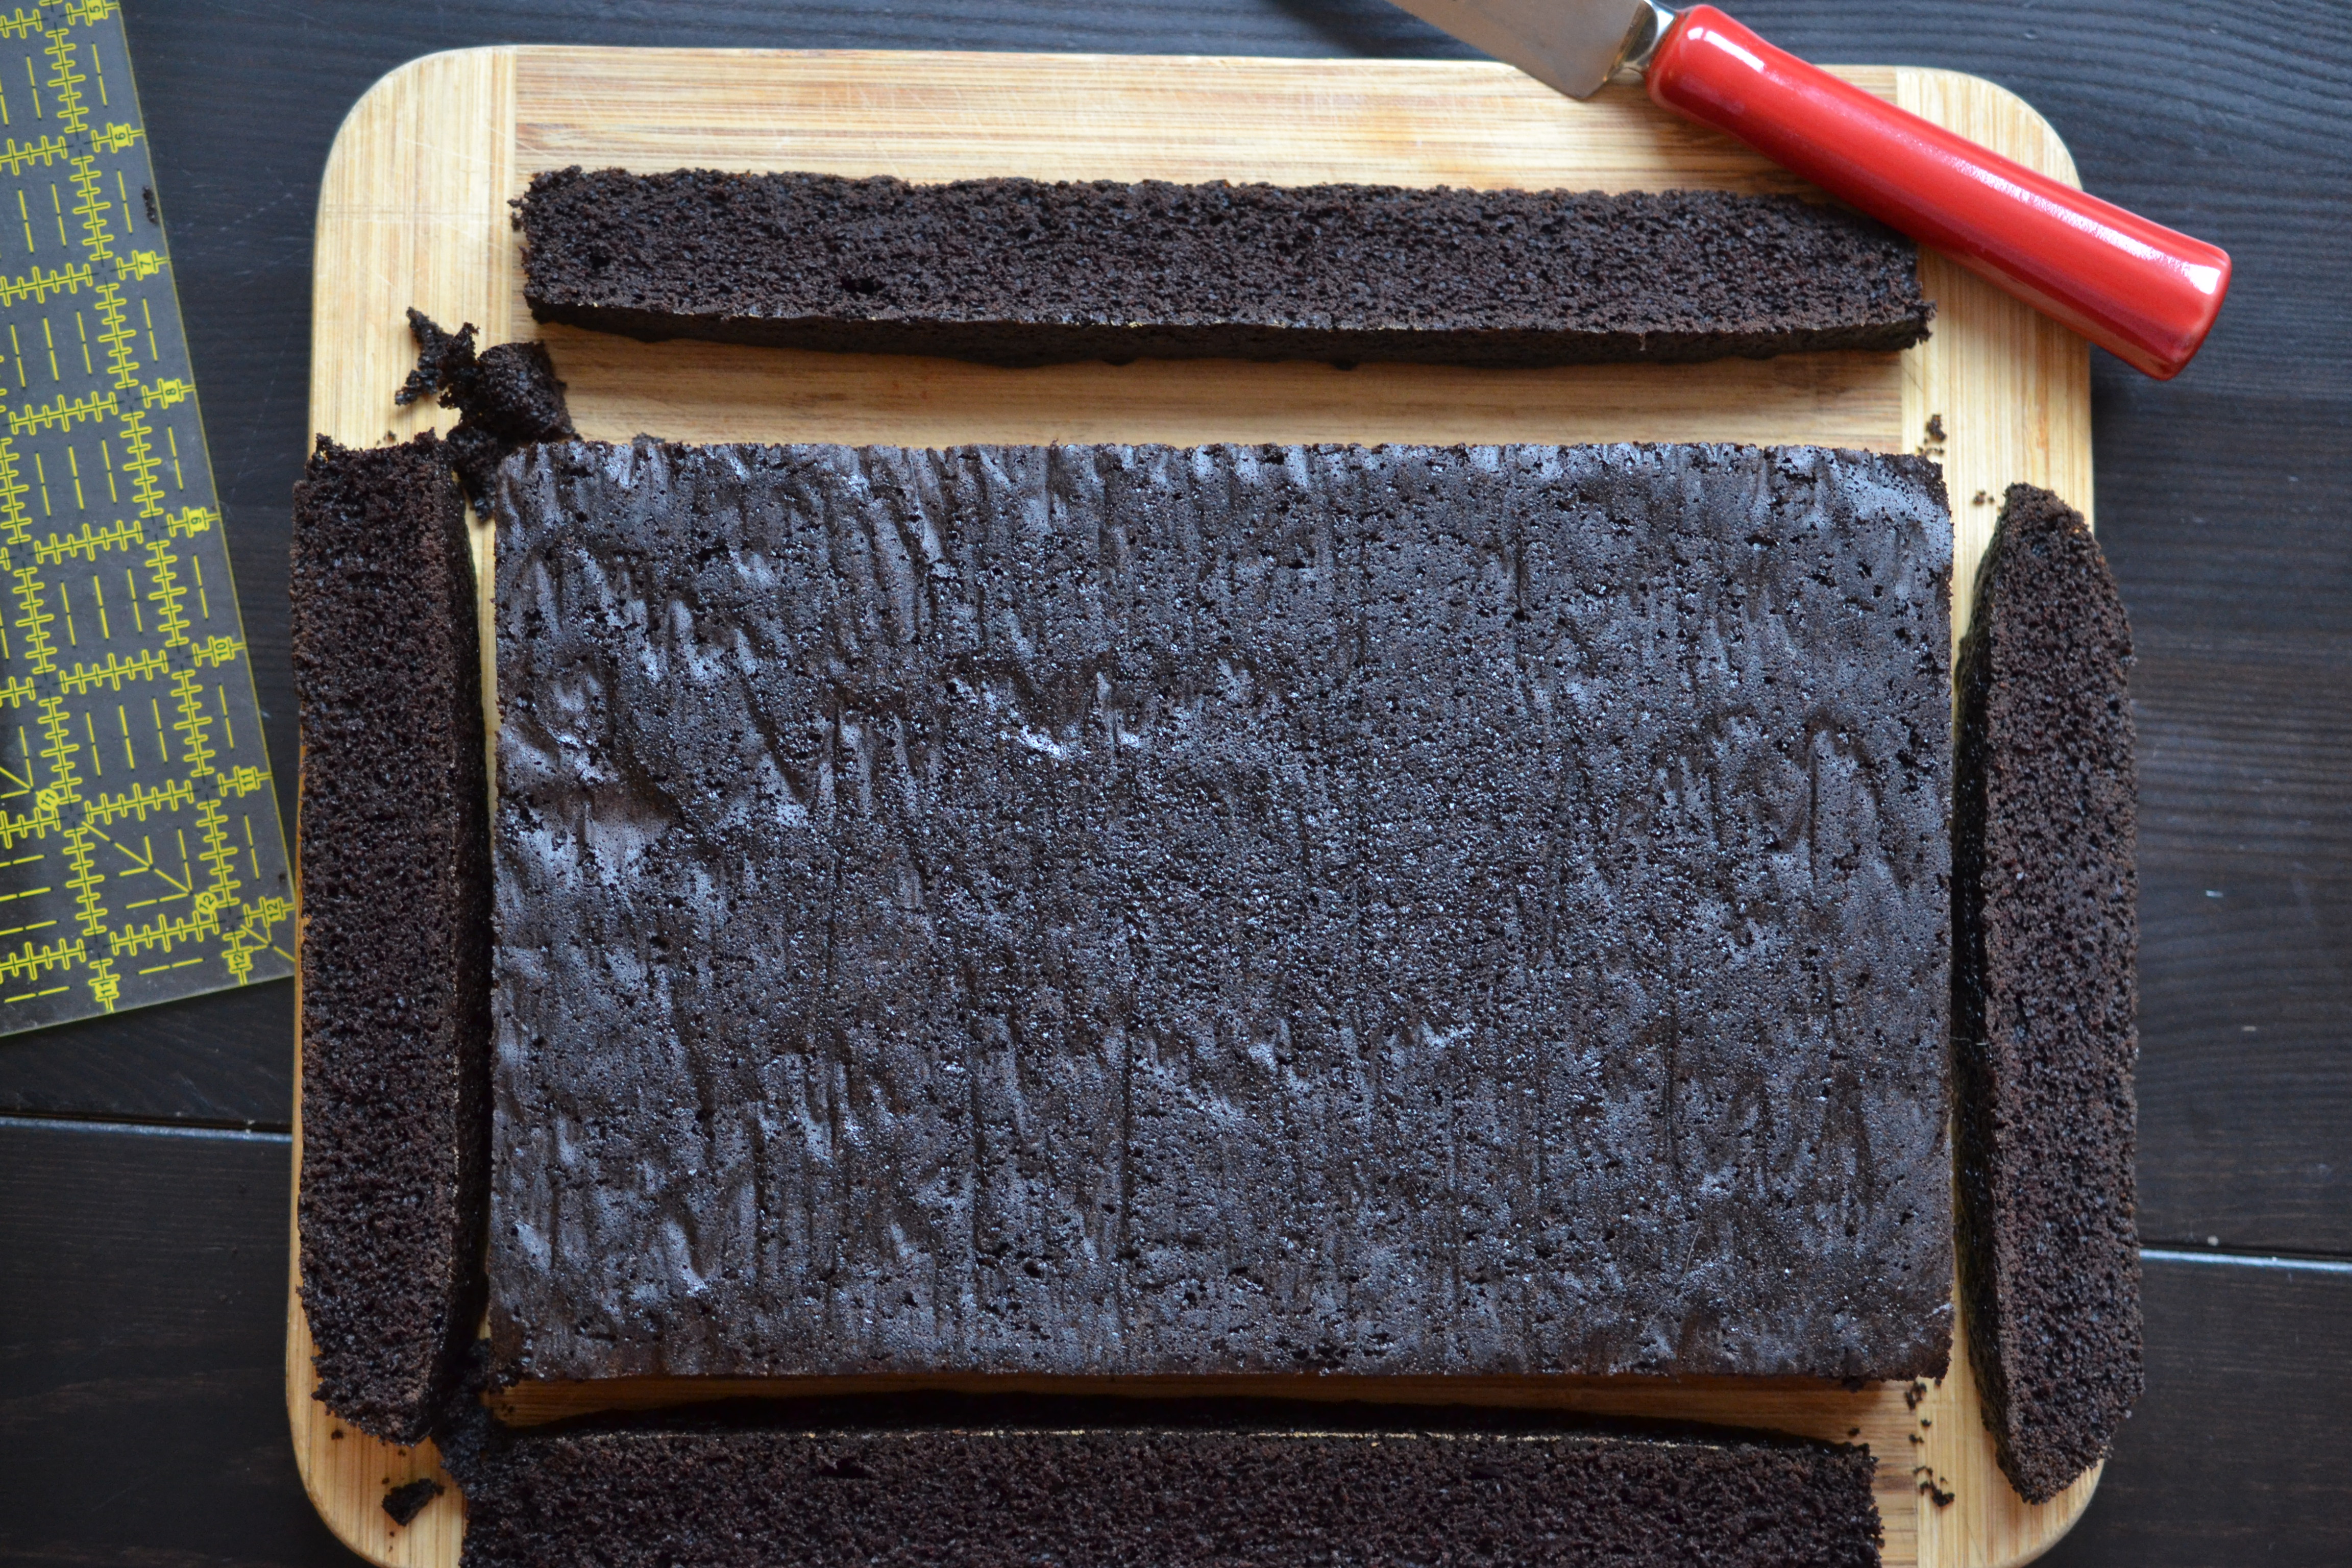
There are so many things to do with the pieces that have been removed… eat them, find some taste-testers in your house, build a few individual cake/strawberry compotes in jam jars, crumble up for decorating the finished cake, make a few cake pops, etc….
Anyway, with two halves ready to go… time to build a cake.
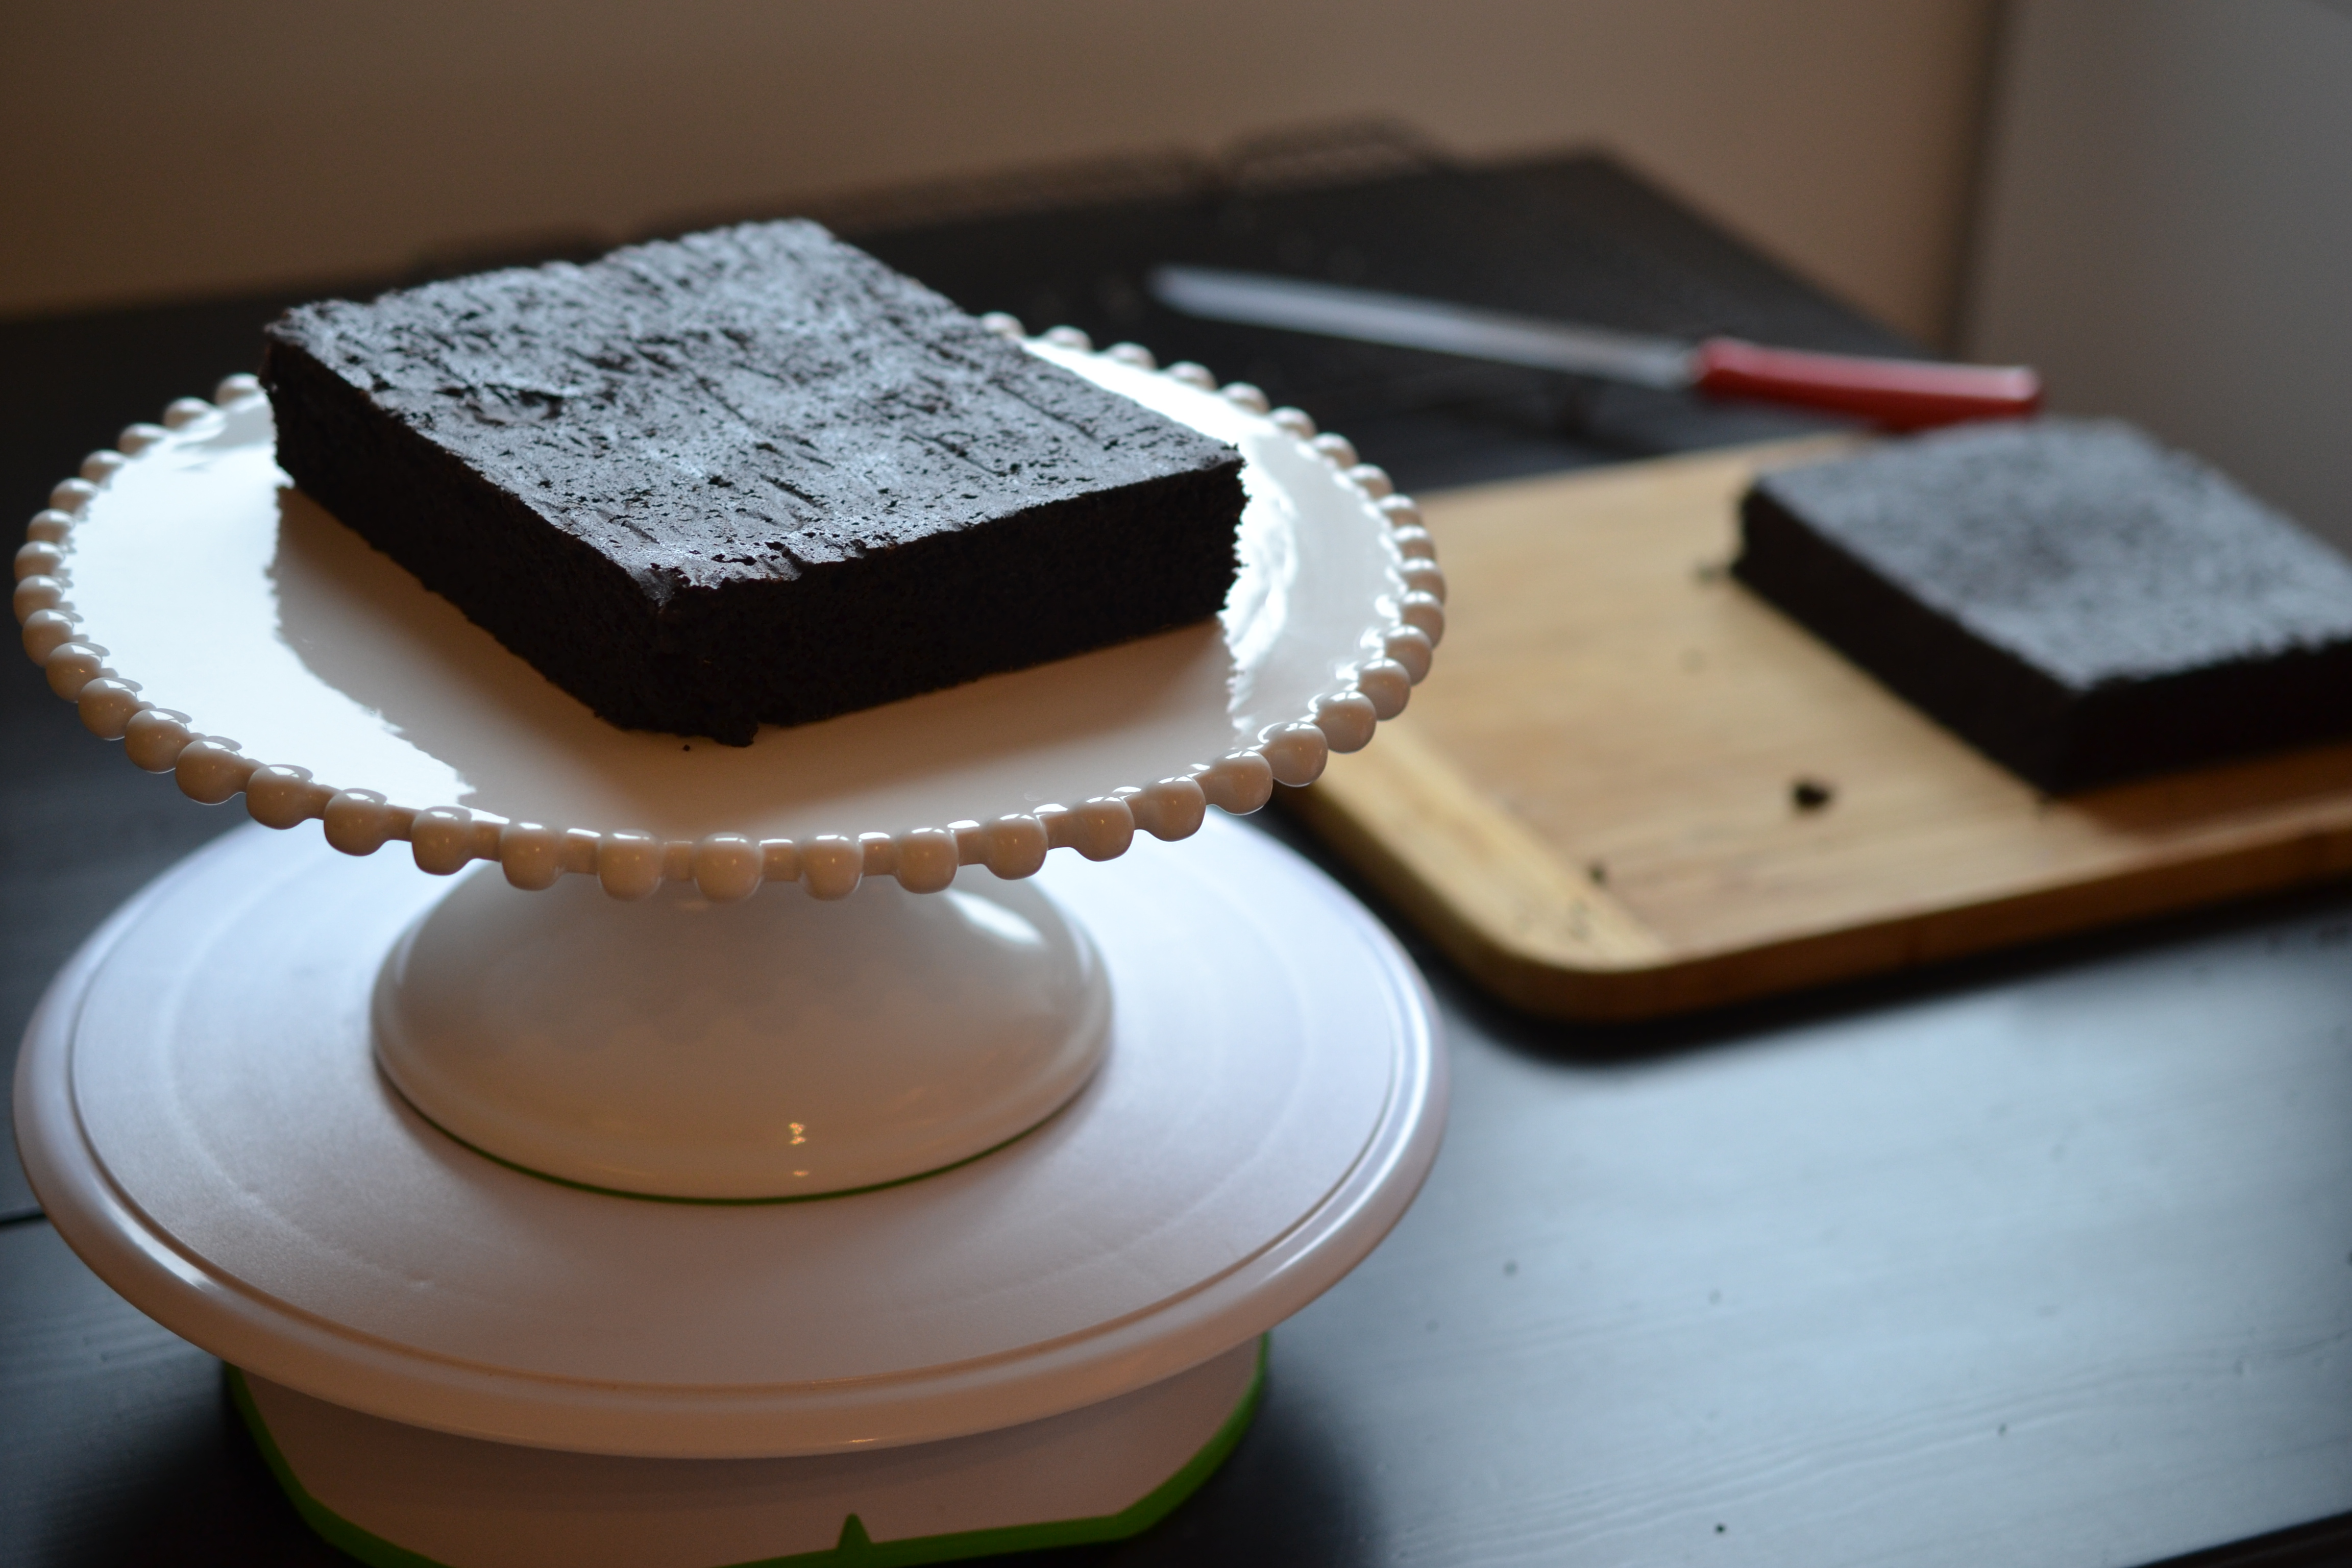
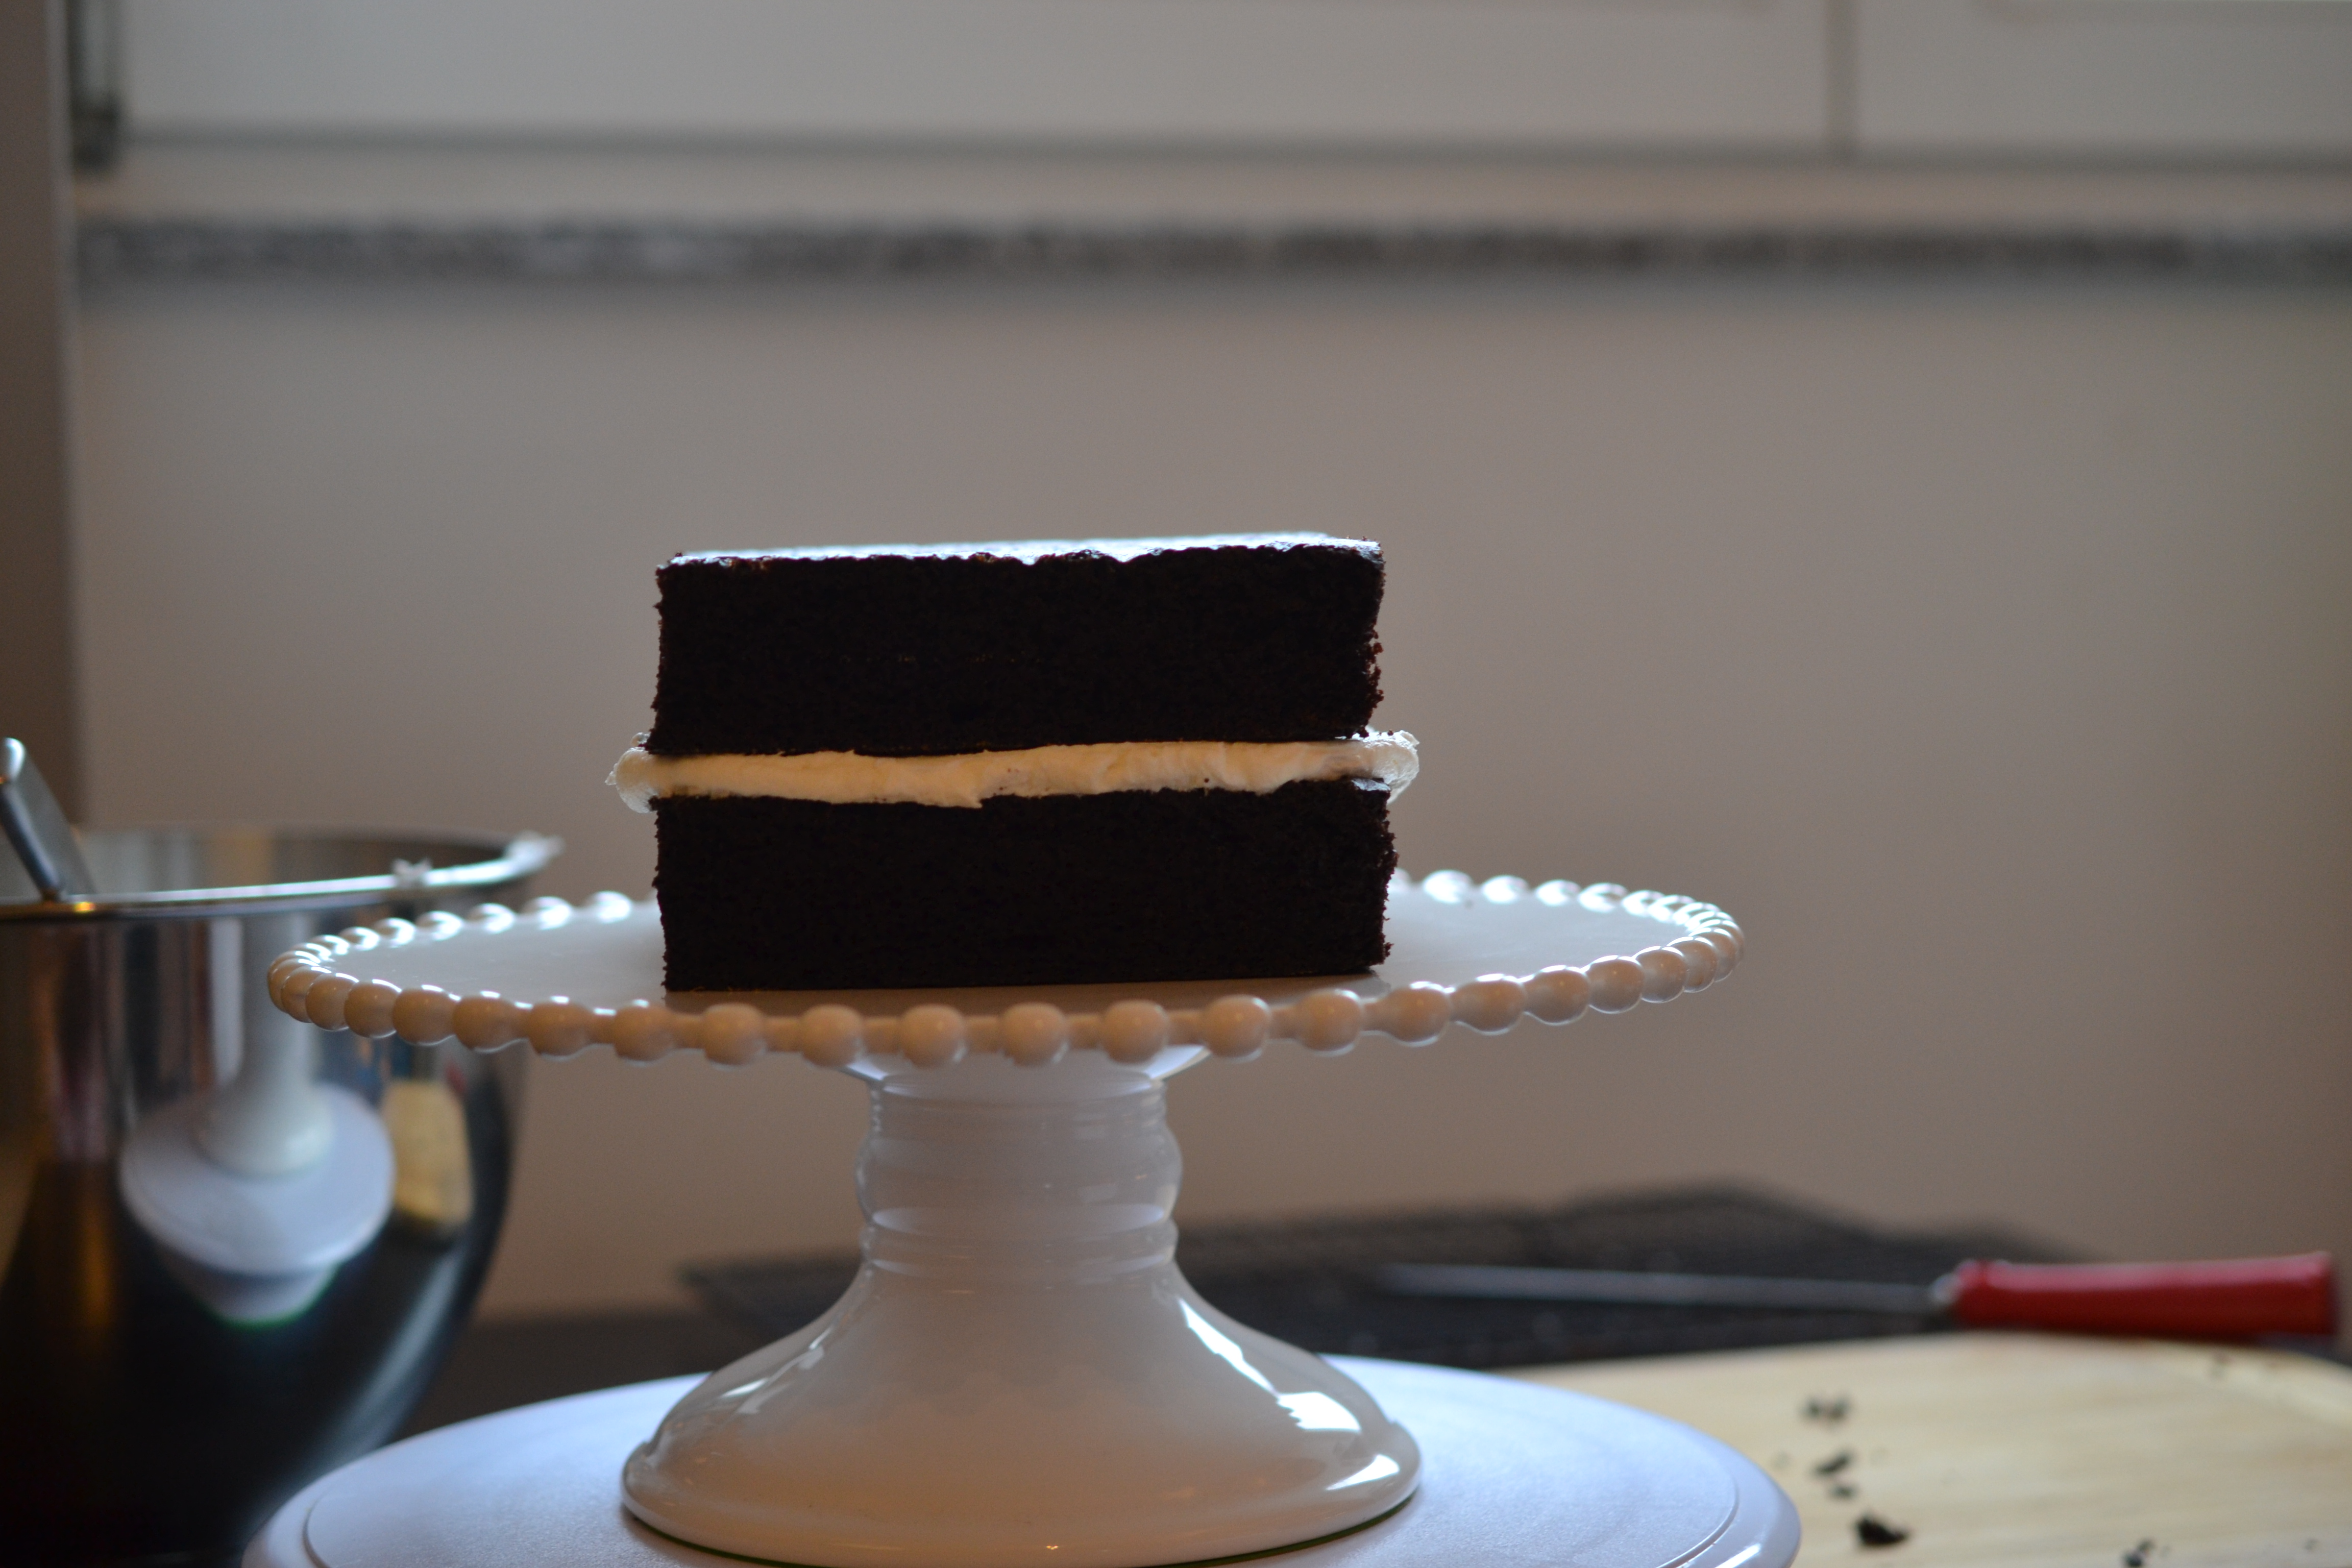
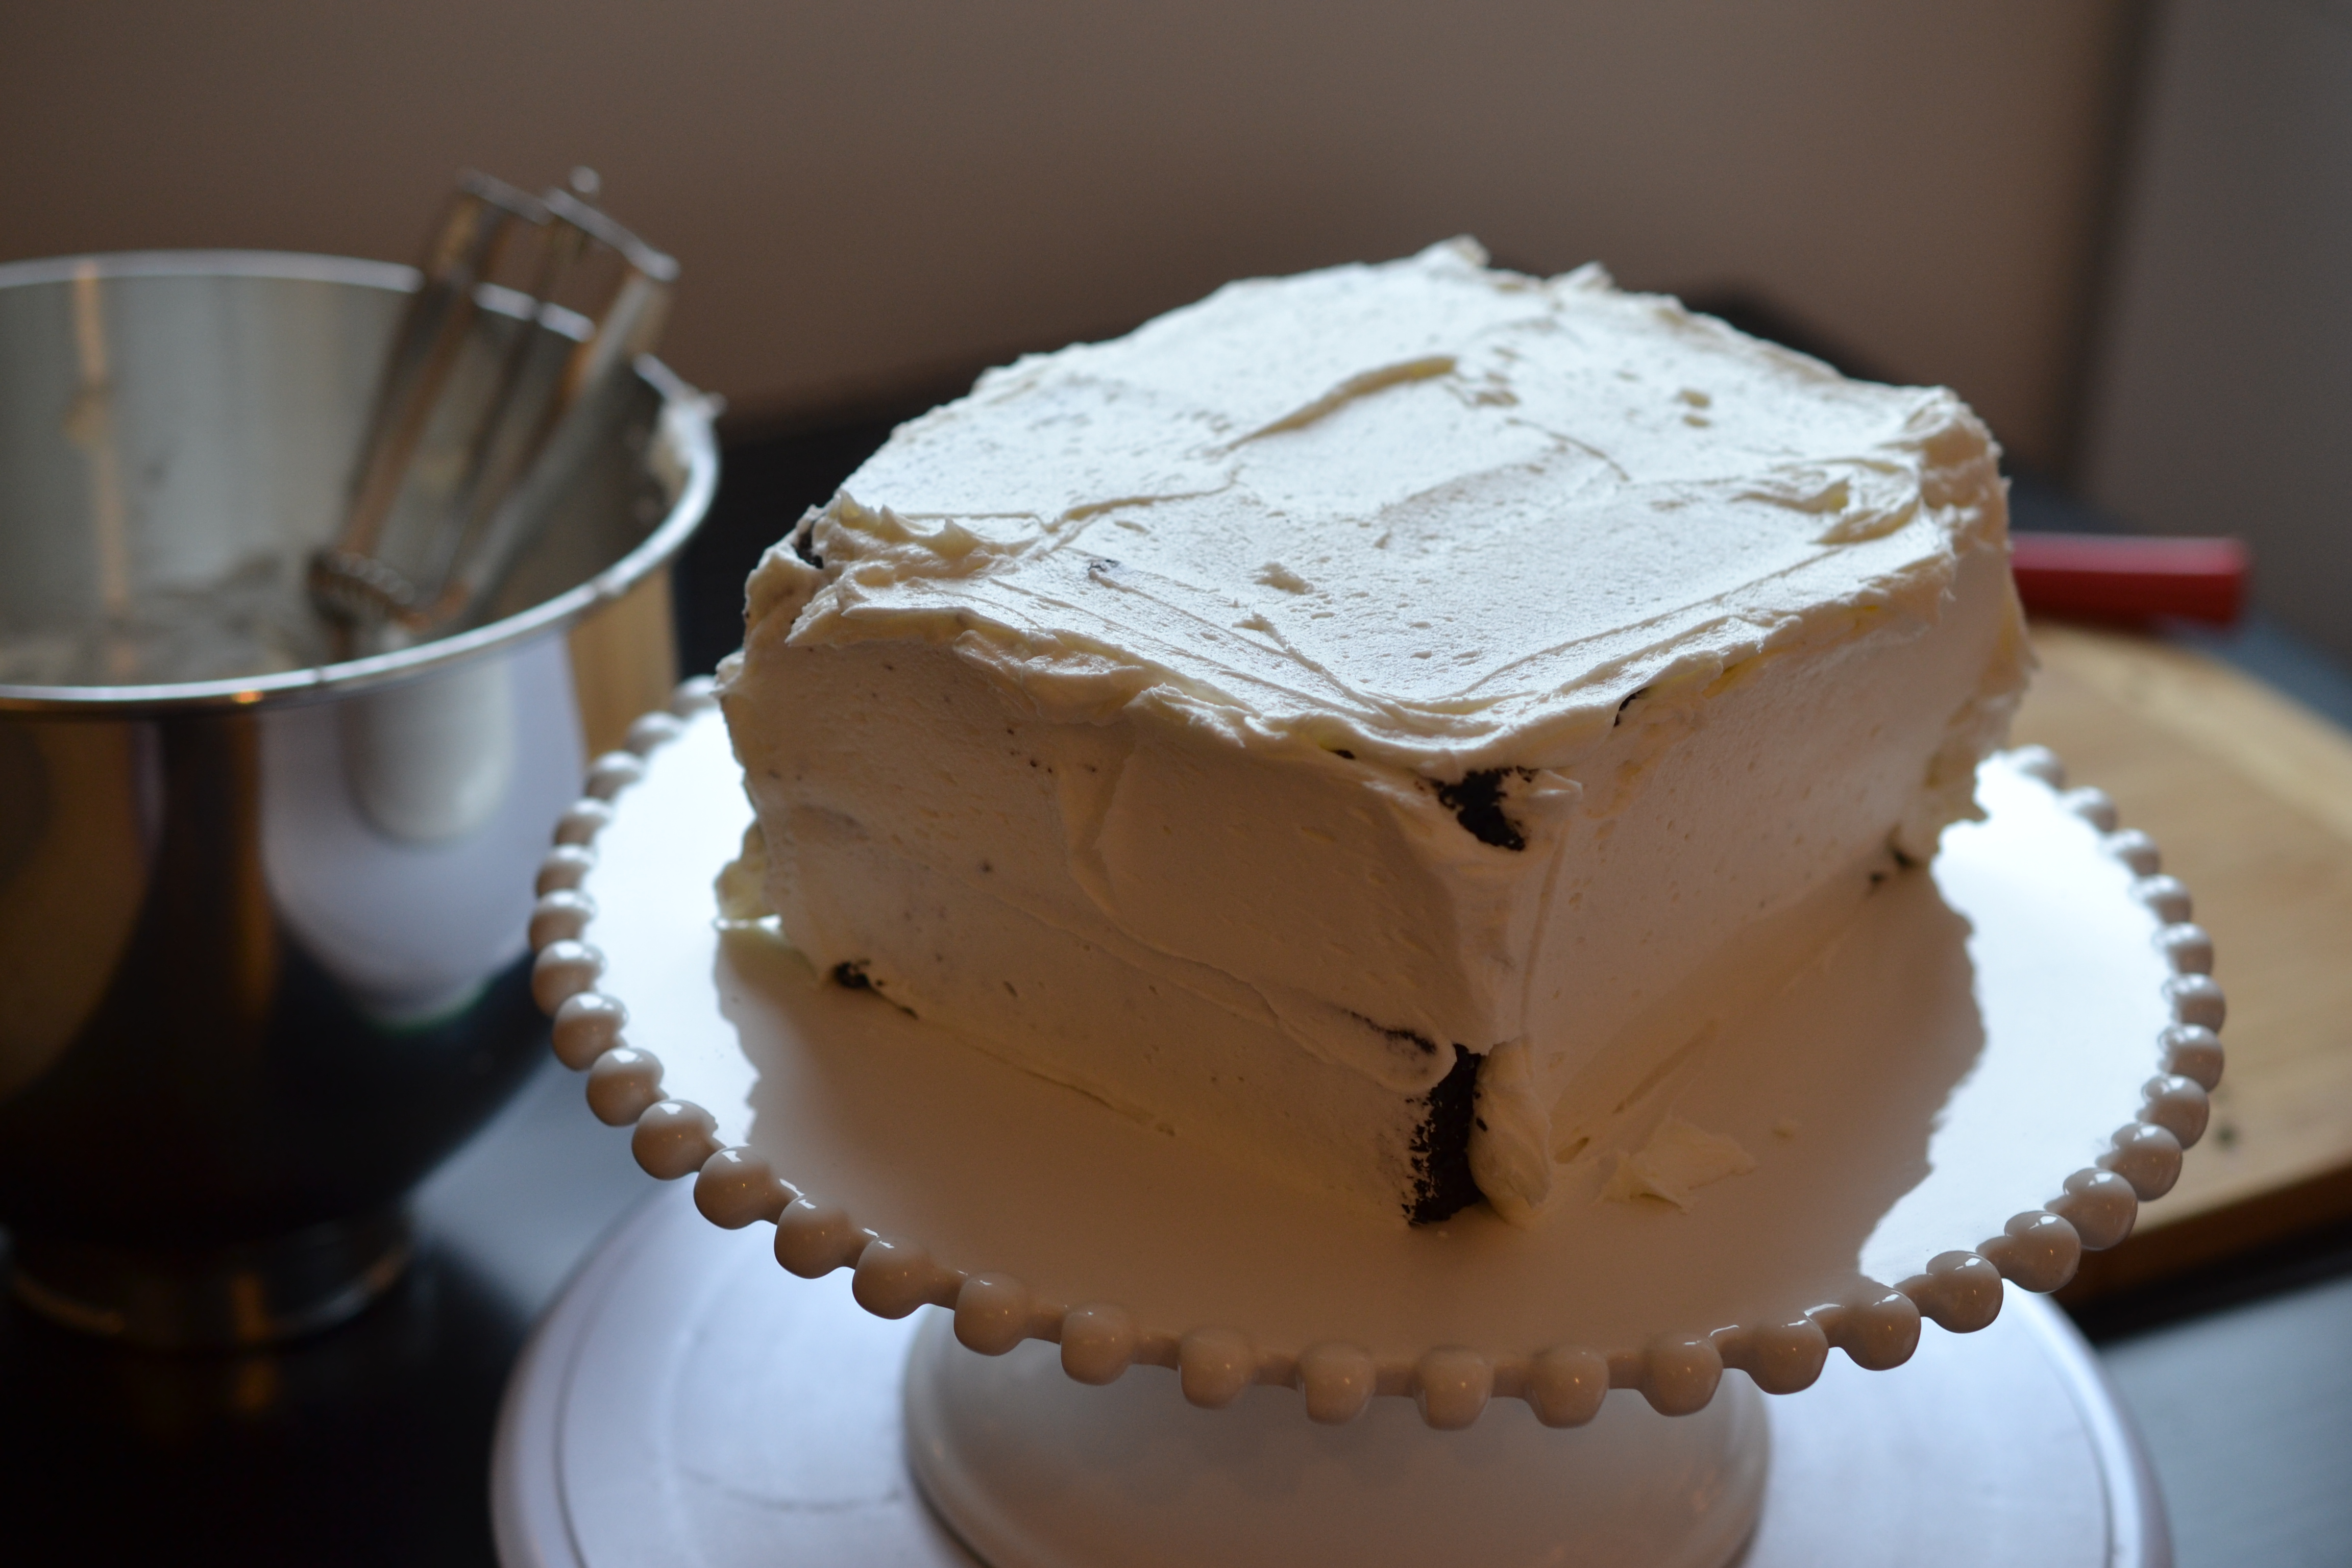
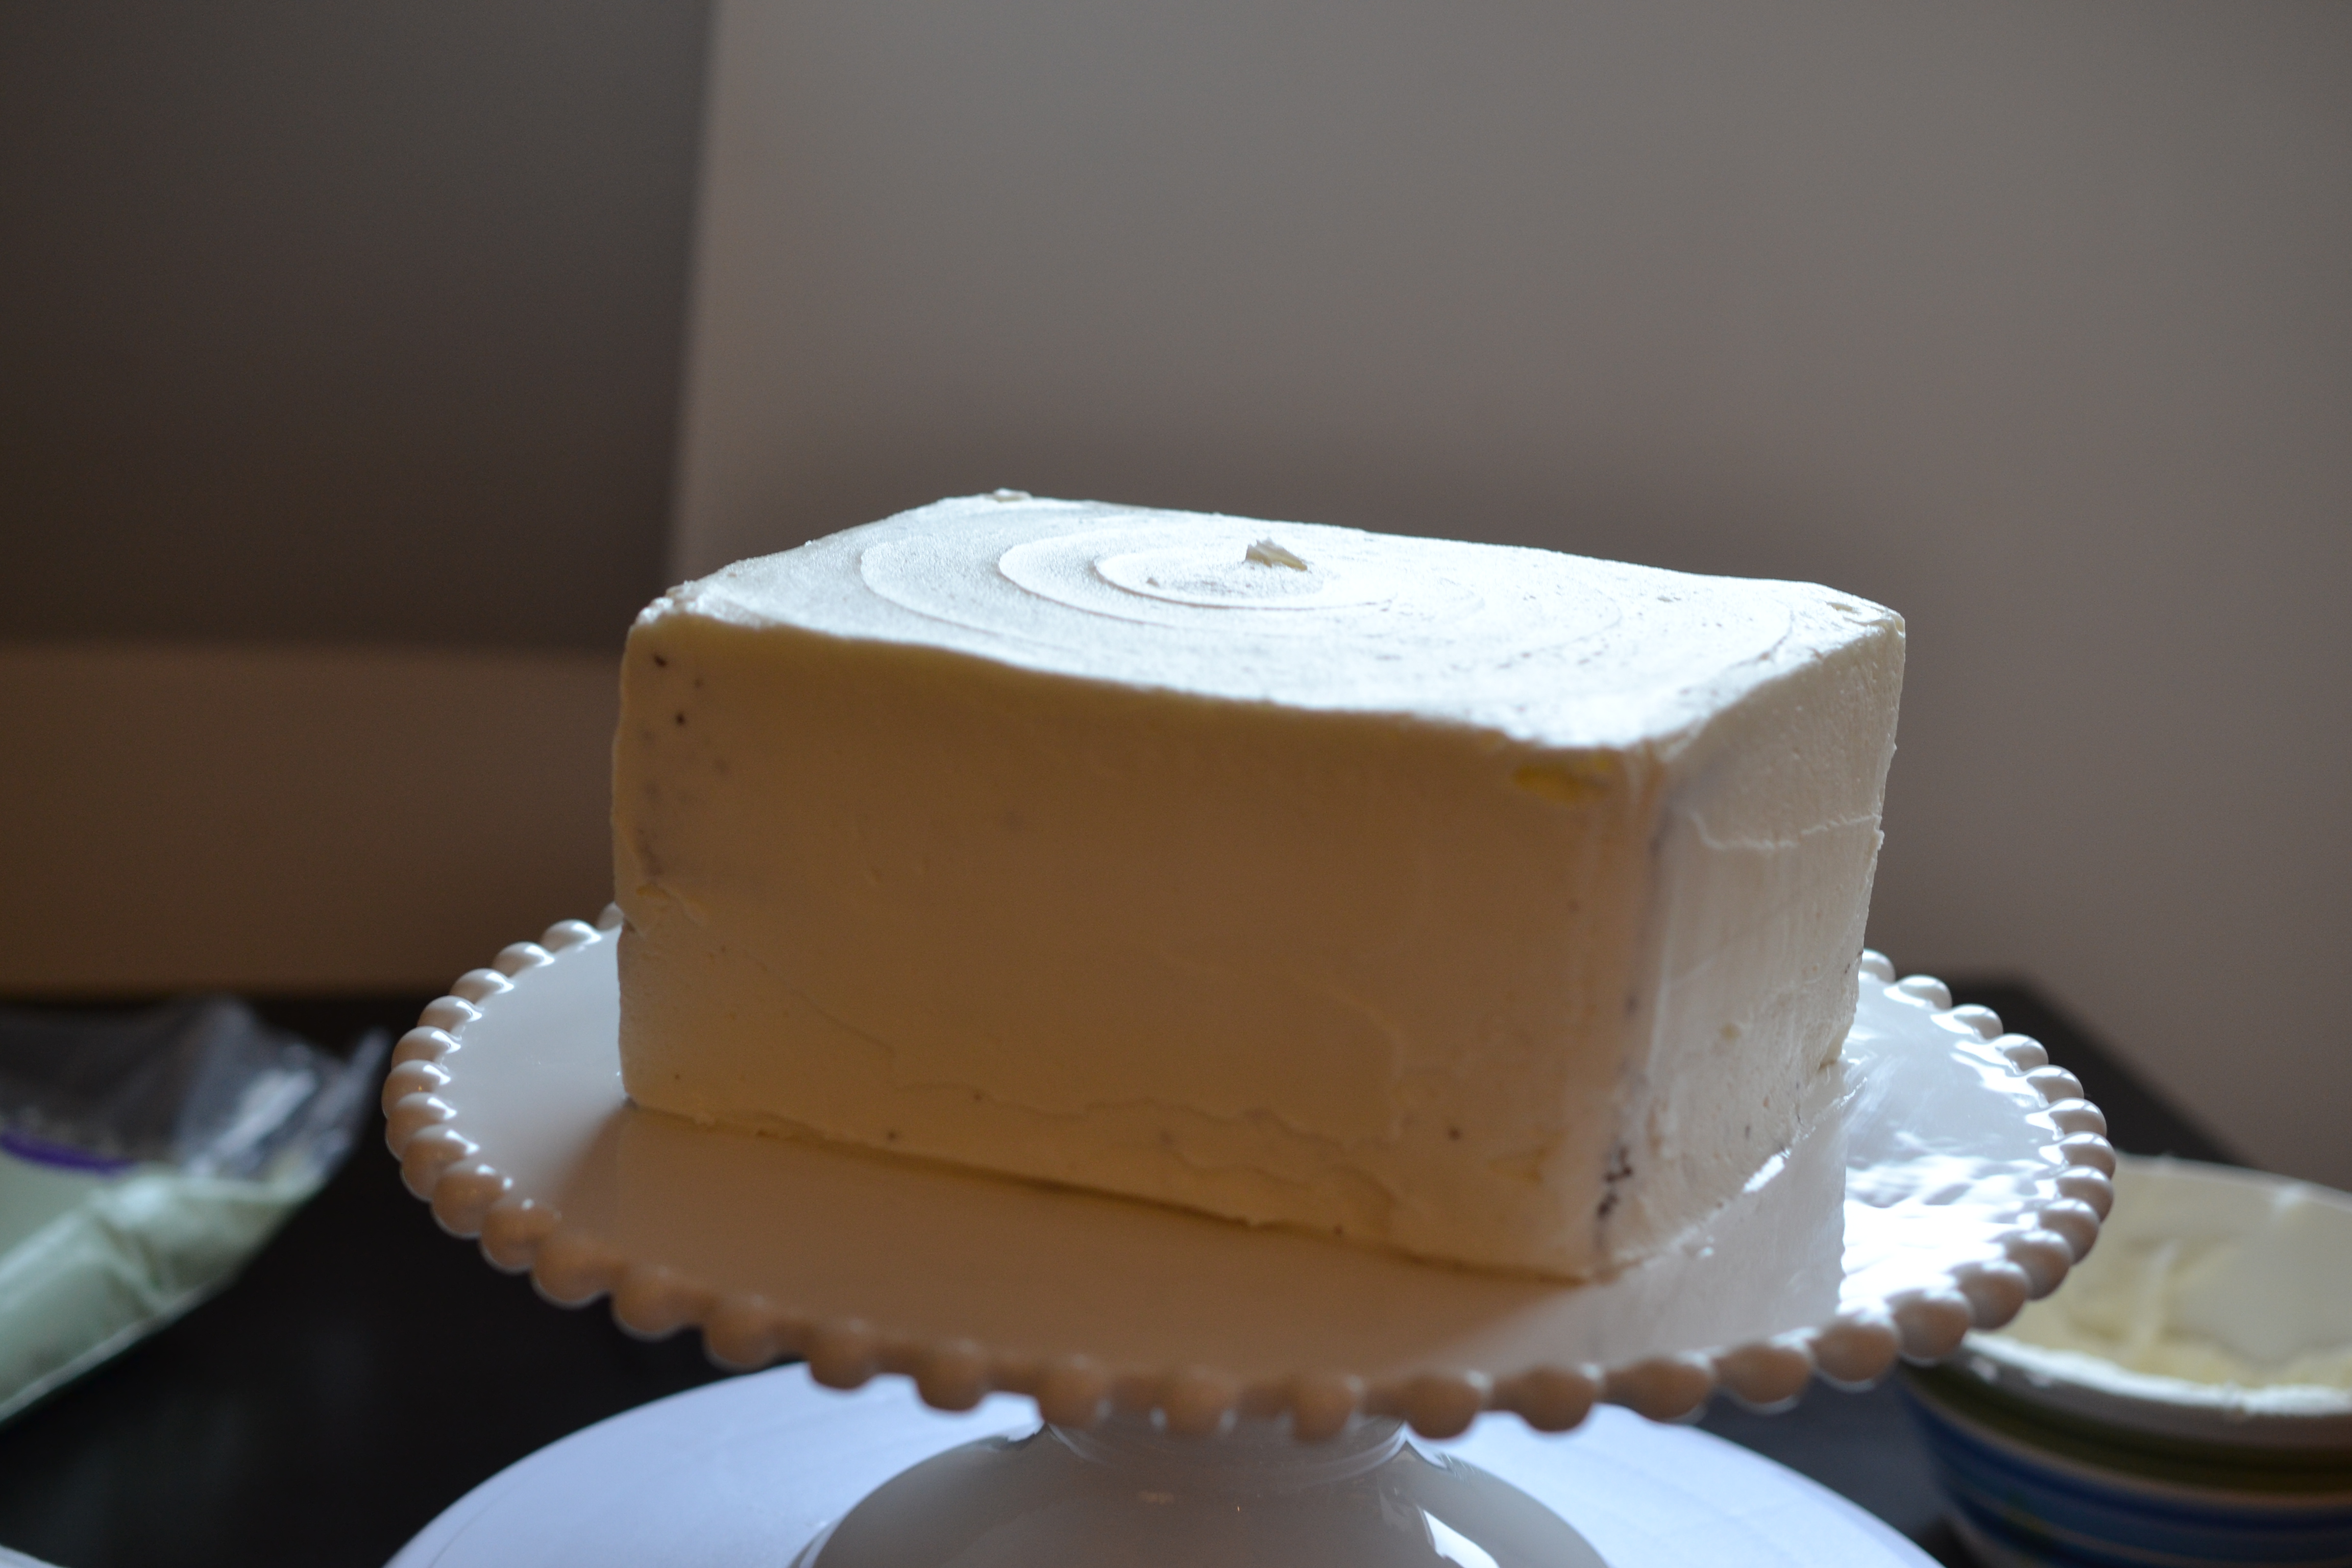
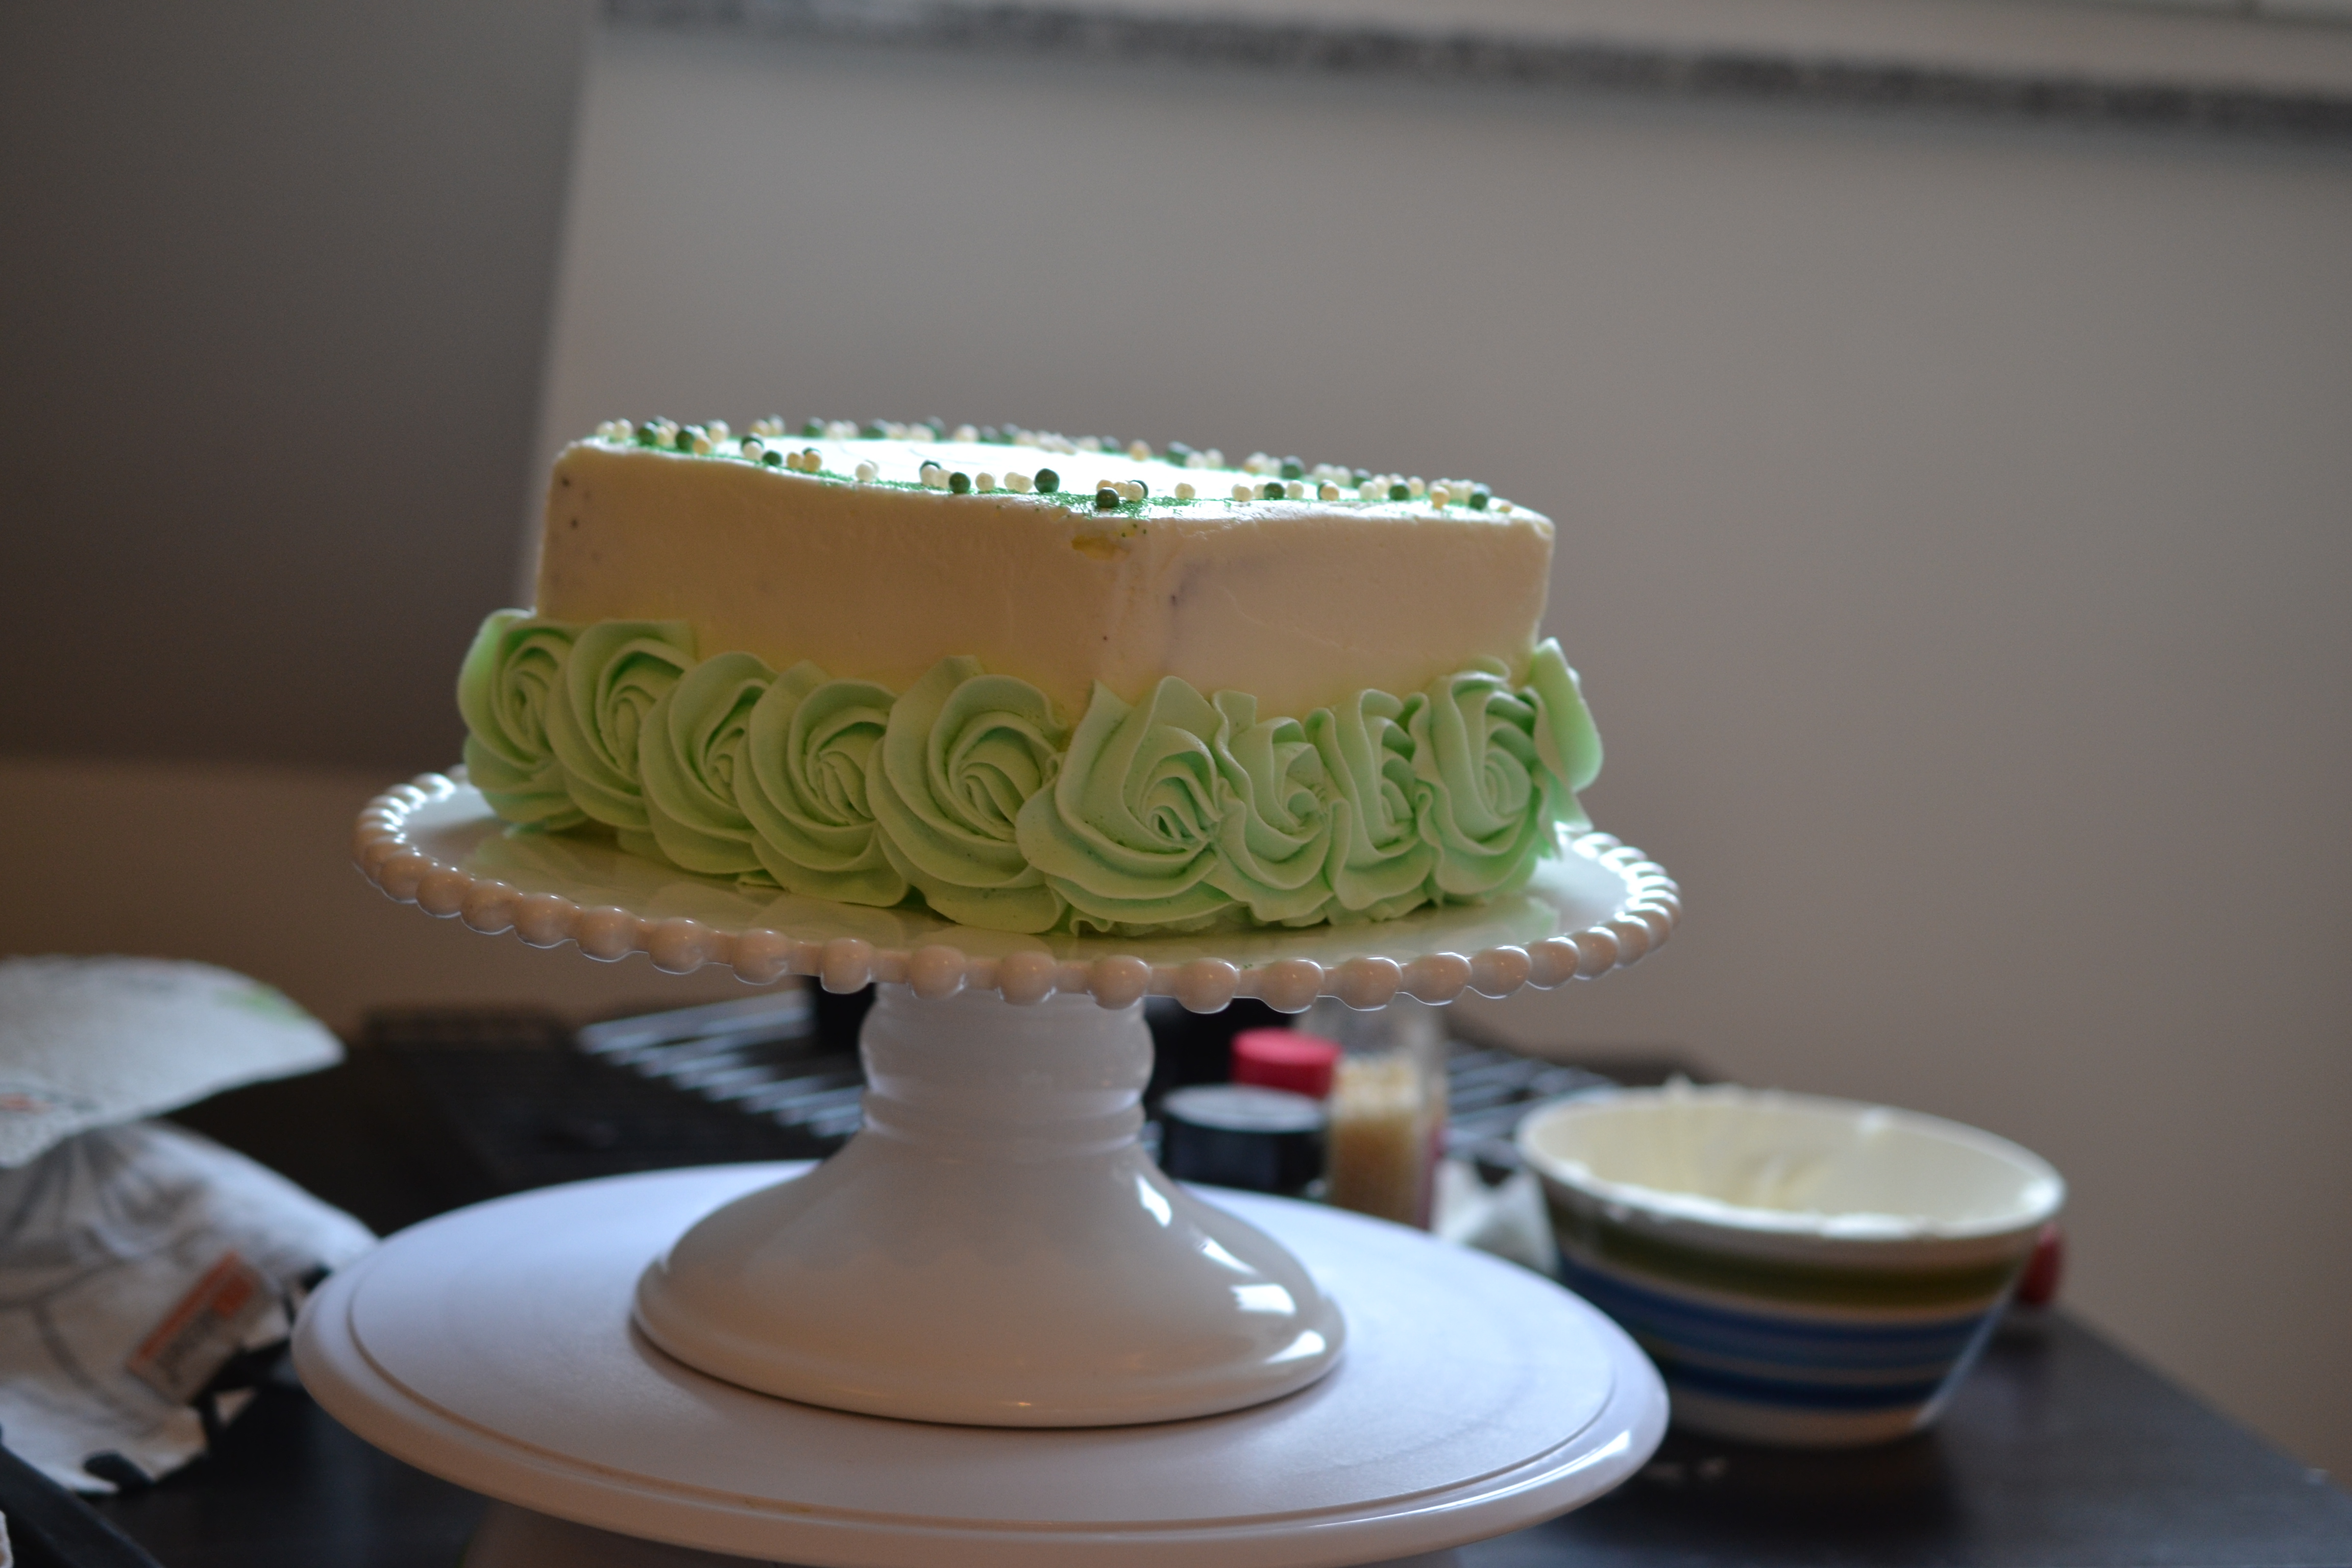
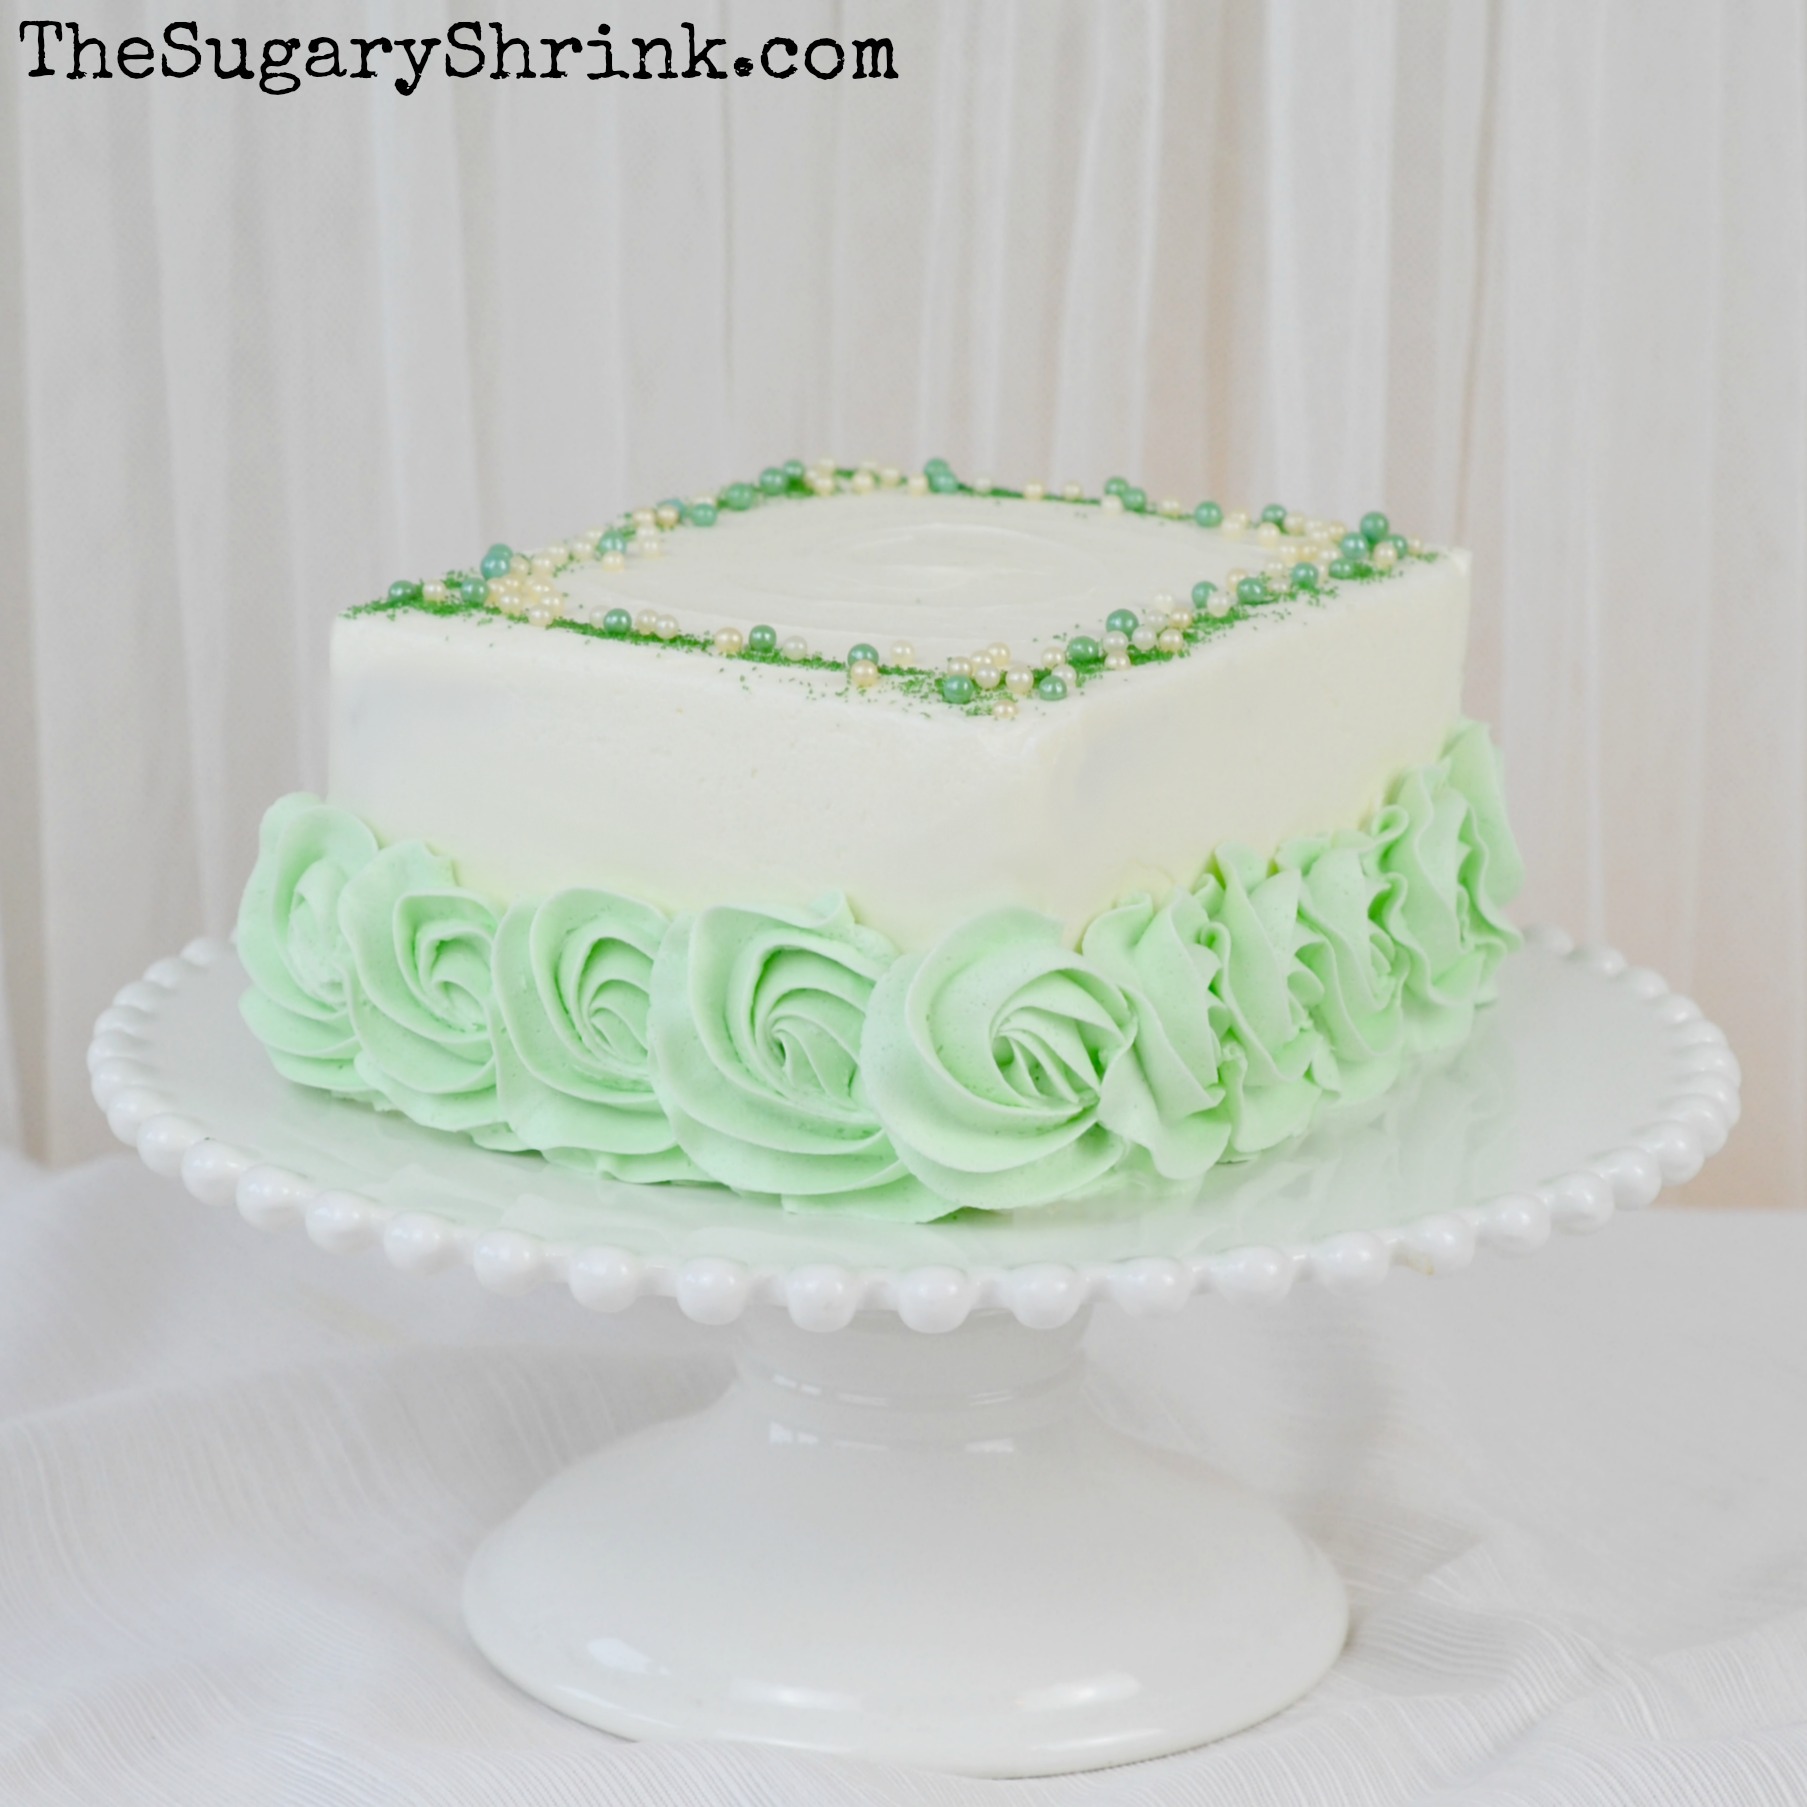
Once it was crumb coated, it went back to the fridge to set up. I still struggle getting a smooth buttercream to round the corners on a square cake, but it’s getting better.
I love the look of these different pearls and sparkling sugar.
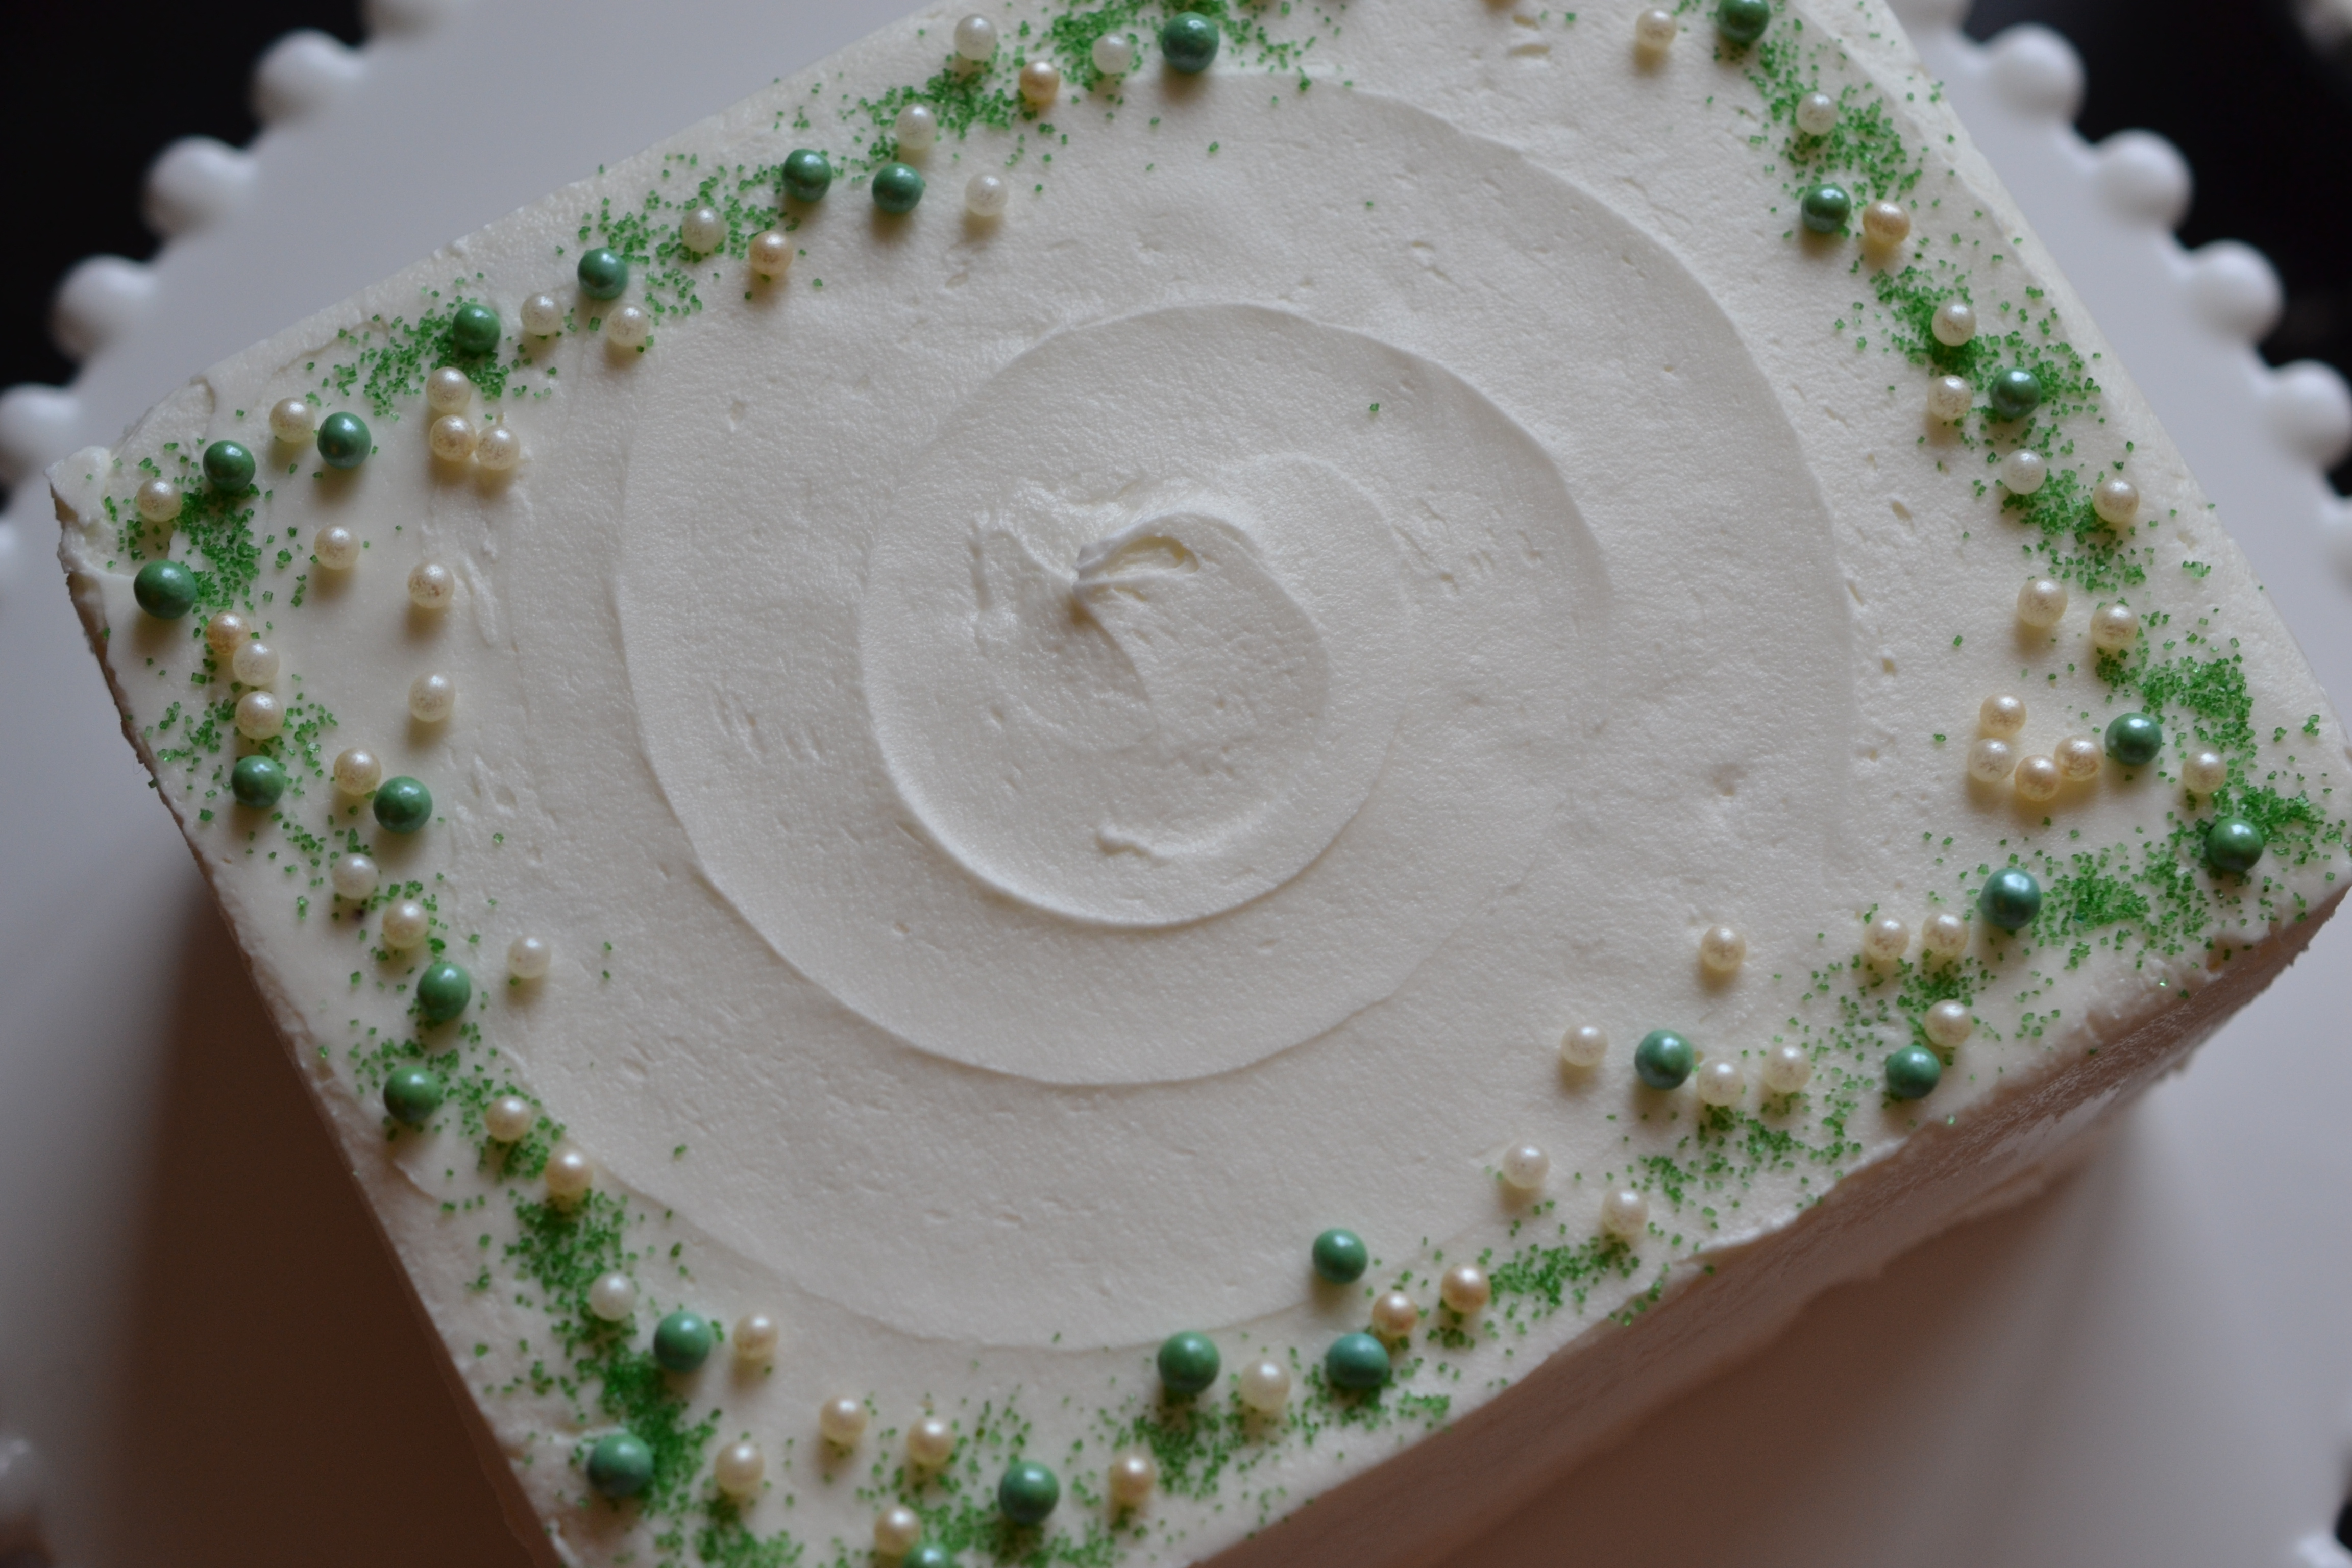
This cake is just the ticket when pressed for time.
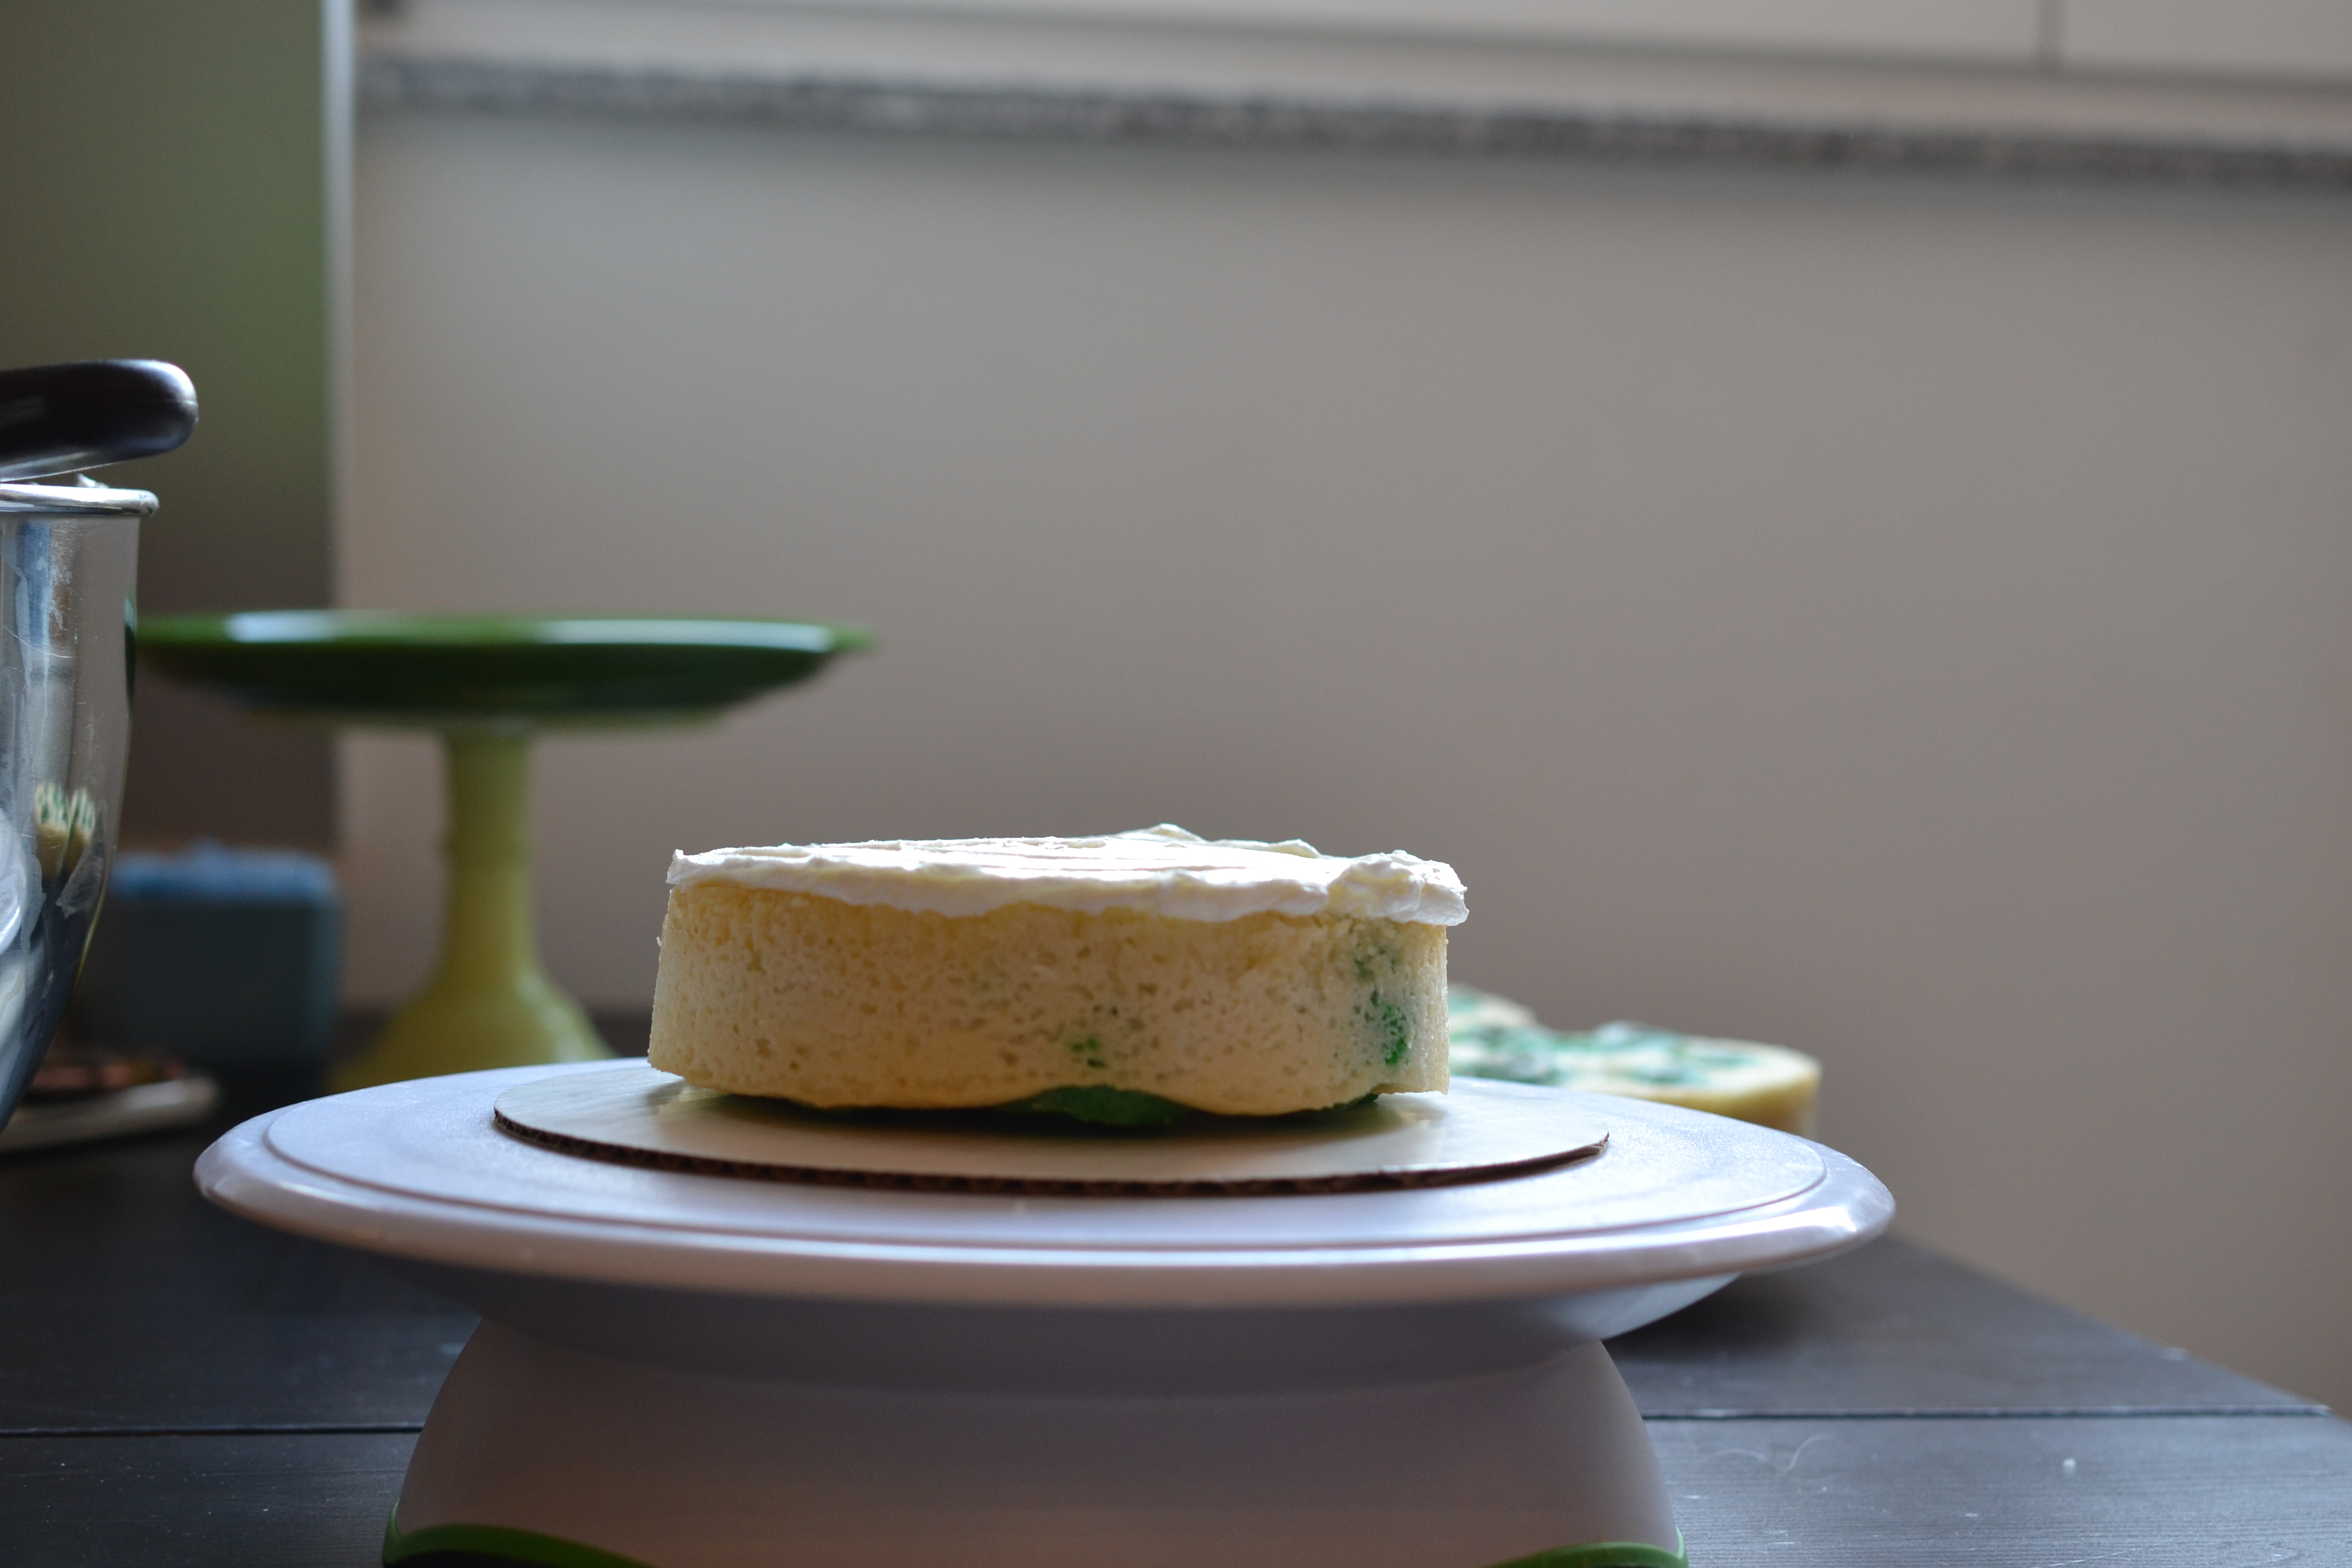
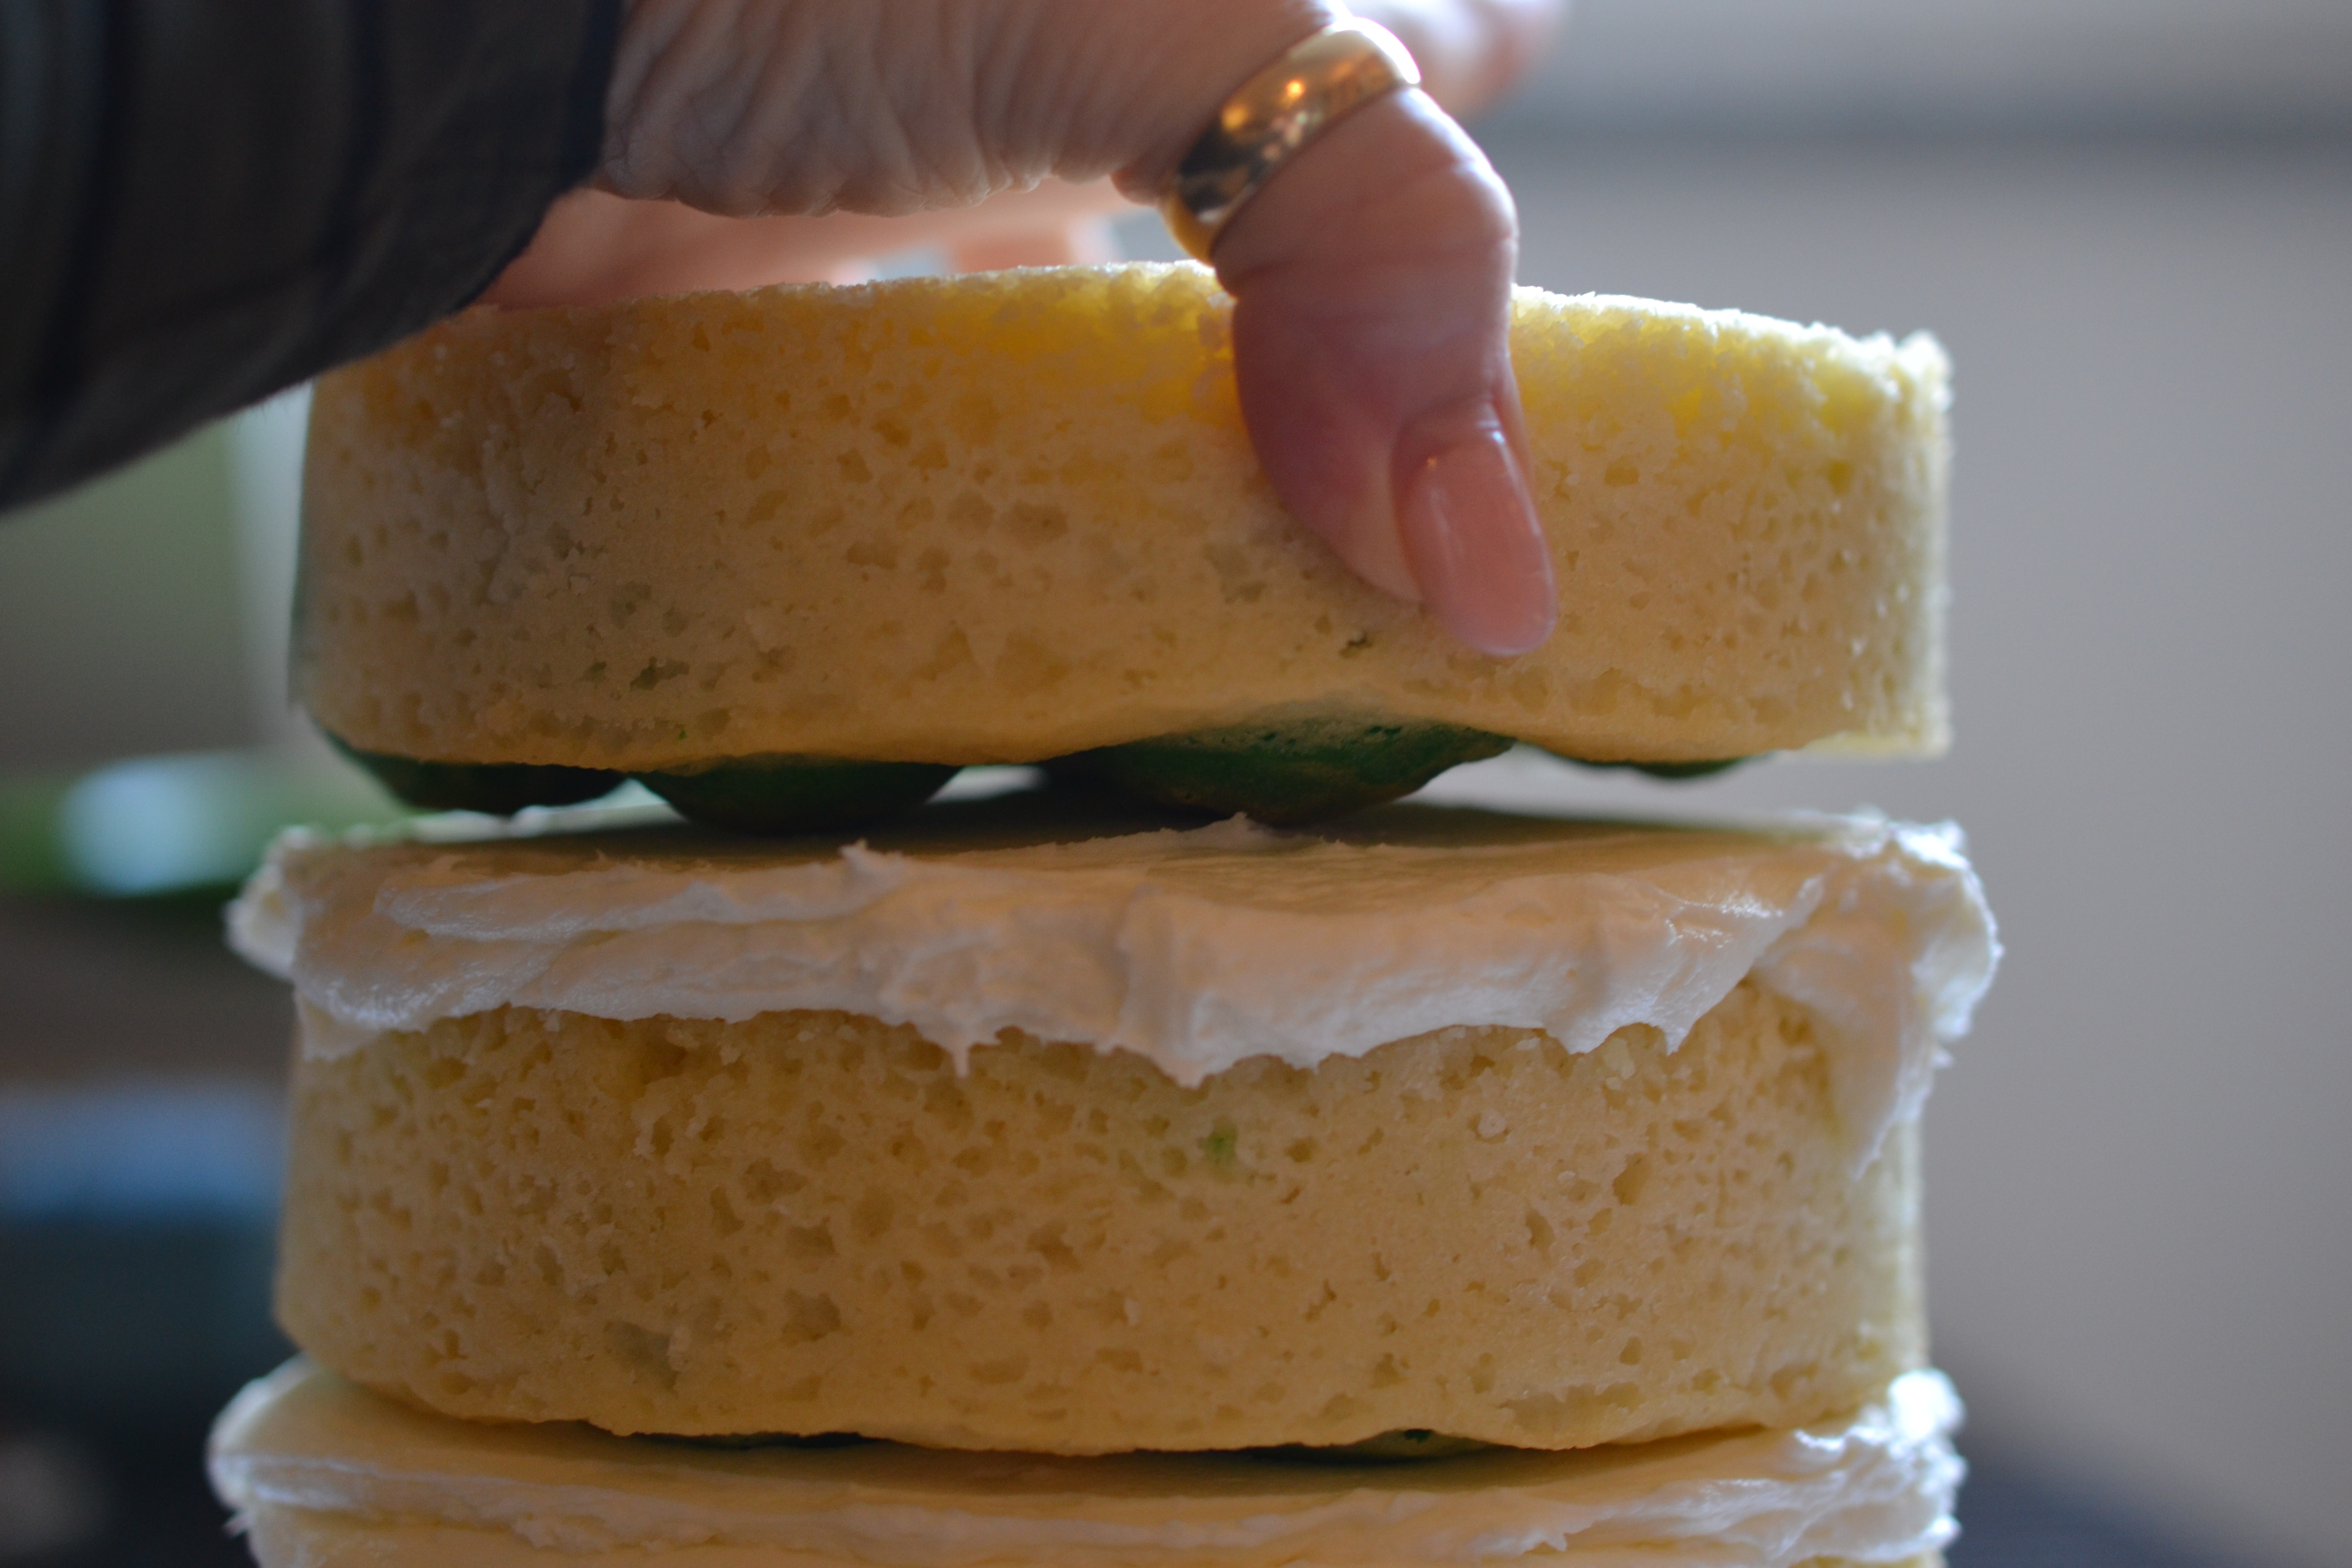
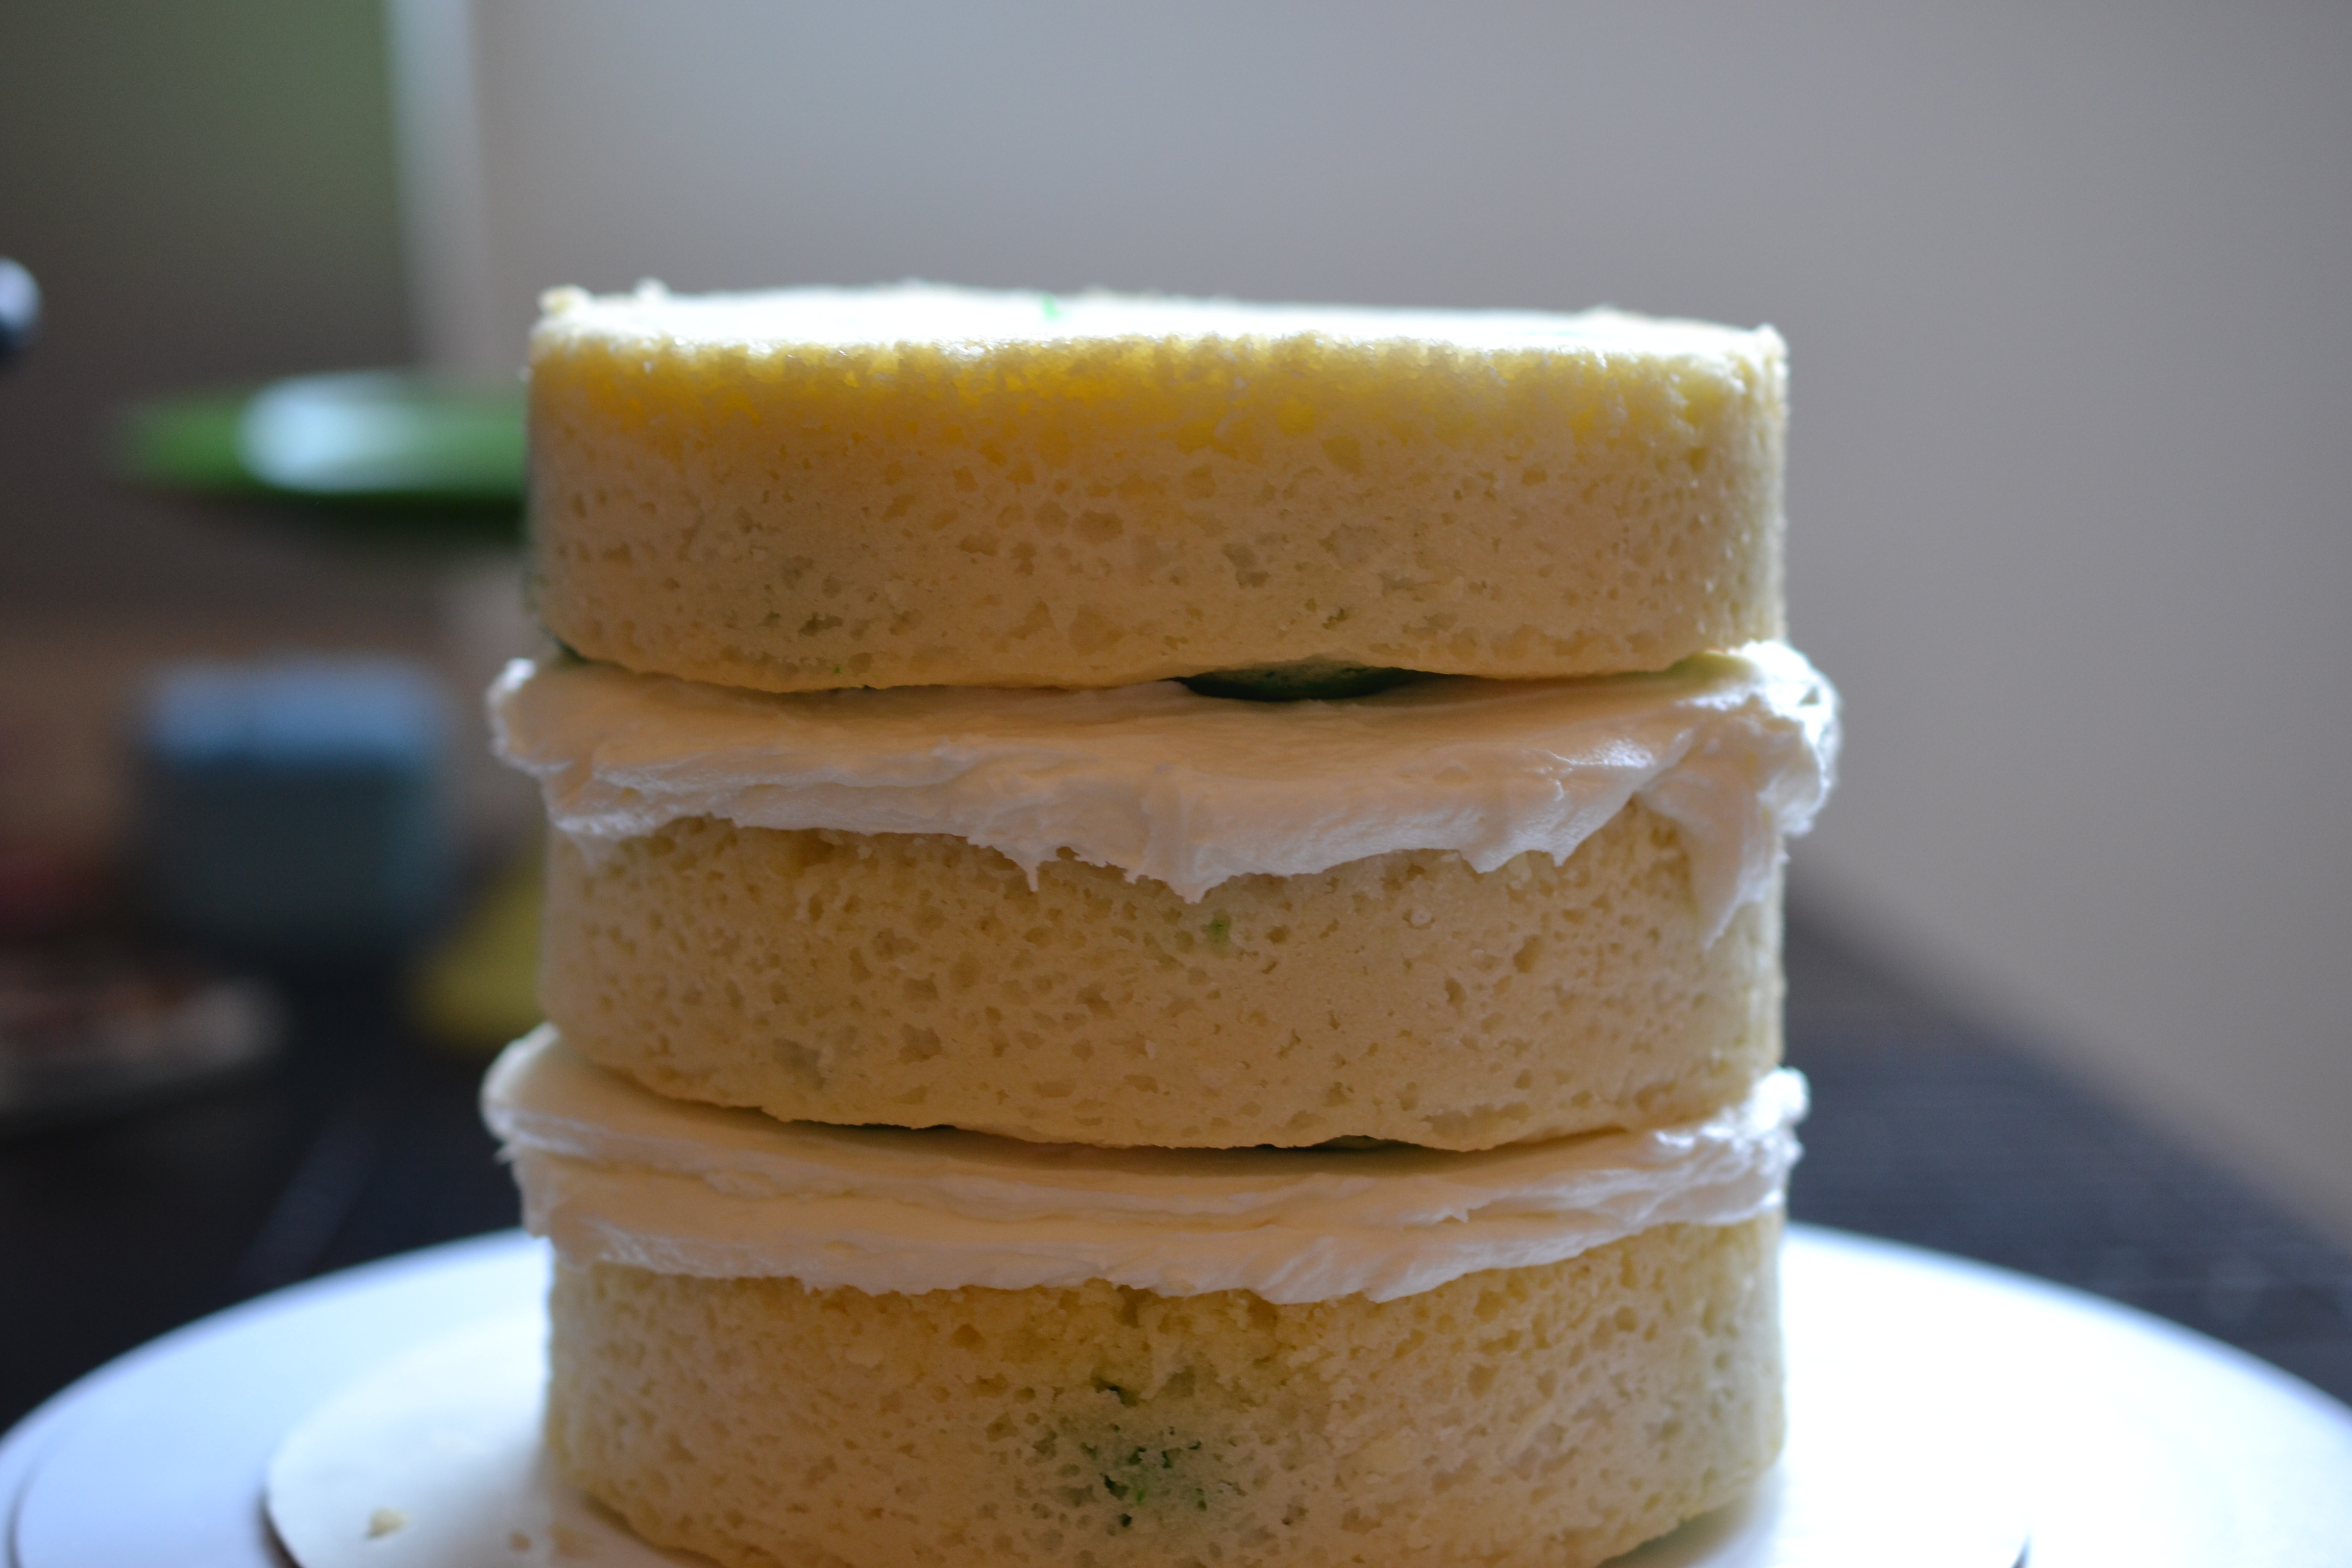
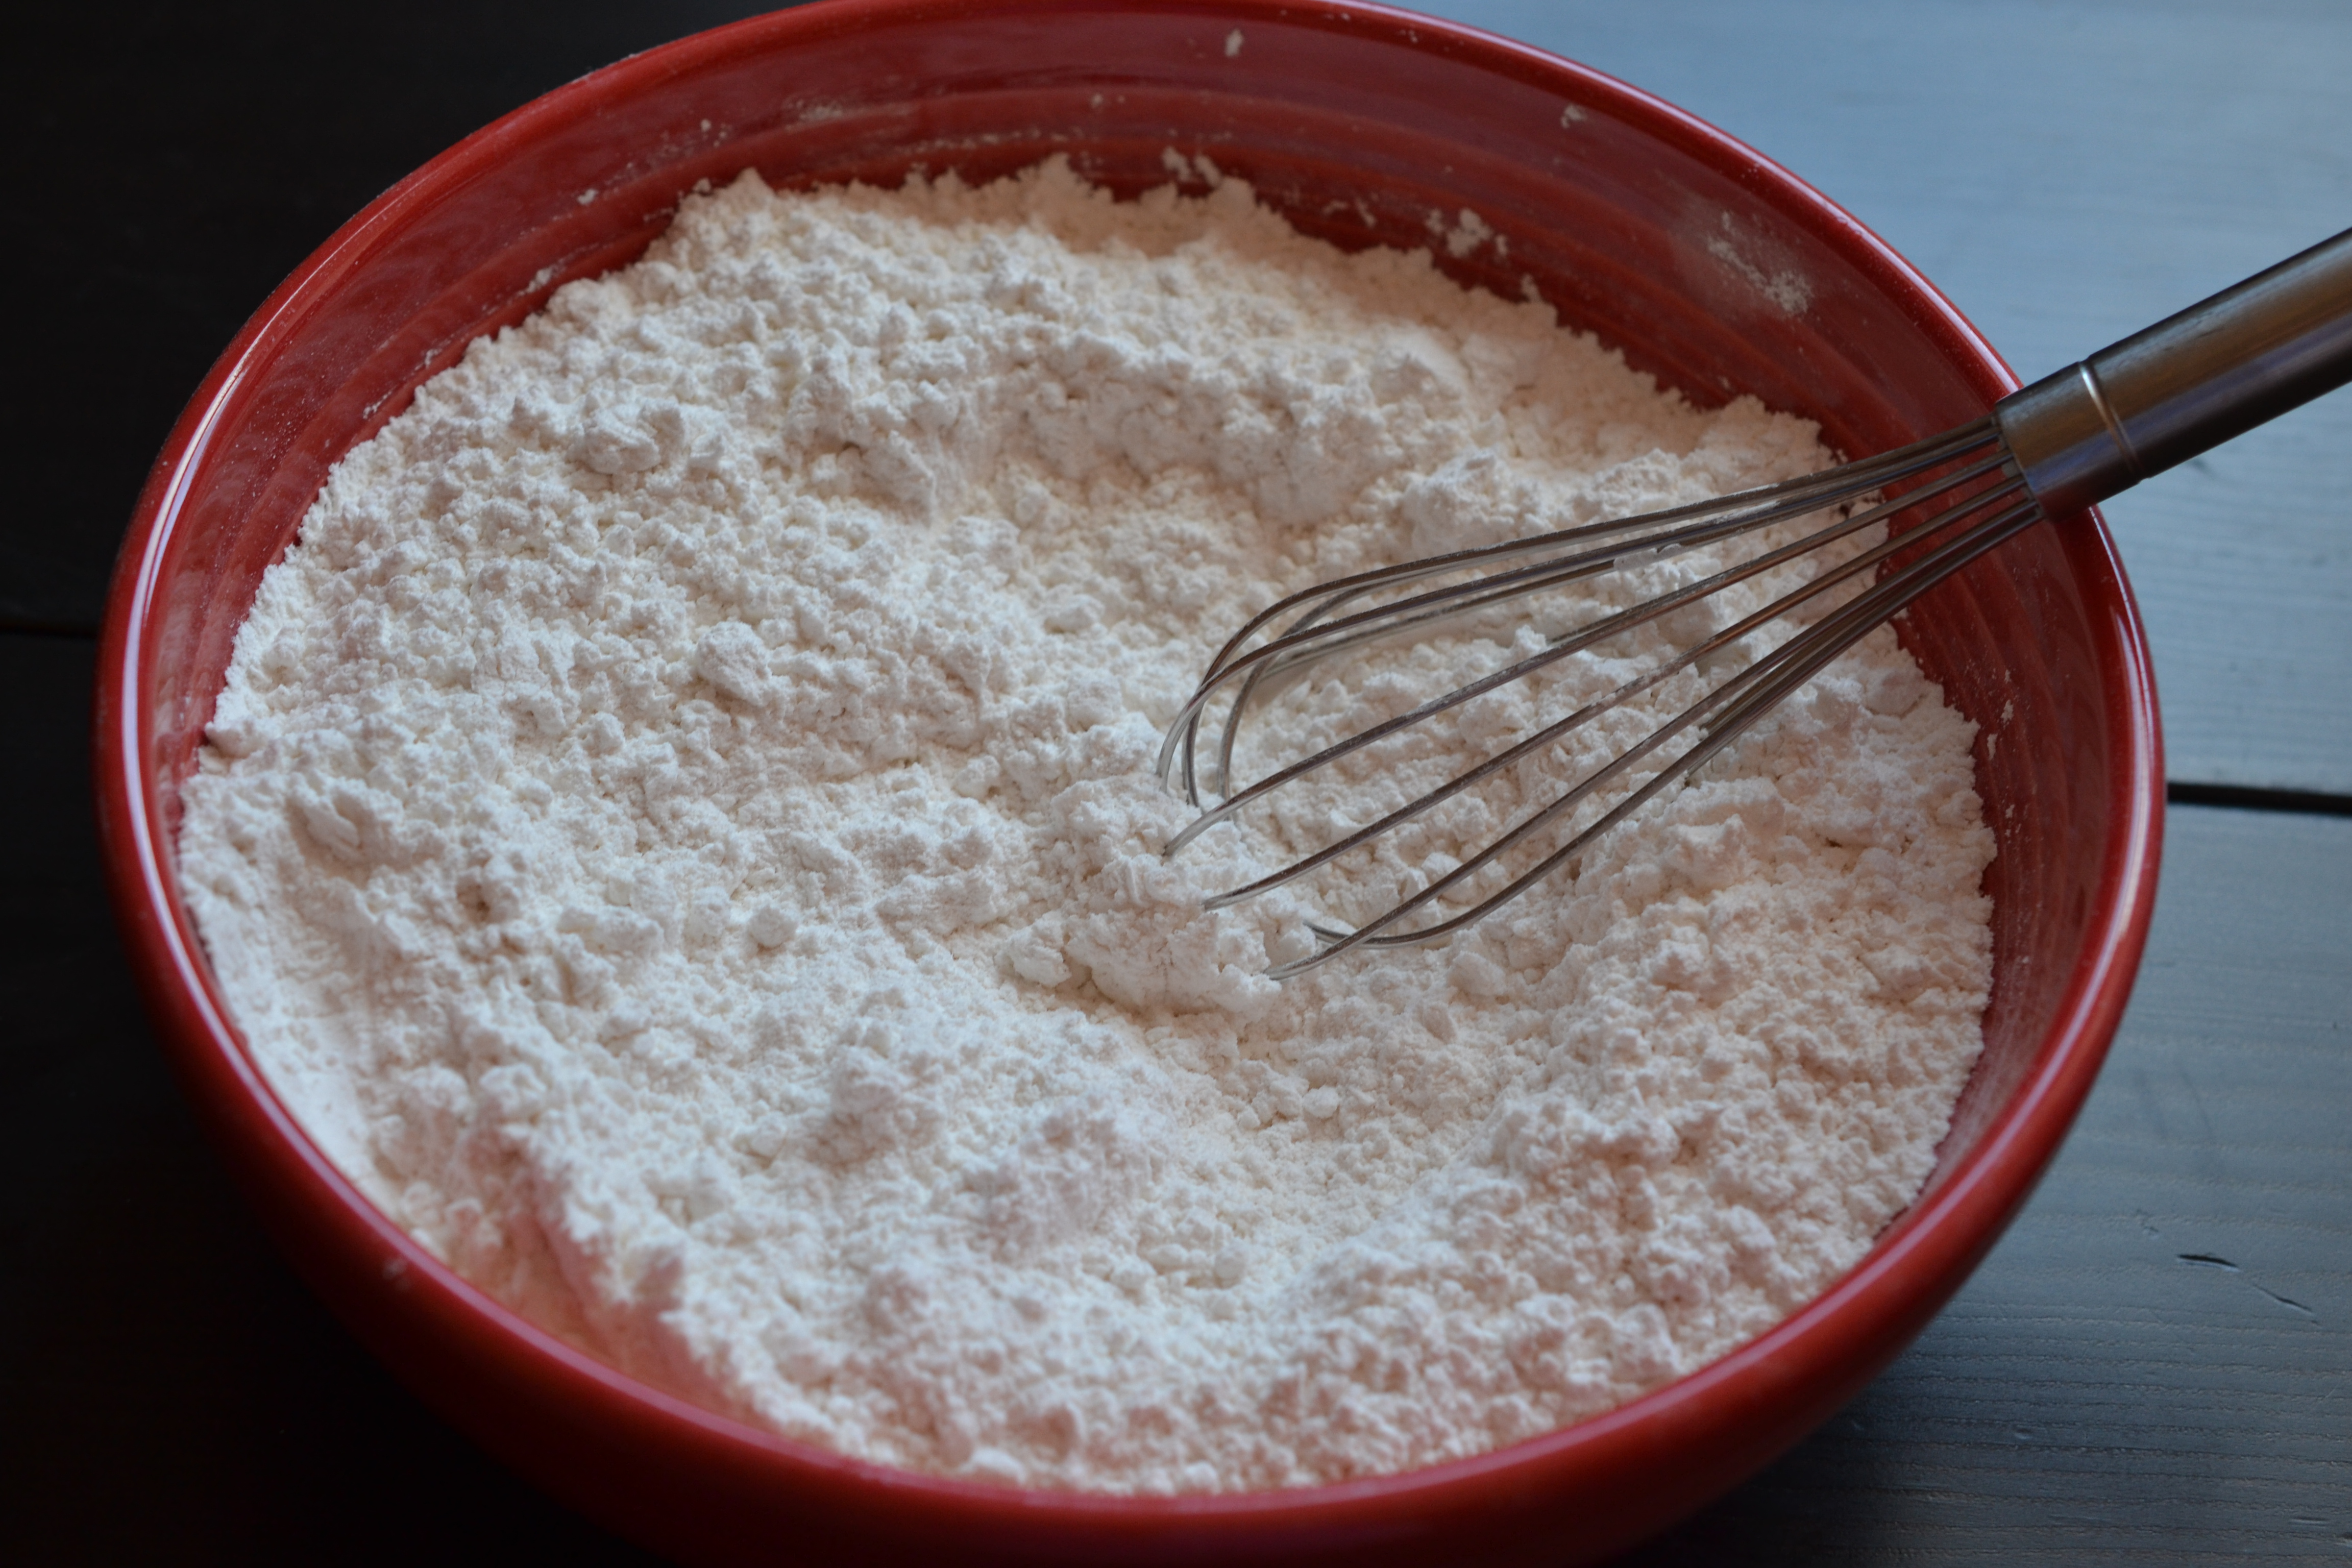
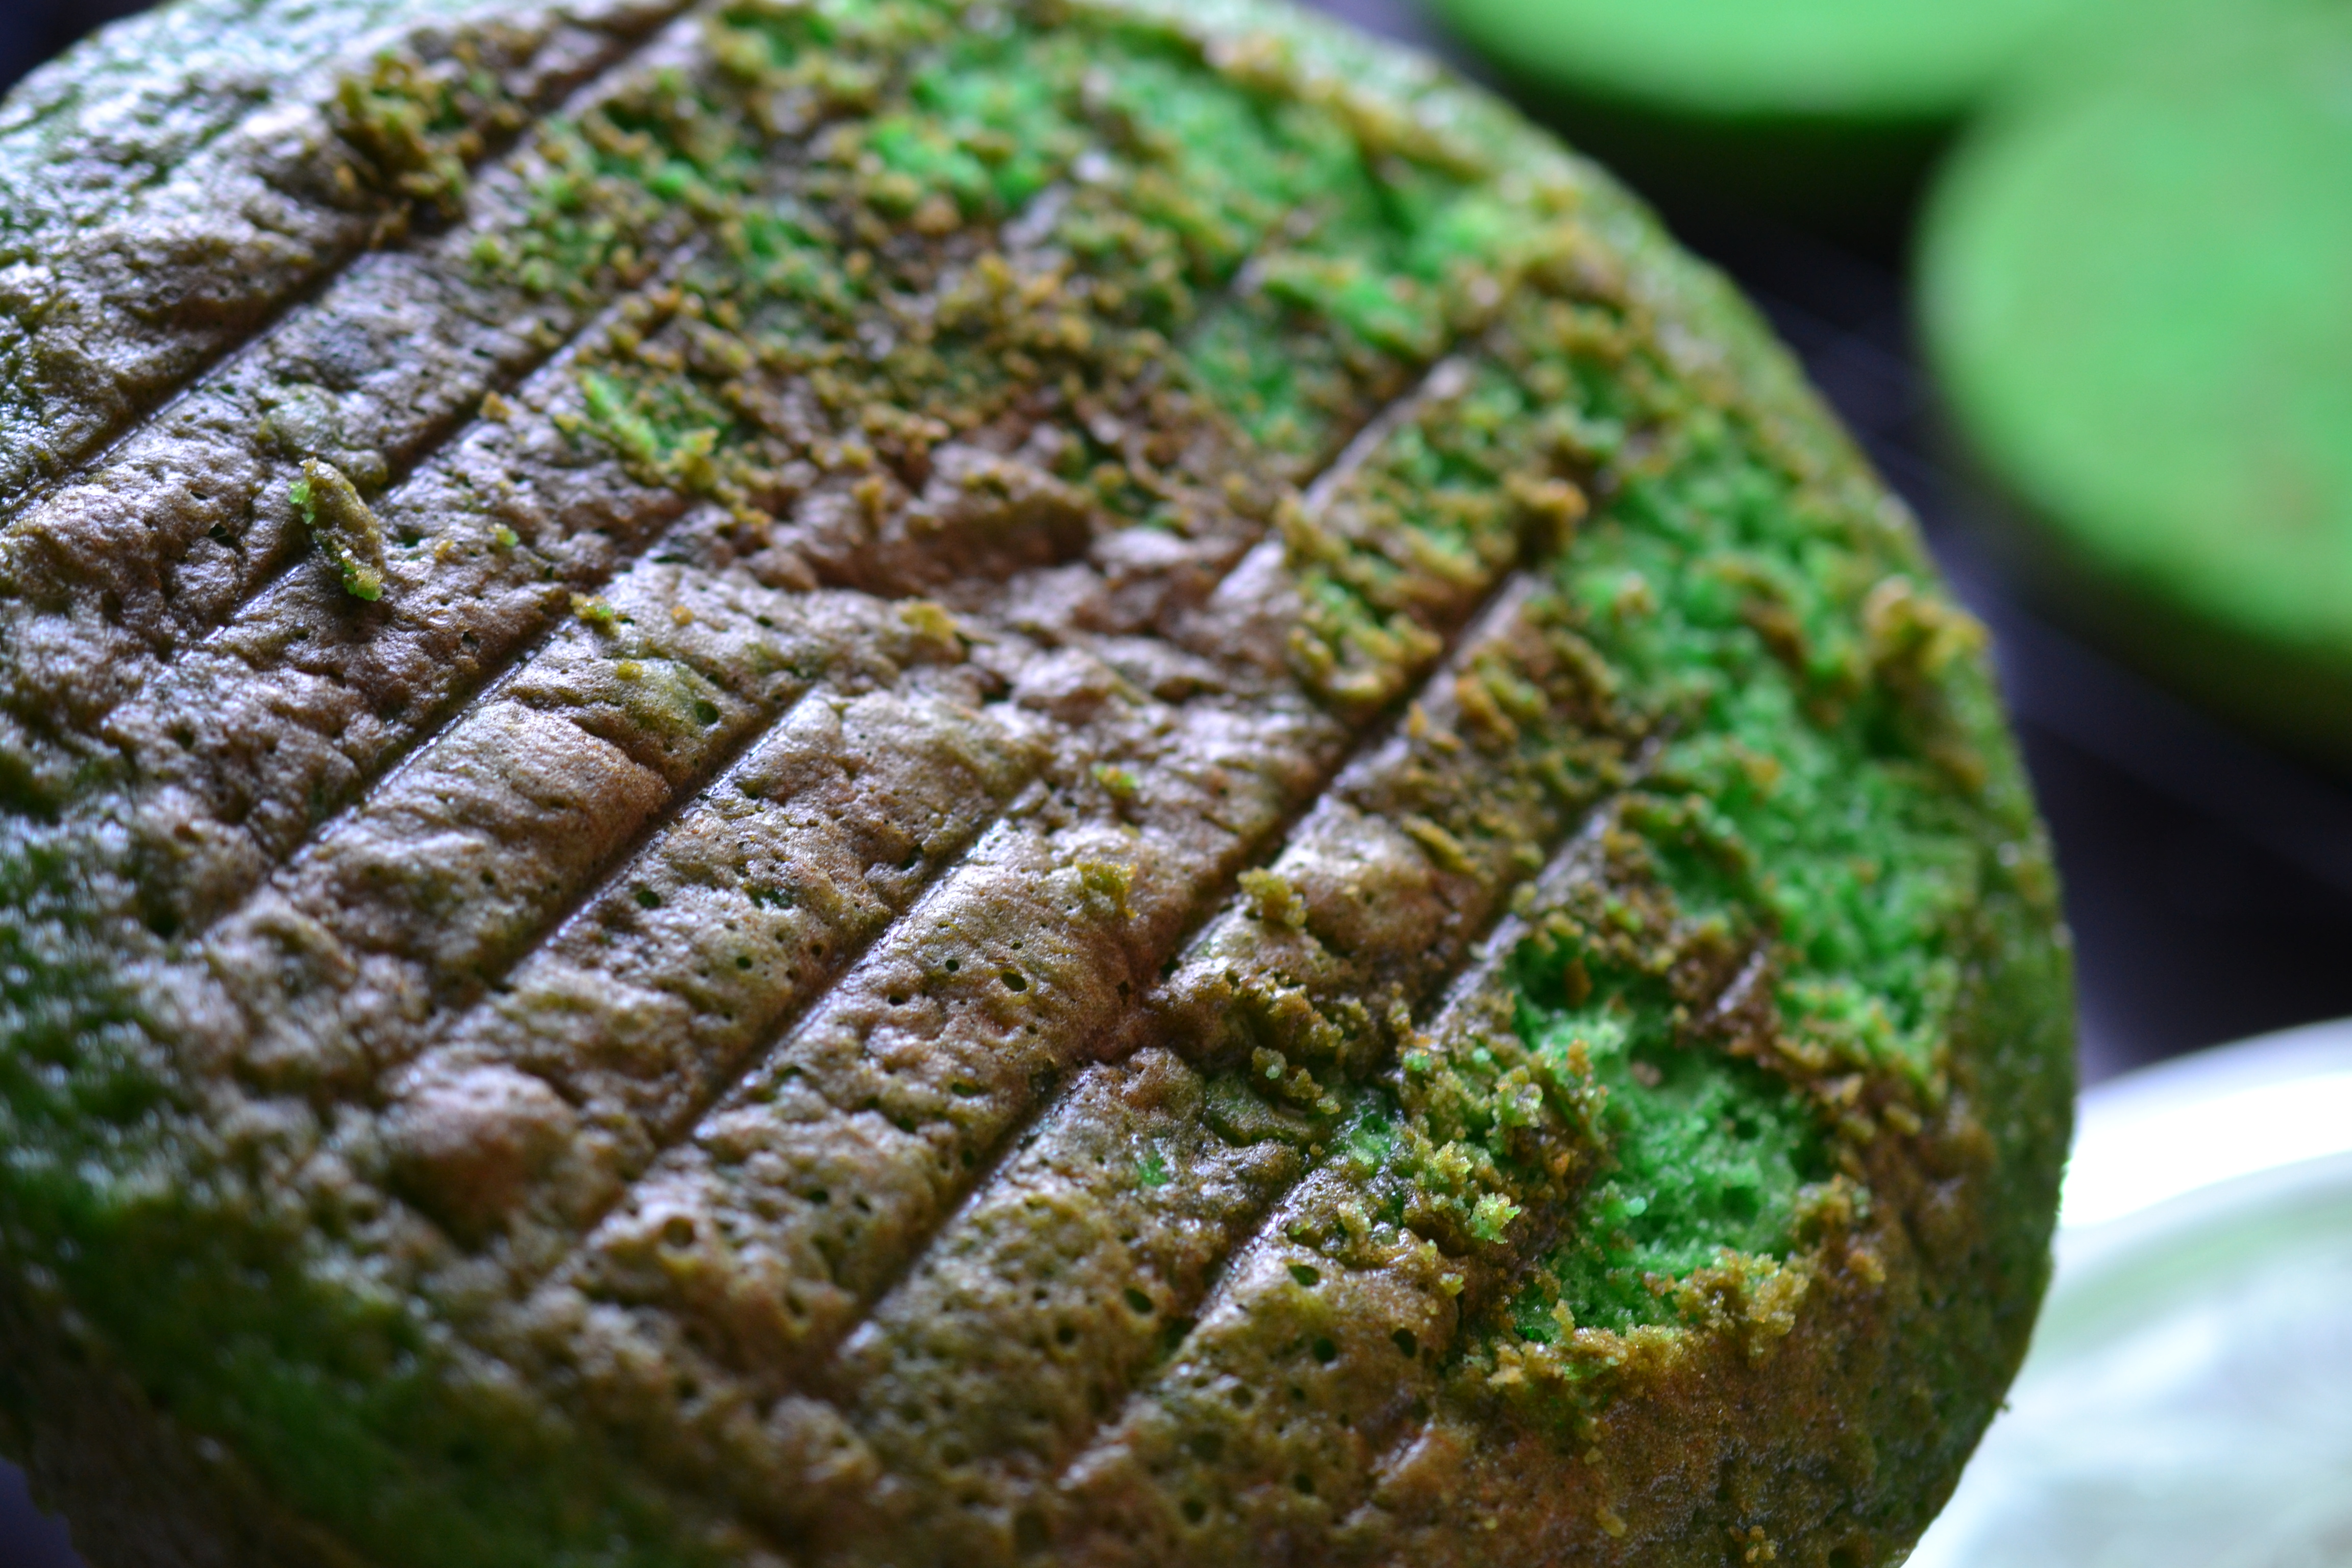
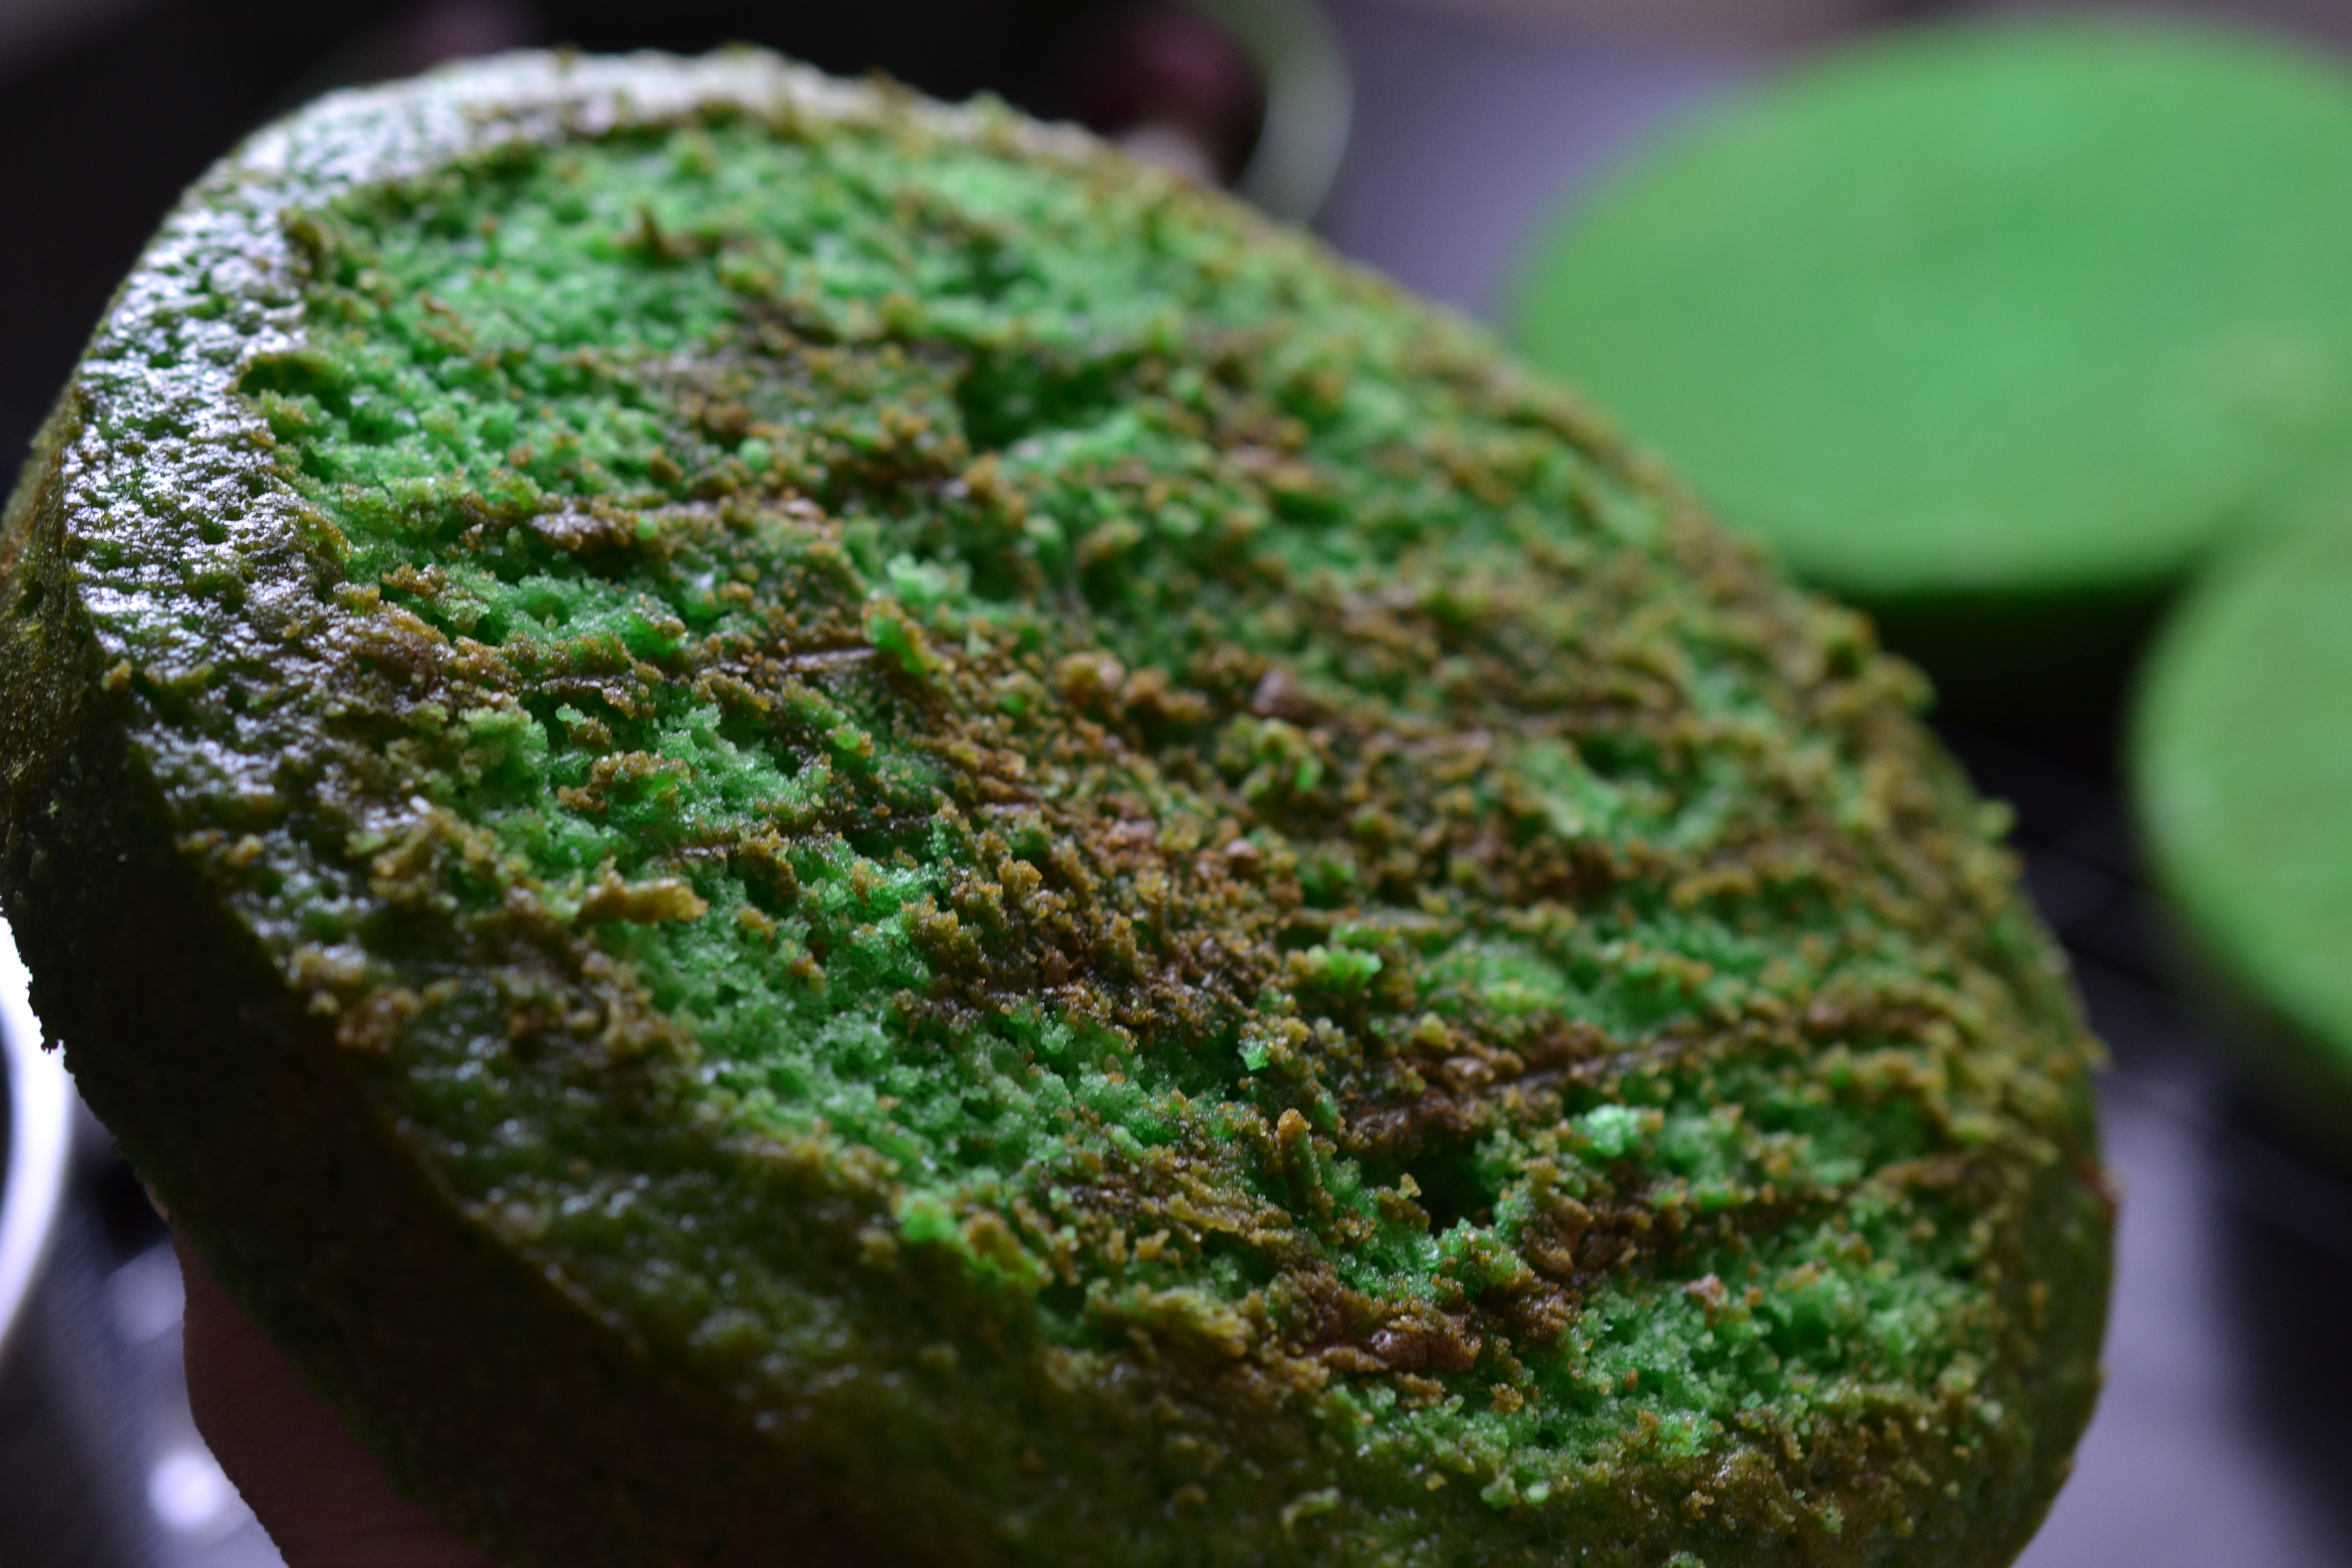
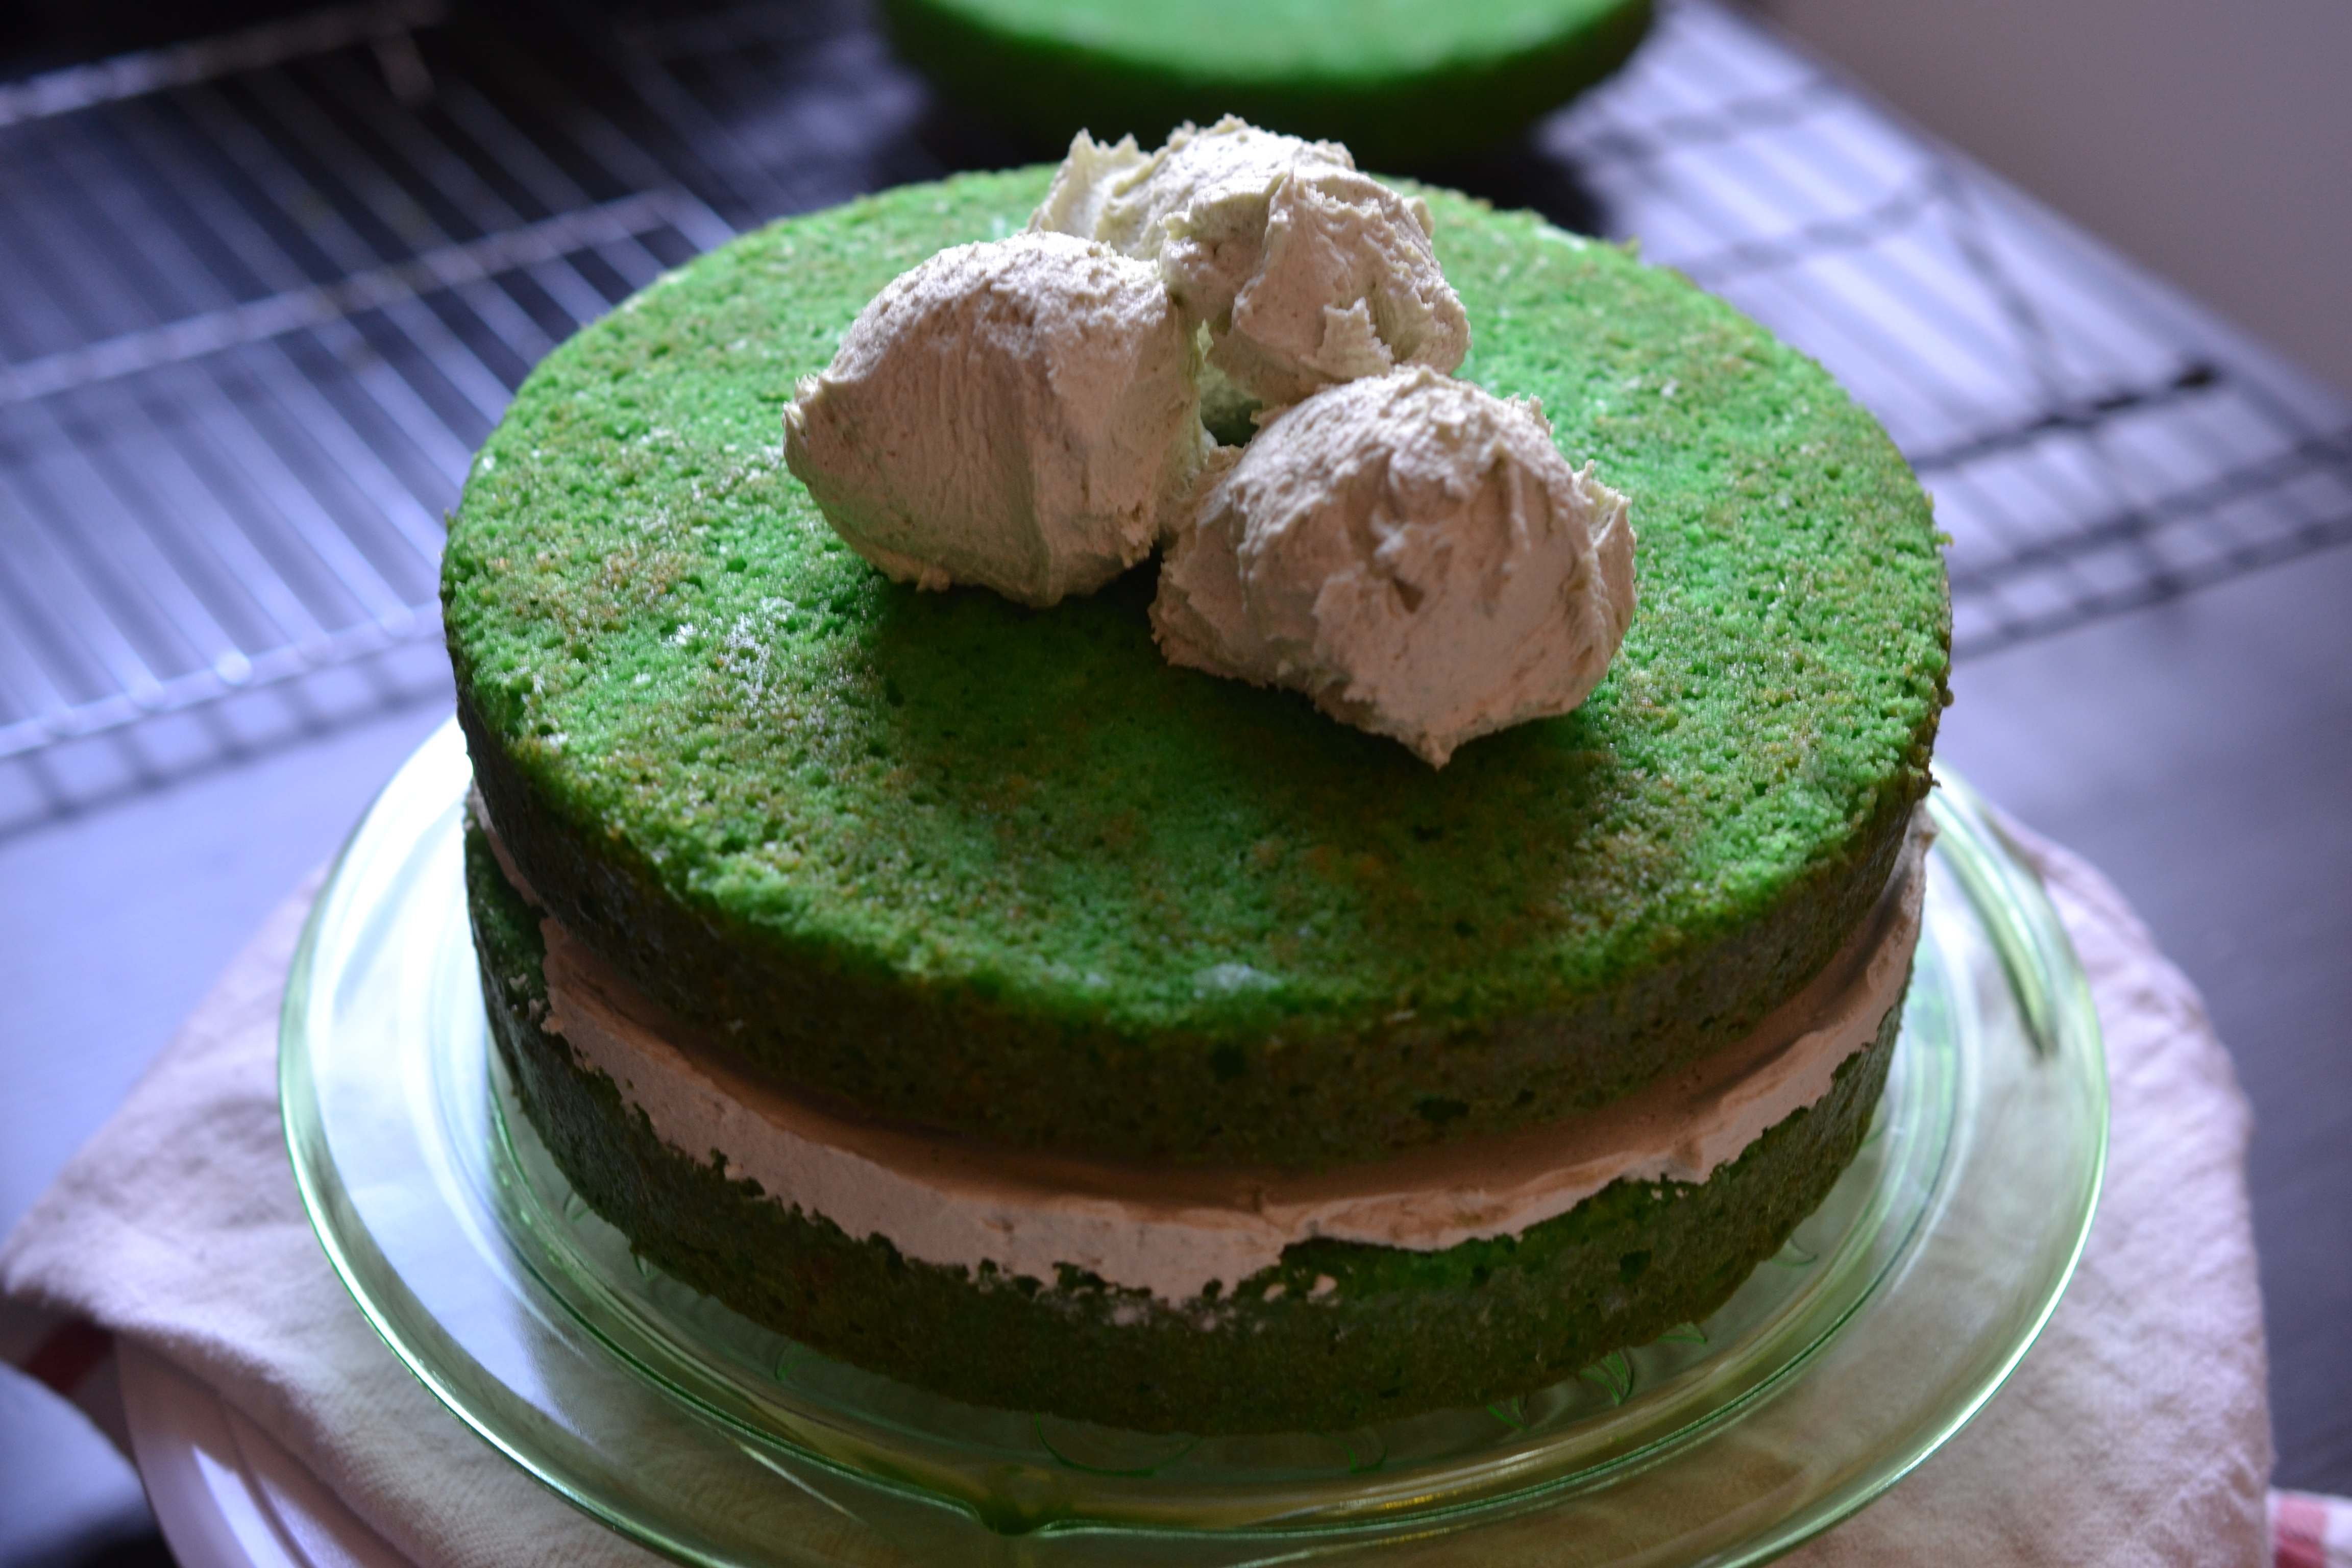
It wouldn’t hardly seem like March without Pistachios! This Triple-layer Pistachio Cake with Pistachio Buttercream Filling, Almond Buttercream Frosting, and a Chopped Pistachio garnish is all about celebrating St. Patrick’s Day.
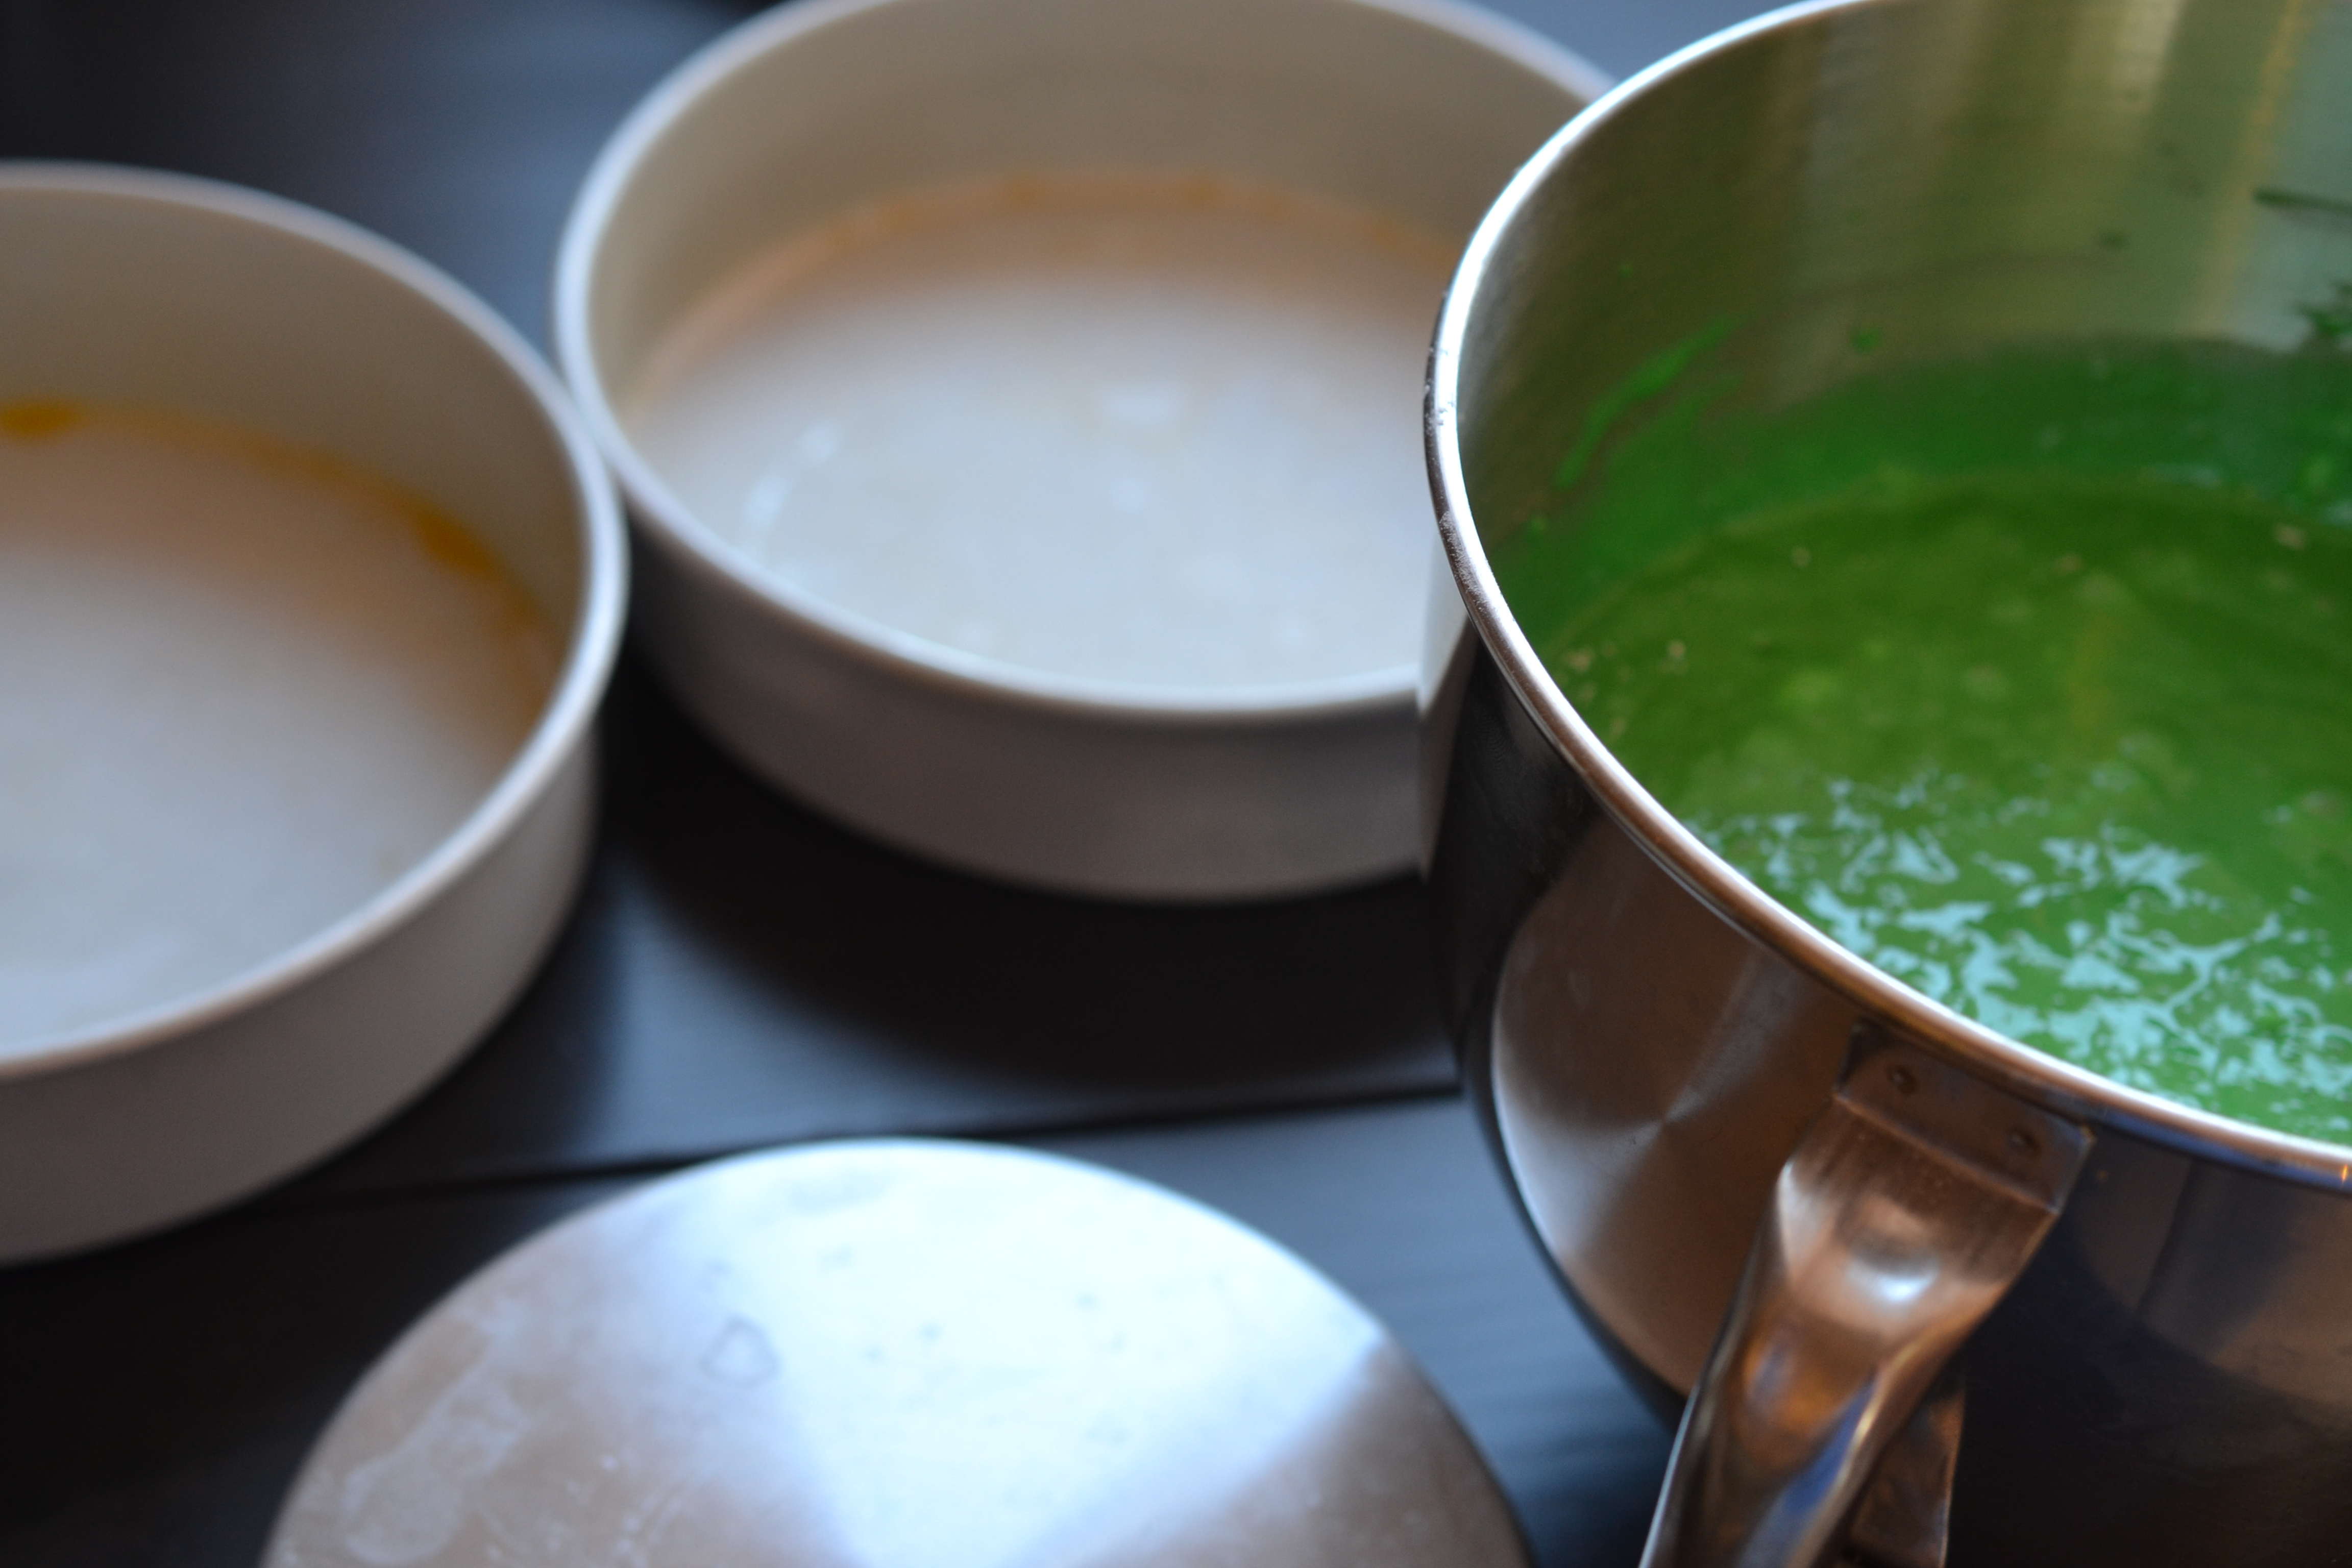
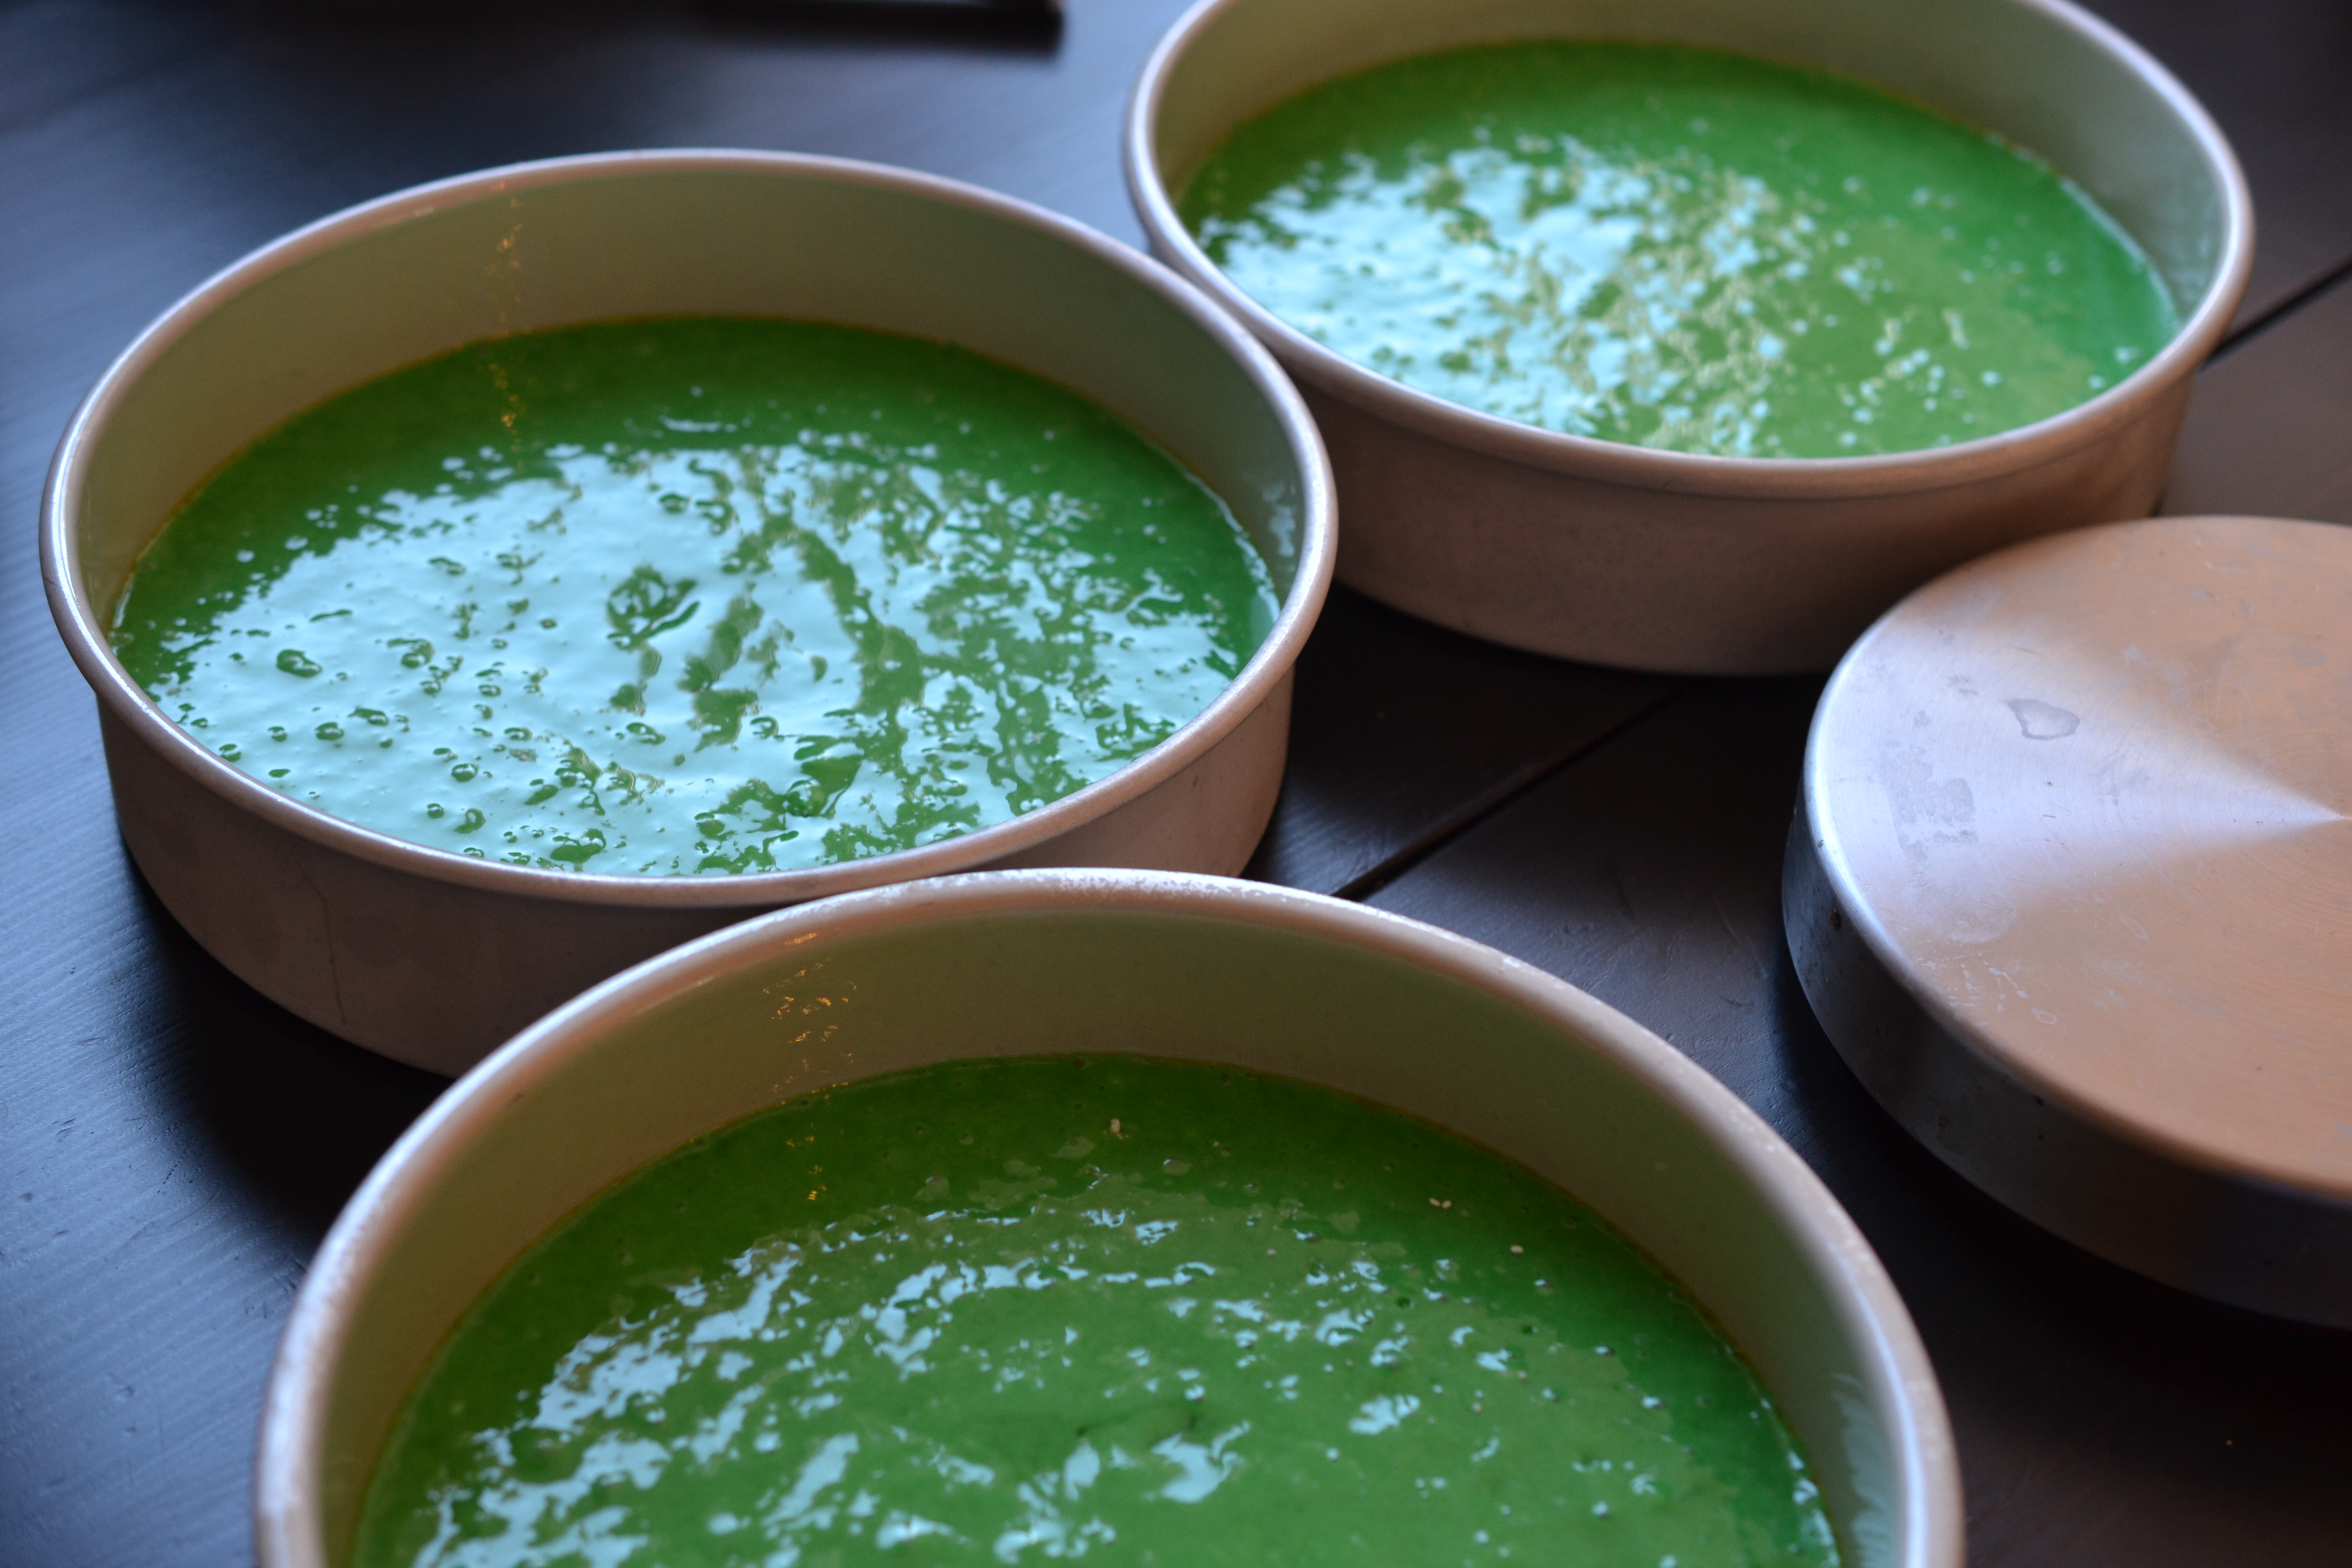
I know I’m preaching to the choir… for even layers, weight the pans.
Also, for St. Patrick’s Day – add green to the batter.
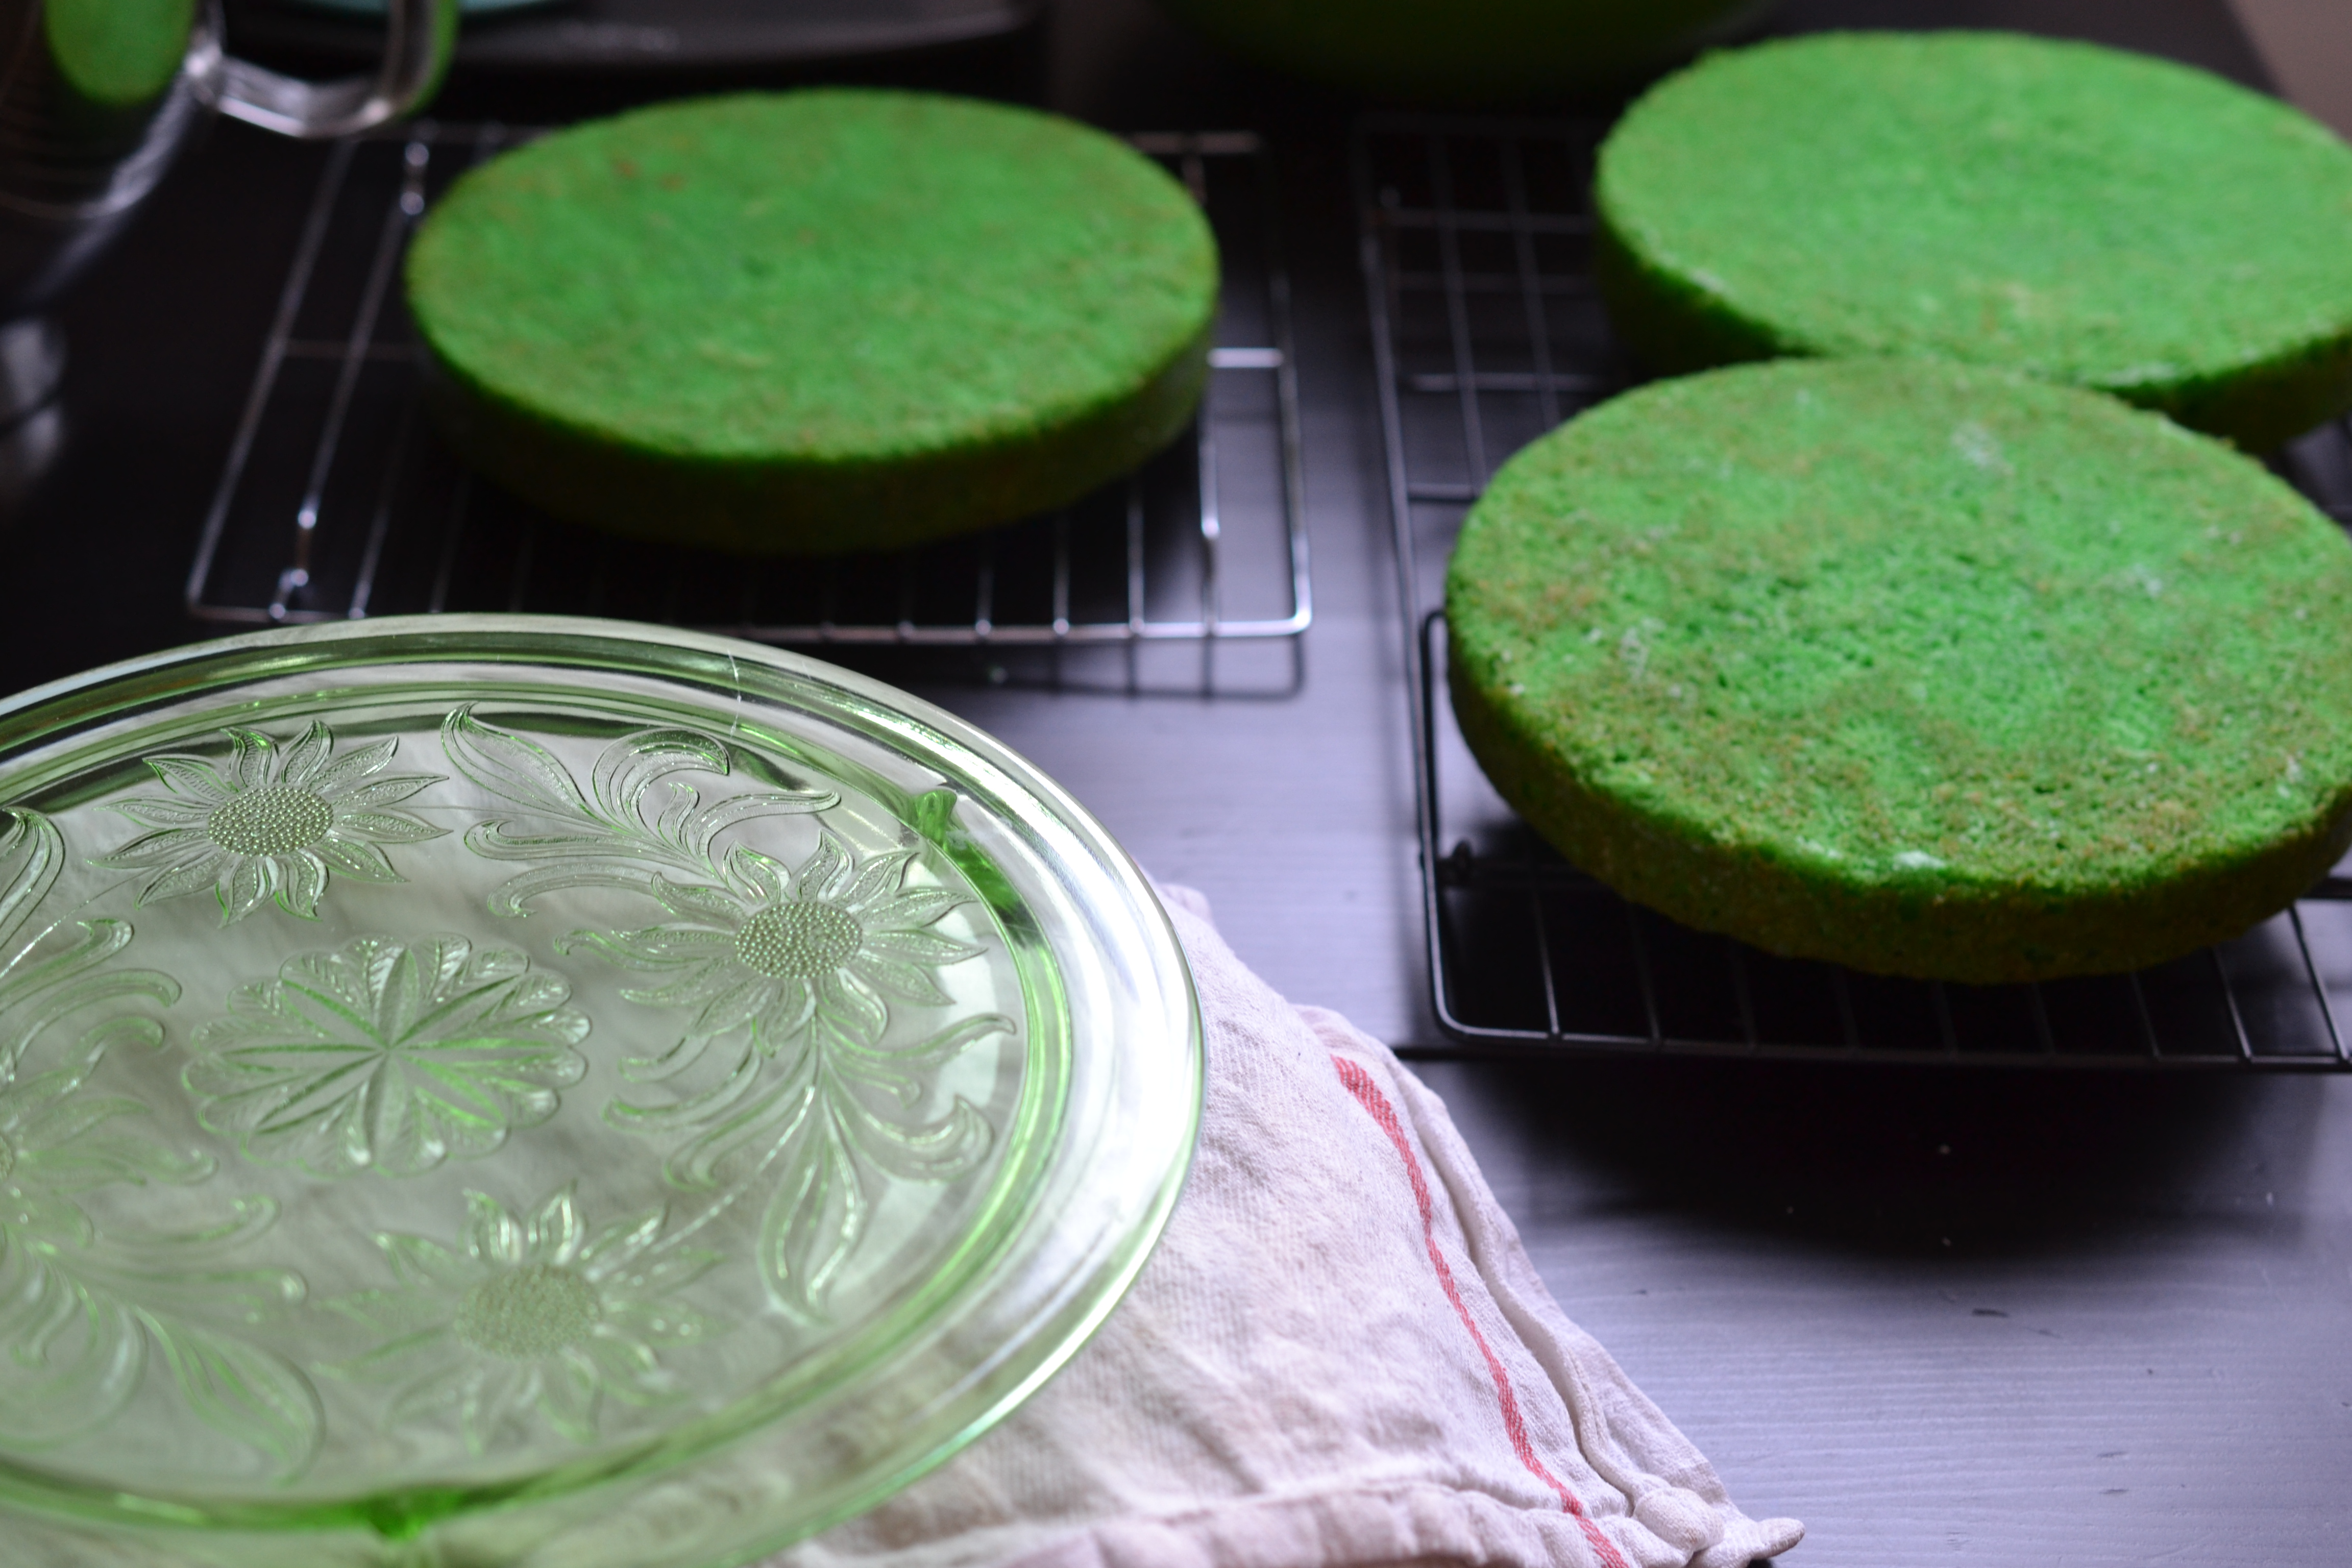
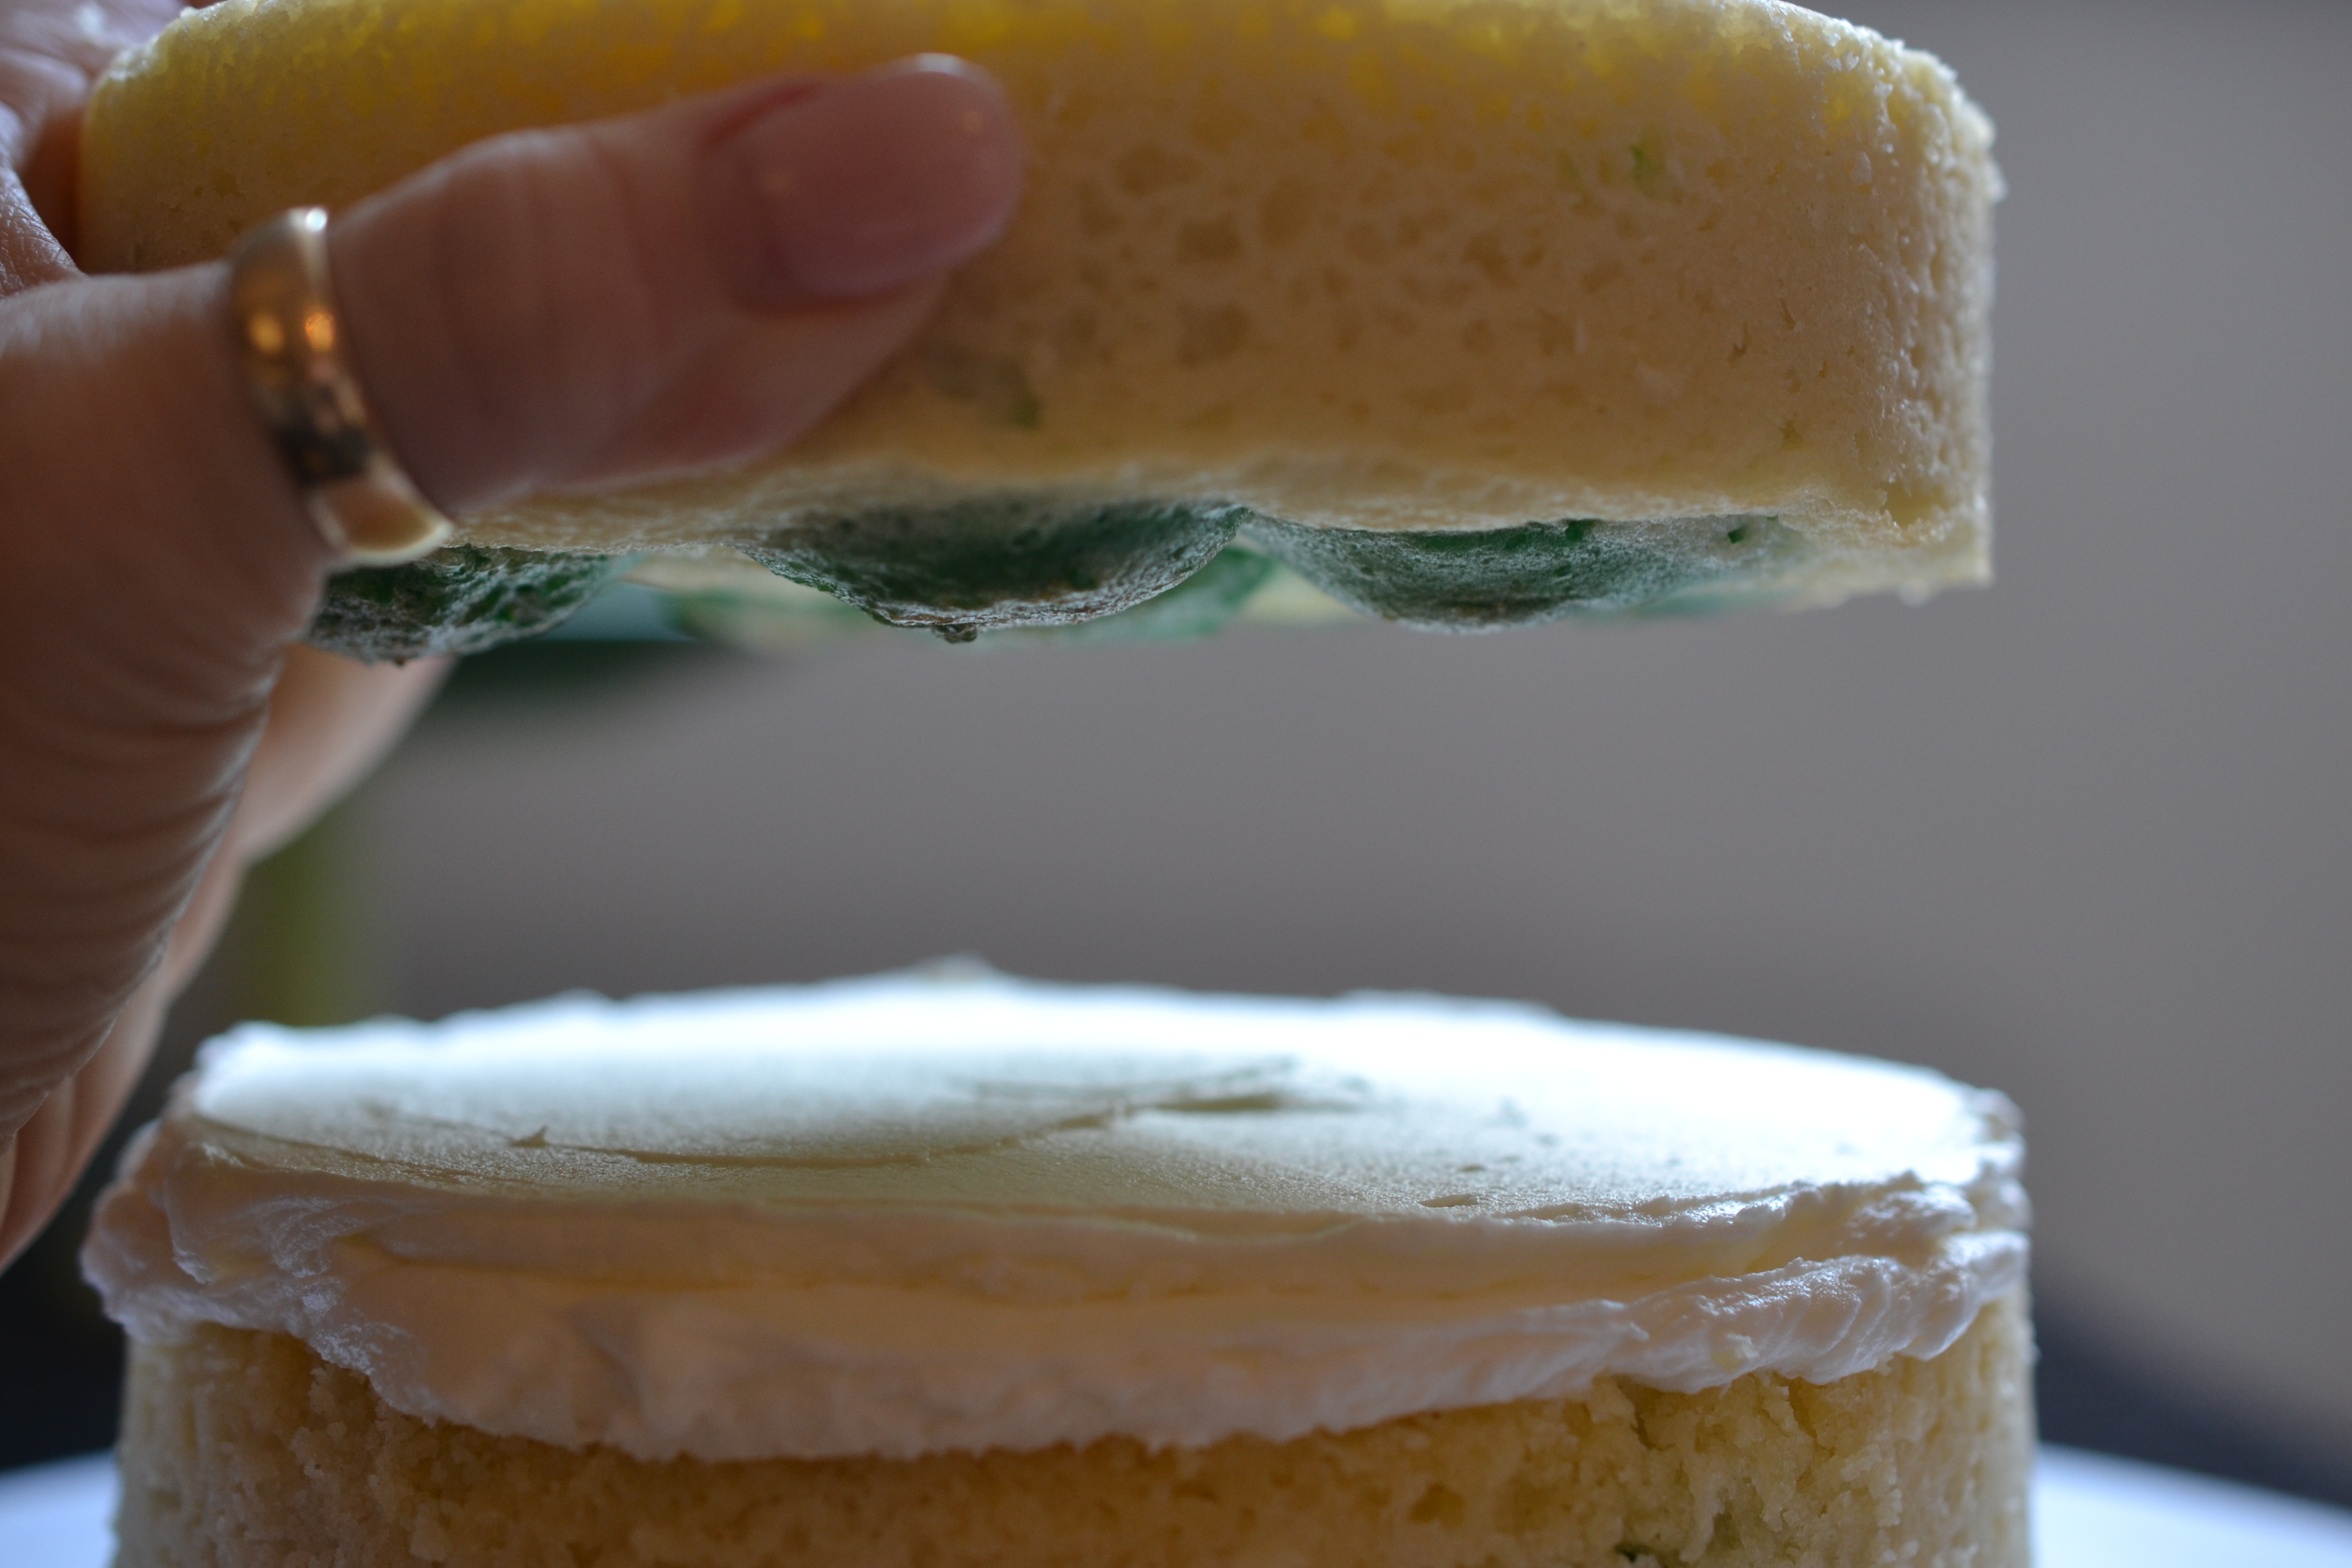
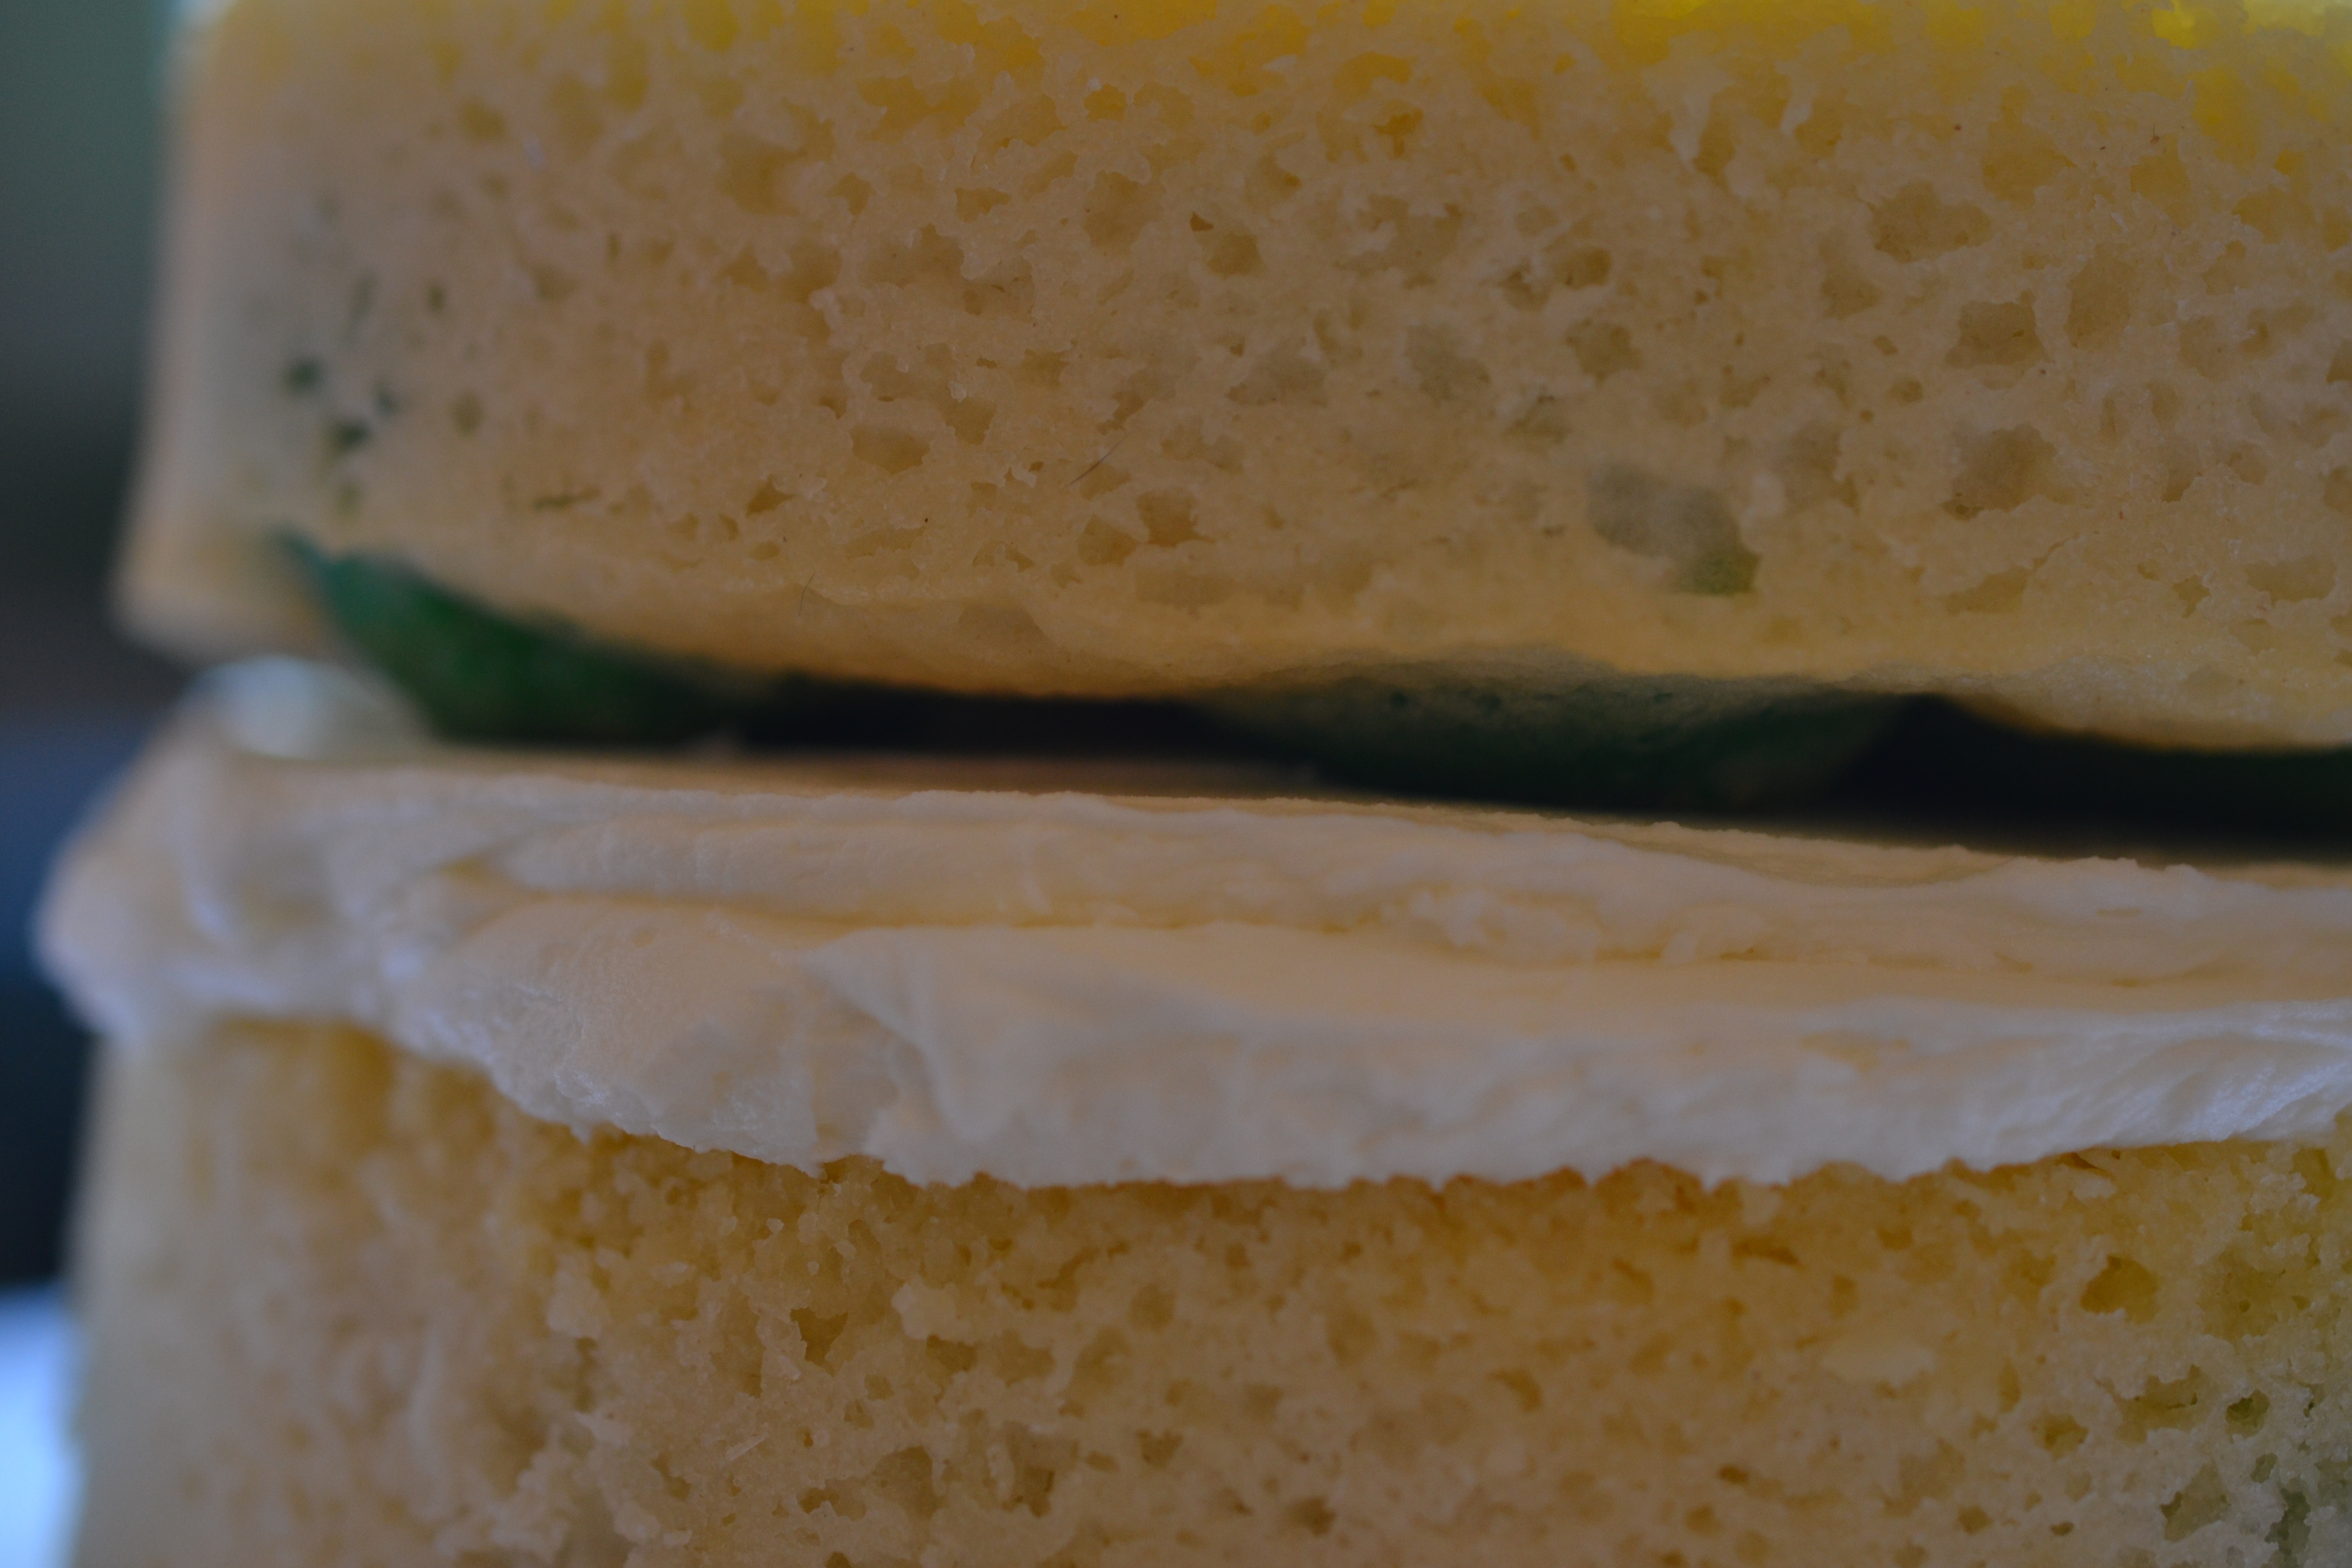
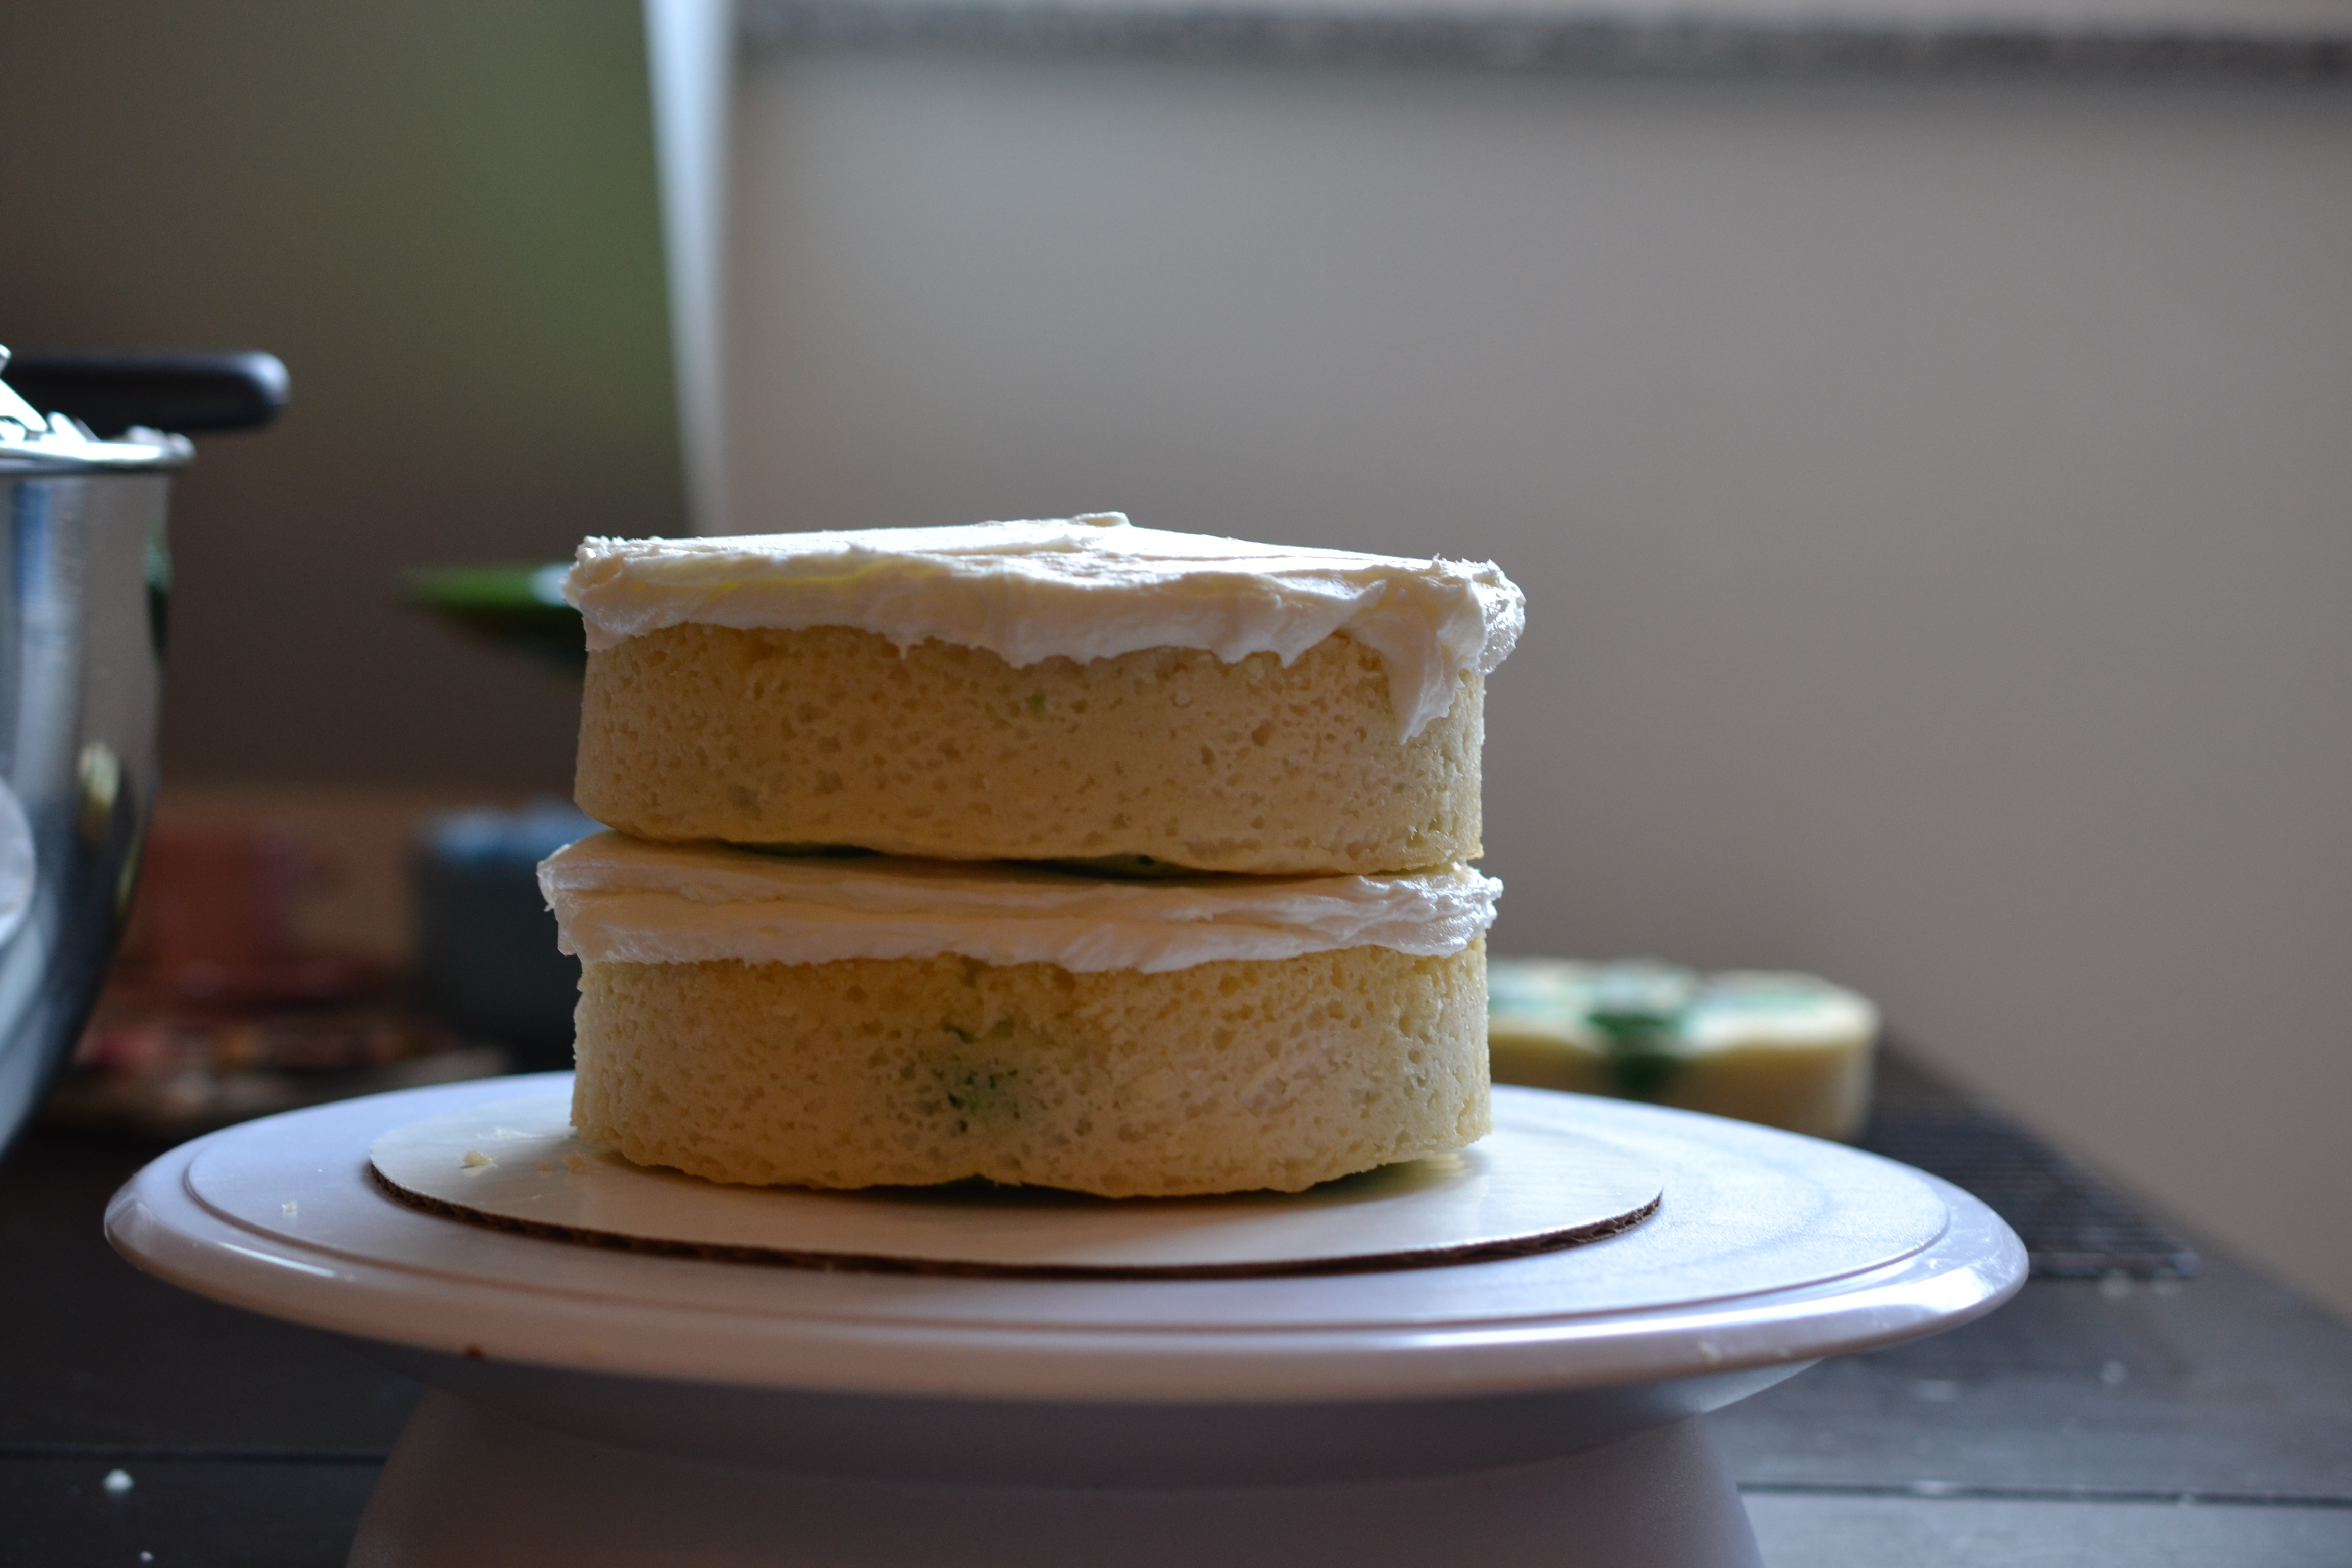
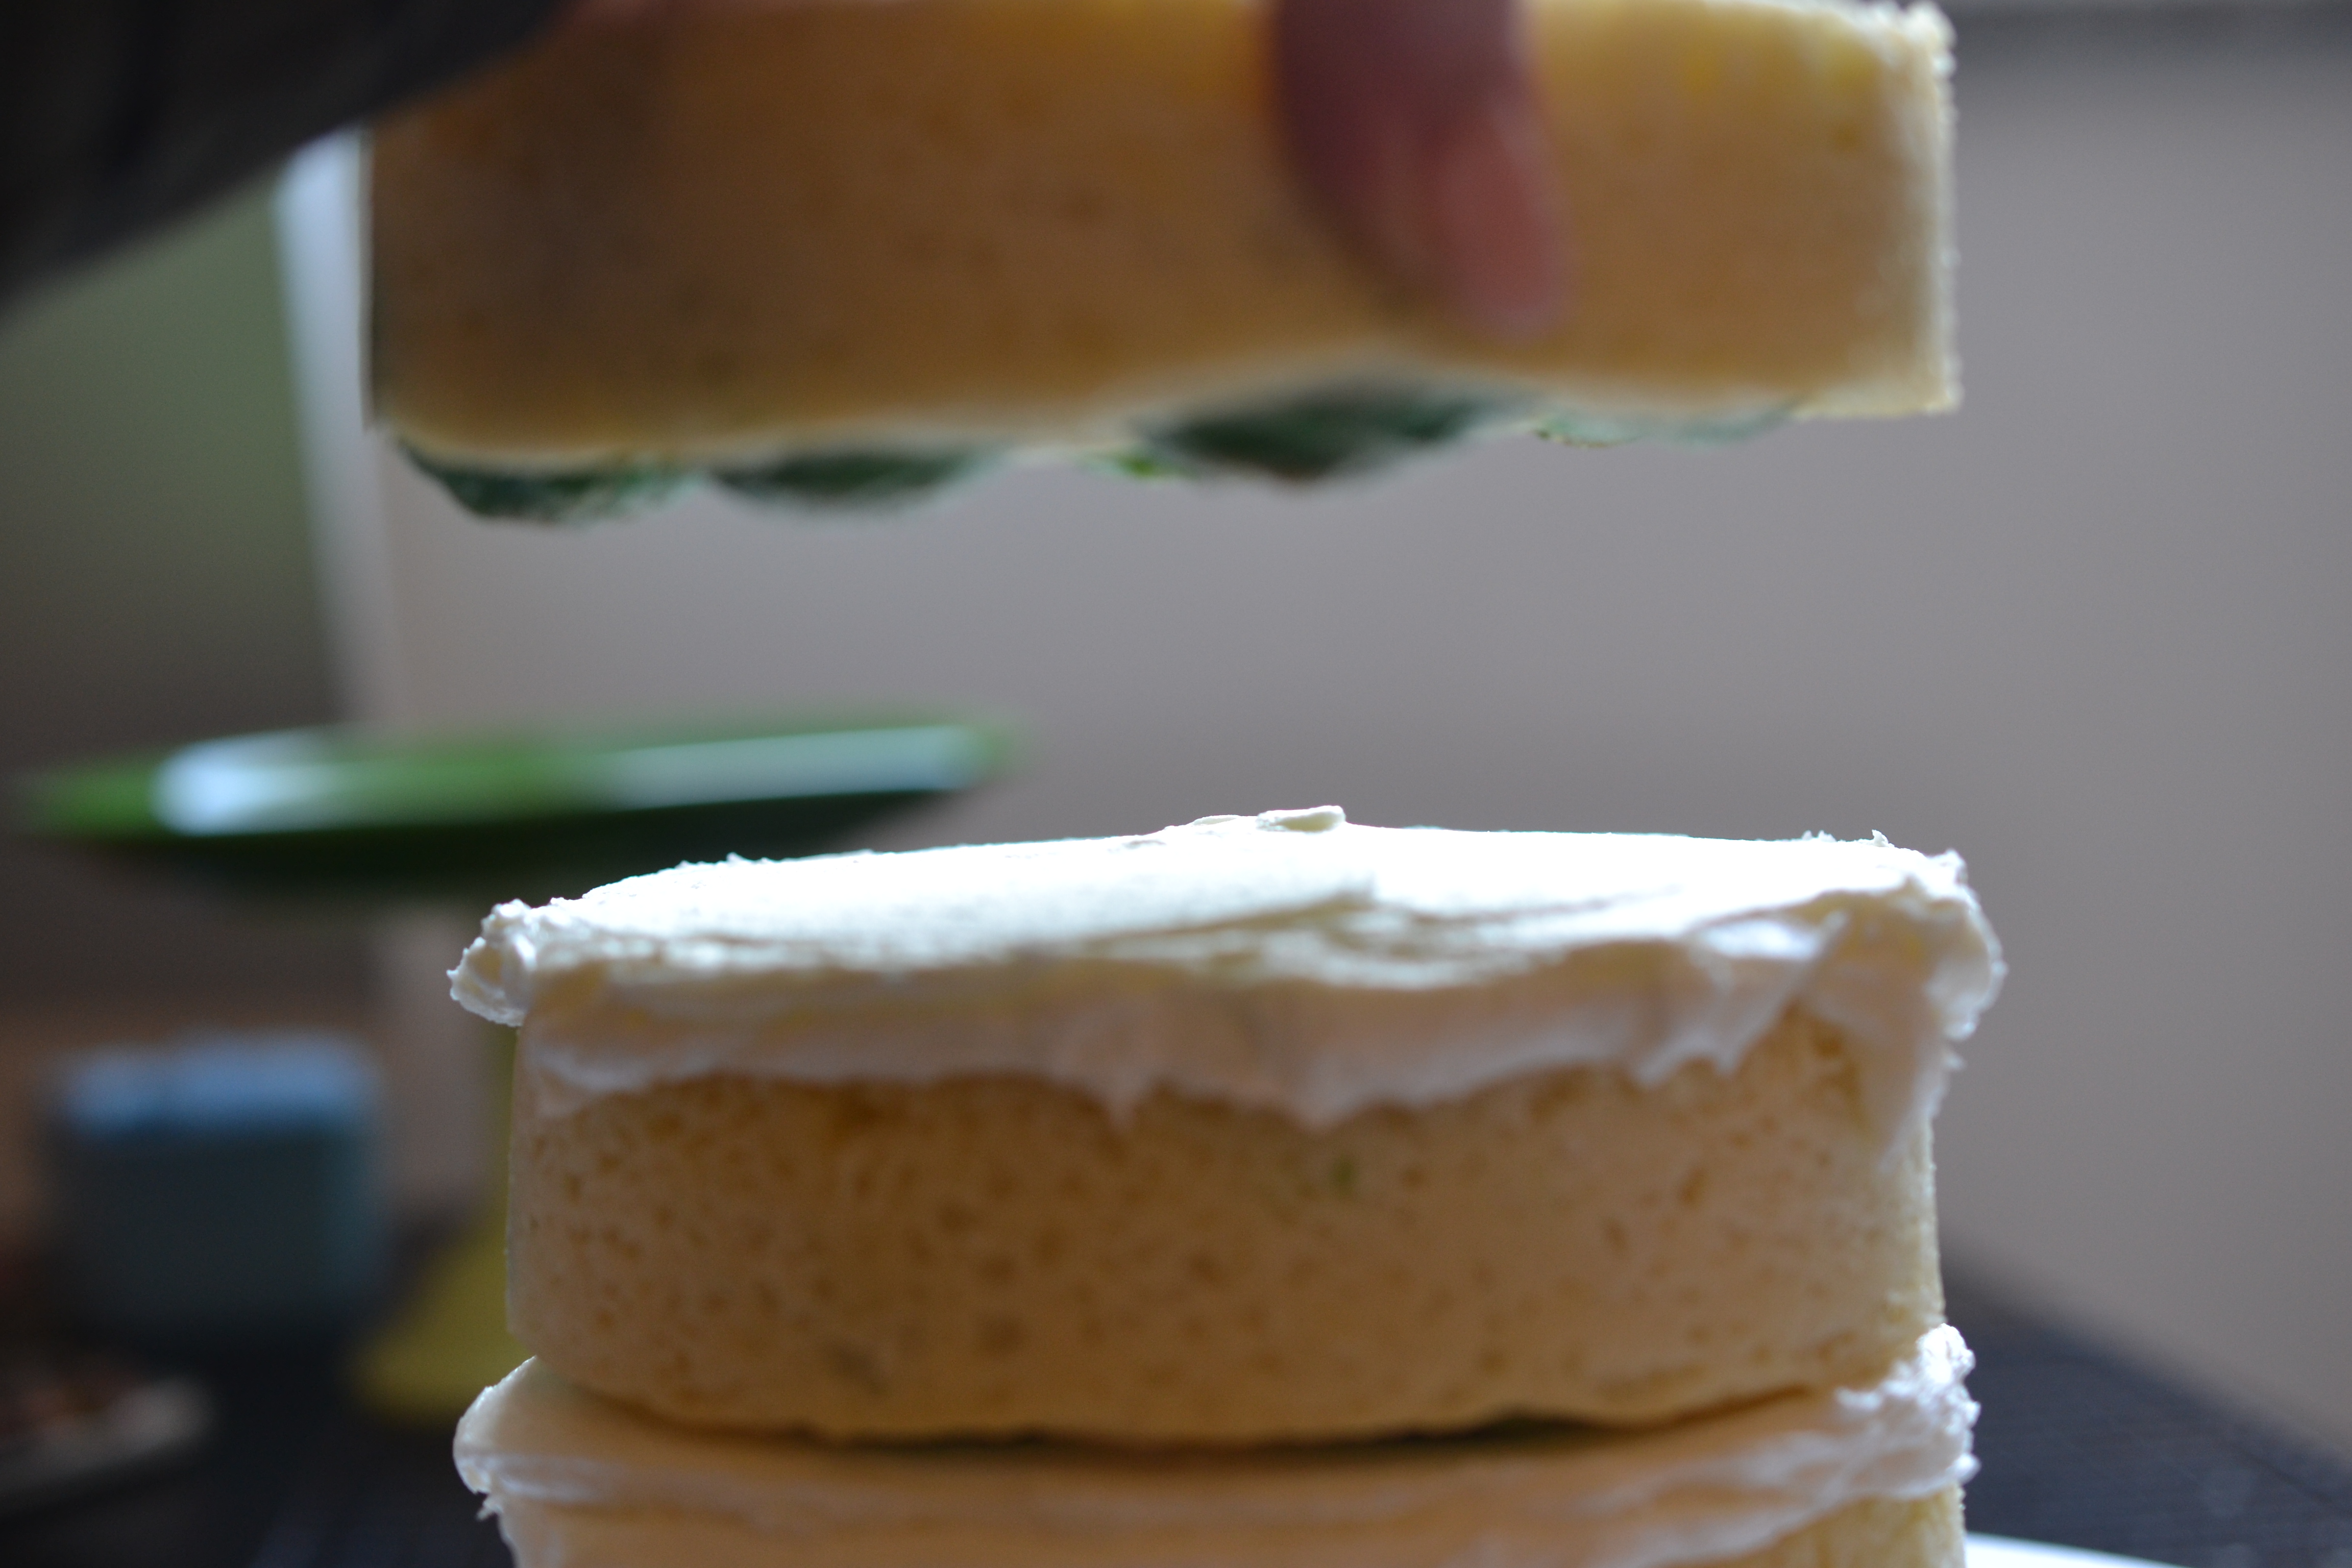
The crown of each round was brown from baking – perfectly normal. I eased it off the cake in order to alleviate the thin brown line between the green cake and the white filling. In the past I’ve used Pistachio pudding and whipped cream to fill between the layers – it’s delicious and recommended. On this day, I didn’t have a pudding mix.
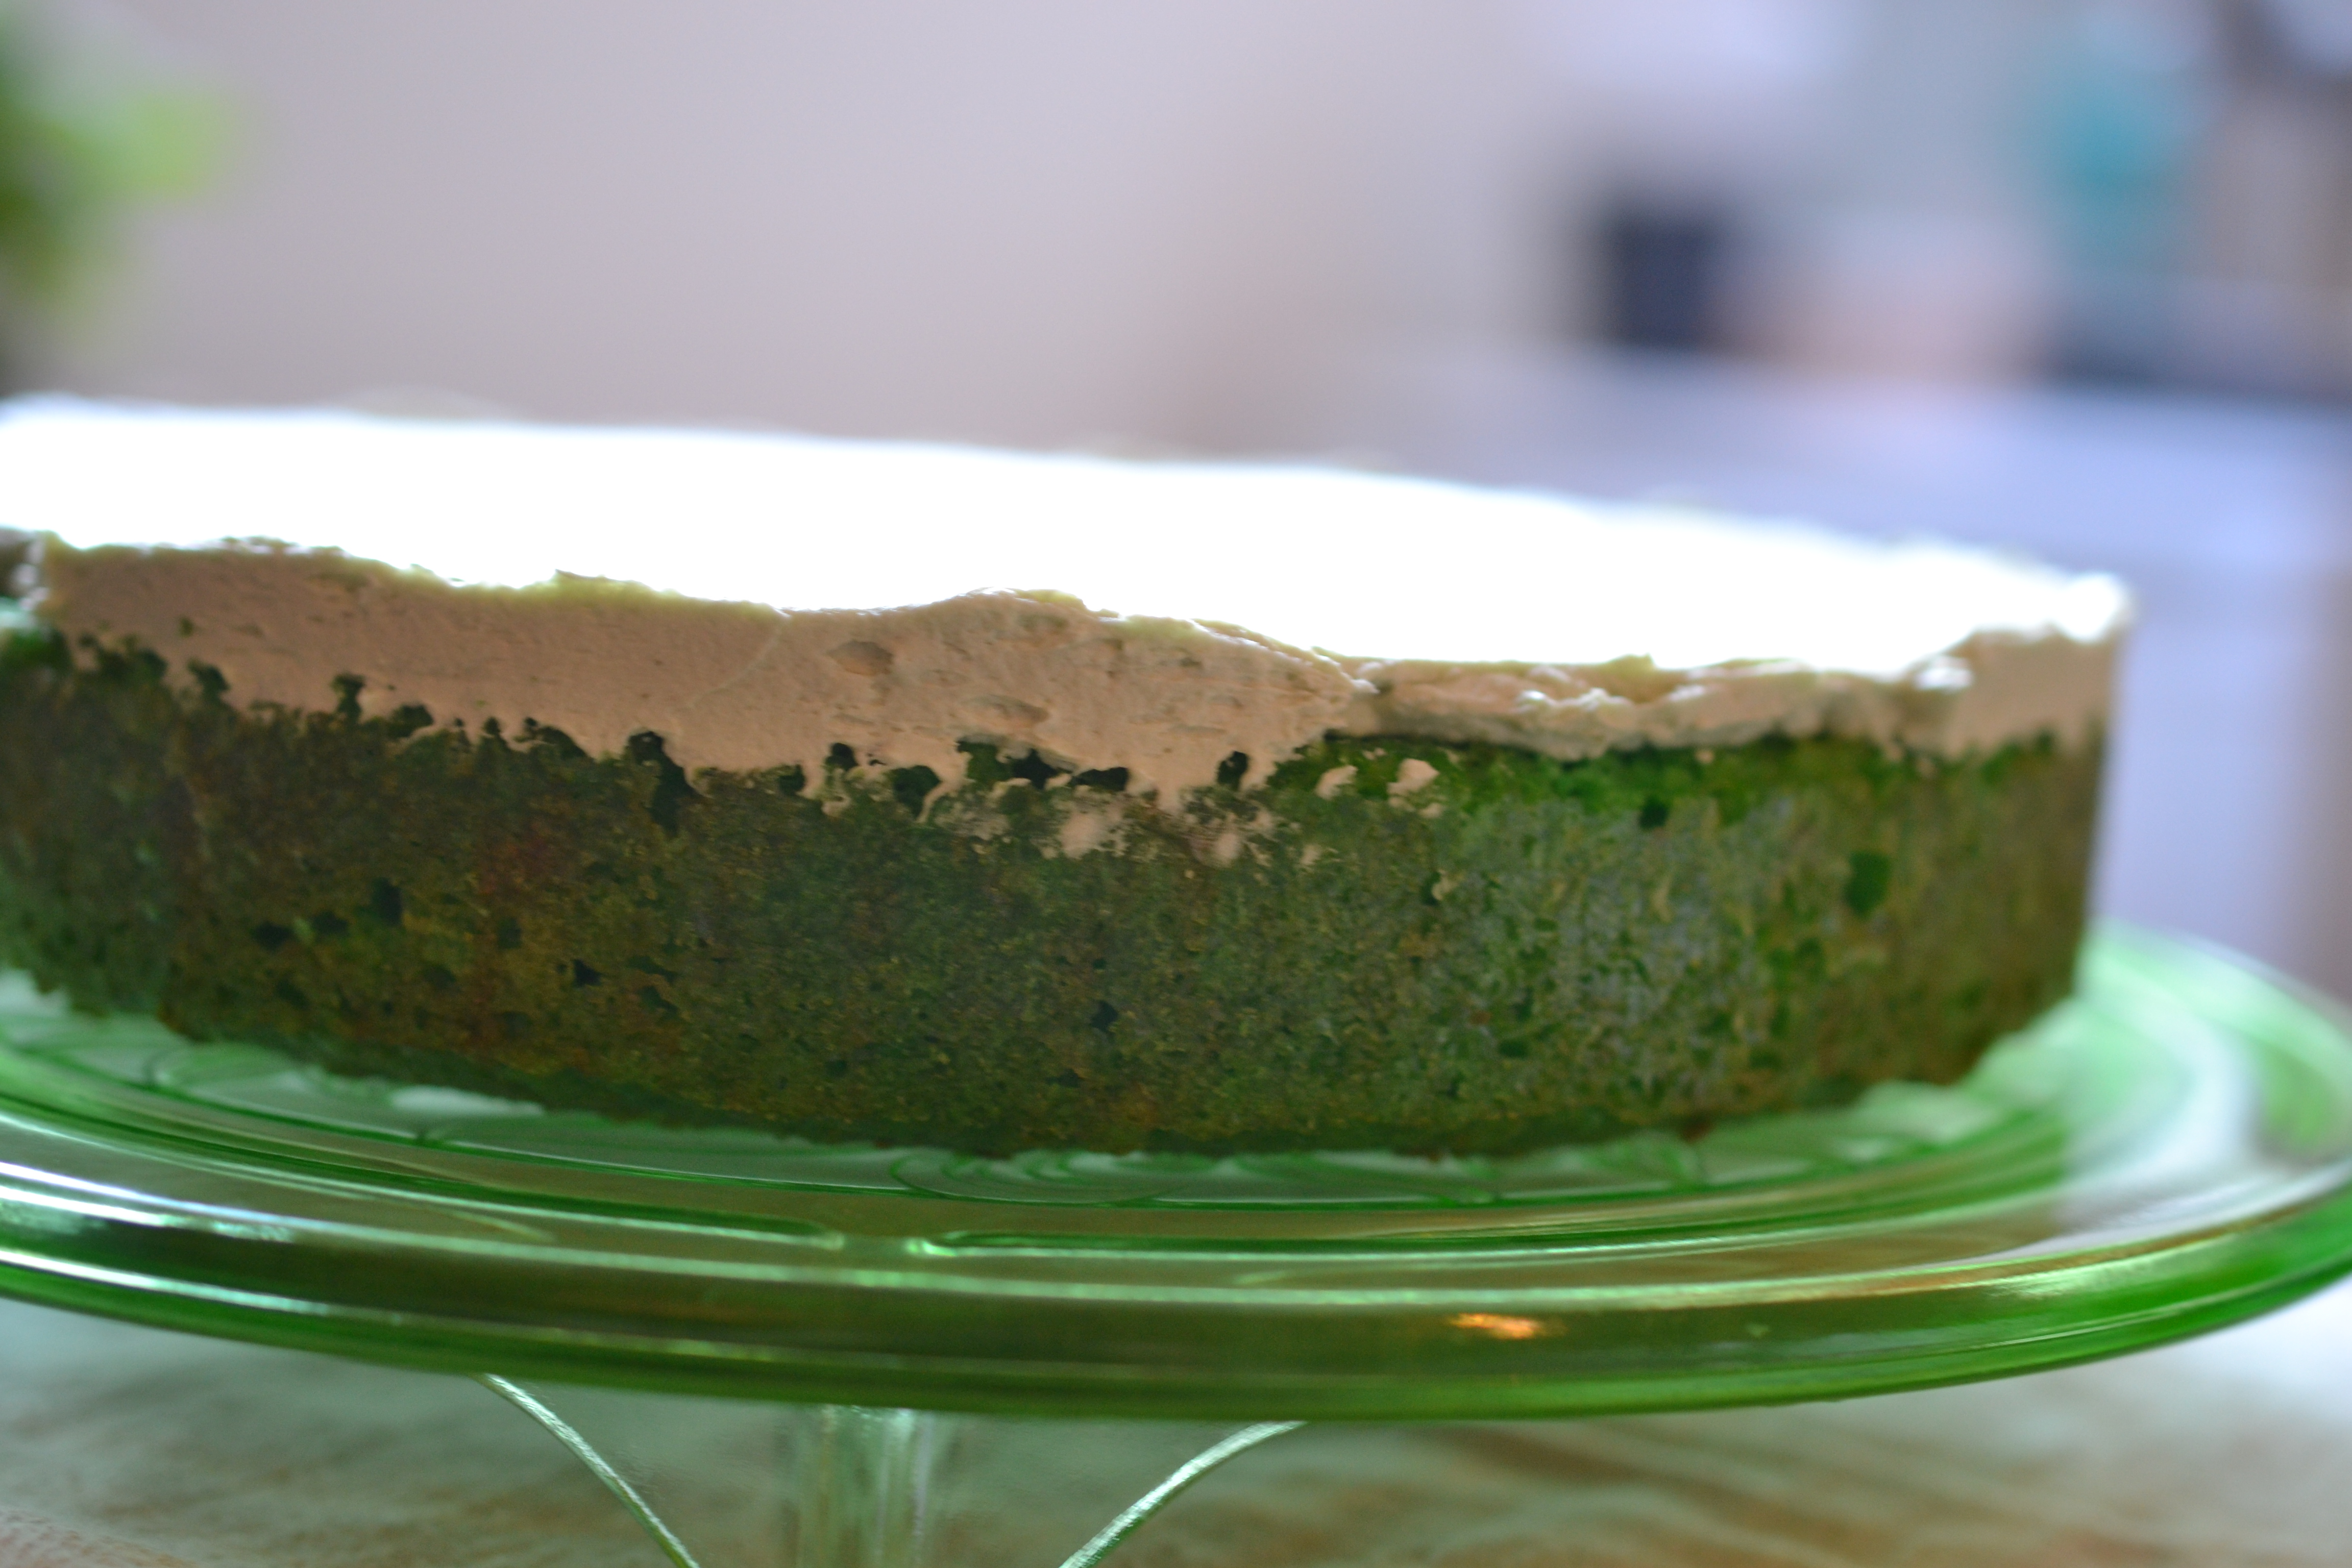
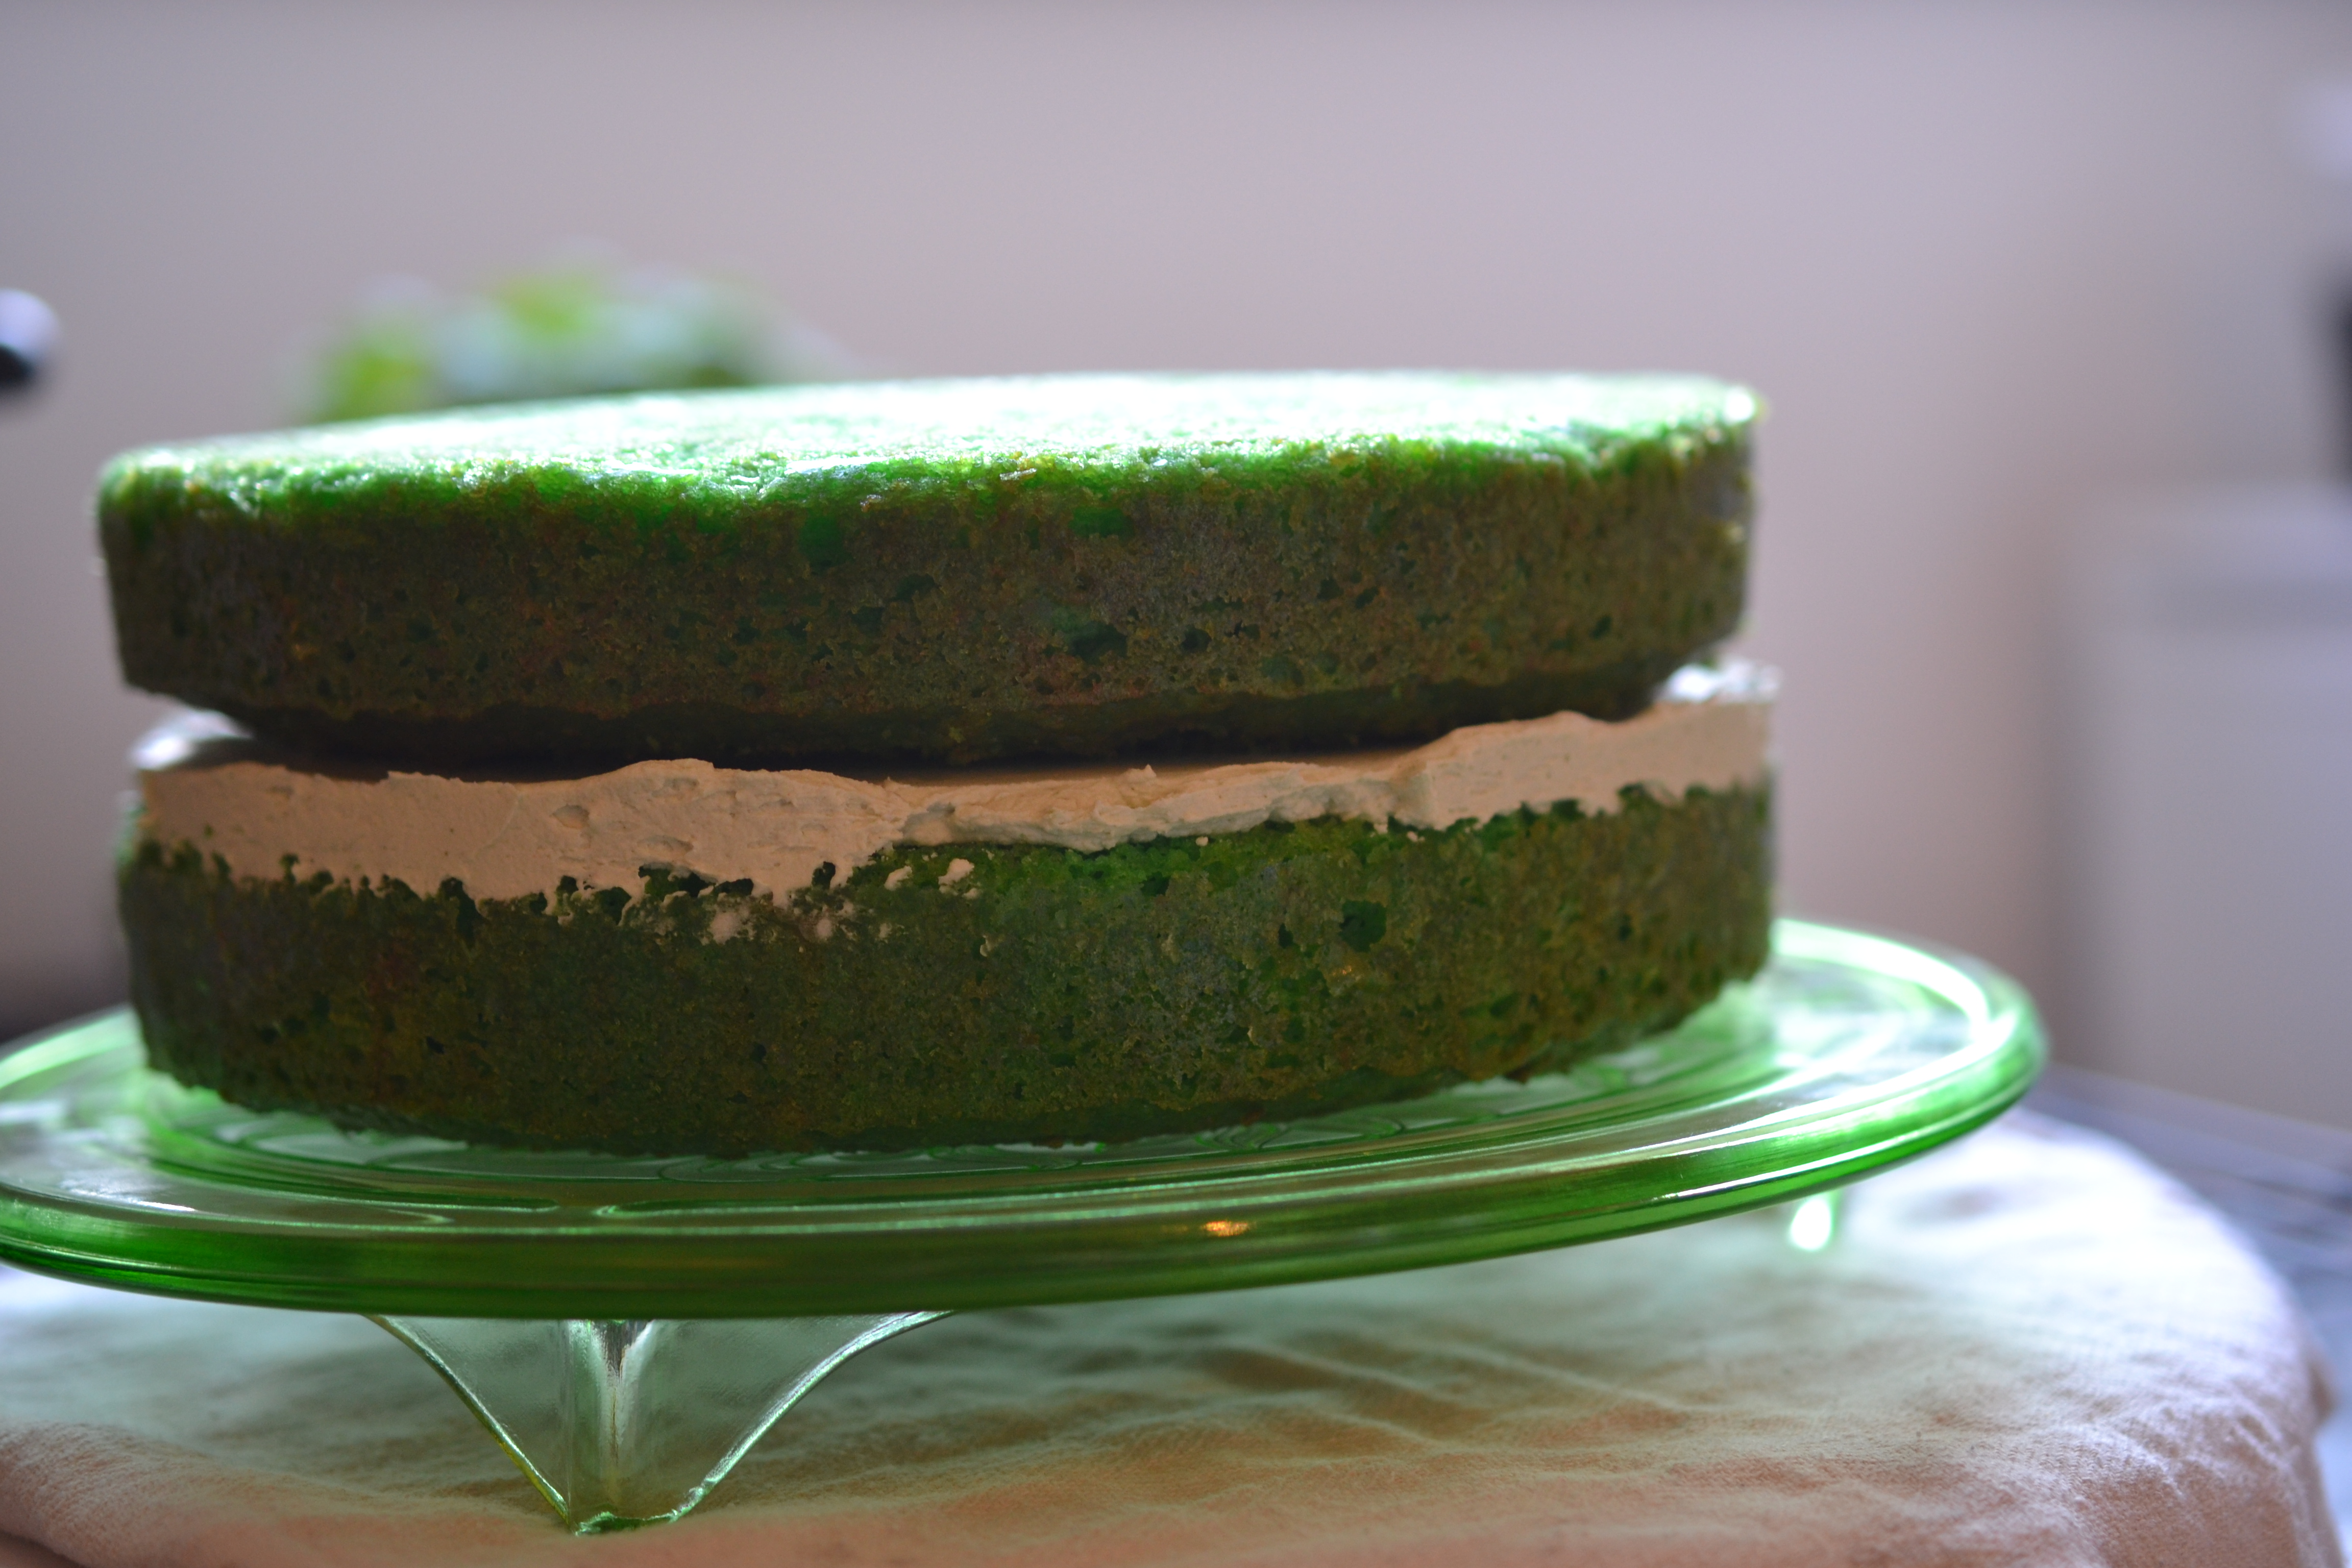

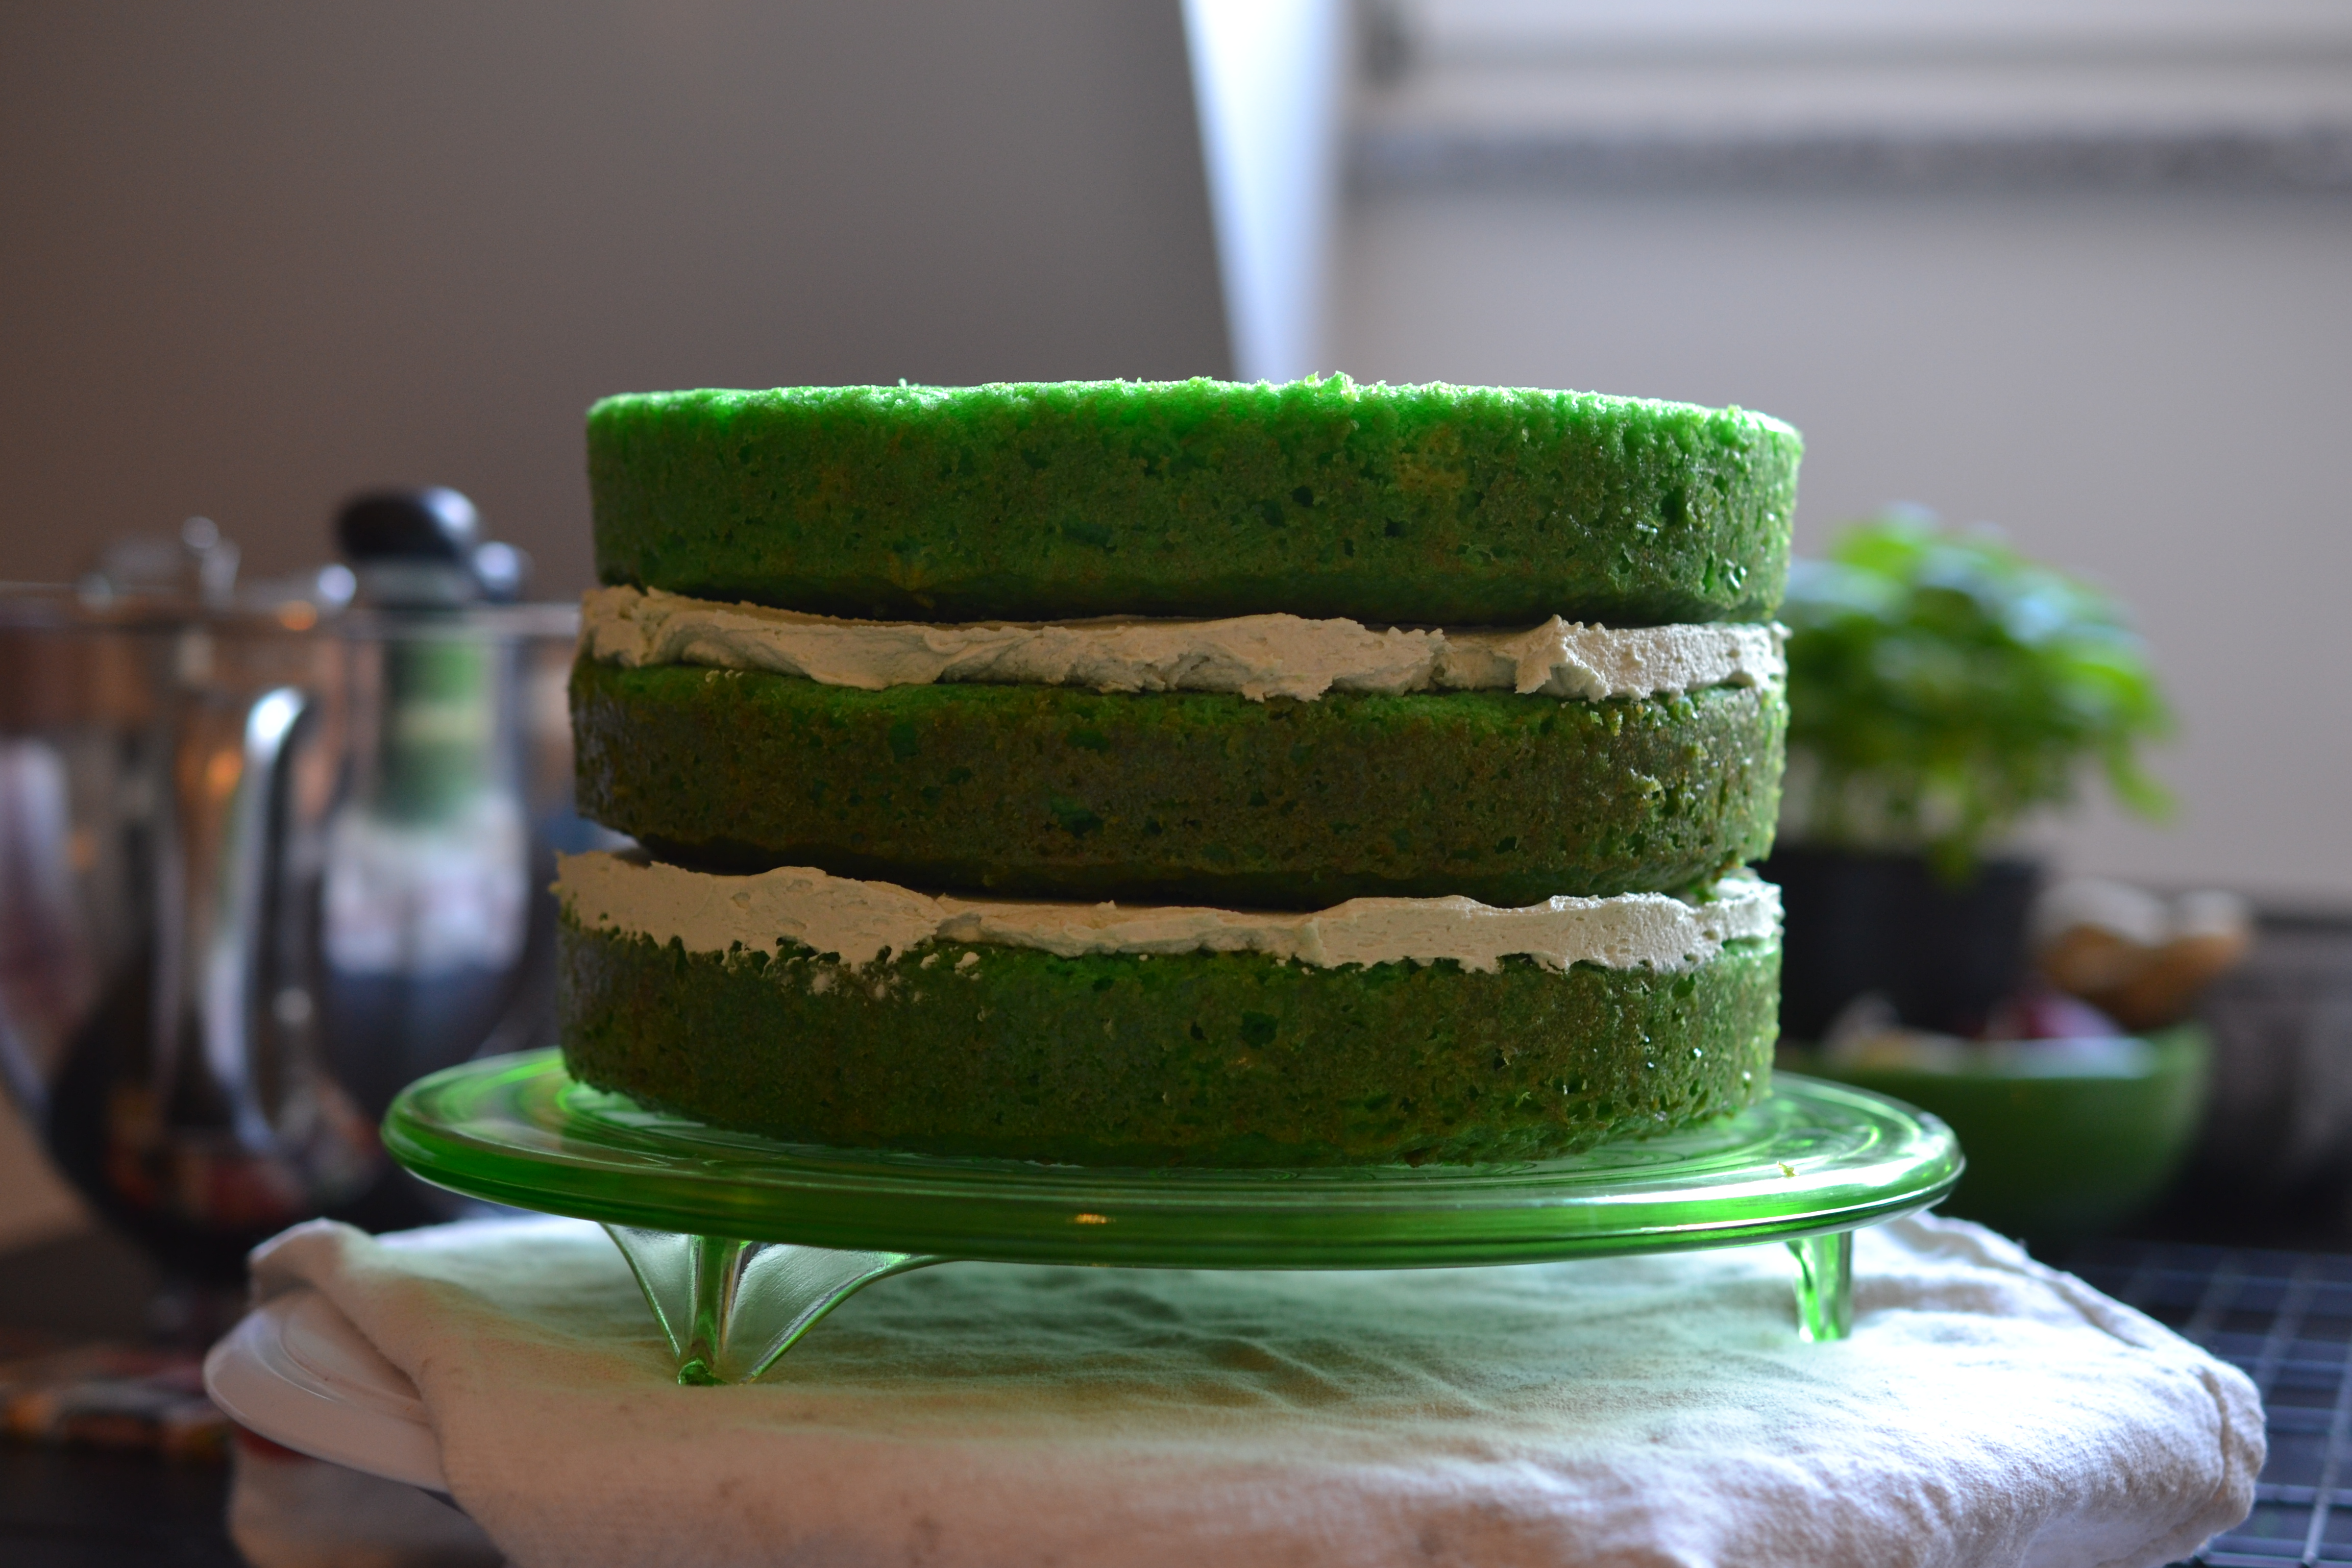
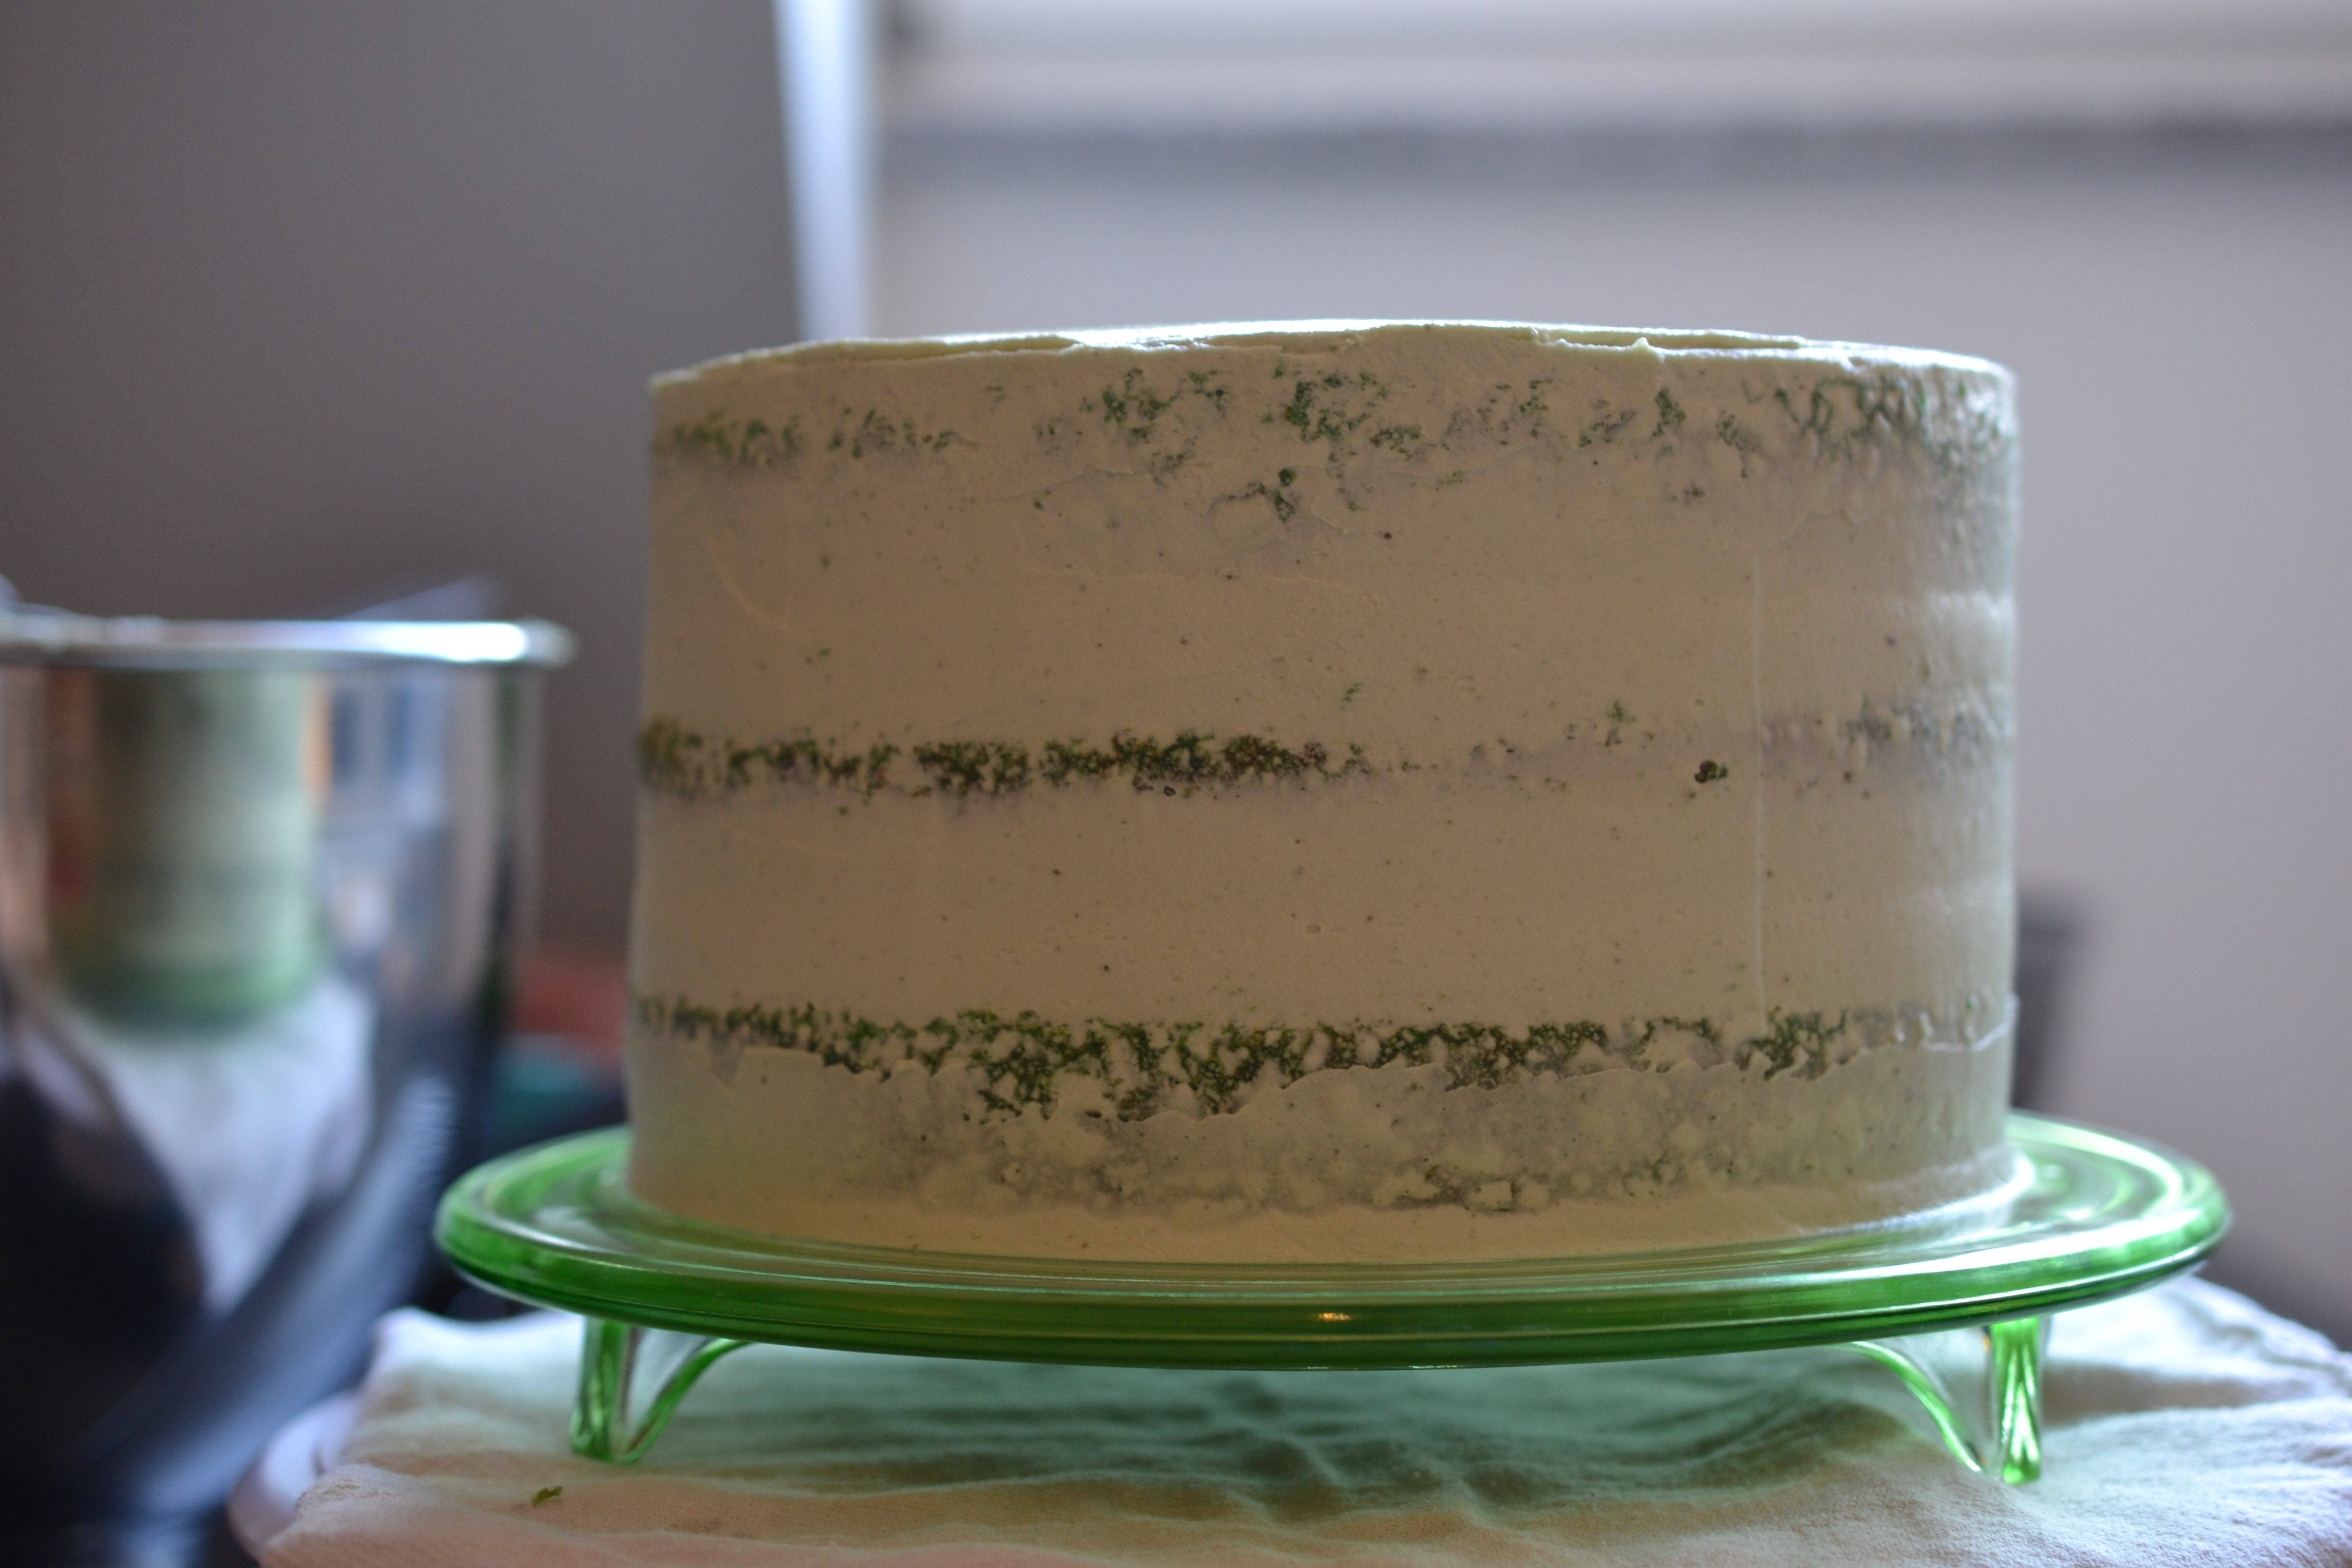
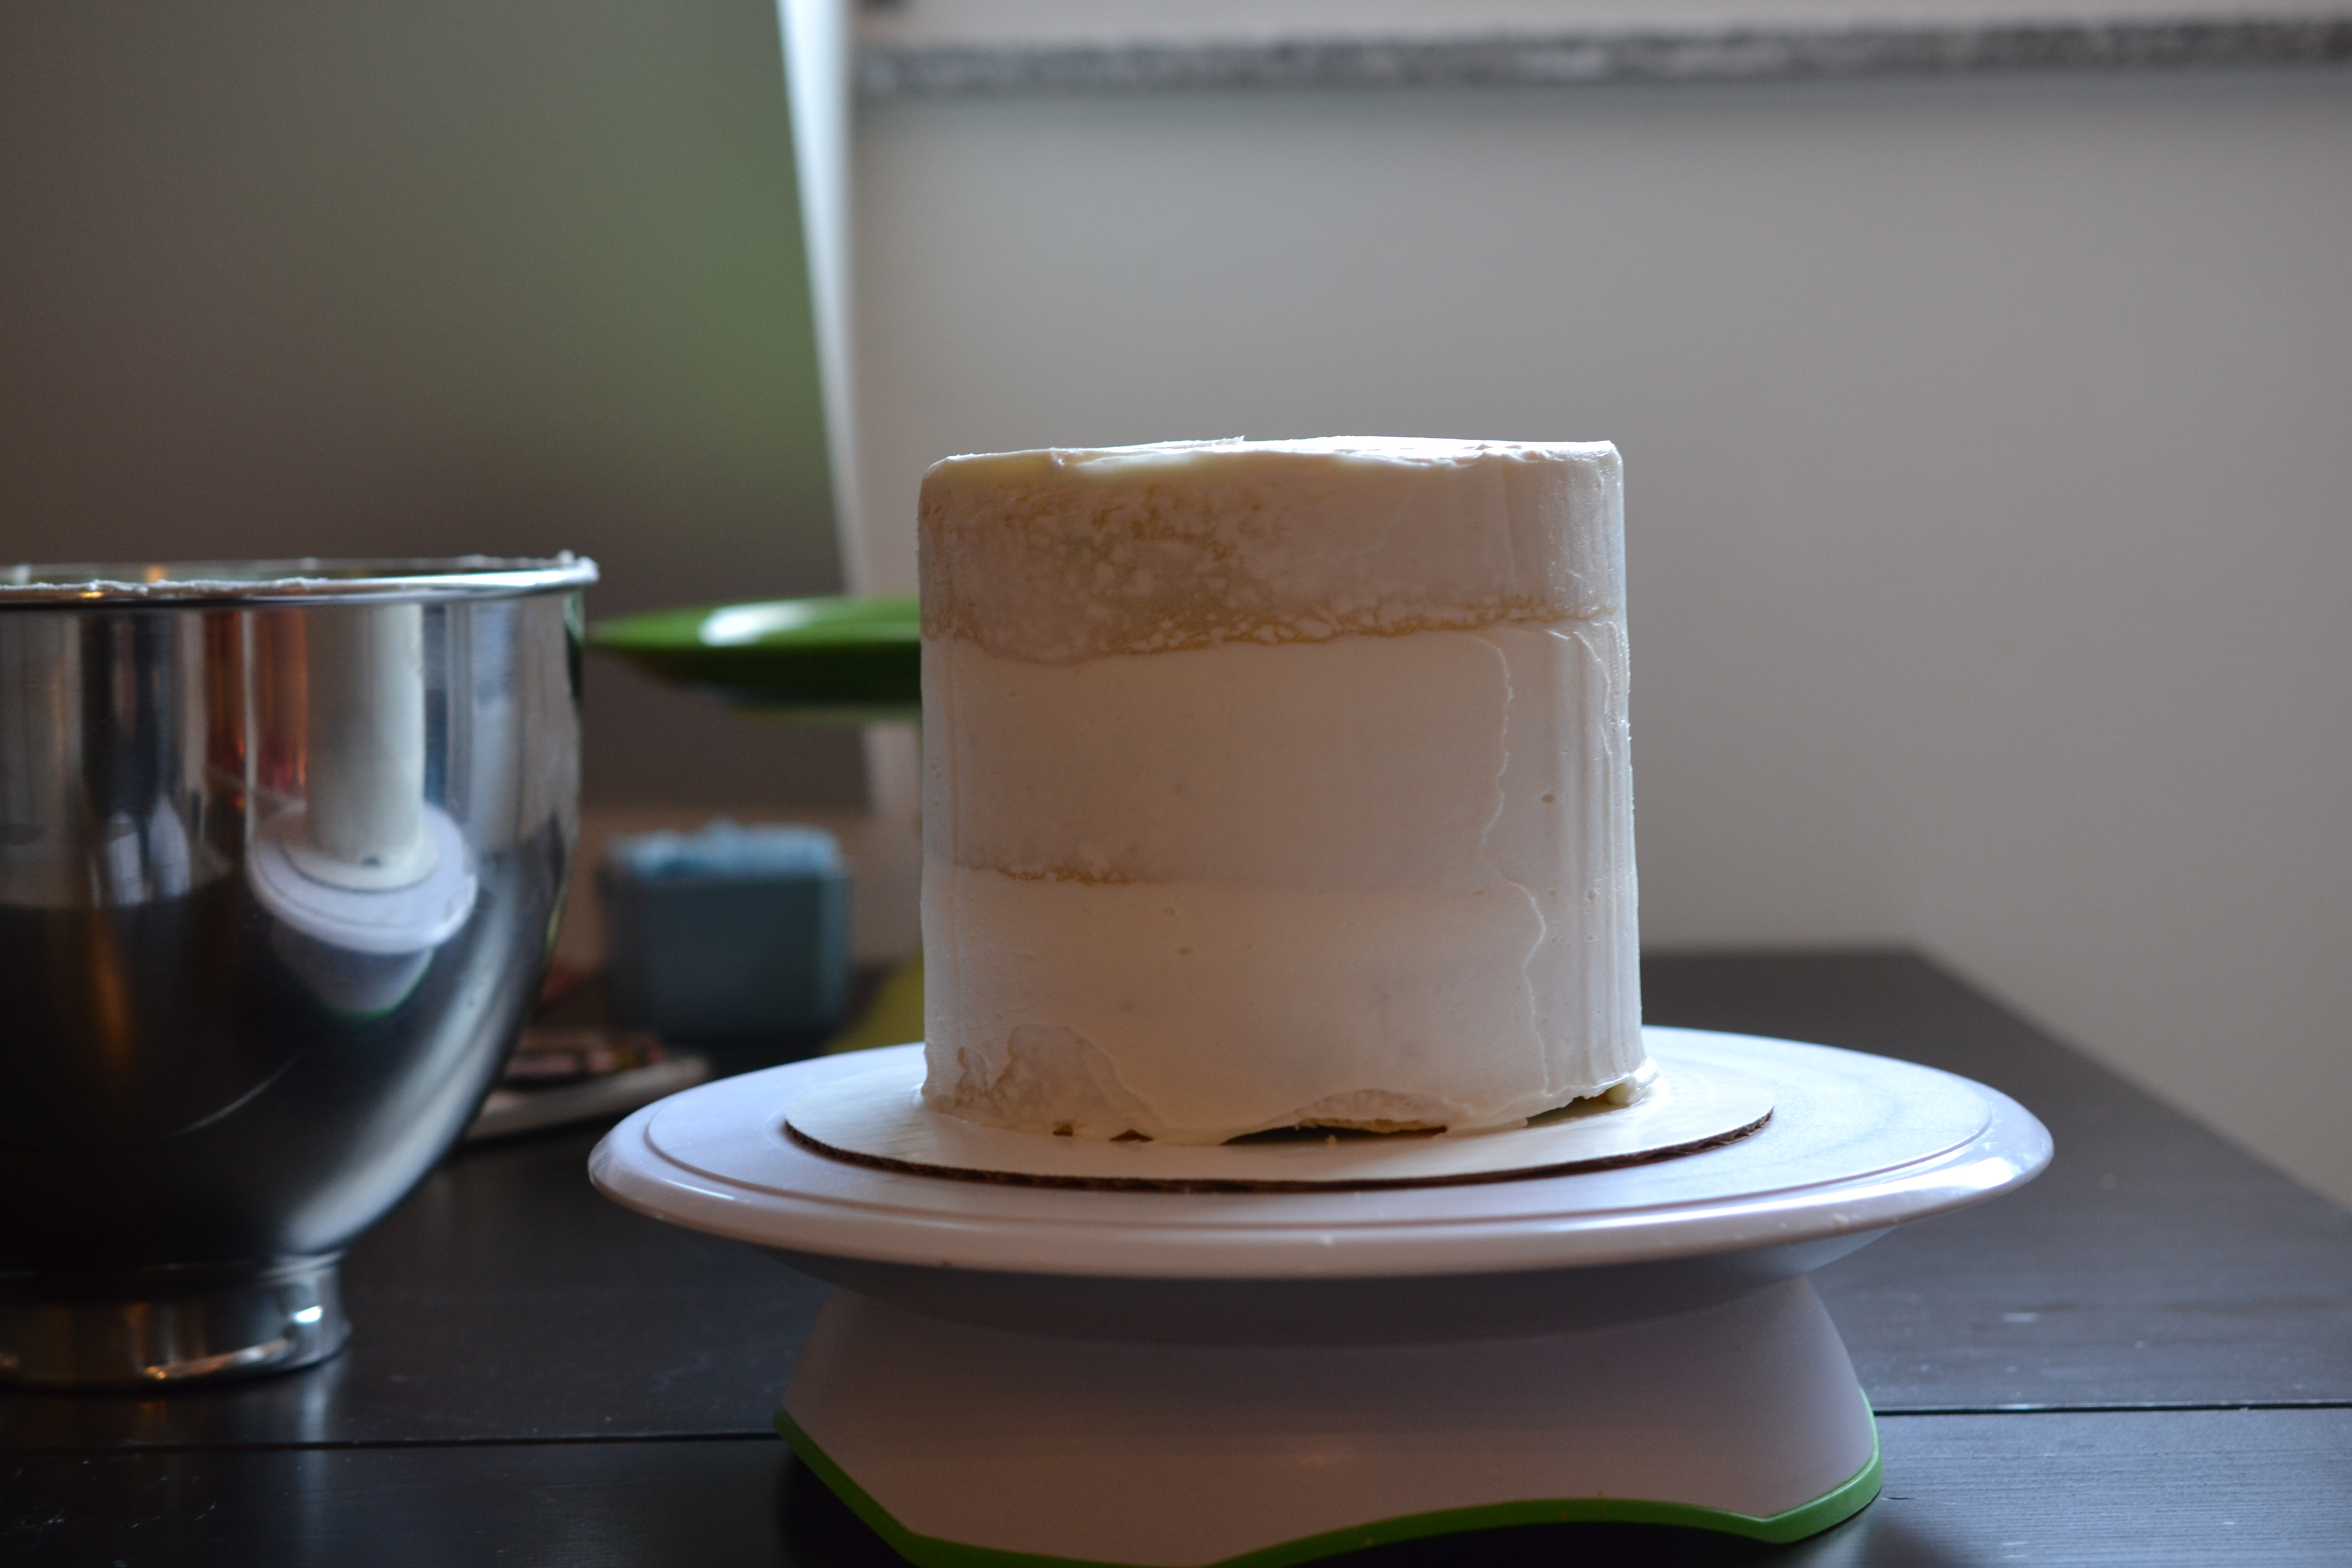
Into the fridge to firm up and time to whip together more buttercream.
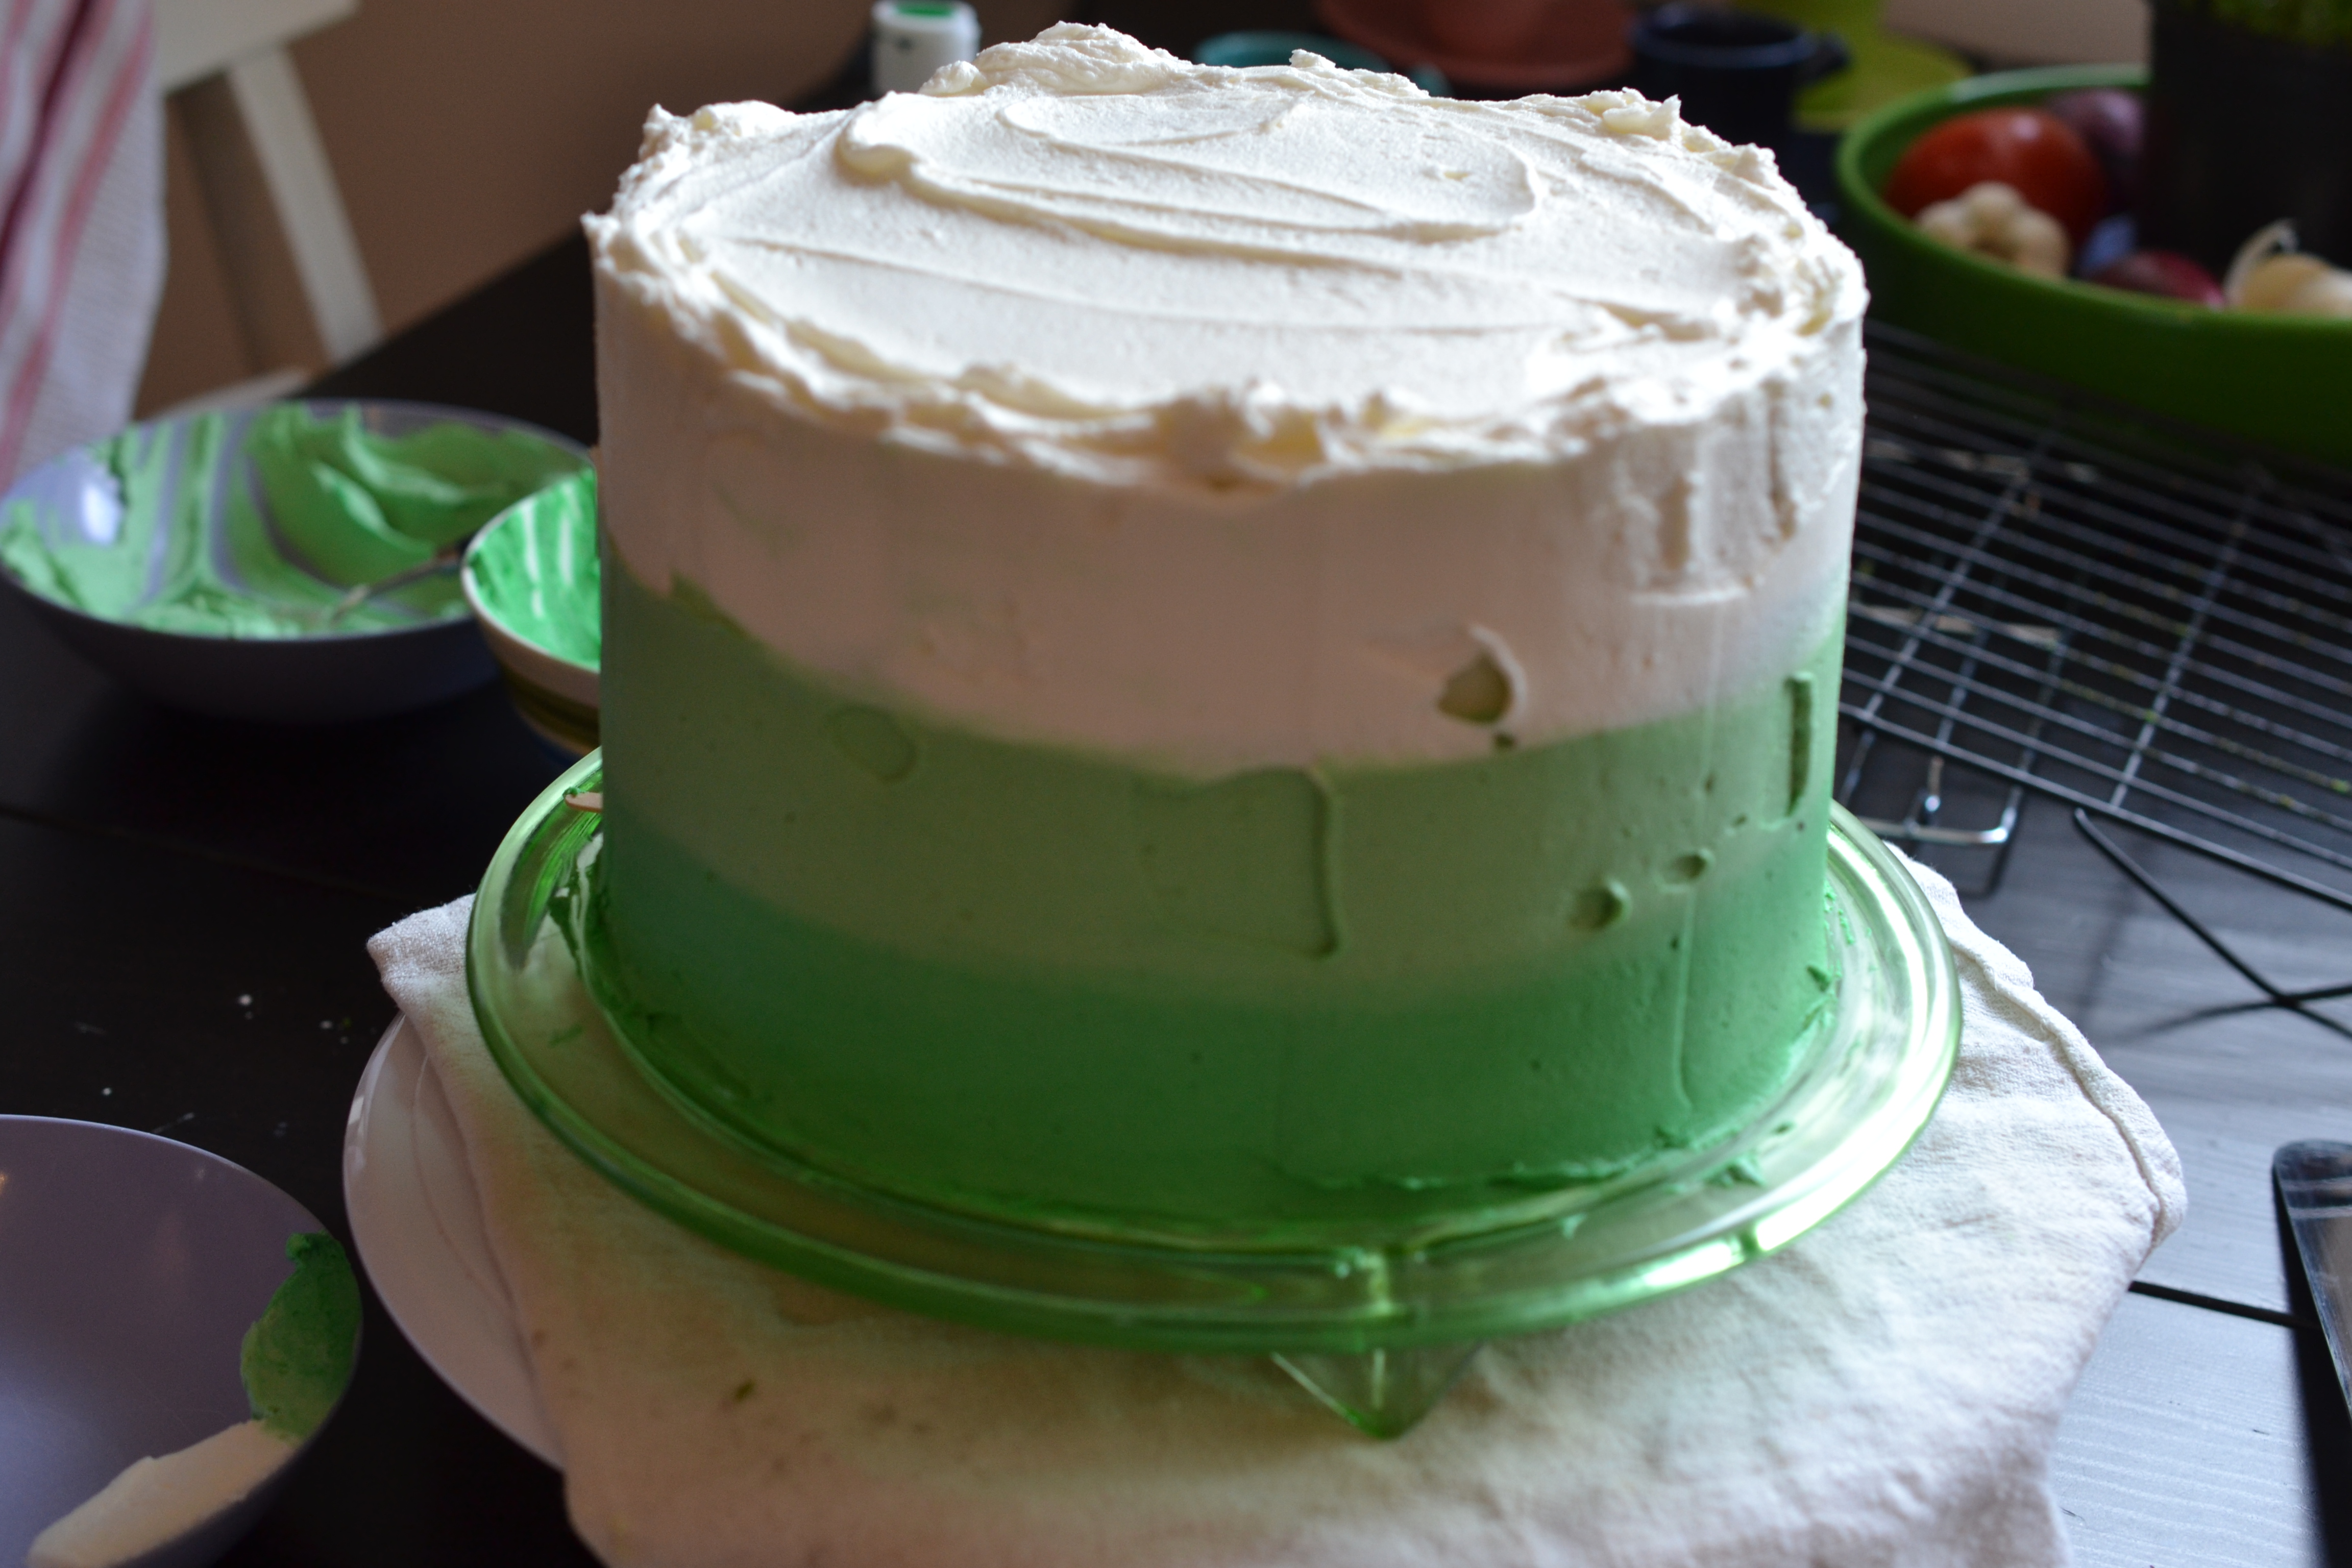
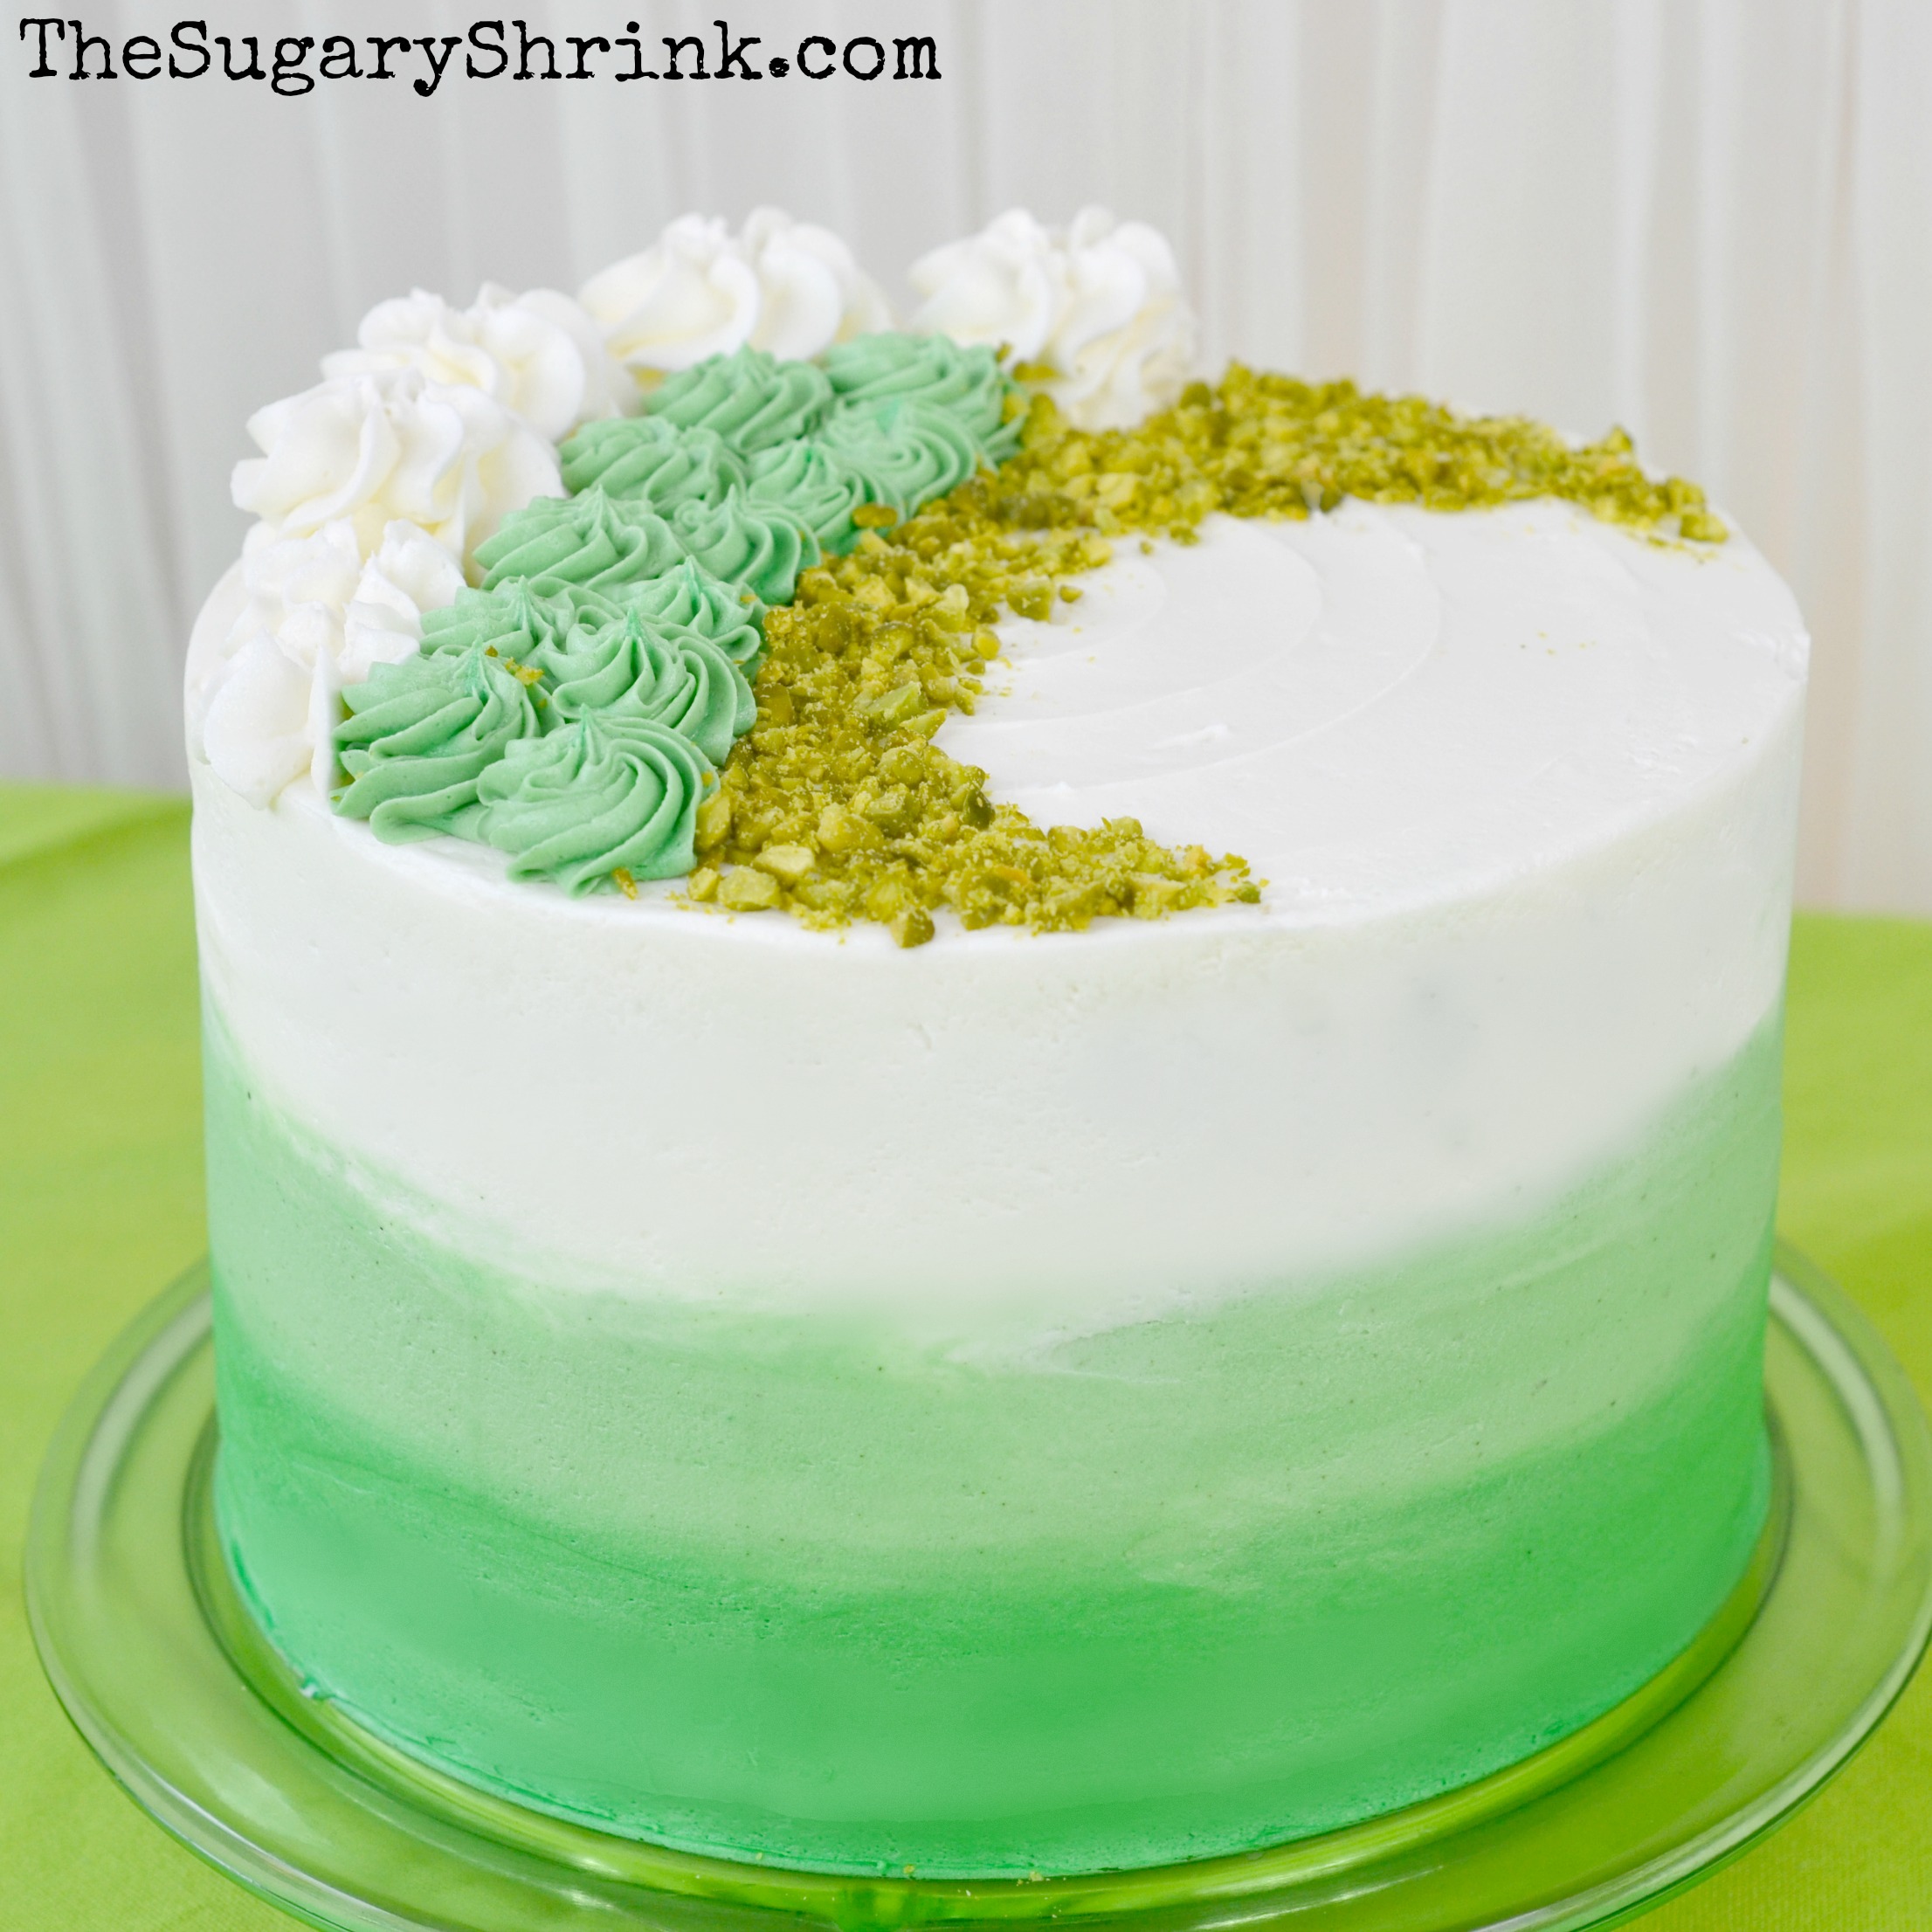
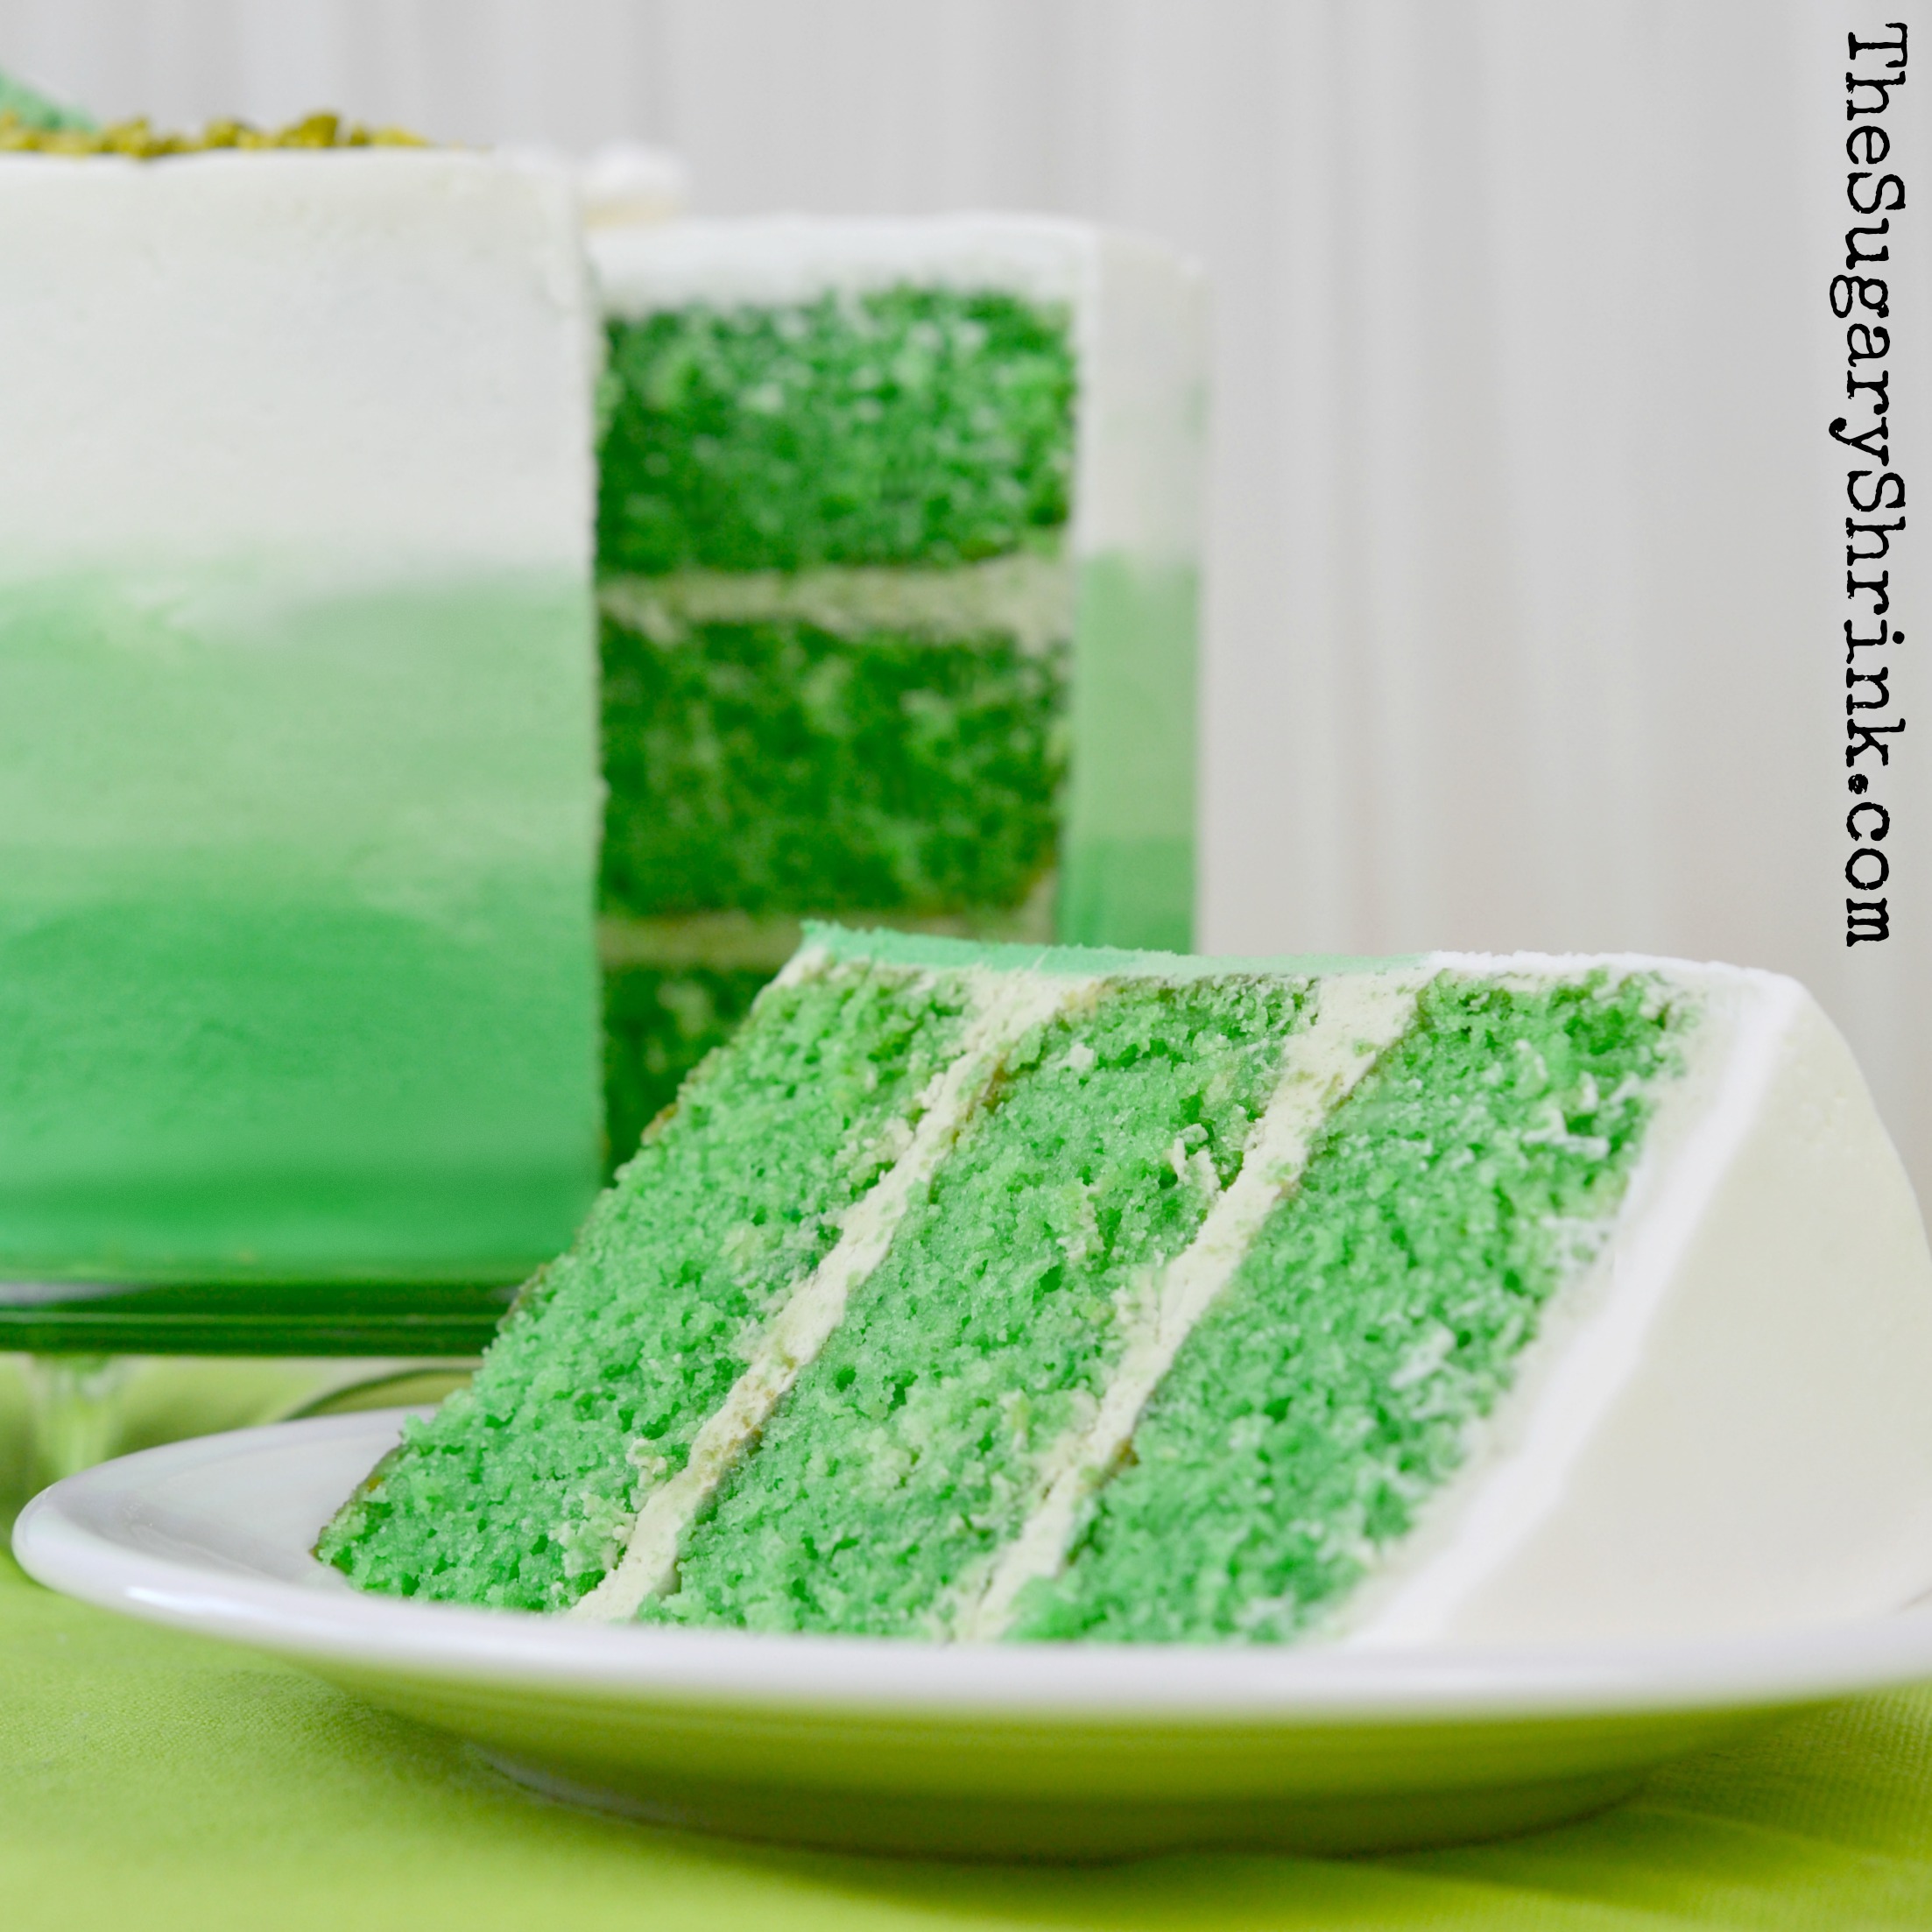
I was very happy with the results of this cake. And it tasted so good!
I’m so glad I got to share this parade of cakes with you.
And now, my own parade… the people I’m grateful for and love with all my heart.