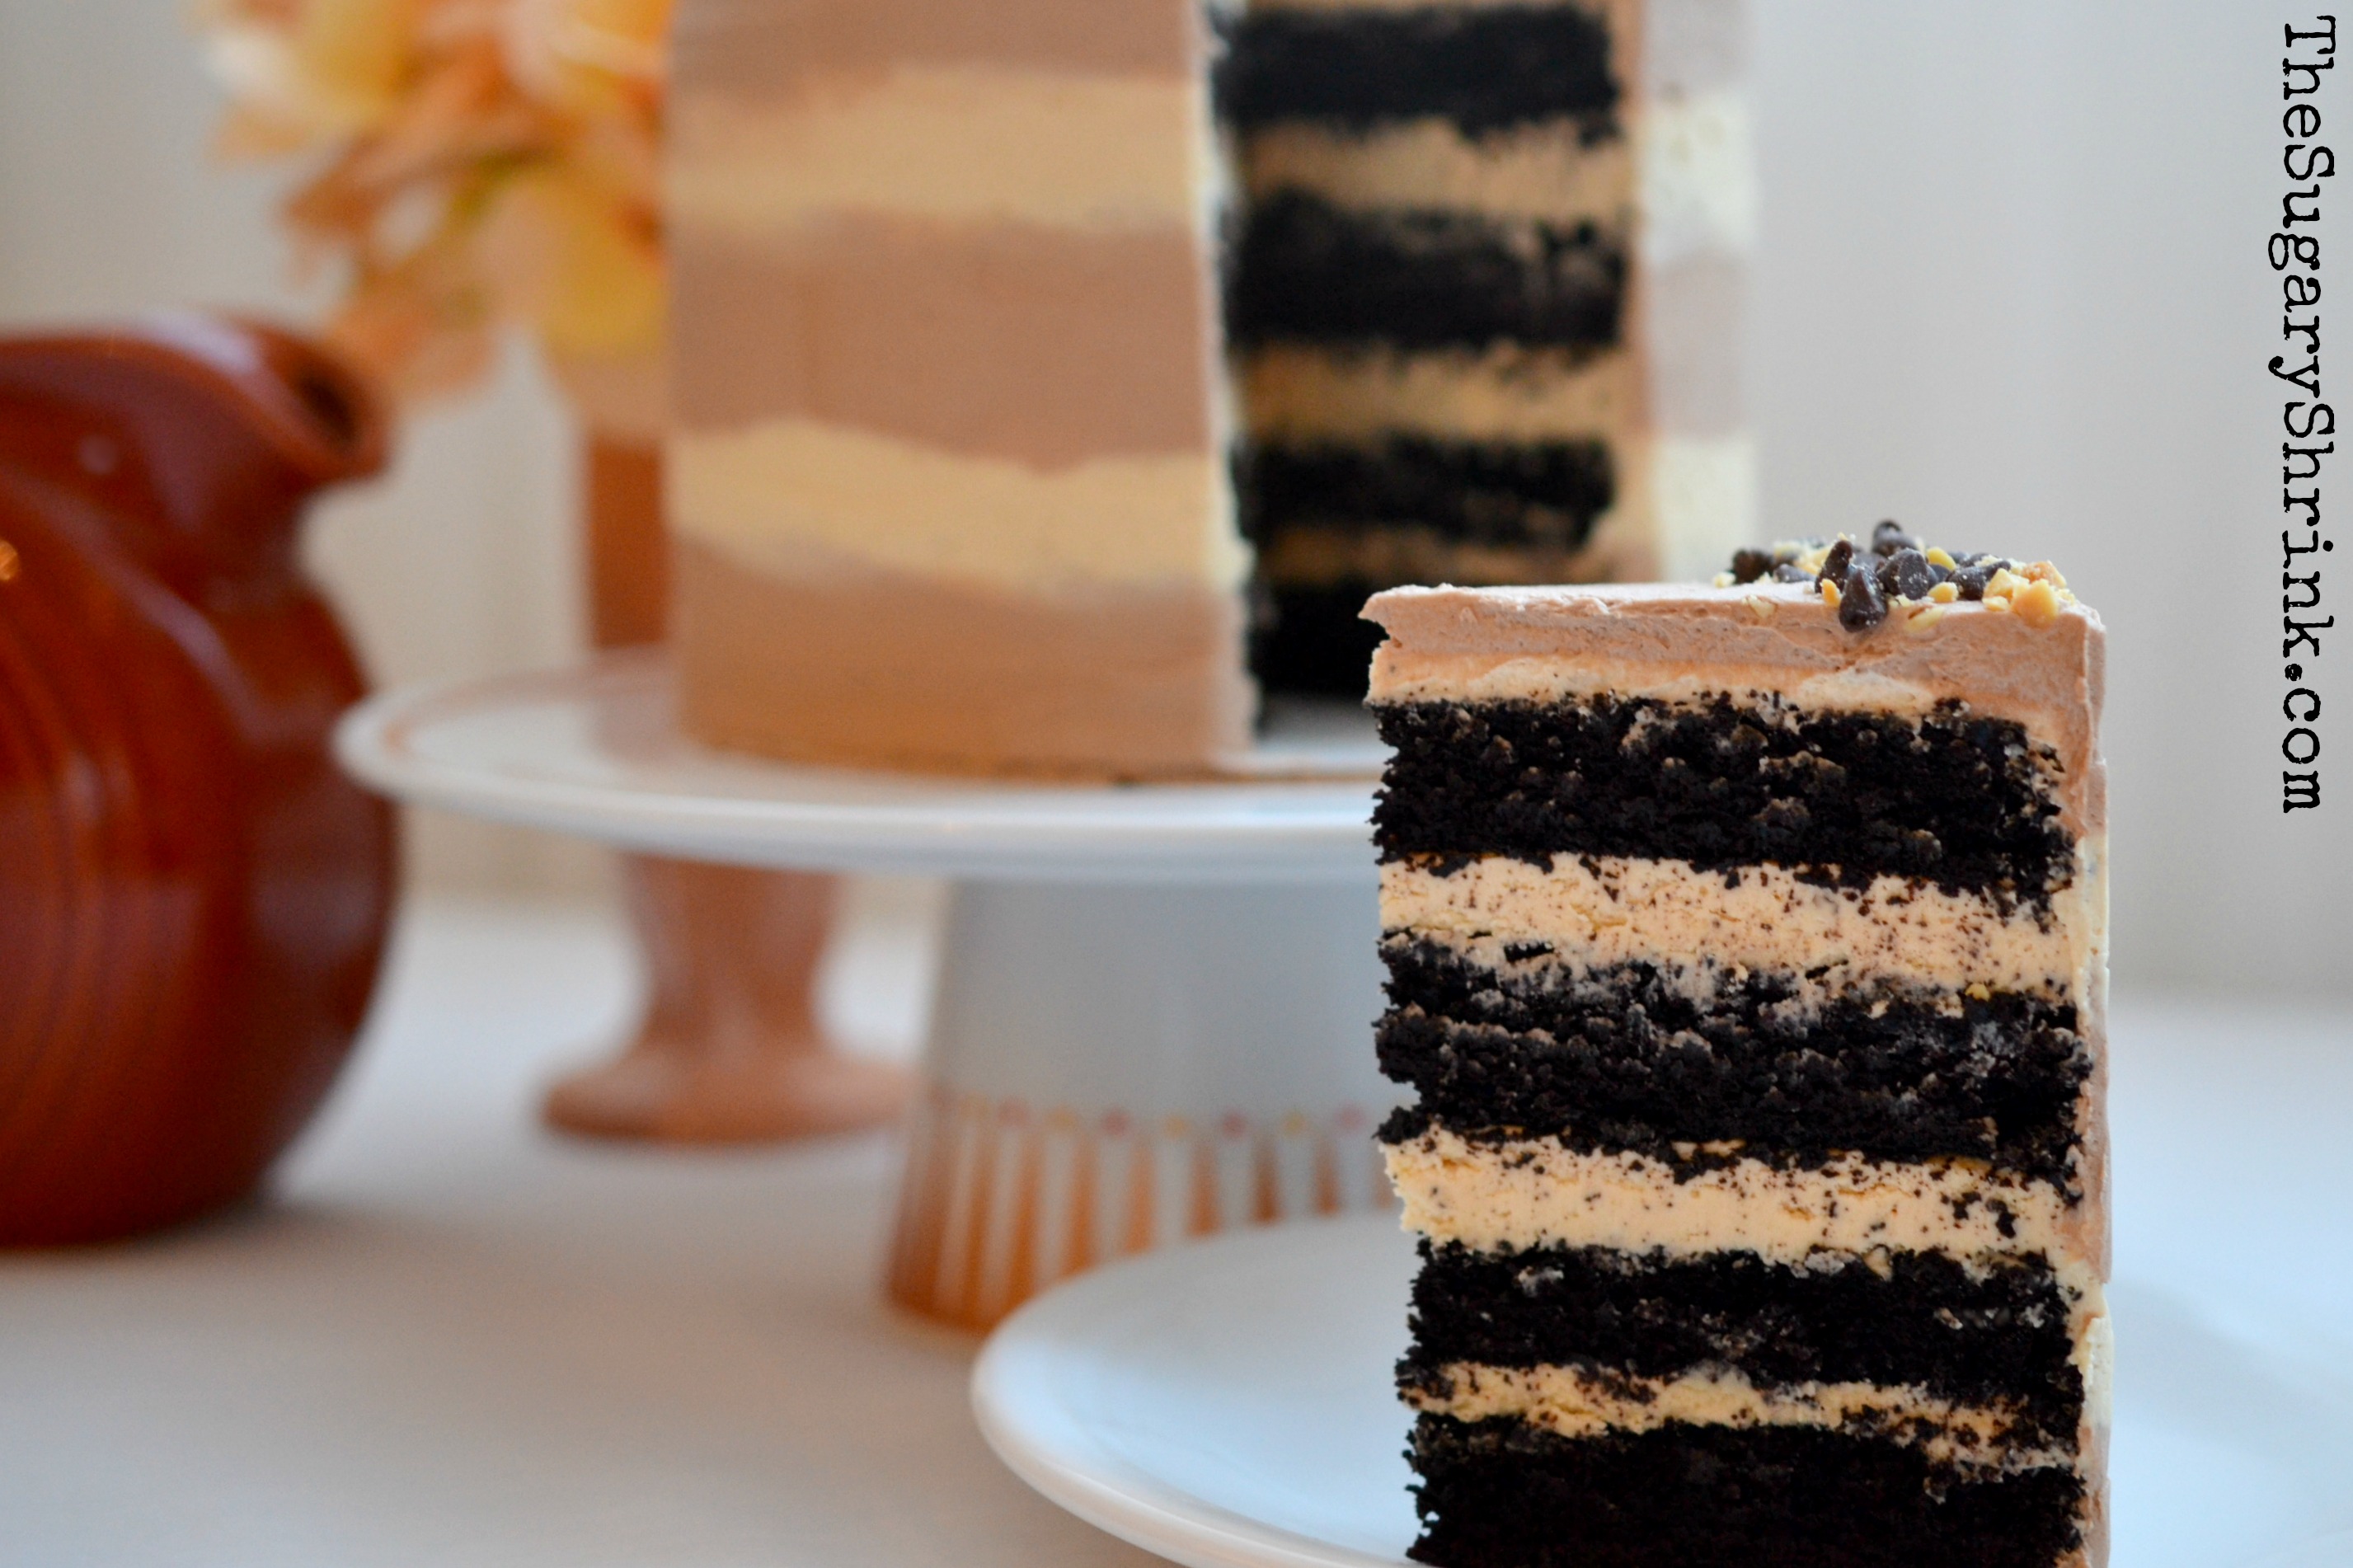
Chocolate & Peanut Butter Layers
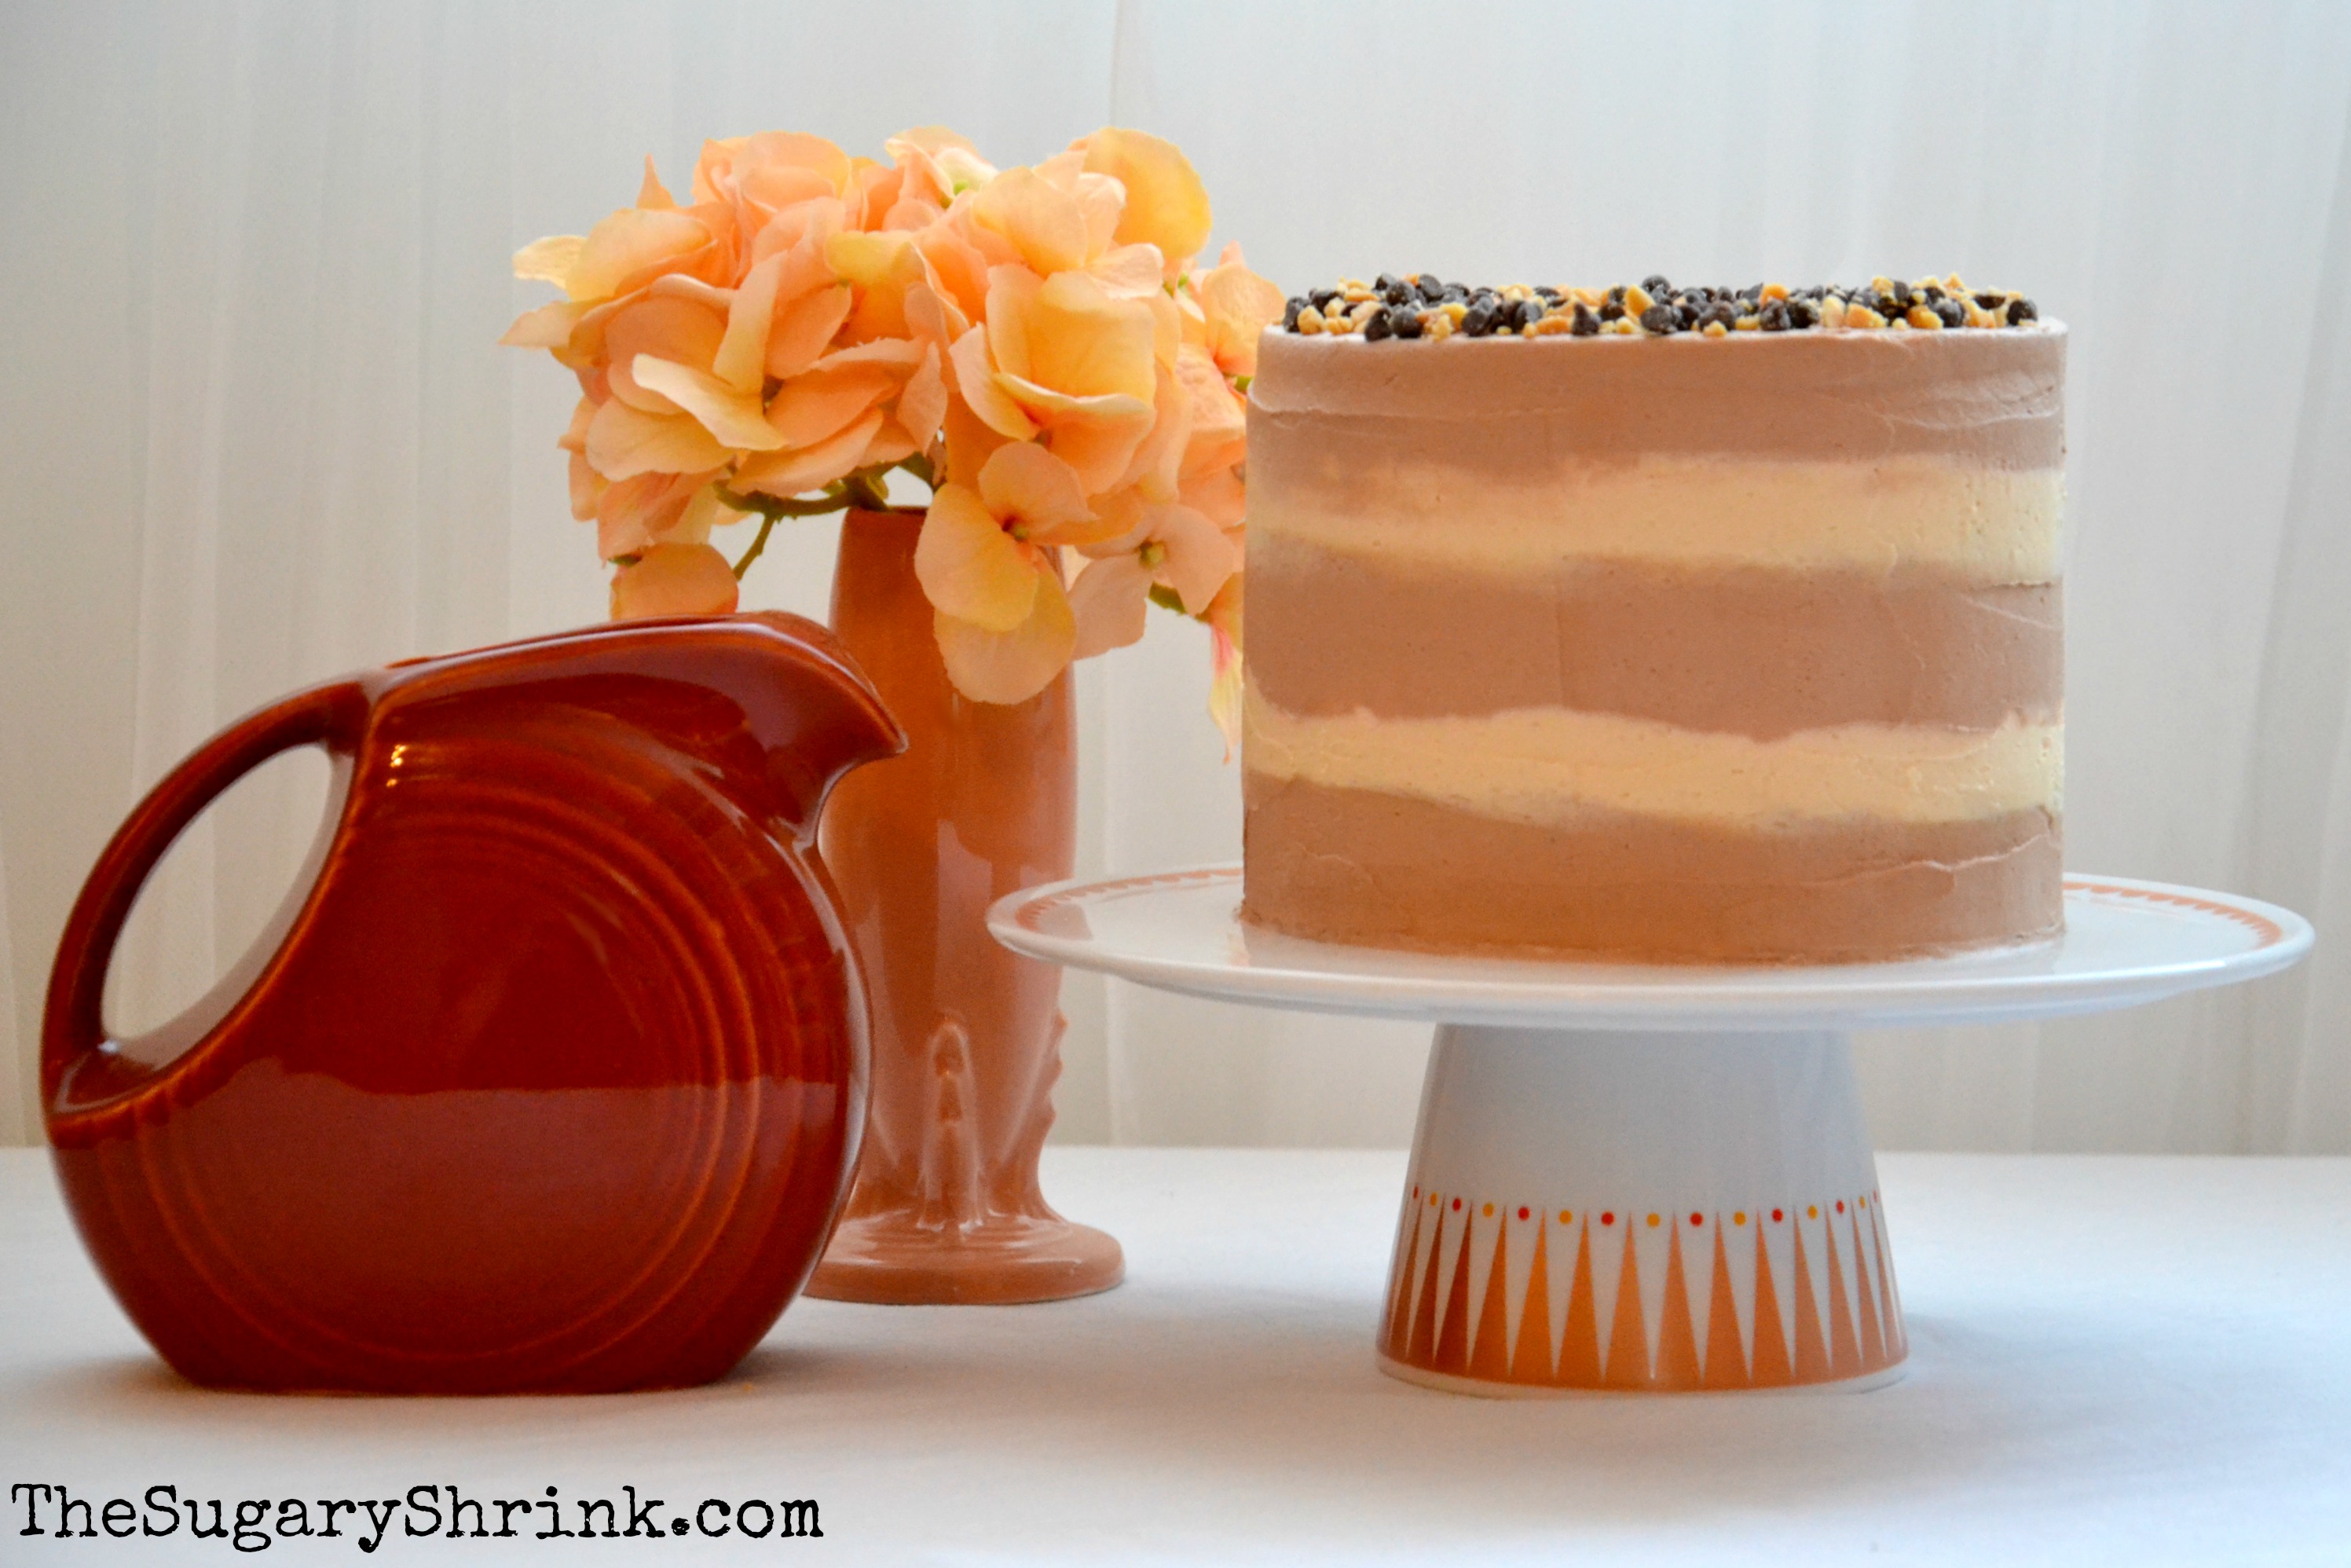
Four-layer Chocolate Cake, Peanut Butter Cream Filling, Whipped Chocolate Ganache & Peanut Butter Buttercream Frosting, with a Chopped Peanut & mini-Morsel Garnish
Some of my very favorite flavors are in this cake – three kinds of chocolate! But the defining element of this cake is the combination of sweet and savory with the alternating textures of smooth buttercream, sponge-y cake, and crunchy peanuts. It’s a winner all the way around.
Designing a cake can go in many different directions. For this Chocolate Layer Cake, I wanted something a bit more on the rustic/relaxed end of the spectrum with a simple buttercream and a jazzy garnish.
This is how the cake came together.
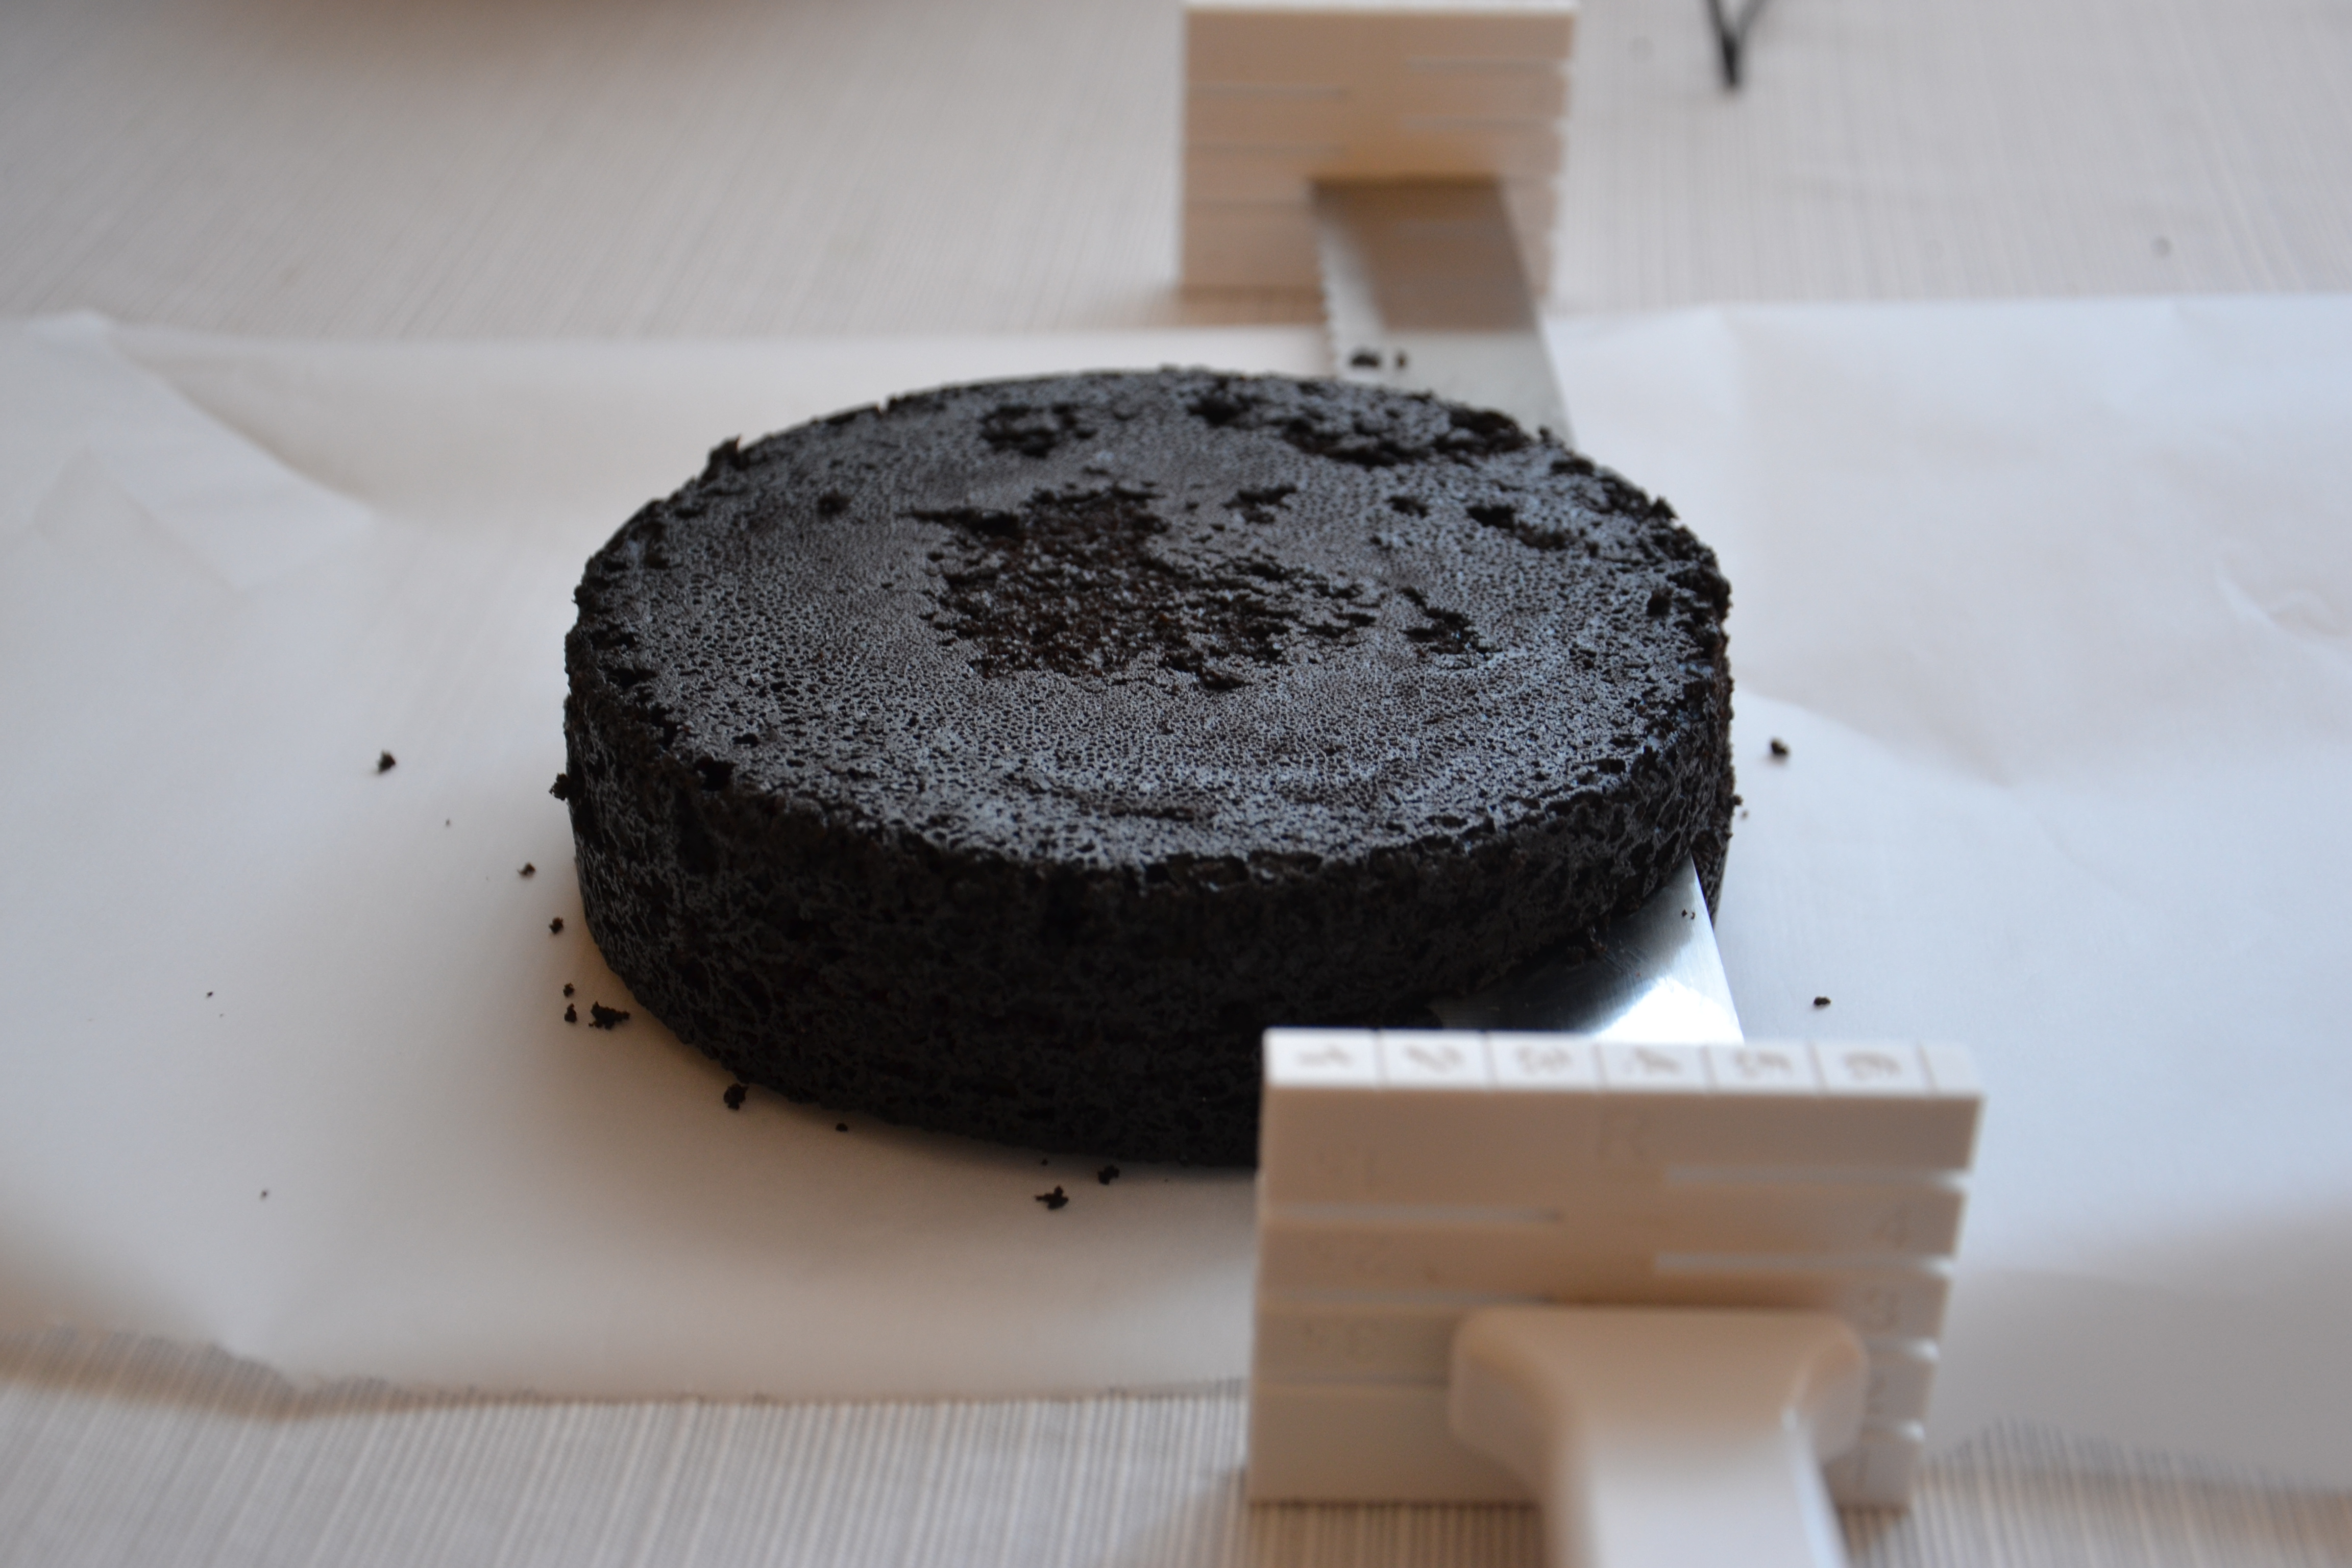
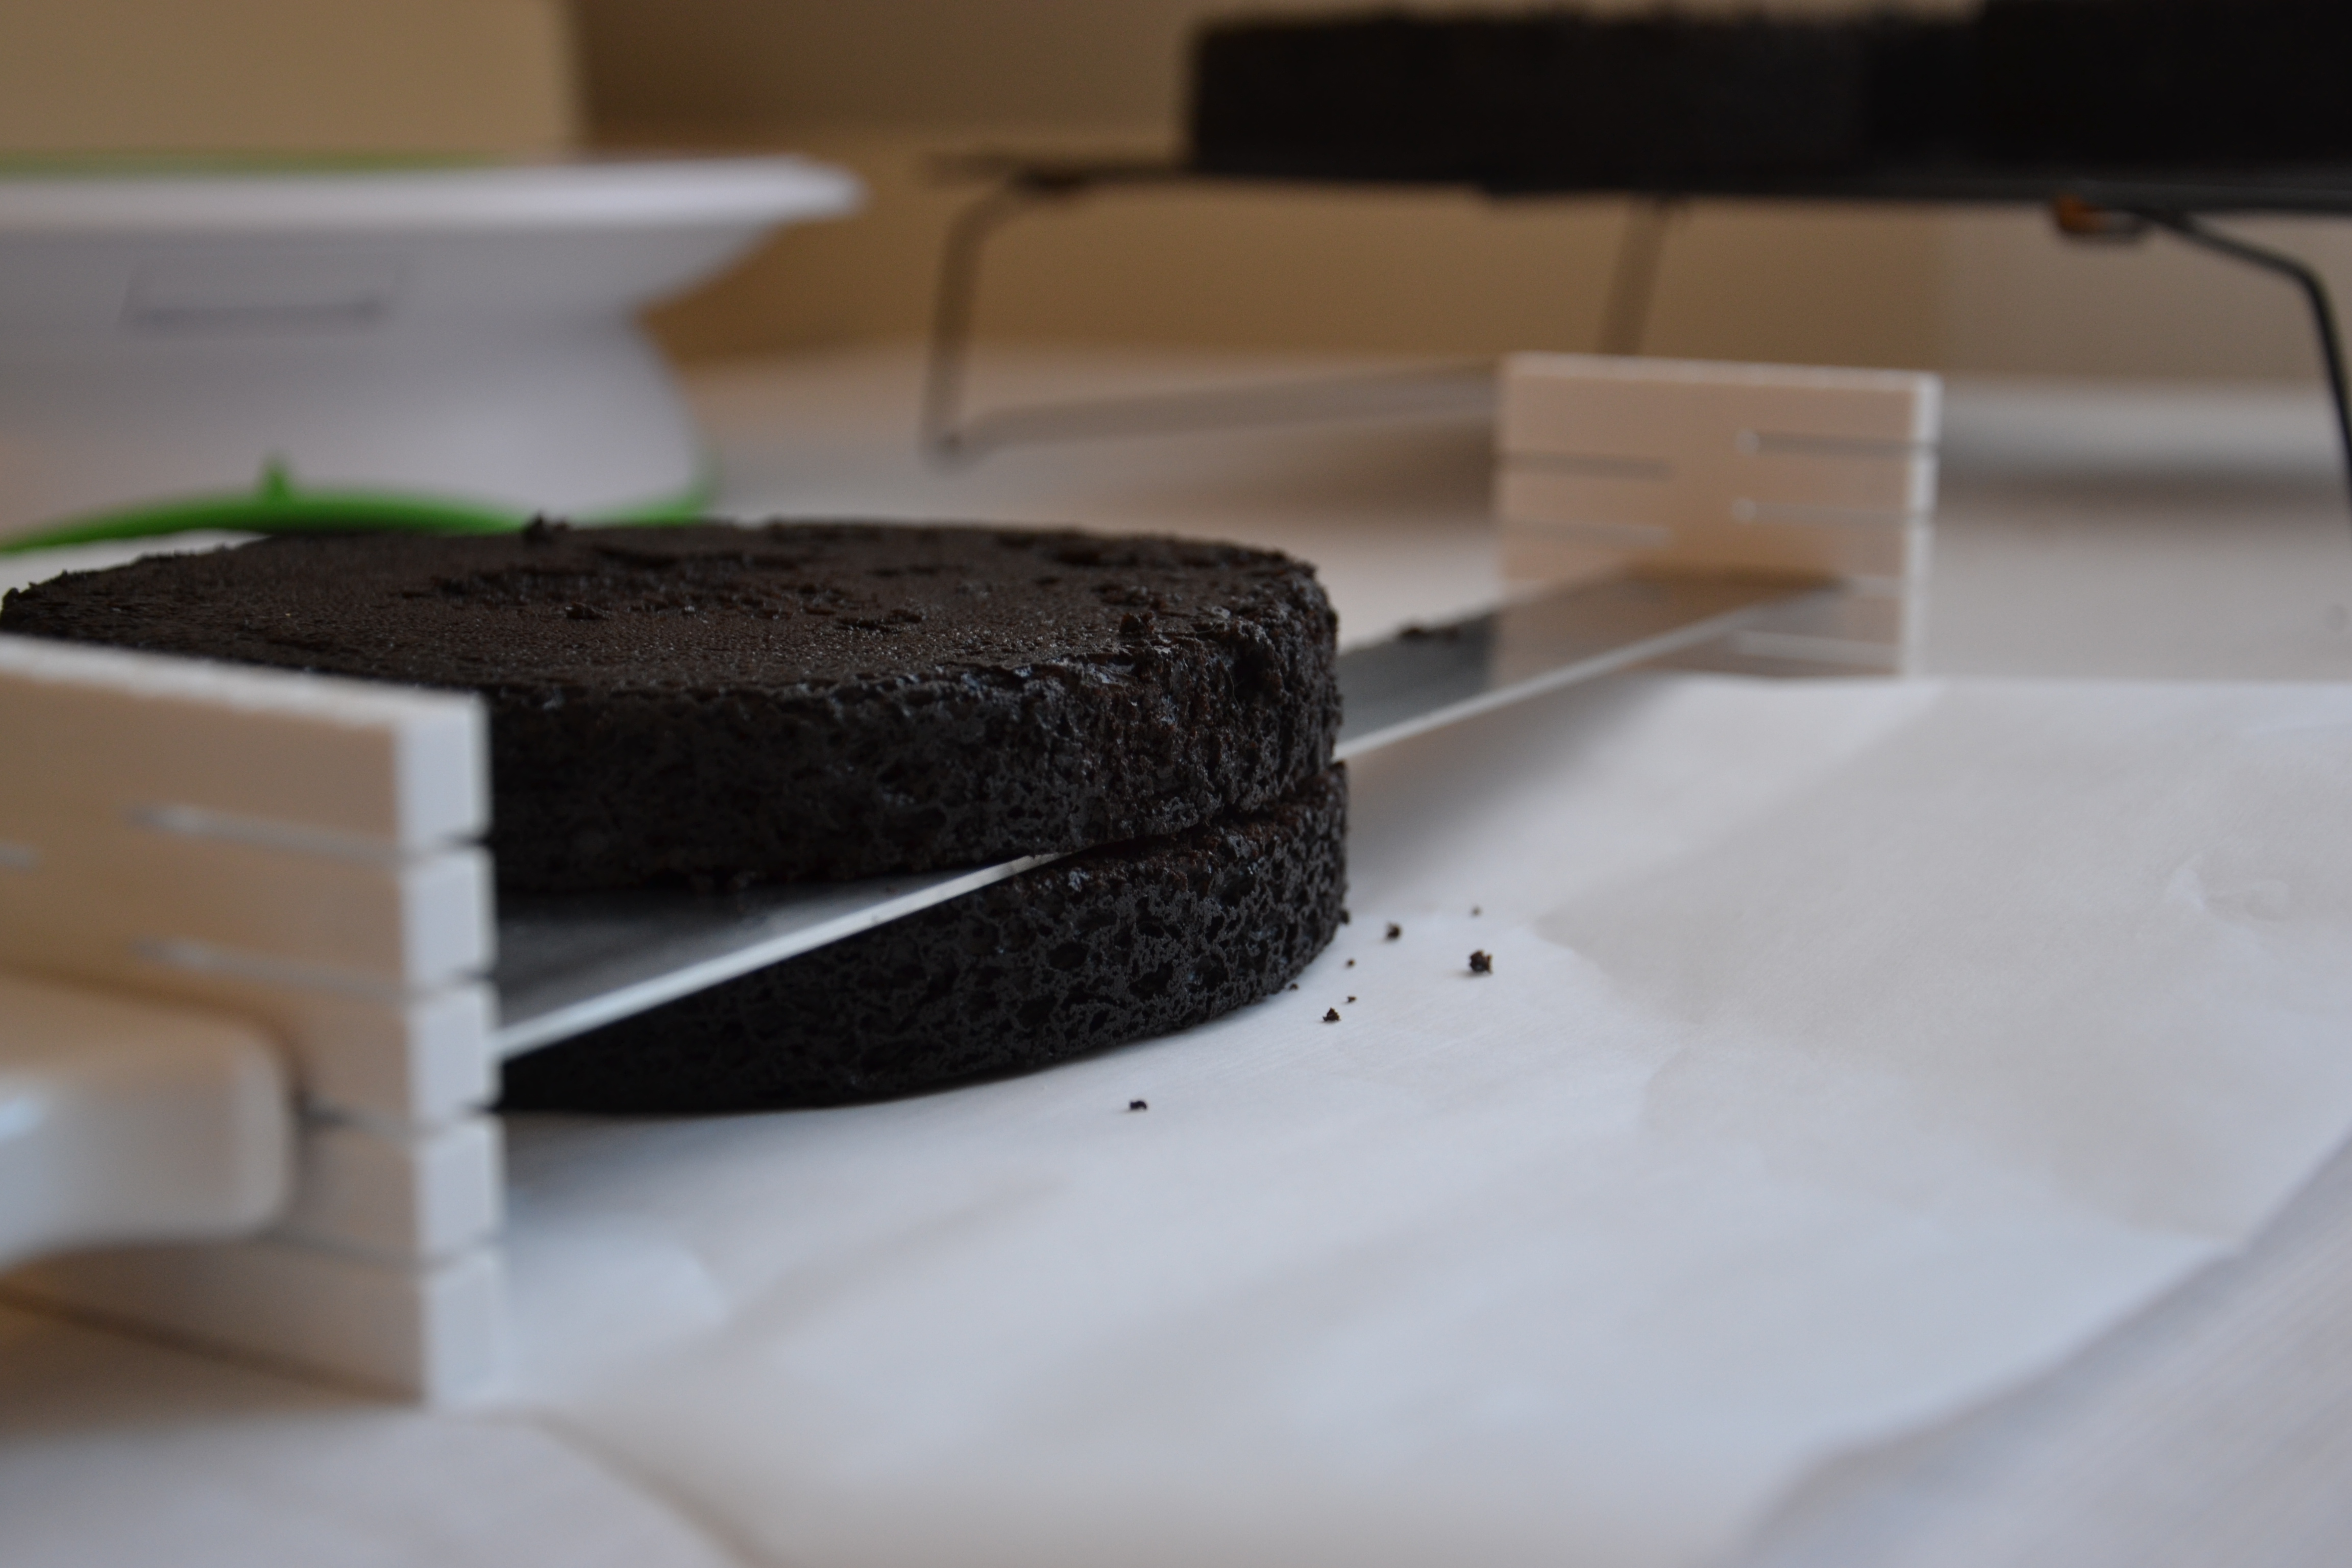
Let’s start with an amazing serrated knife – the extra long blade can accommodate the largest round cake I’ll ever bake! The adjustable blocks on either end help keep the blade level. I prefer using a cake leveler on a light sponge and a knife on a sponge with more body.
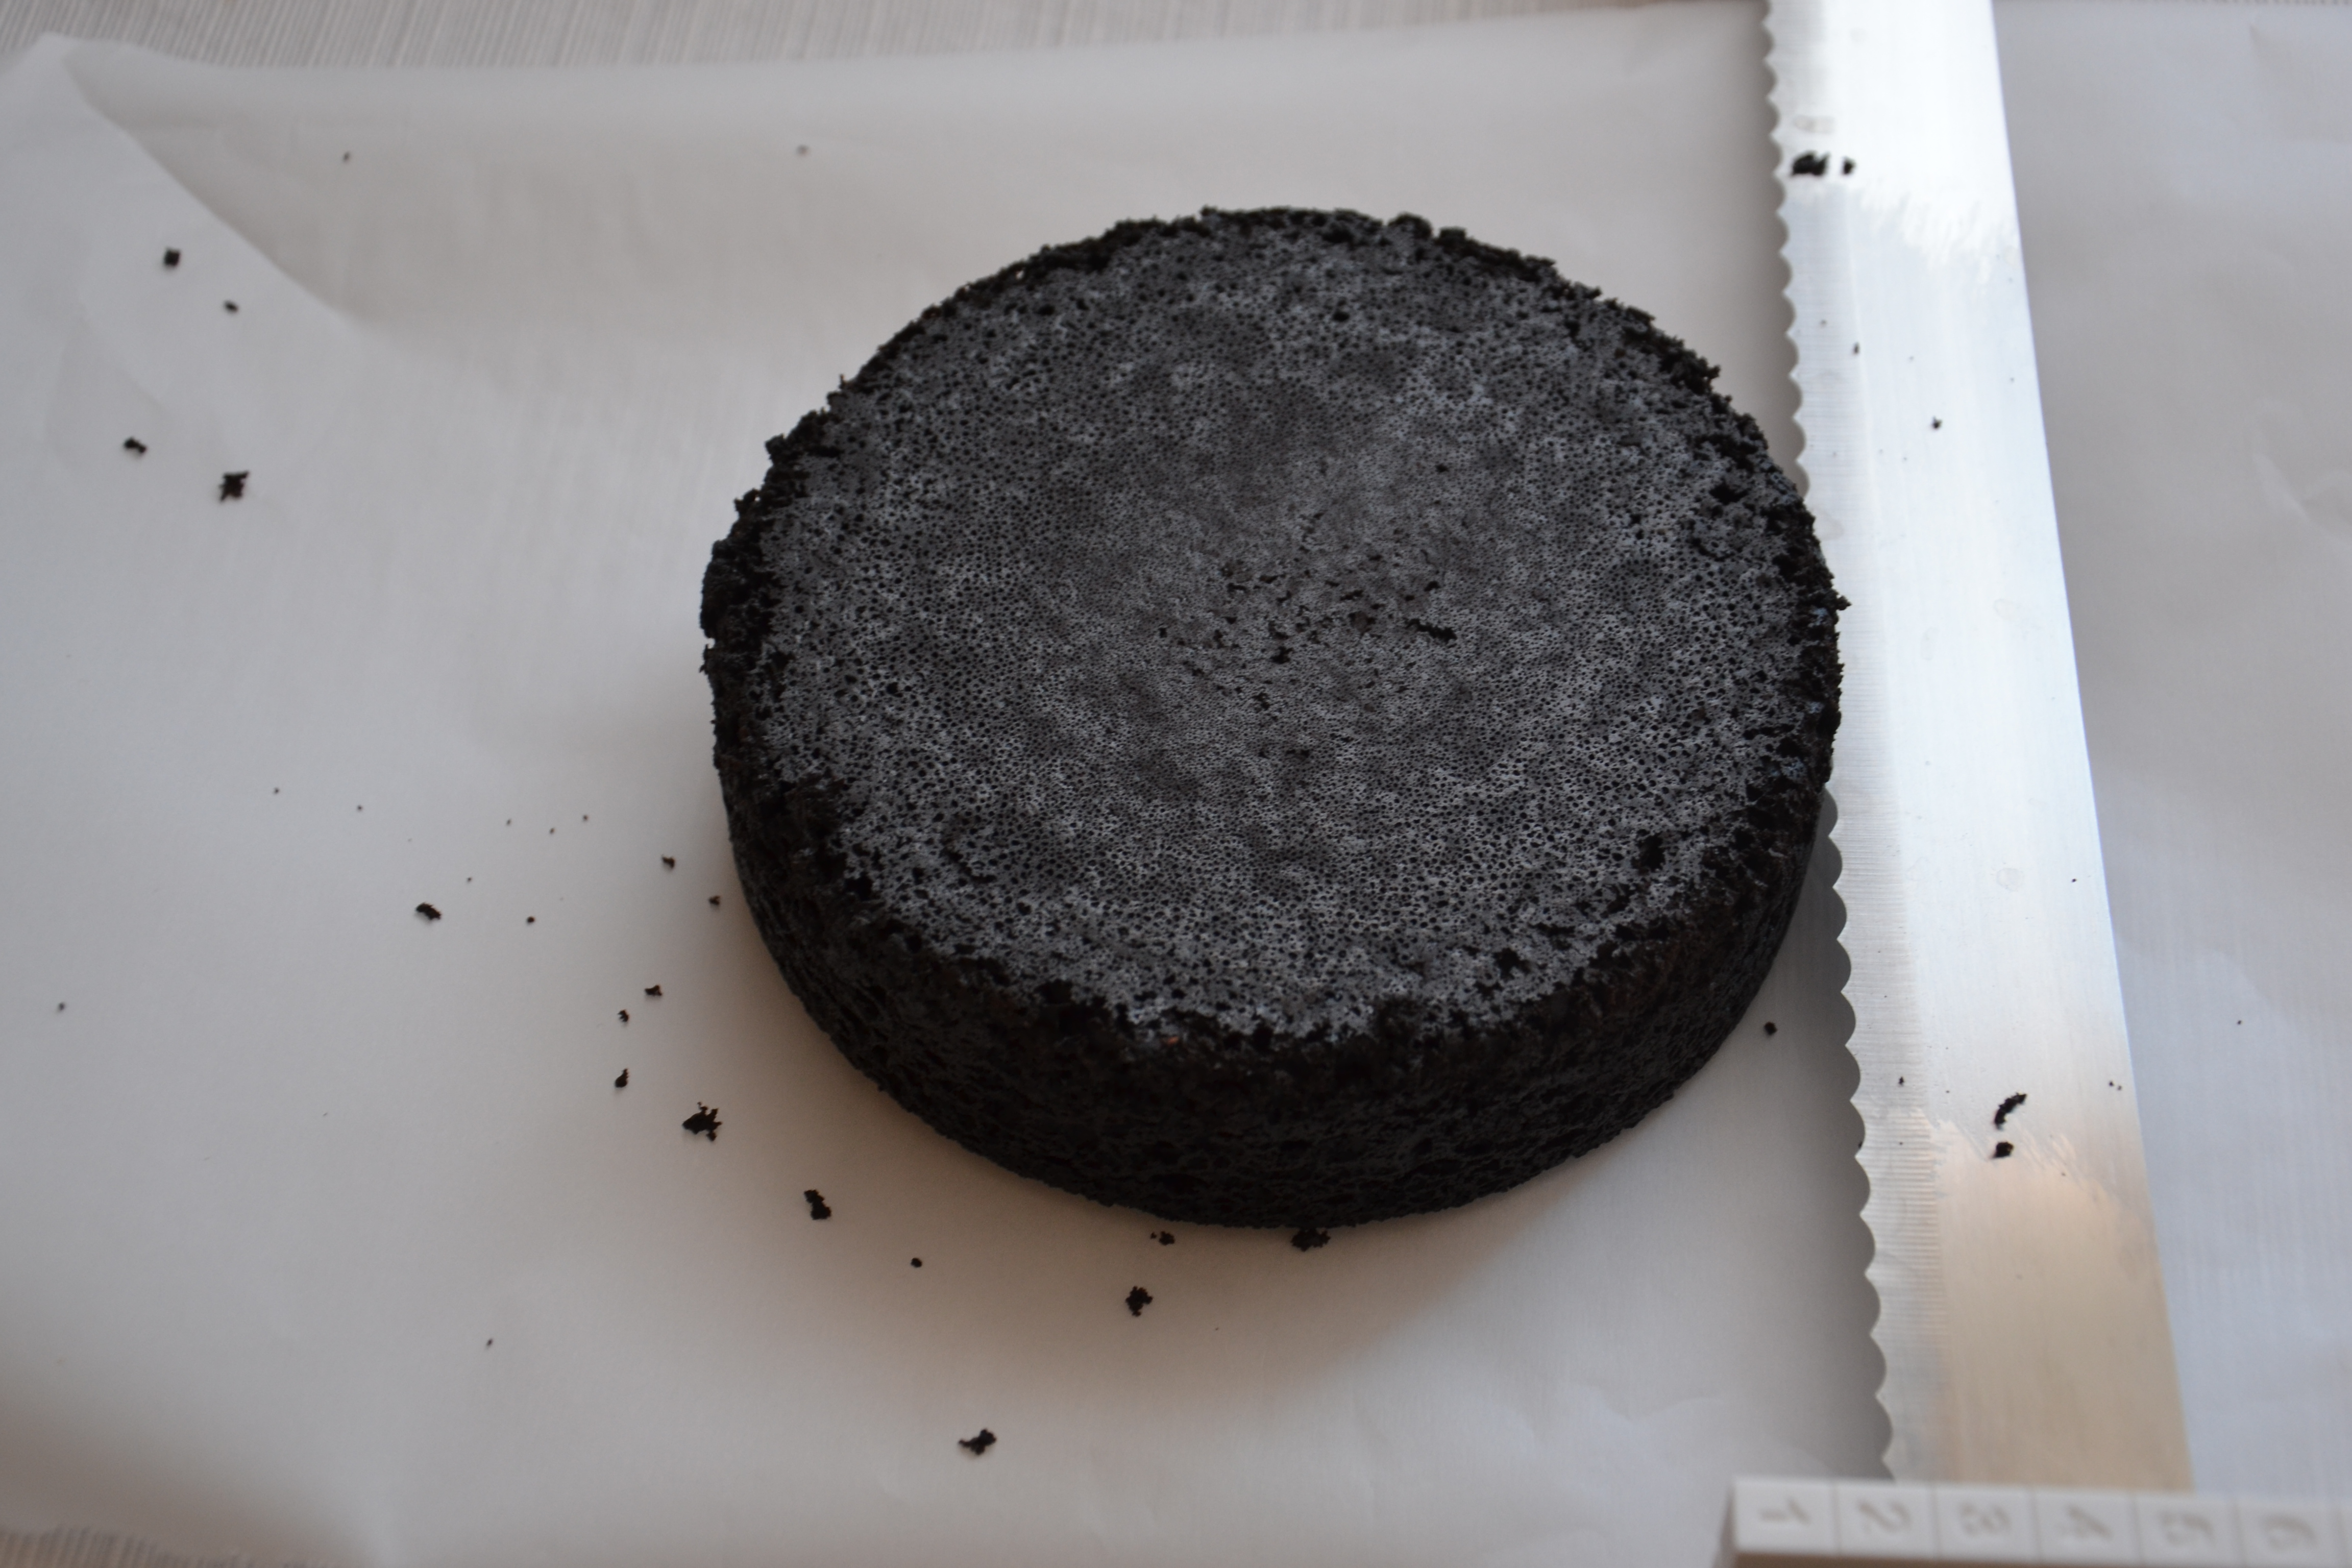
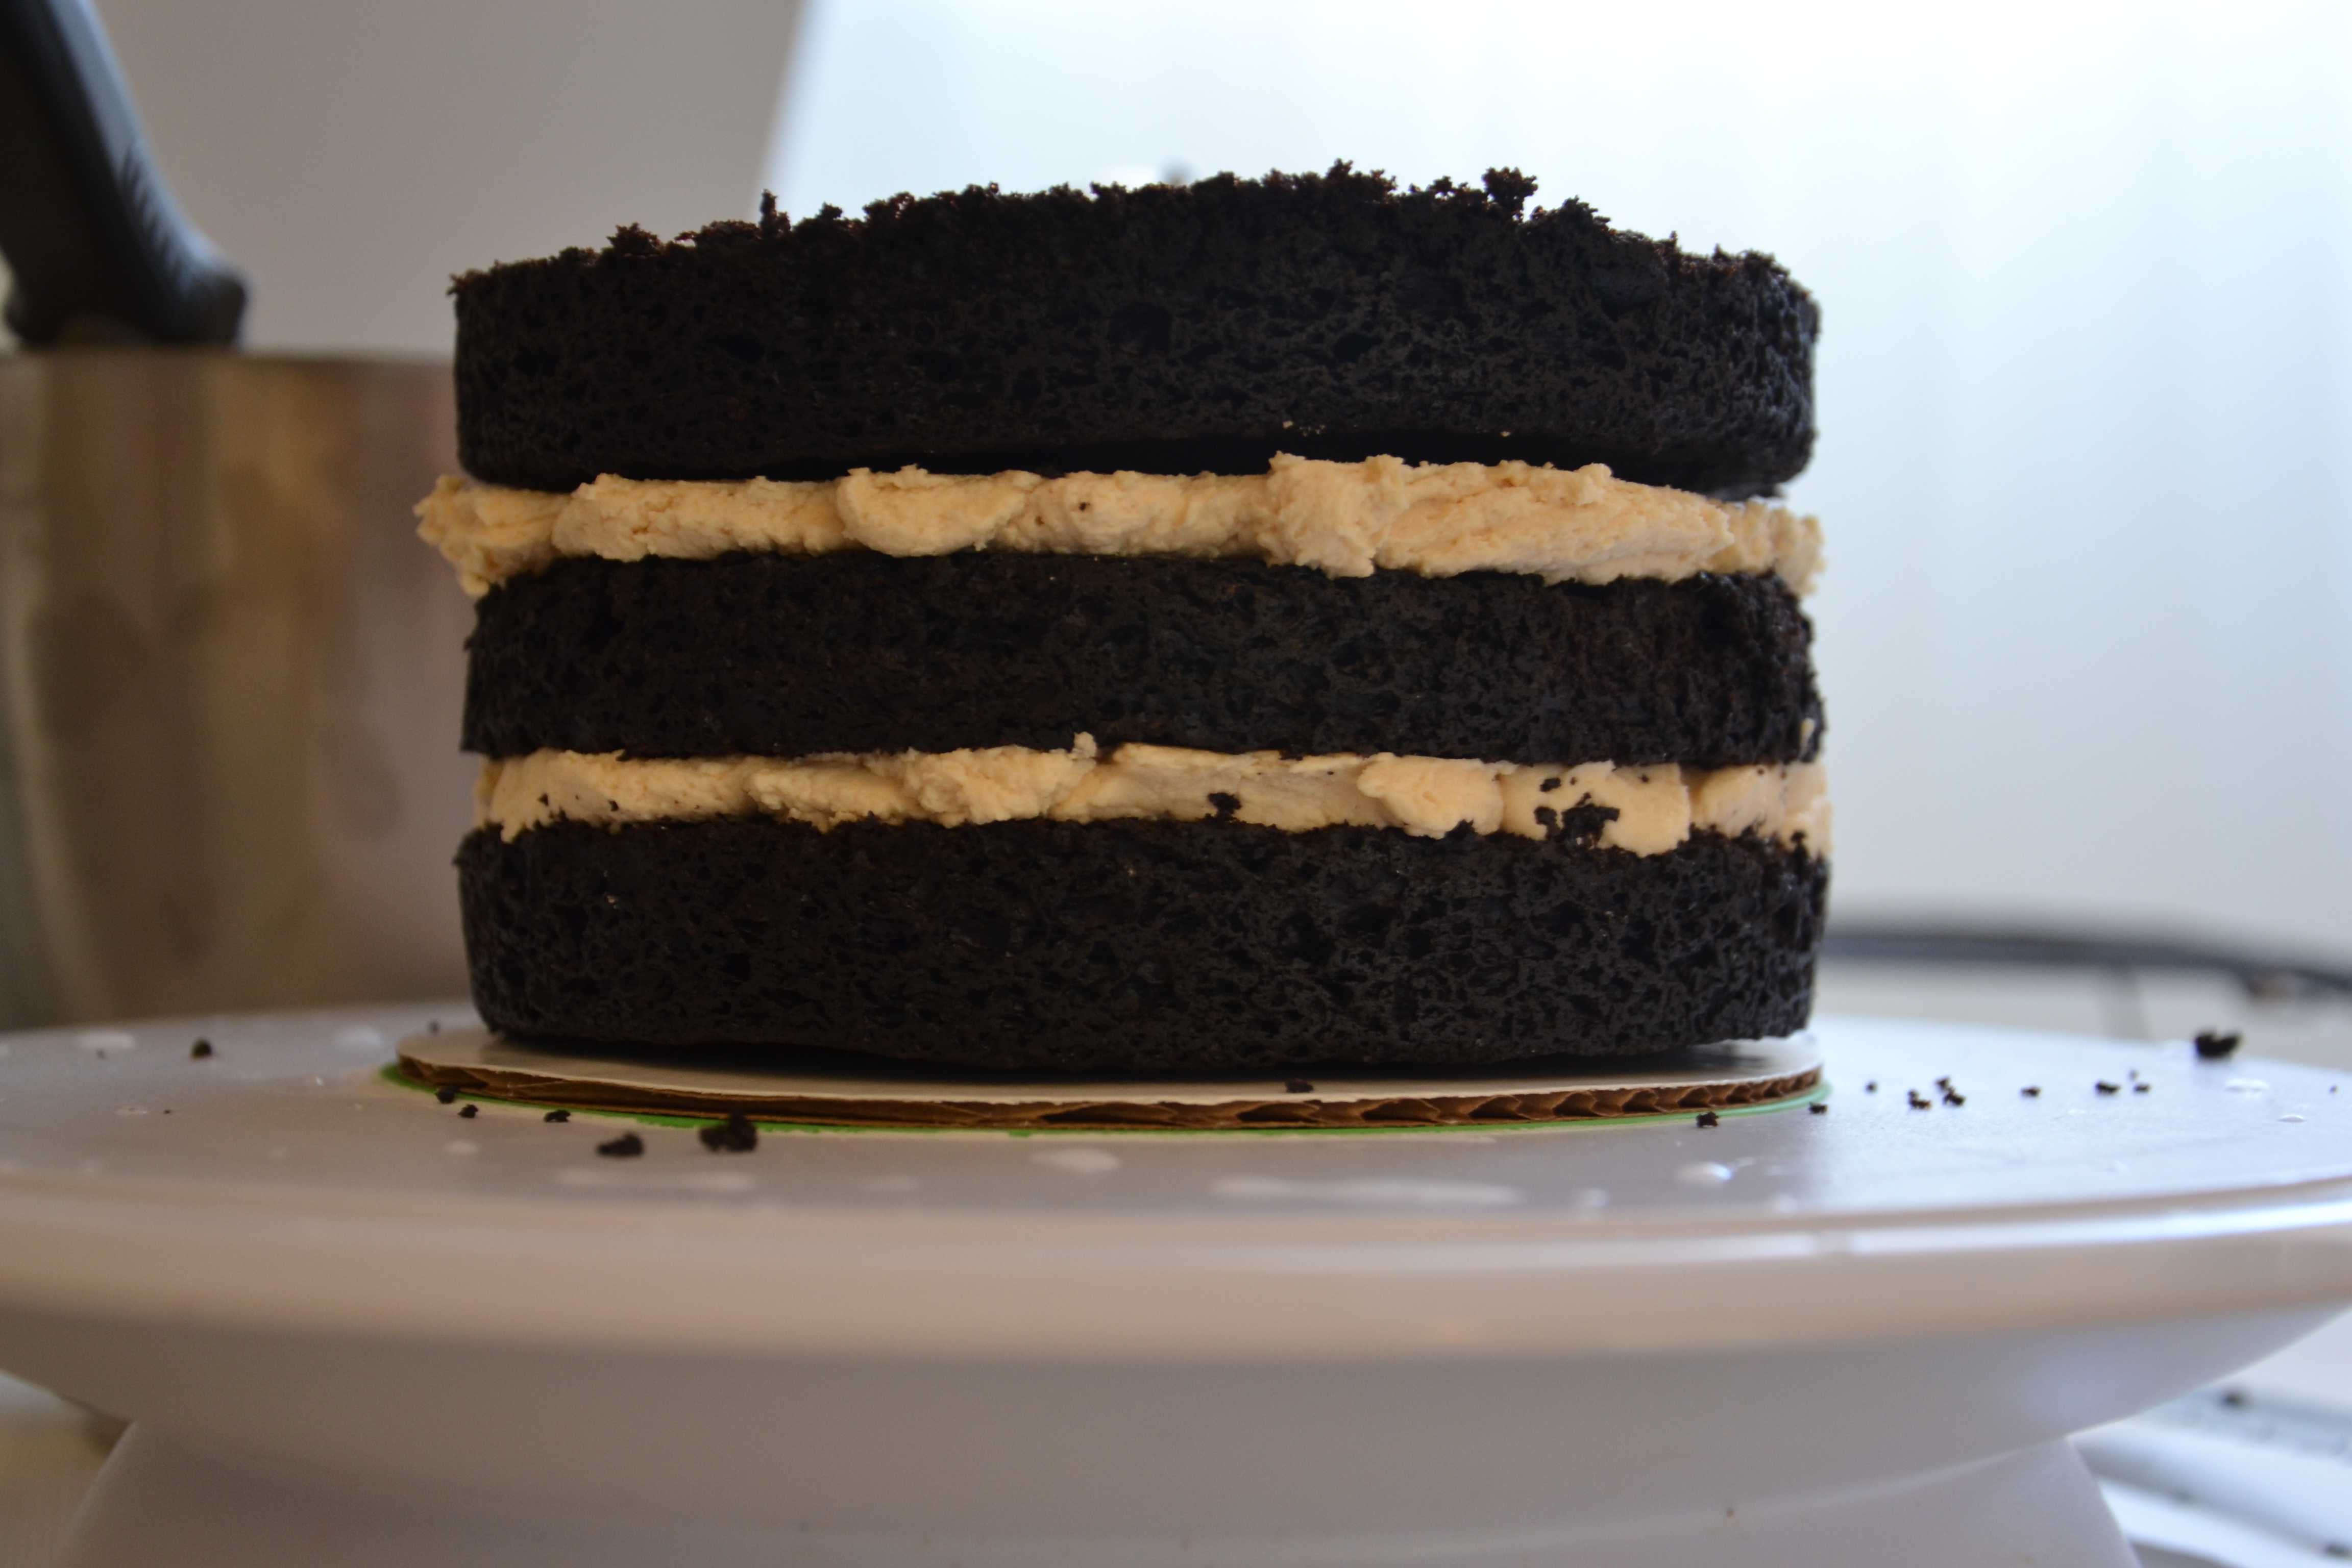
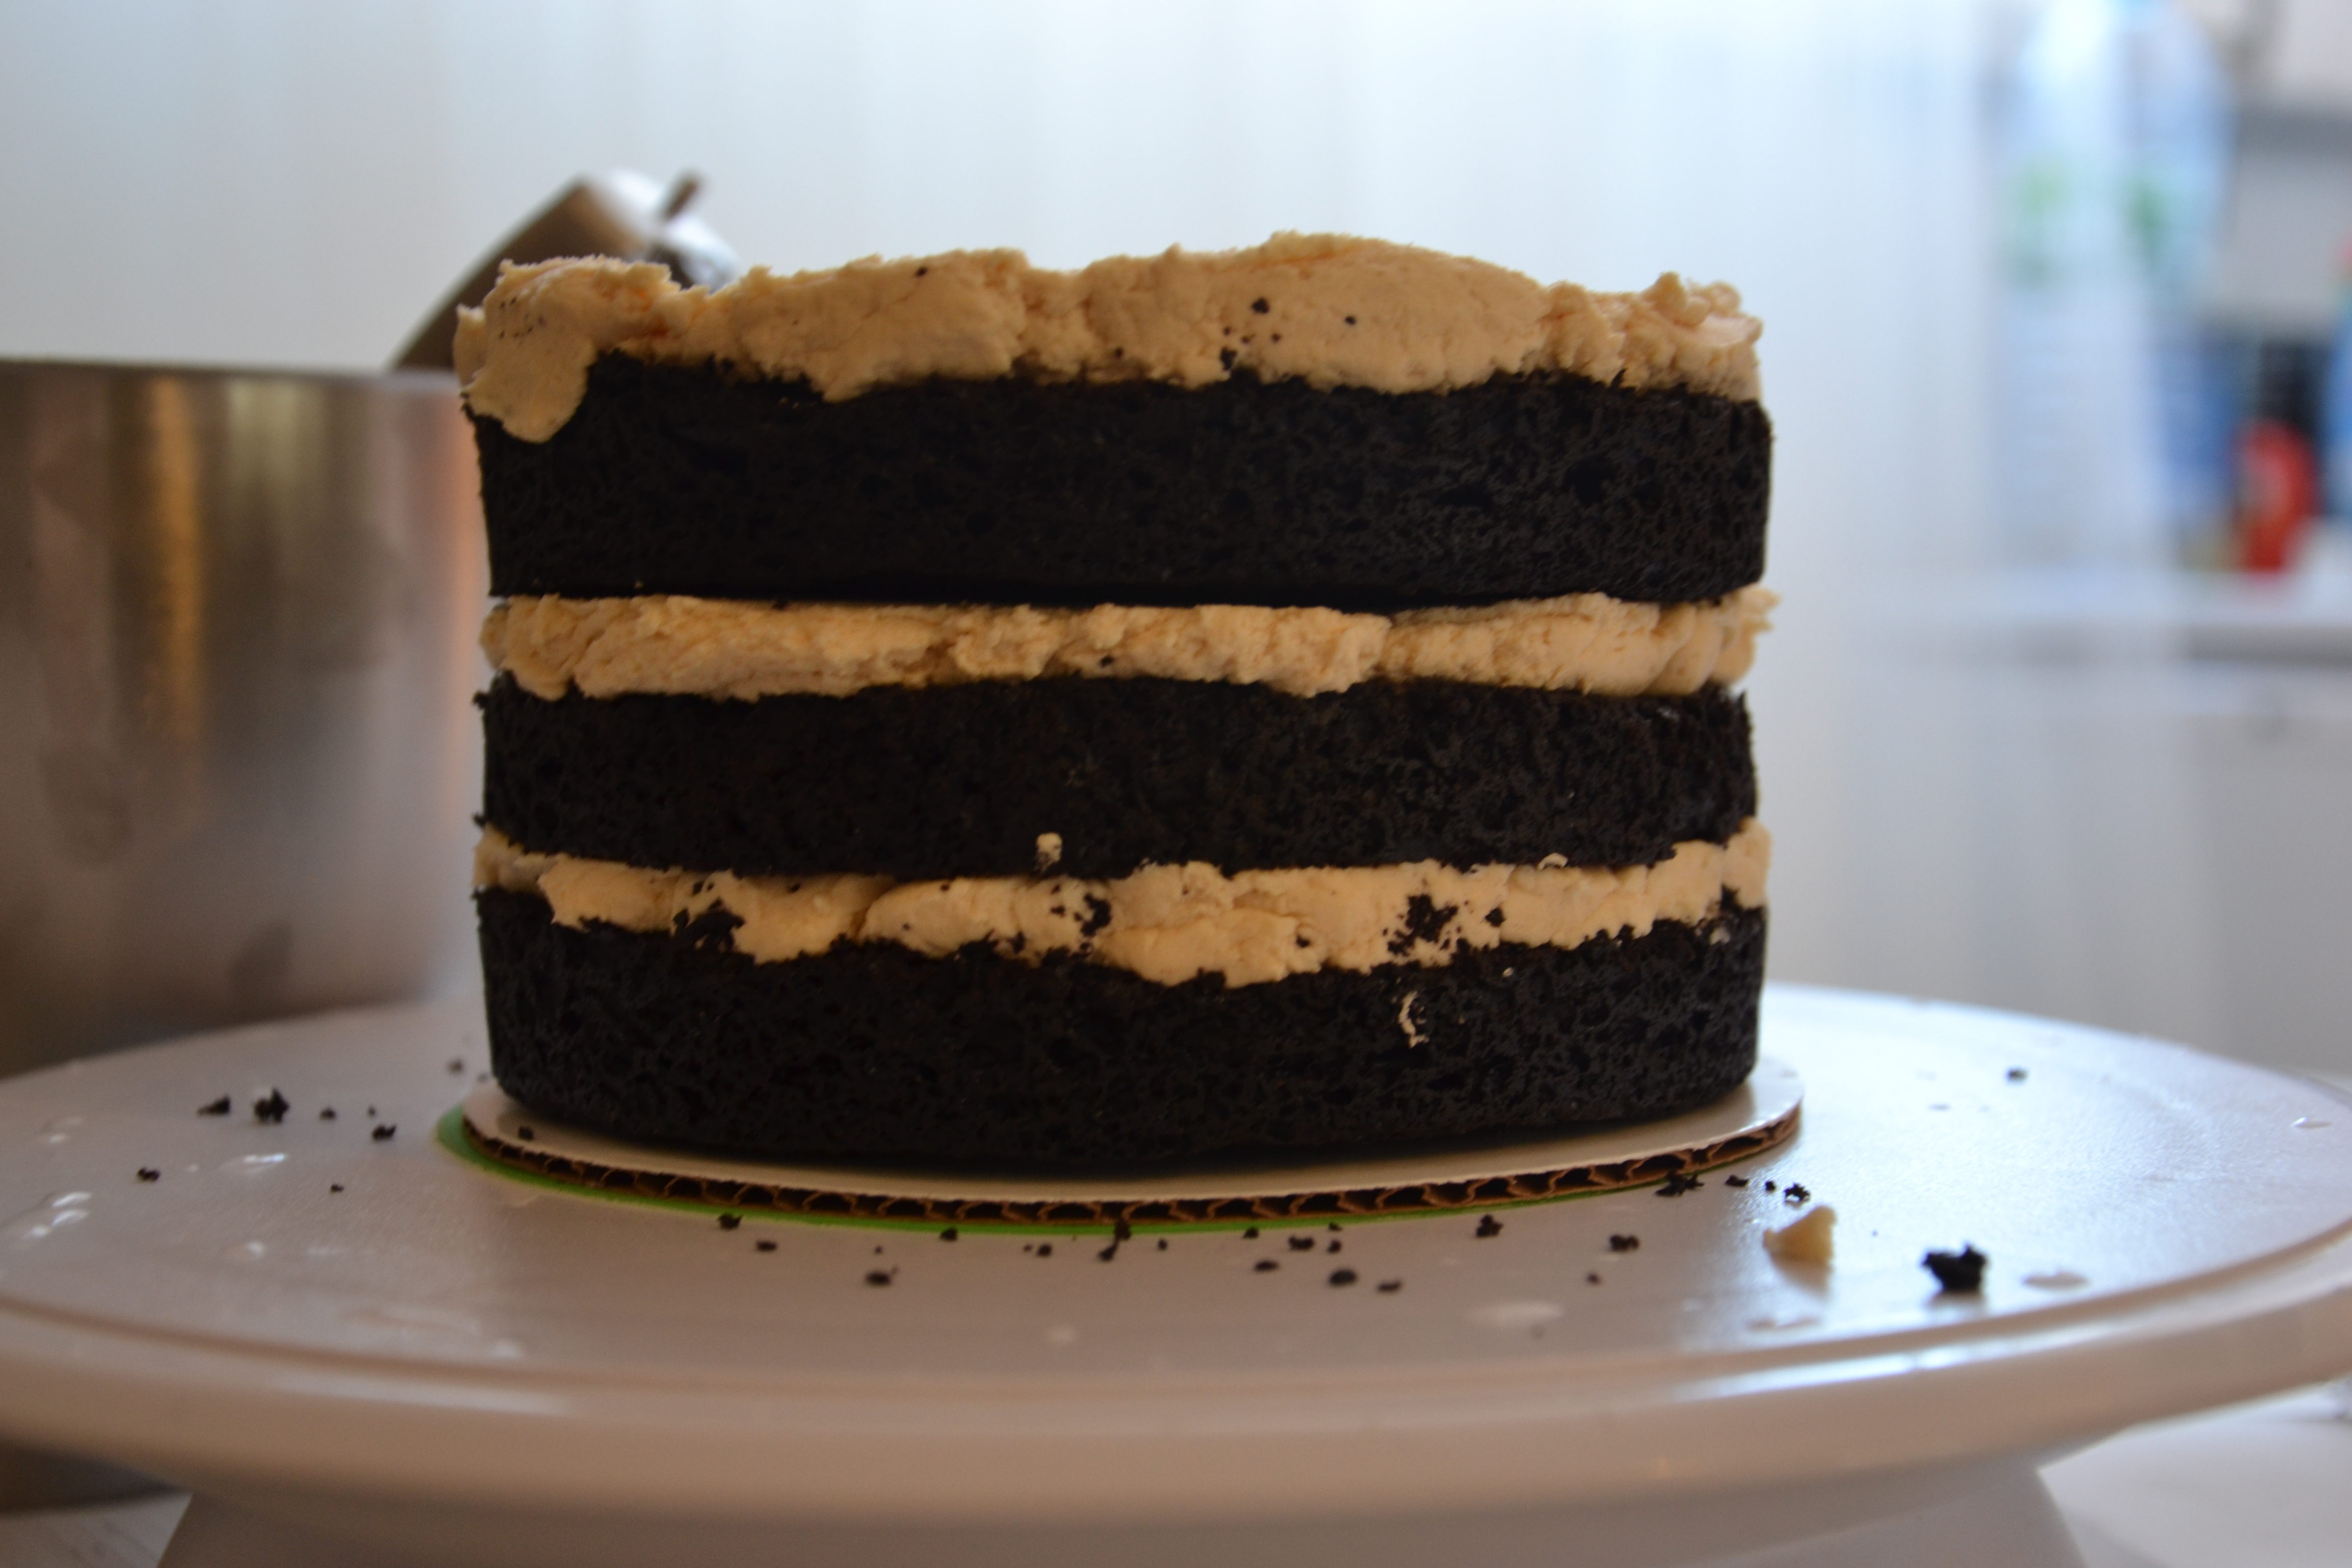
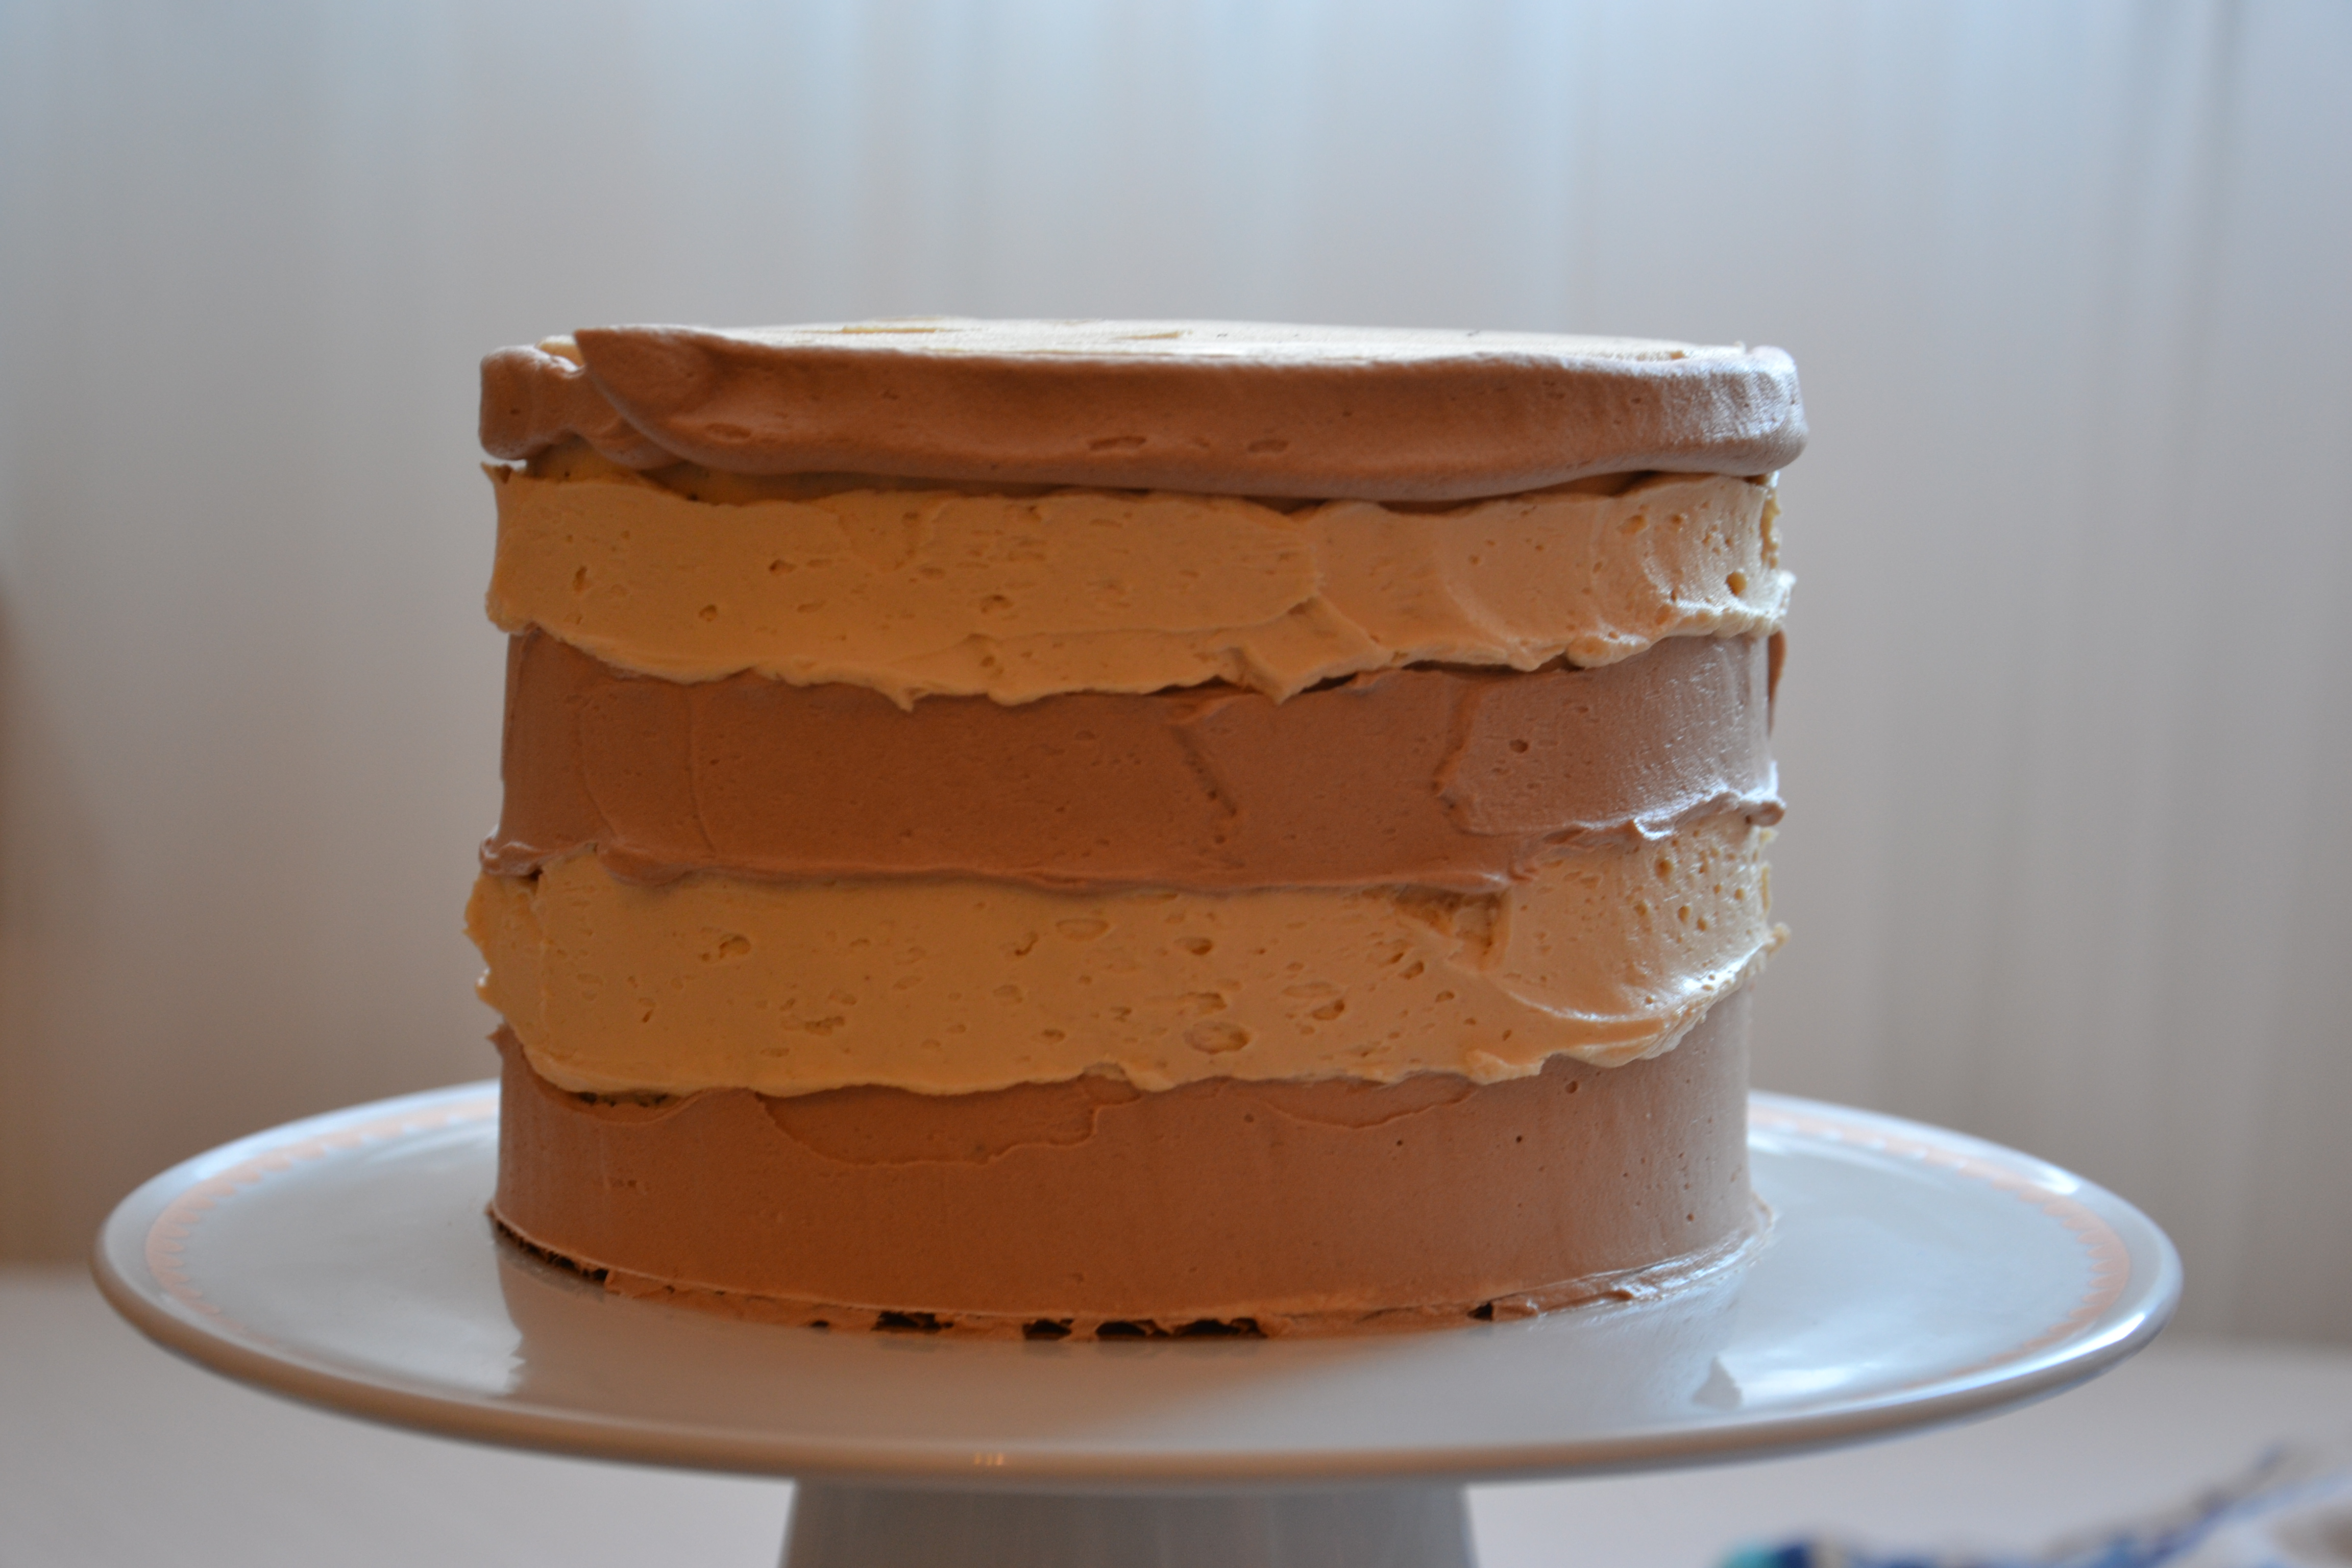
These were two rounds divided in half – more layers means more filling and since the plan was for peanut butter… well…
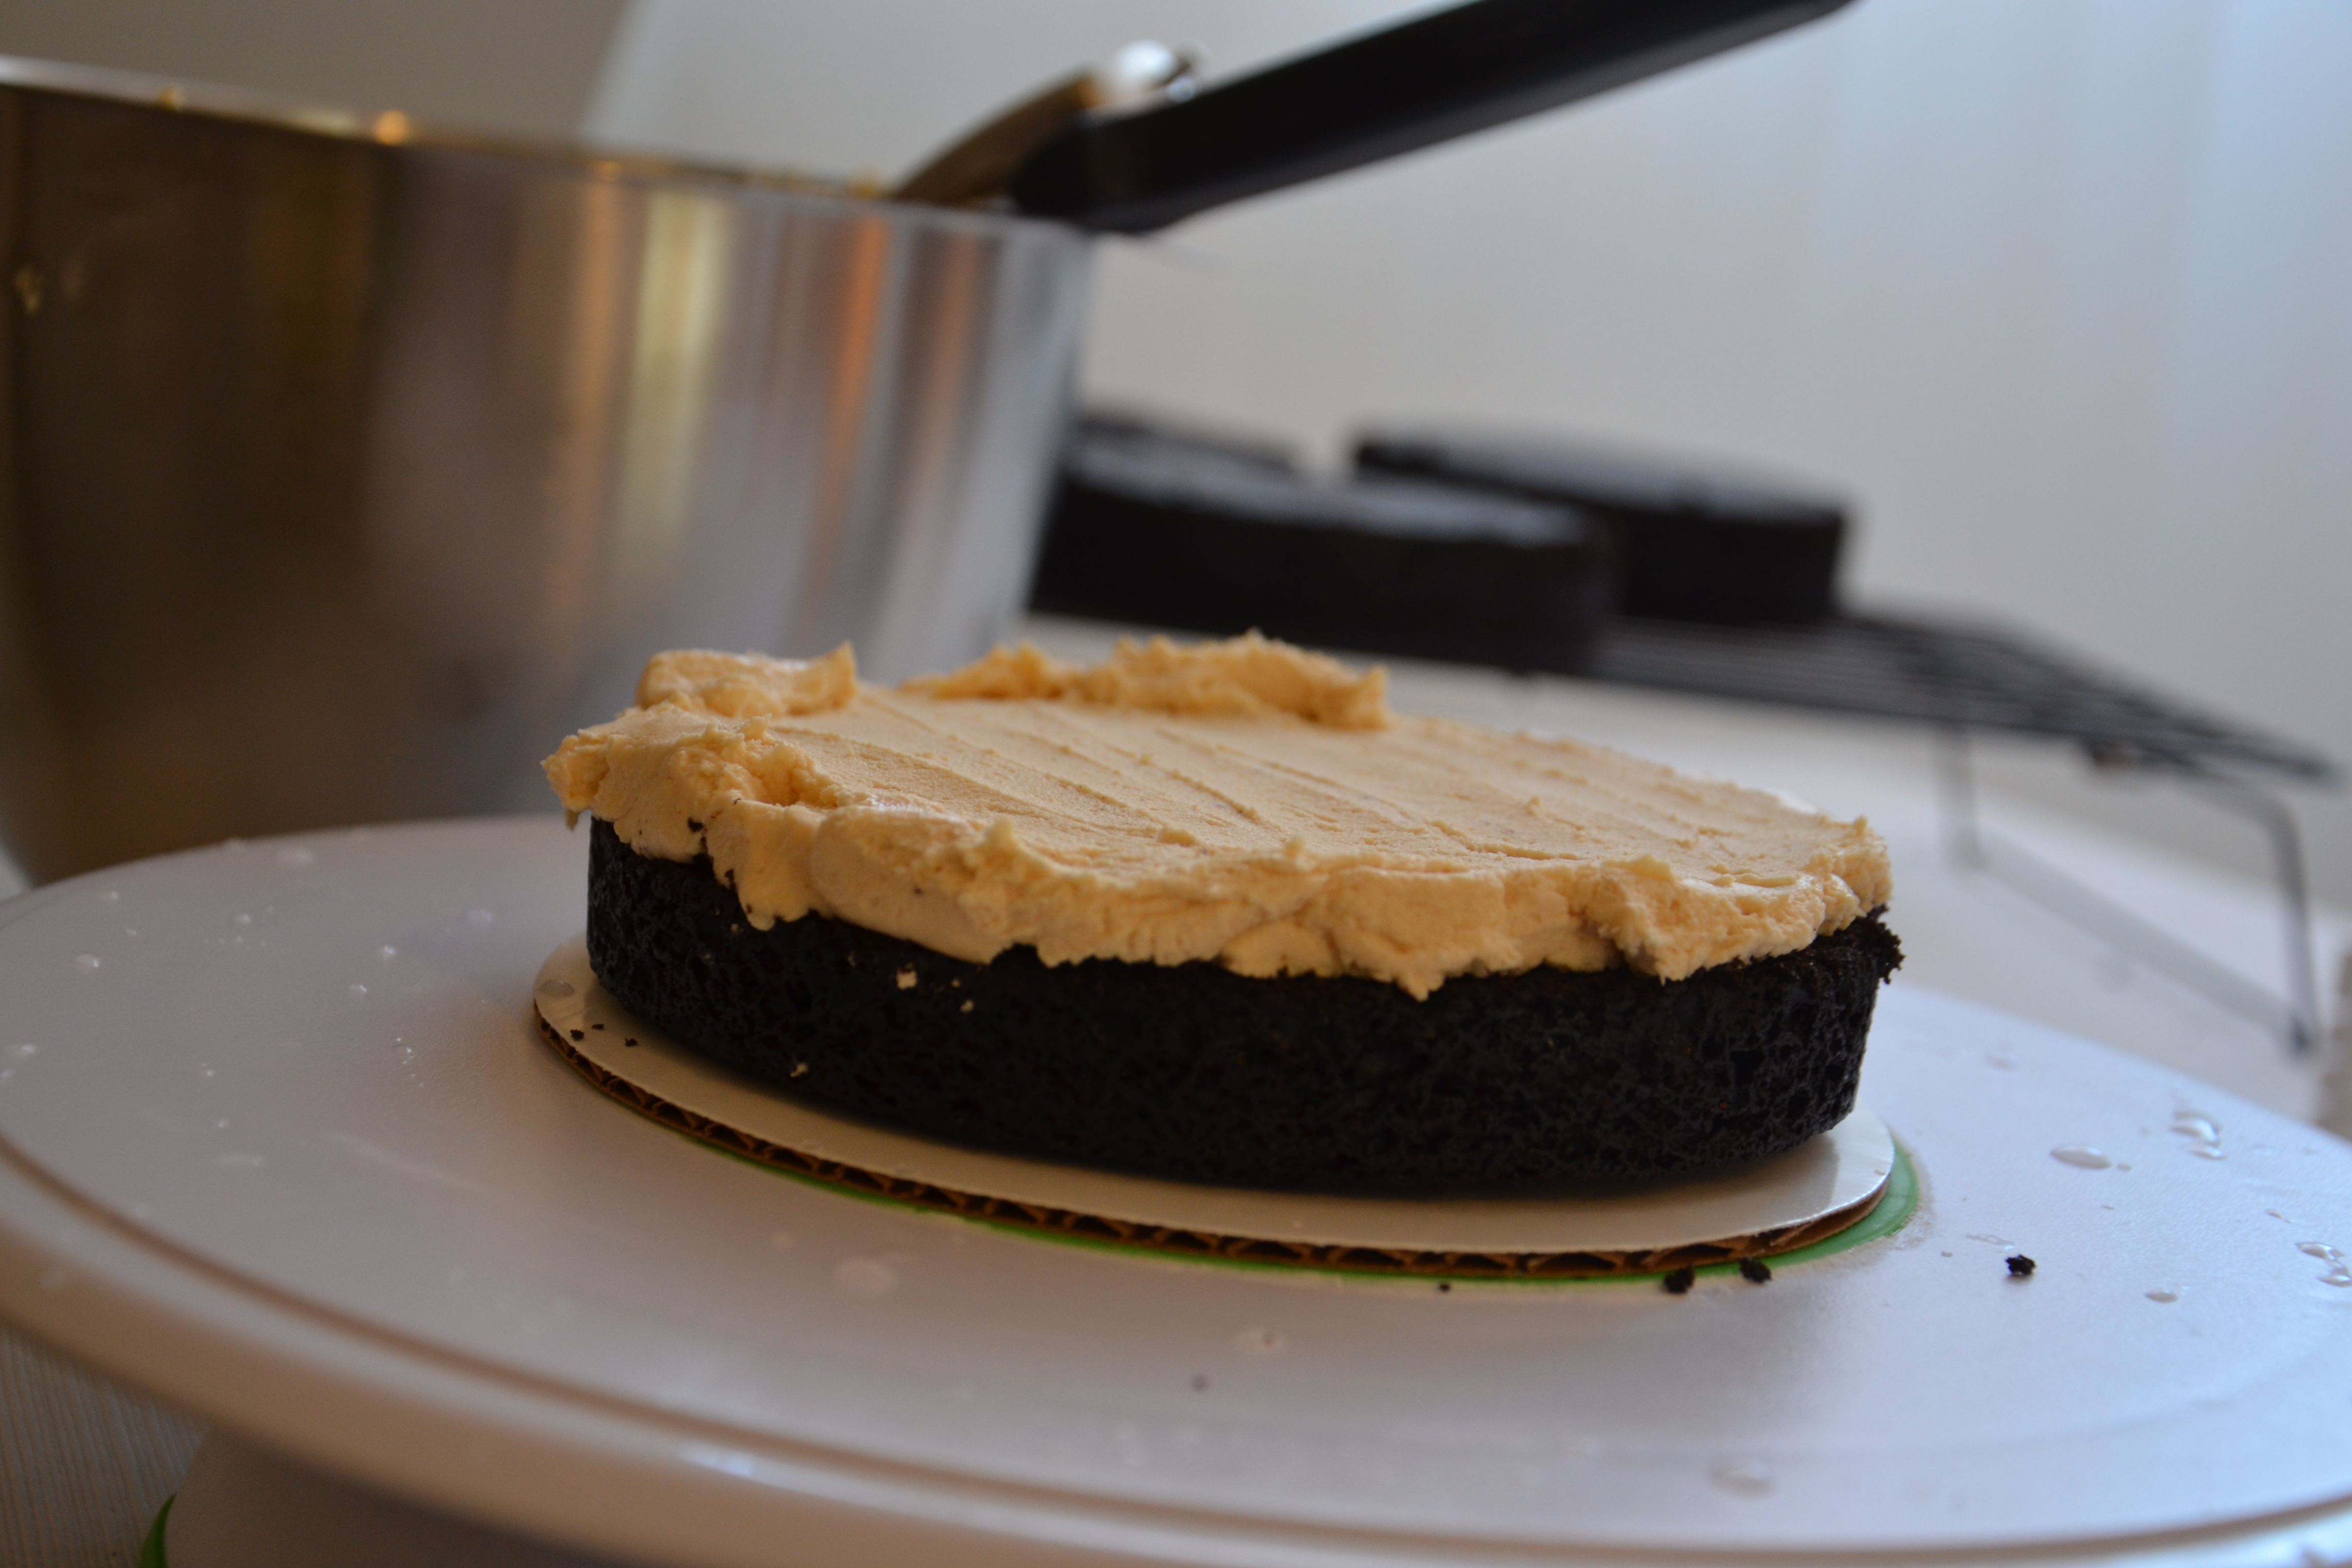
The filling needs to be more stiff than the crumb coat considering it must support the weight of the cake while remaining stable. With this cake, I was particularly interested in a peanut butter-y filling so maybe it was extra sturdy.
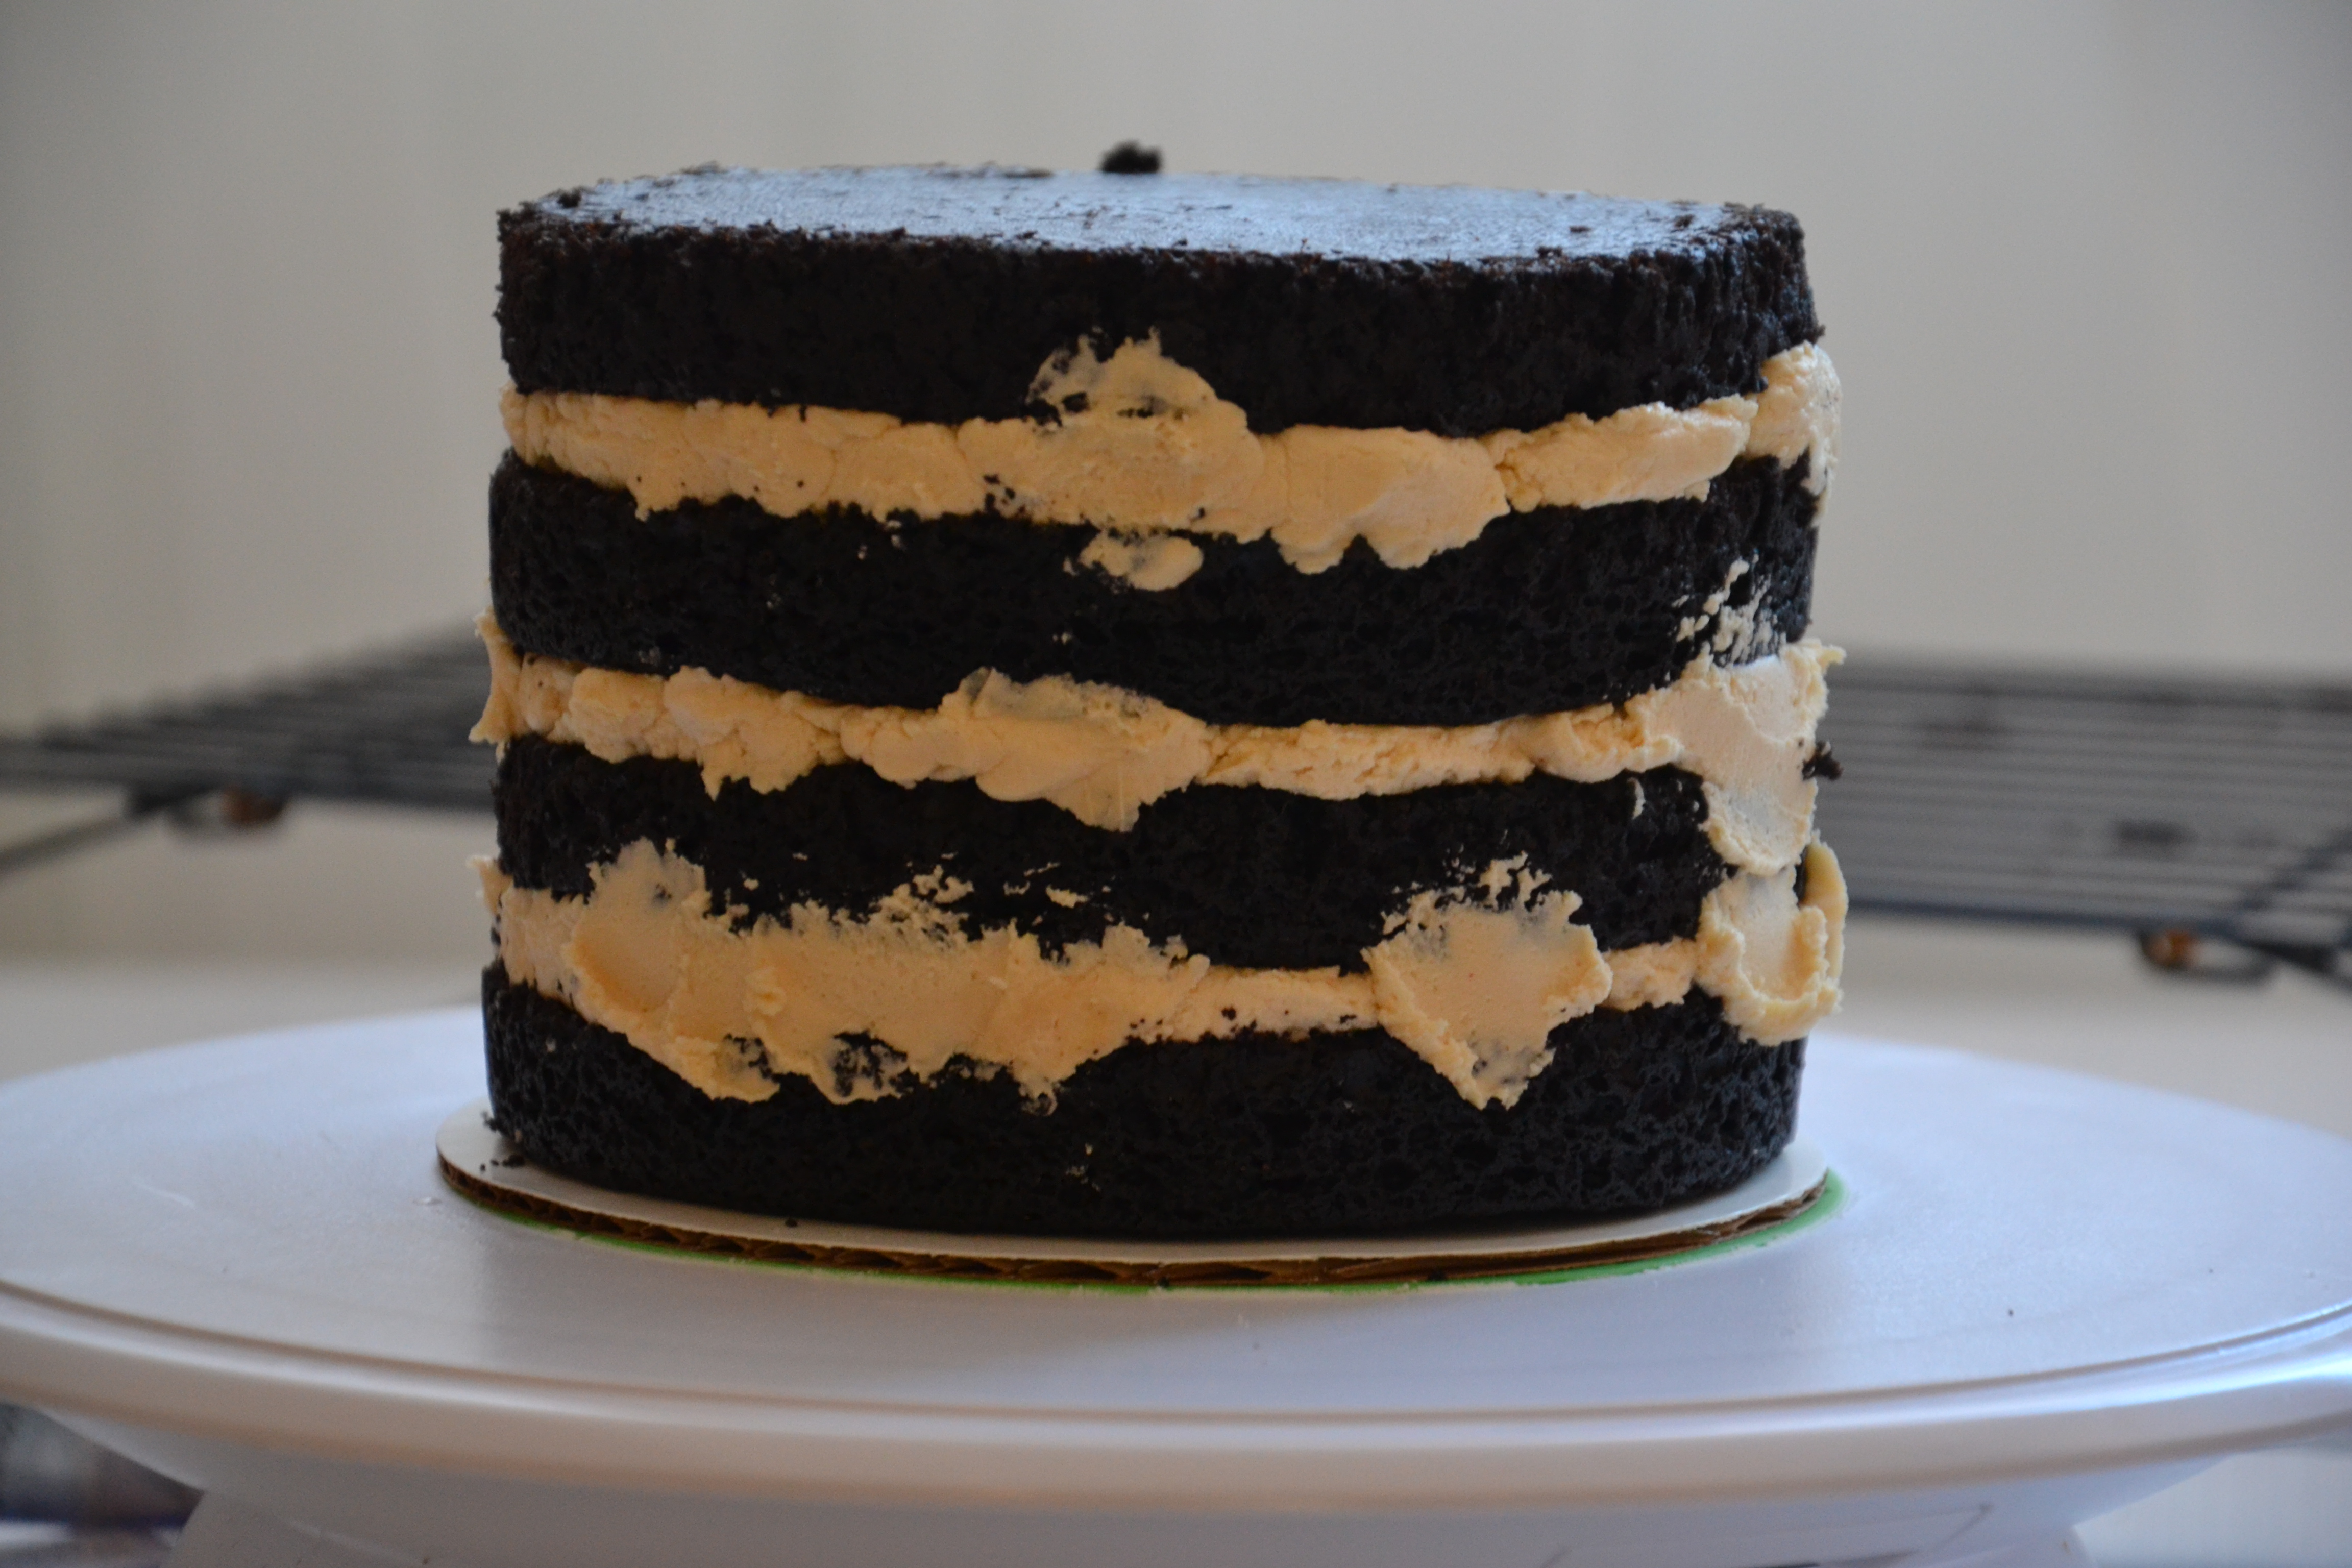
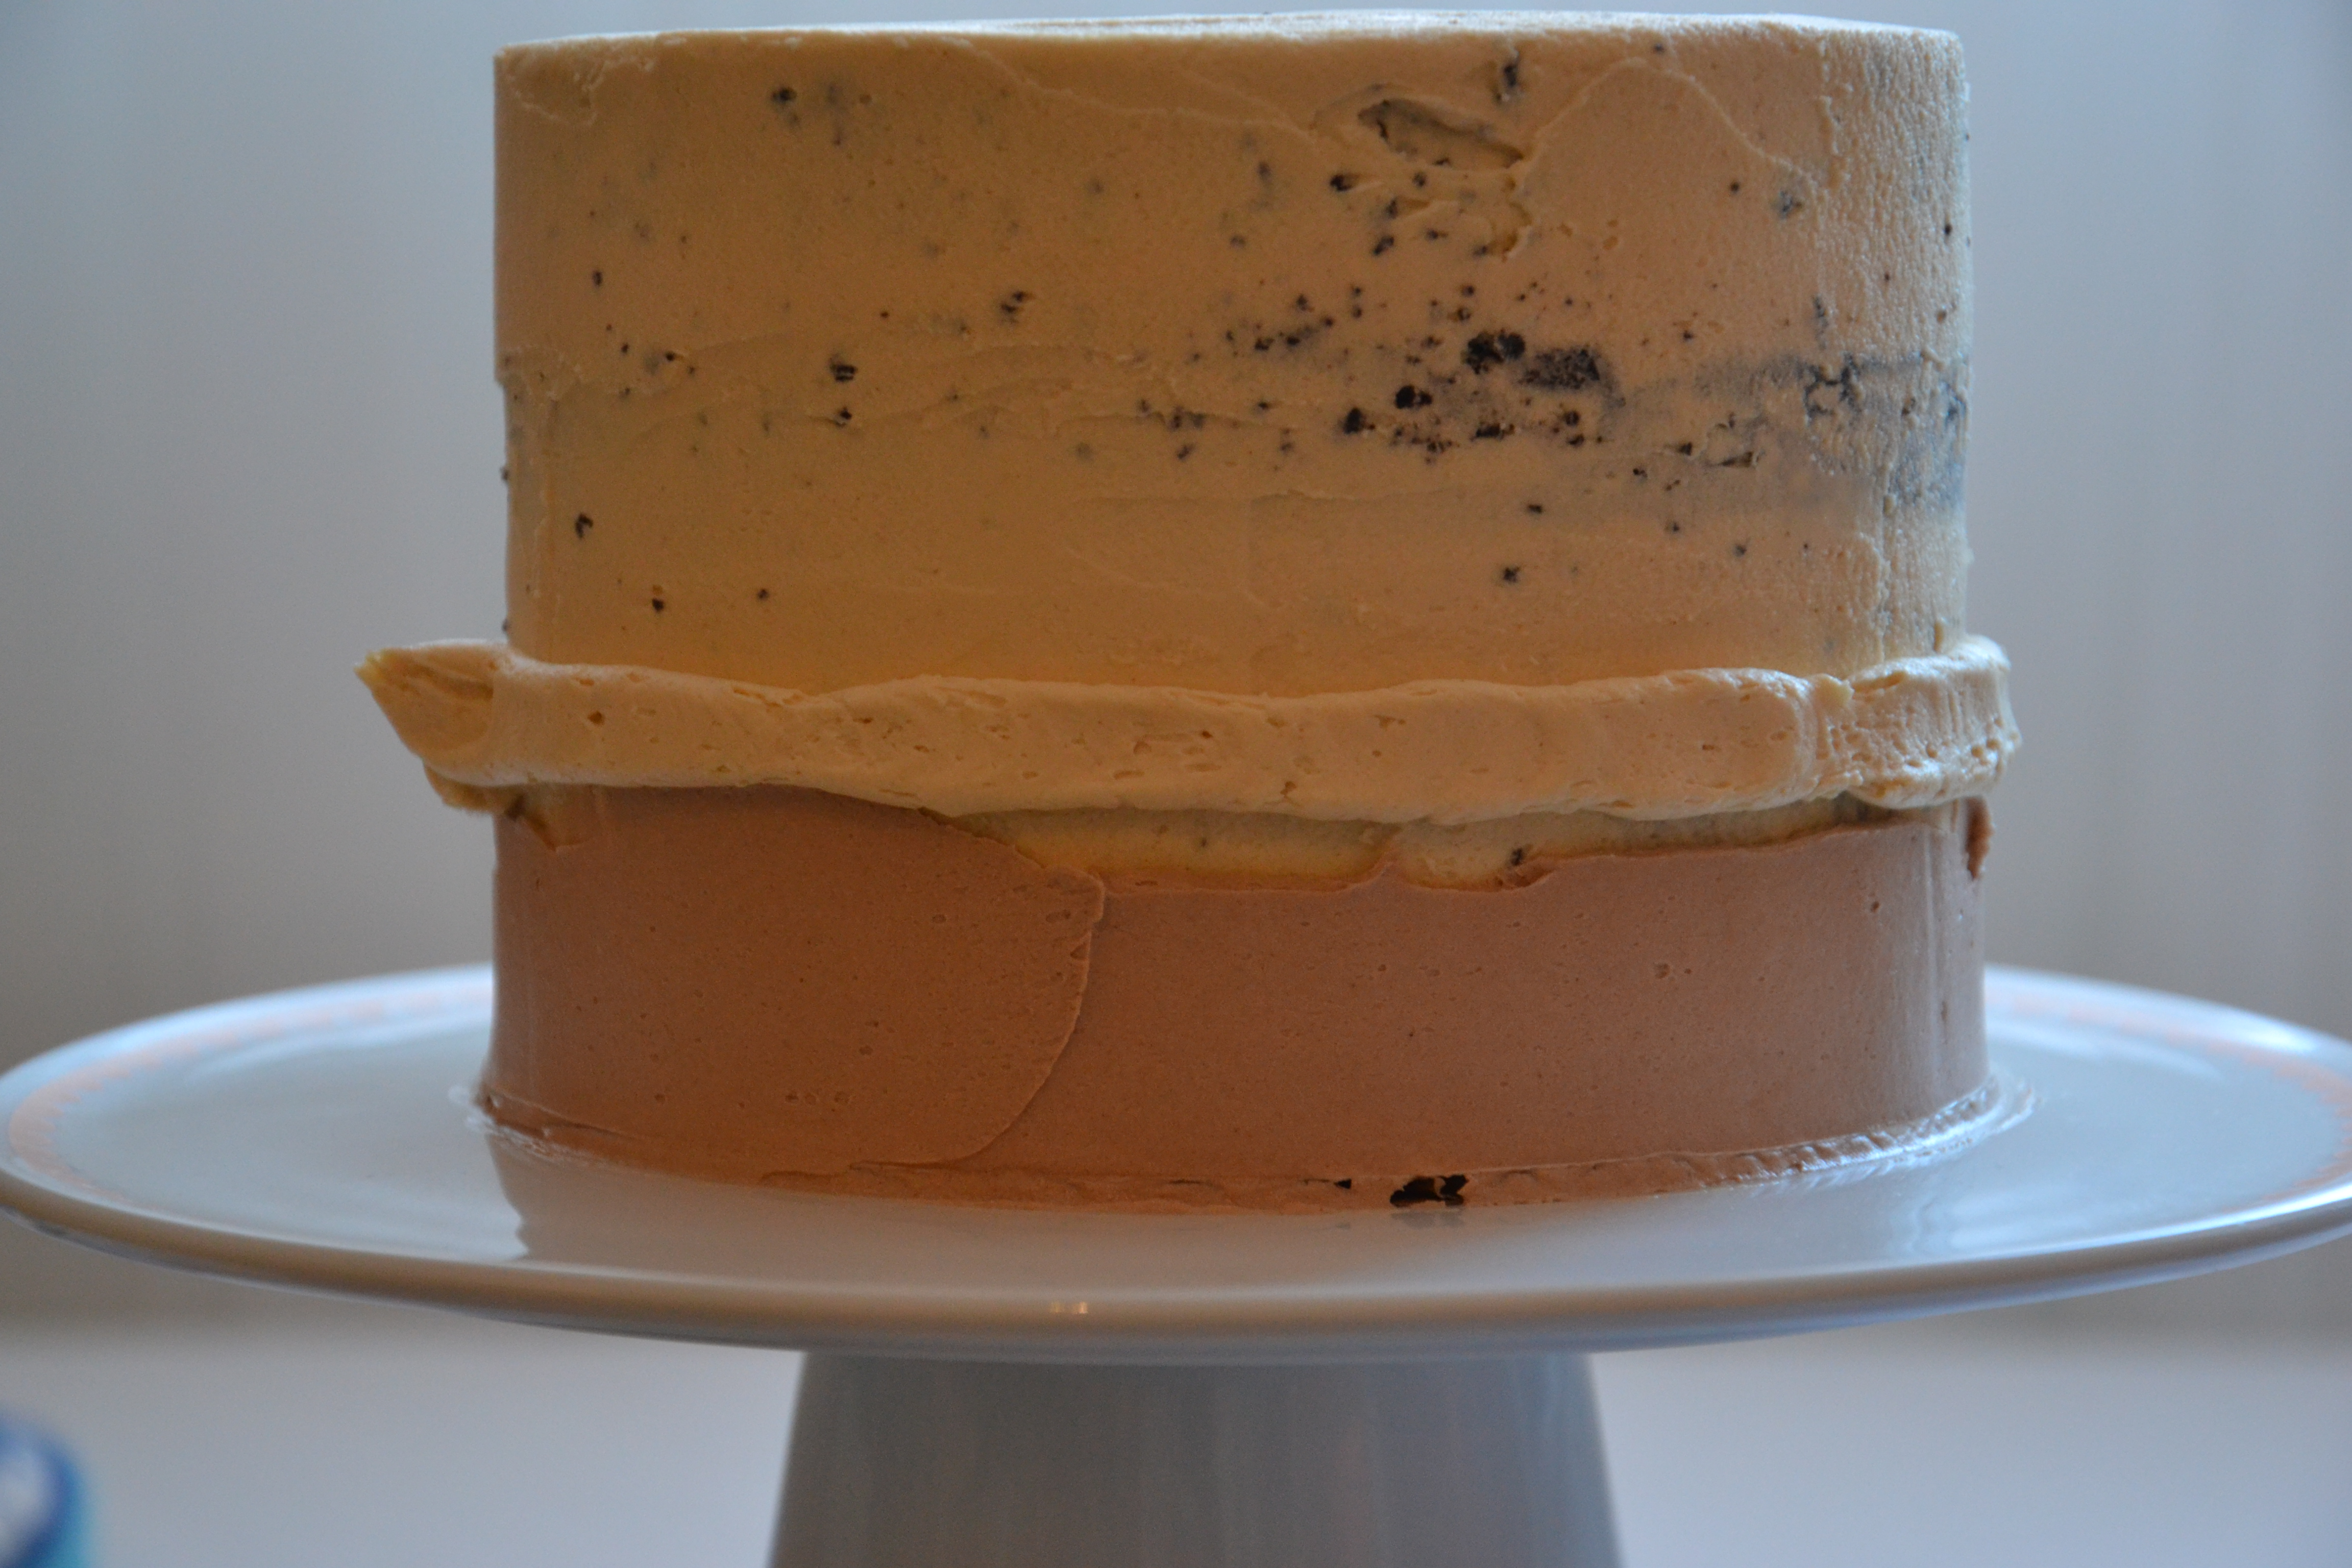
After building the layers of most cakes, I whip in additional milk to thin out the buttercream for the crumb coat. This very thin layer of buttercream holds in the crumbs and prevents crumbs from working through to the surface of the frosting. Ever had bits of cake work their way to the surface? It’s frustrating.
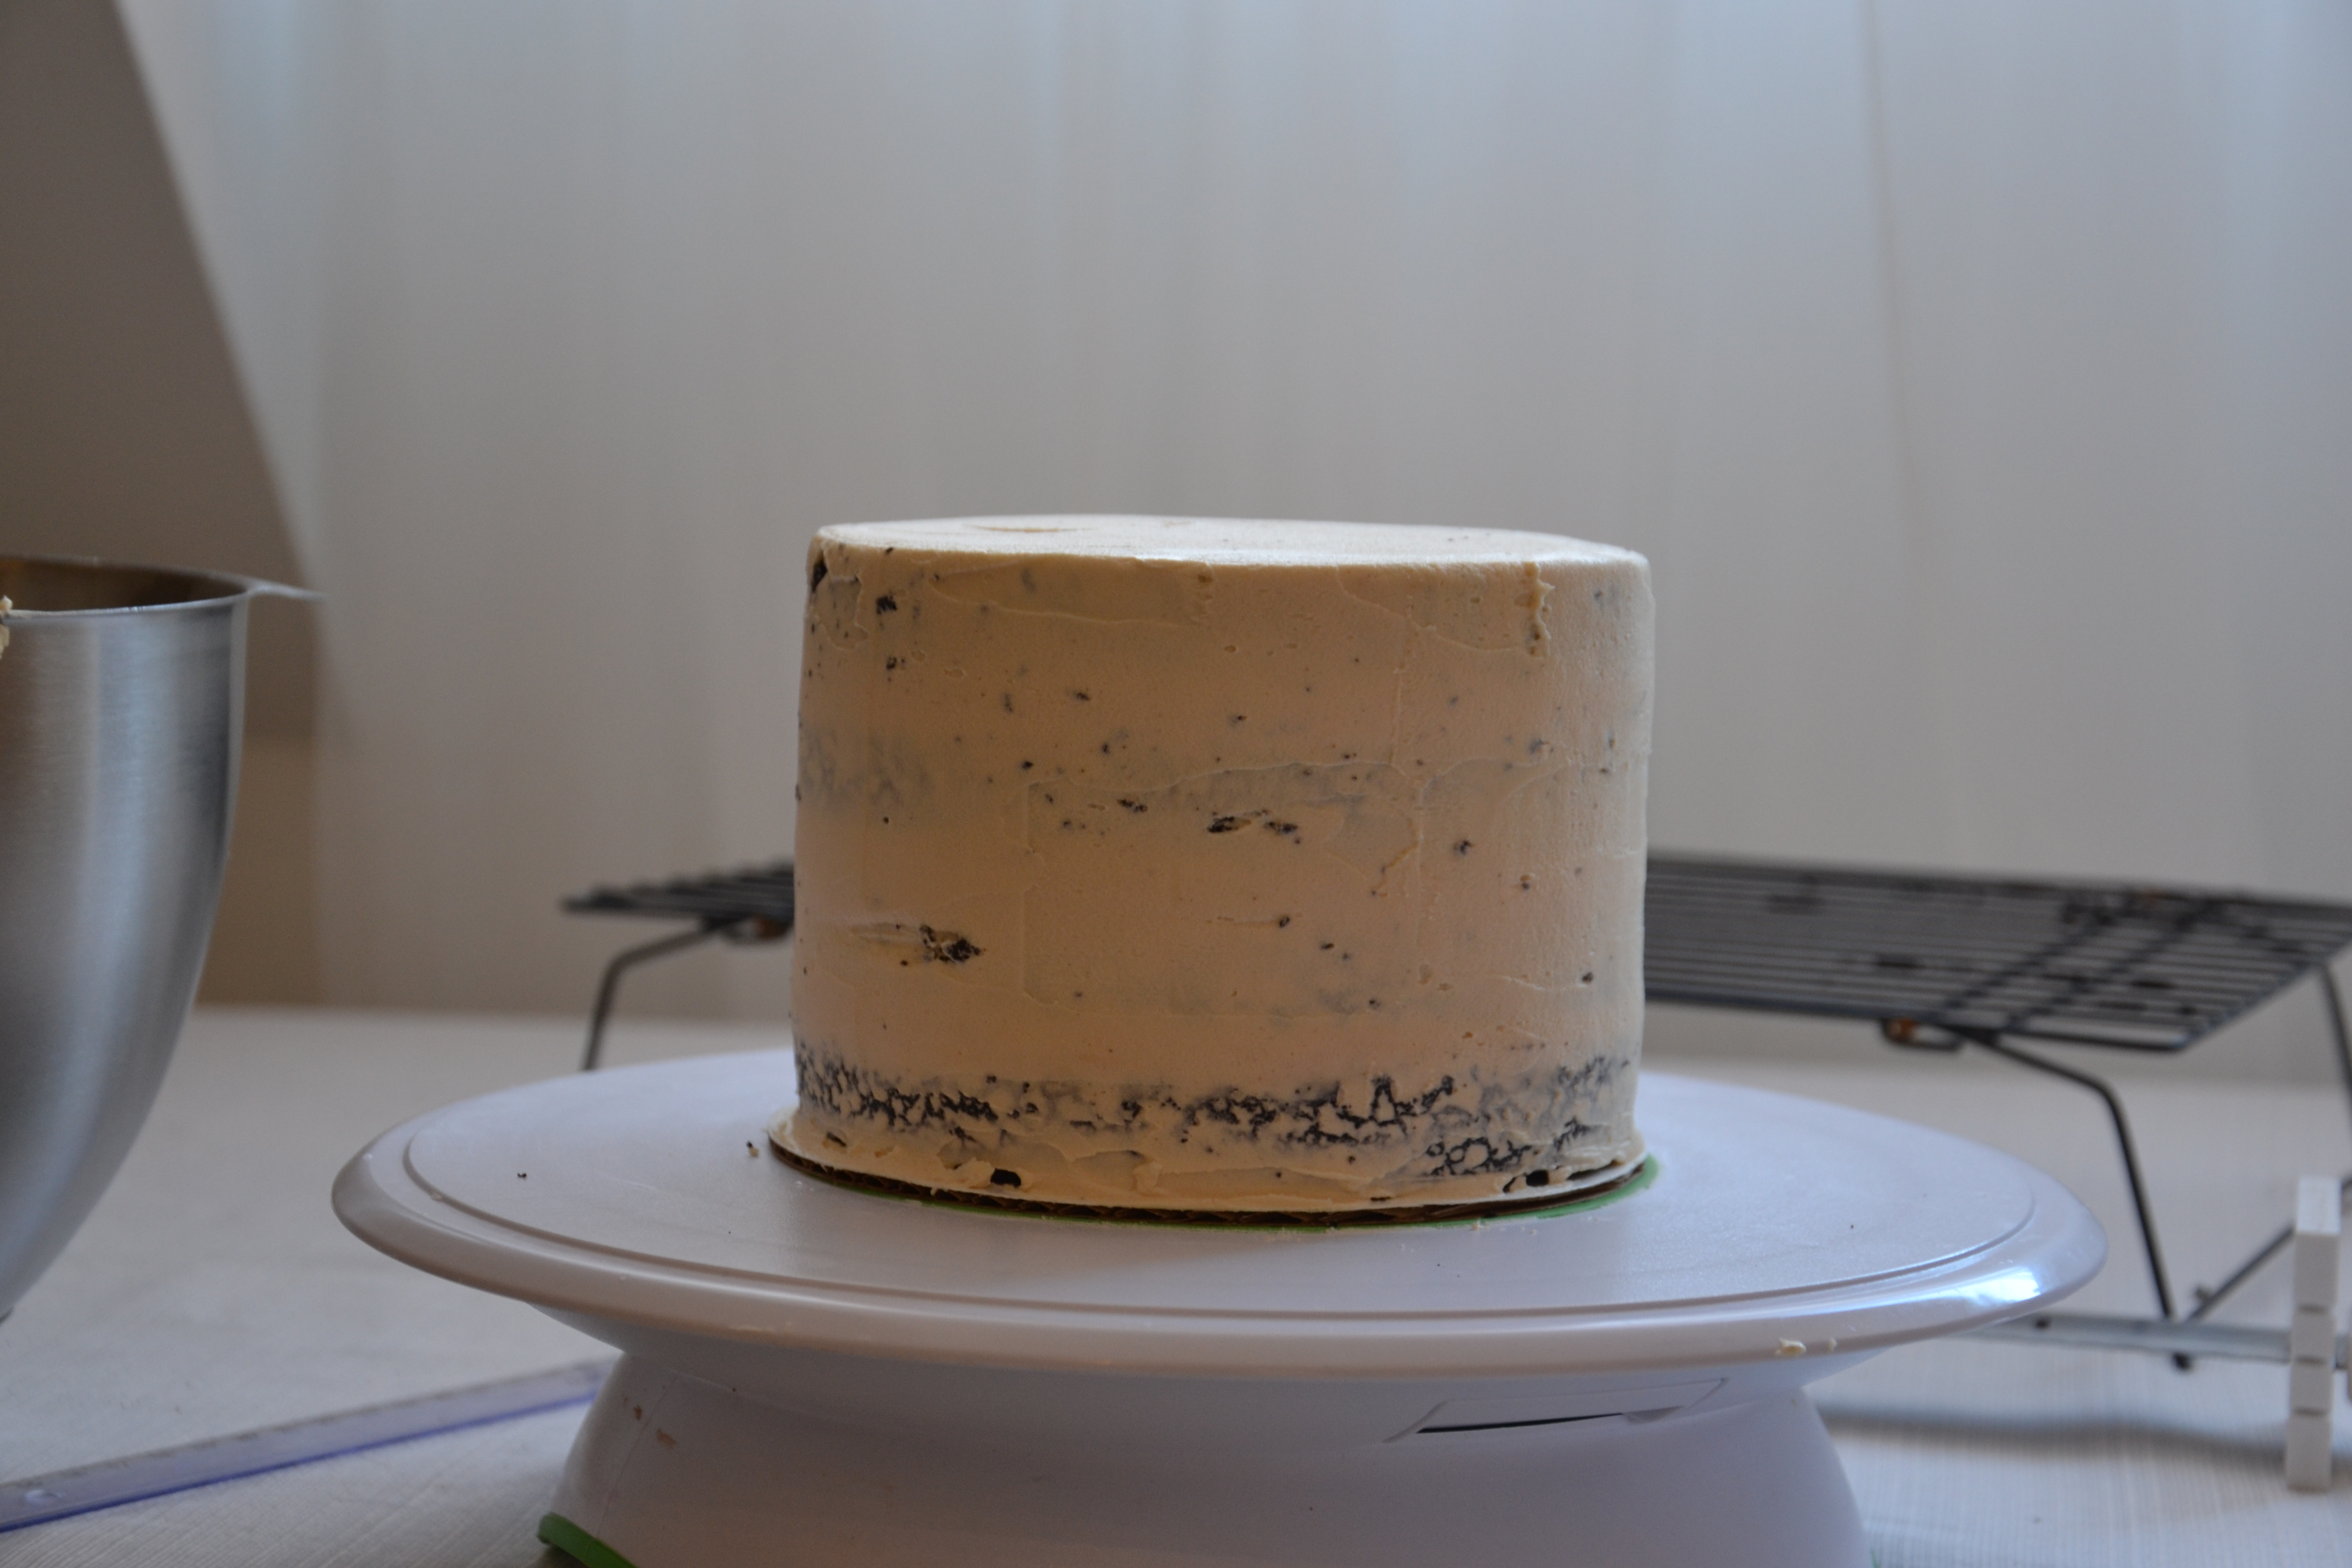
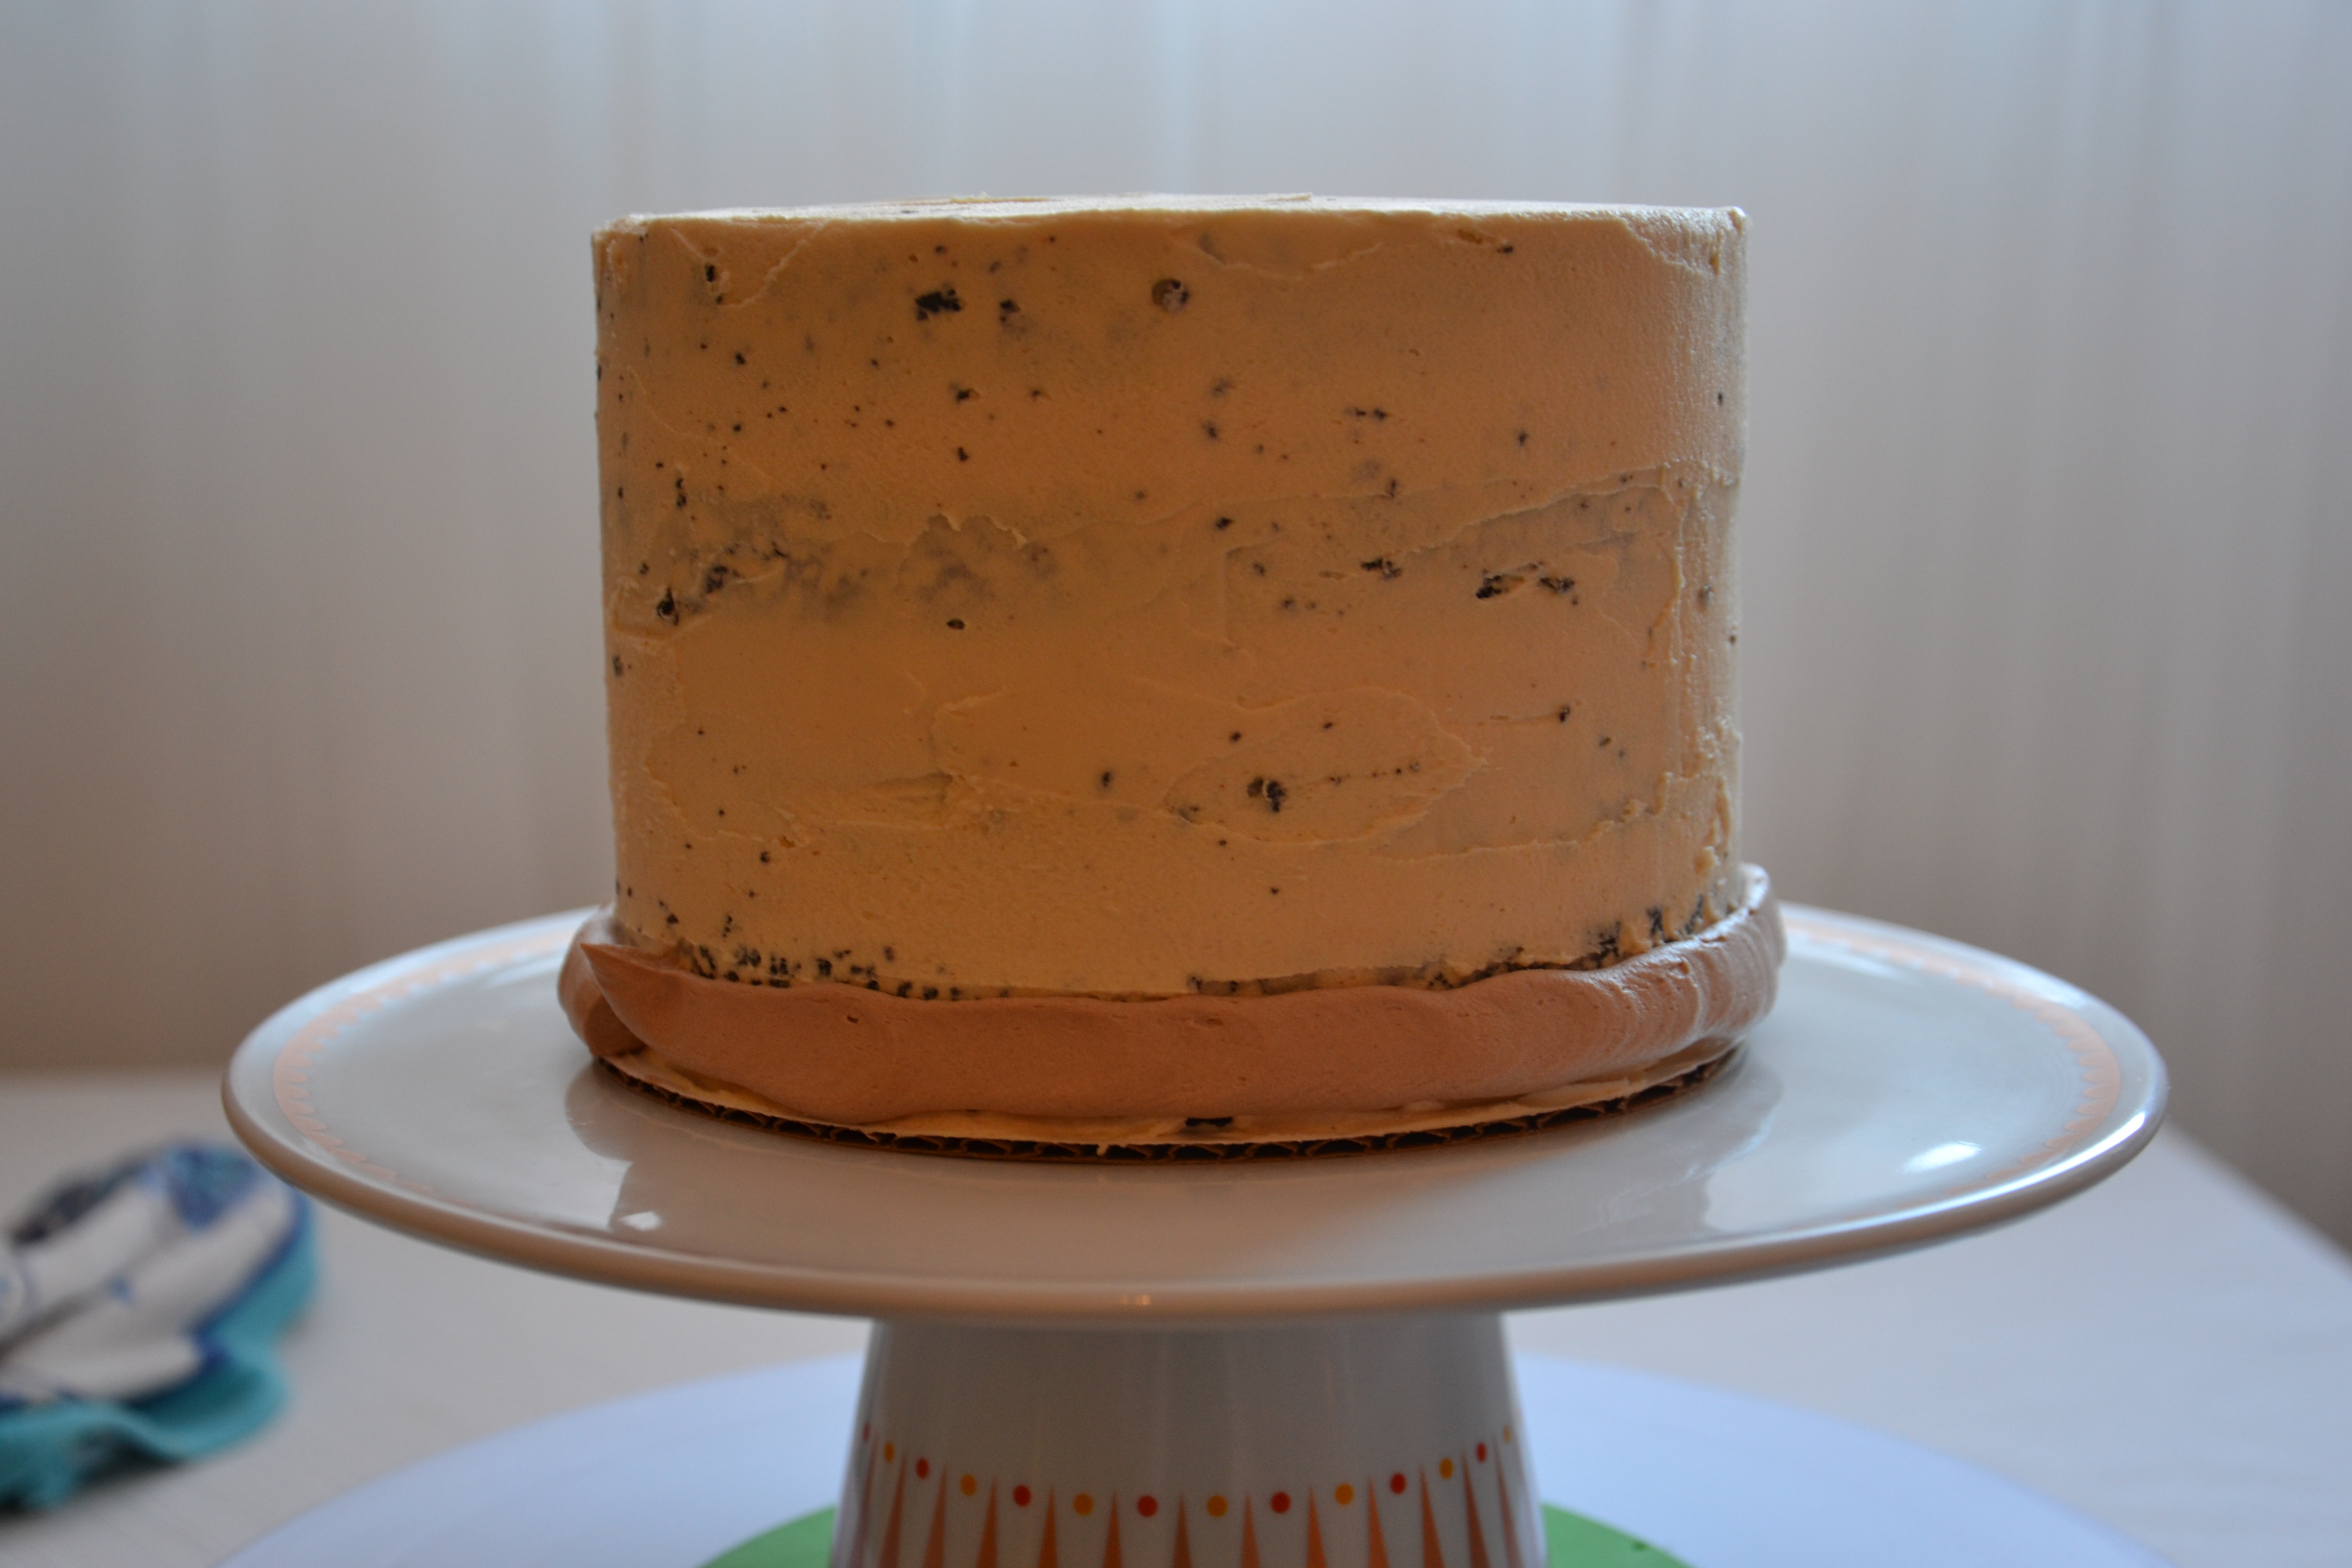
I let it set up in the cake fridge while preparing the whipped ganache buttercream. I used Lindt Milk Chocolate for the ganache then whipped in a very small amount of peanut butter buttercream. Oh yes, these flavors belong together! (I know that not everyone likes this combination, we’re still cool)
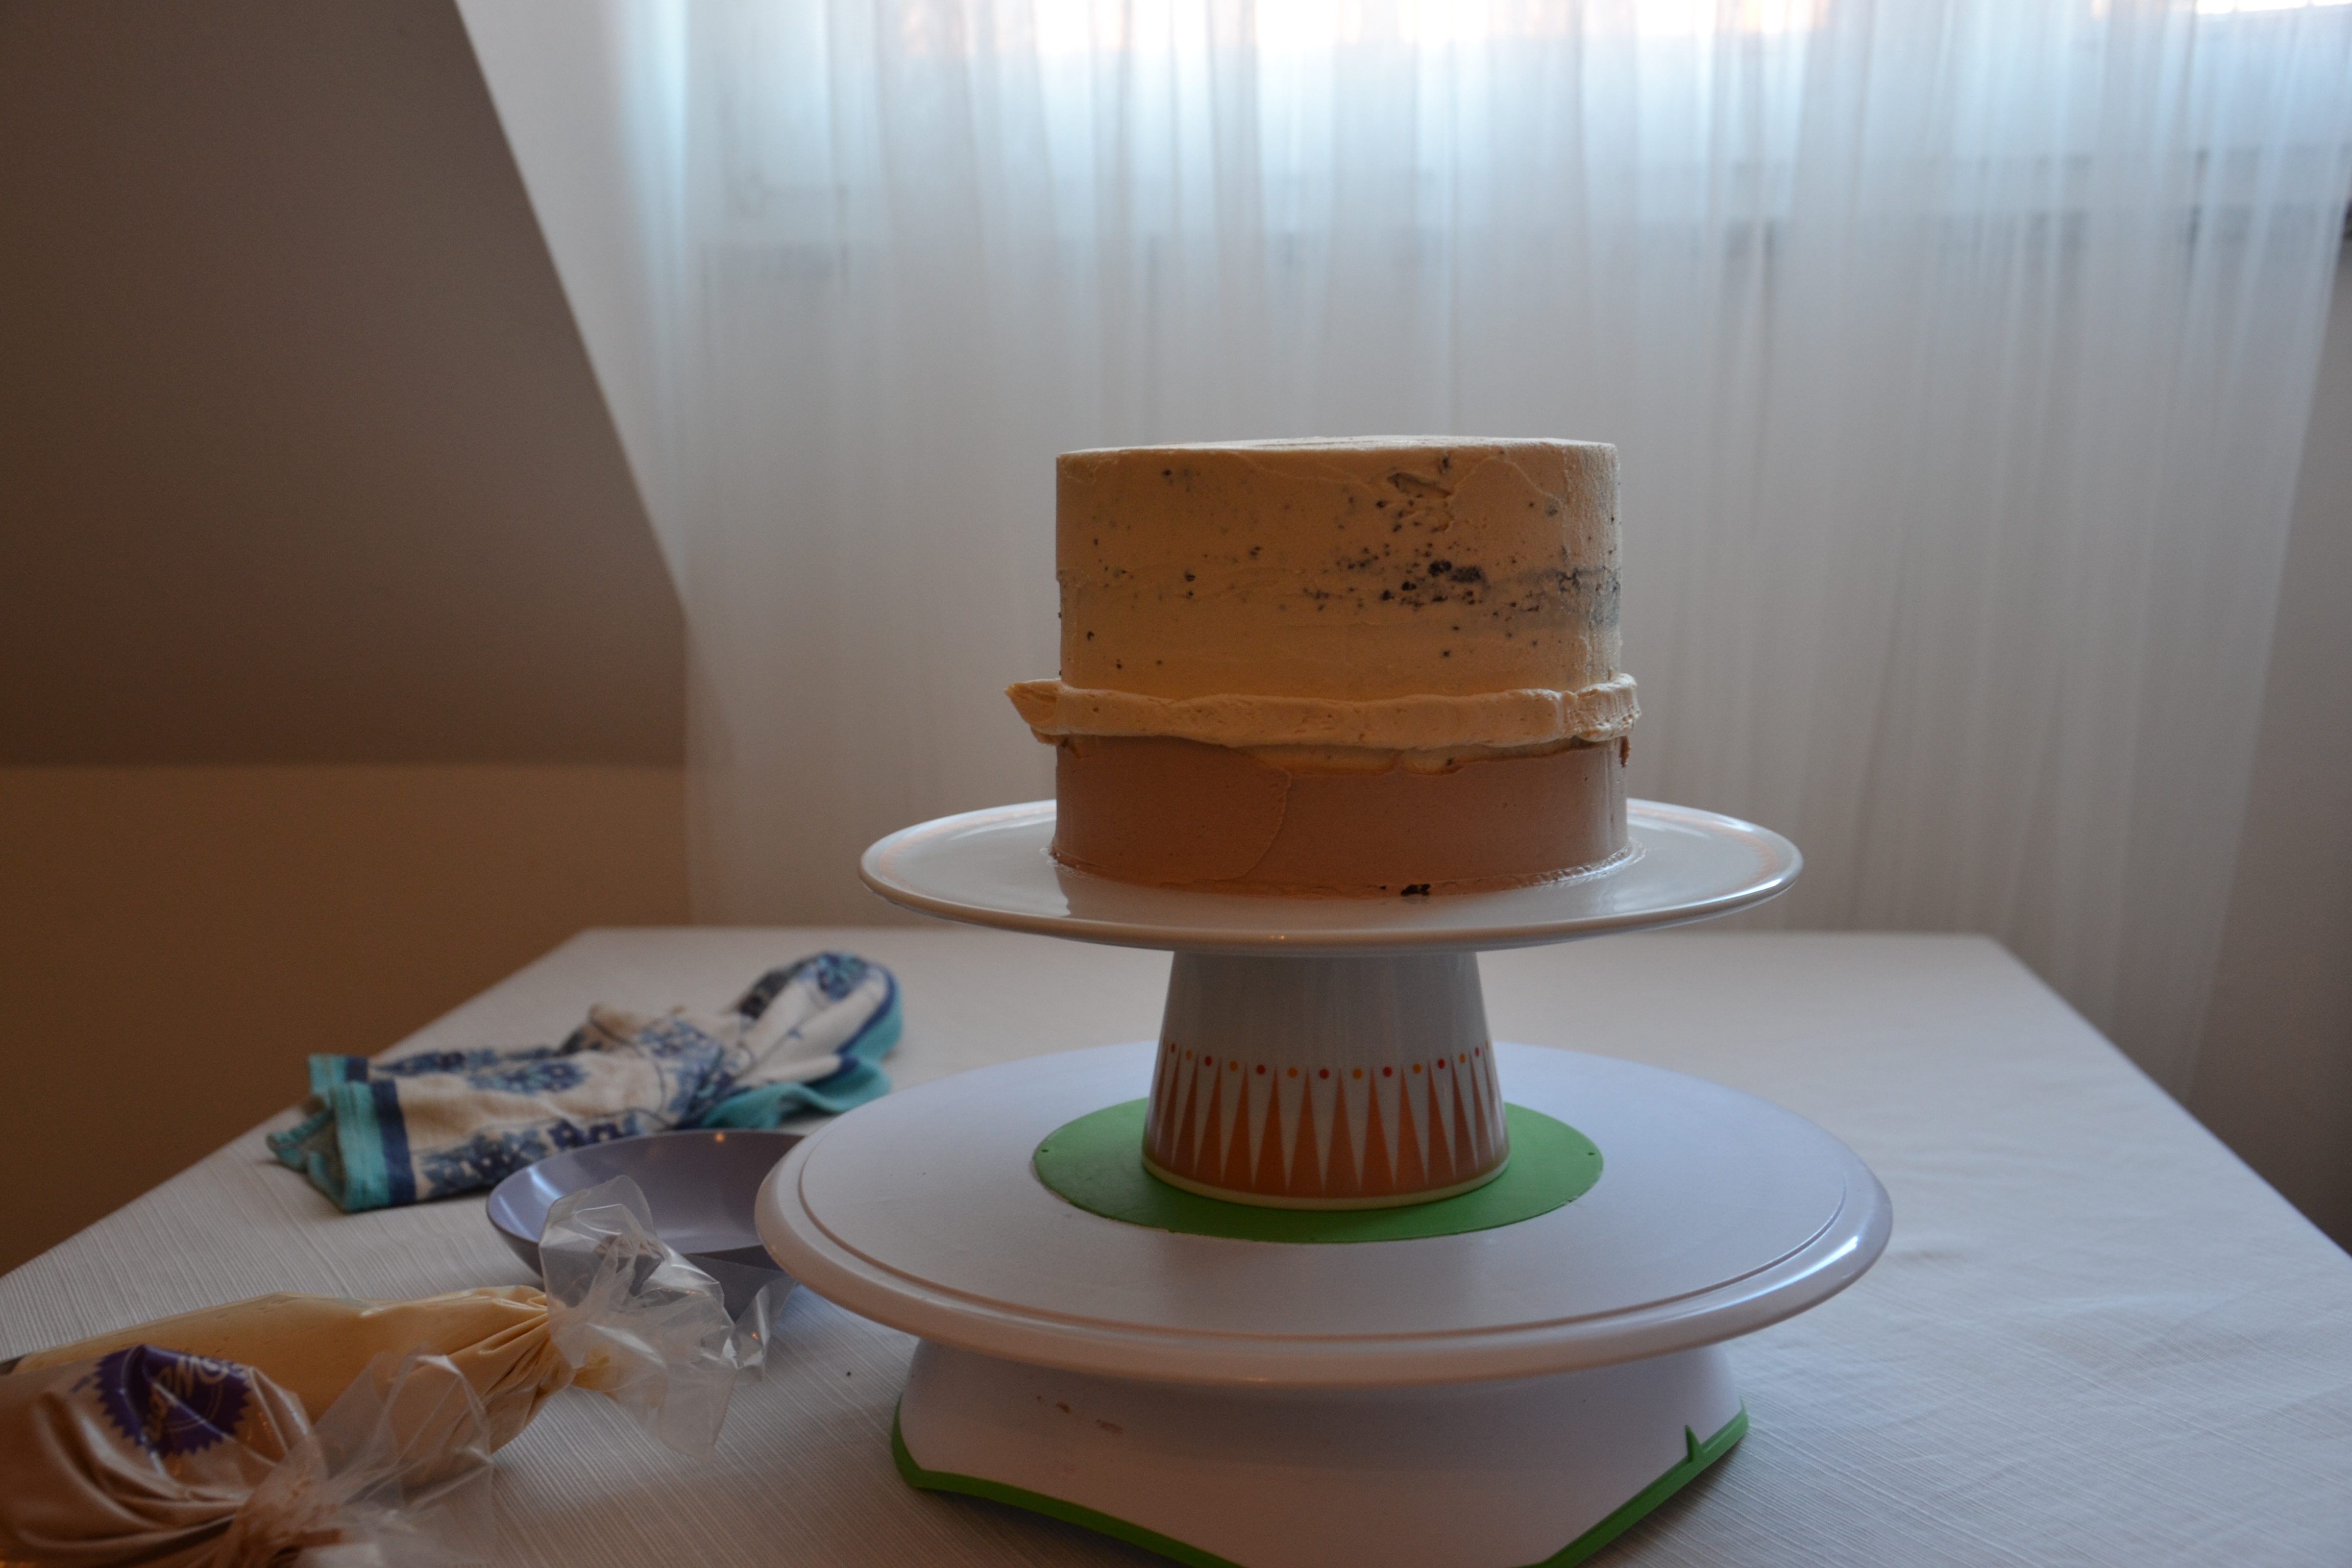
To mimic the layers of the inside of the cake, I piped on similar layers for the frosting. The cake turntable was essential for me to keep the layers even while having a steady hand.
 To smooth out the surface, I like to warm the off-set spatula blade in hot water (then dab dry). The heat helps melt the buttercream and results in a more blended, seamless effect.
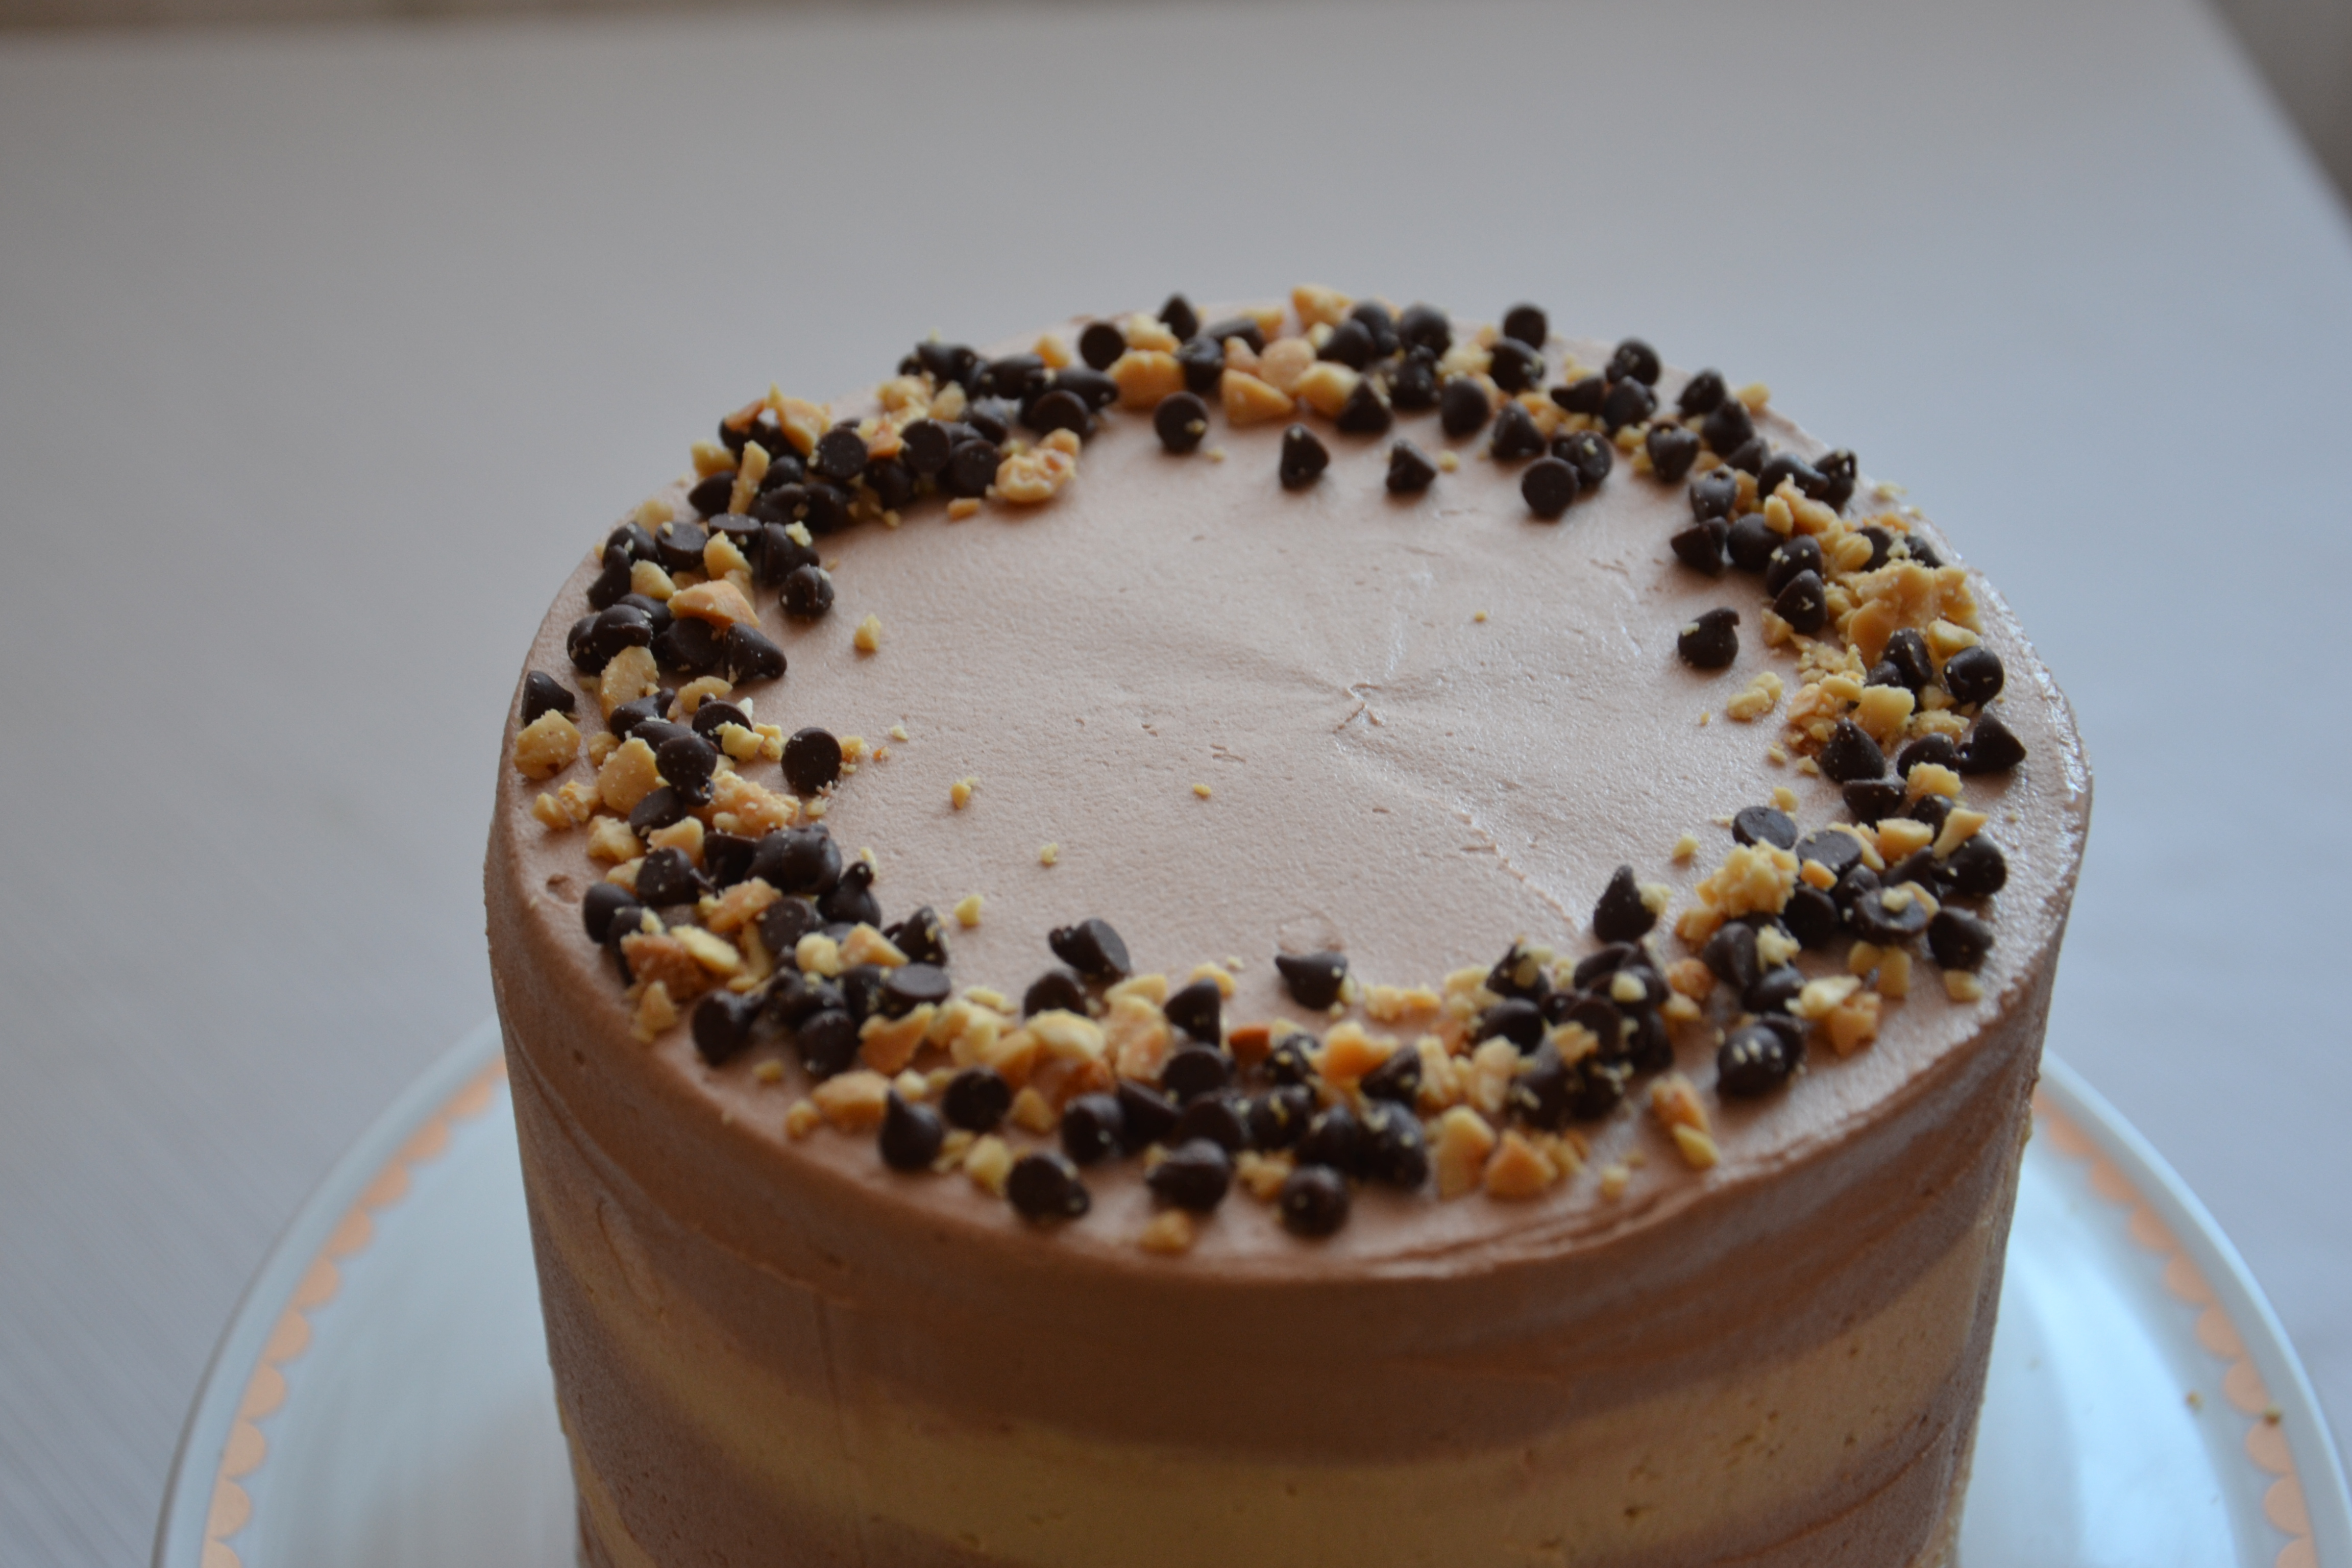
I didn’t have any Reese Peanut Butter Cups. But, I did have salted peanuts and a few Nestle mini-Morsels. Well now! That makes for a delightful garnish, introduces more textures, and keeps the flavors as the center of attention. Yeah, that’s a whole lot of awesome.
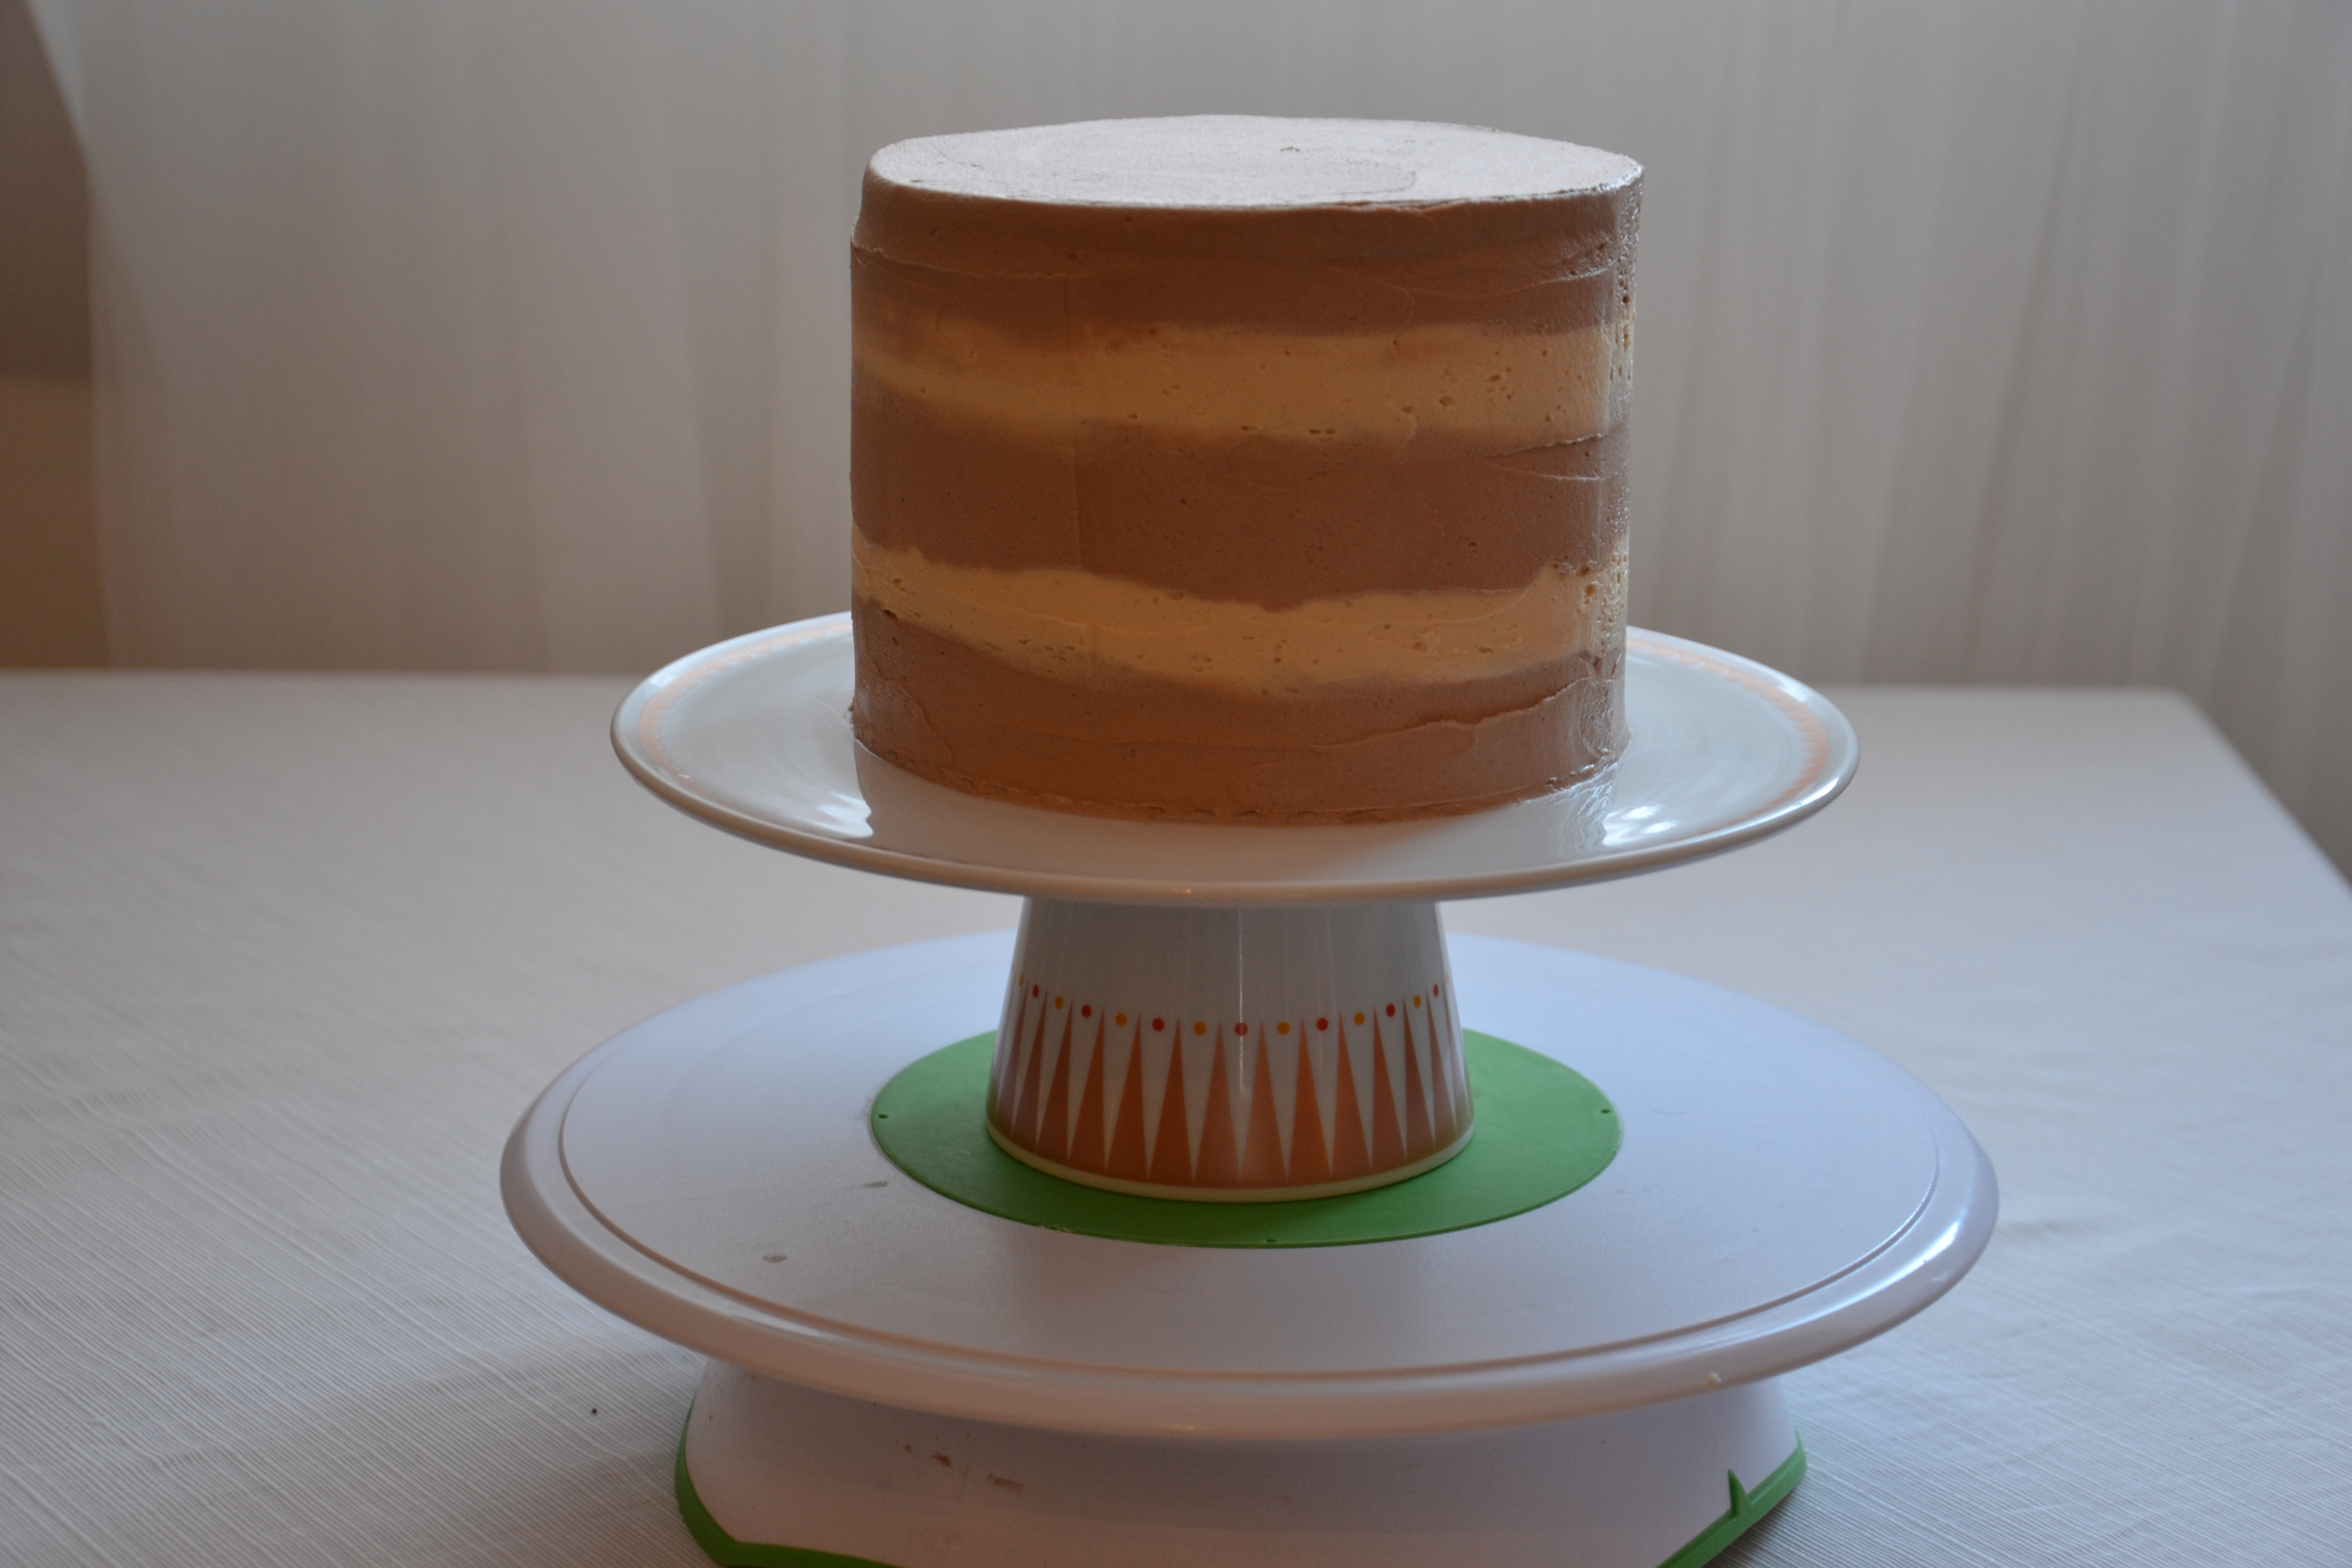
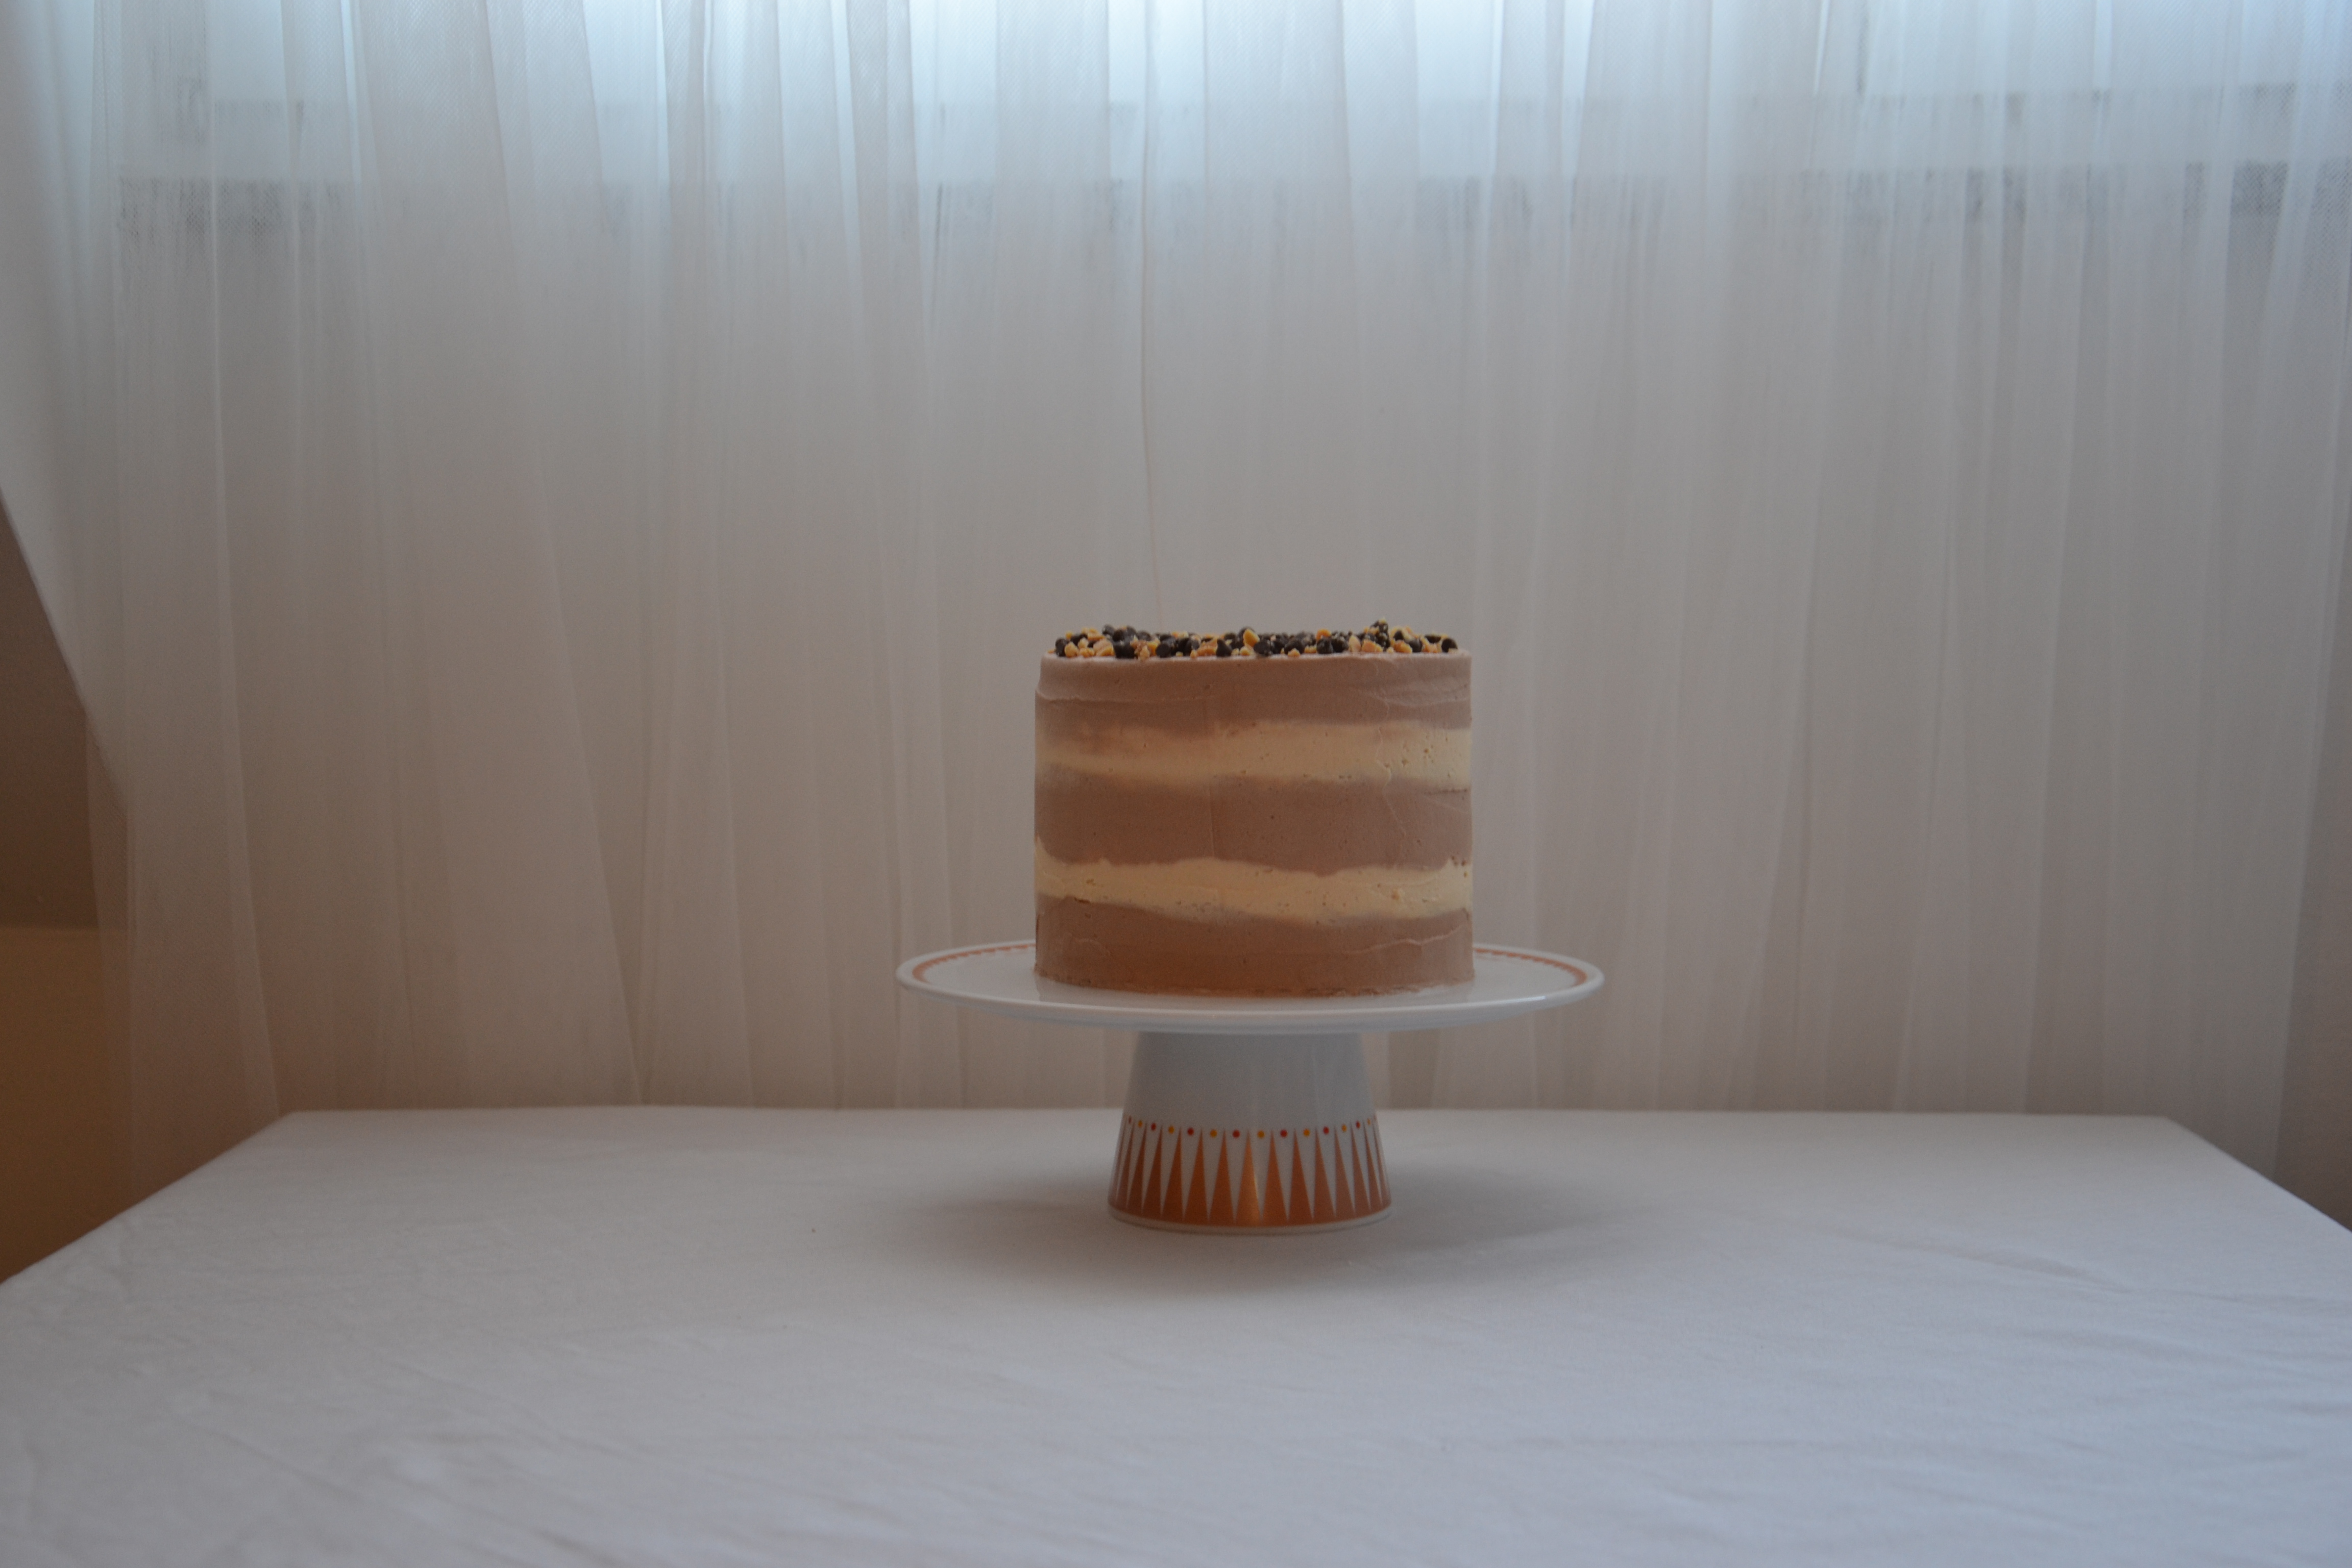
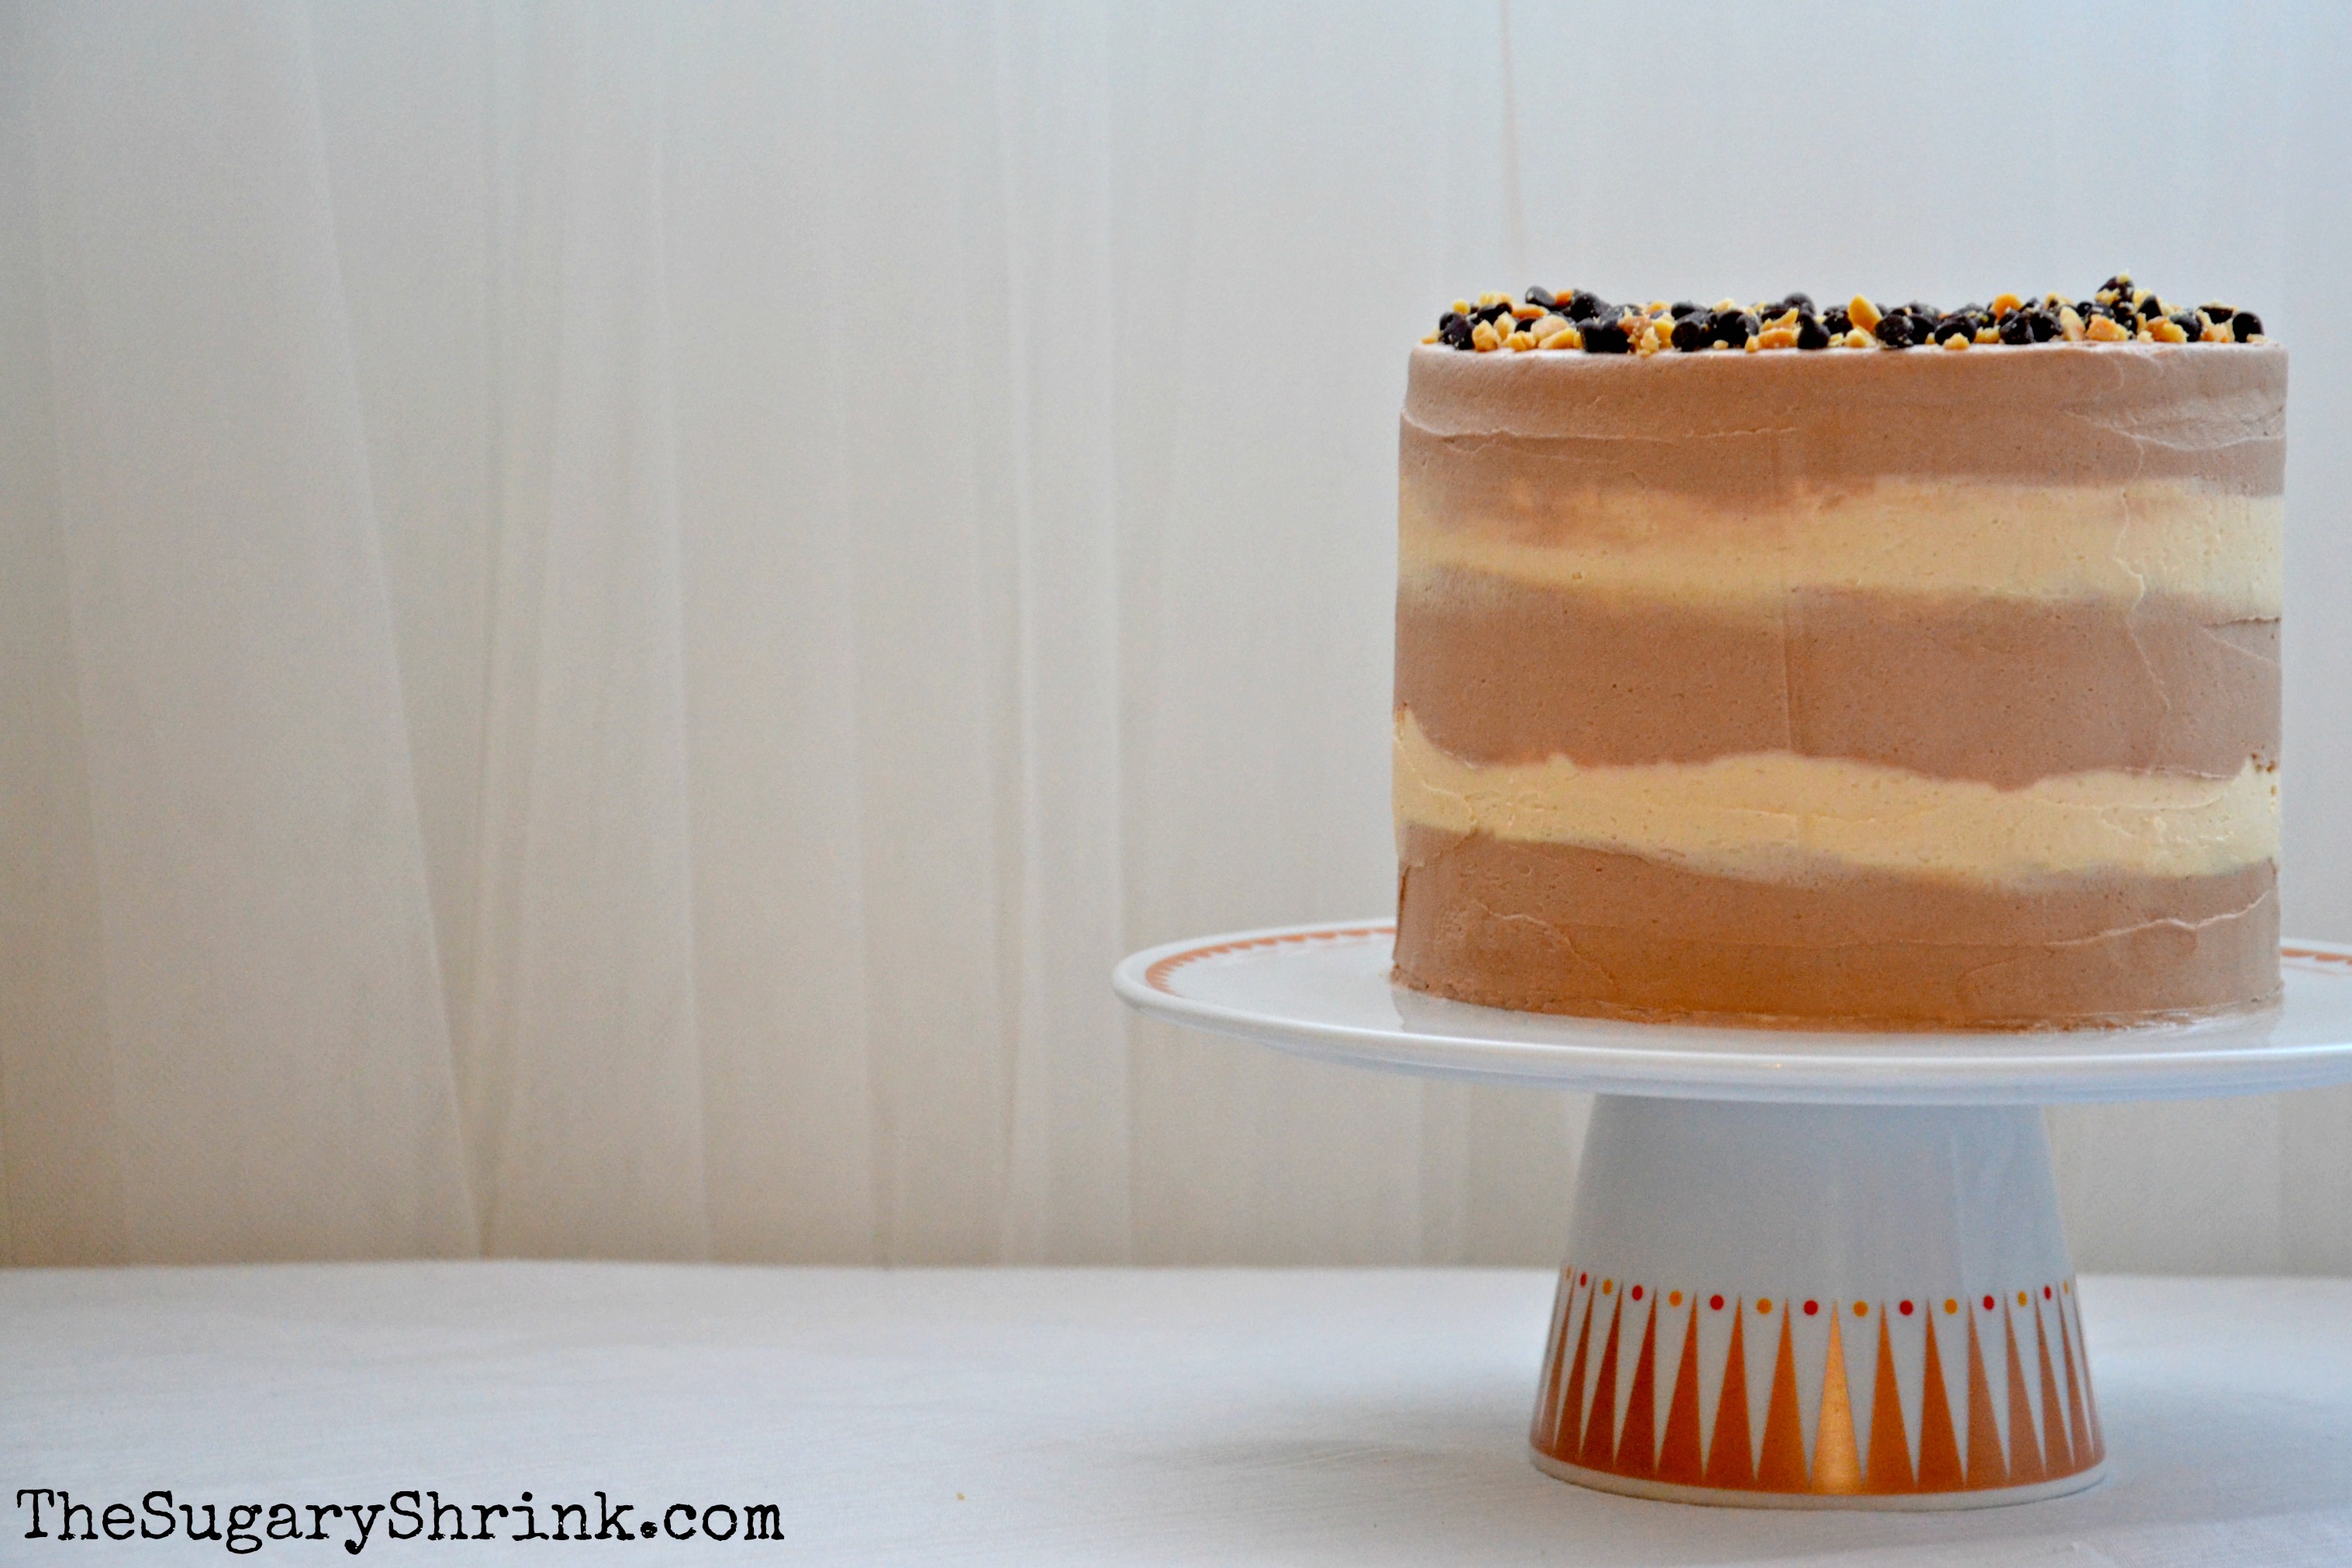
This cake was on the small side. The cake stand, found at Printemps in Paris, can hold an 8″ triple-layer cake. It has a very mid-century modern feel to it and I loved it immediately.
This was one of those instances where I wasn’t quite sure how to stage I; I just knew I loved it but what next?
The slice! I love the slice. Sometimes, slicing the cake leaves the kitchen filled with anxiety, but not this time. All that peanut butter and chocolate… we invited friends over.
This cake would be welcome at a small dinner party or perfect as a Sunday Cake, “In case neighbors drop by.”
I might have originally struggled with staging this cake picture, the Fiesta Dinnerware Paprika Juice Picher, Apricot Bud Vase, and White Dessert Plate blended nicely with this cake stand. The versatility that is Fiesta never ceases to amaze me – just when I think “those colors won’t go together” they do!
It’s a great day to be sober. It’s an even better day to share with my life partner.