Chocolate Cake, Squared
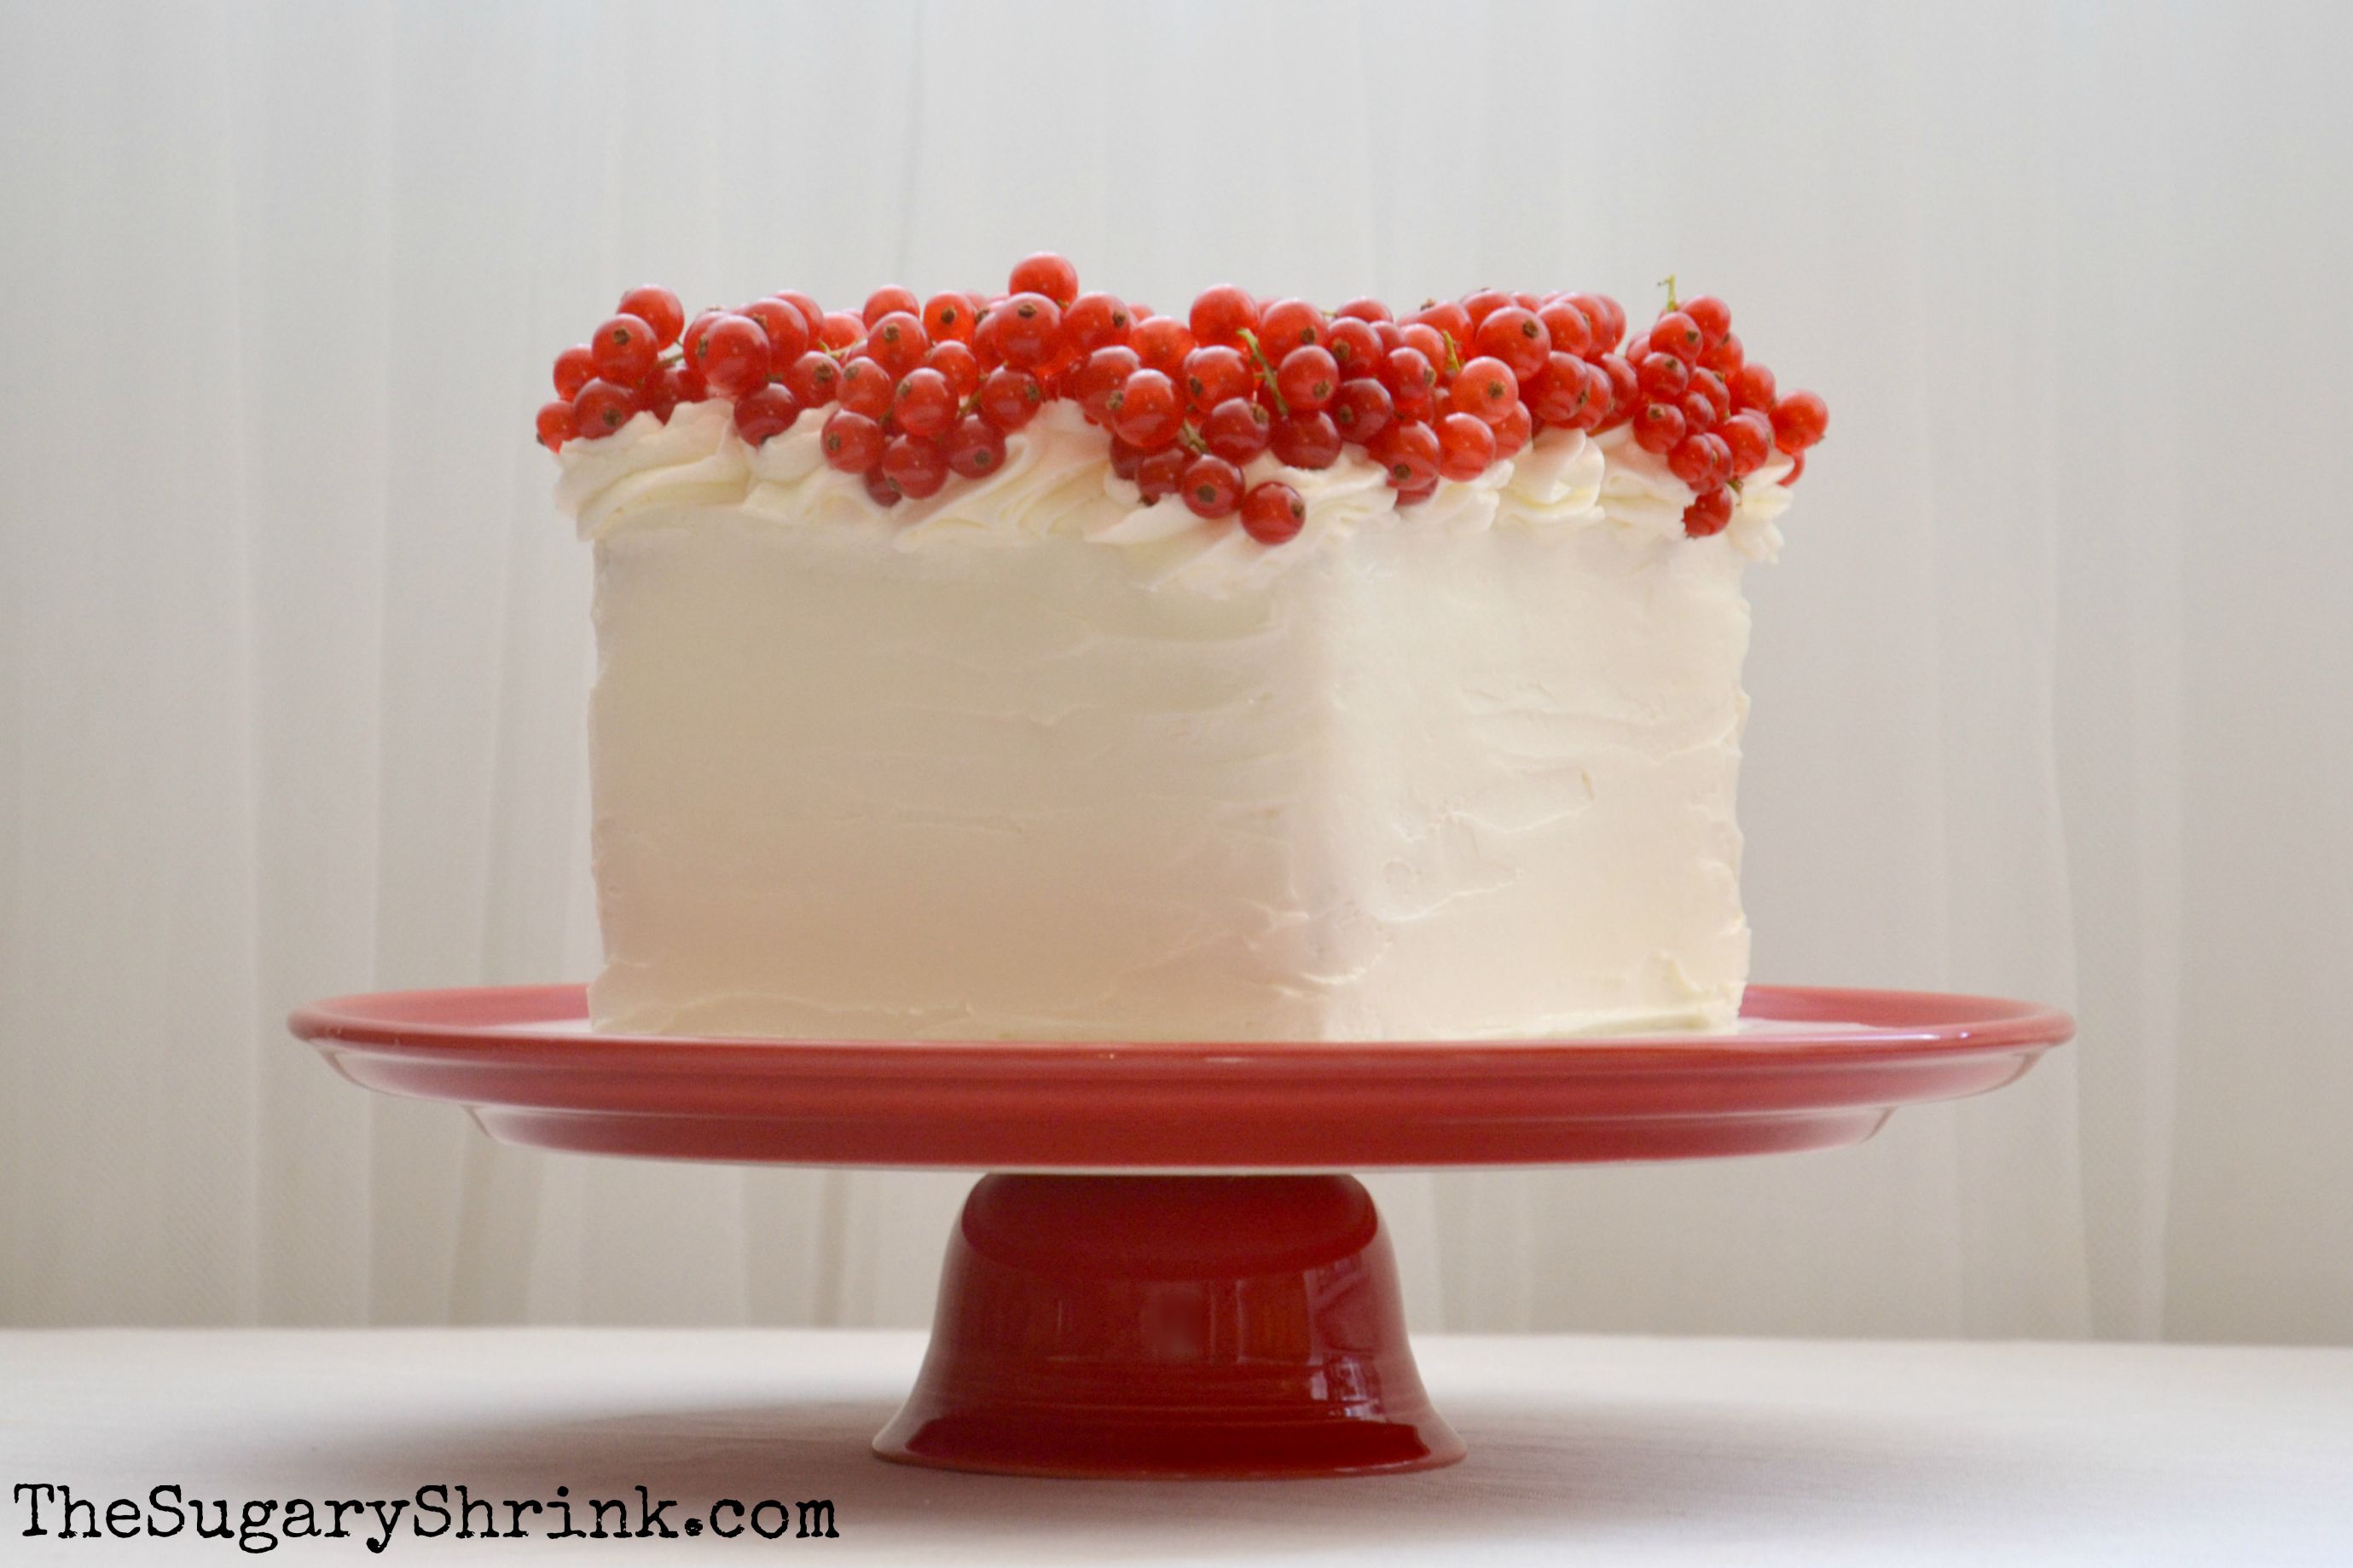
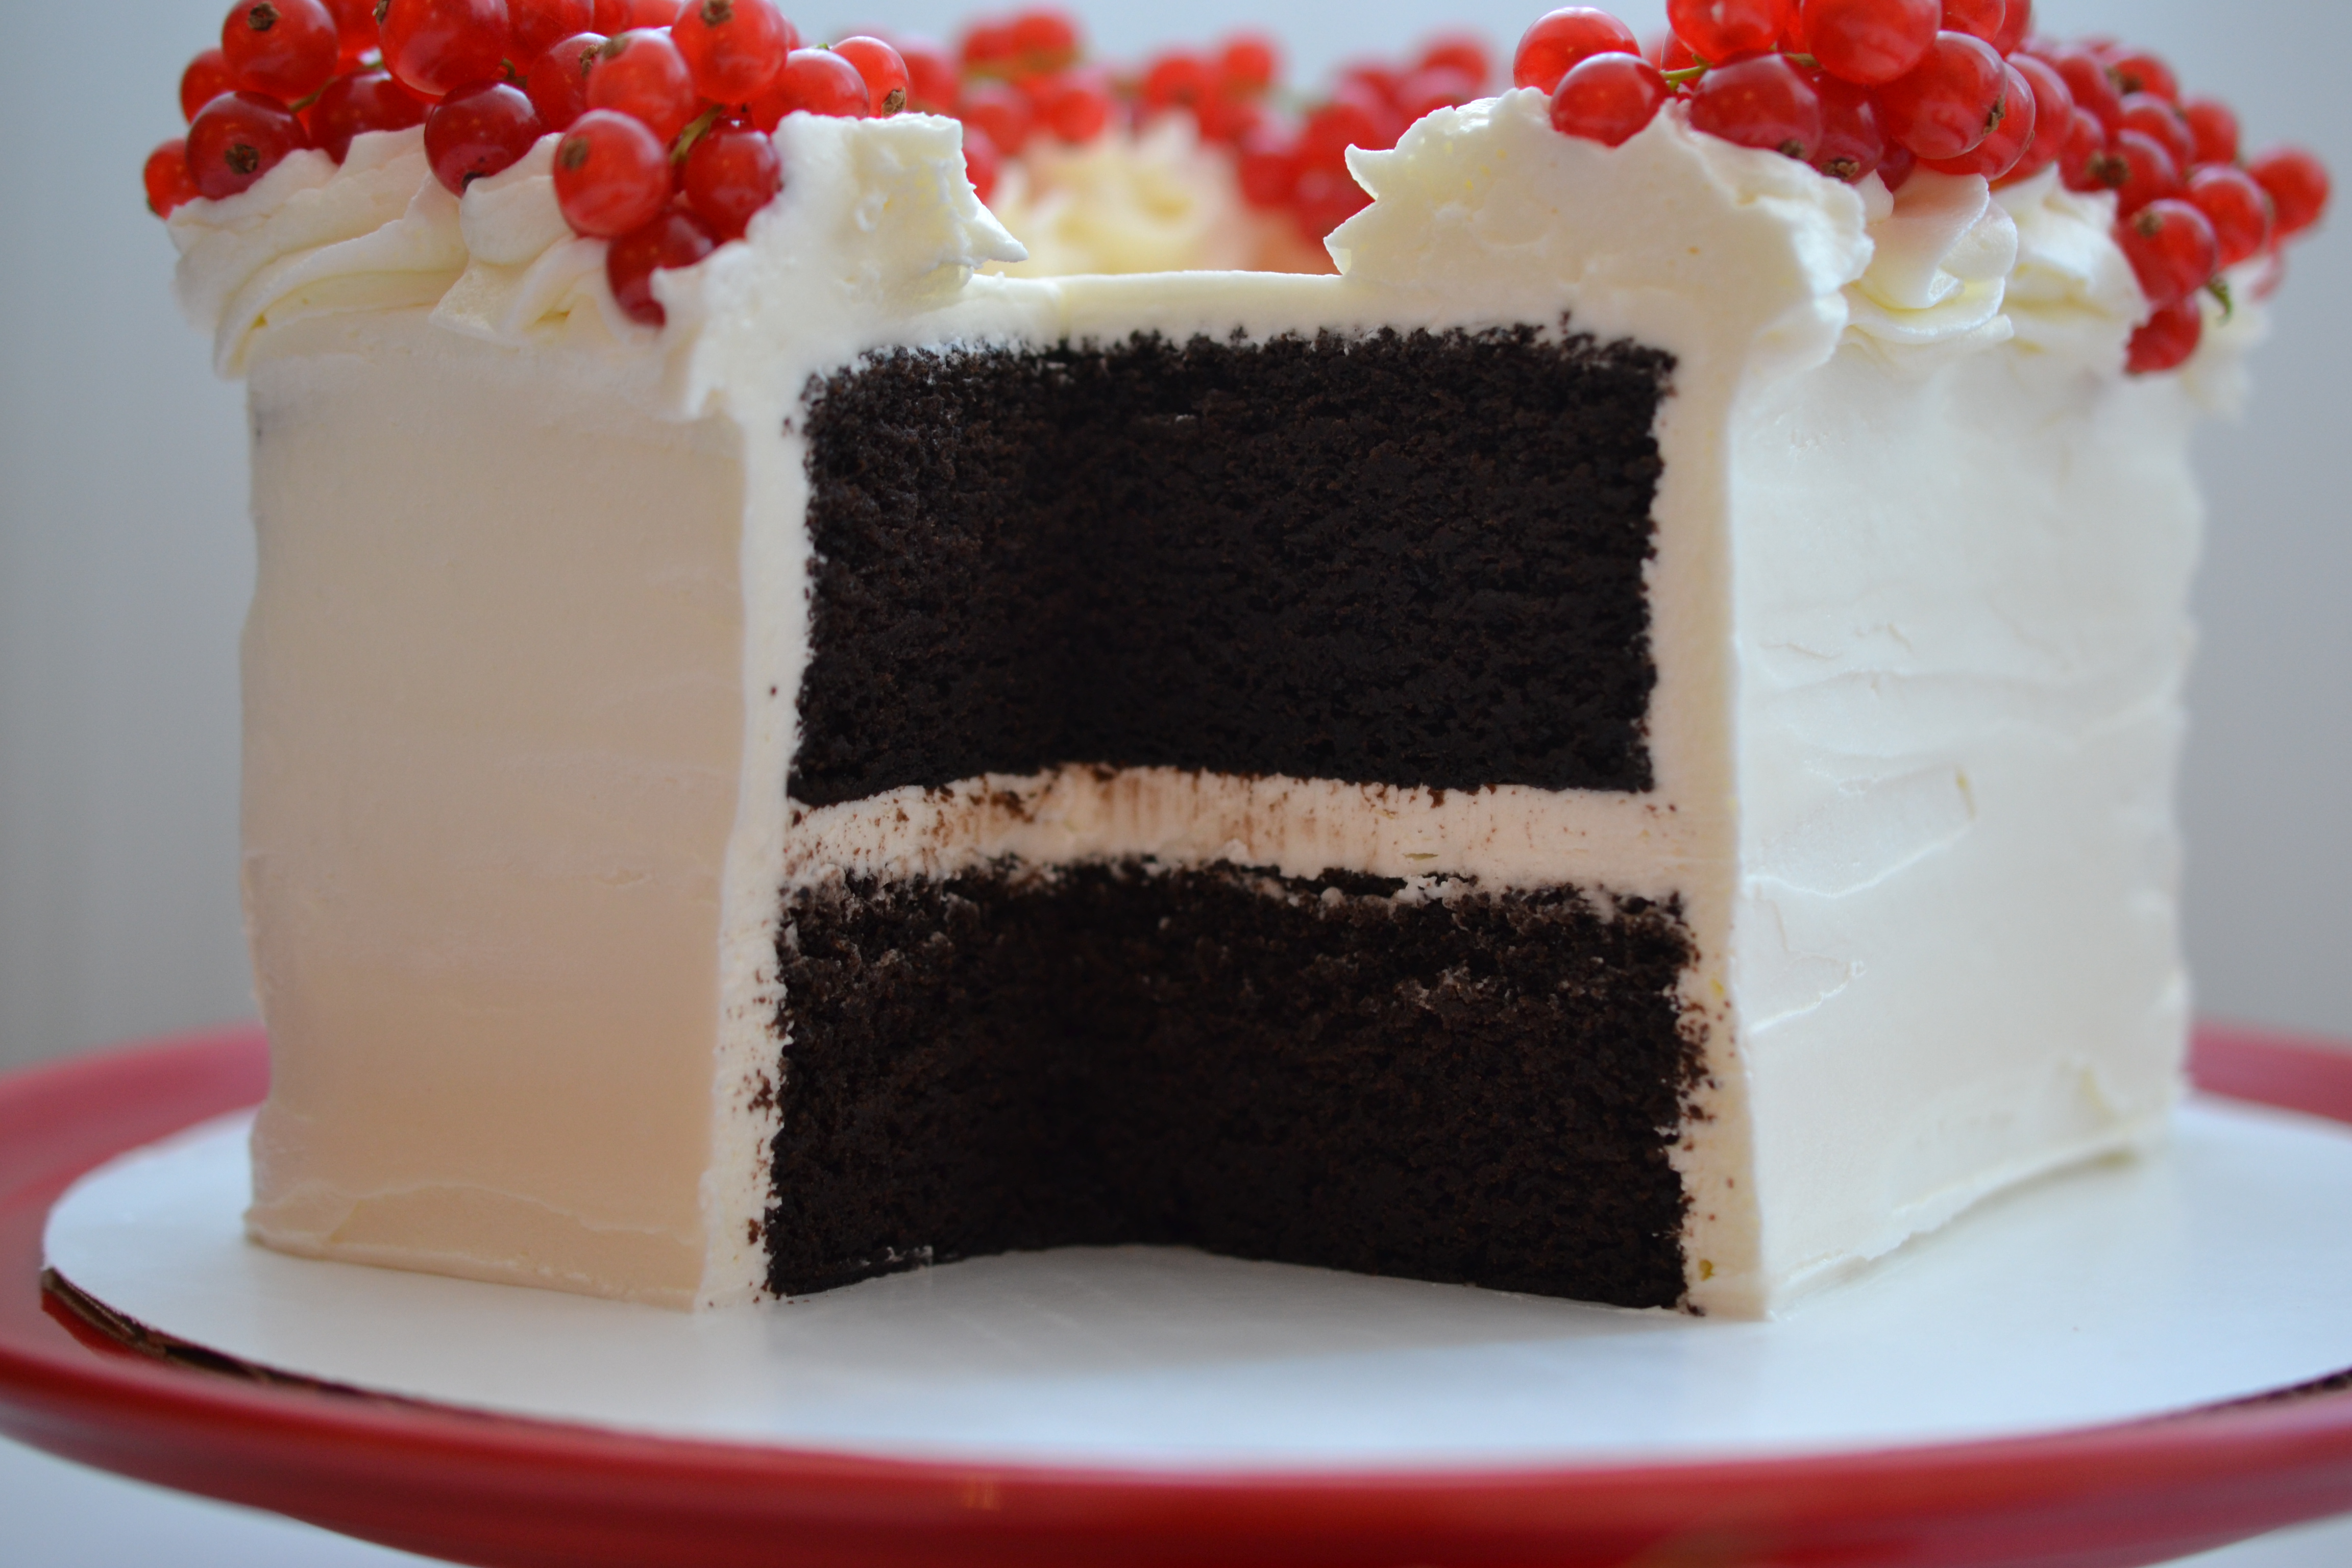
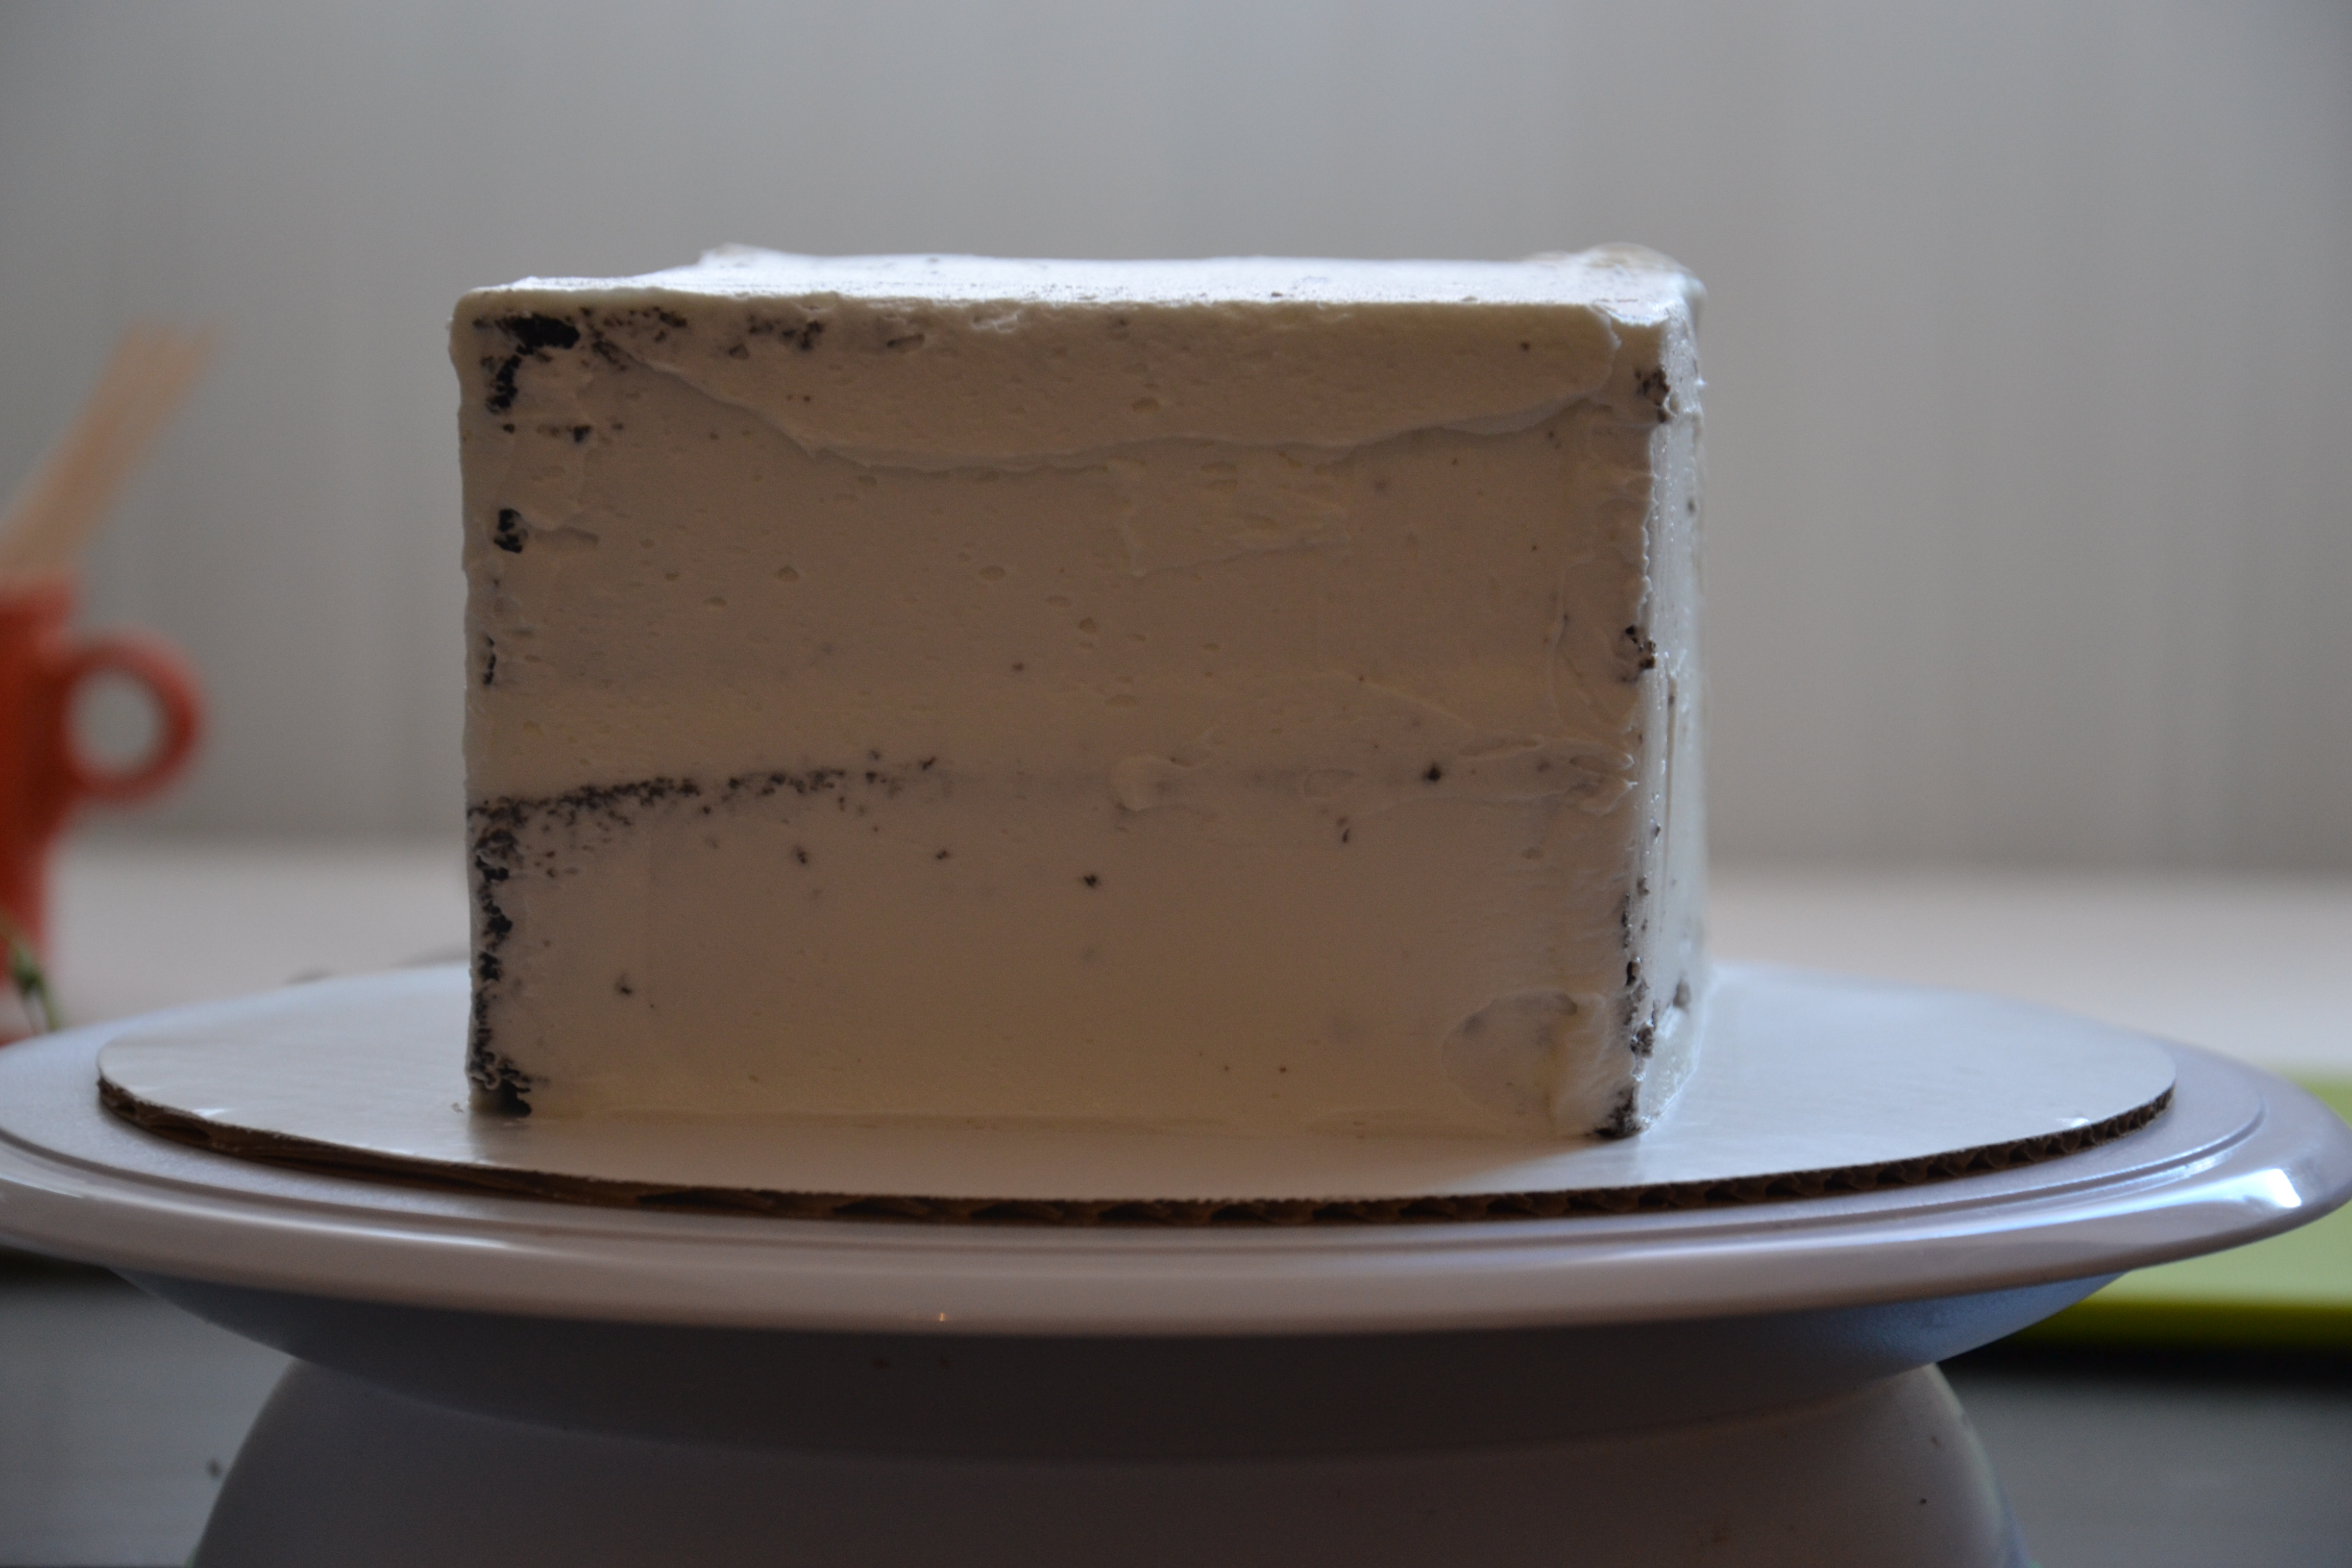
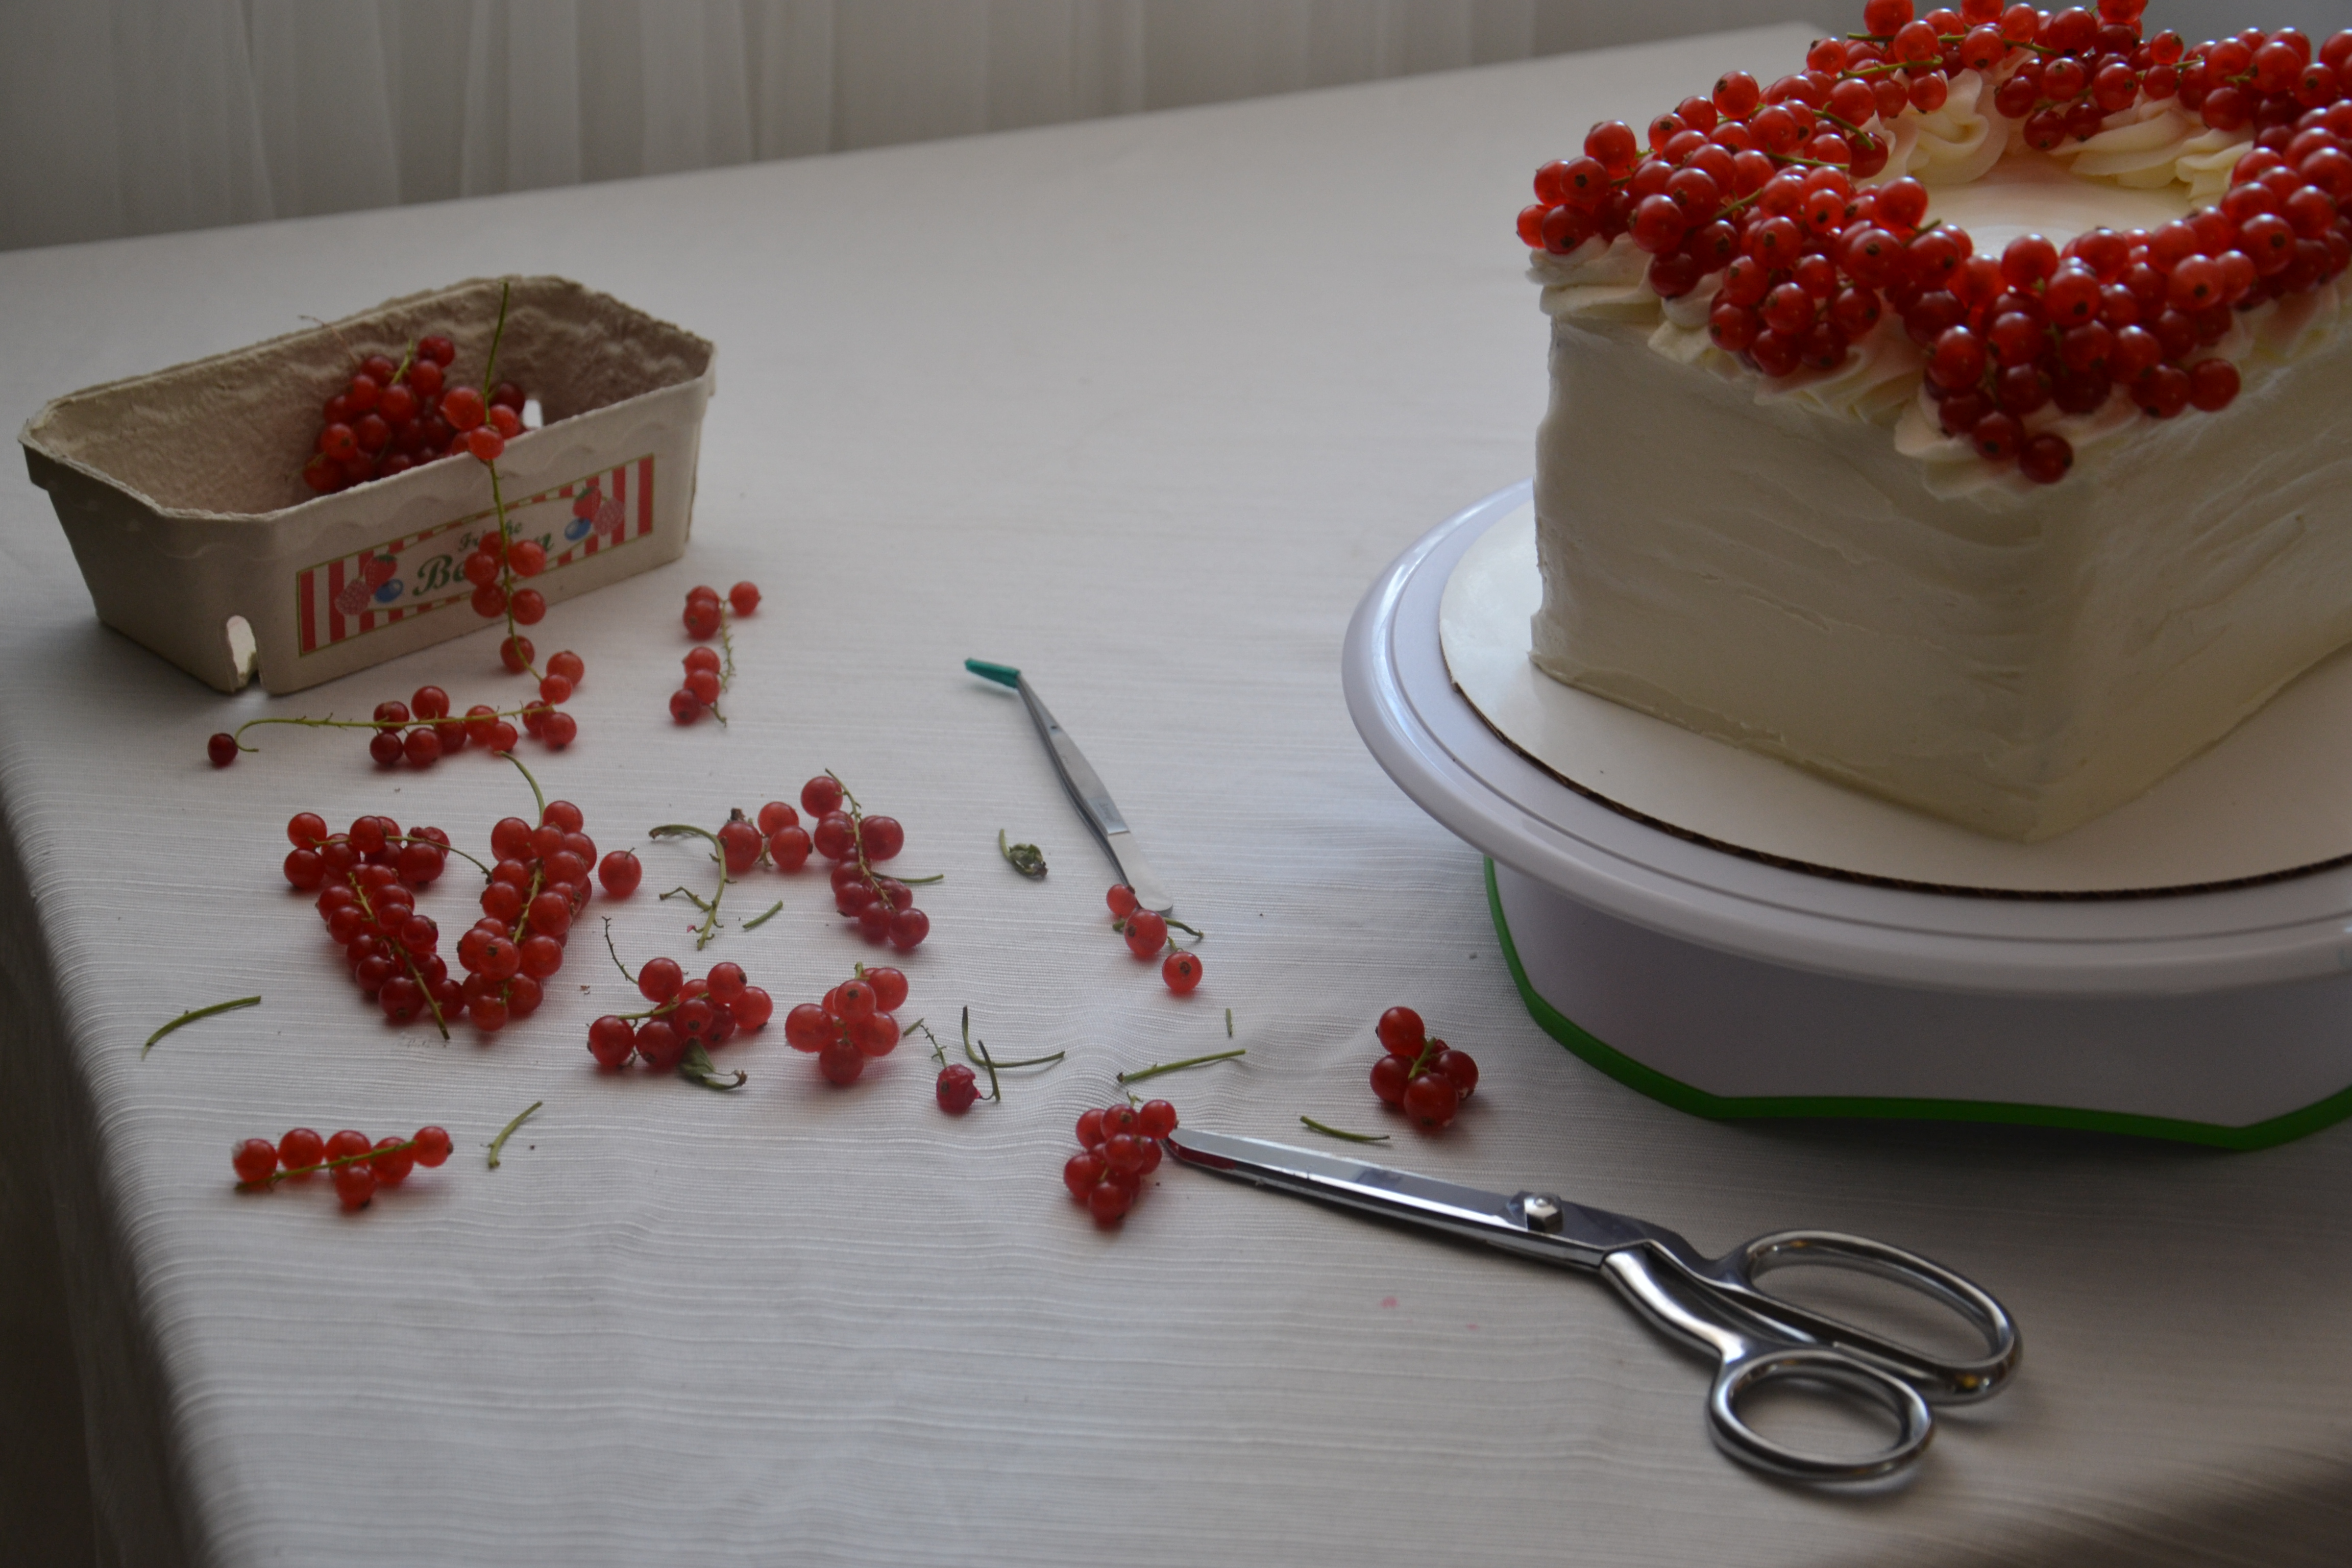
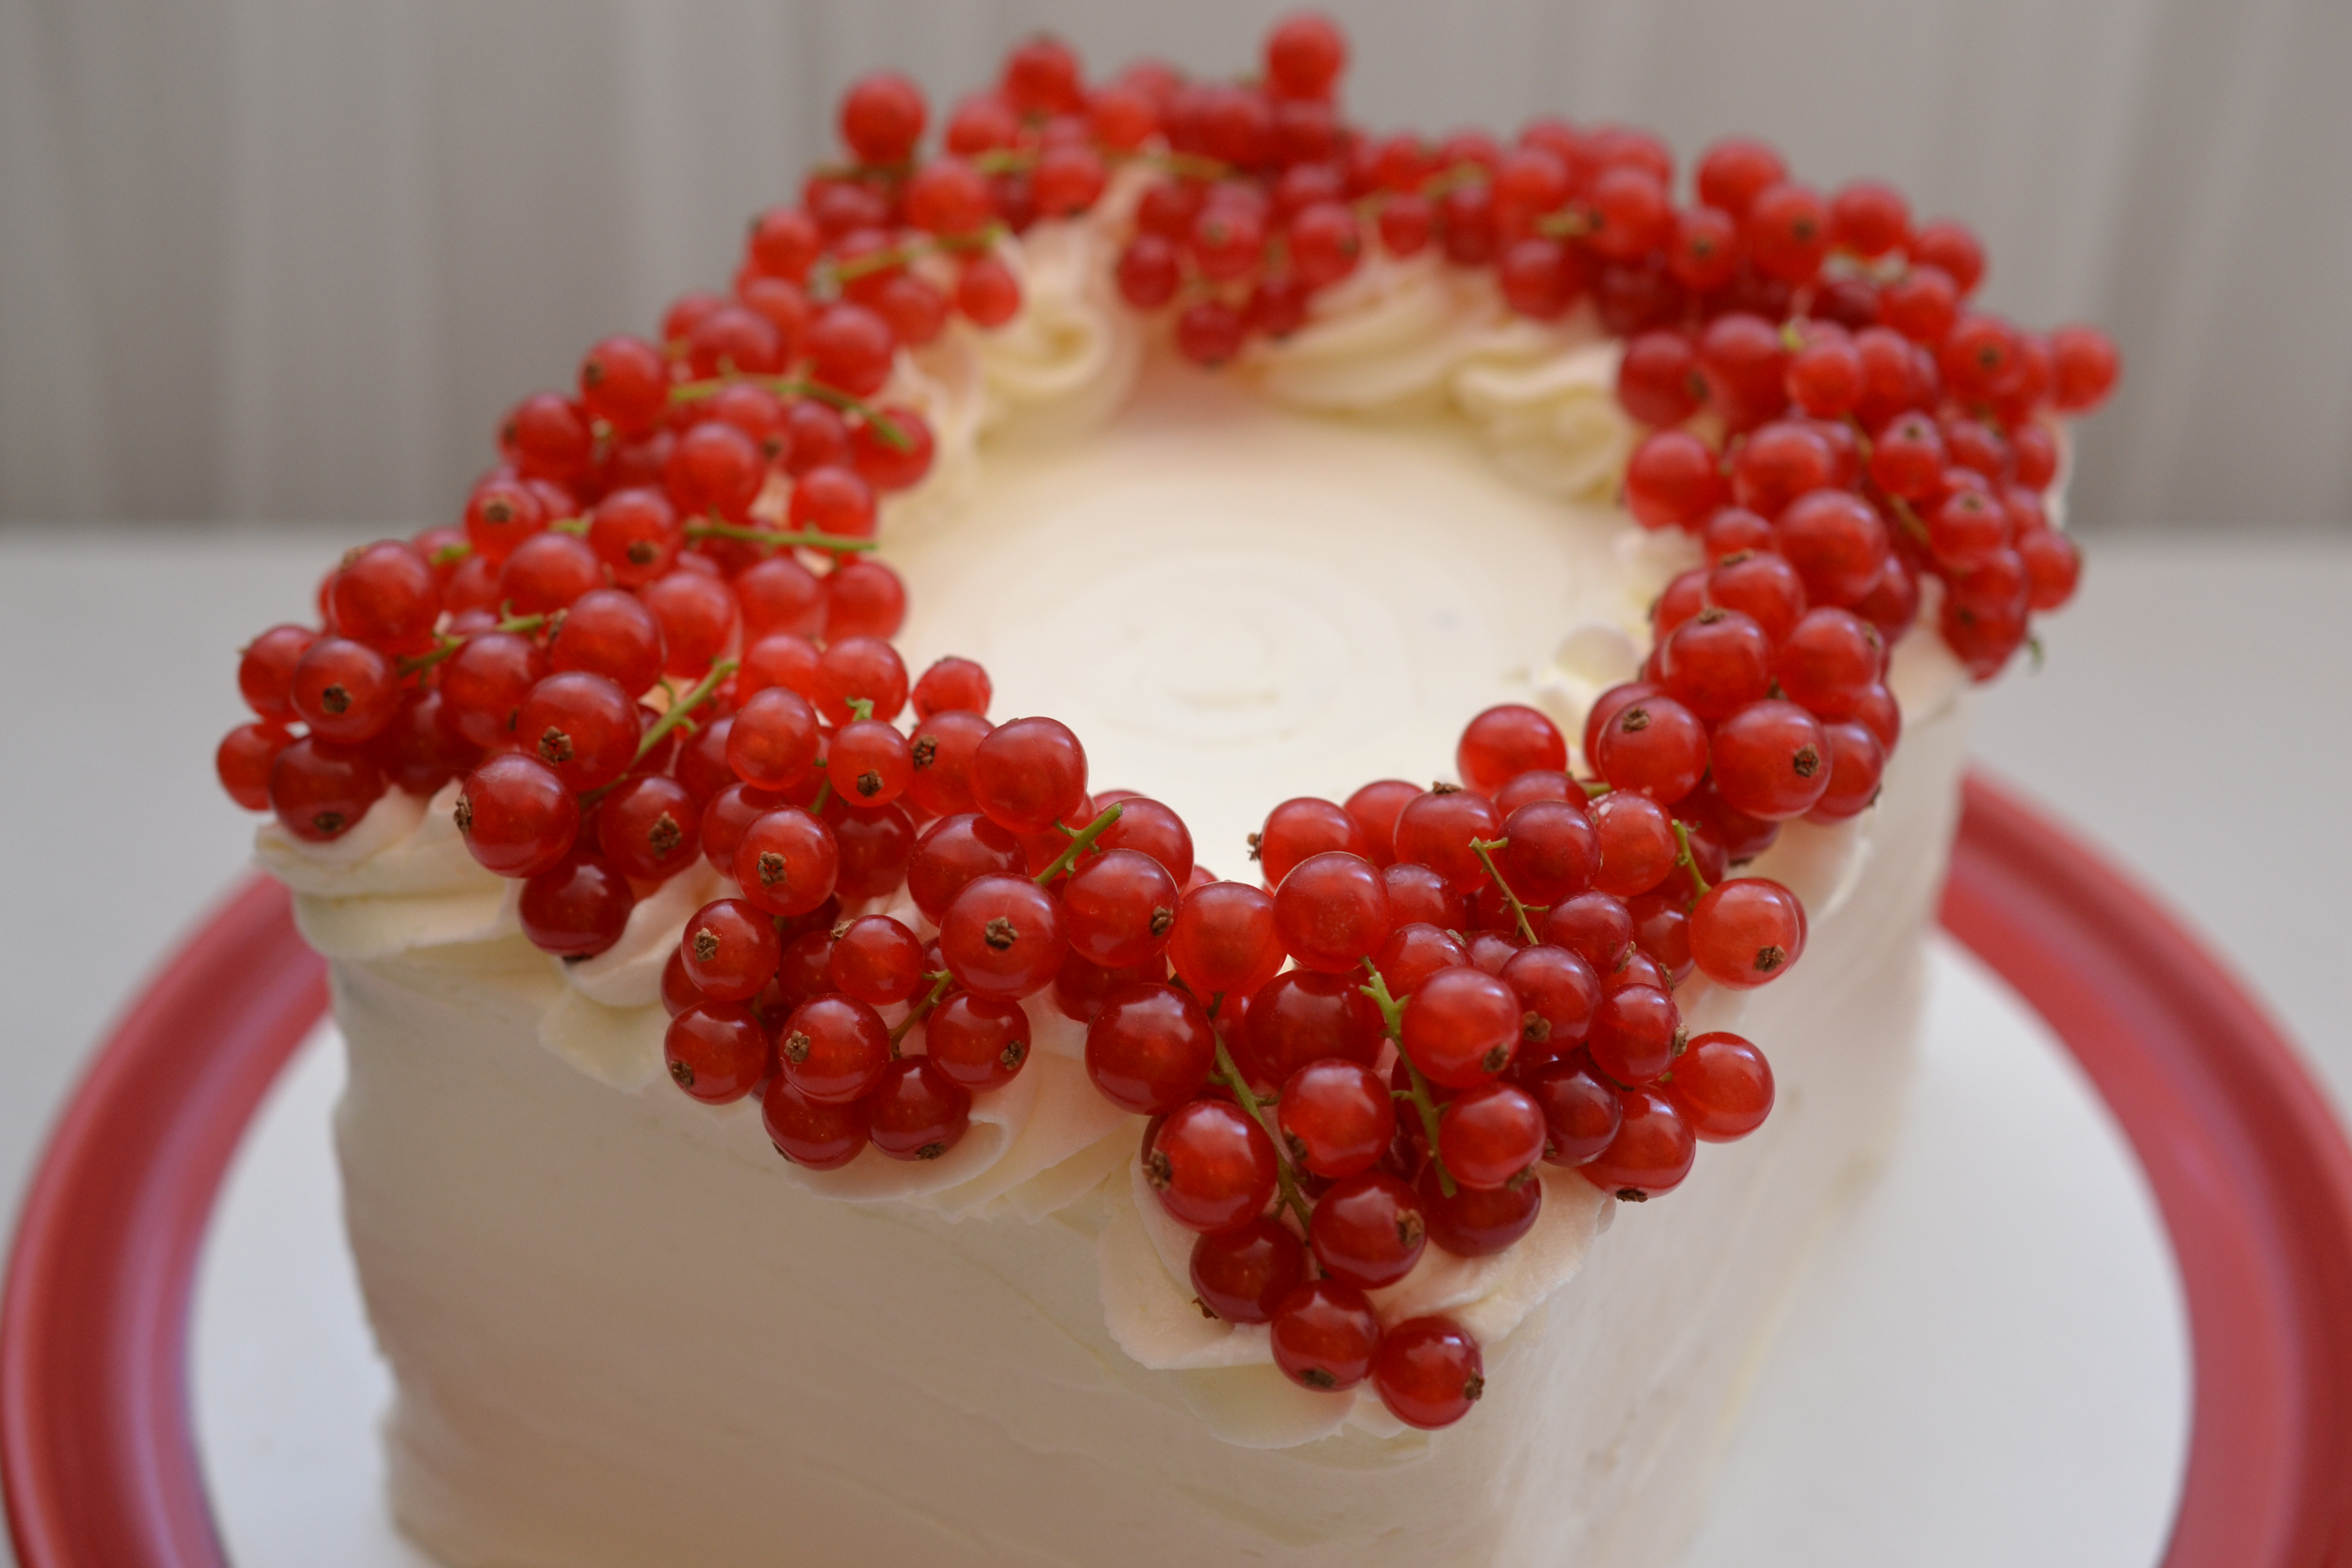
Square, Double-layer Chocolate Cake, Vanilla Buttercream Filling and Frosting with a garnish of Fresh Red Currants
Chocolate Layer Cake is the same in any shape – delicious!
I’ve been examining how I bake and construct cake in hopes of discovering different approaches for the home baker. So I looked around my kitchen, talked with my people, and asked my partner… “talk to me about cake.”
Sometimes, people are in a hurry and are looking to economize their movements. In the Venn Diagram of cutting corners and maintaining taste & presentation… I found the square cake baked in a 9×13 pan.
I prepared my favorite, go-to Chocolate Layer Cake.
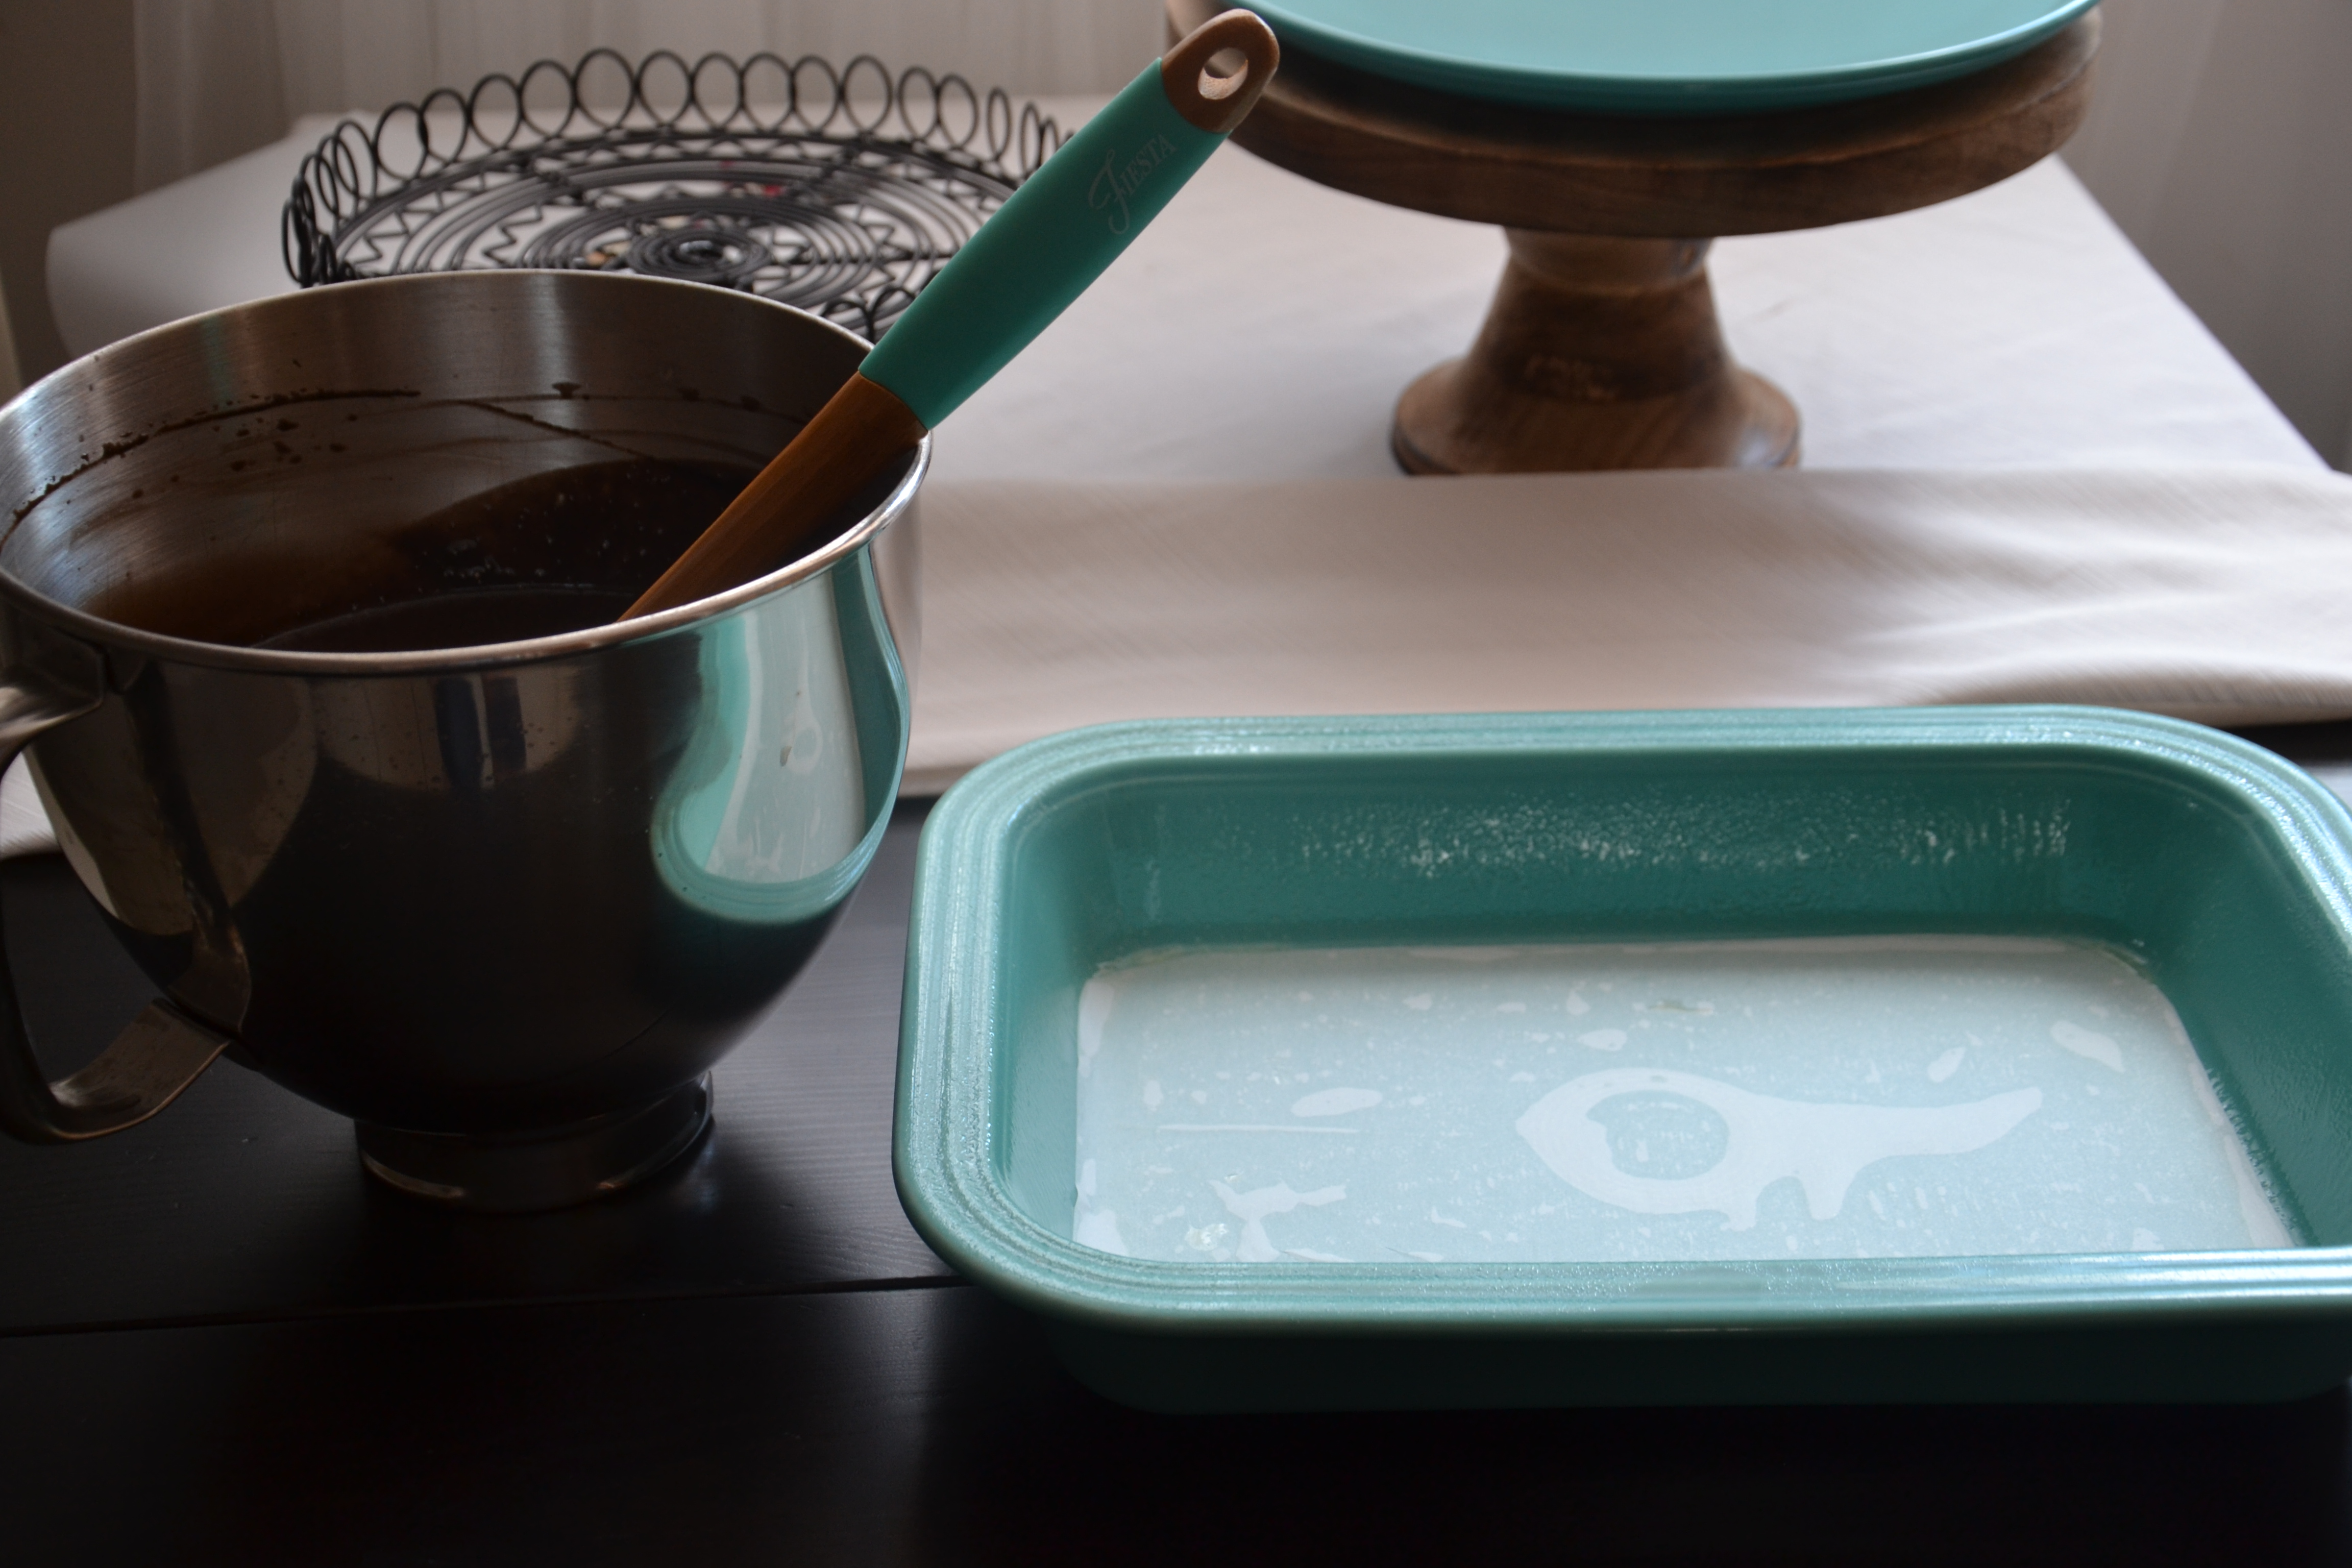
This Chocolate Cake was baked in my Fiesta Dinnerware Rectangle Baker, which meant several steps could be skipped:
- preparing three round pans
- dividing and weighing the batter for each pan
- shifting pans in and out of the oven
All I had to do was prepare one pan with one baking cycle – that’s convenient.
For size comparison, my other rectangular pan is a 10″ x 14″.
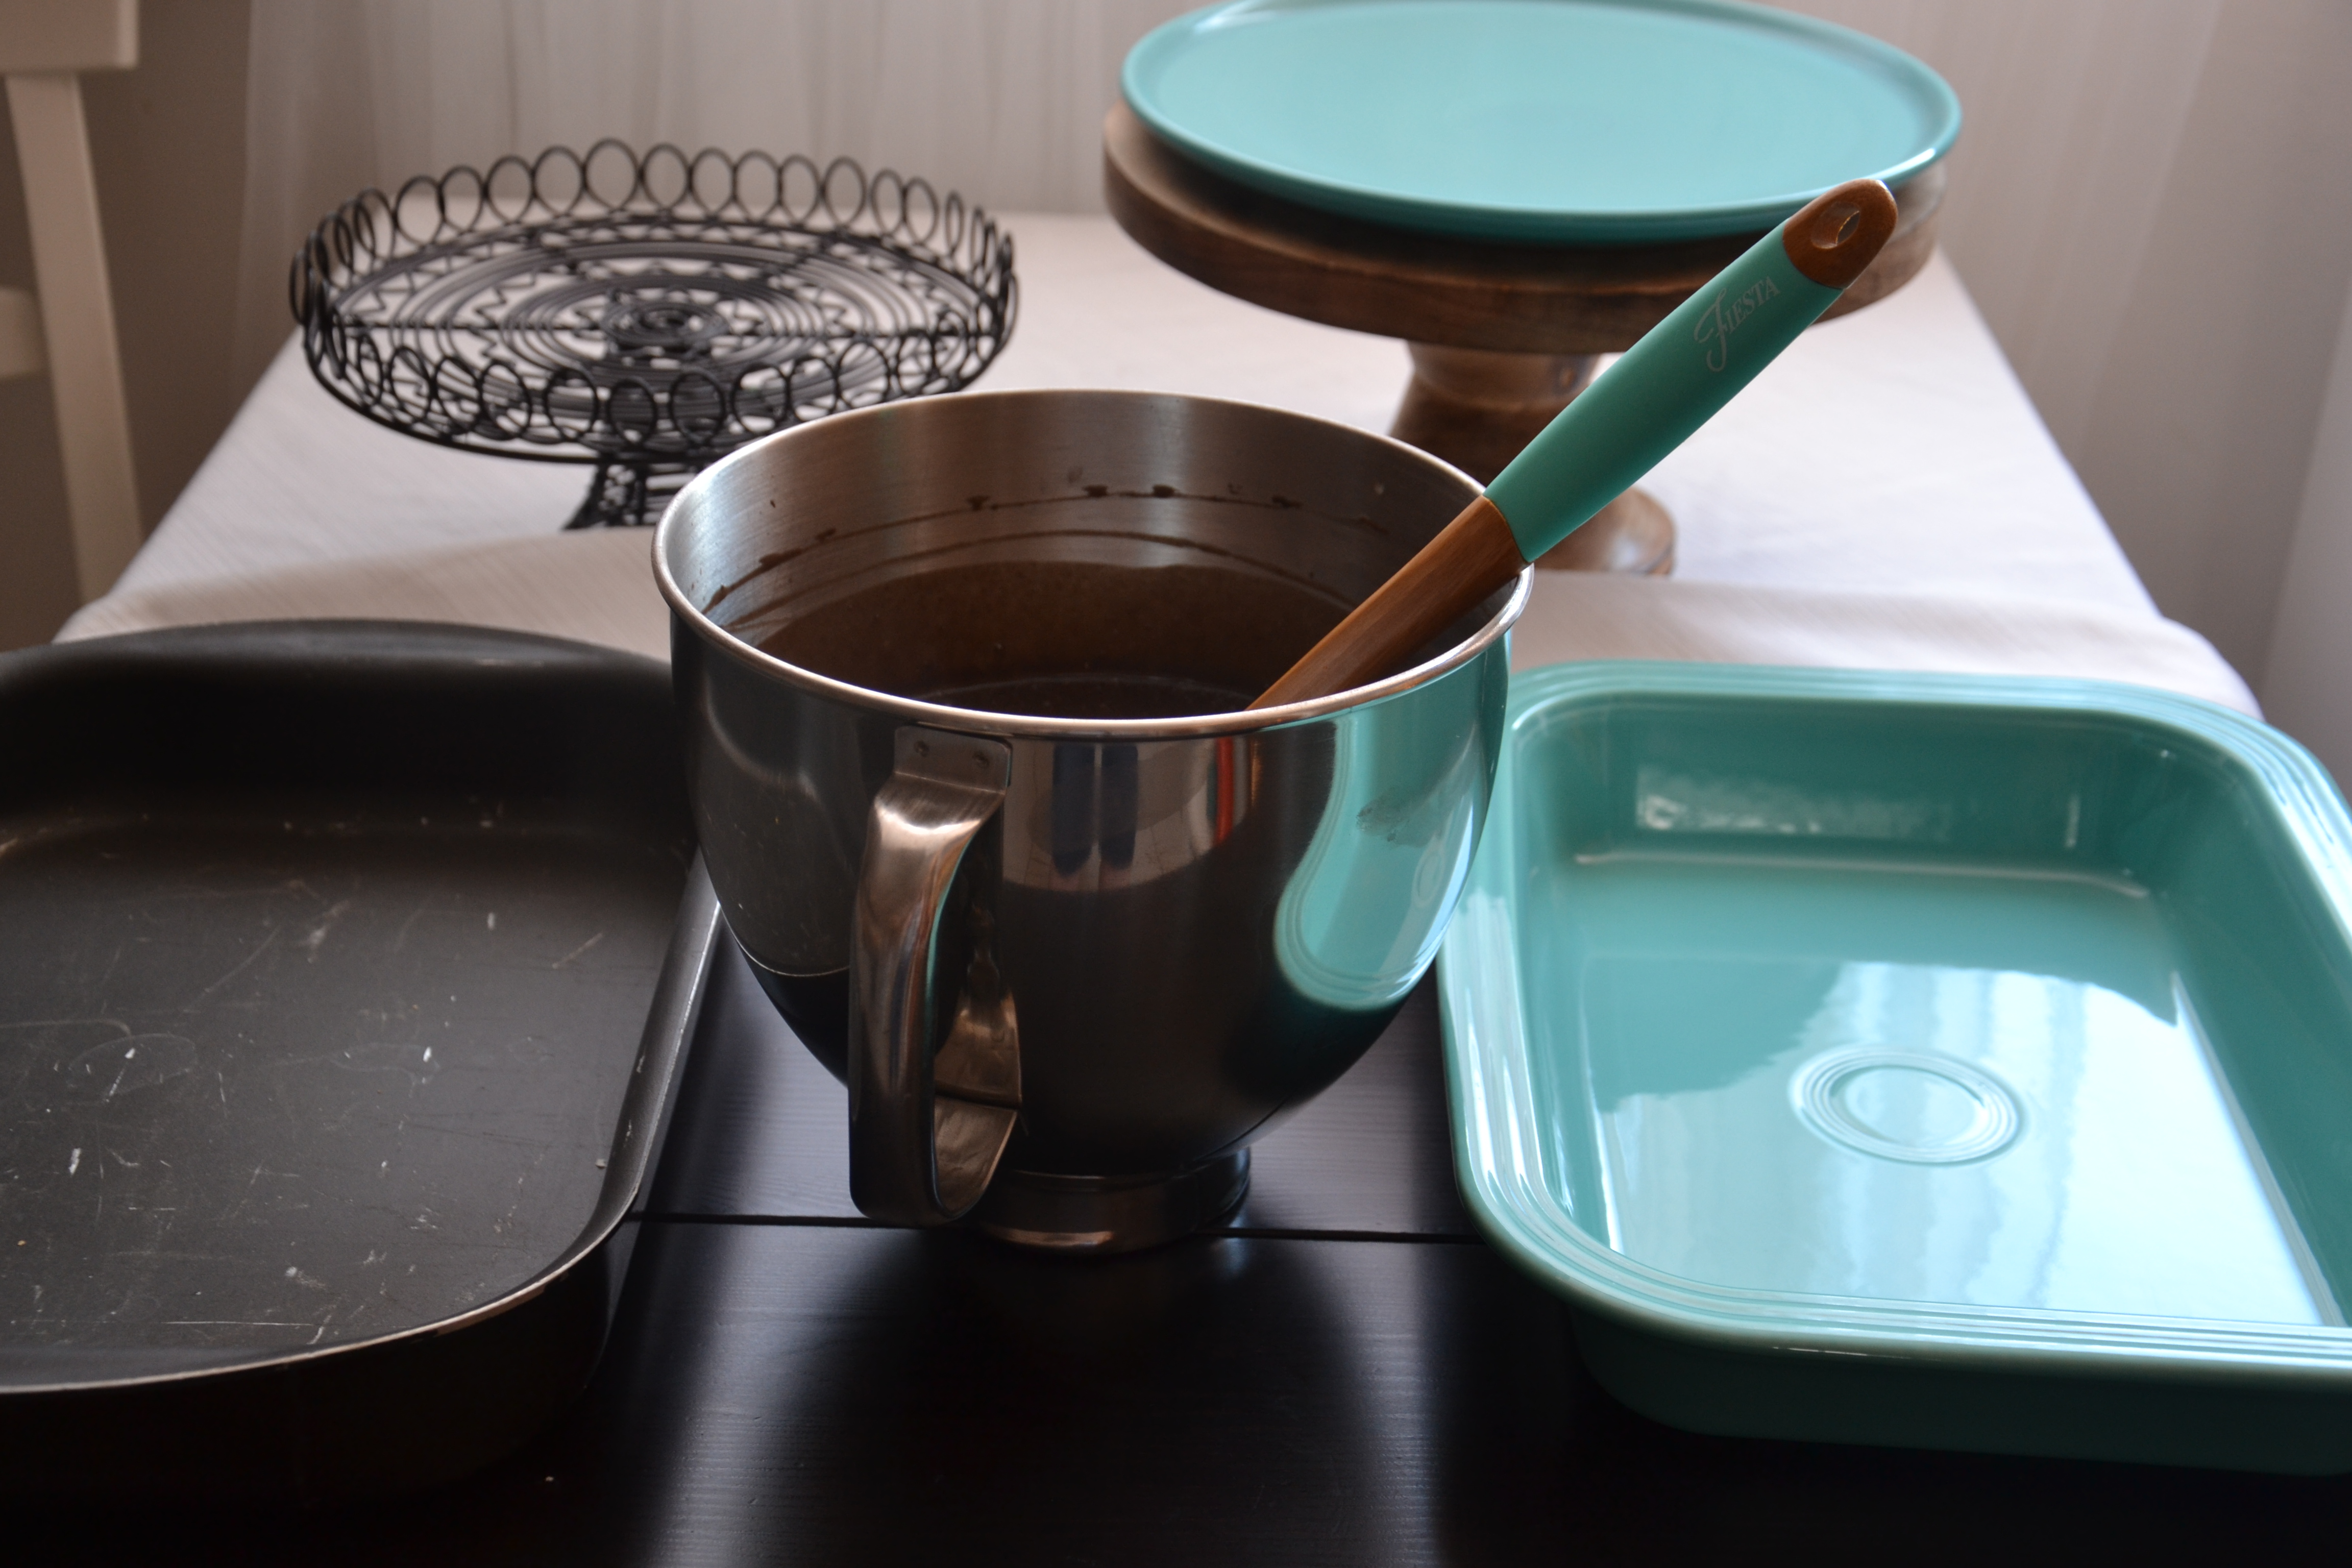
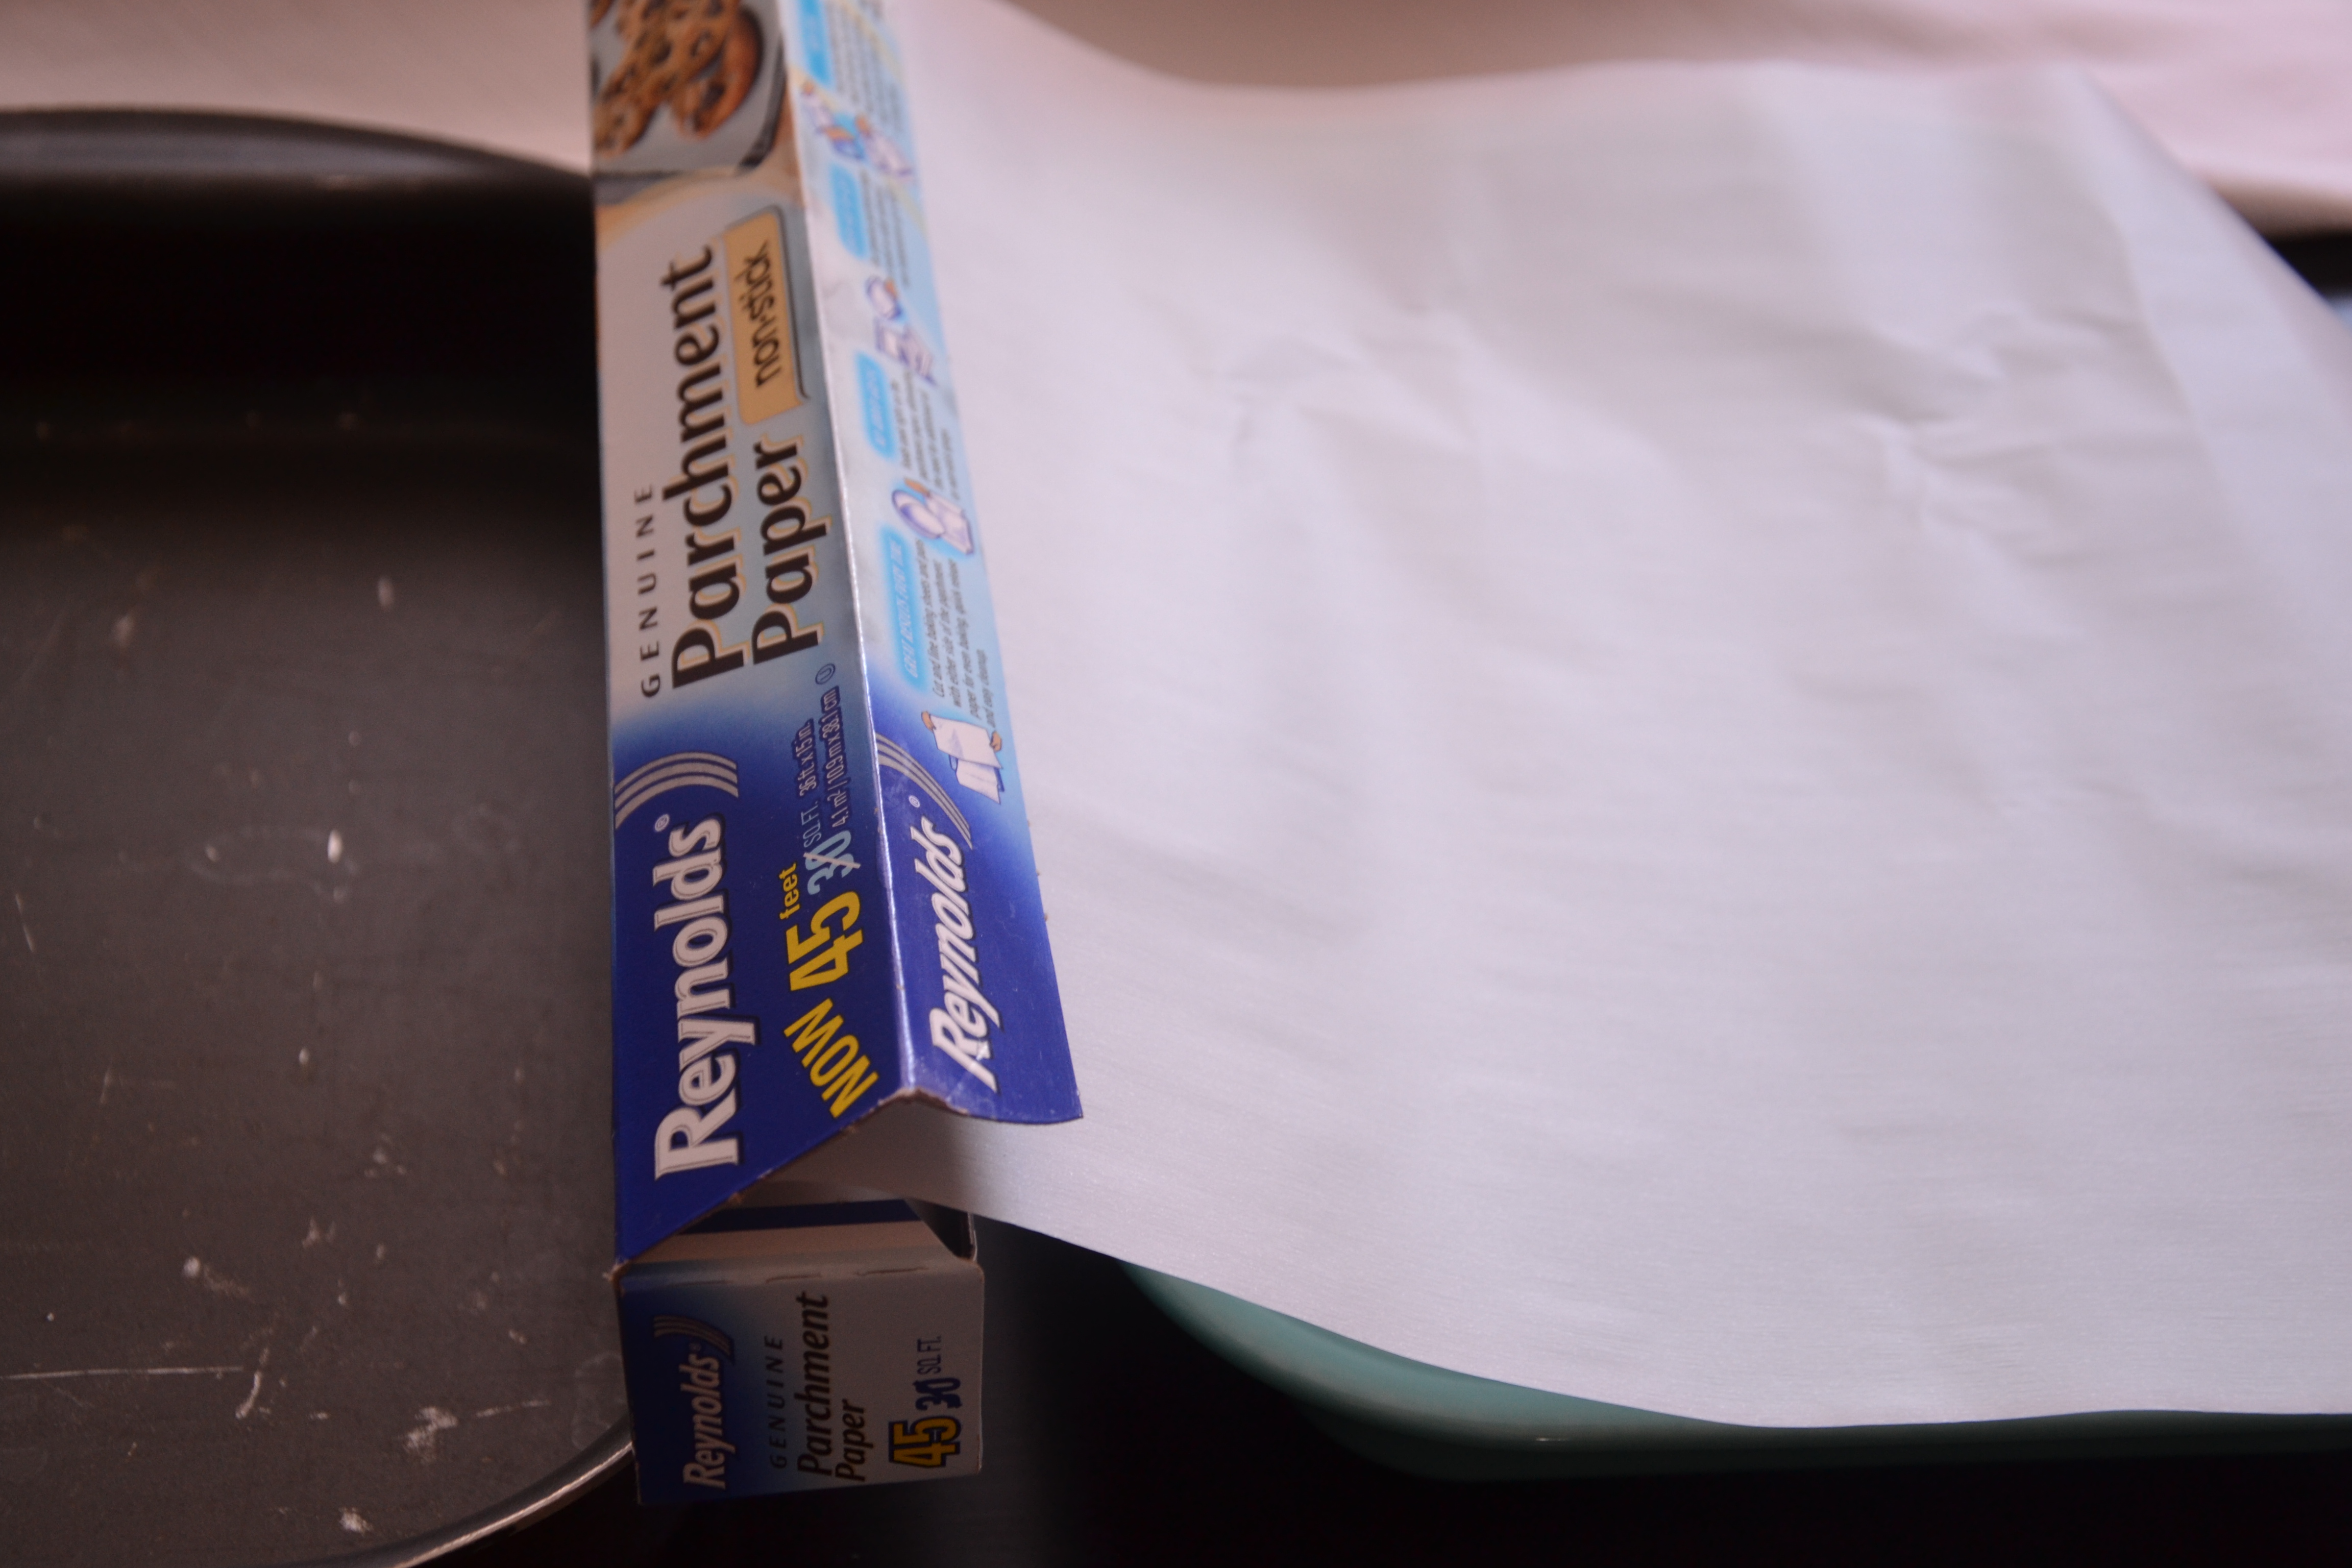
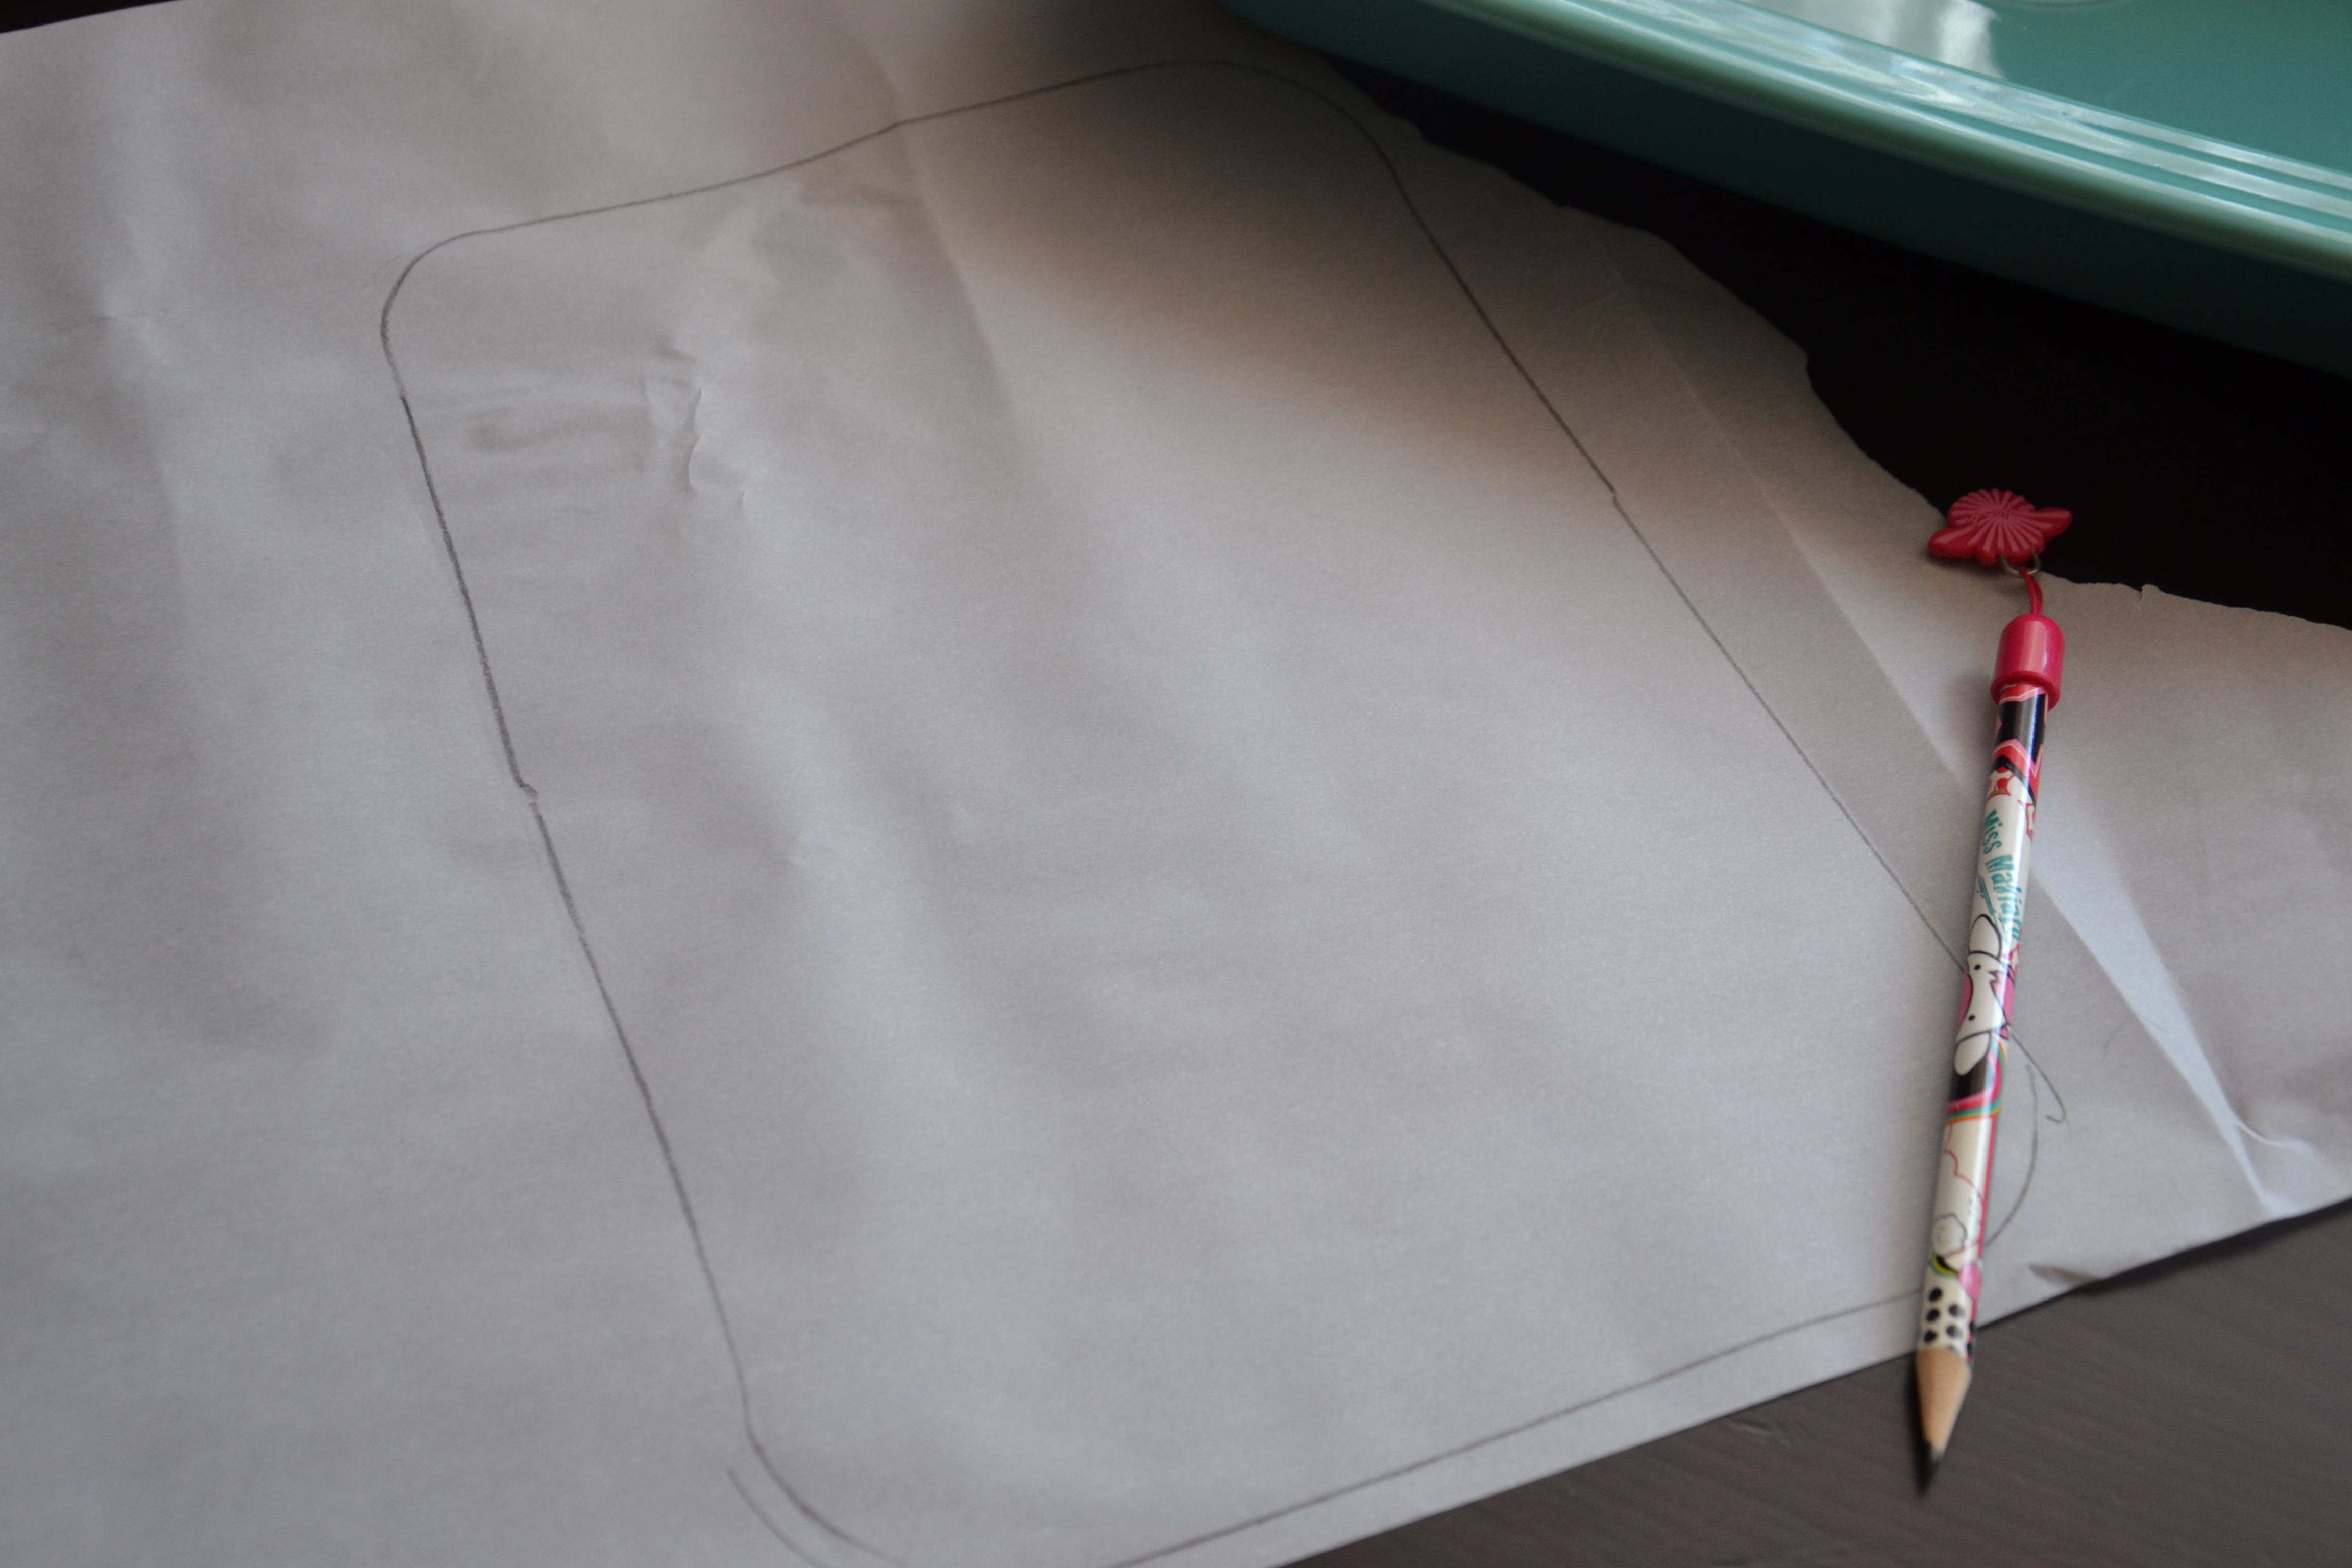
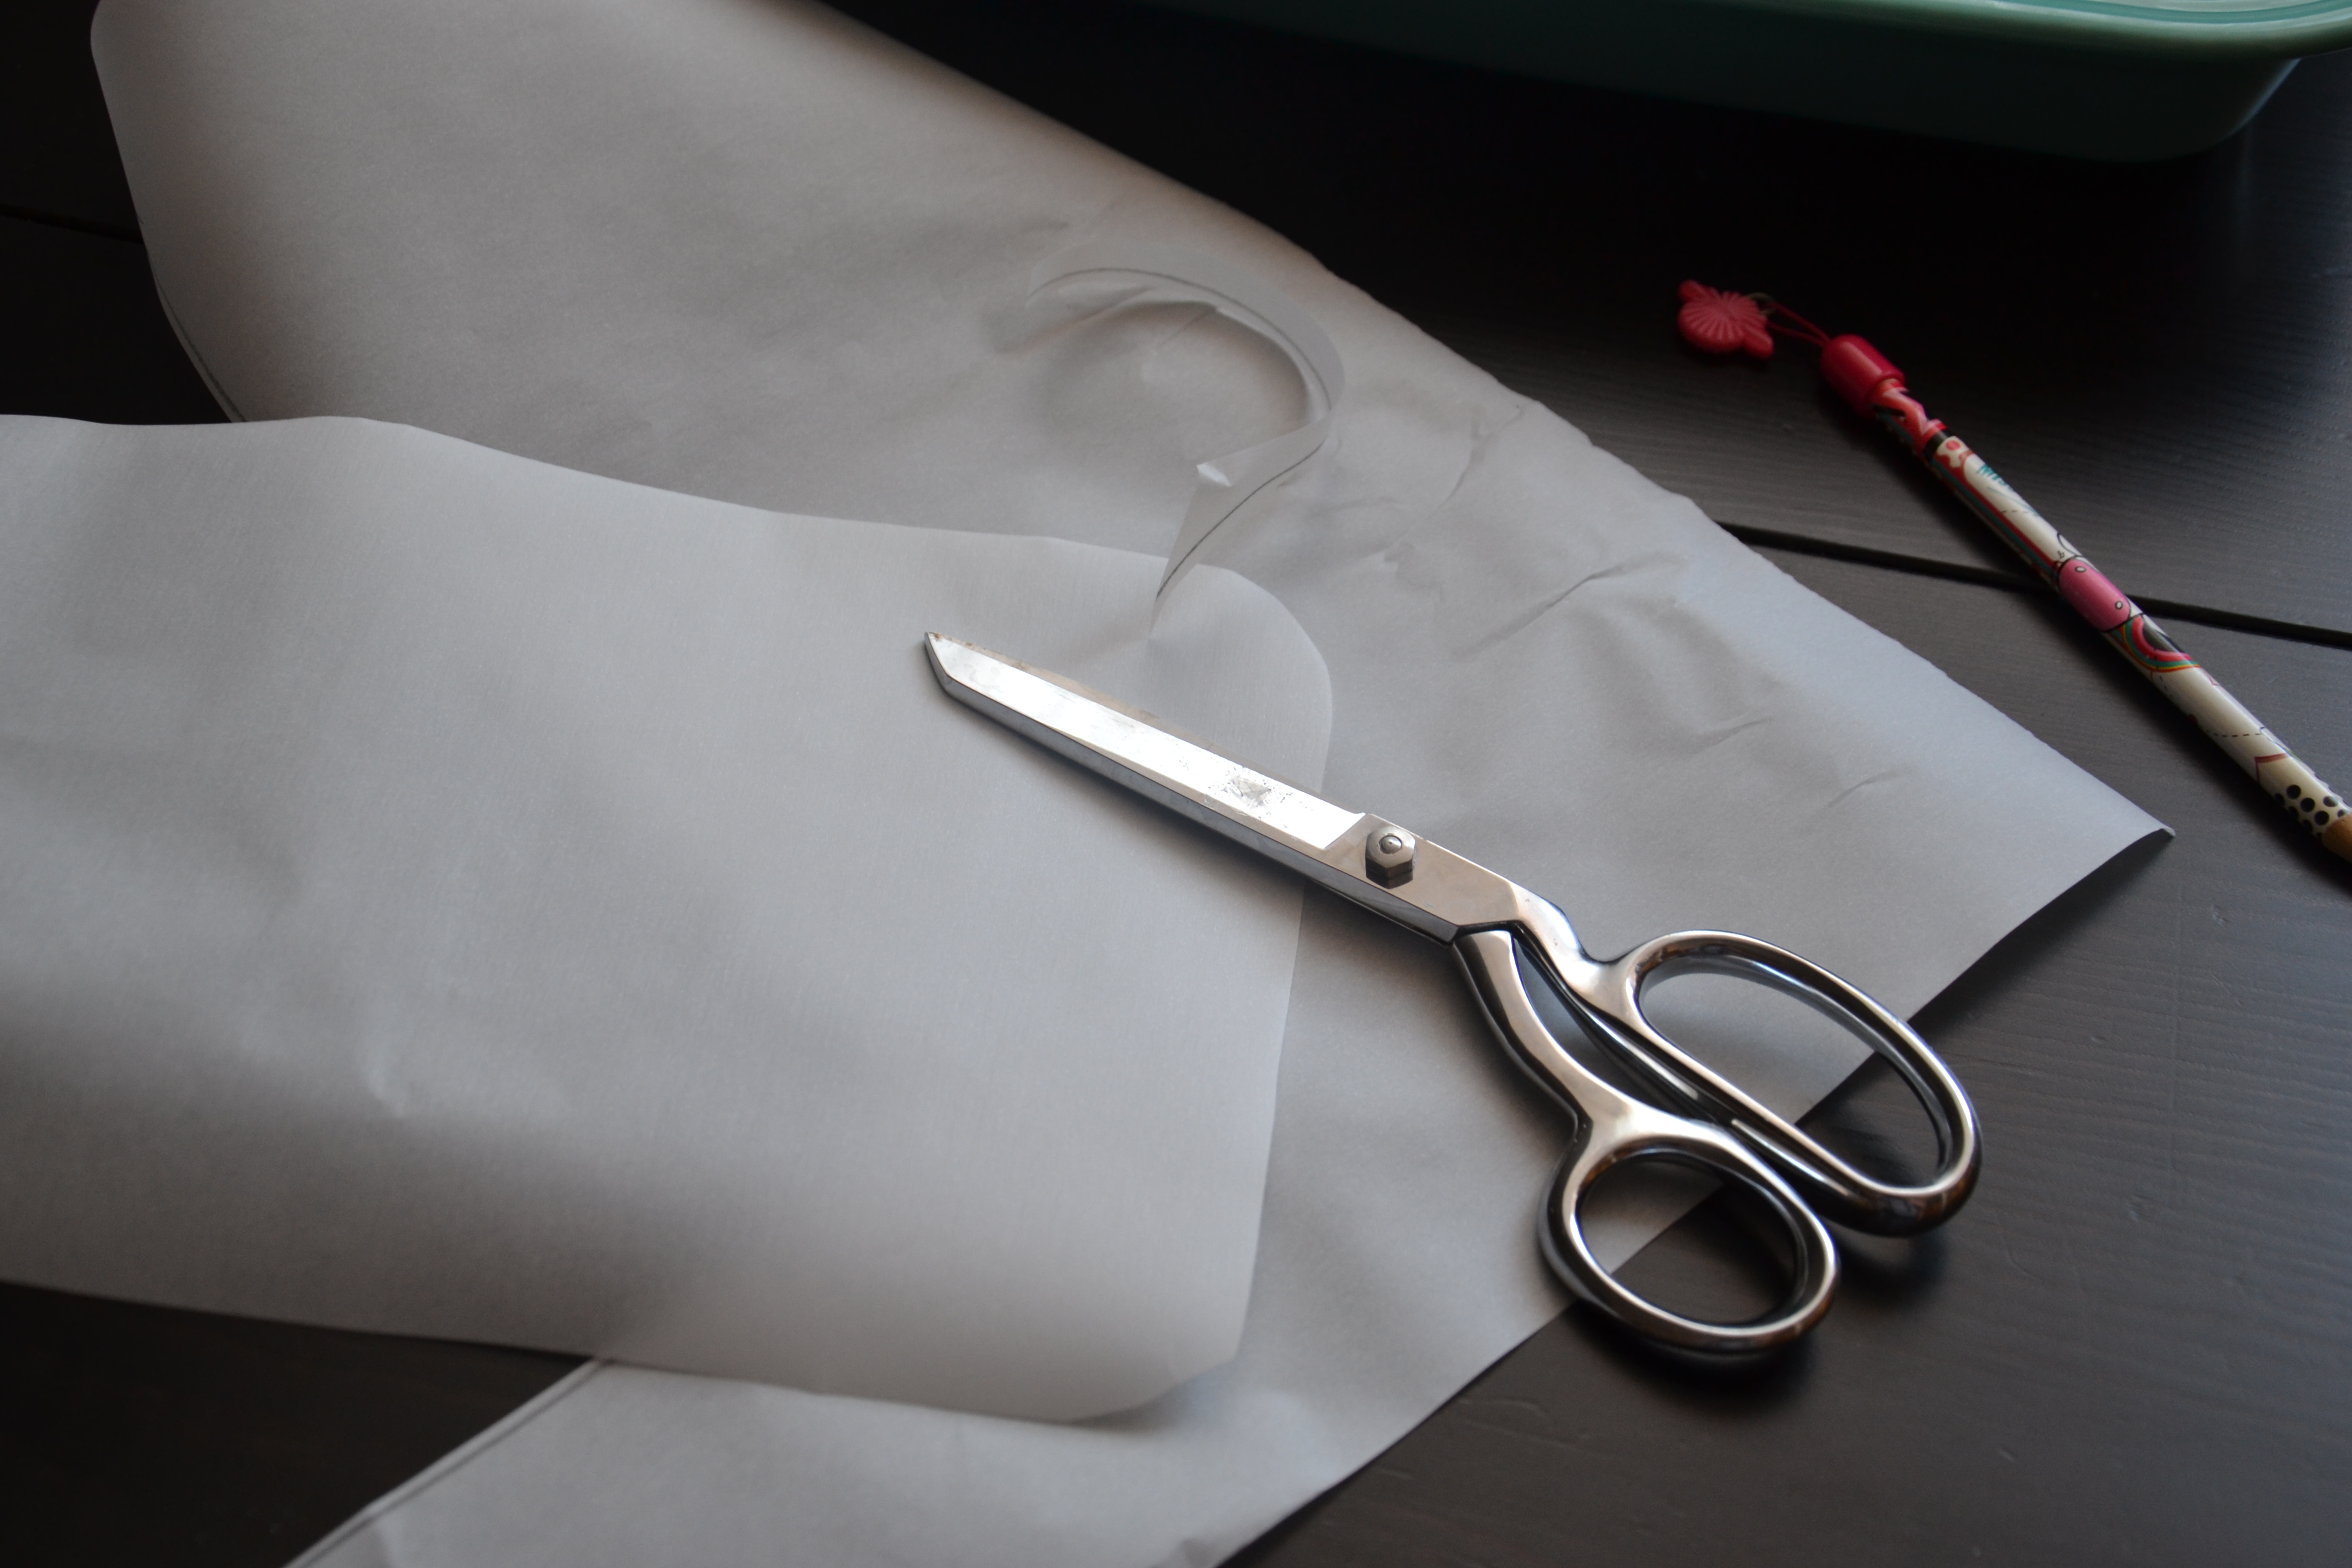
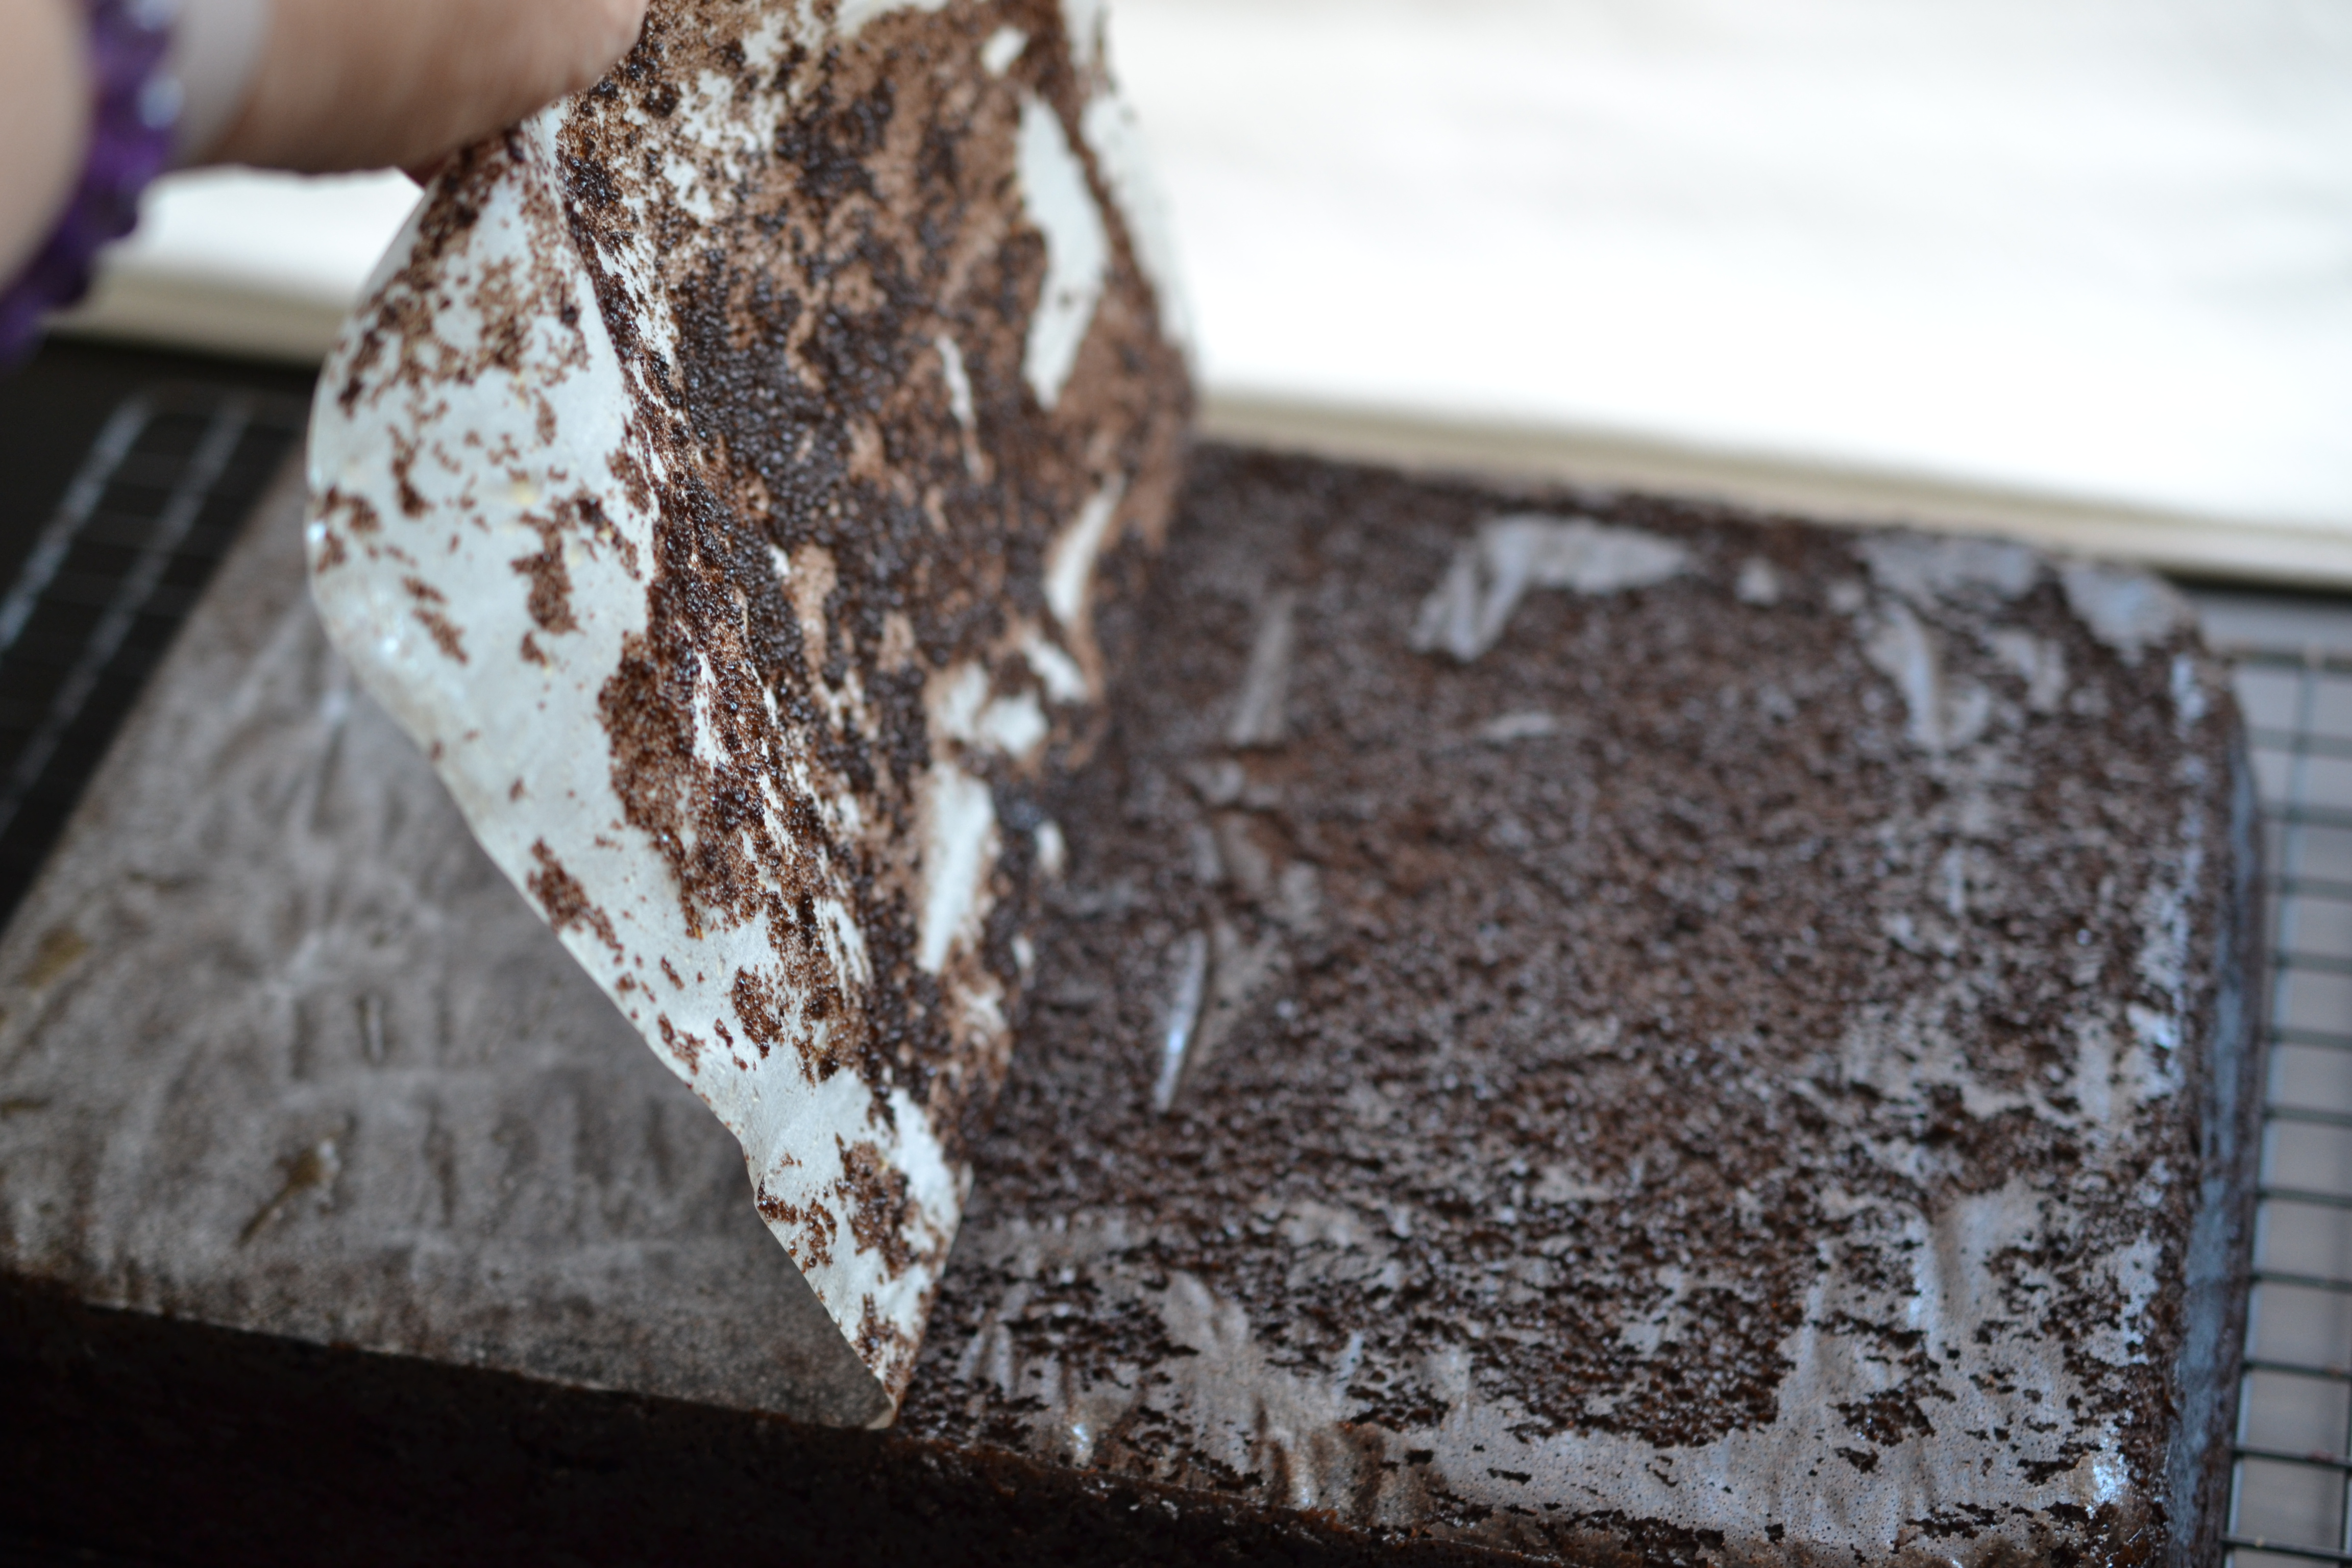
The best chance for the entire cake to be released from the baker is to line the bottom of the baker with parchment paper or wax paper. Trace the bottom of the baker onto the paper, cut, and place in the bottom rectangle – liberally spray the sides and corners with non-stick cooking spray.
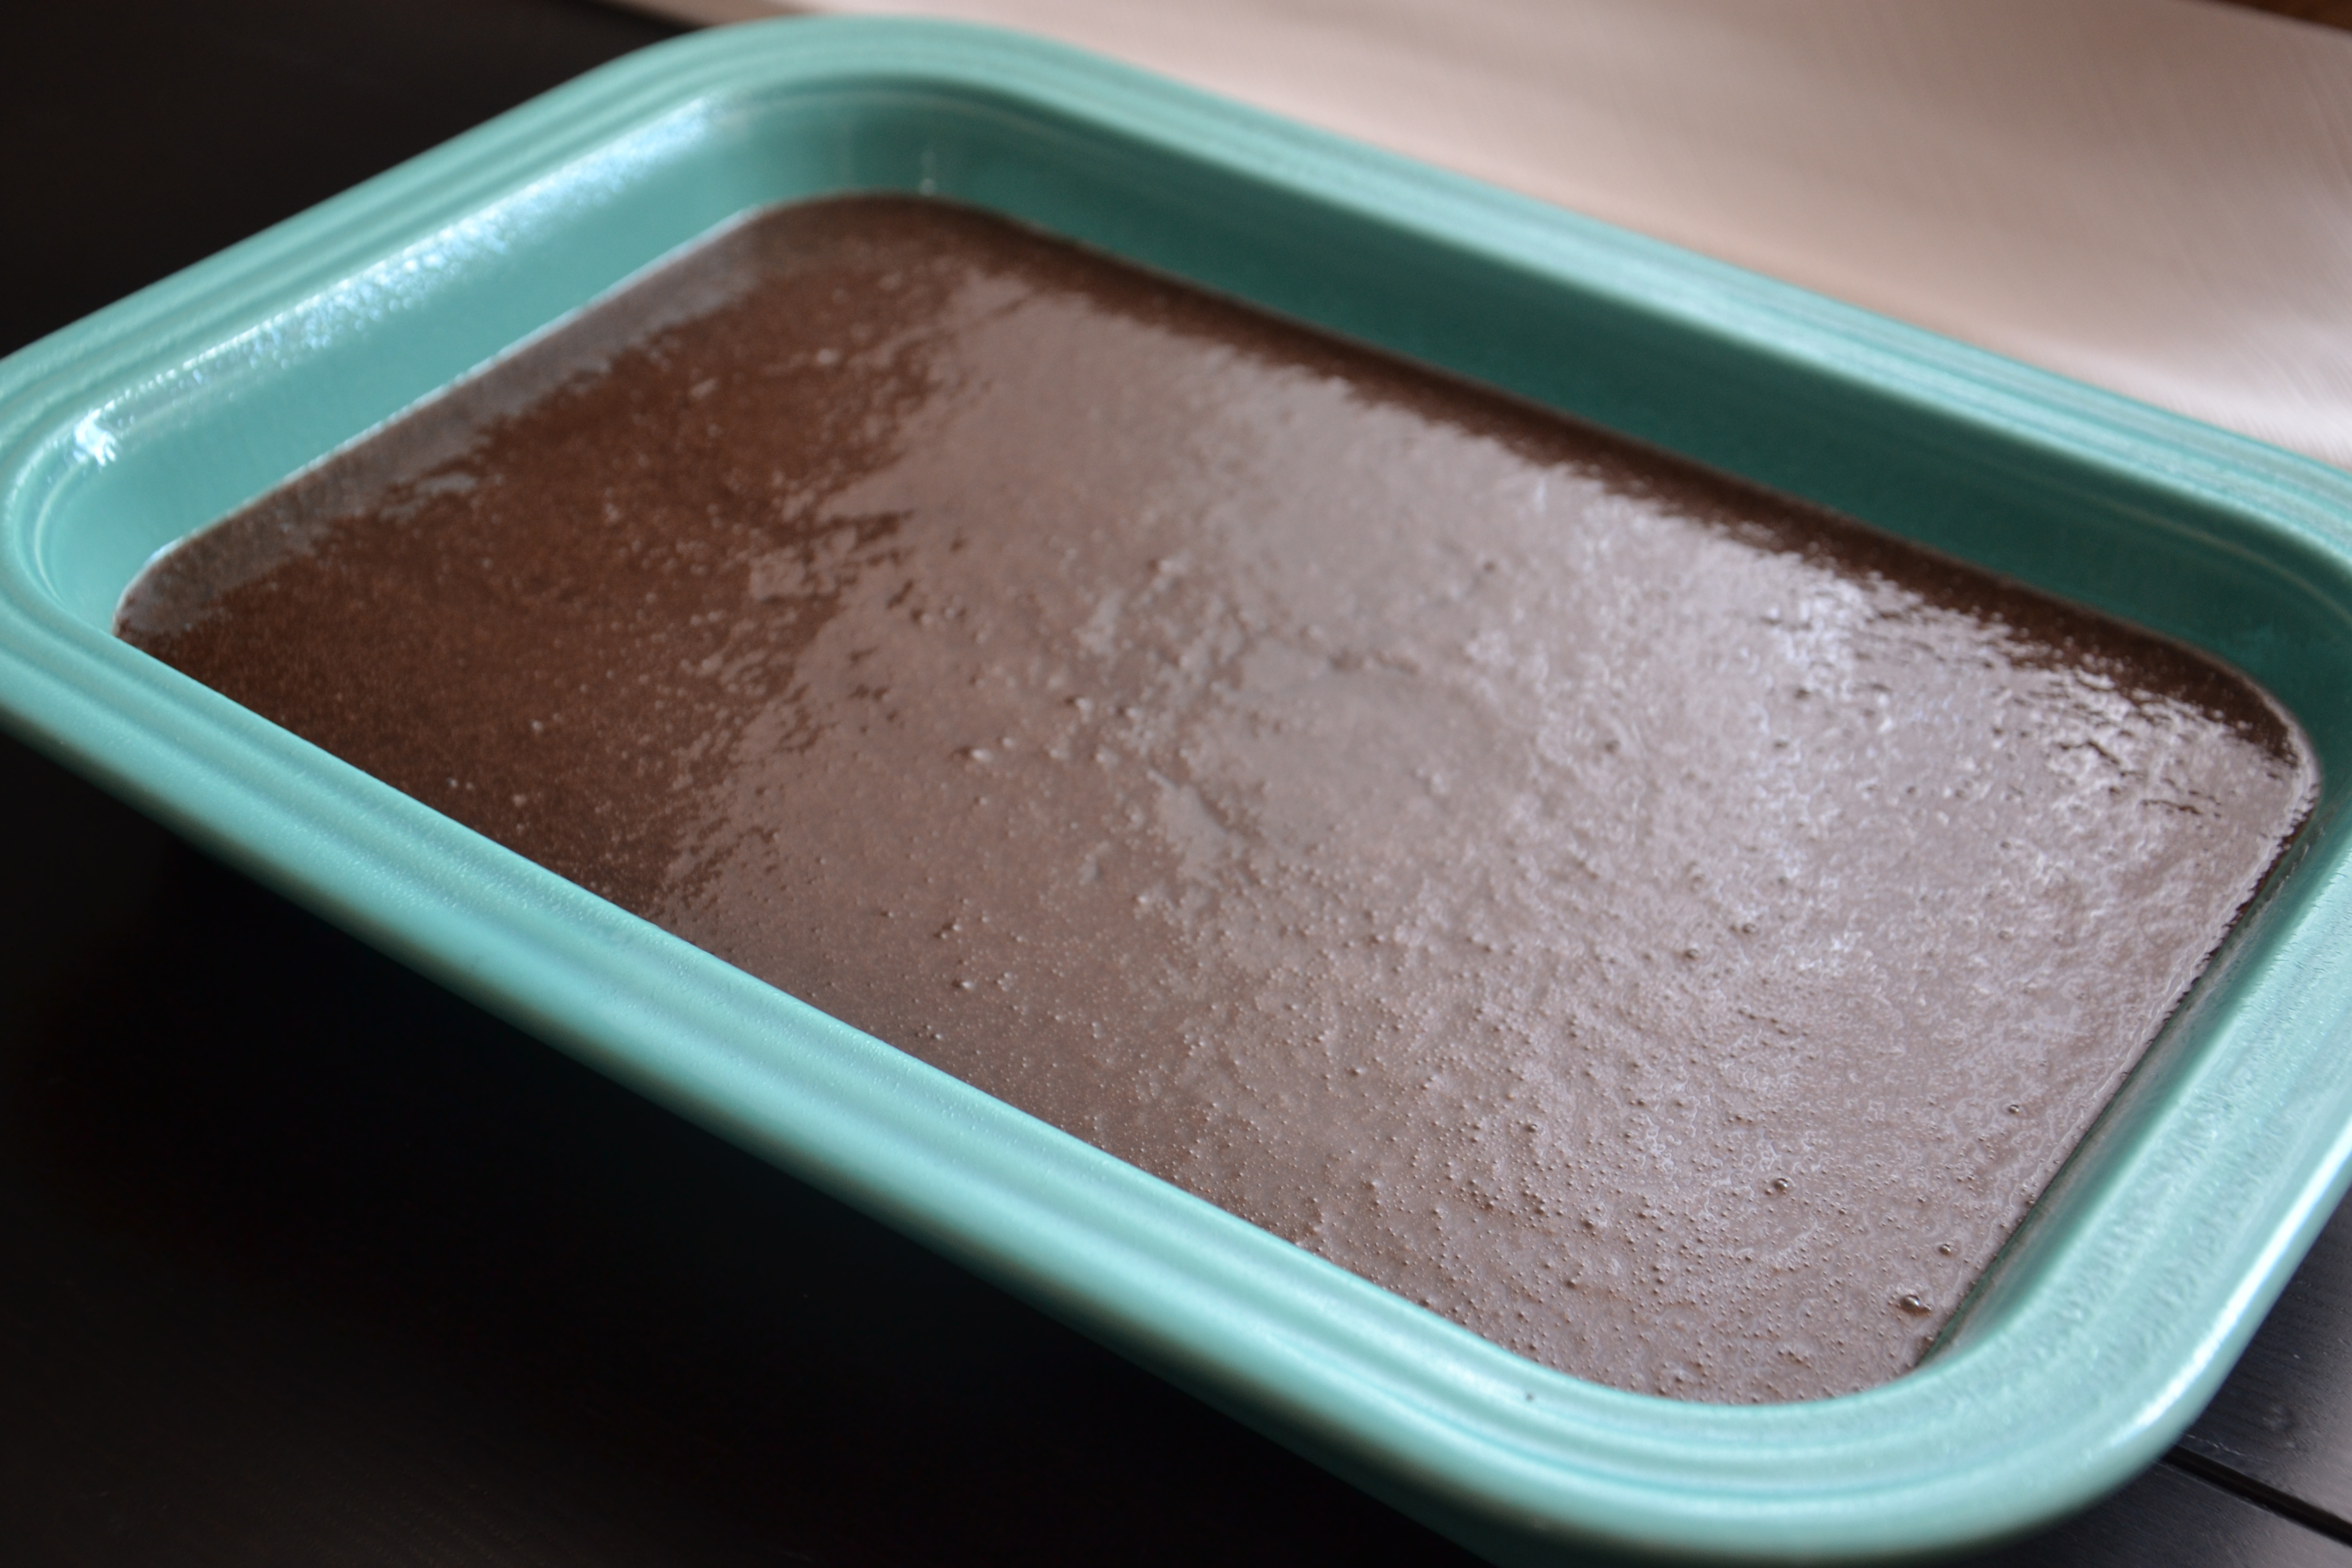
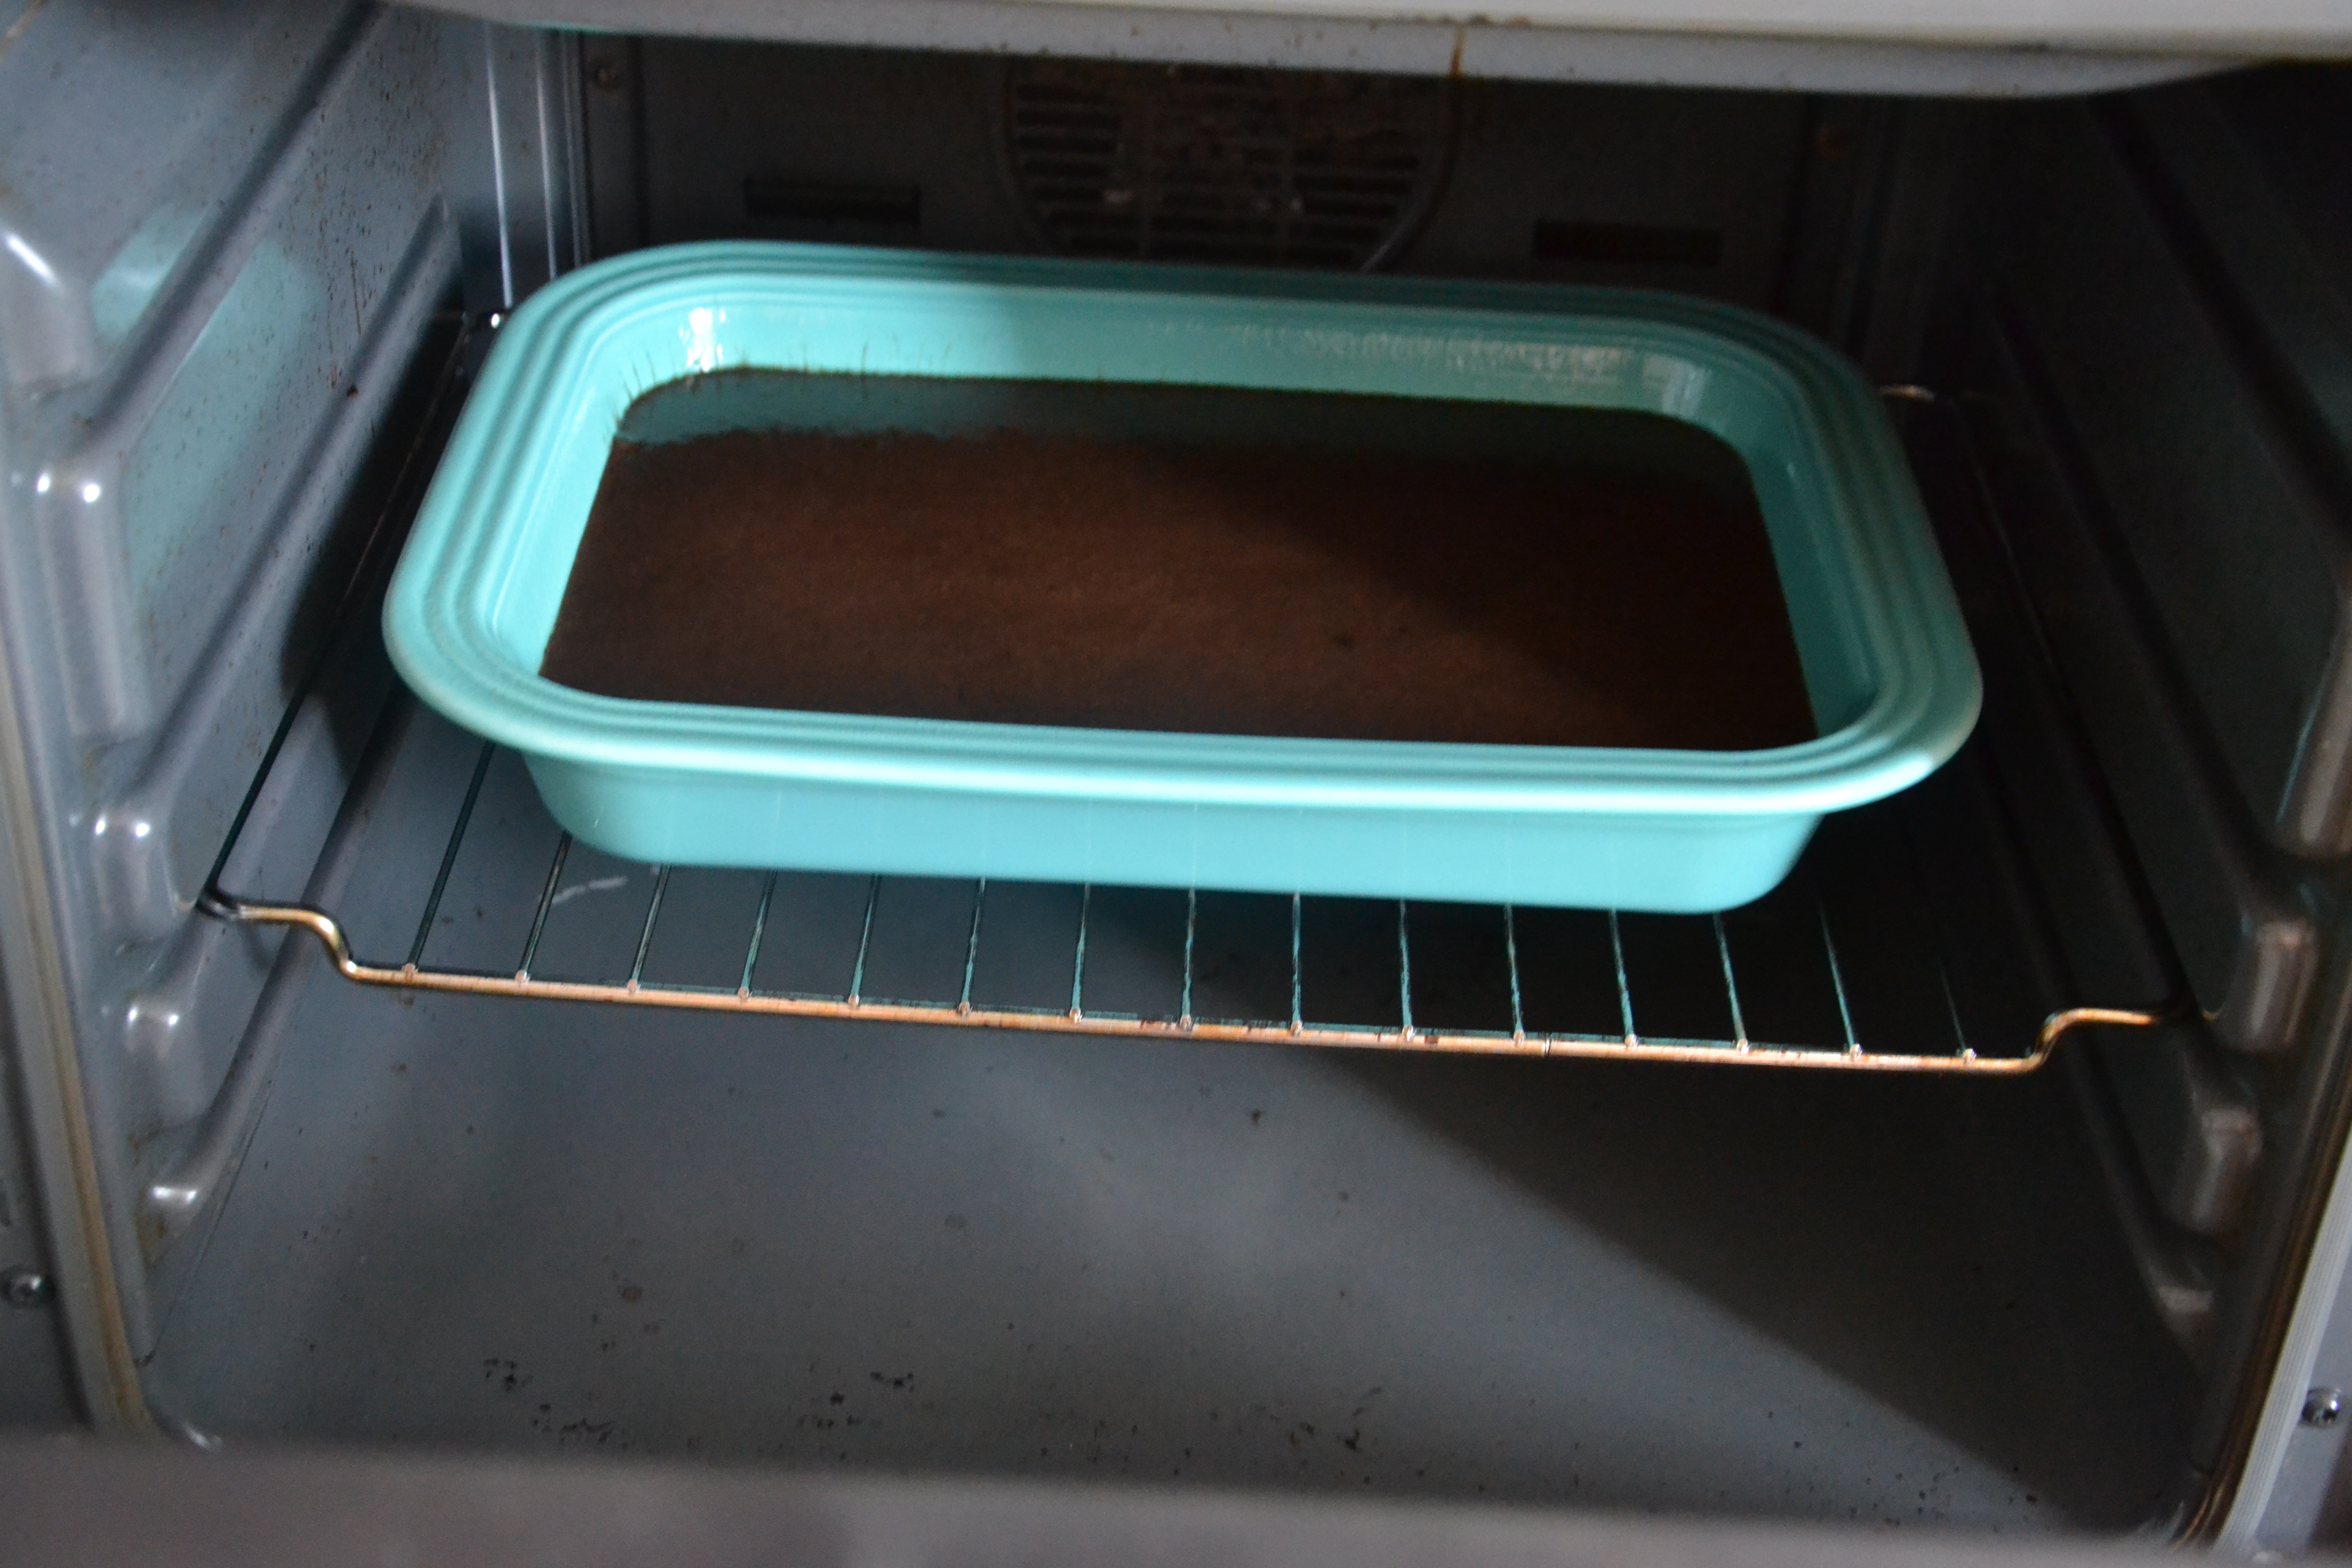
In the oven it went; the baker was just the right size for the amount of batter.
The cake had a very lovely dome when it came out of the oven – with a dampened tea towel, I gently pressed the cake in the center back unto itself. Be very careful of the hot, hot steam – this technique eliminates the need to slice off the dome. Pressing a fresh-from-the-oven cake must happen immediately after the cake is placed on the cooling rack.
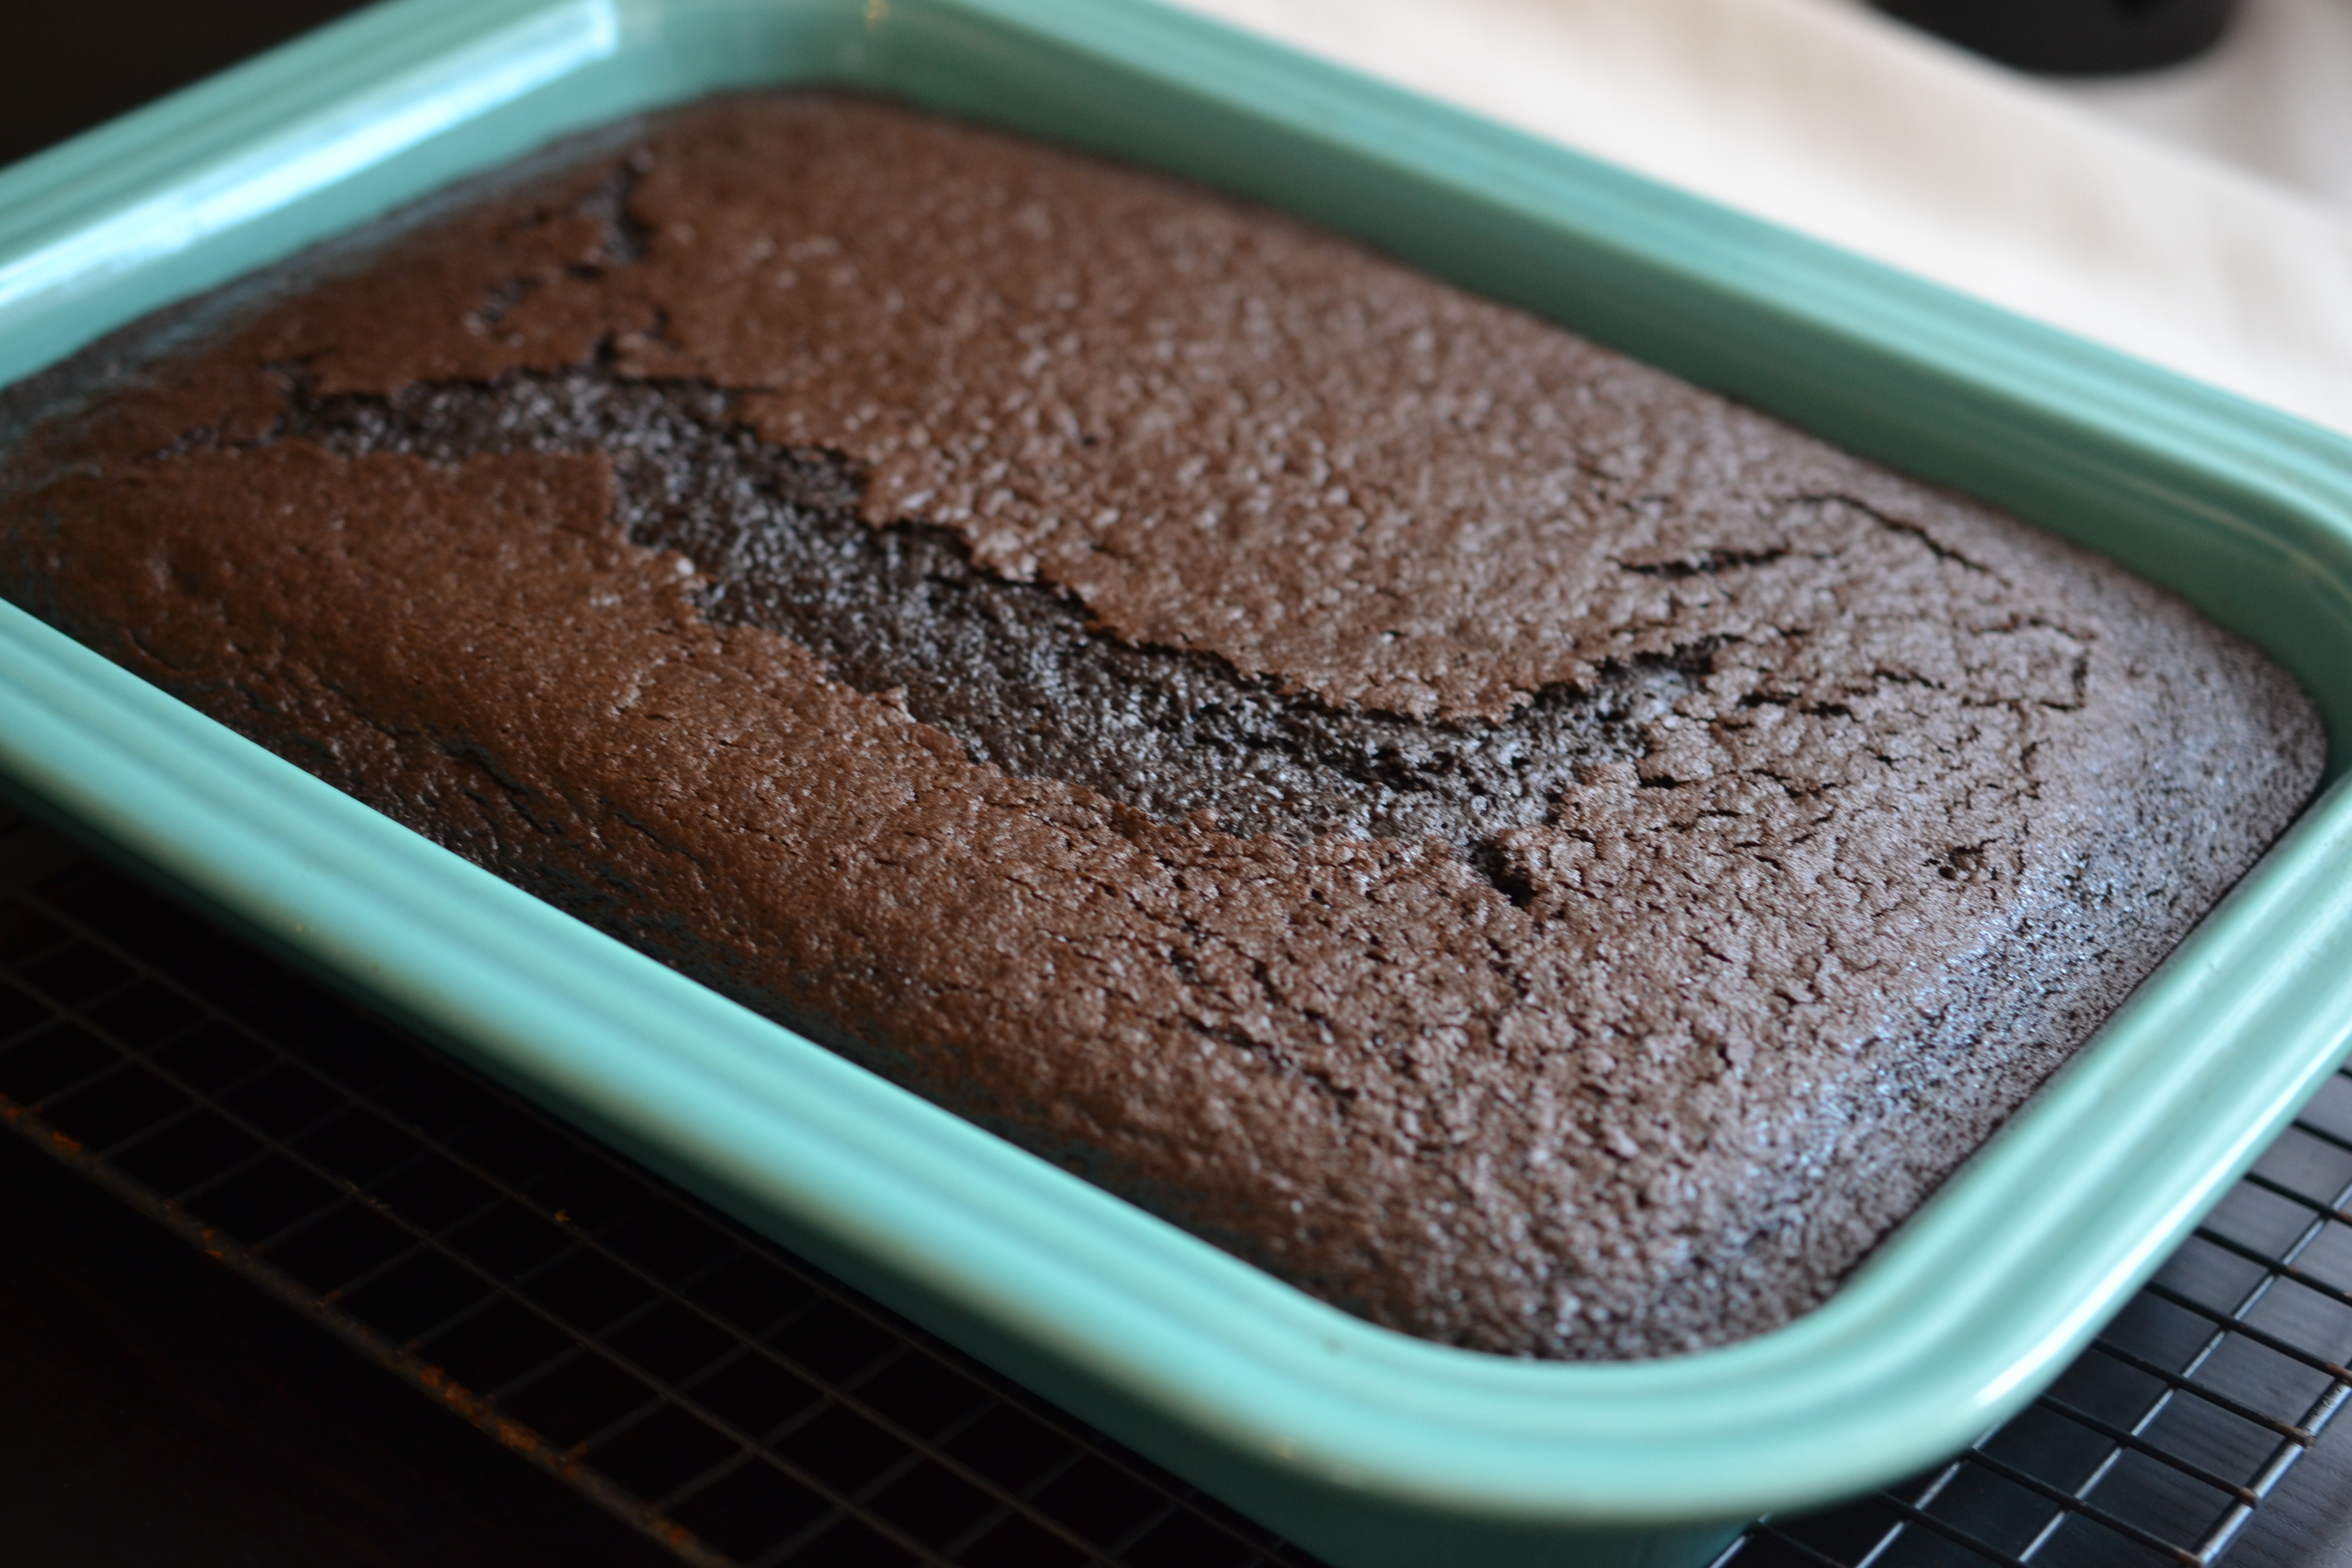
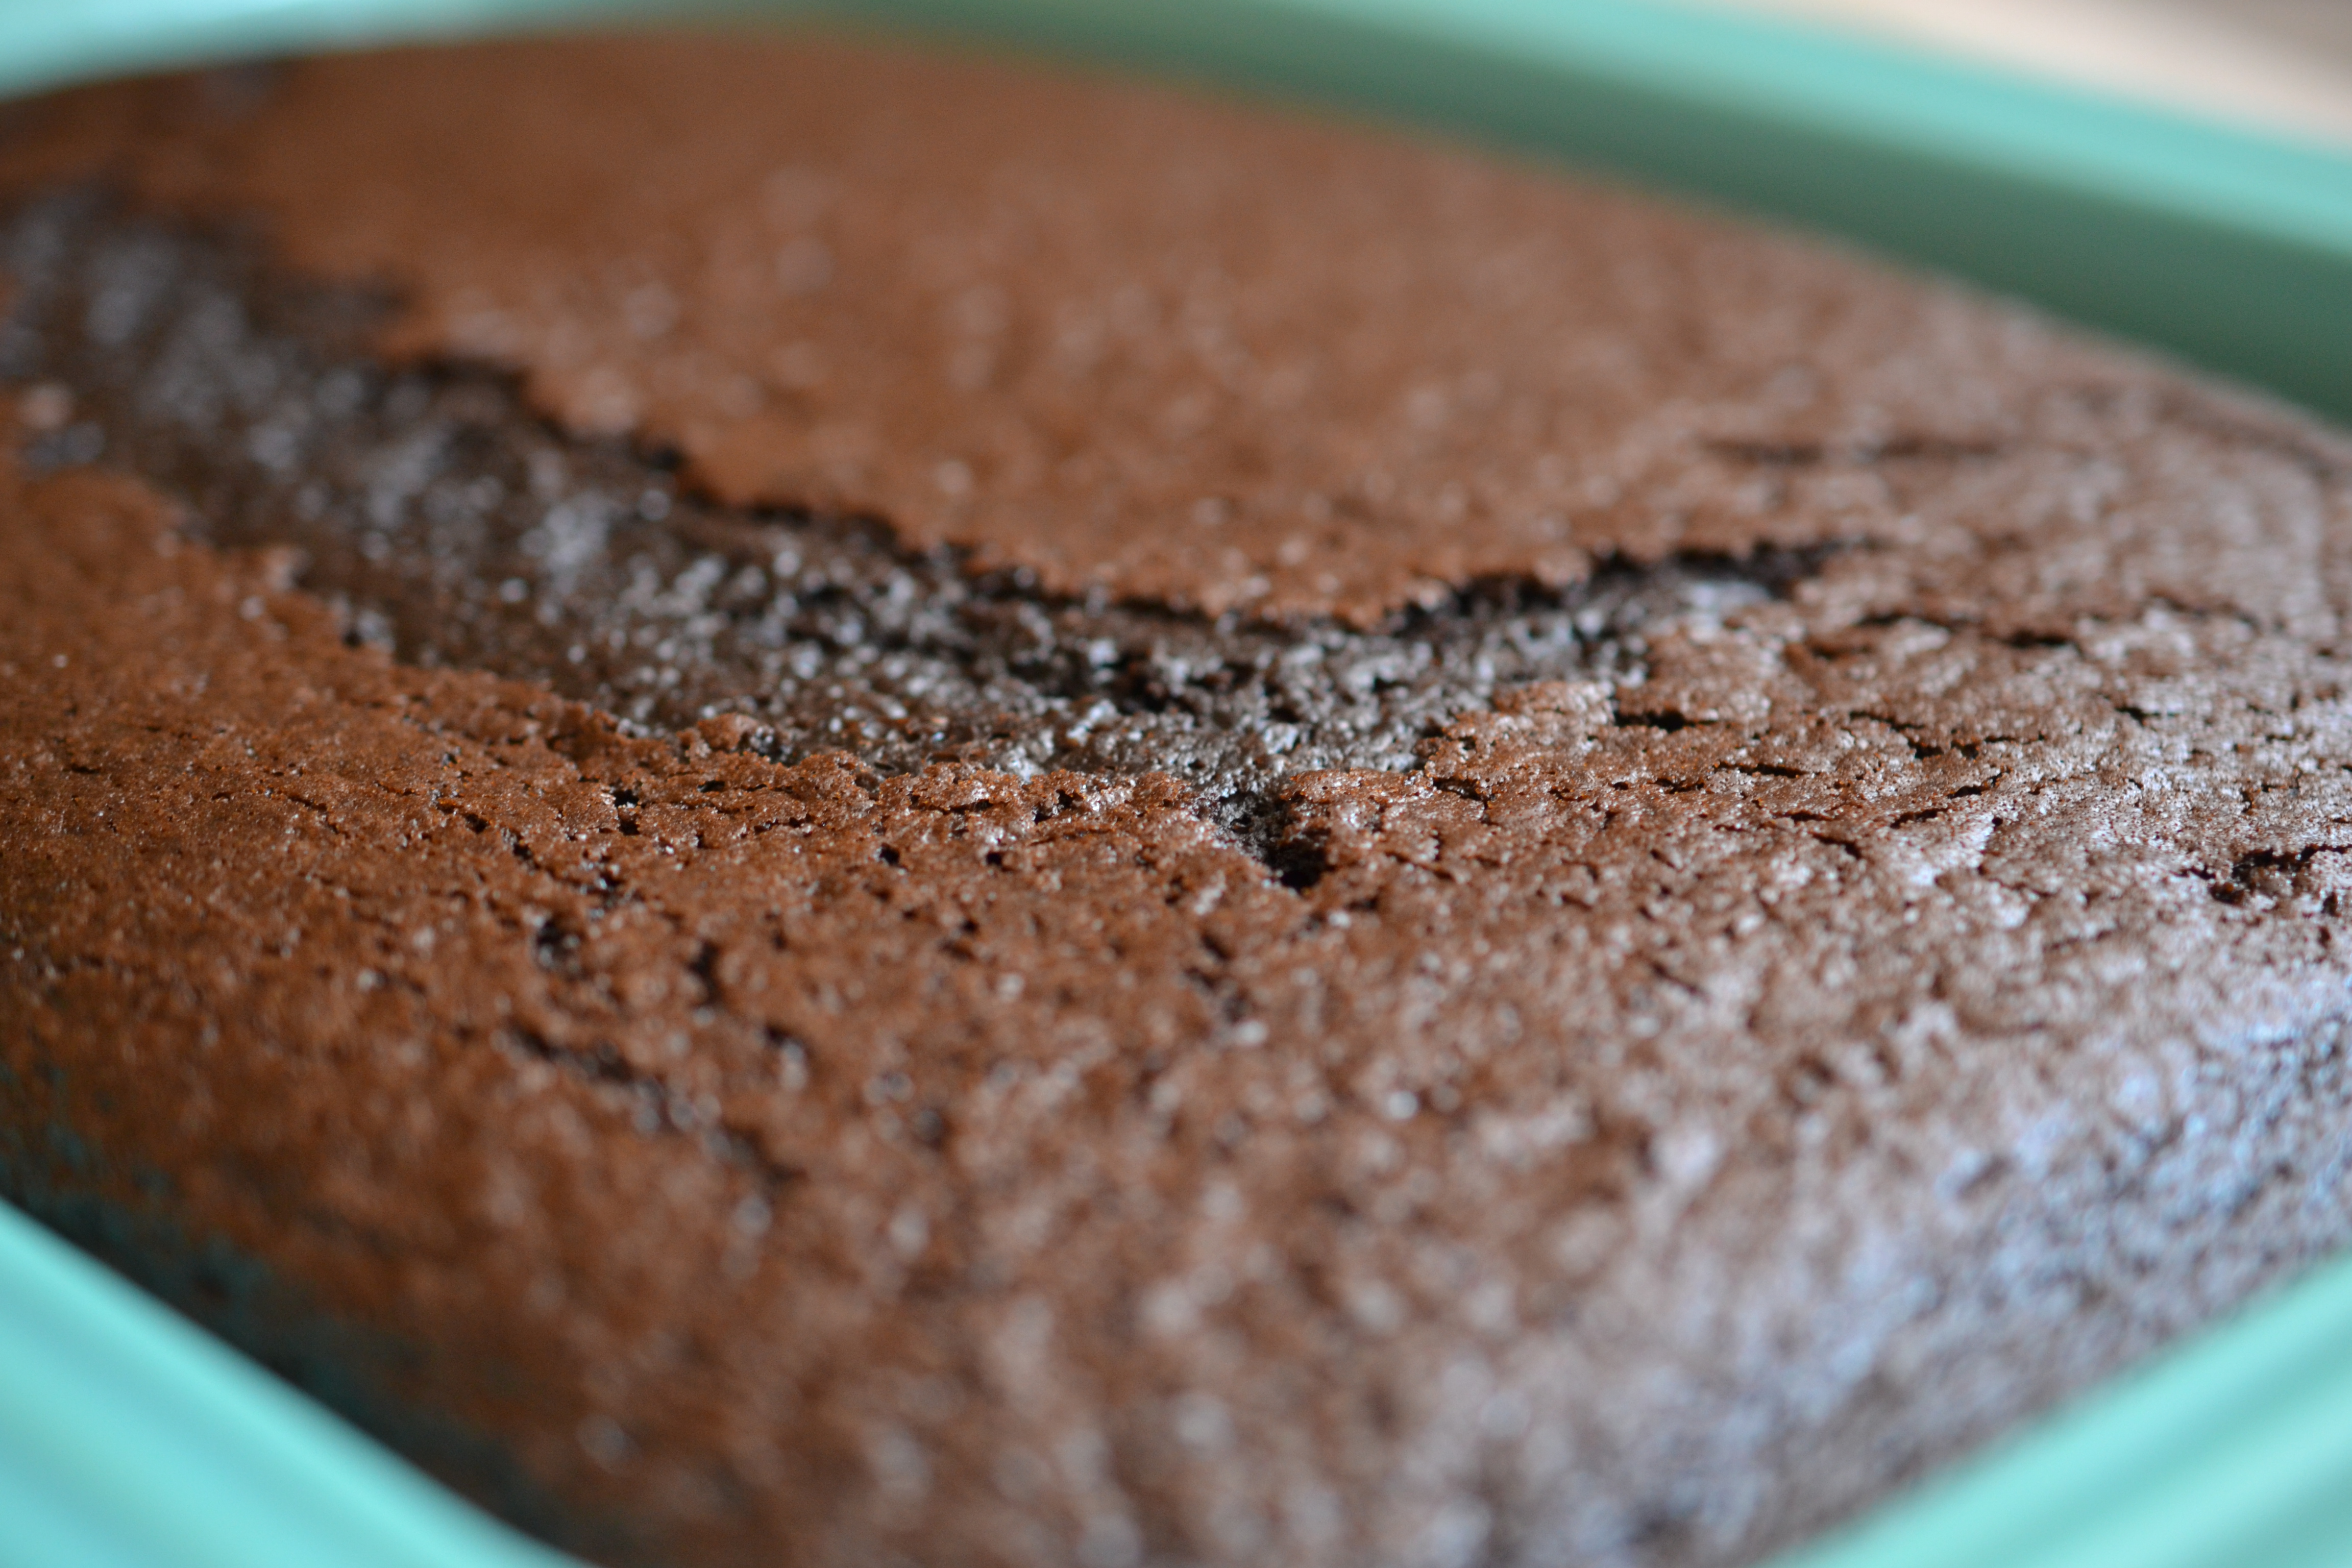
After ten minutes, gently run a knife between the cake and the baker, turn onto a rack, peel away paper, and cool completely. Even after ten minutes there was much heat in the cake – the Fiesta vitrified china is amazing at keeping hot things hot and cool things cool.
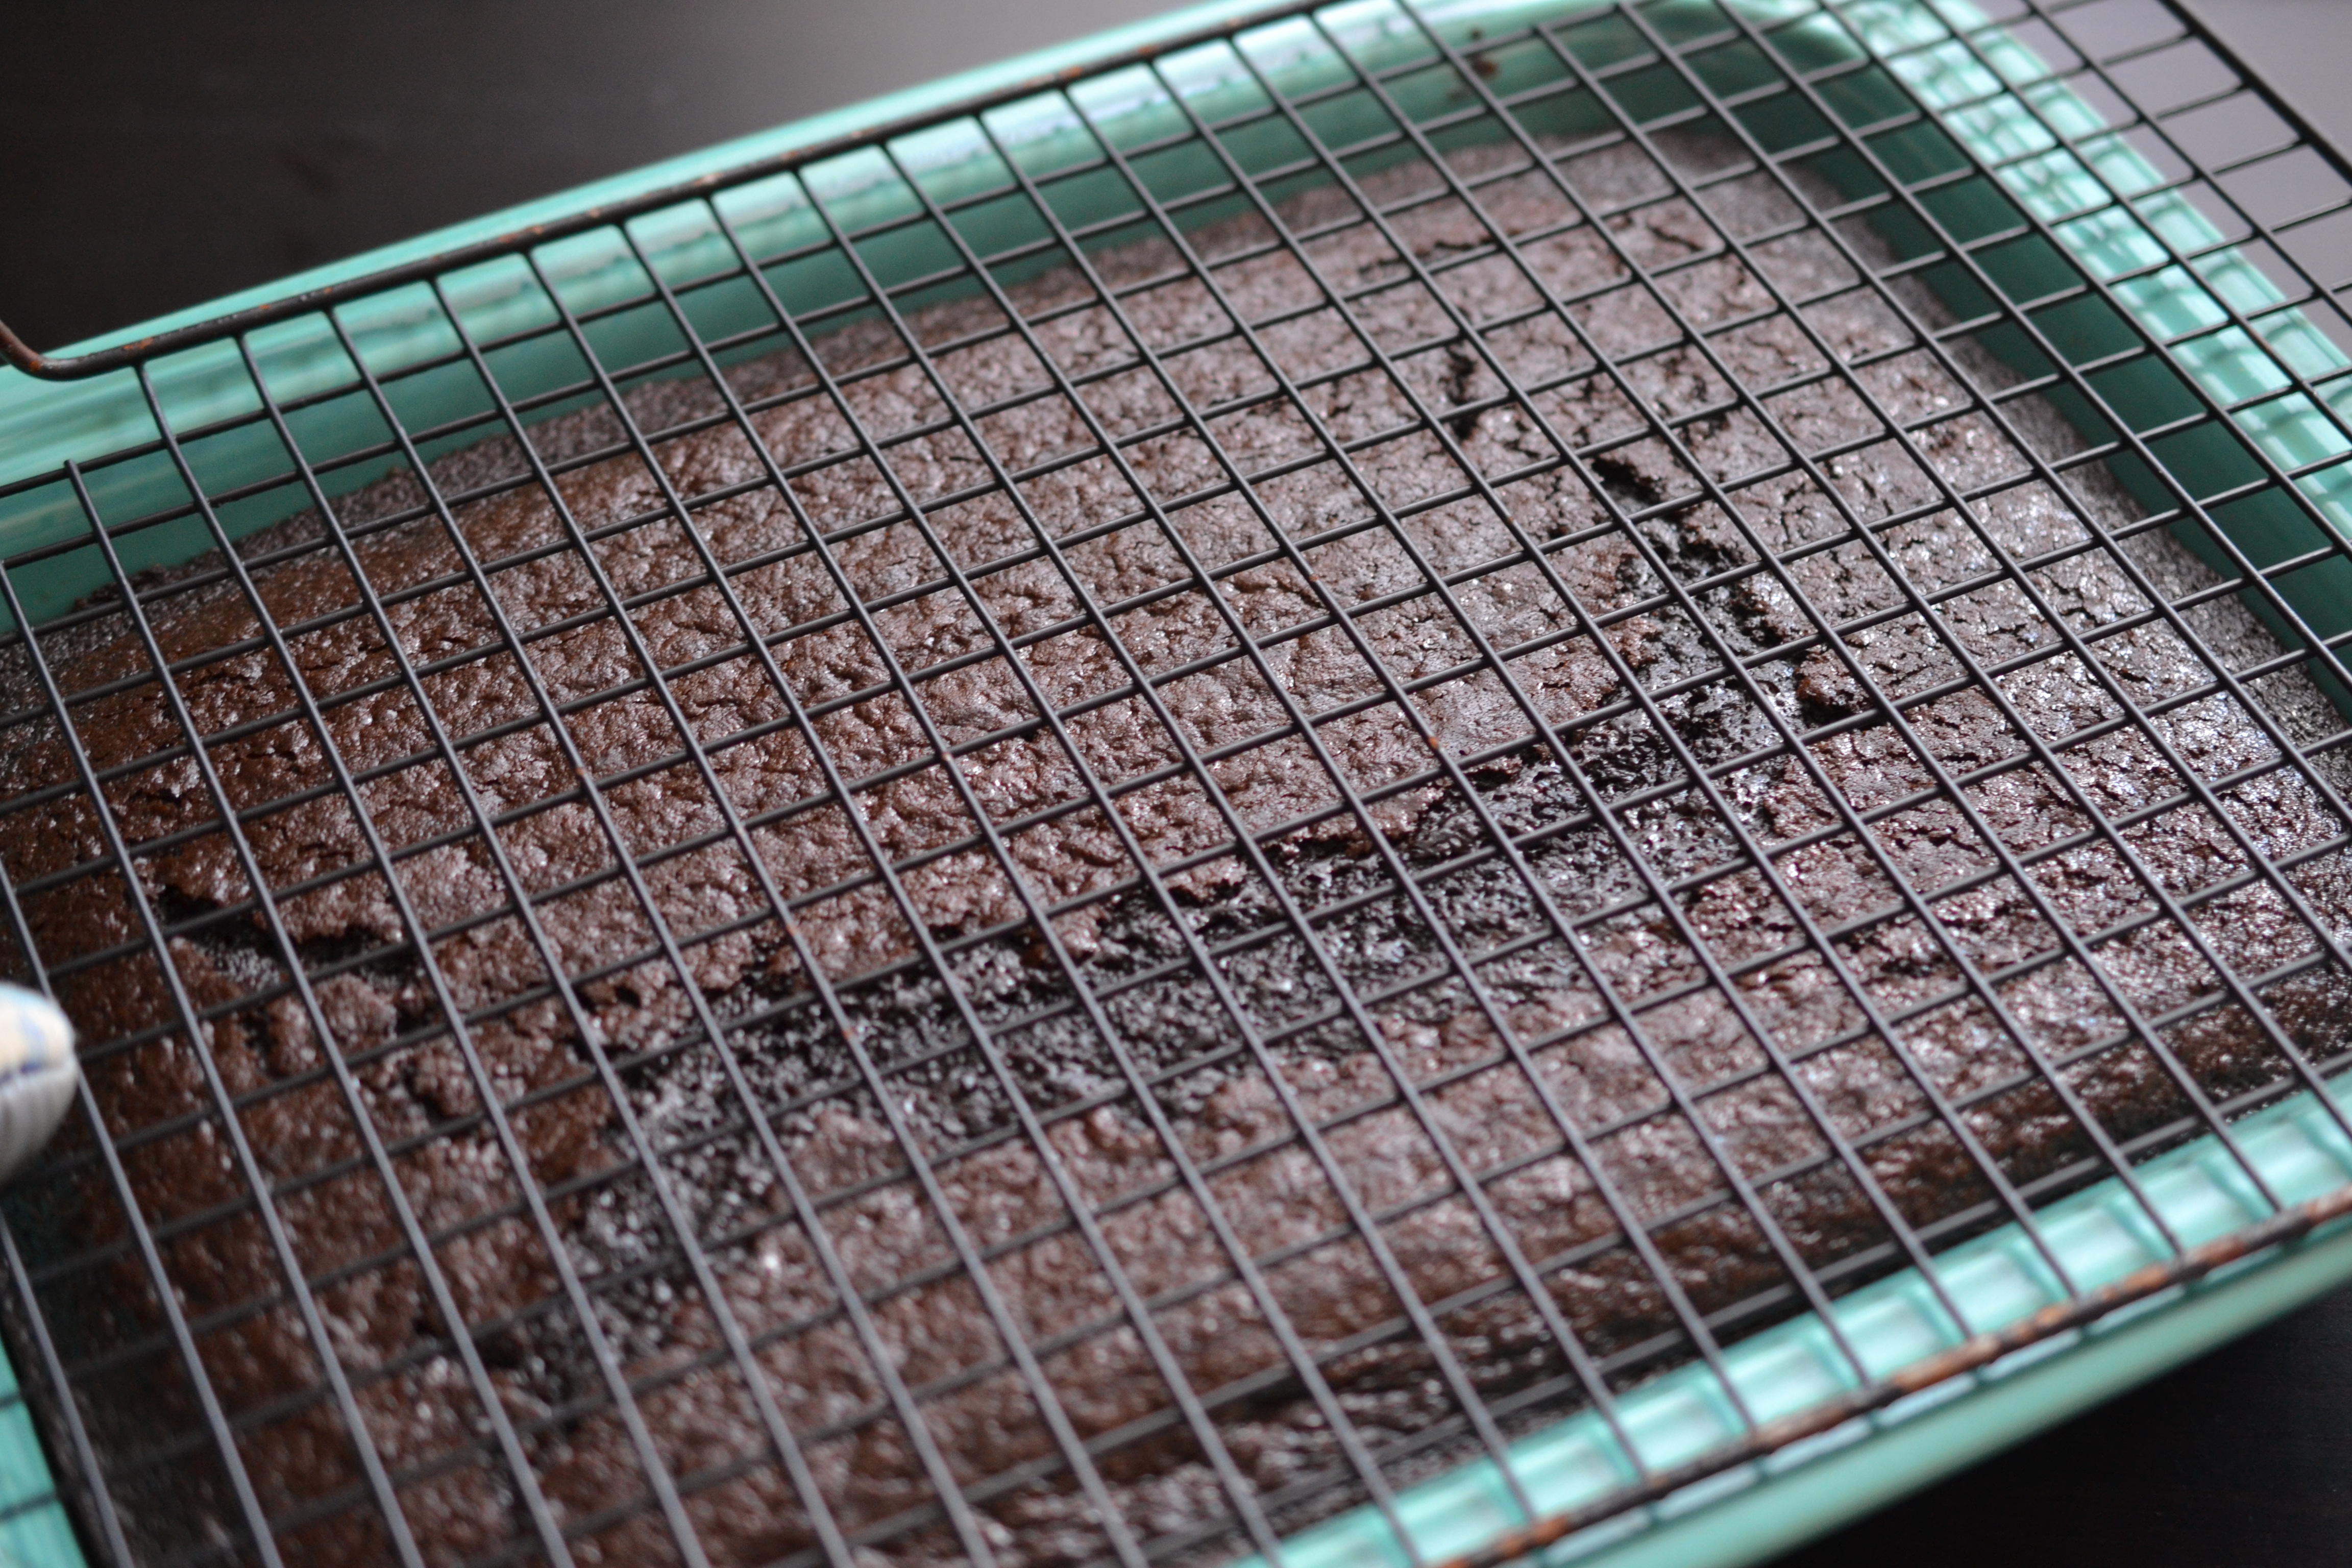
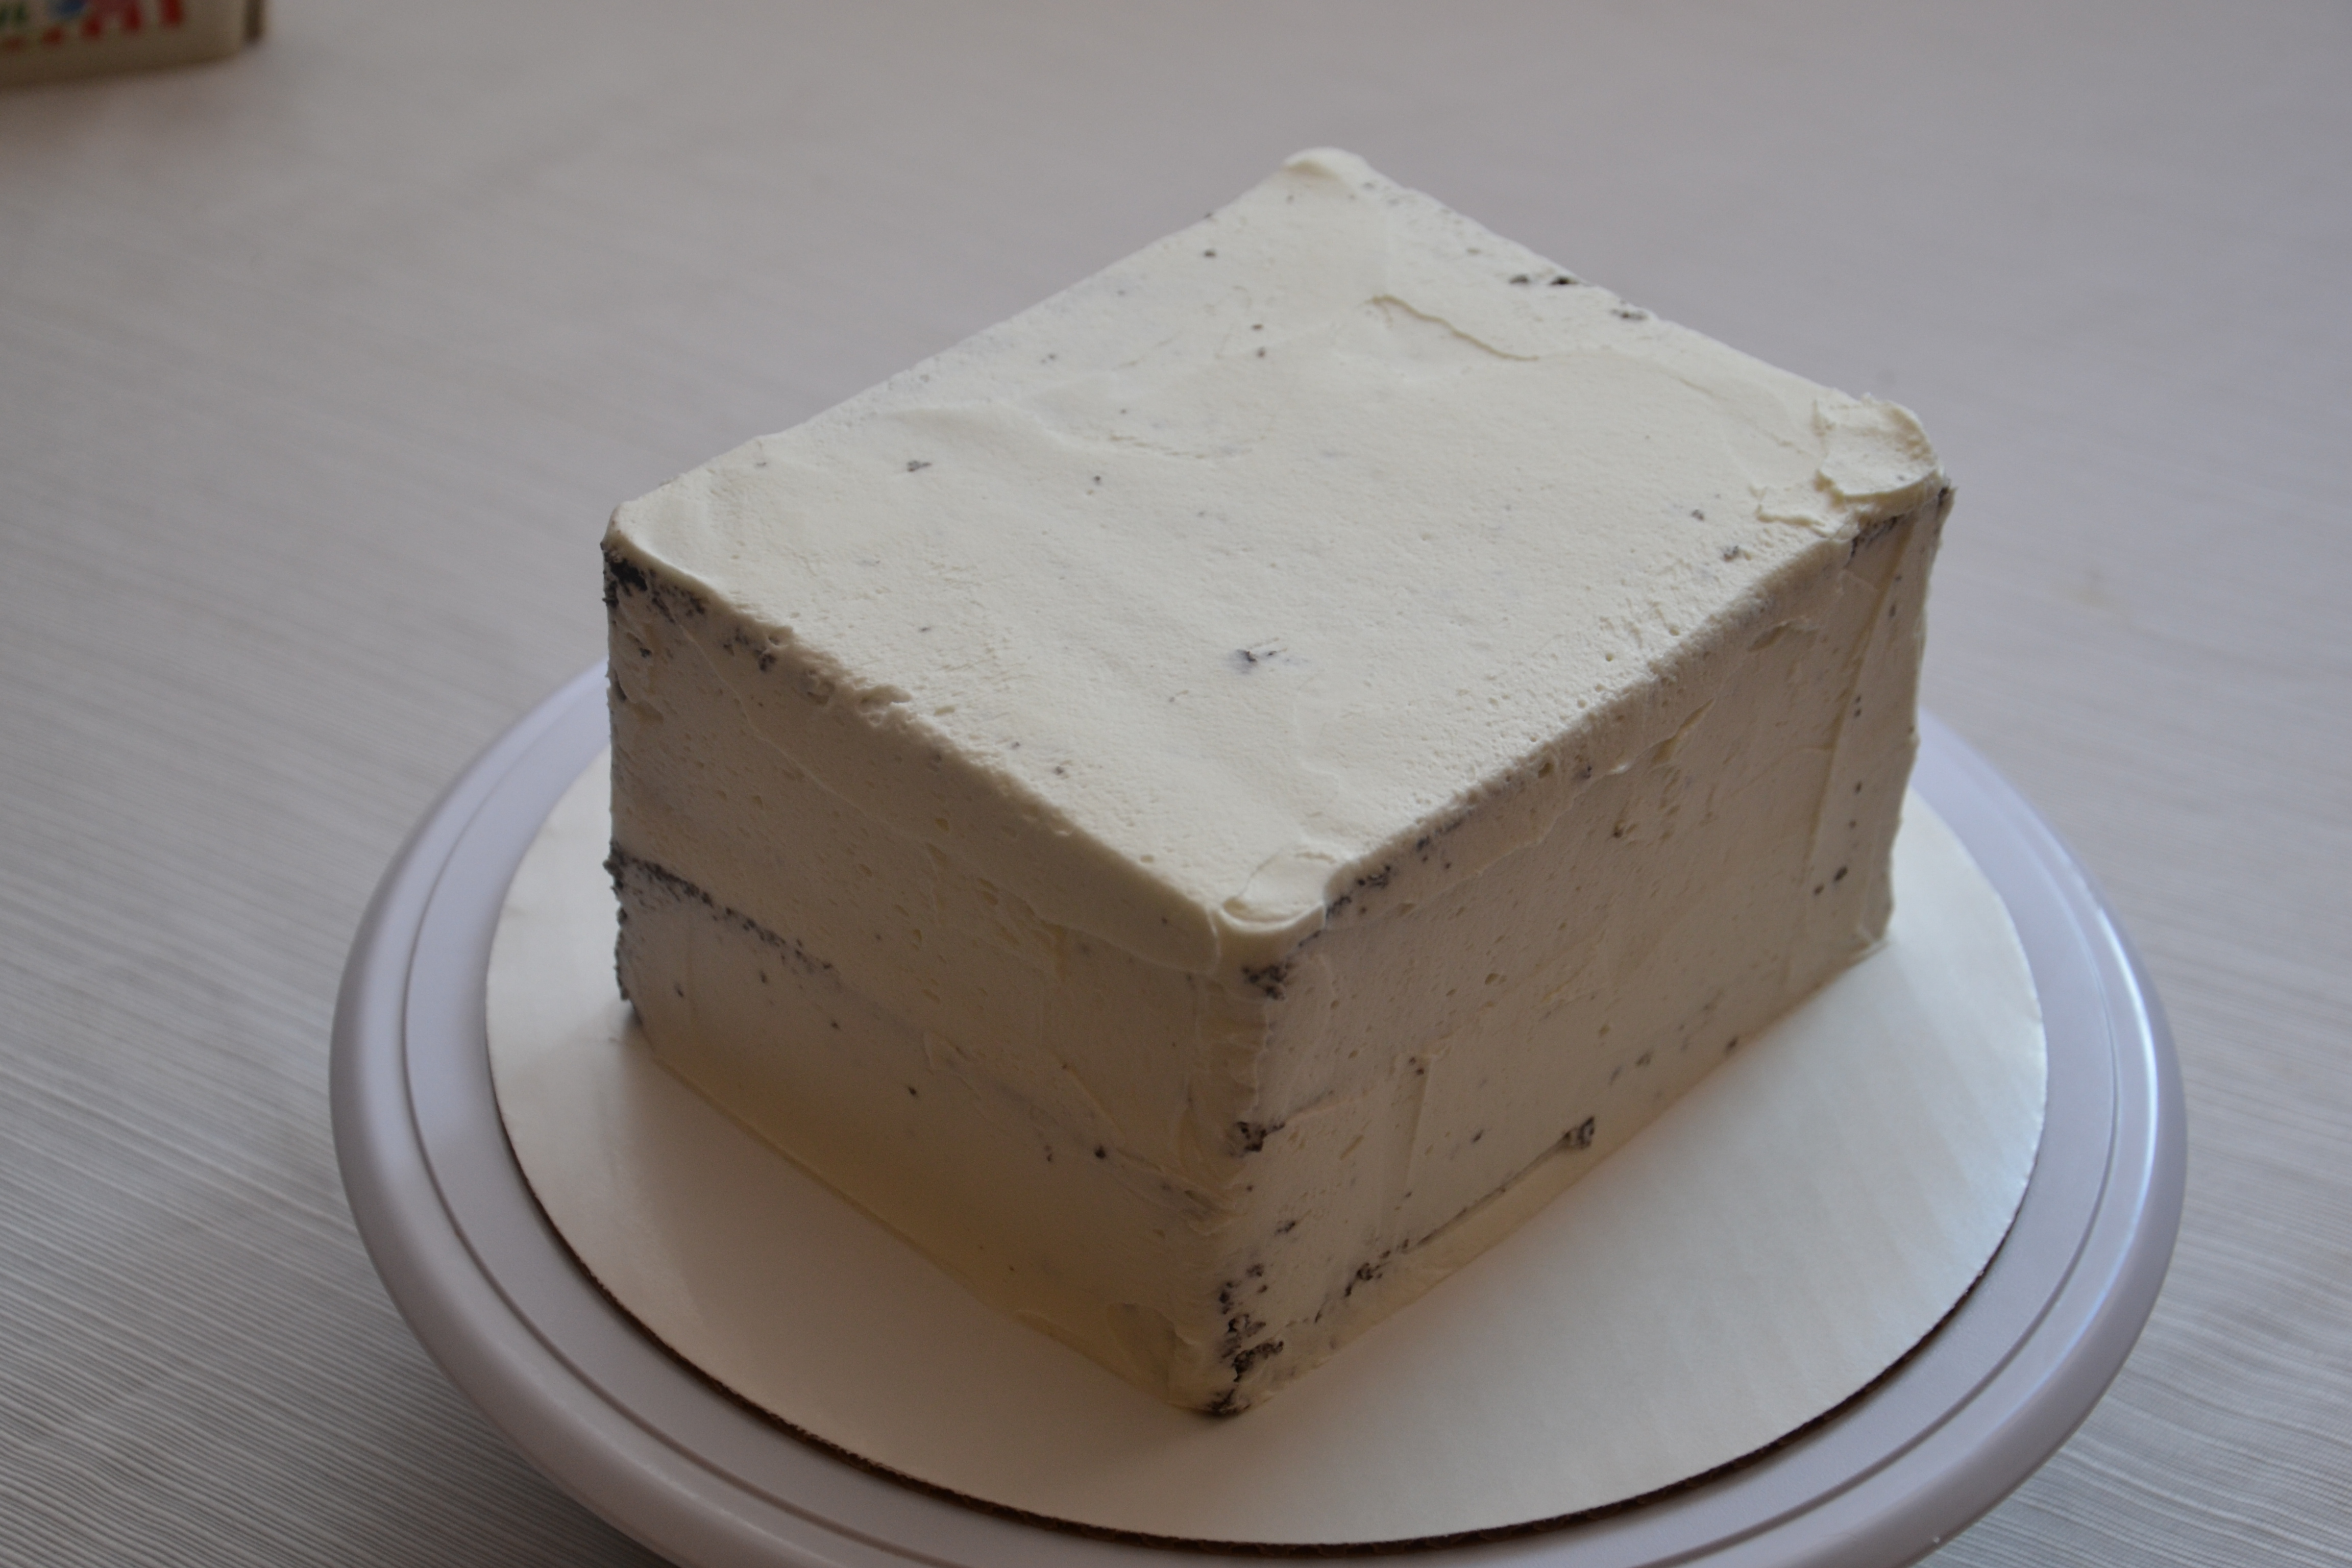
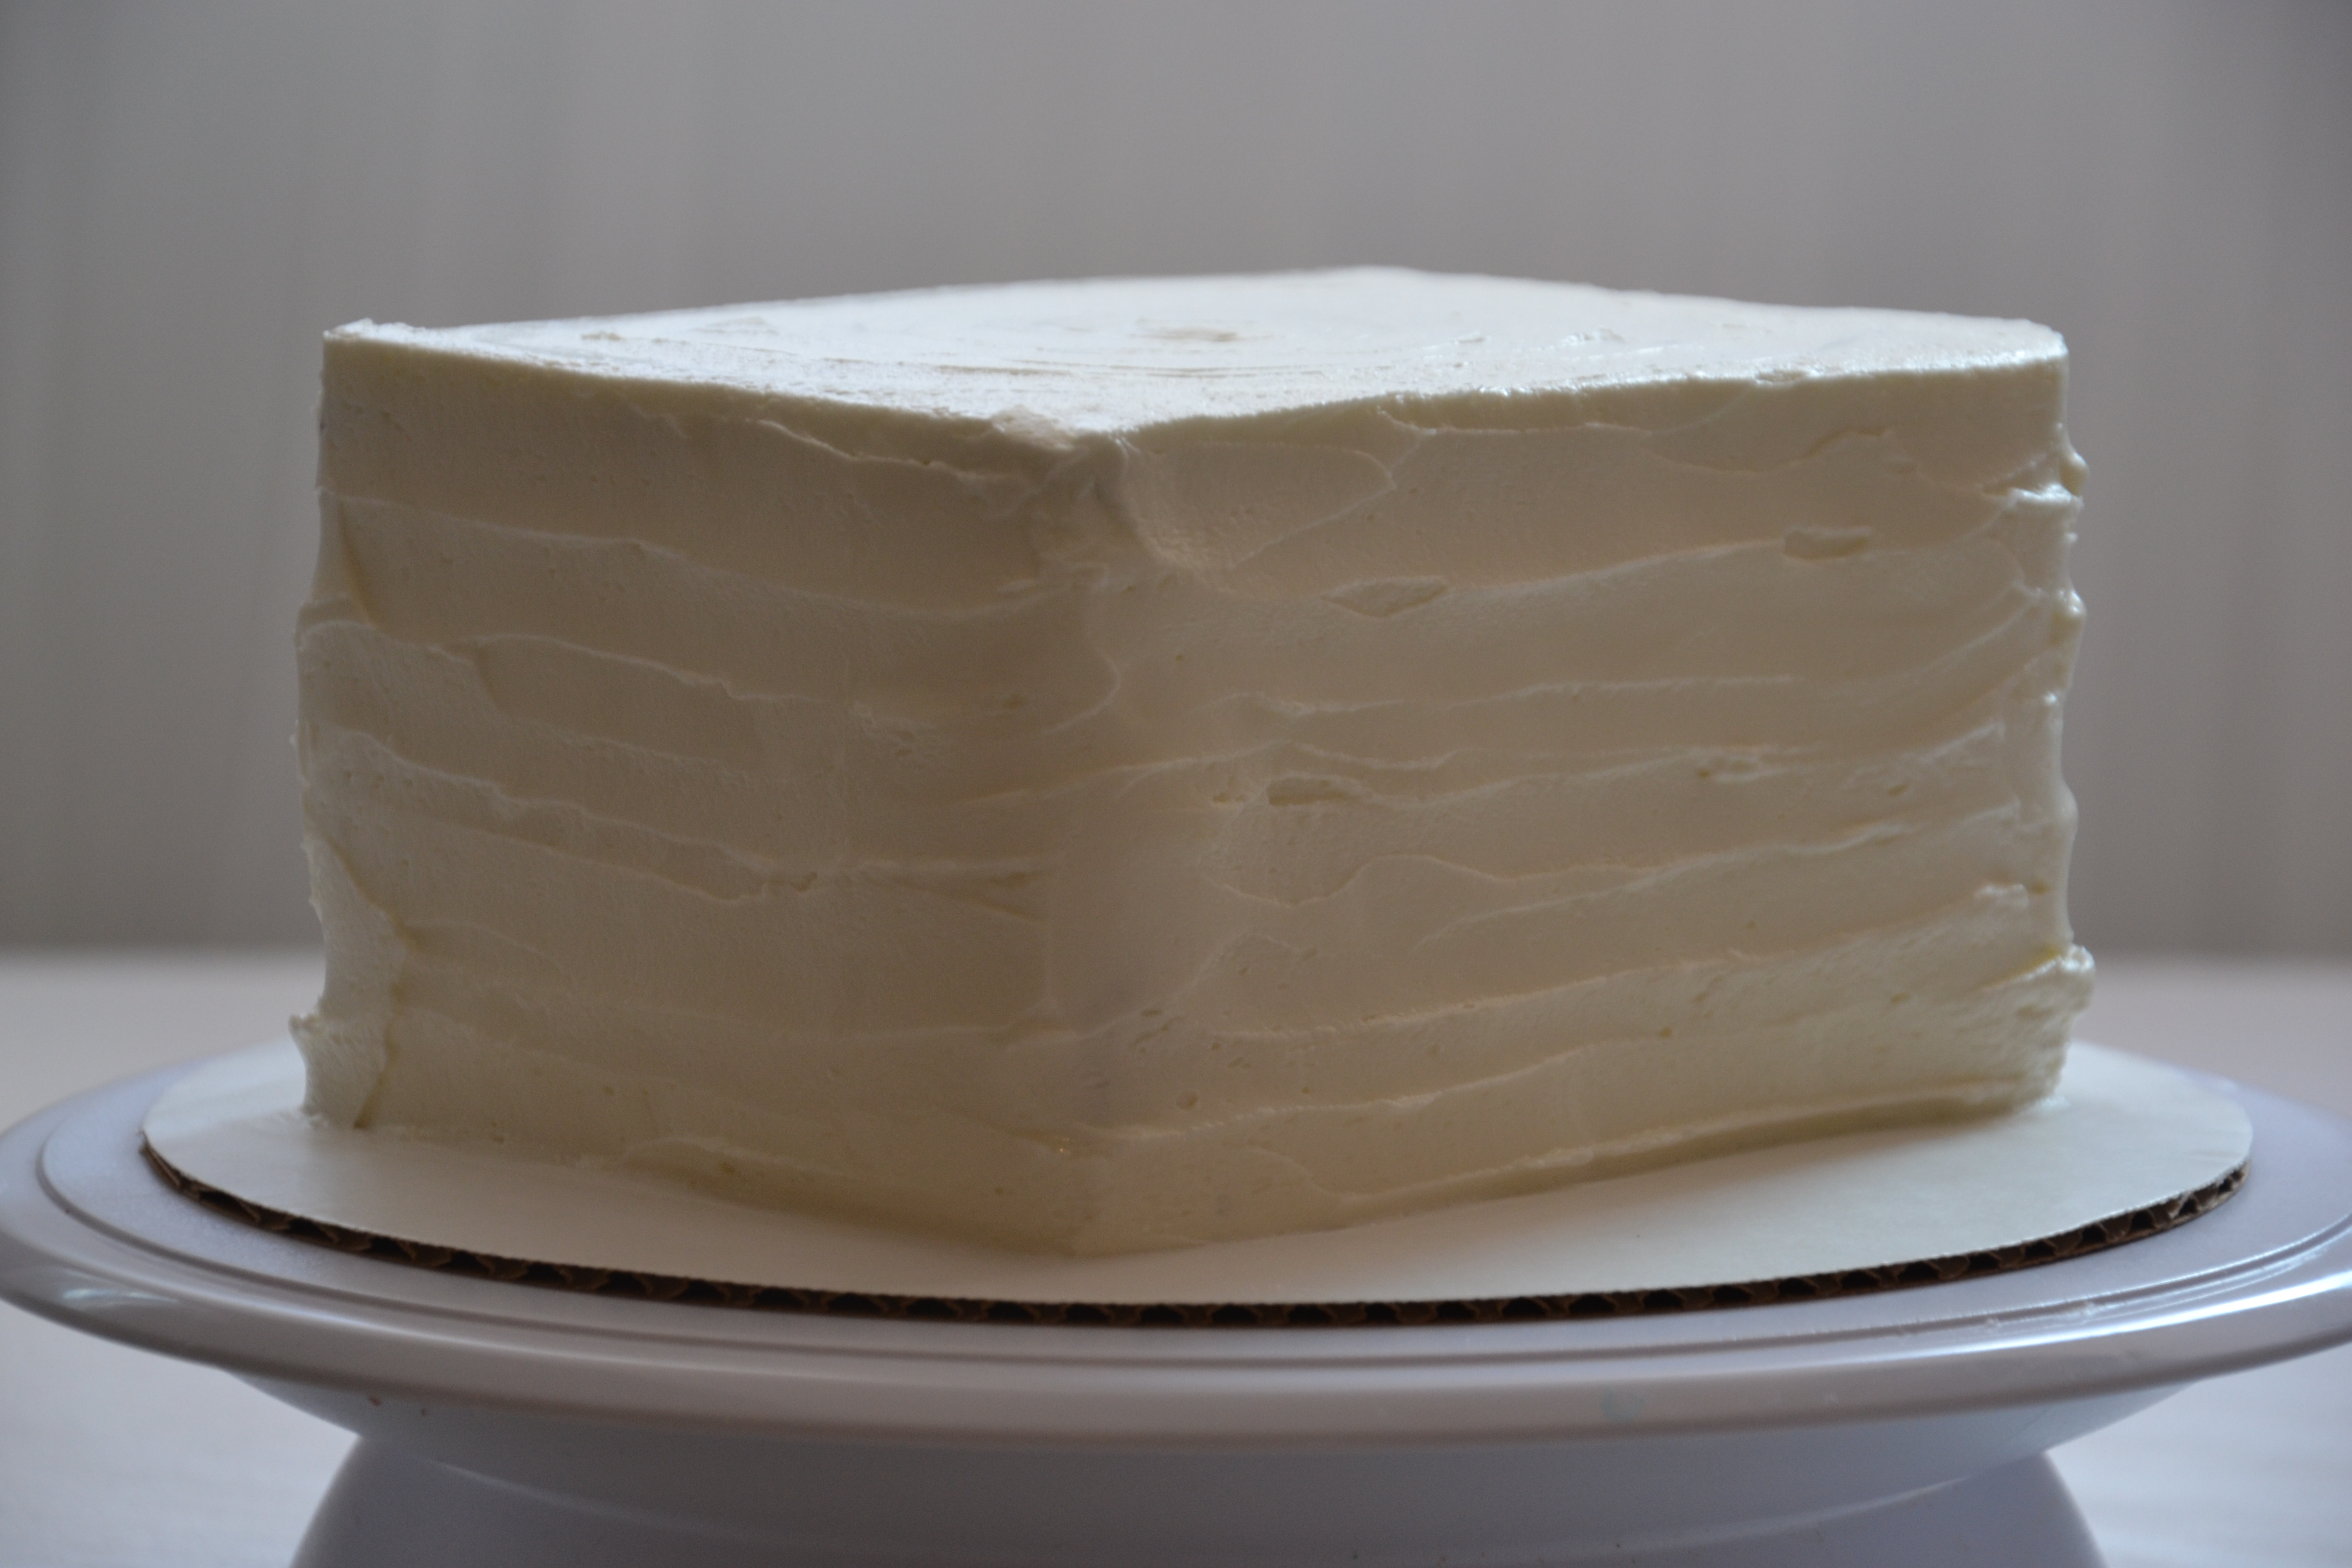
Since the sides of the baker are angled, it’s necessary to square-up the edges for vertical sides of the cake.

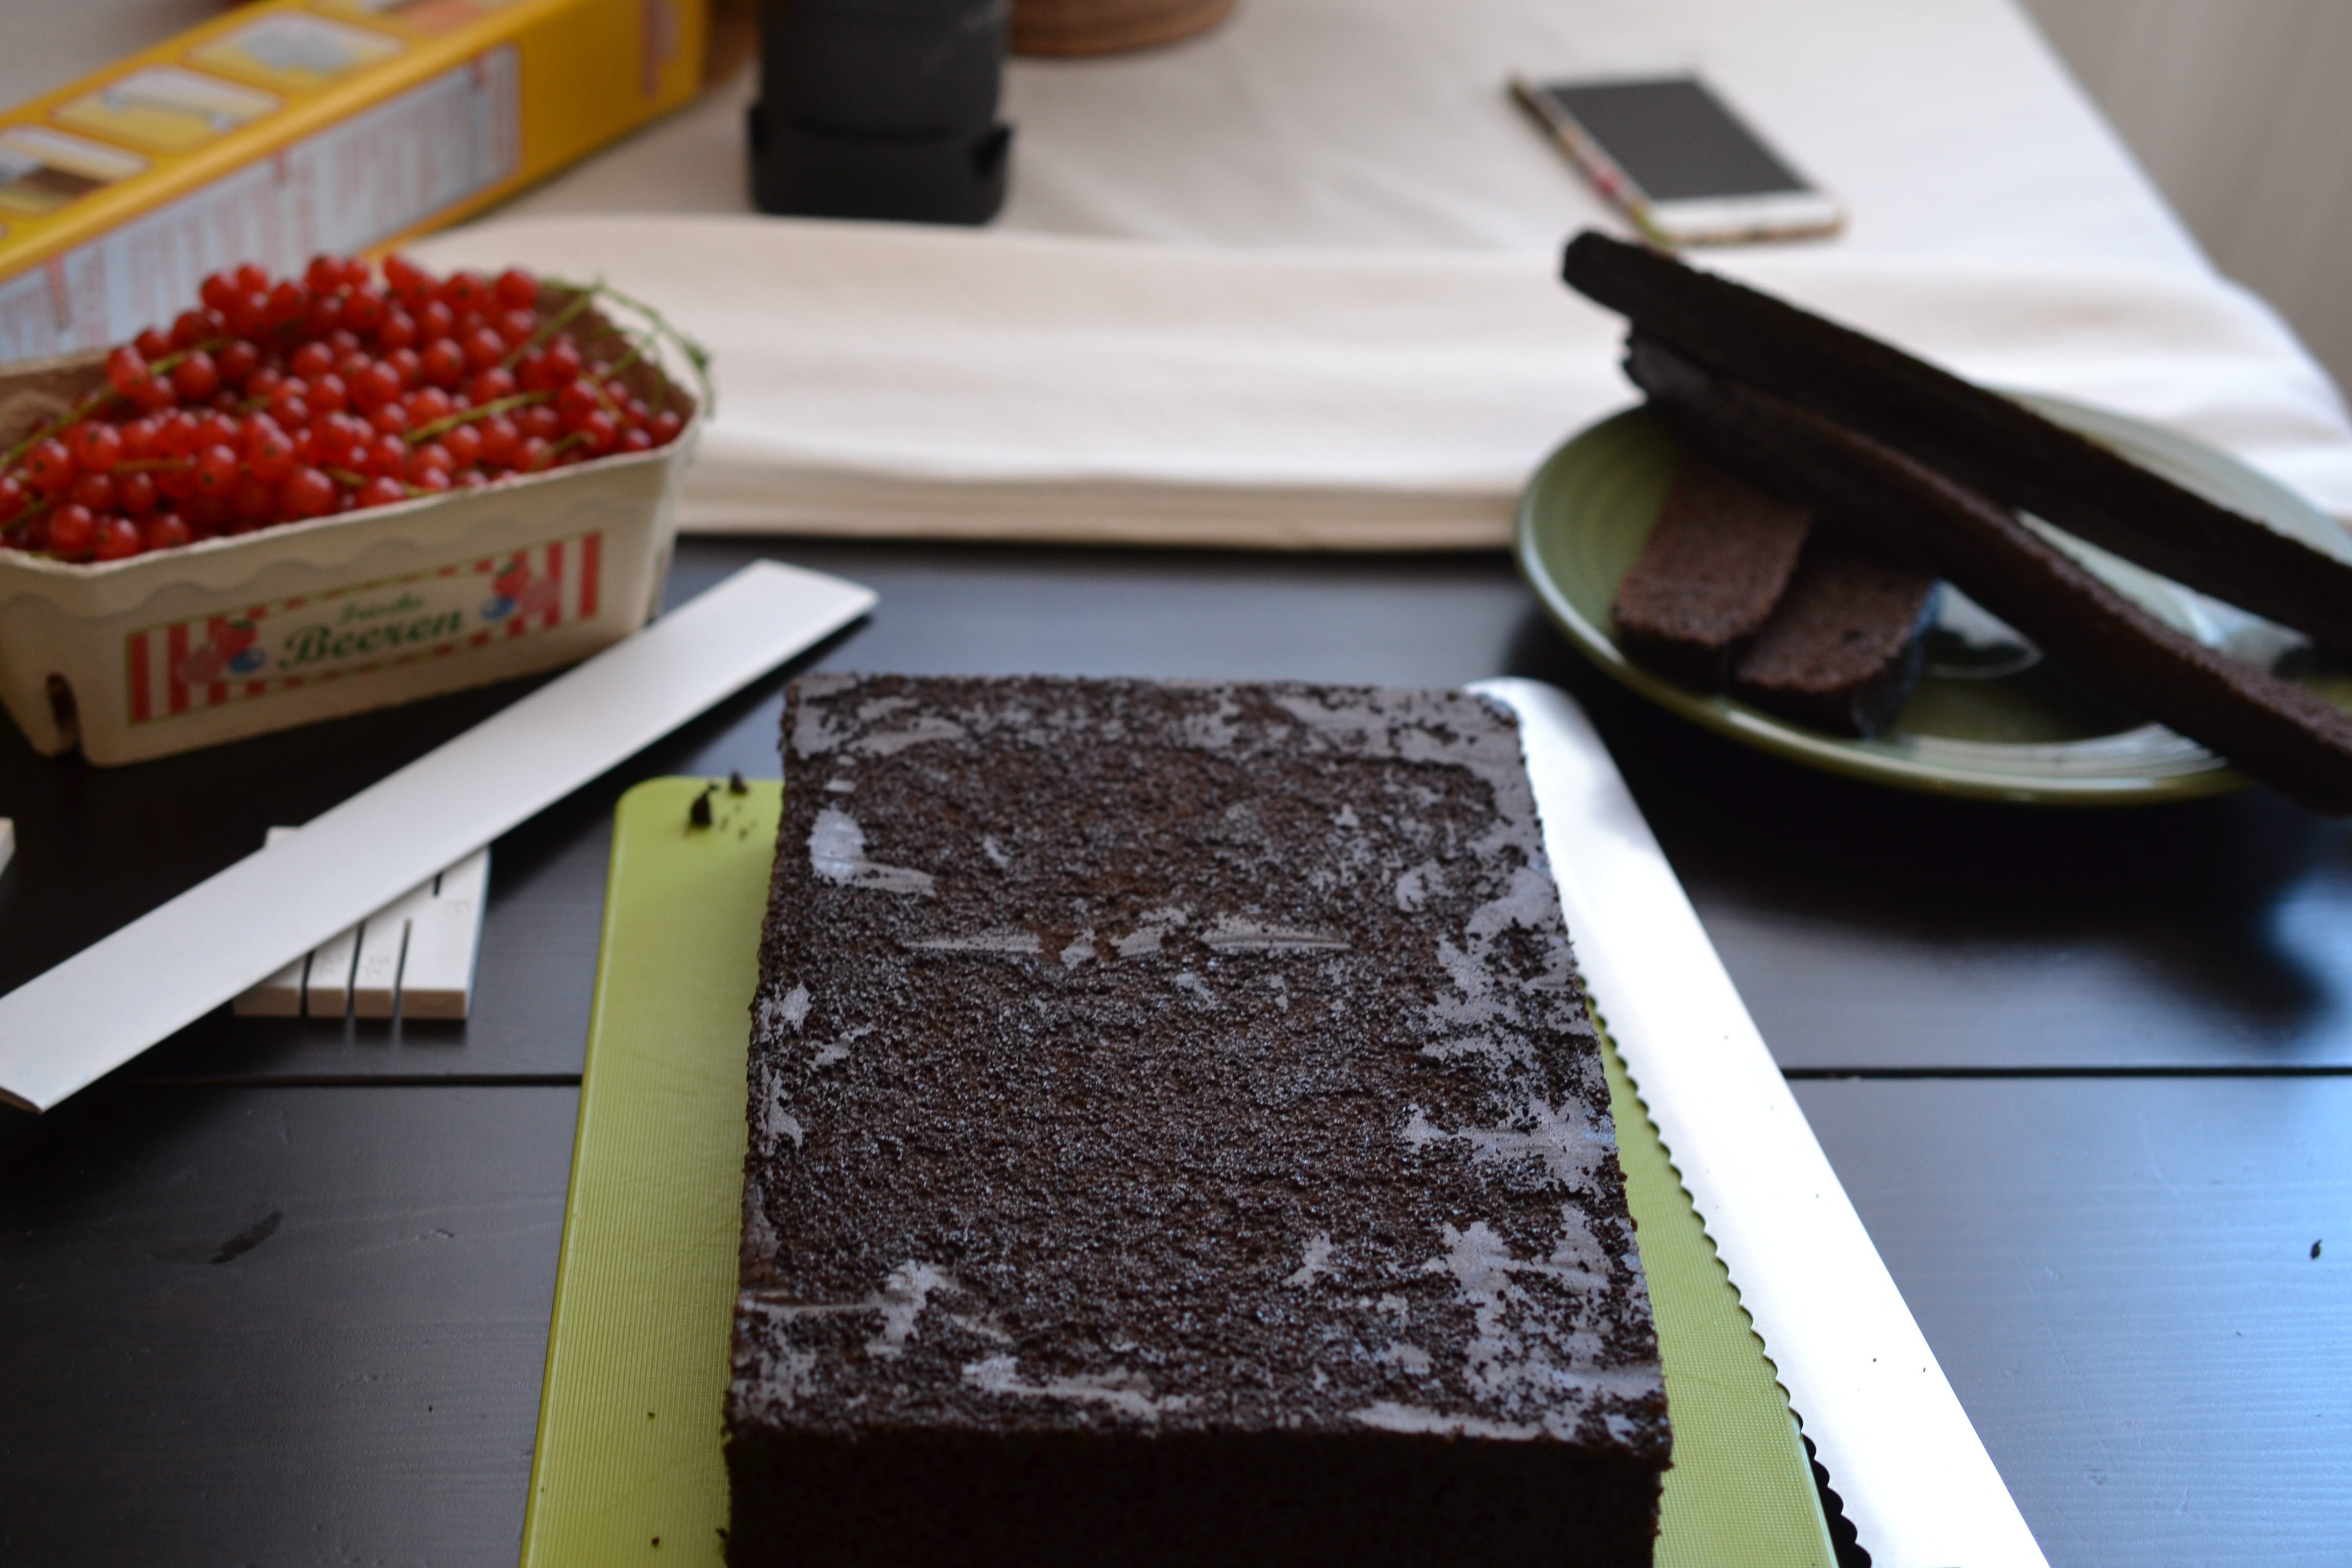
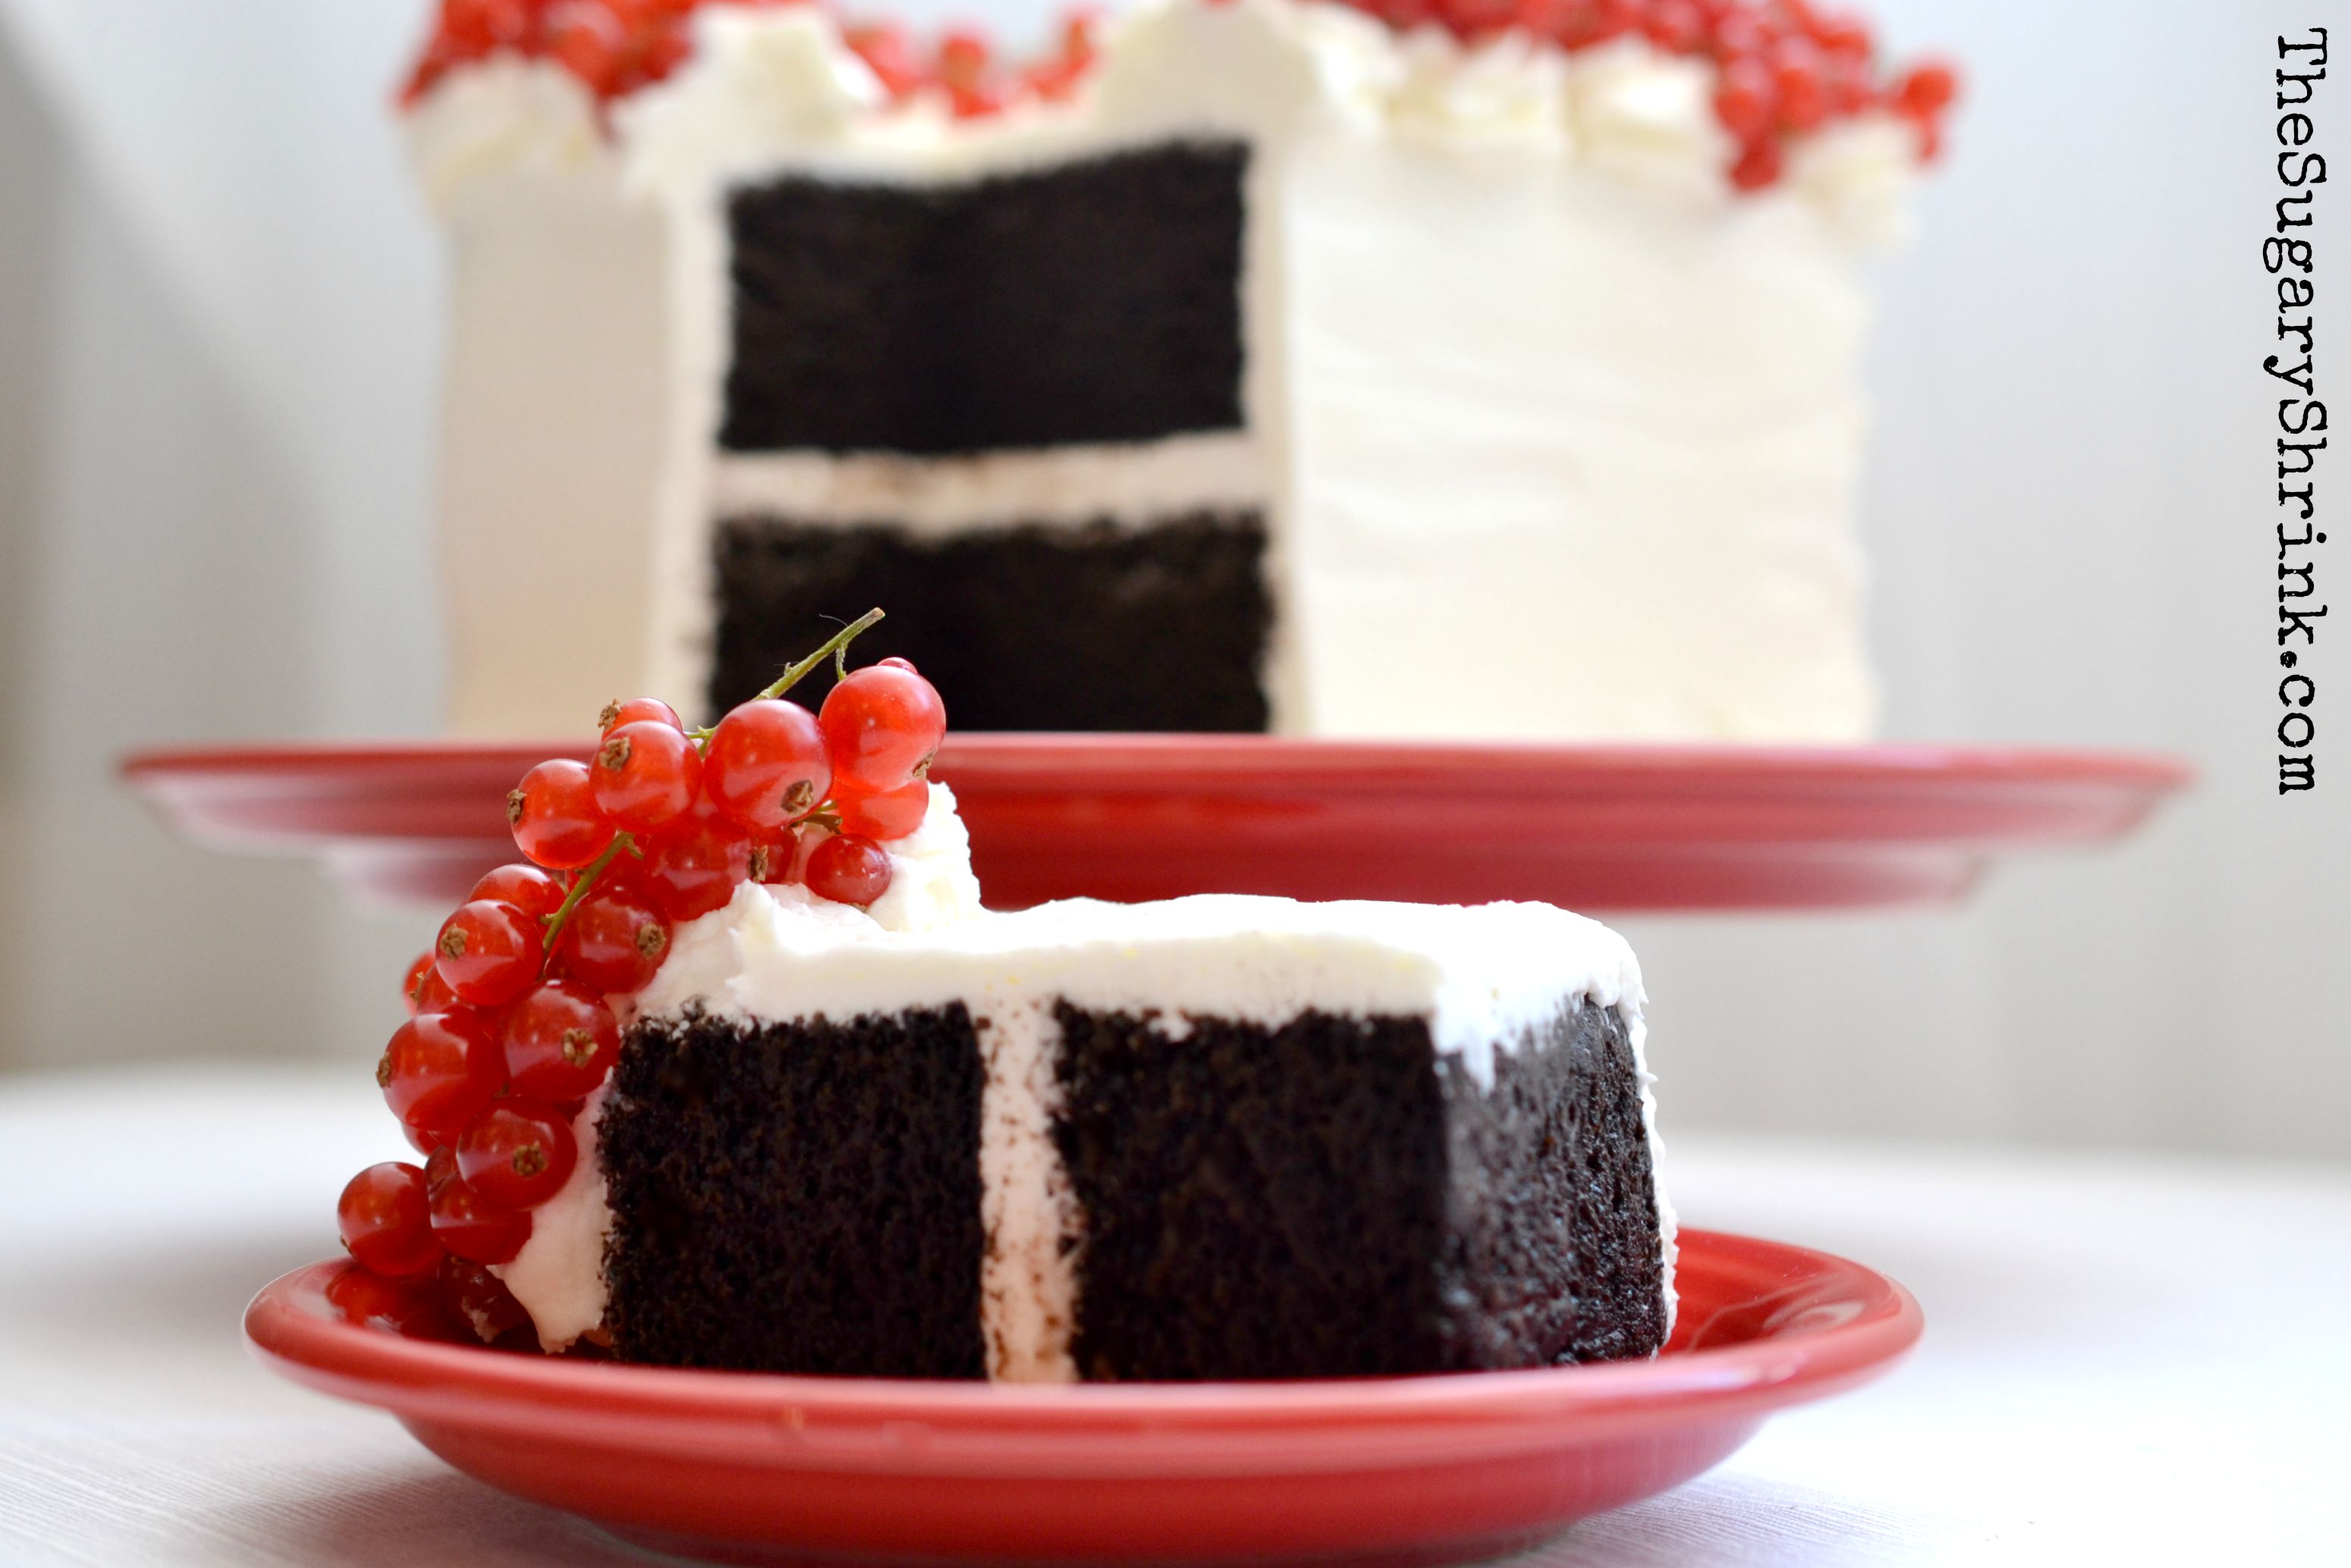
After measuring to find the center, simply cut the cake in two.
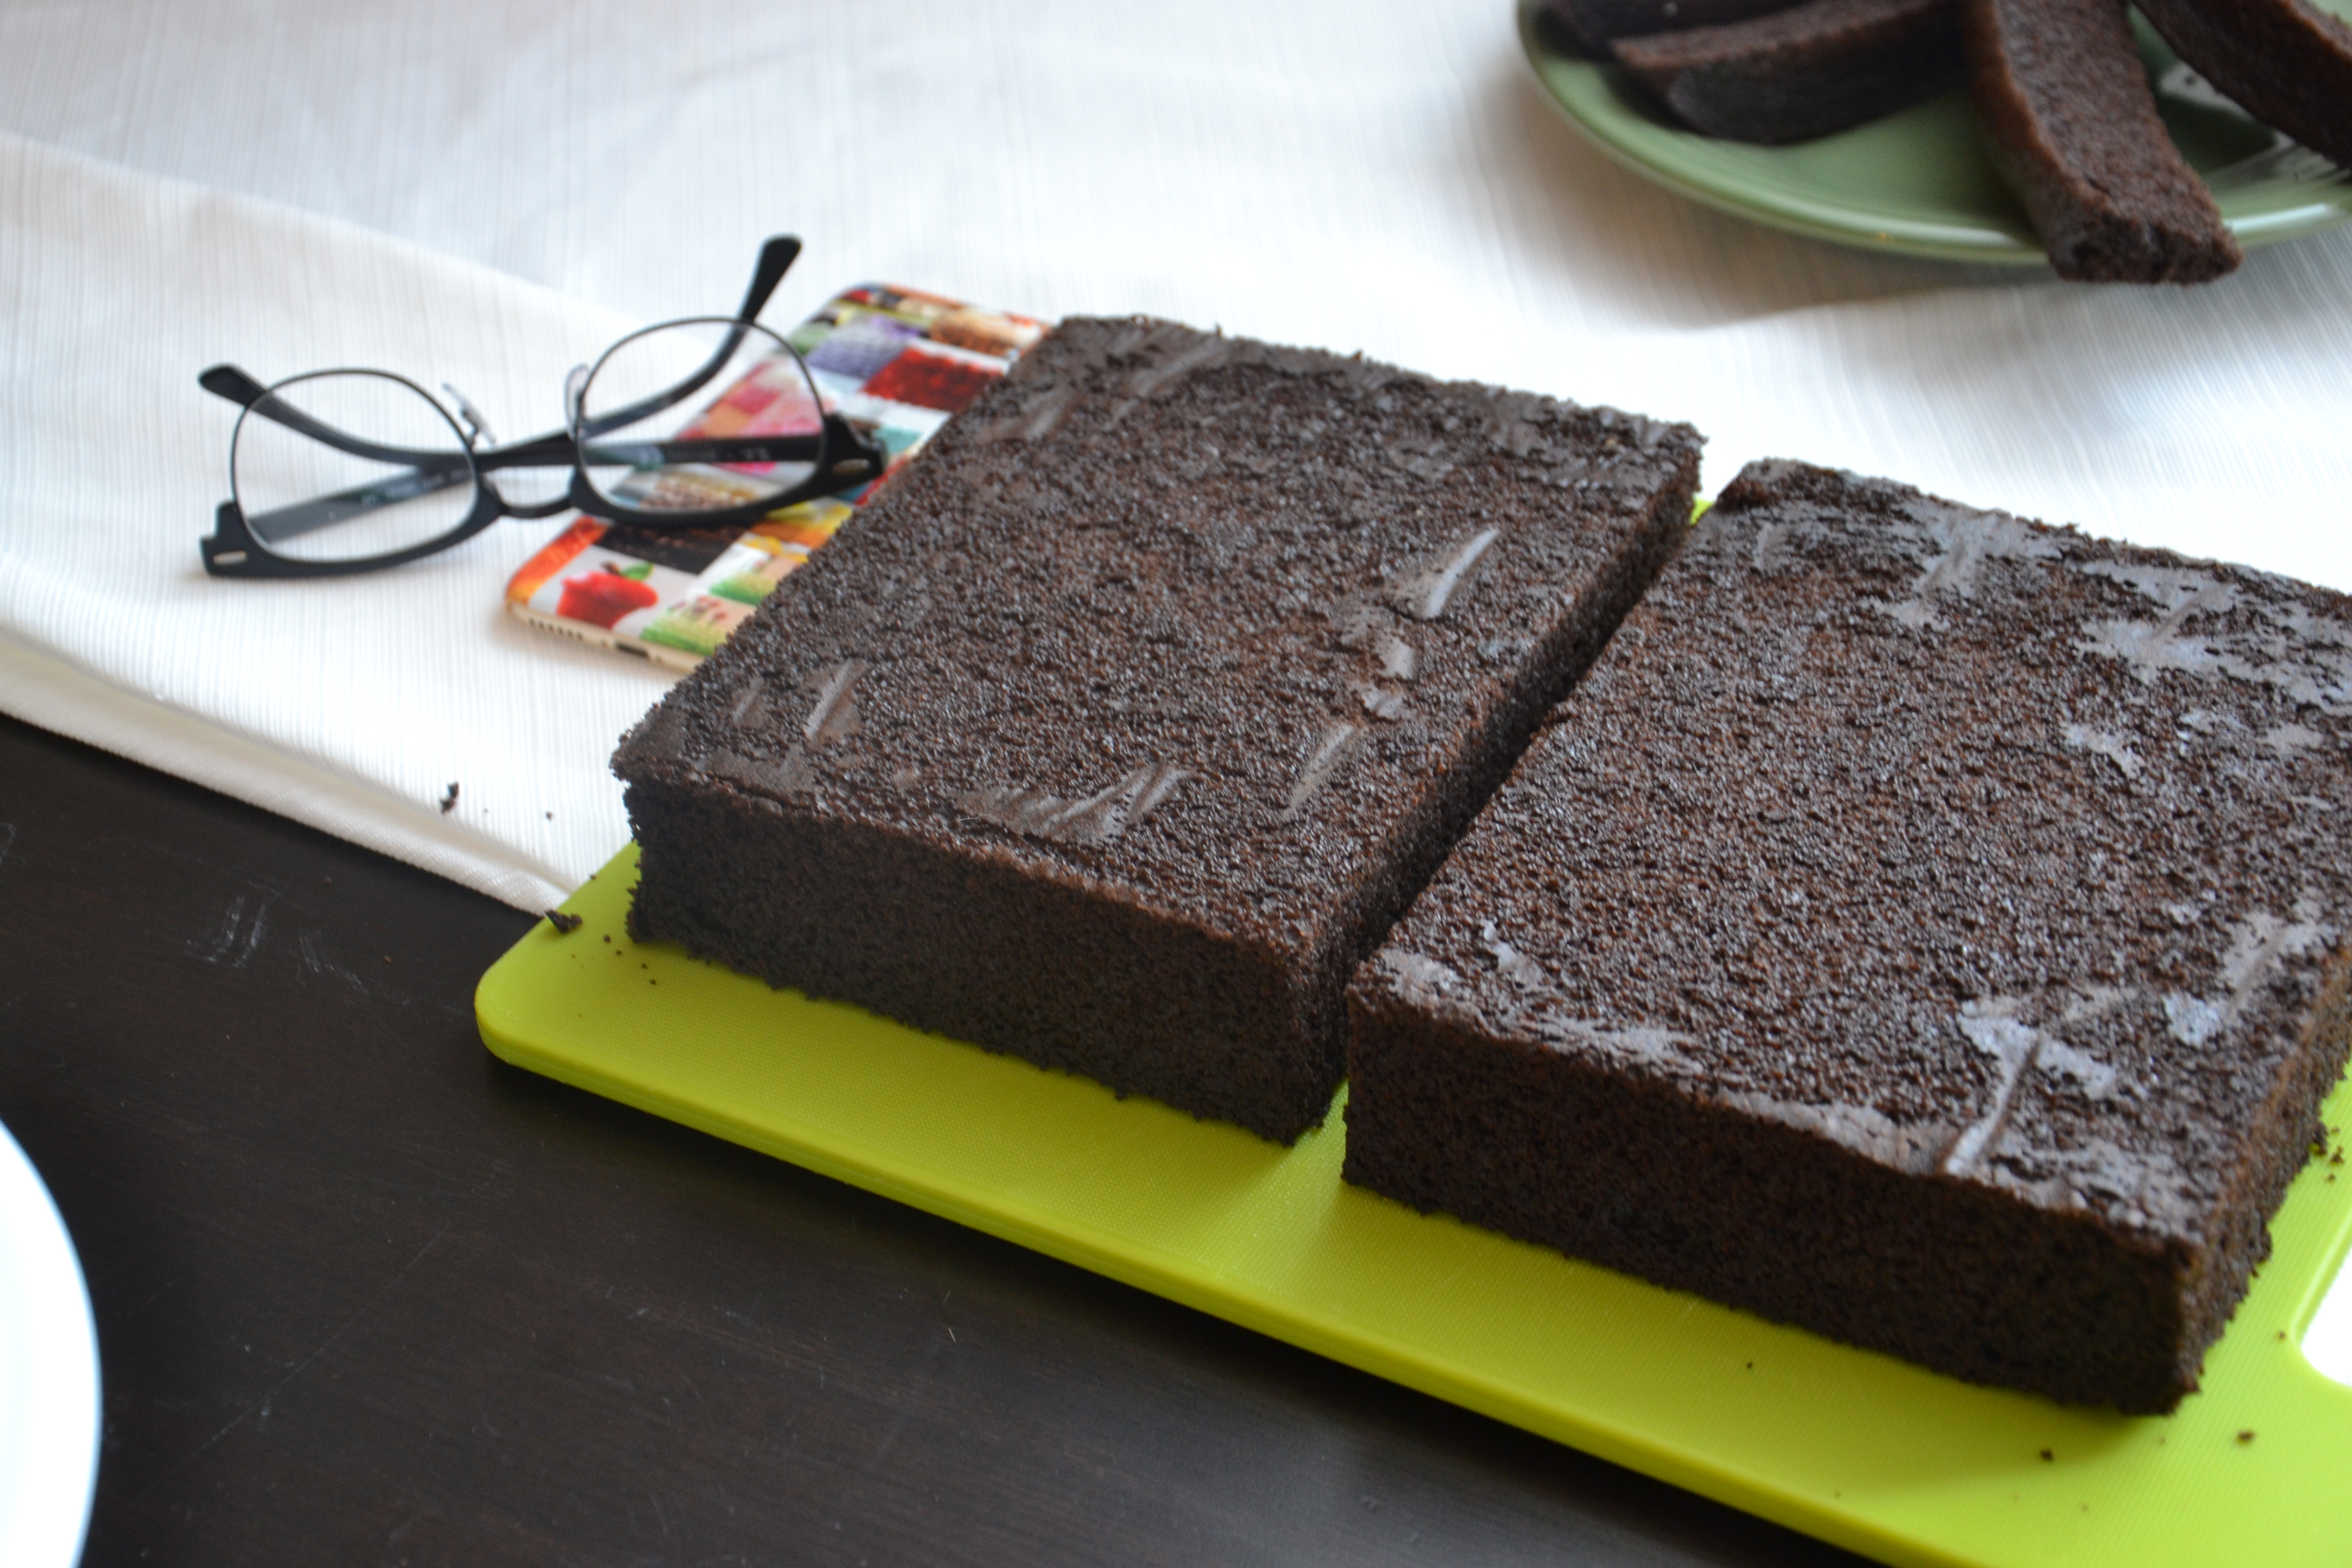
I was so happy with the results. Each layer was even and both were the same size.

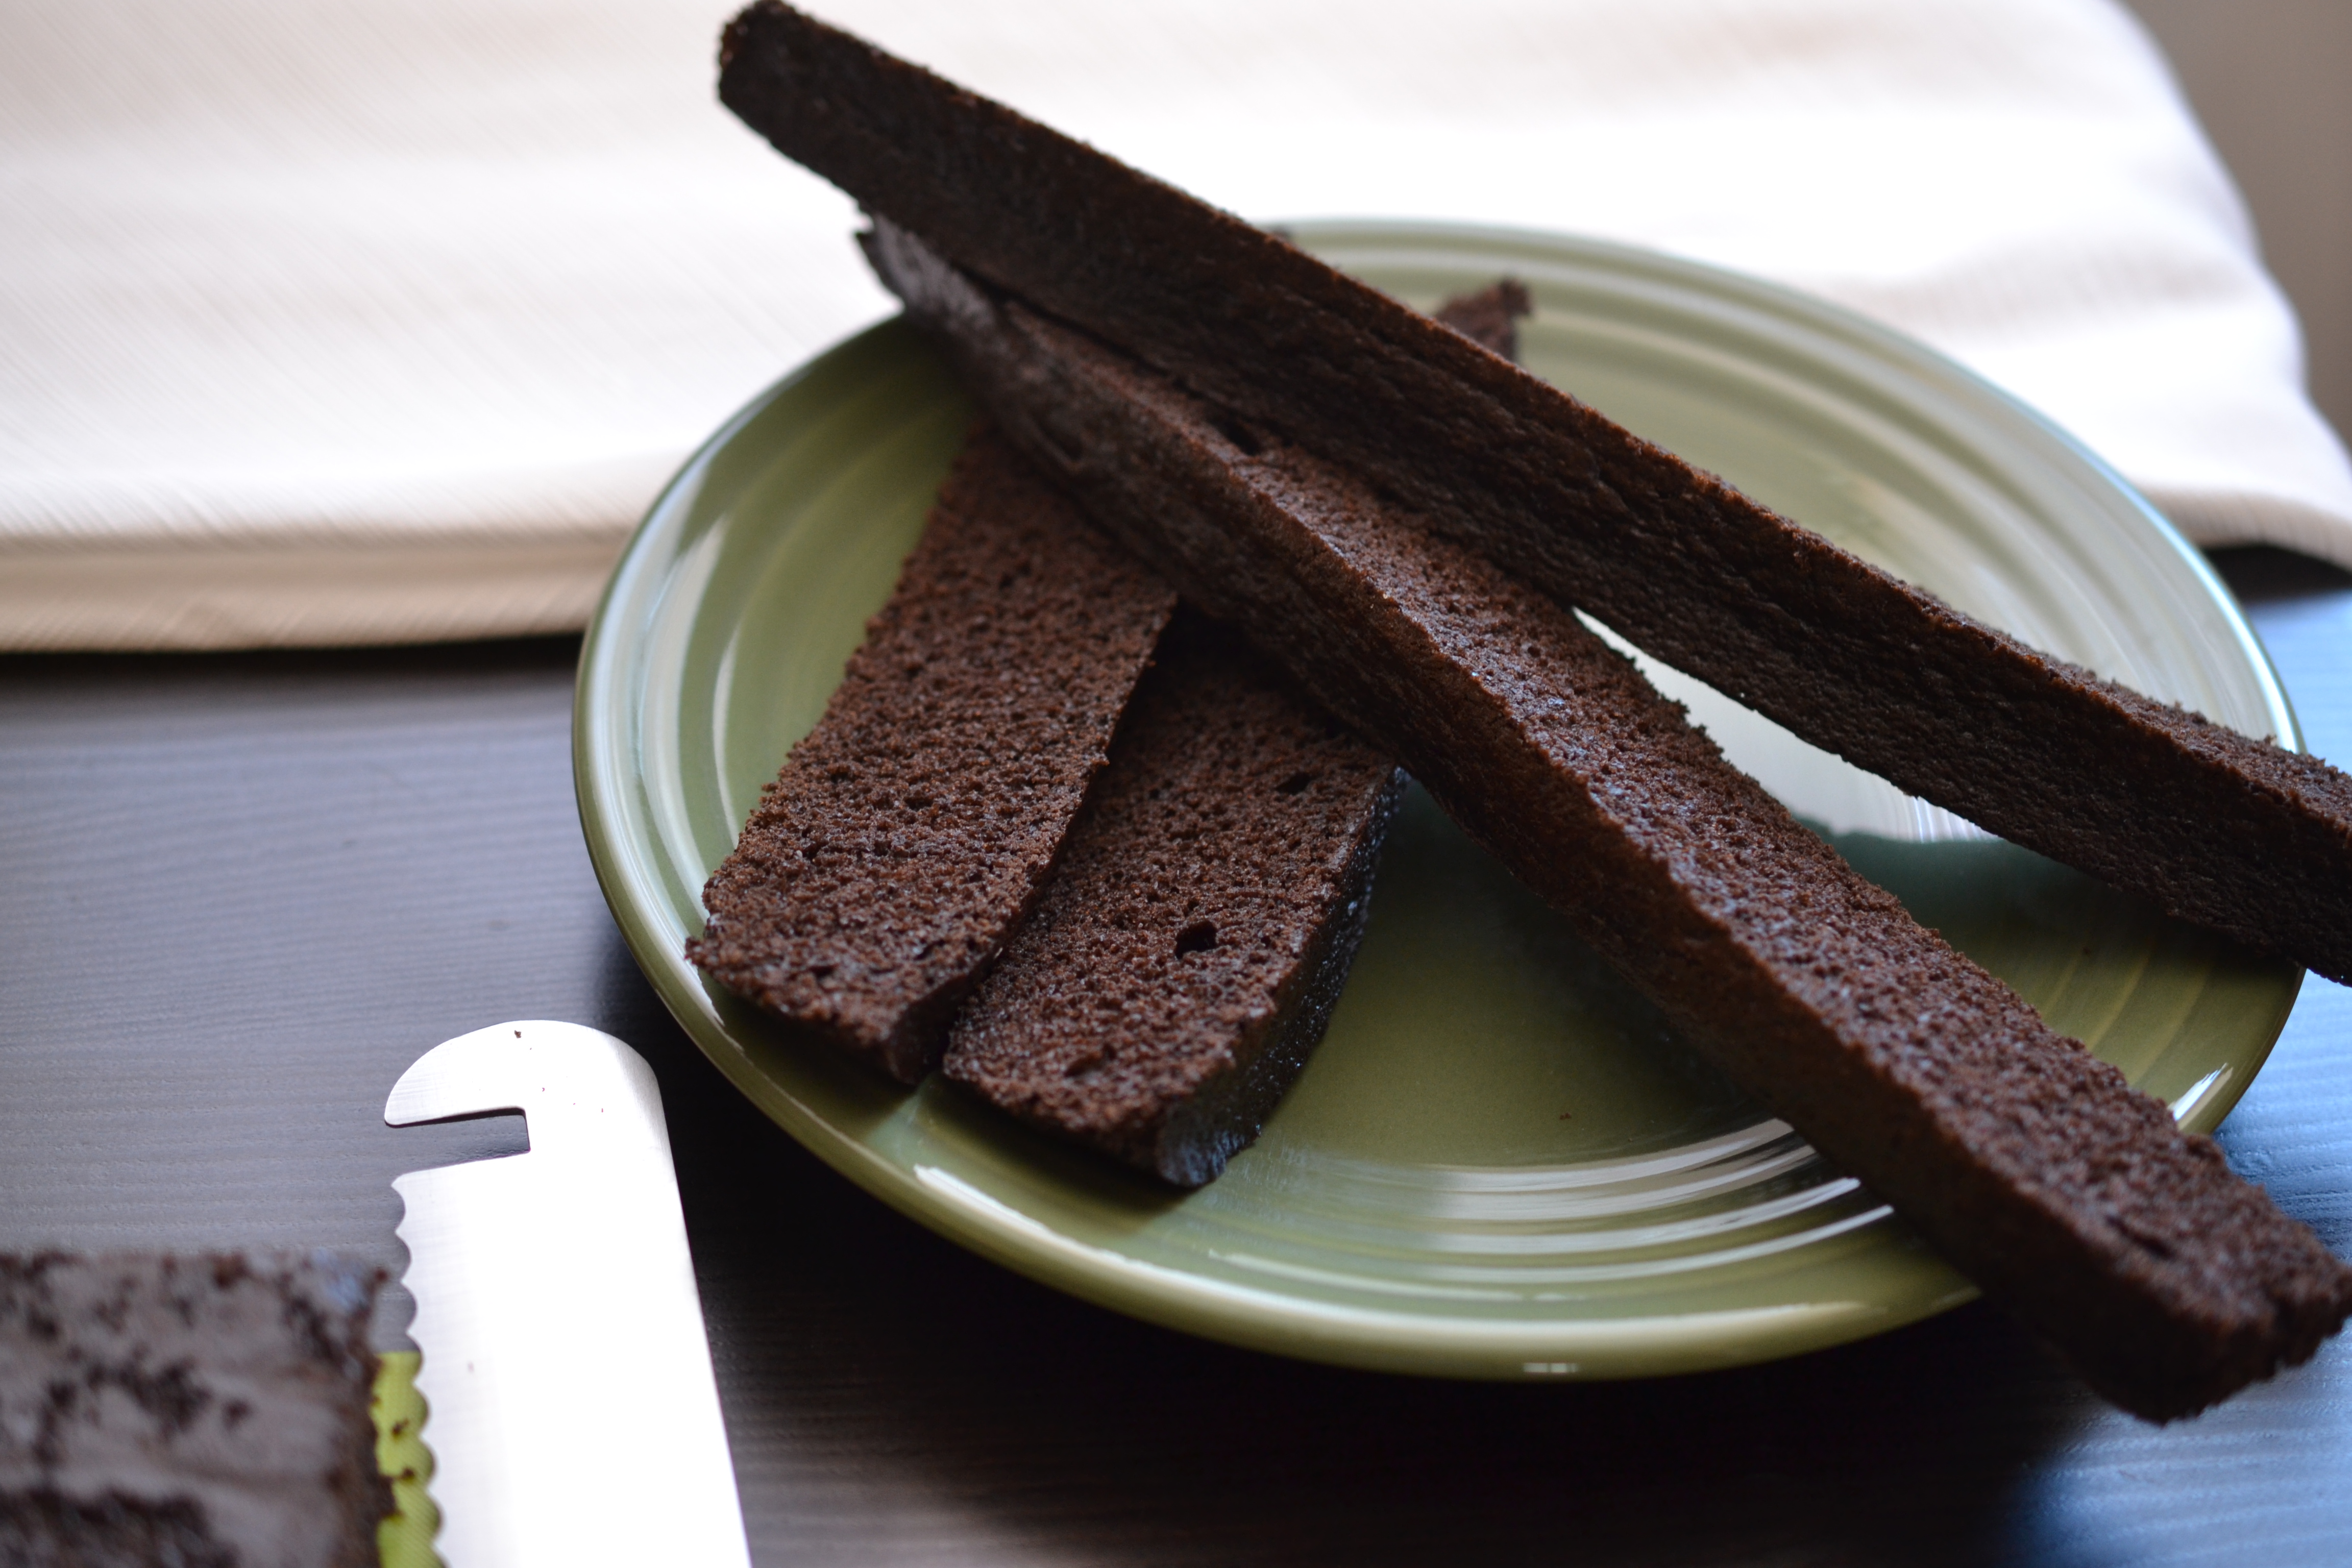
If ever there was a time for a crumb coat, this was it! With the exception of the top of the cake, all the edges had a fresh cut/fresh crumbly open sides. Keep all the crumbs in!
Sharp corners still confound me. But I’m going to keep at it.
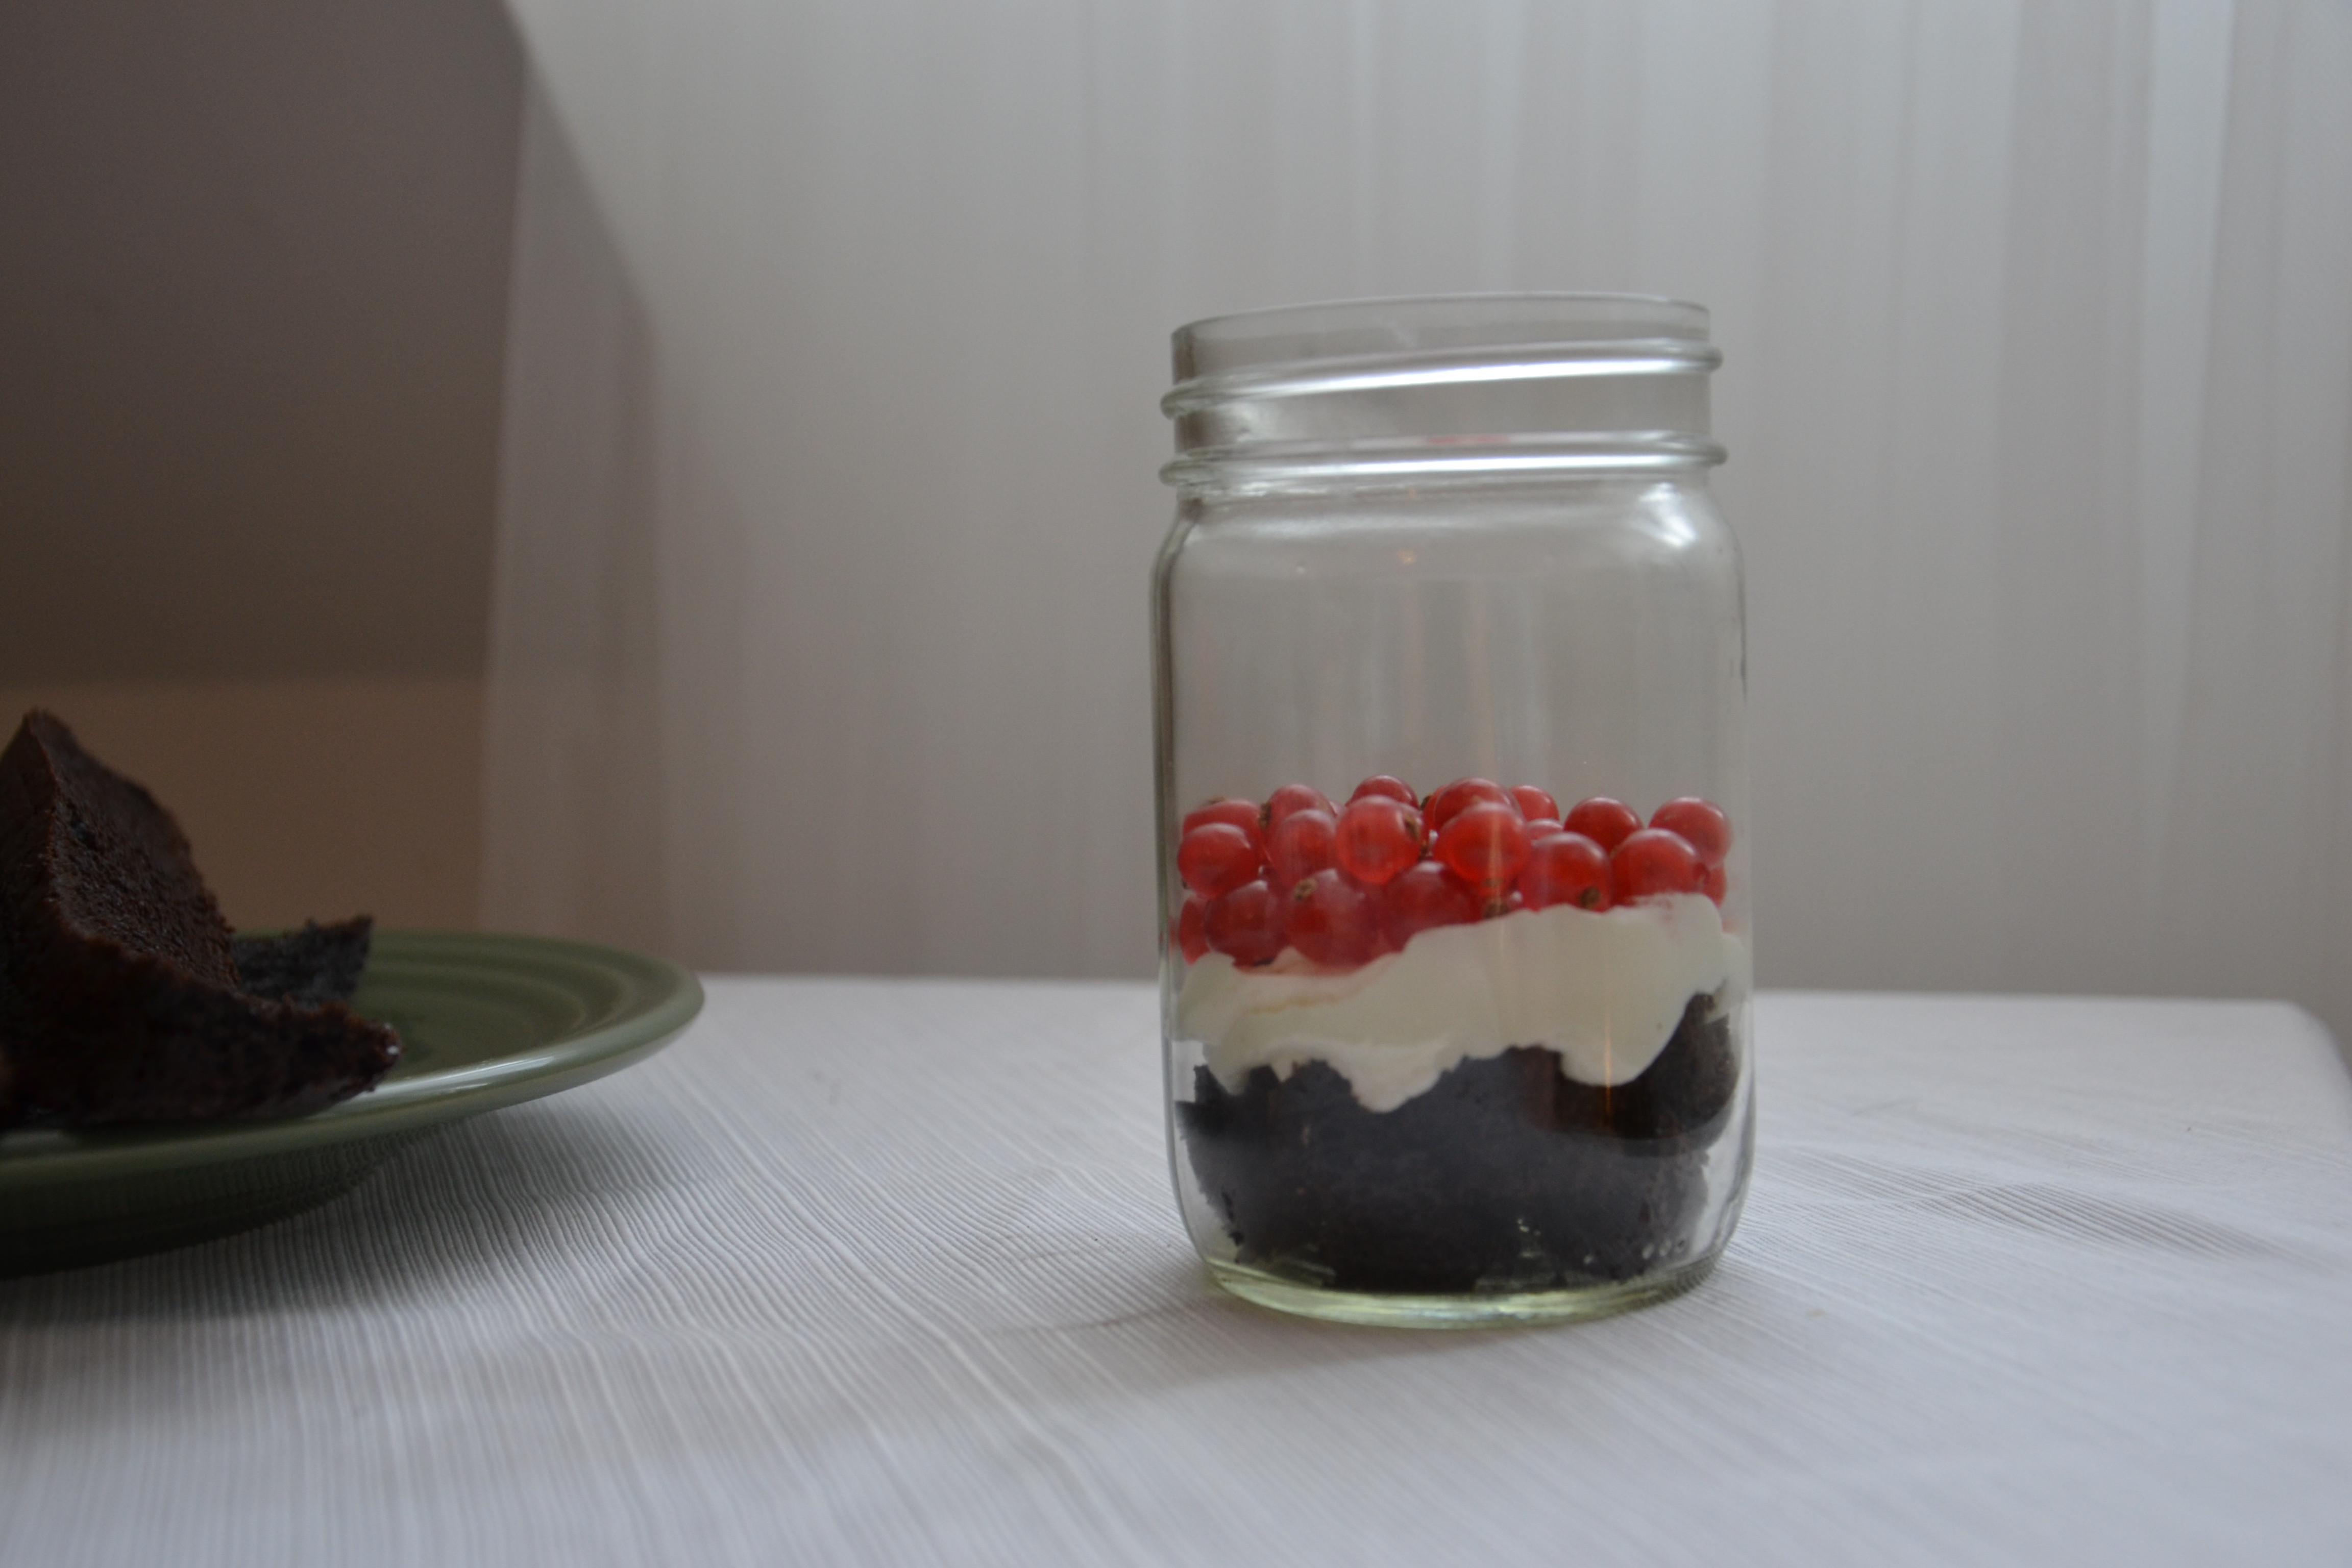
With the really good cake that was sliced away to make vertical sides…. the options are plentiful.
First, share it with your assistant.
Second, consider making a small trifle.
I used an old (clean) mayonnaise jar I had in the cabinet – I may or may not use it on a daily basis, filled with ice and a Diet Coke.
Stacking the layers was the fun part. Only imagination is the limiting factor in building a trifle – cake, whipped cream, buttercream, fruit, sauces, nuts, etc… This was a my first attempt and I like to think I’ll make more with the cake bits I cut away from larger projects.

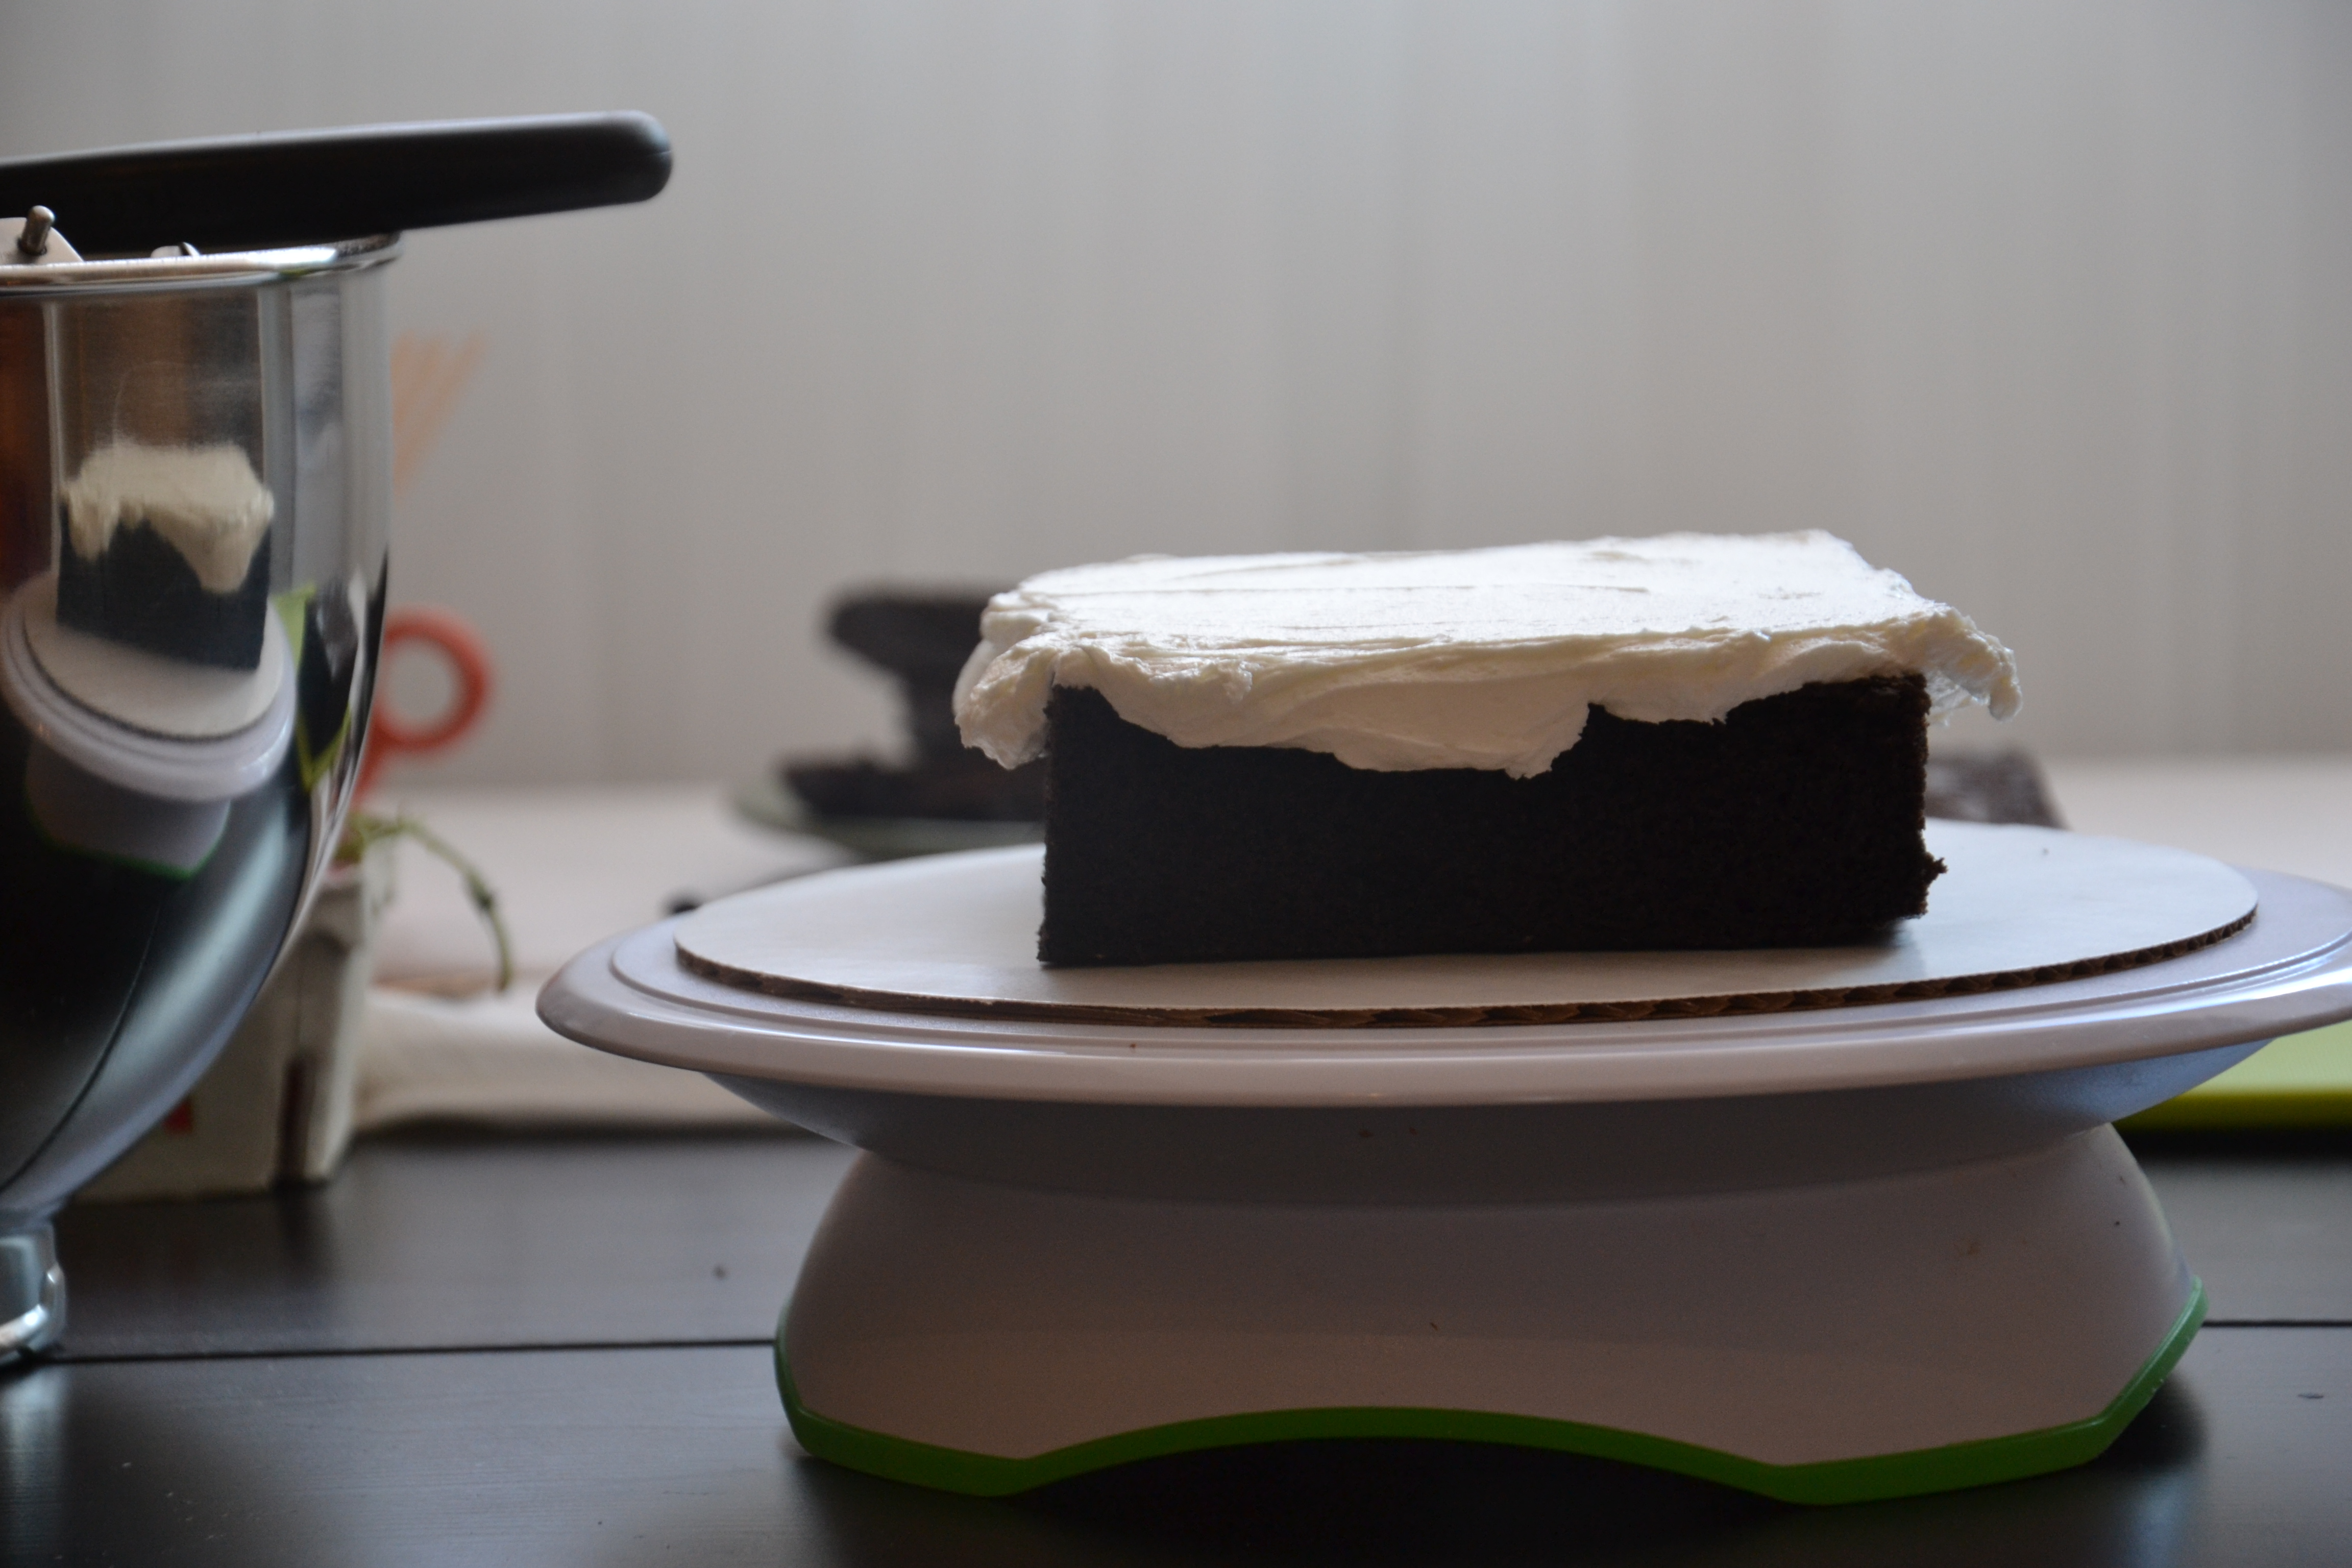
The double-layer cake sat in the fridge all night, so I knew it was ready to go. My kitchen was a balmy 25.5C (78F) and rising when it came time to buttercream. At 30C (86F), the buttercream simply doesn’t hold and puddles form where swirls previously existed. It’s not pretty.
After preparing the buttercream, I was ready to go. Hot tip: To reduce the sweet in American Buttercream, add a pinch of salt.
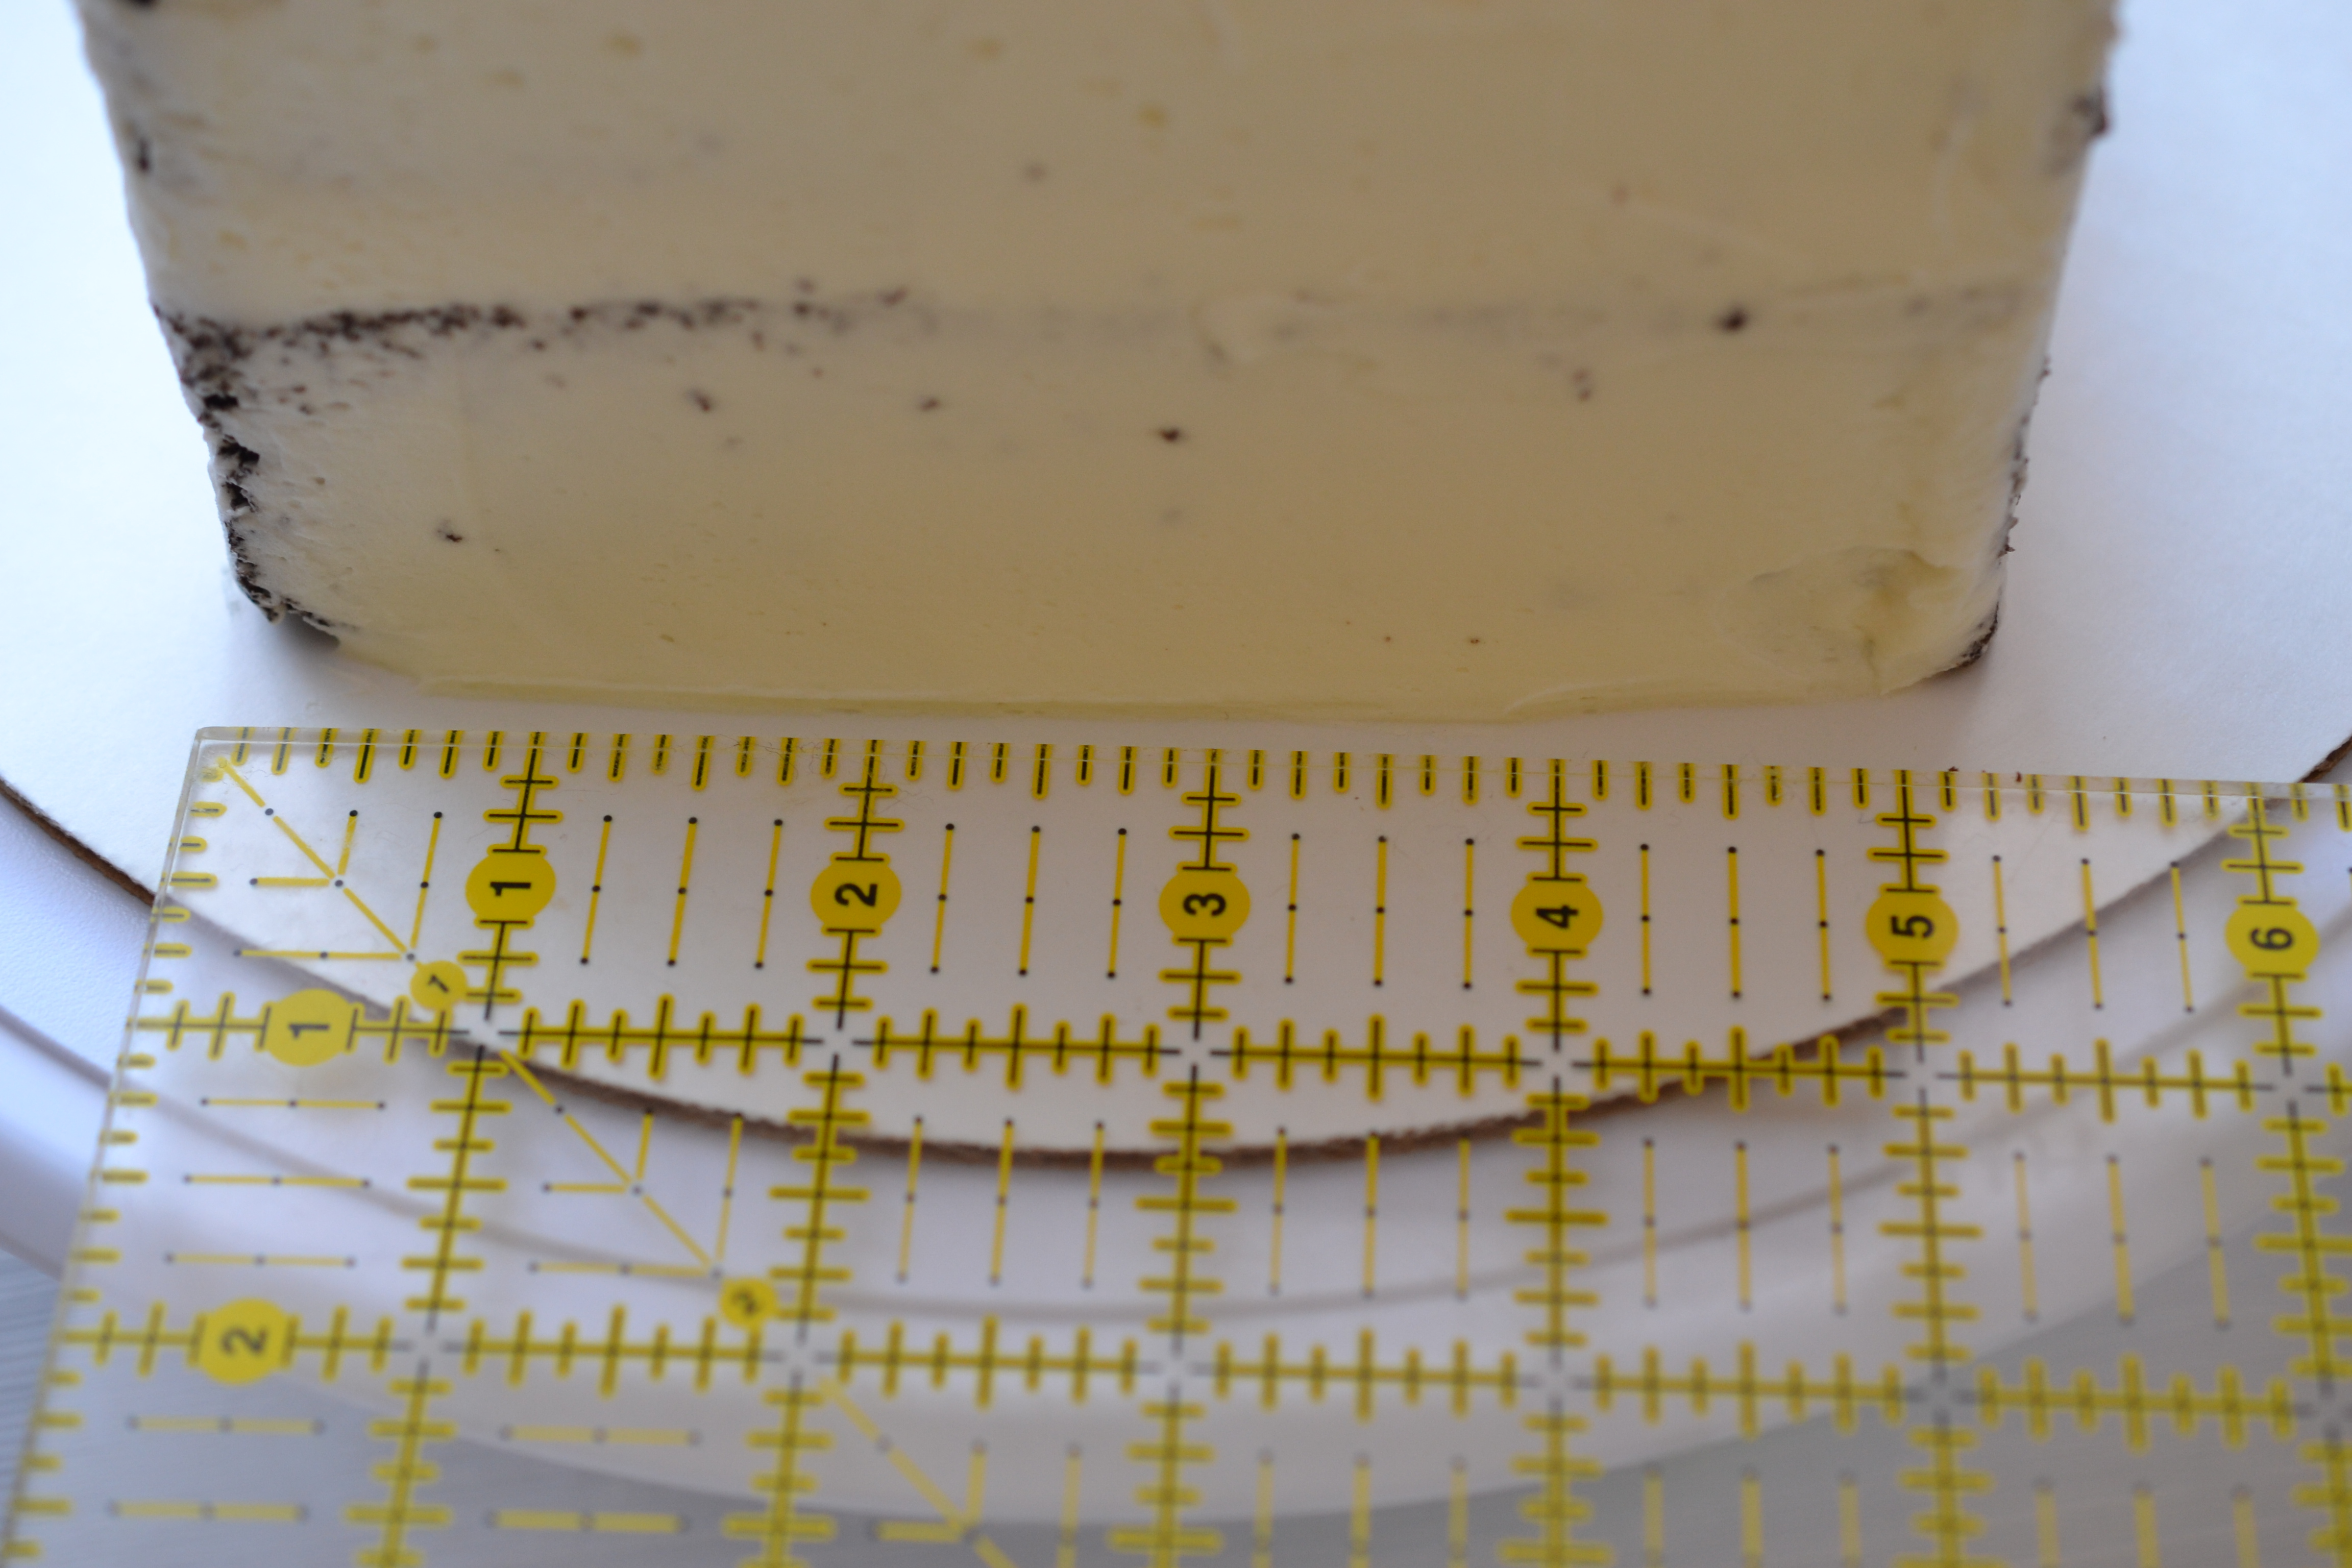
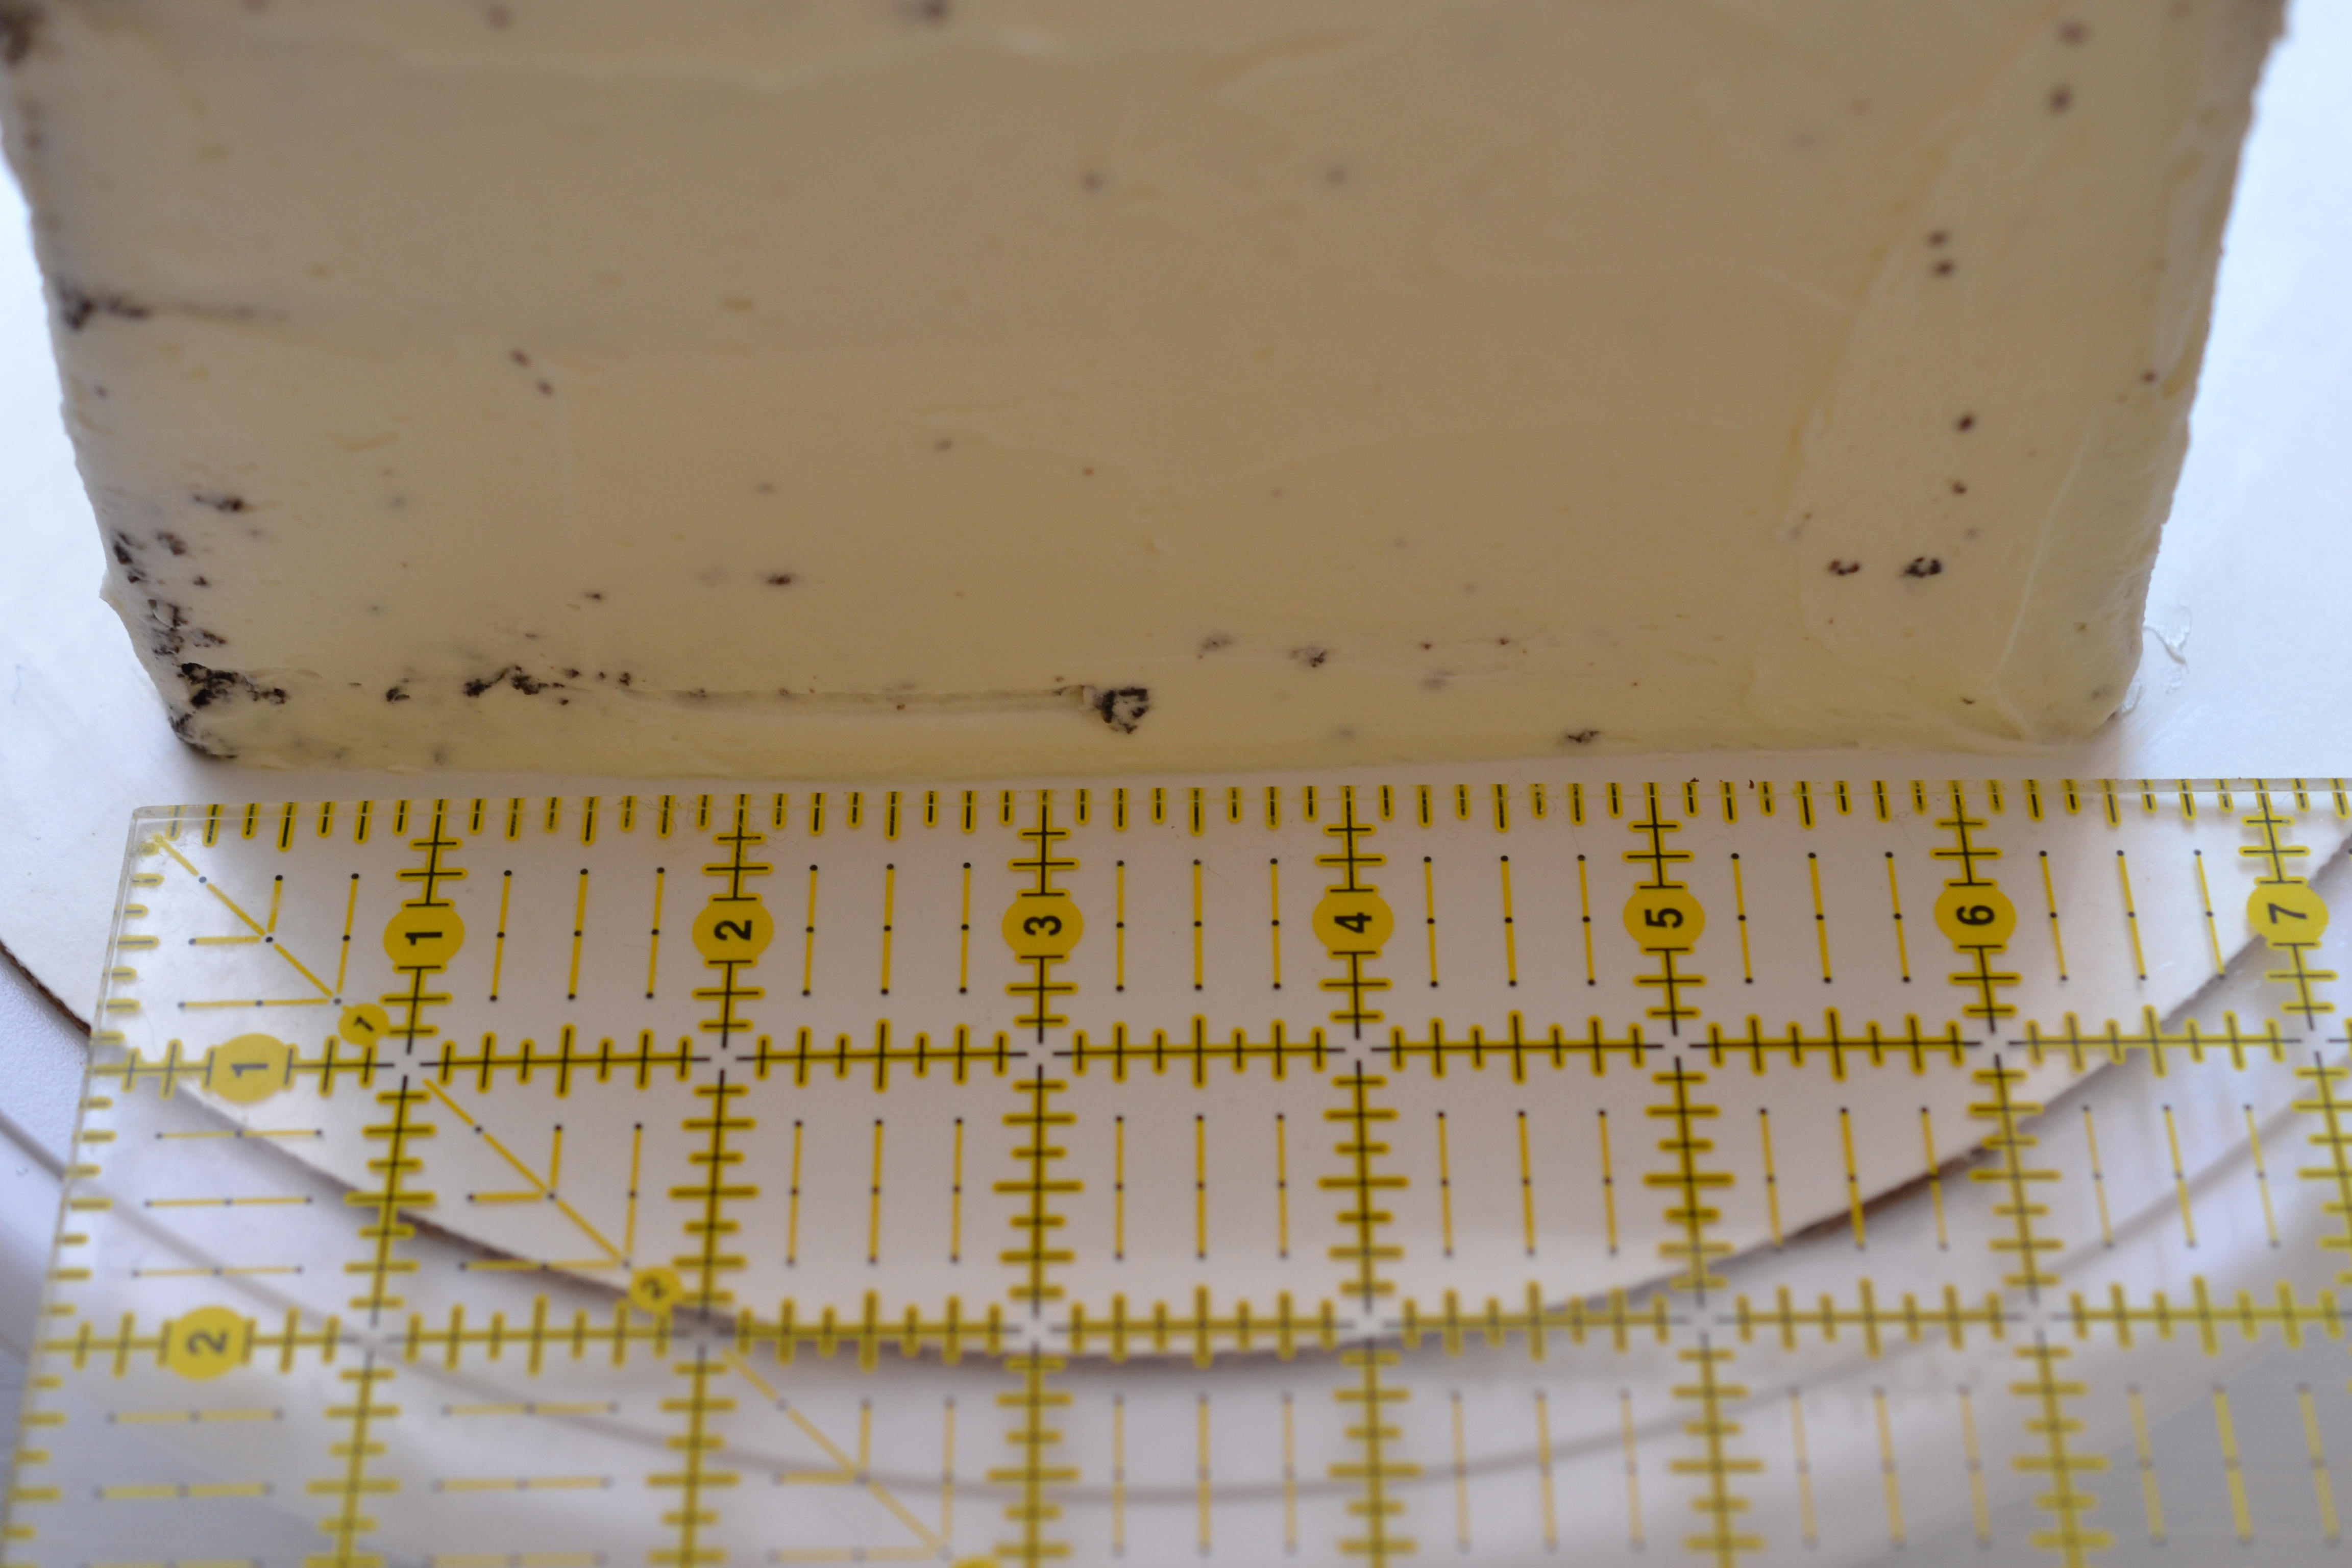
It’s not quite square, but that’s no big deal, specifically 5 1/4″ x 6 1/2″.
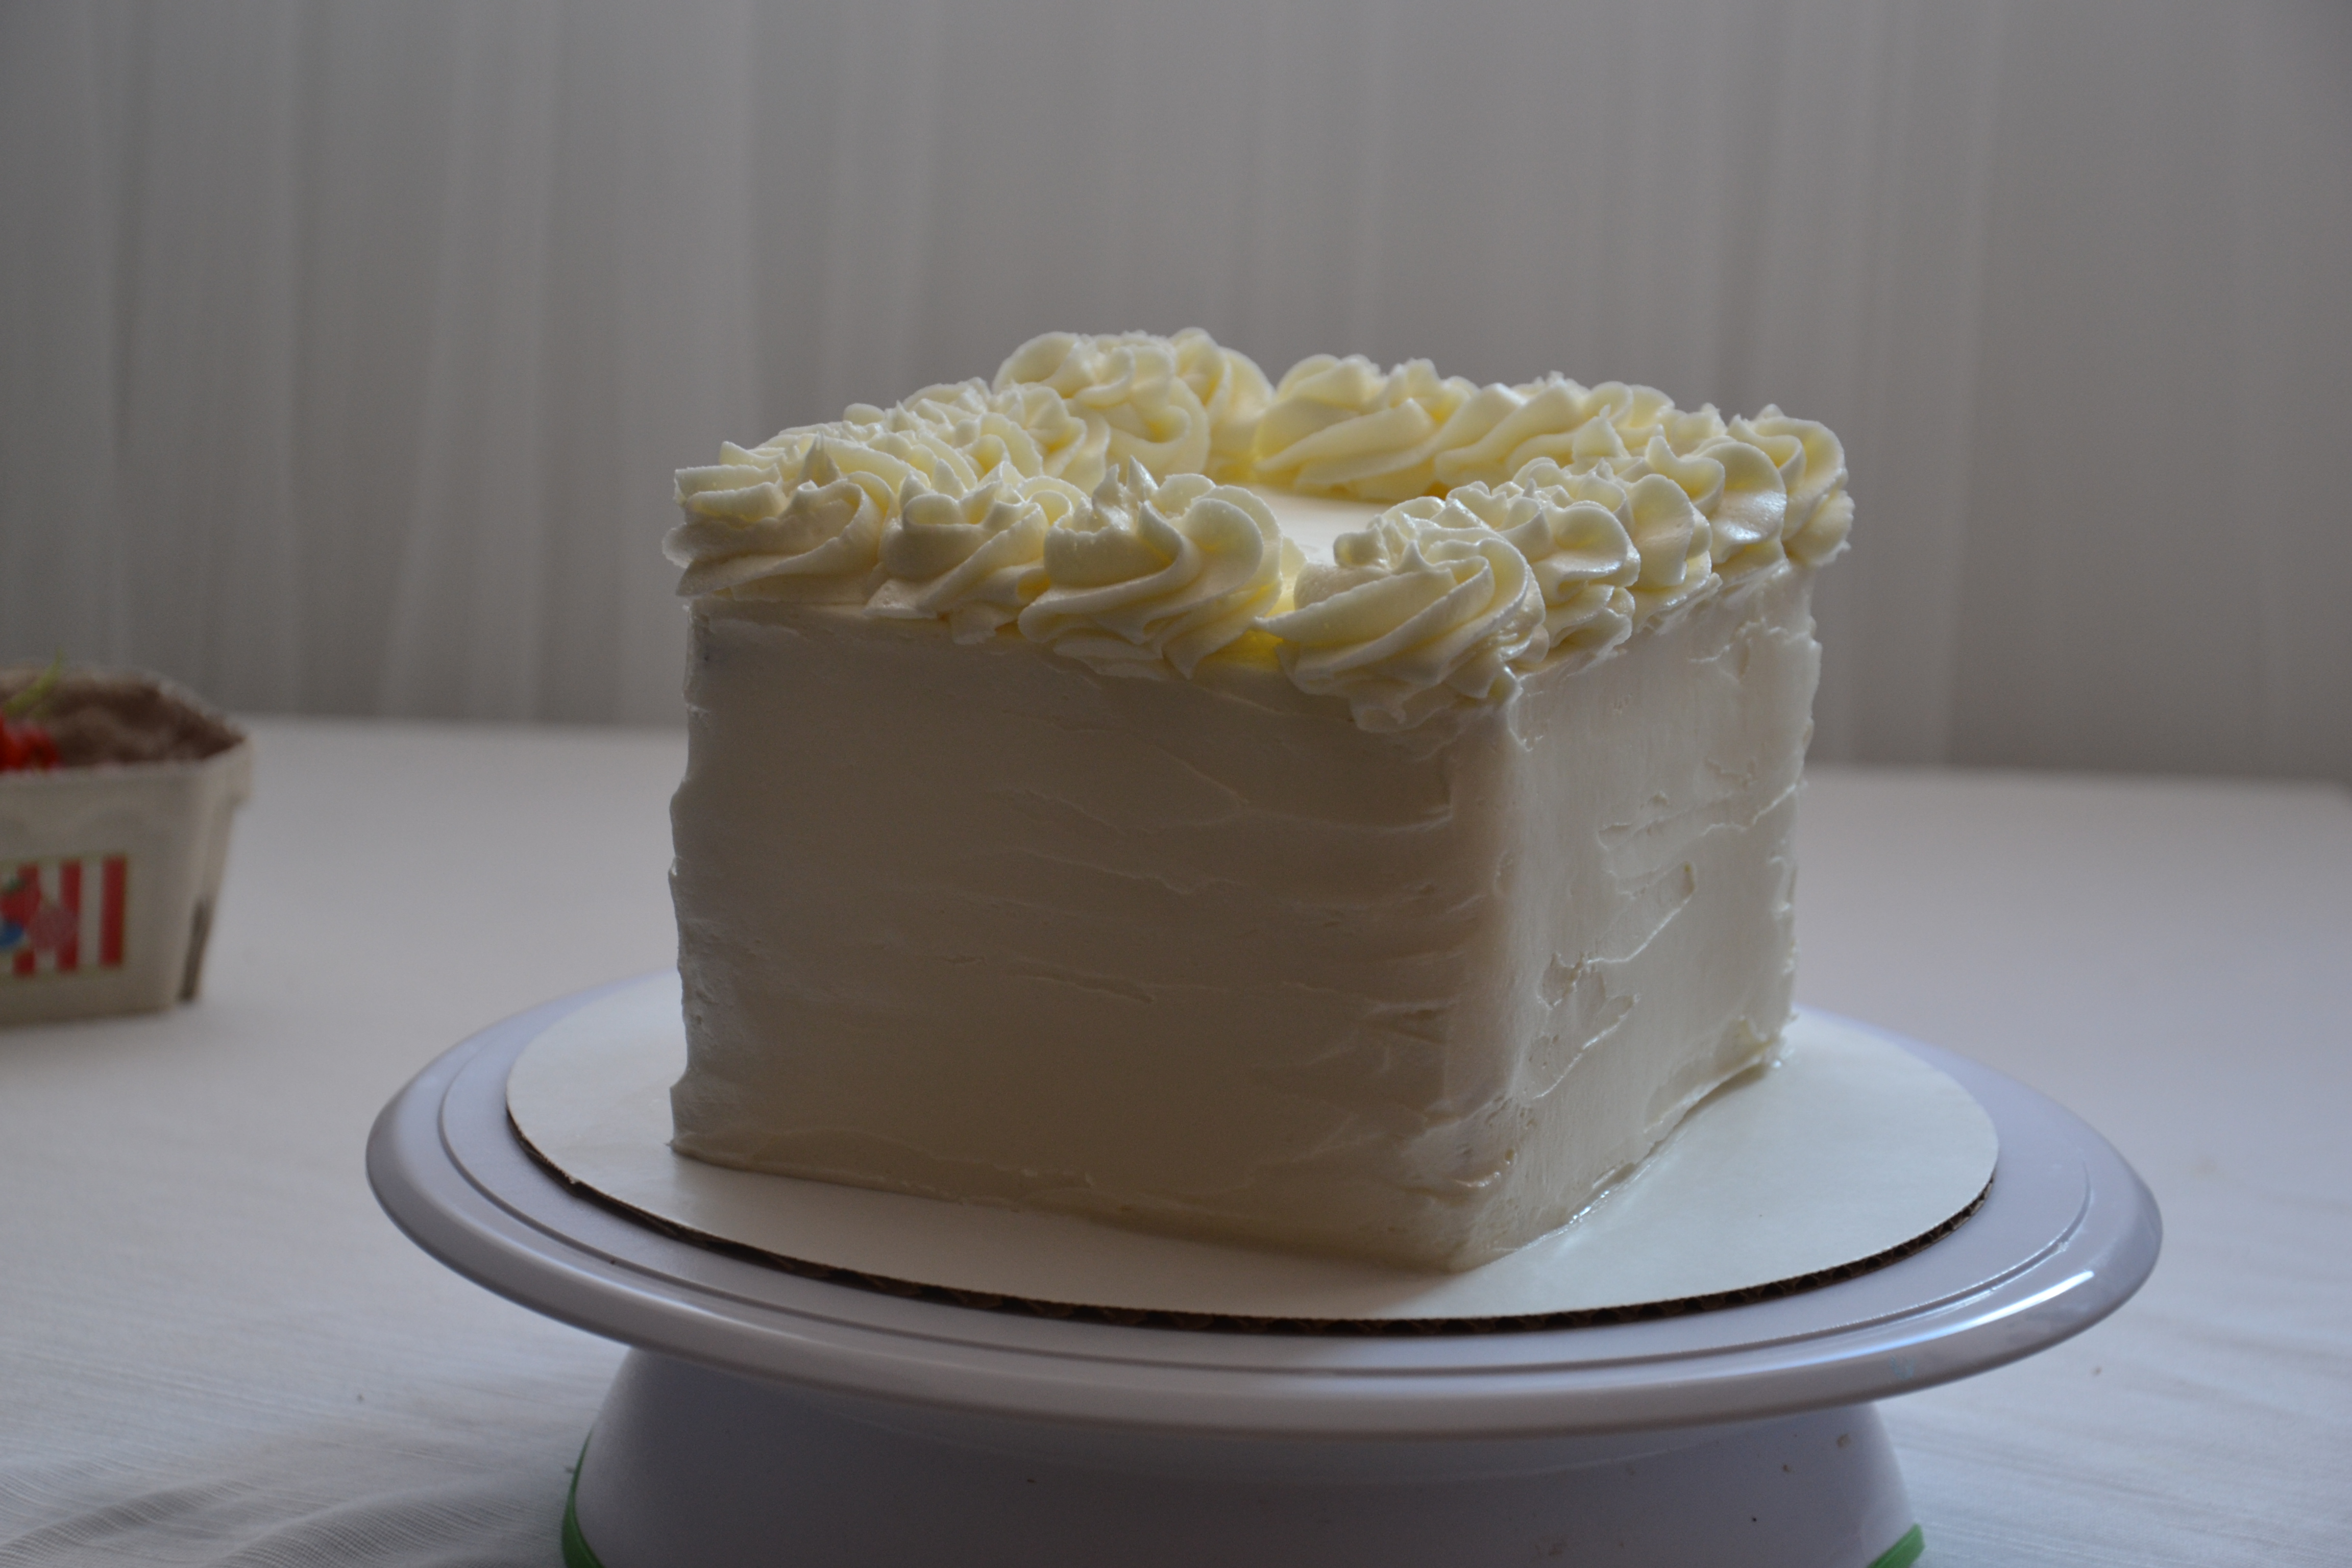
My goal was a bit of a rustic look, but that didn’t quite blend with the swirls on top. I love the swirls because a crown of Red Currants looks fabulous.
After applying the buttercream, I placed it back in the fridge for a few minutes and them smoothed out a few of the rougher edges with a warmed off-set spatula. It worked, but wasn’t my first plan.
While the currants are quite tart, they are a delicious blend with the frosting.
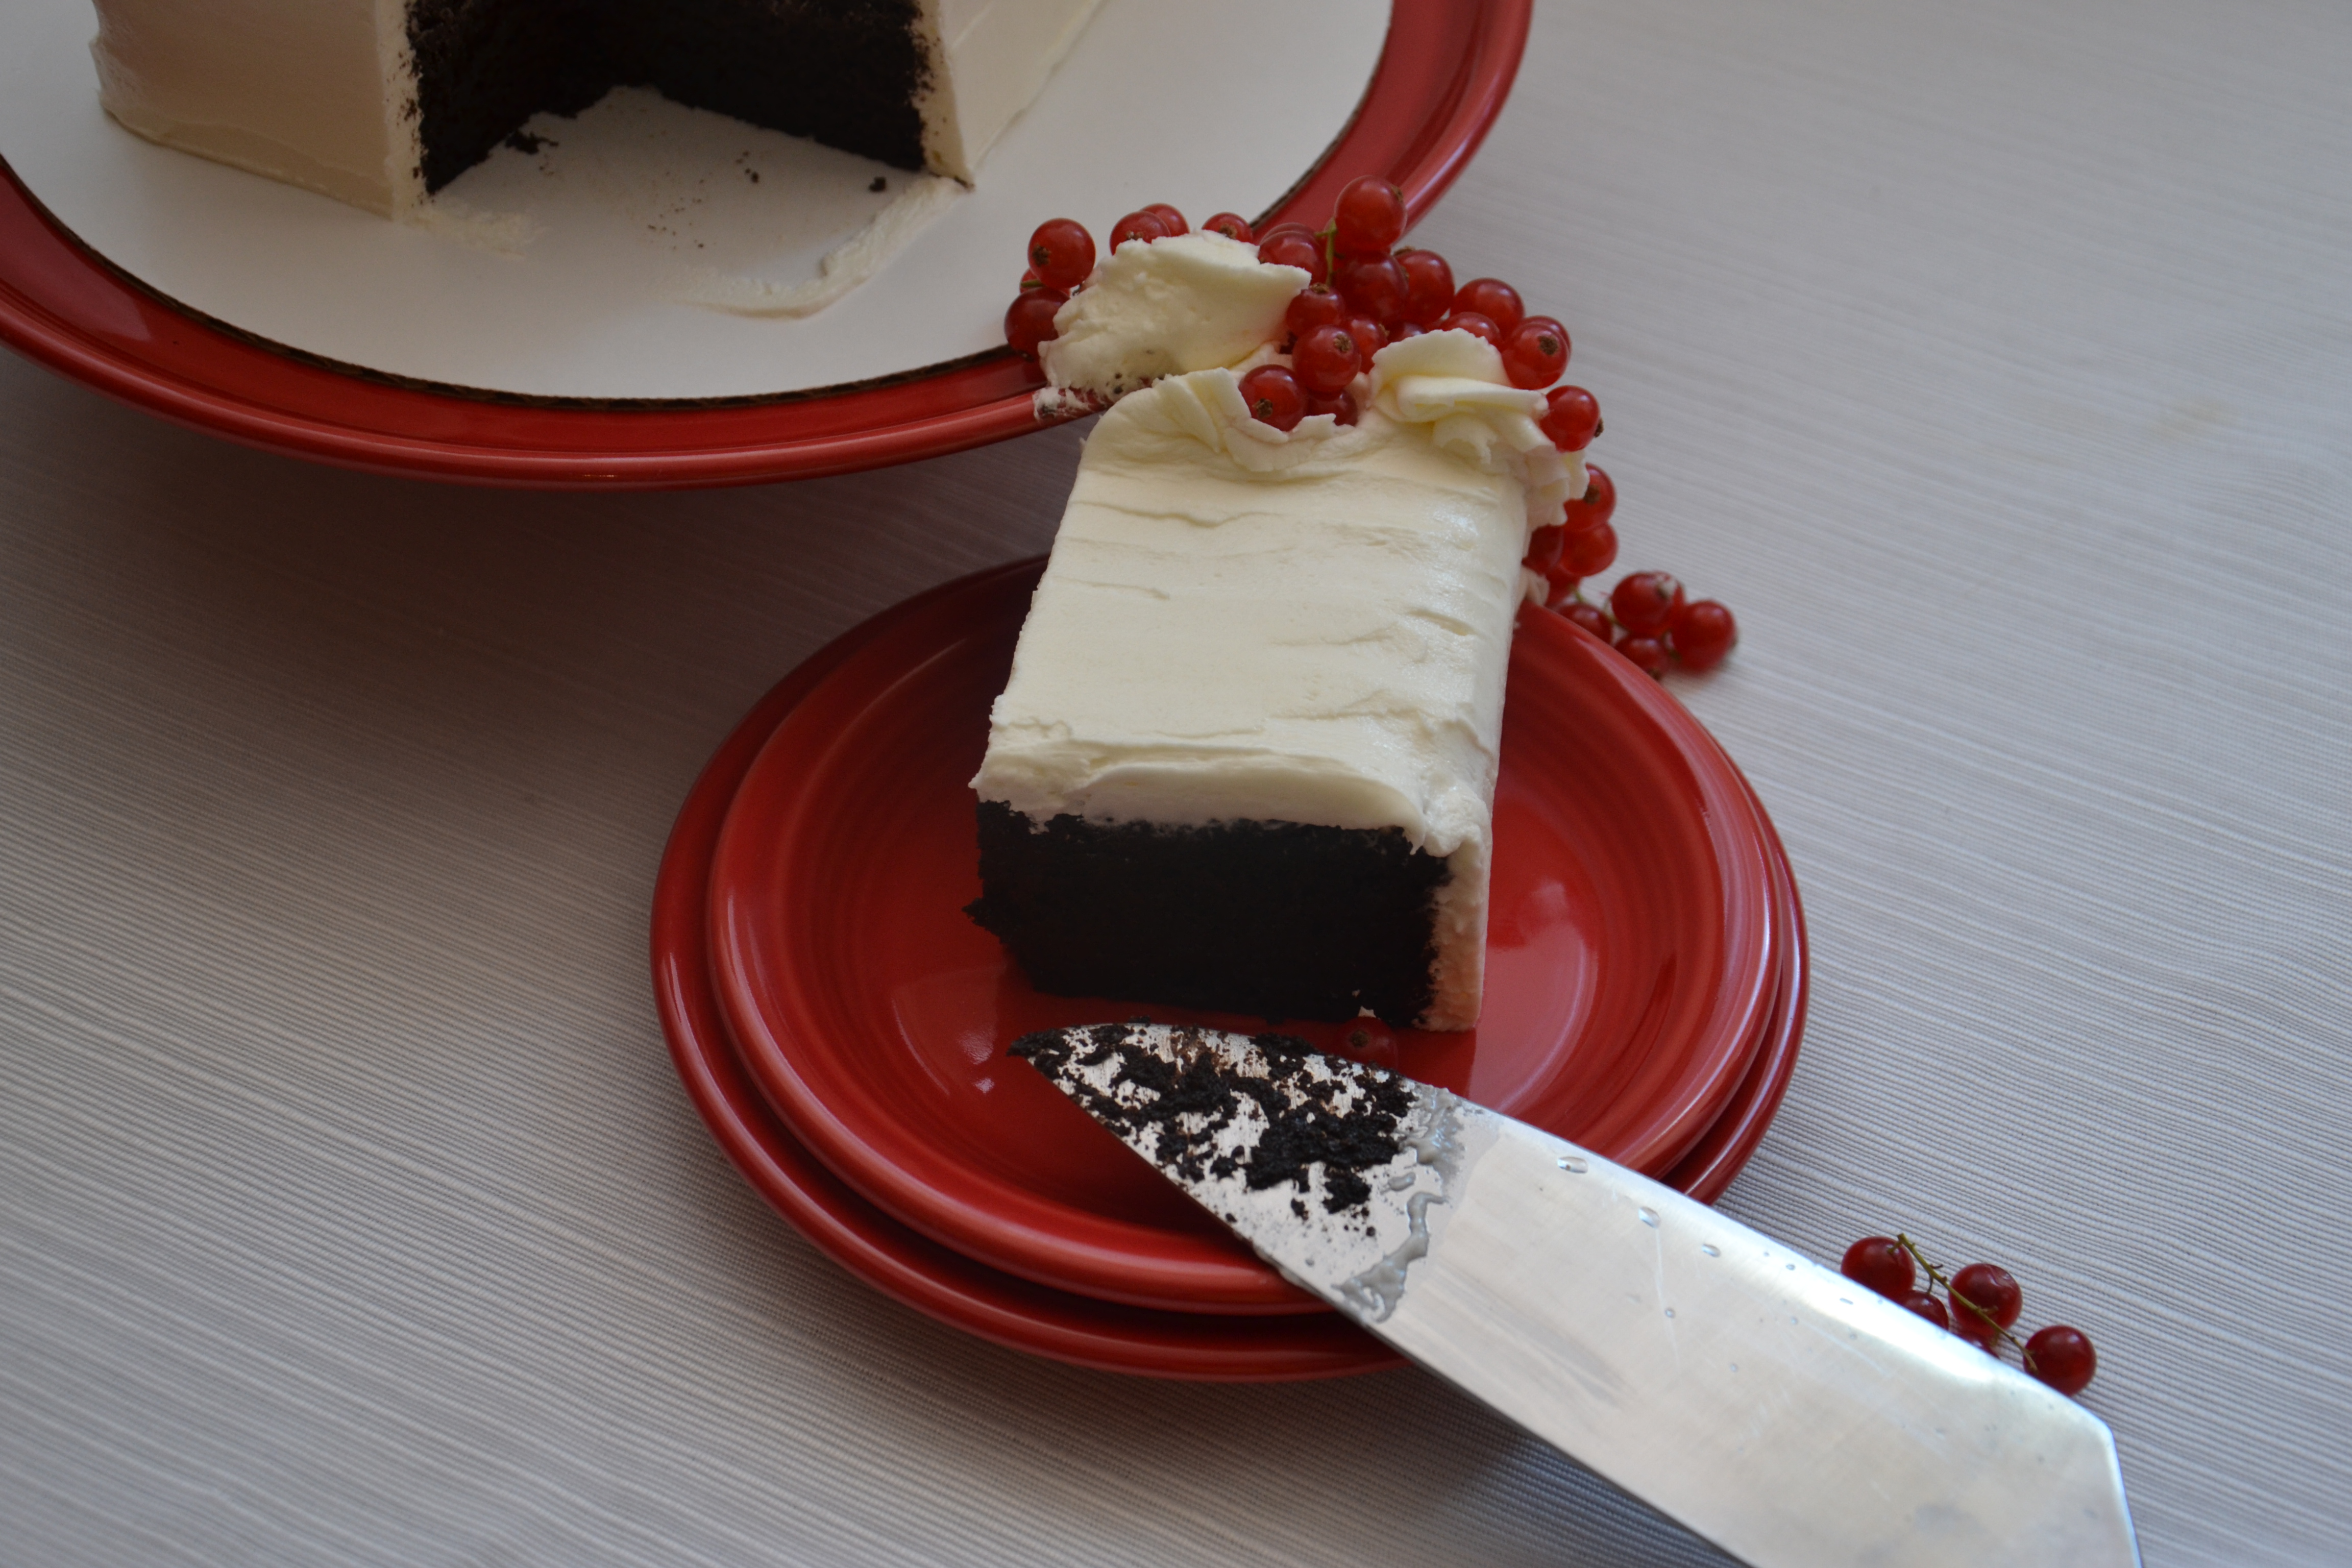
After taking the snapshots of the whole cake… time for a slice pic.
And this happened.
“ohyeahright… a square piece of cake probably requires a square cake lifter.”
It happens rarely that I drop a slice of cake, but when I do… I’m still surprised. “Yep, I need a pic of this awesomeness.”
I gave myself a couple gold stars for not yelling at the cake or myself. Cake happens.
The next thing… I still need a snapshot and I’d like for it to look nice. And how lucky!! There are currants…. plenty of them!
This was a delicious cake and so many steps along the way was all about learning:
- the cake needs to bake 50 minutes
- measure twice, cut once
- the sliced away cake edges can go into another dessert
- square slices need a square server.
A project like this sparks many other ideas for desserts and other shapes of cakes… now I need a jelly roll pan.
It’s a great day to live in Heidelberg with my life partner.
It’s a great day to chat with our people.
It’s a great day to work the steps.