
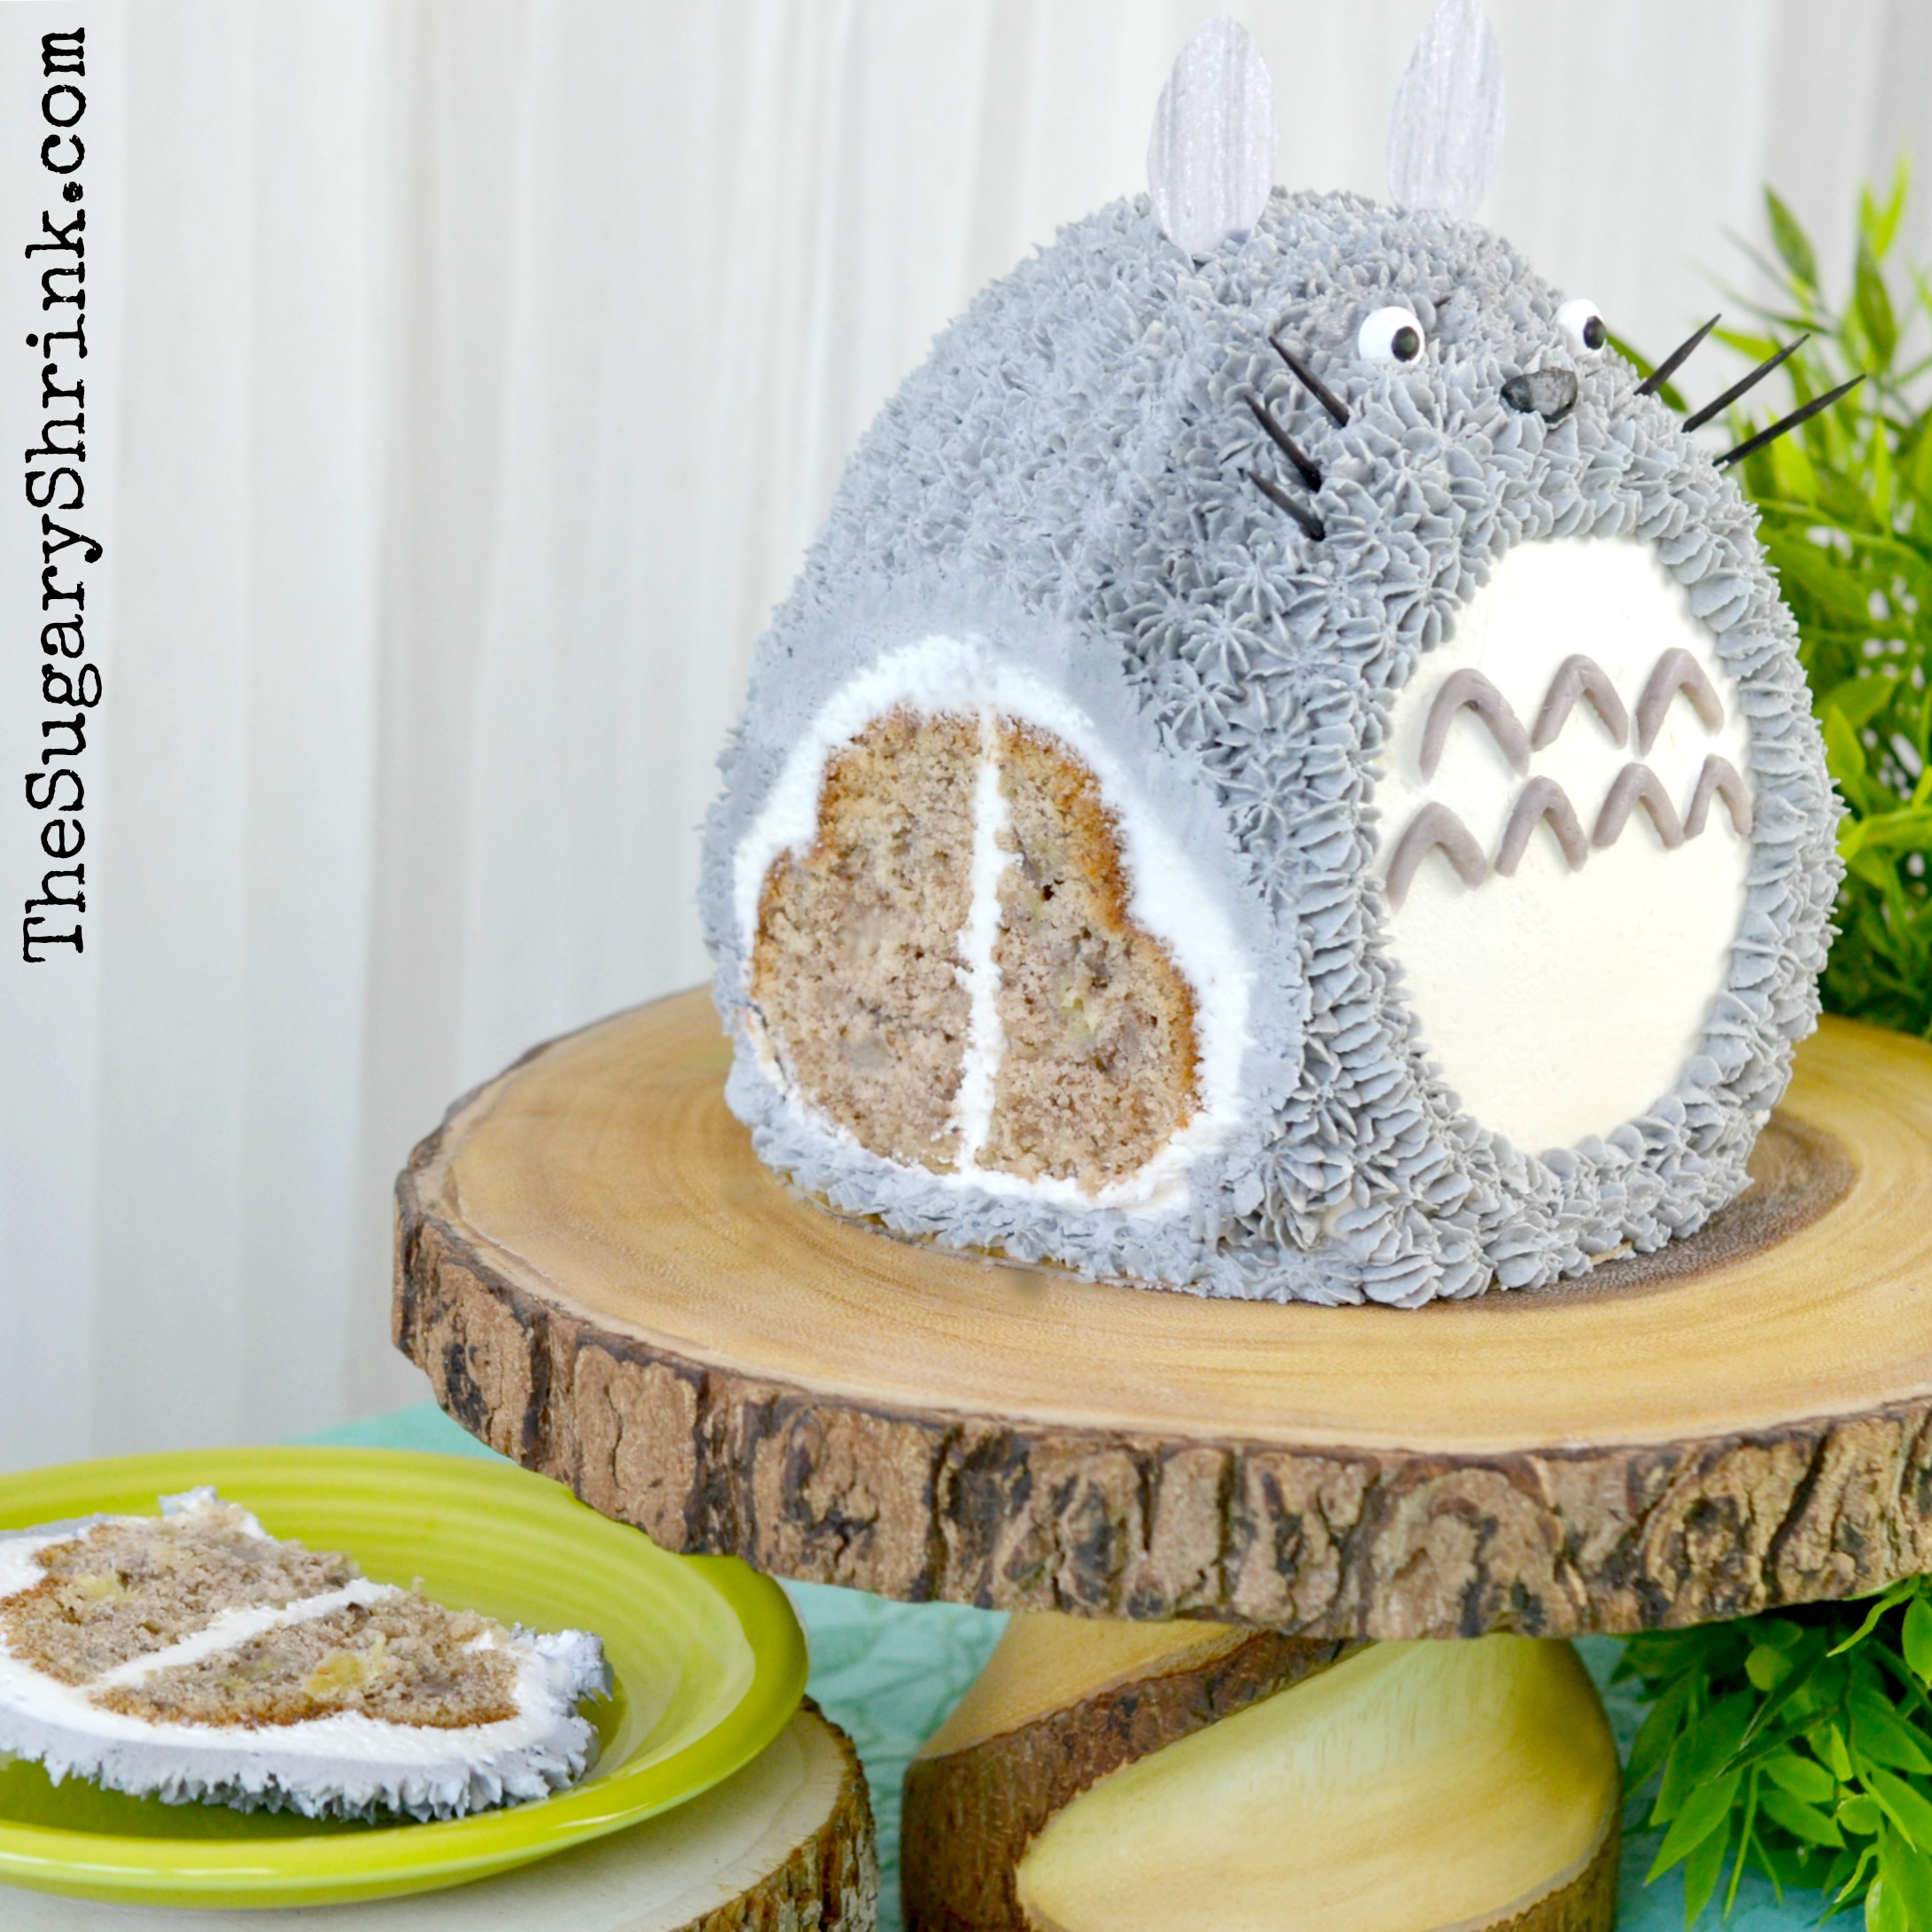
My Neighbor Totoro
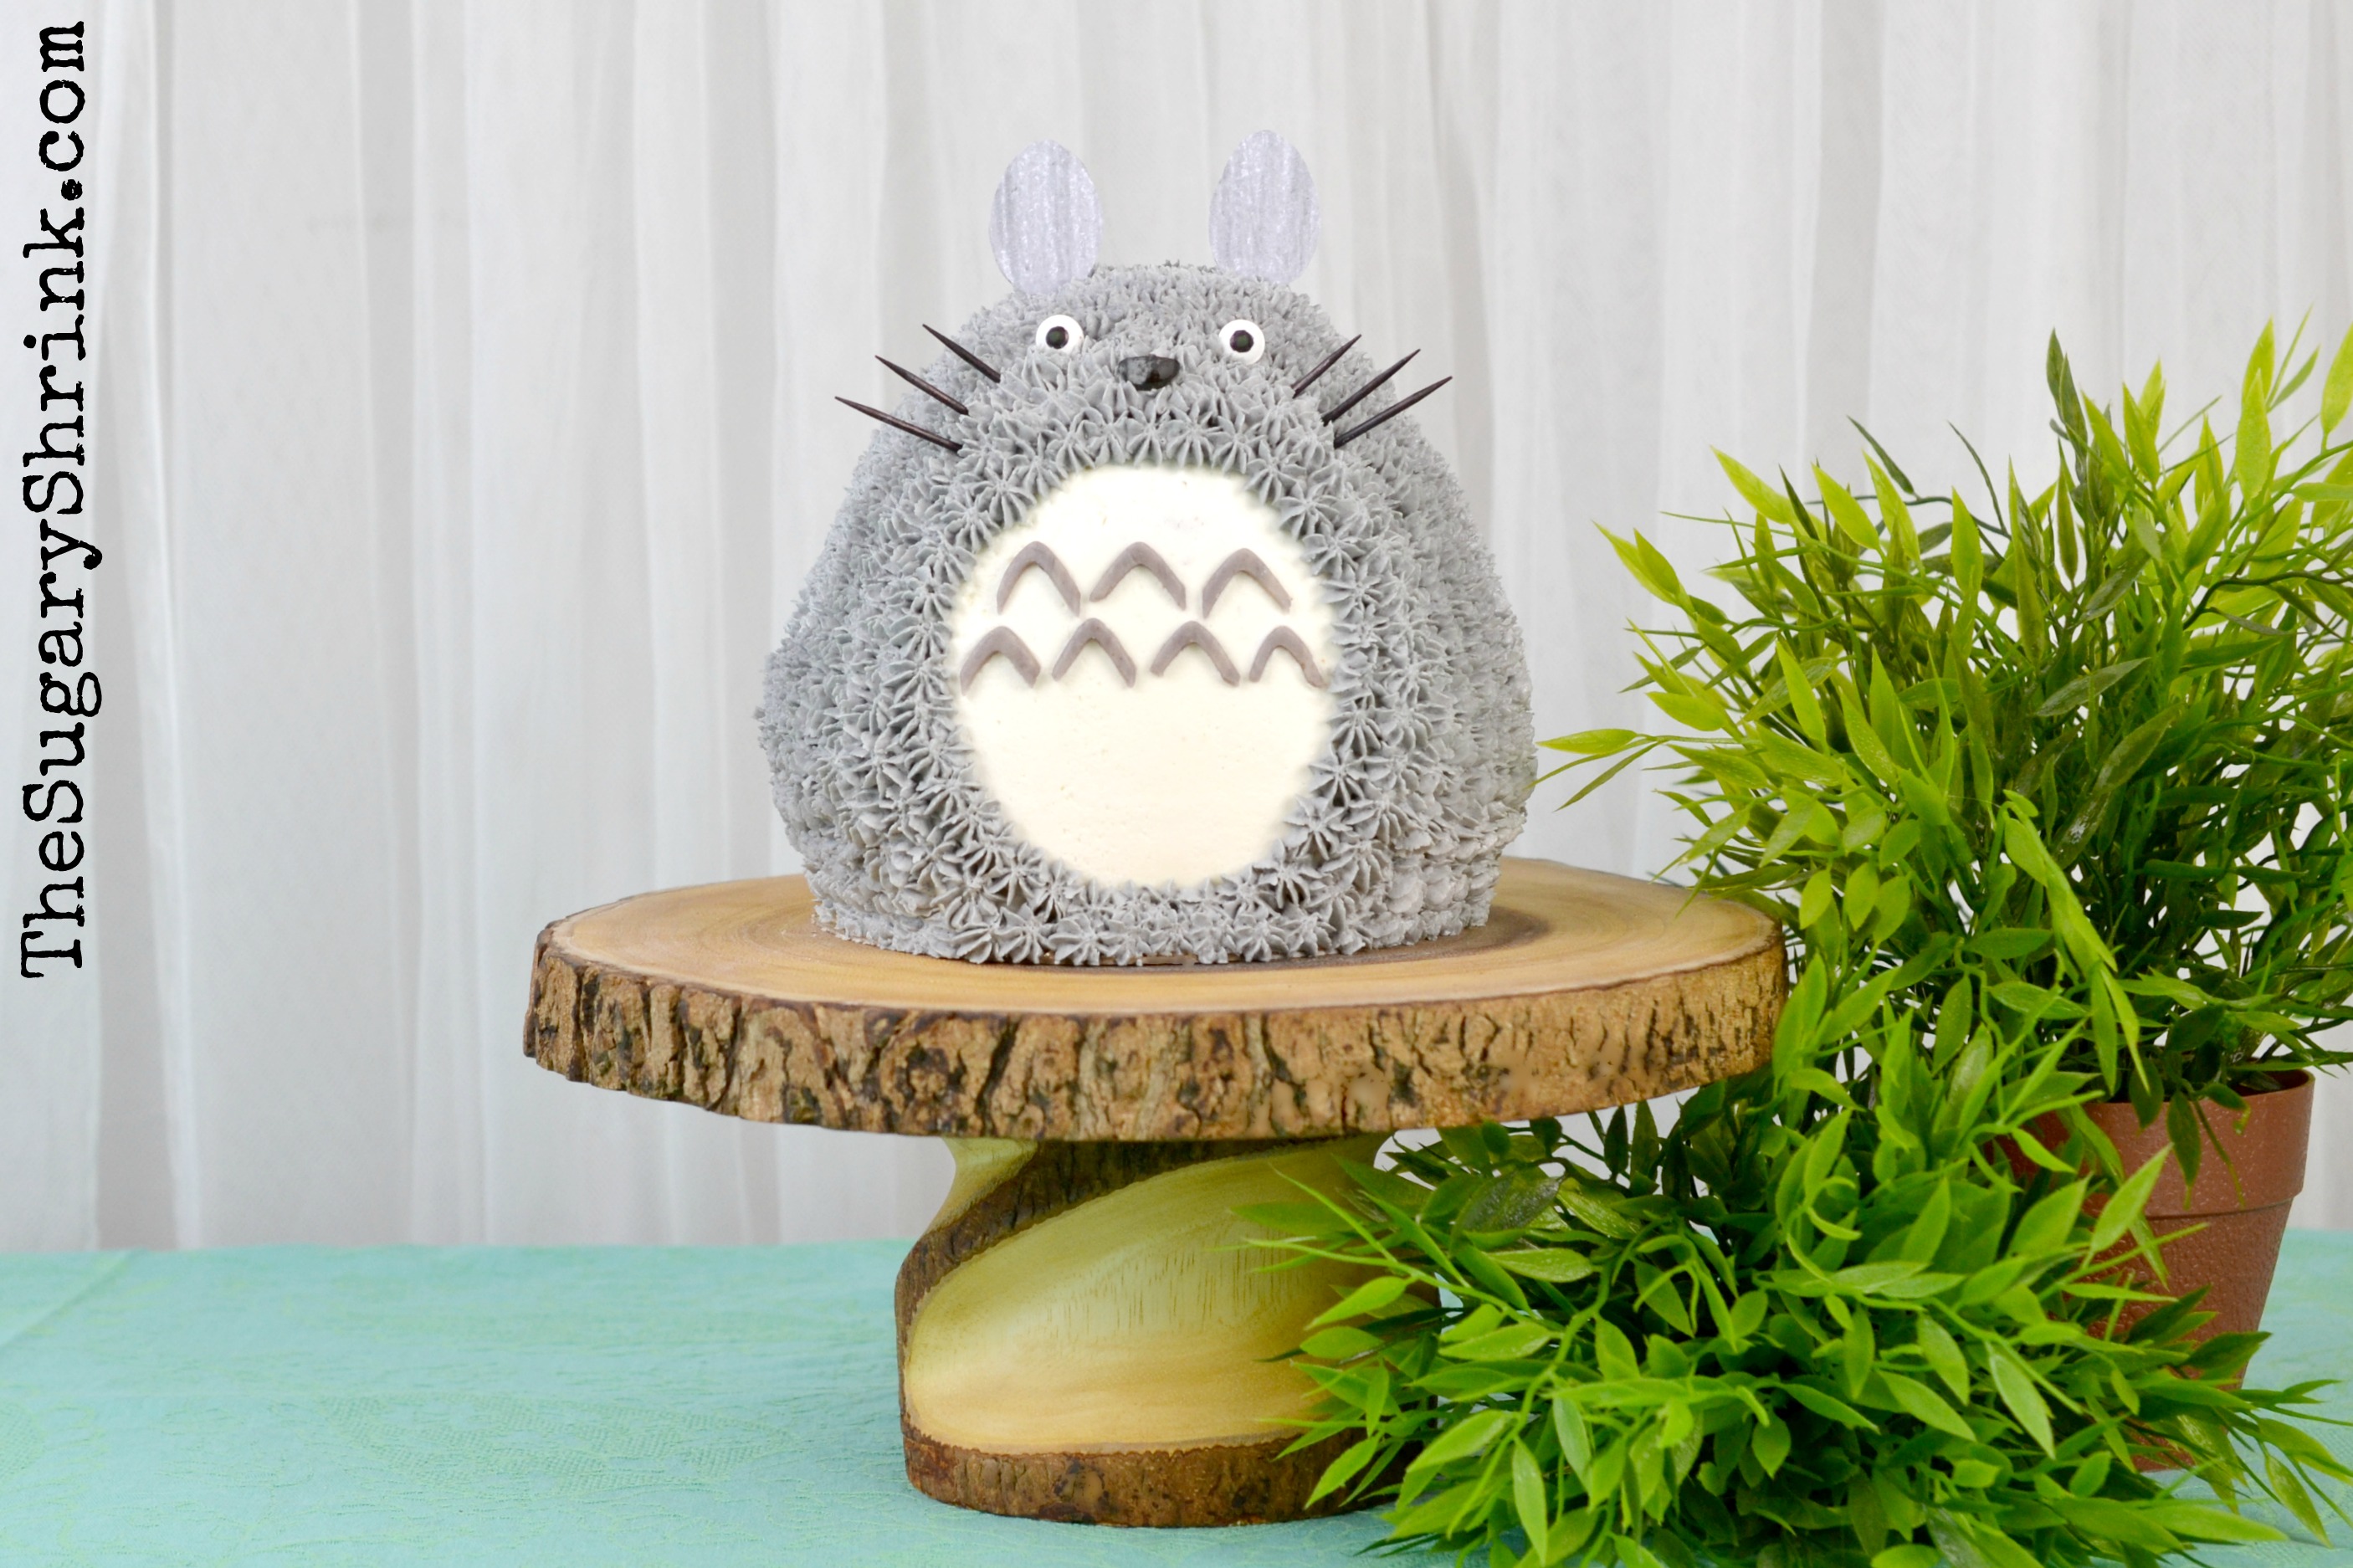
Hummingbird Cake, Vanilla Buttercream Filling and tinted Buttercream Frosting
Nothing about this cake is predictable except for the giggles I get every time I look at him.
This cake was inspired over the holidays when all the kids were home and those that have a spouse/partner/significant other came along too. It was super fun and brought joy to my heart (it was sometimes loud and felt like a 24 hour party, then we ran out of toilet paper). They always teach me fun and interesting things, but the bonus comes when I get to learn more about them as adult persons separate from us.
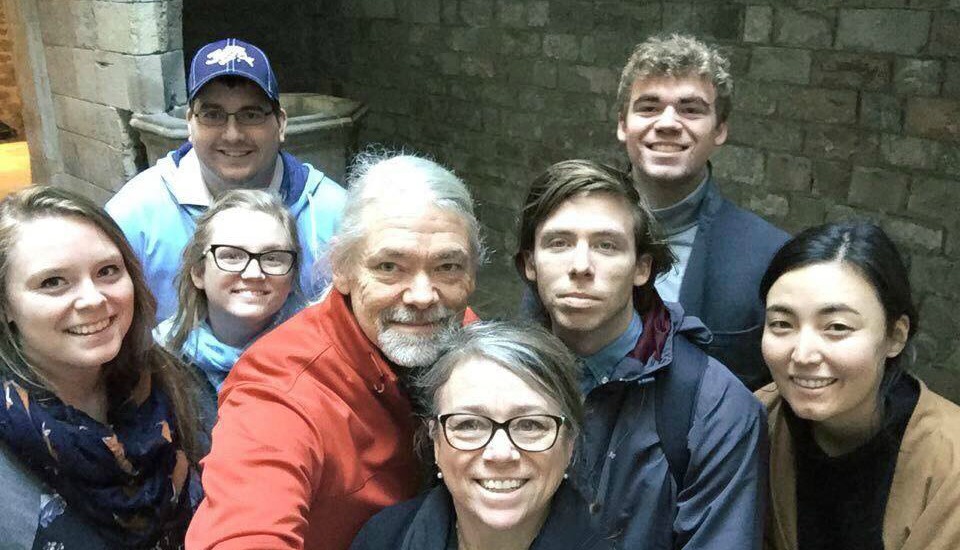
Here we are just exiting the Picasso Museum in Barcelona, Spain. The following day our one last fiancé arrived to round our group to nine.
Last year our oldest introduced me and my husband/life partner to the magic of Totoro. We learned a little song that ended in “yeee.” That was pretty much it.
This year, while out and about, talk again turned to the subtle goodness that is Totoro accompanied by a small plushie being introduced into the conversation to help punctuate the conversation. In that moment, my mind slipped to the side – all I could think “that has the same shape as my Beehive Pan.”
Once that idea sparked, I simply had to bake it.
There aren’t any instructions to bake this cake. I looked on line to see what other folks are doing and it’s pretty much all over the map. To help understand who I was constructing a little bit better, I viewed a few Totoro shorts on YouTube. That didn’t help with building the cake, but allowed me to make some artistic choices.
Calling myself out, I get really anxious when I don’t know what I’m doing. So much about sculpted cake is new to me, and yet, I force myself to keep moving forward.
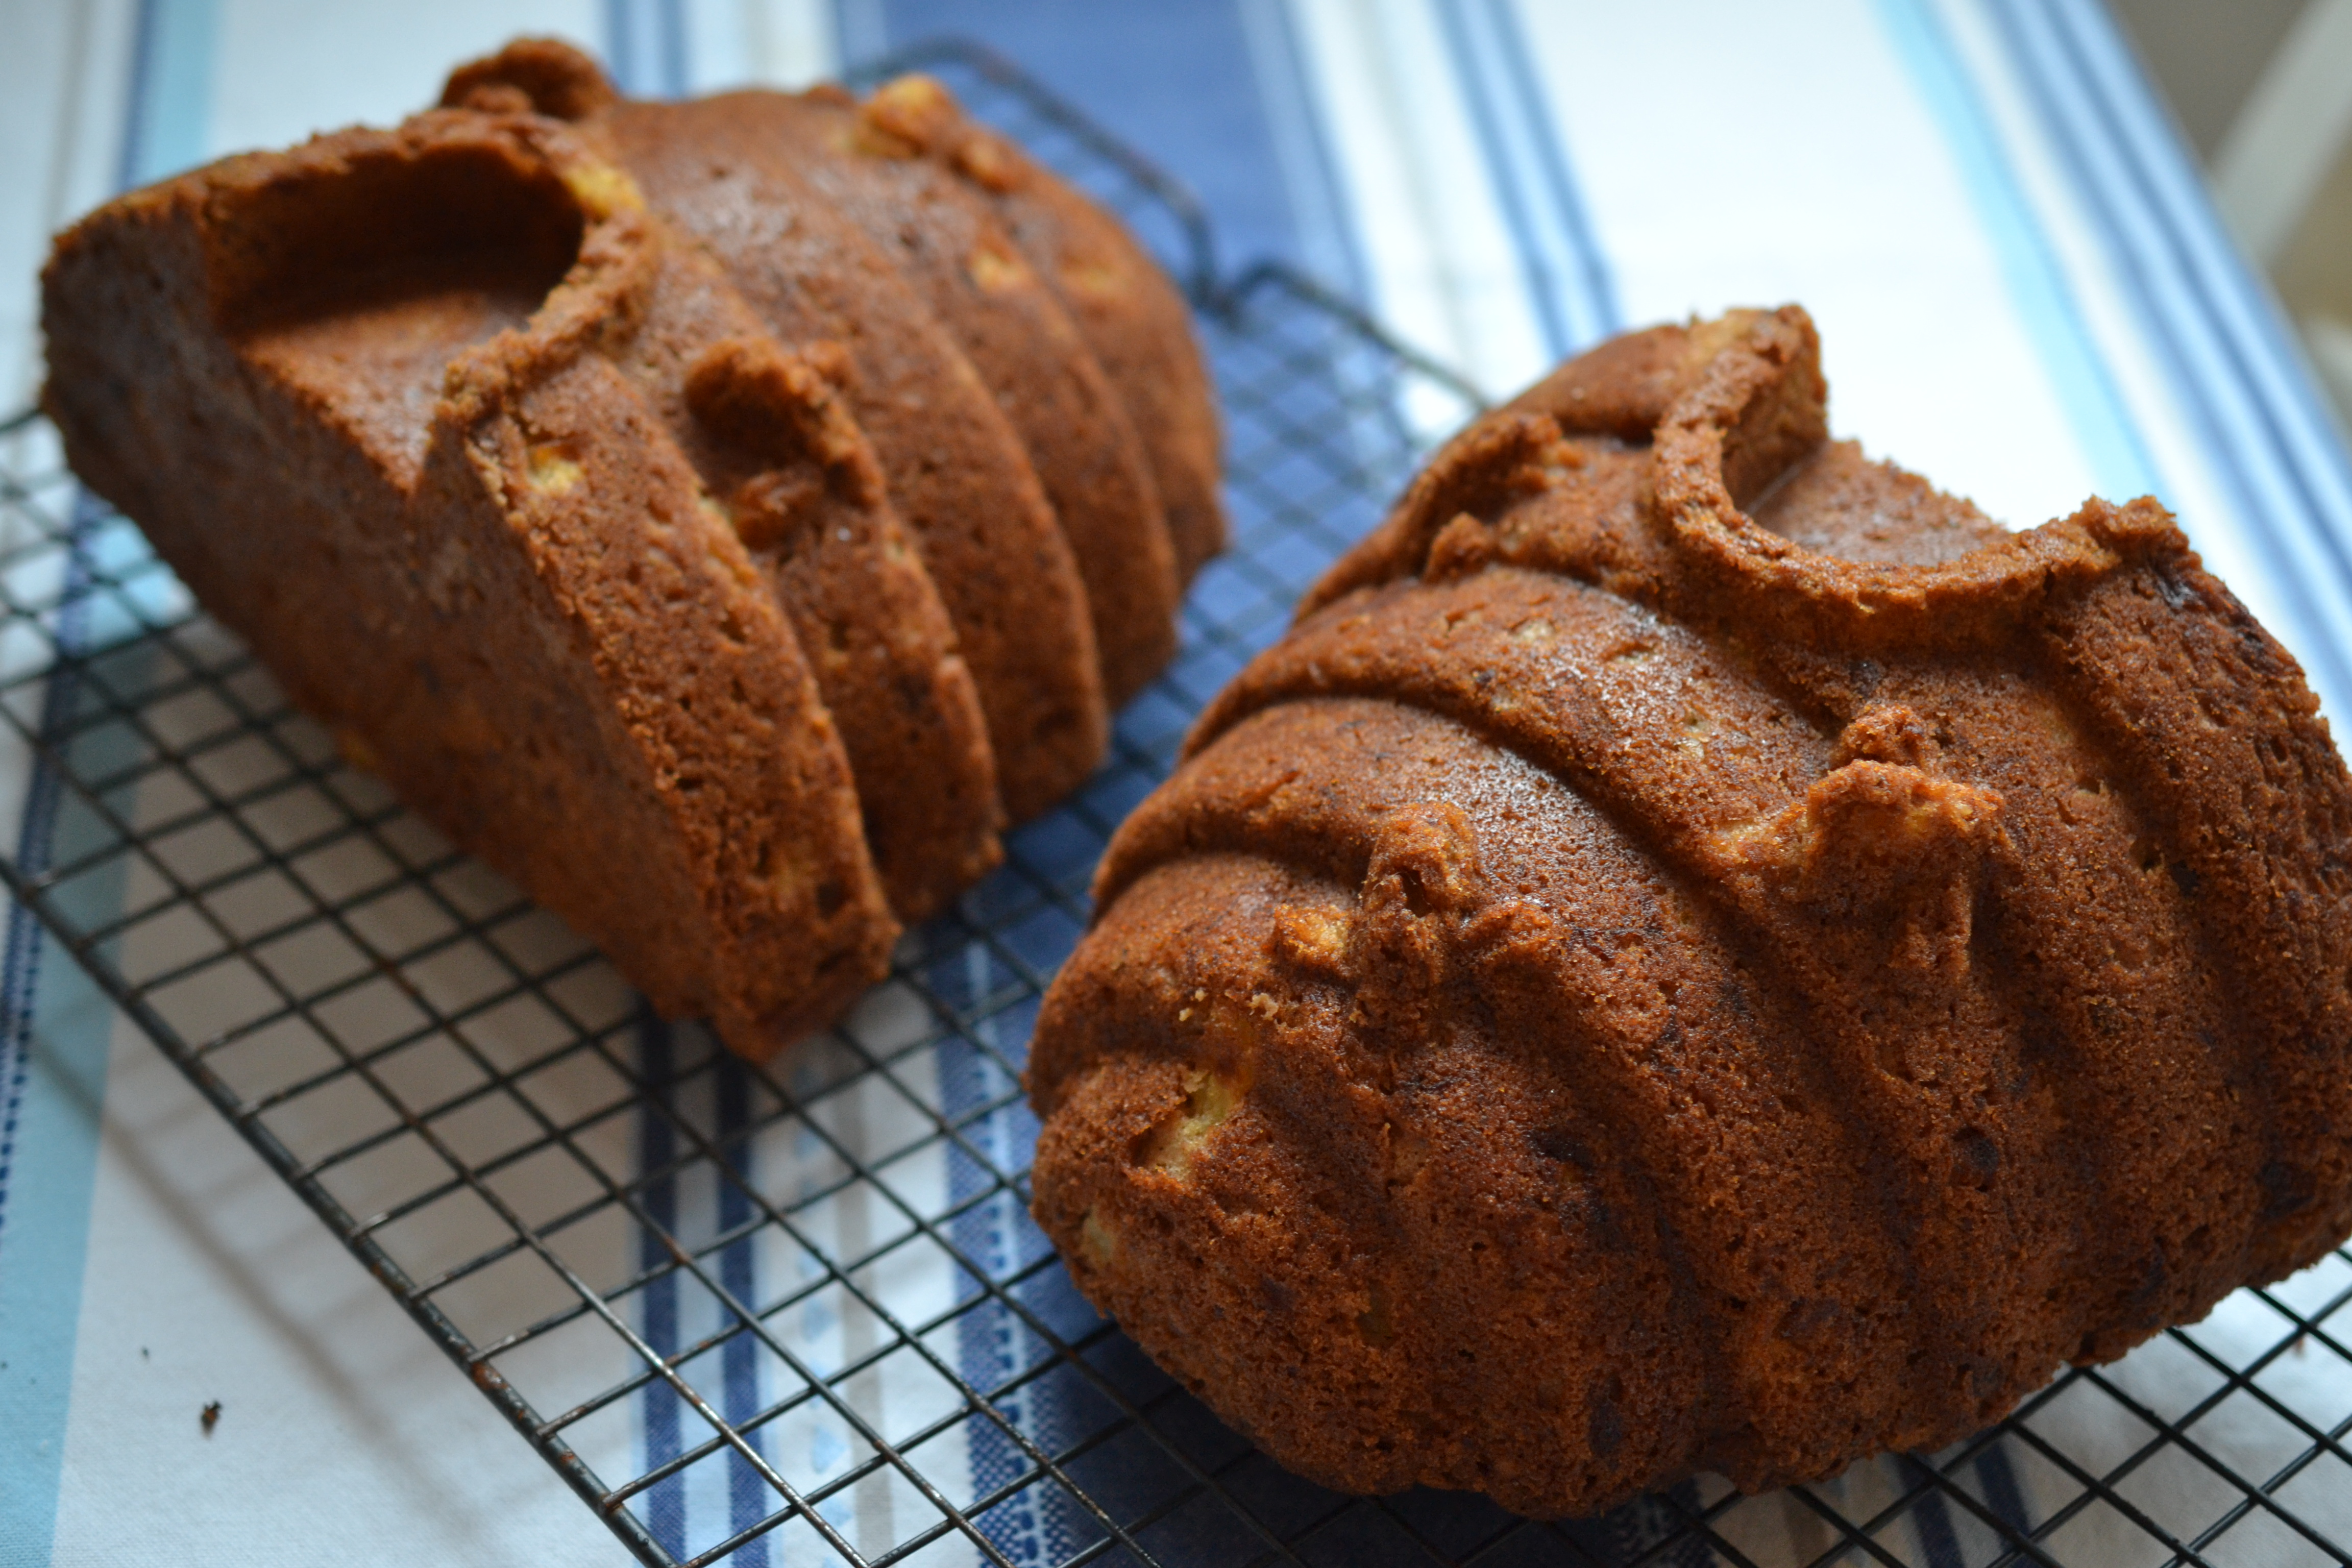
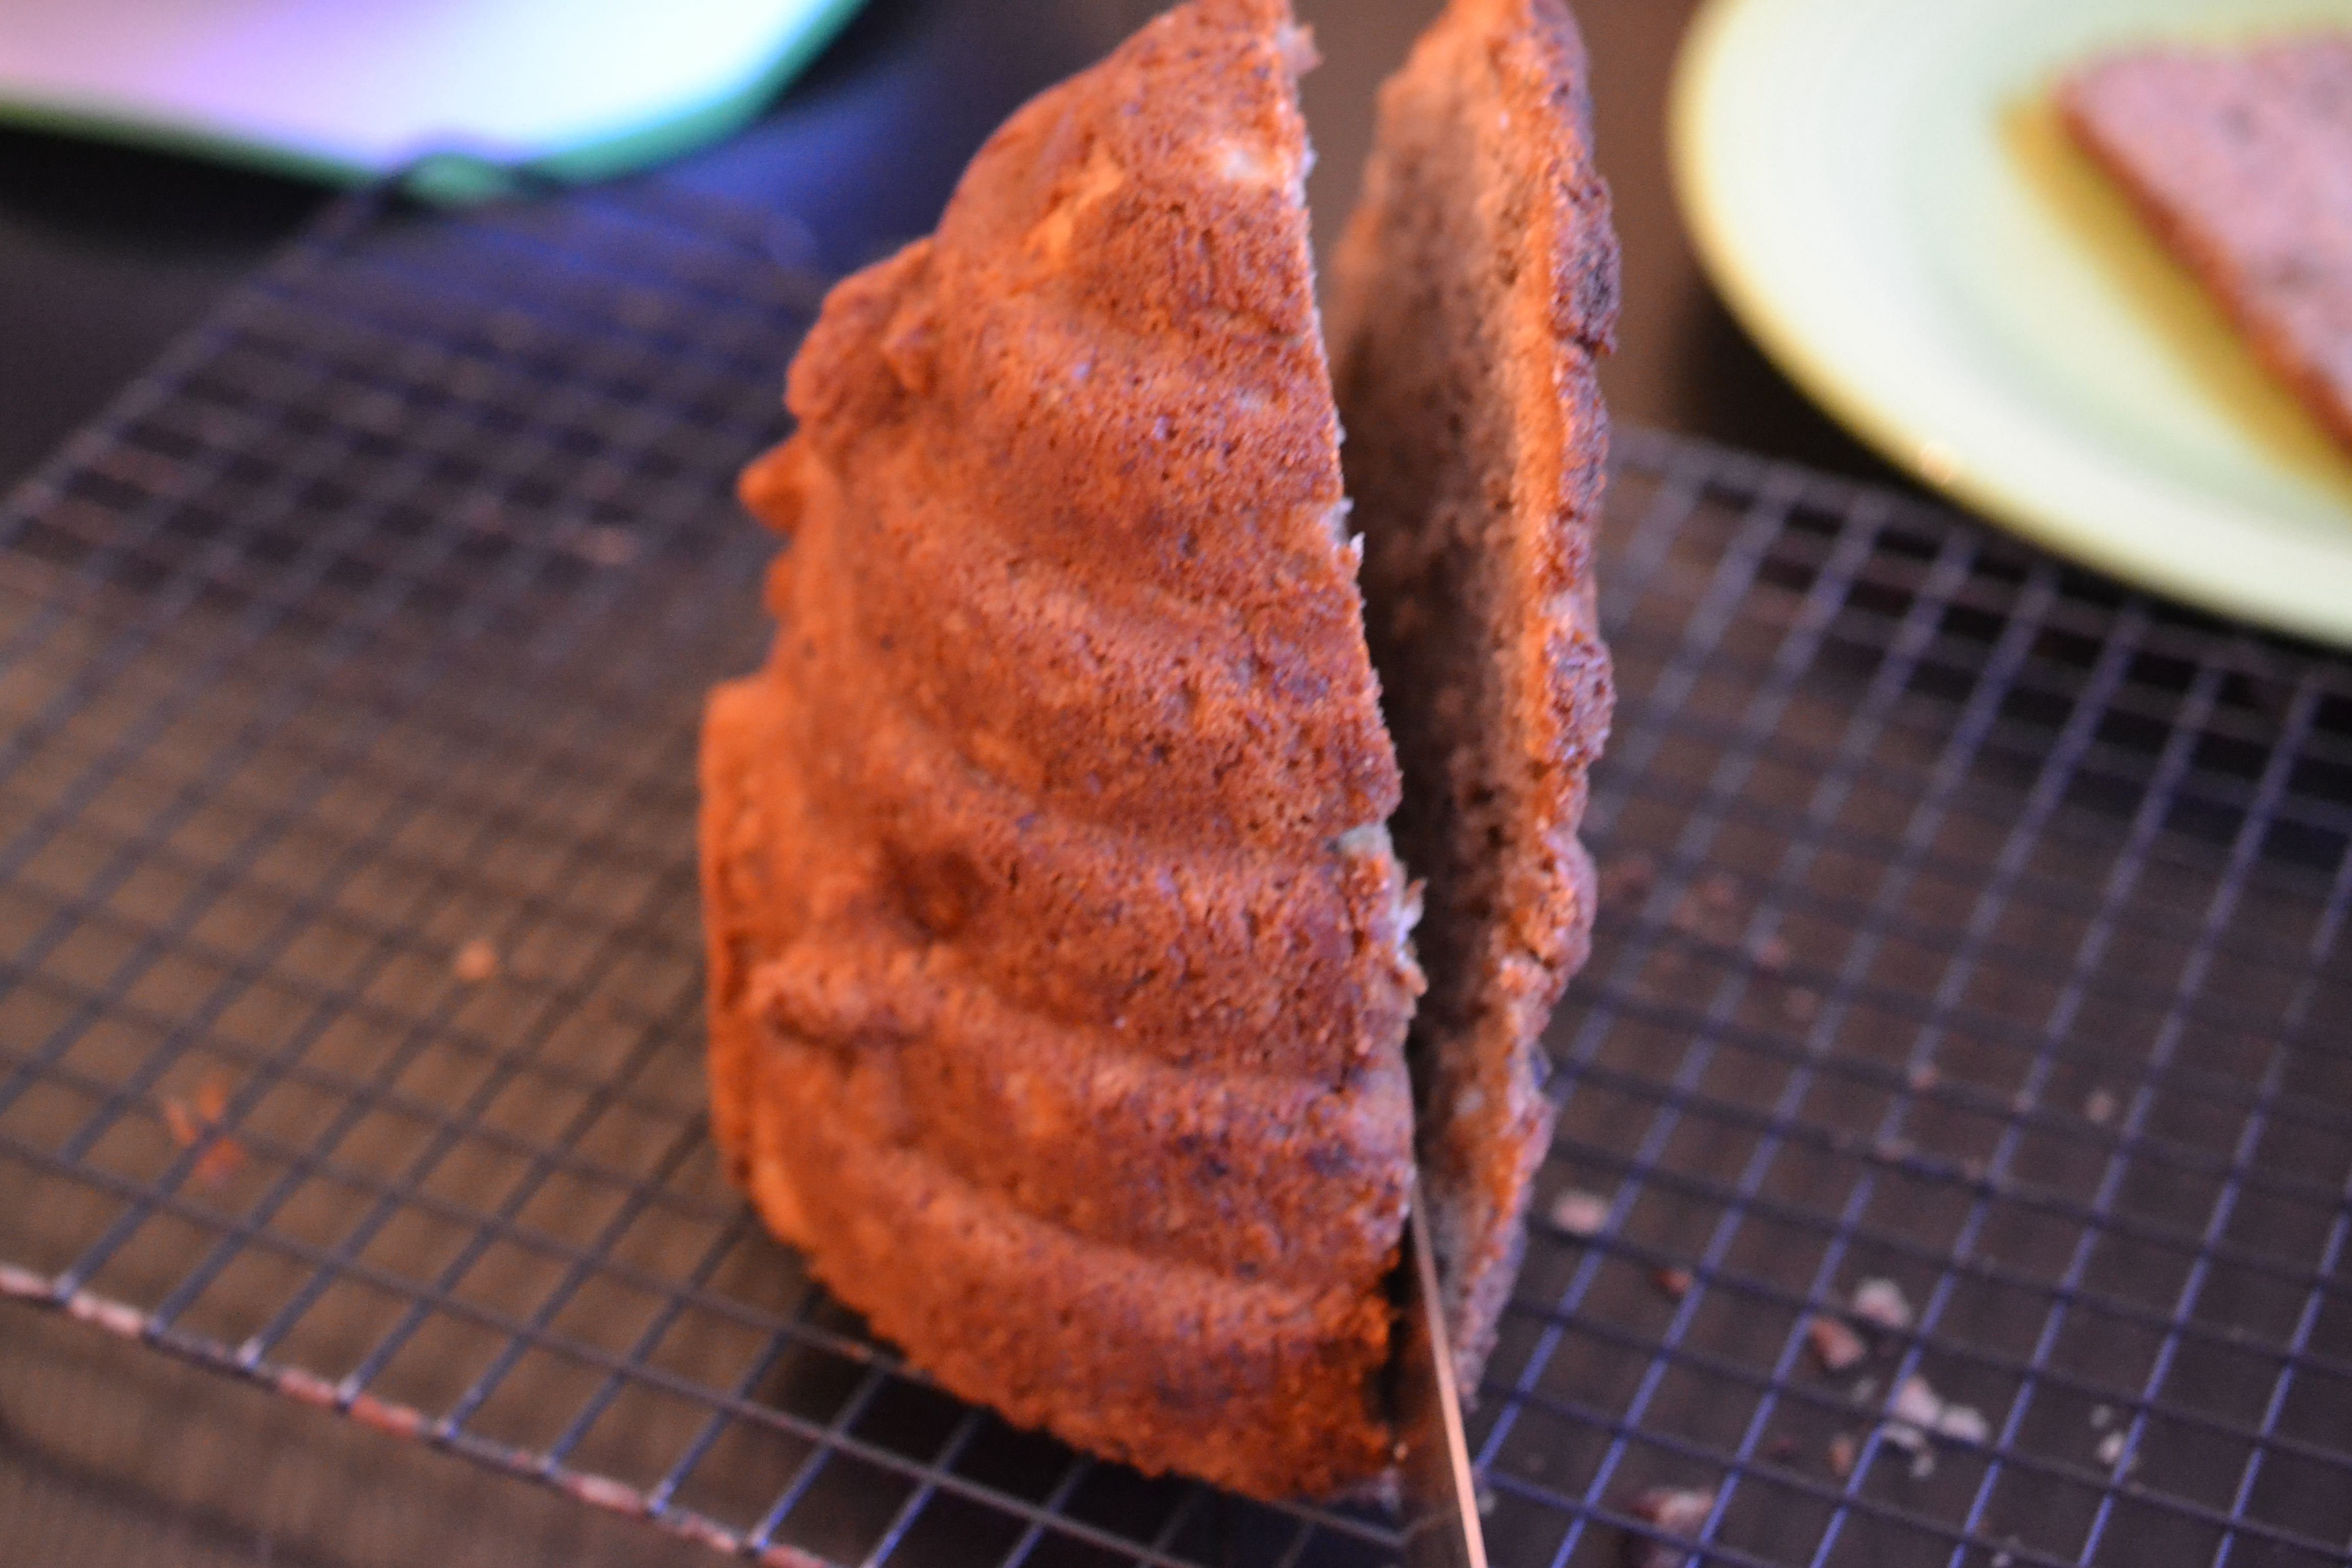
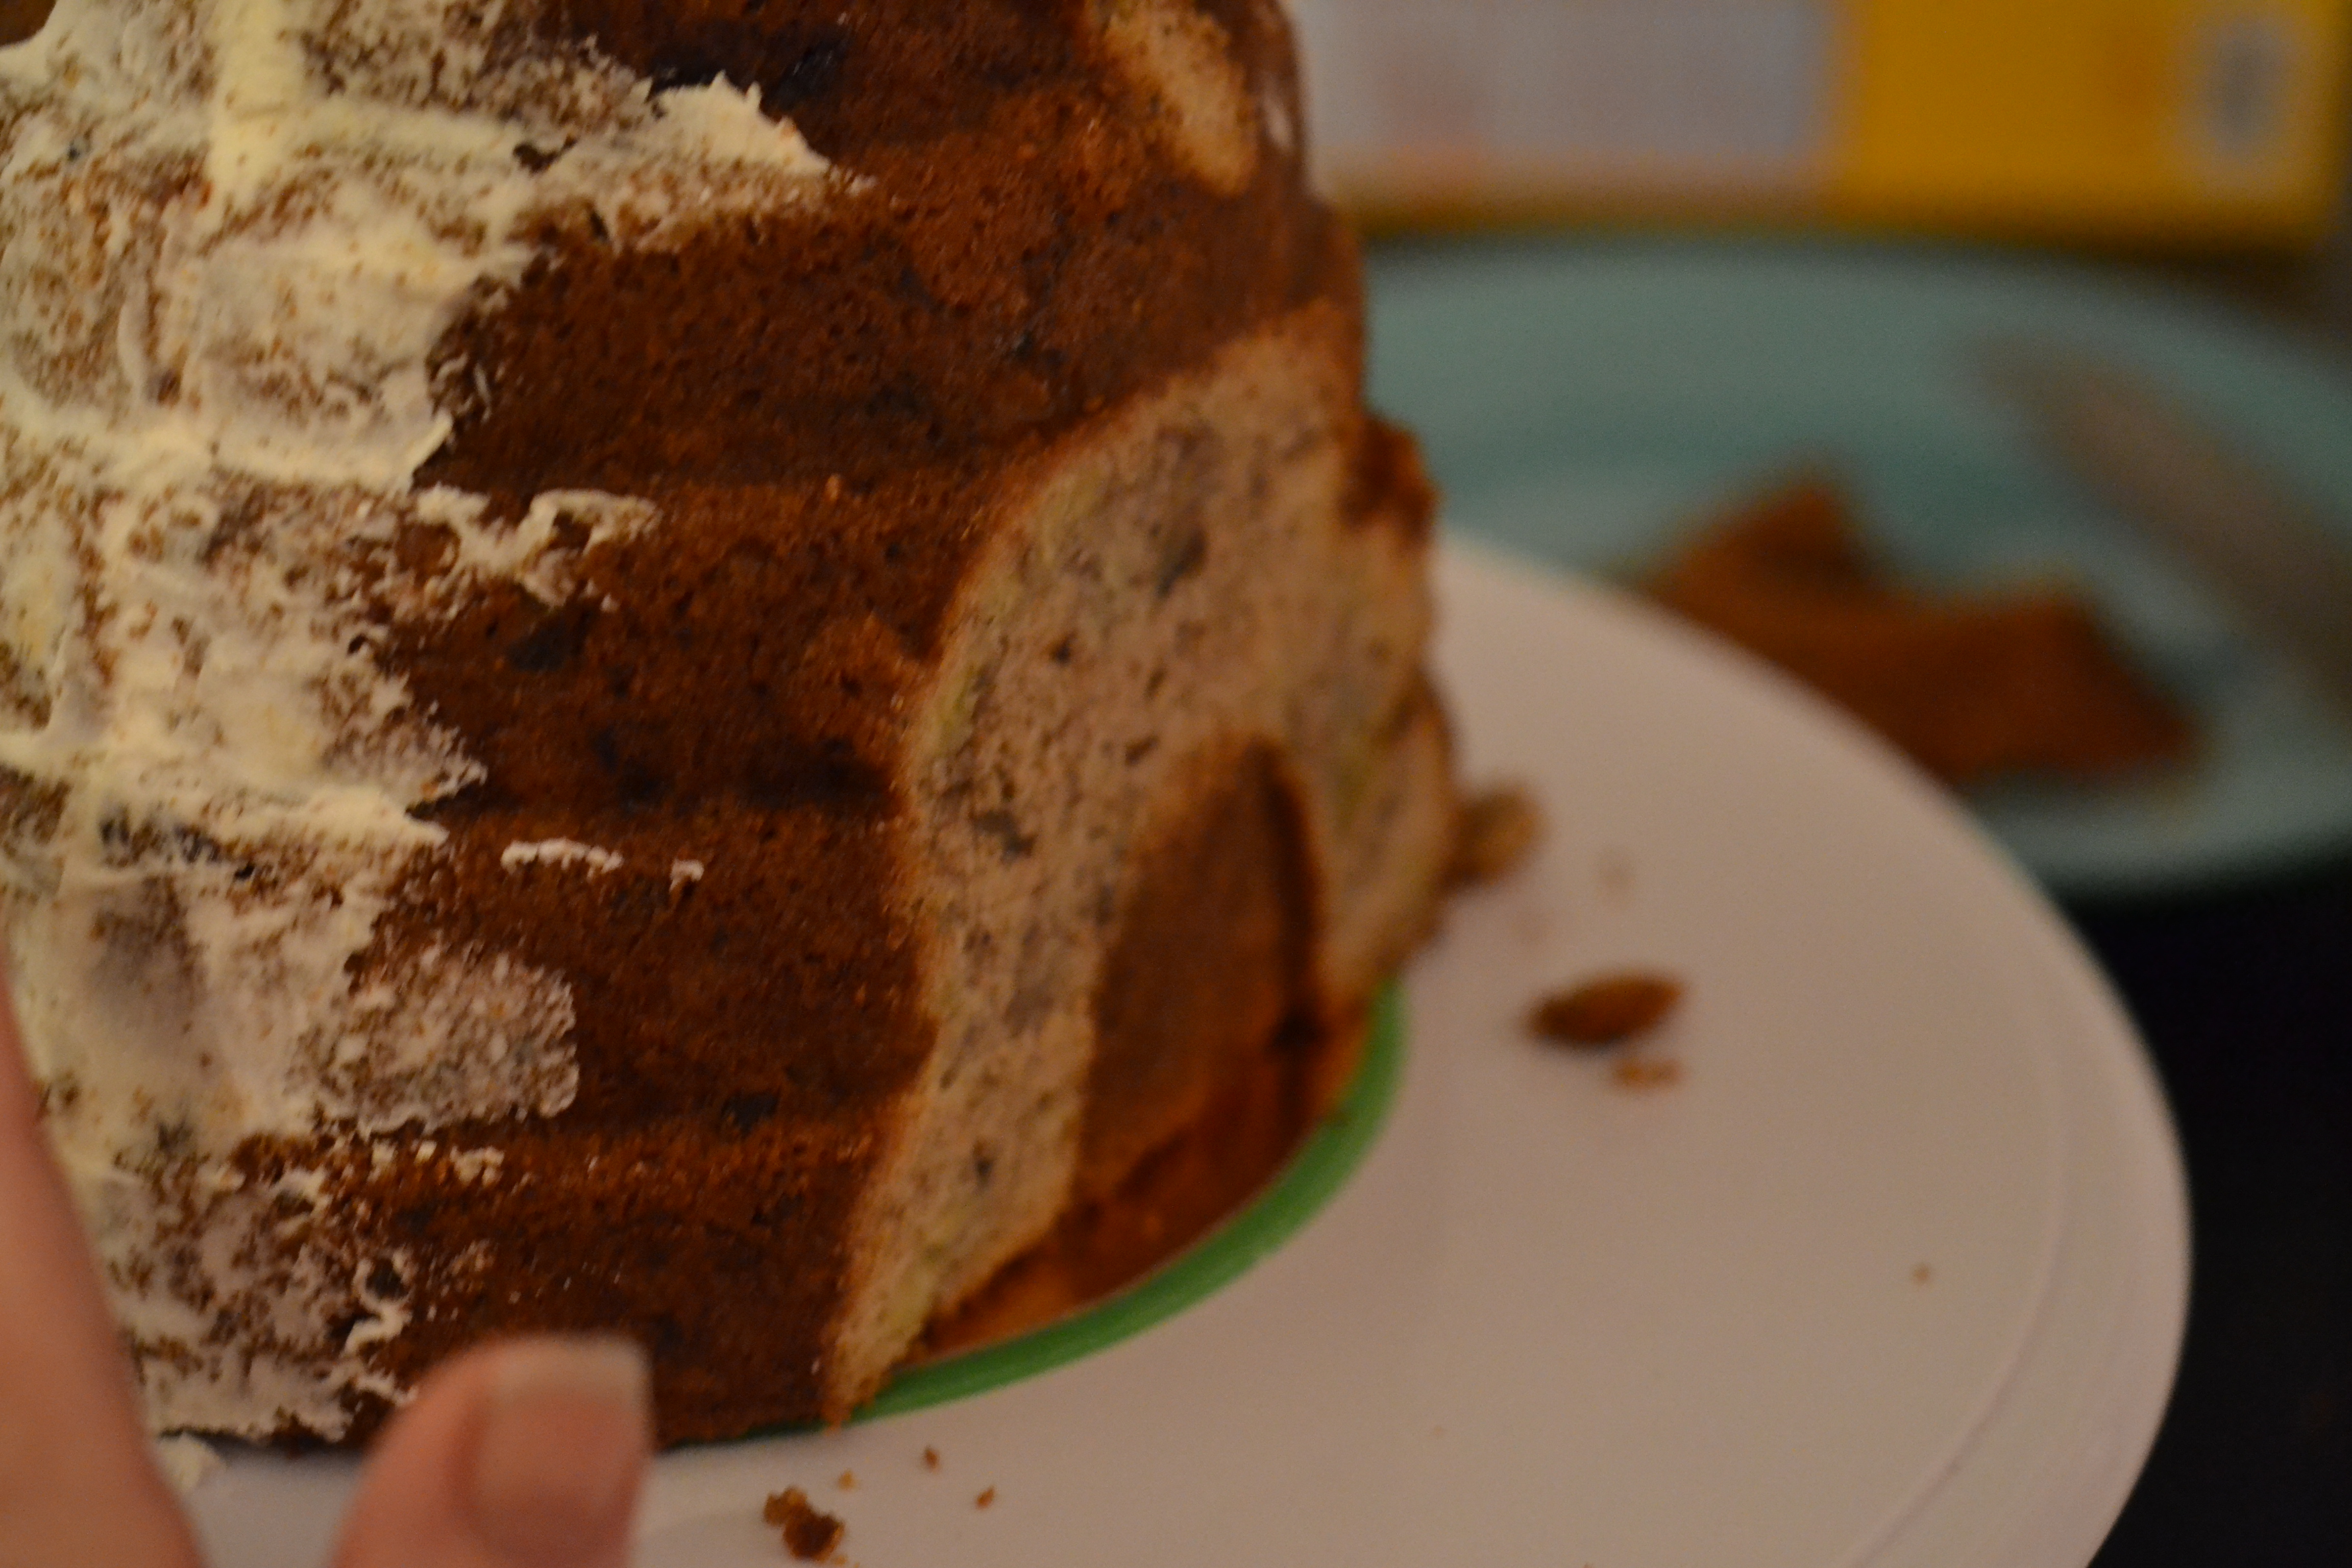
Here’s the step by step. I started with a Hummingbird Cake in my Nordicware Pan. I chose this really solid cake because it can readily withstand the carving.

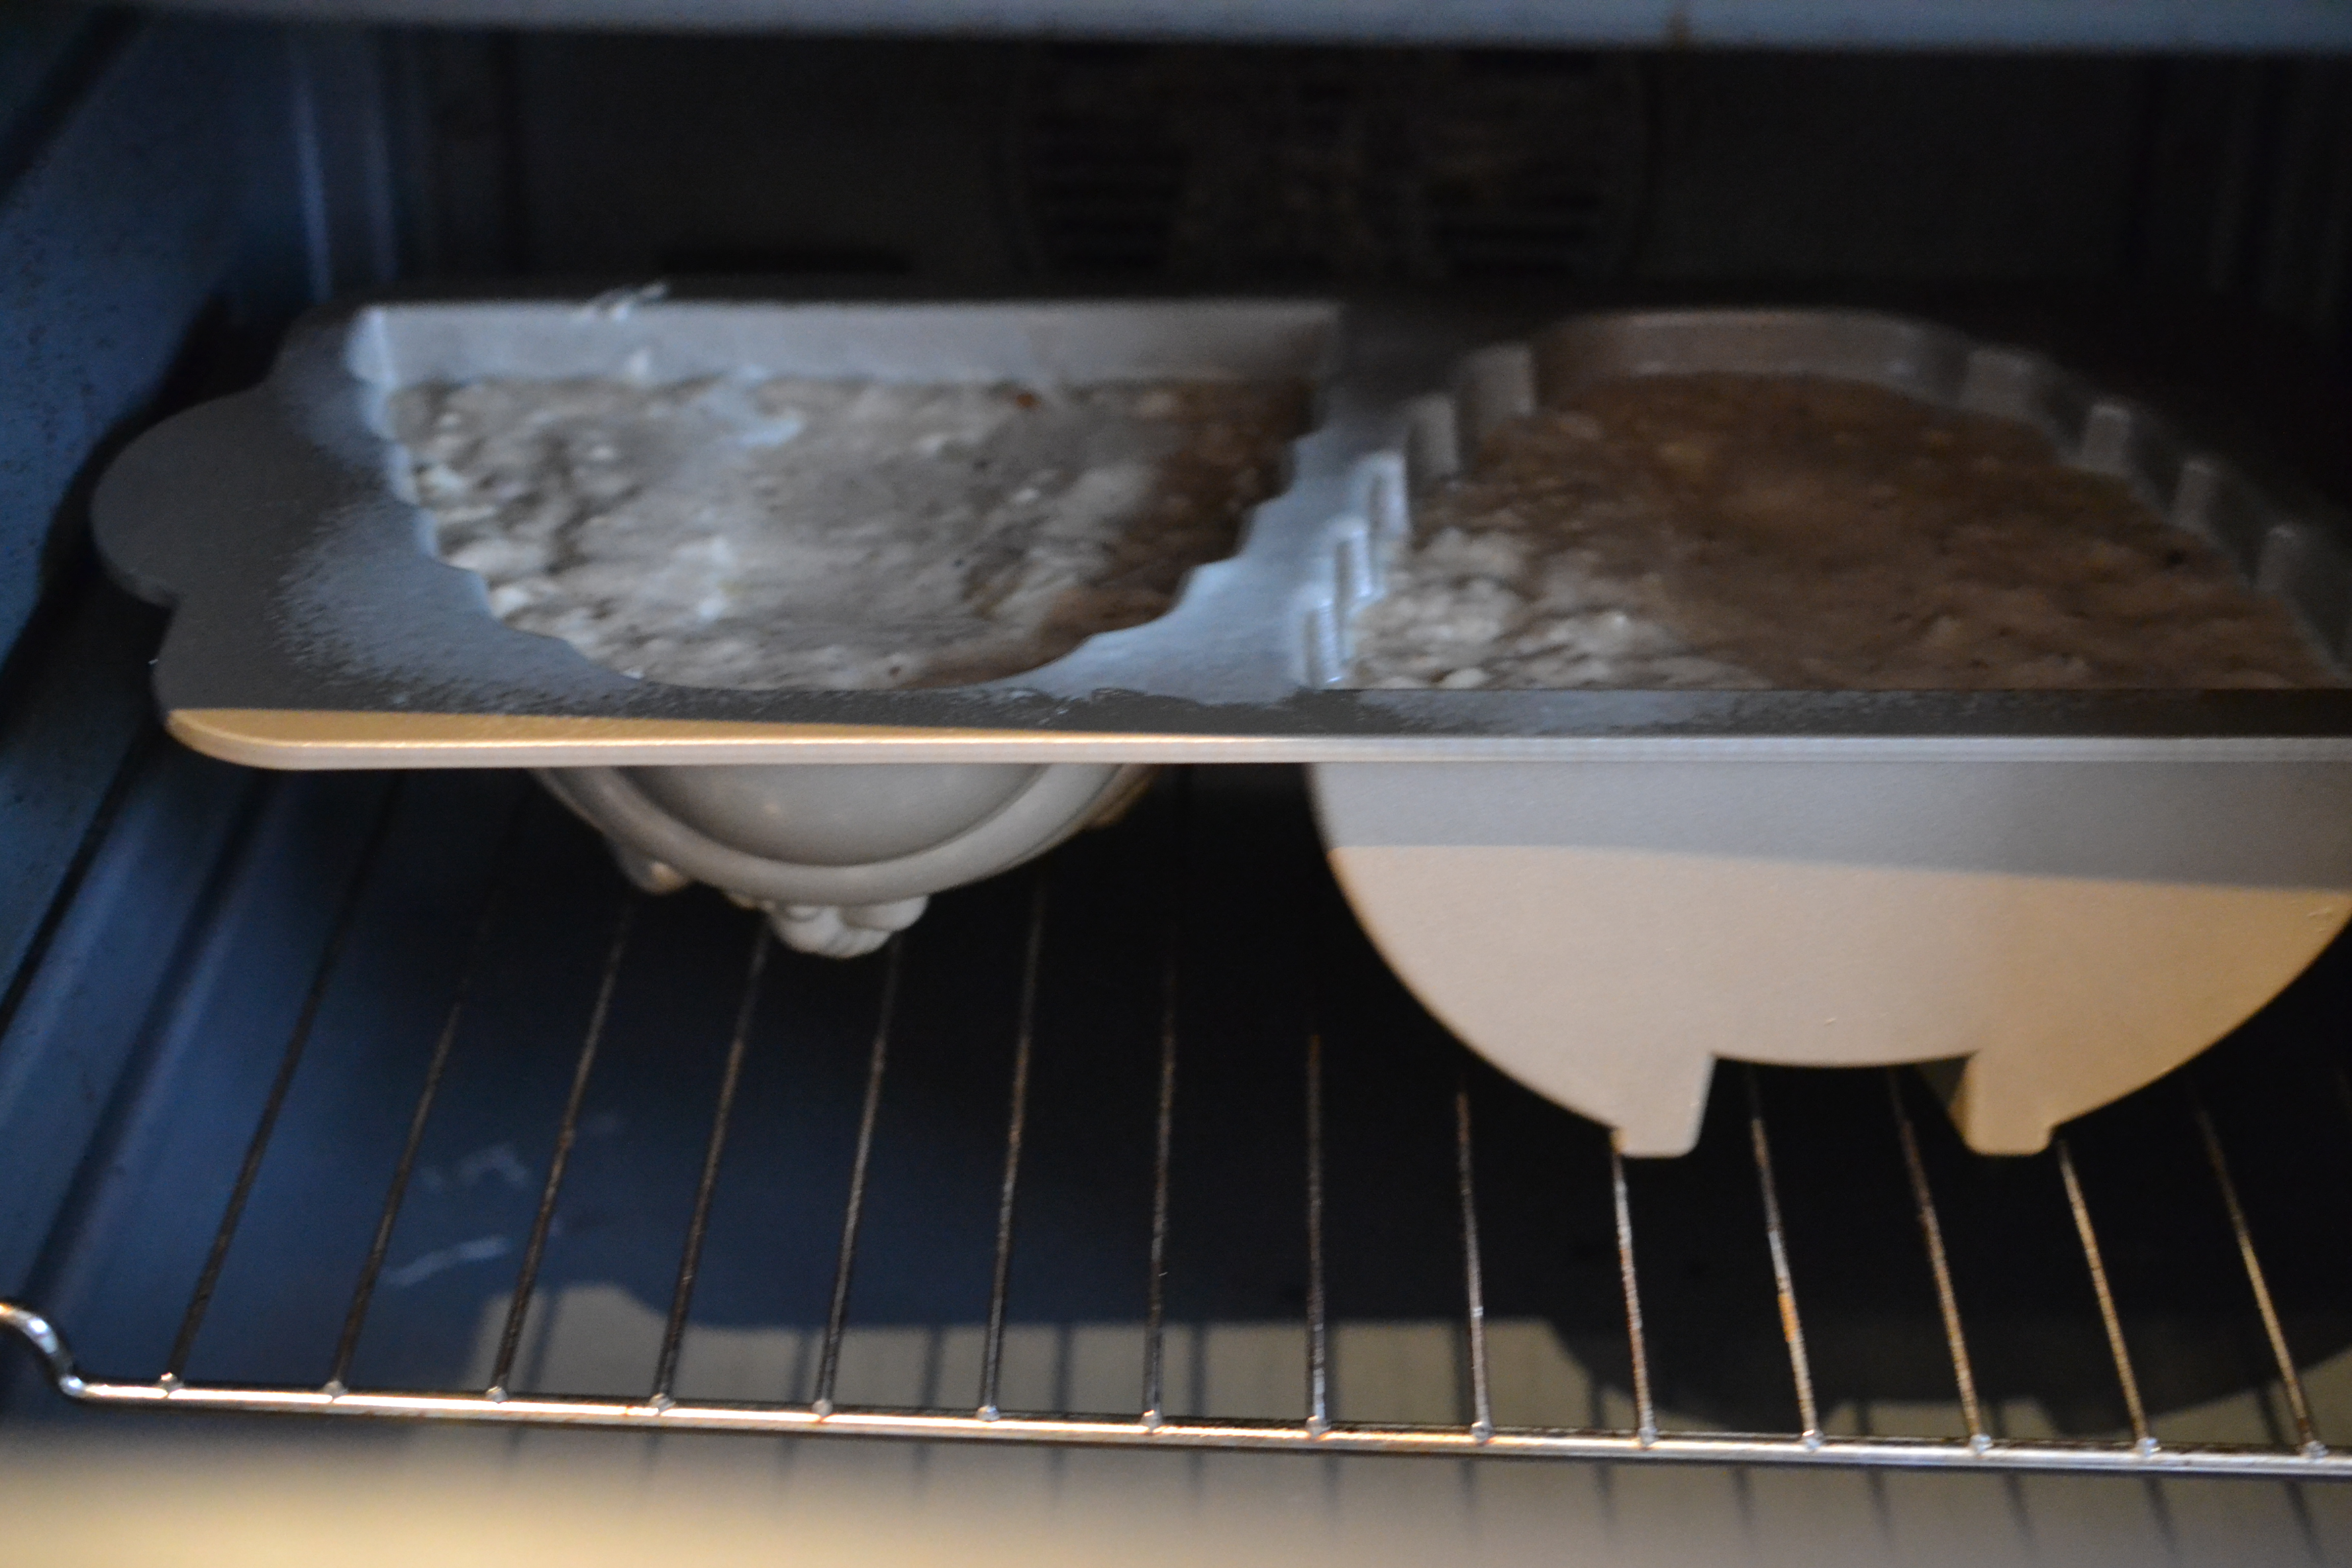
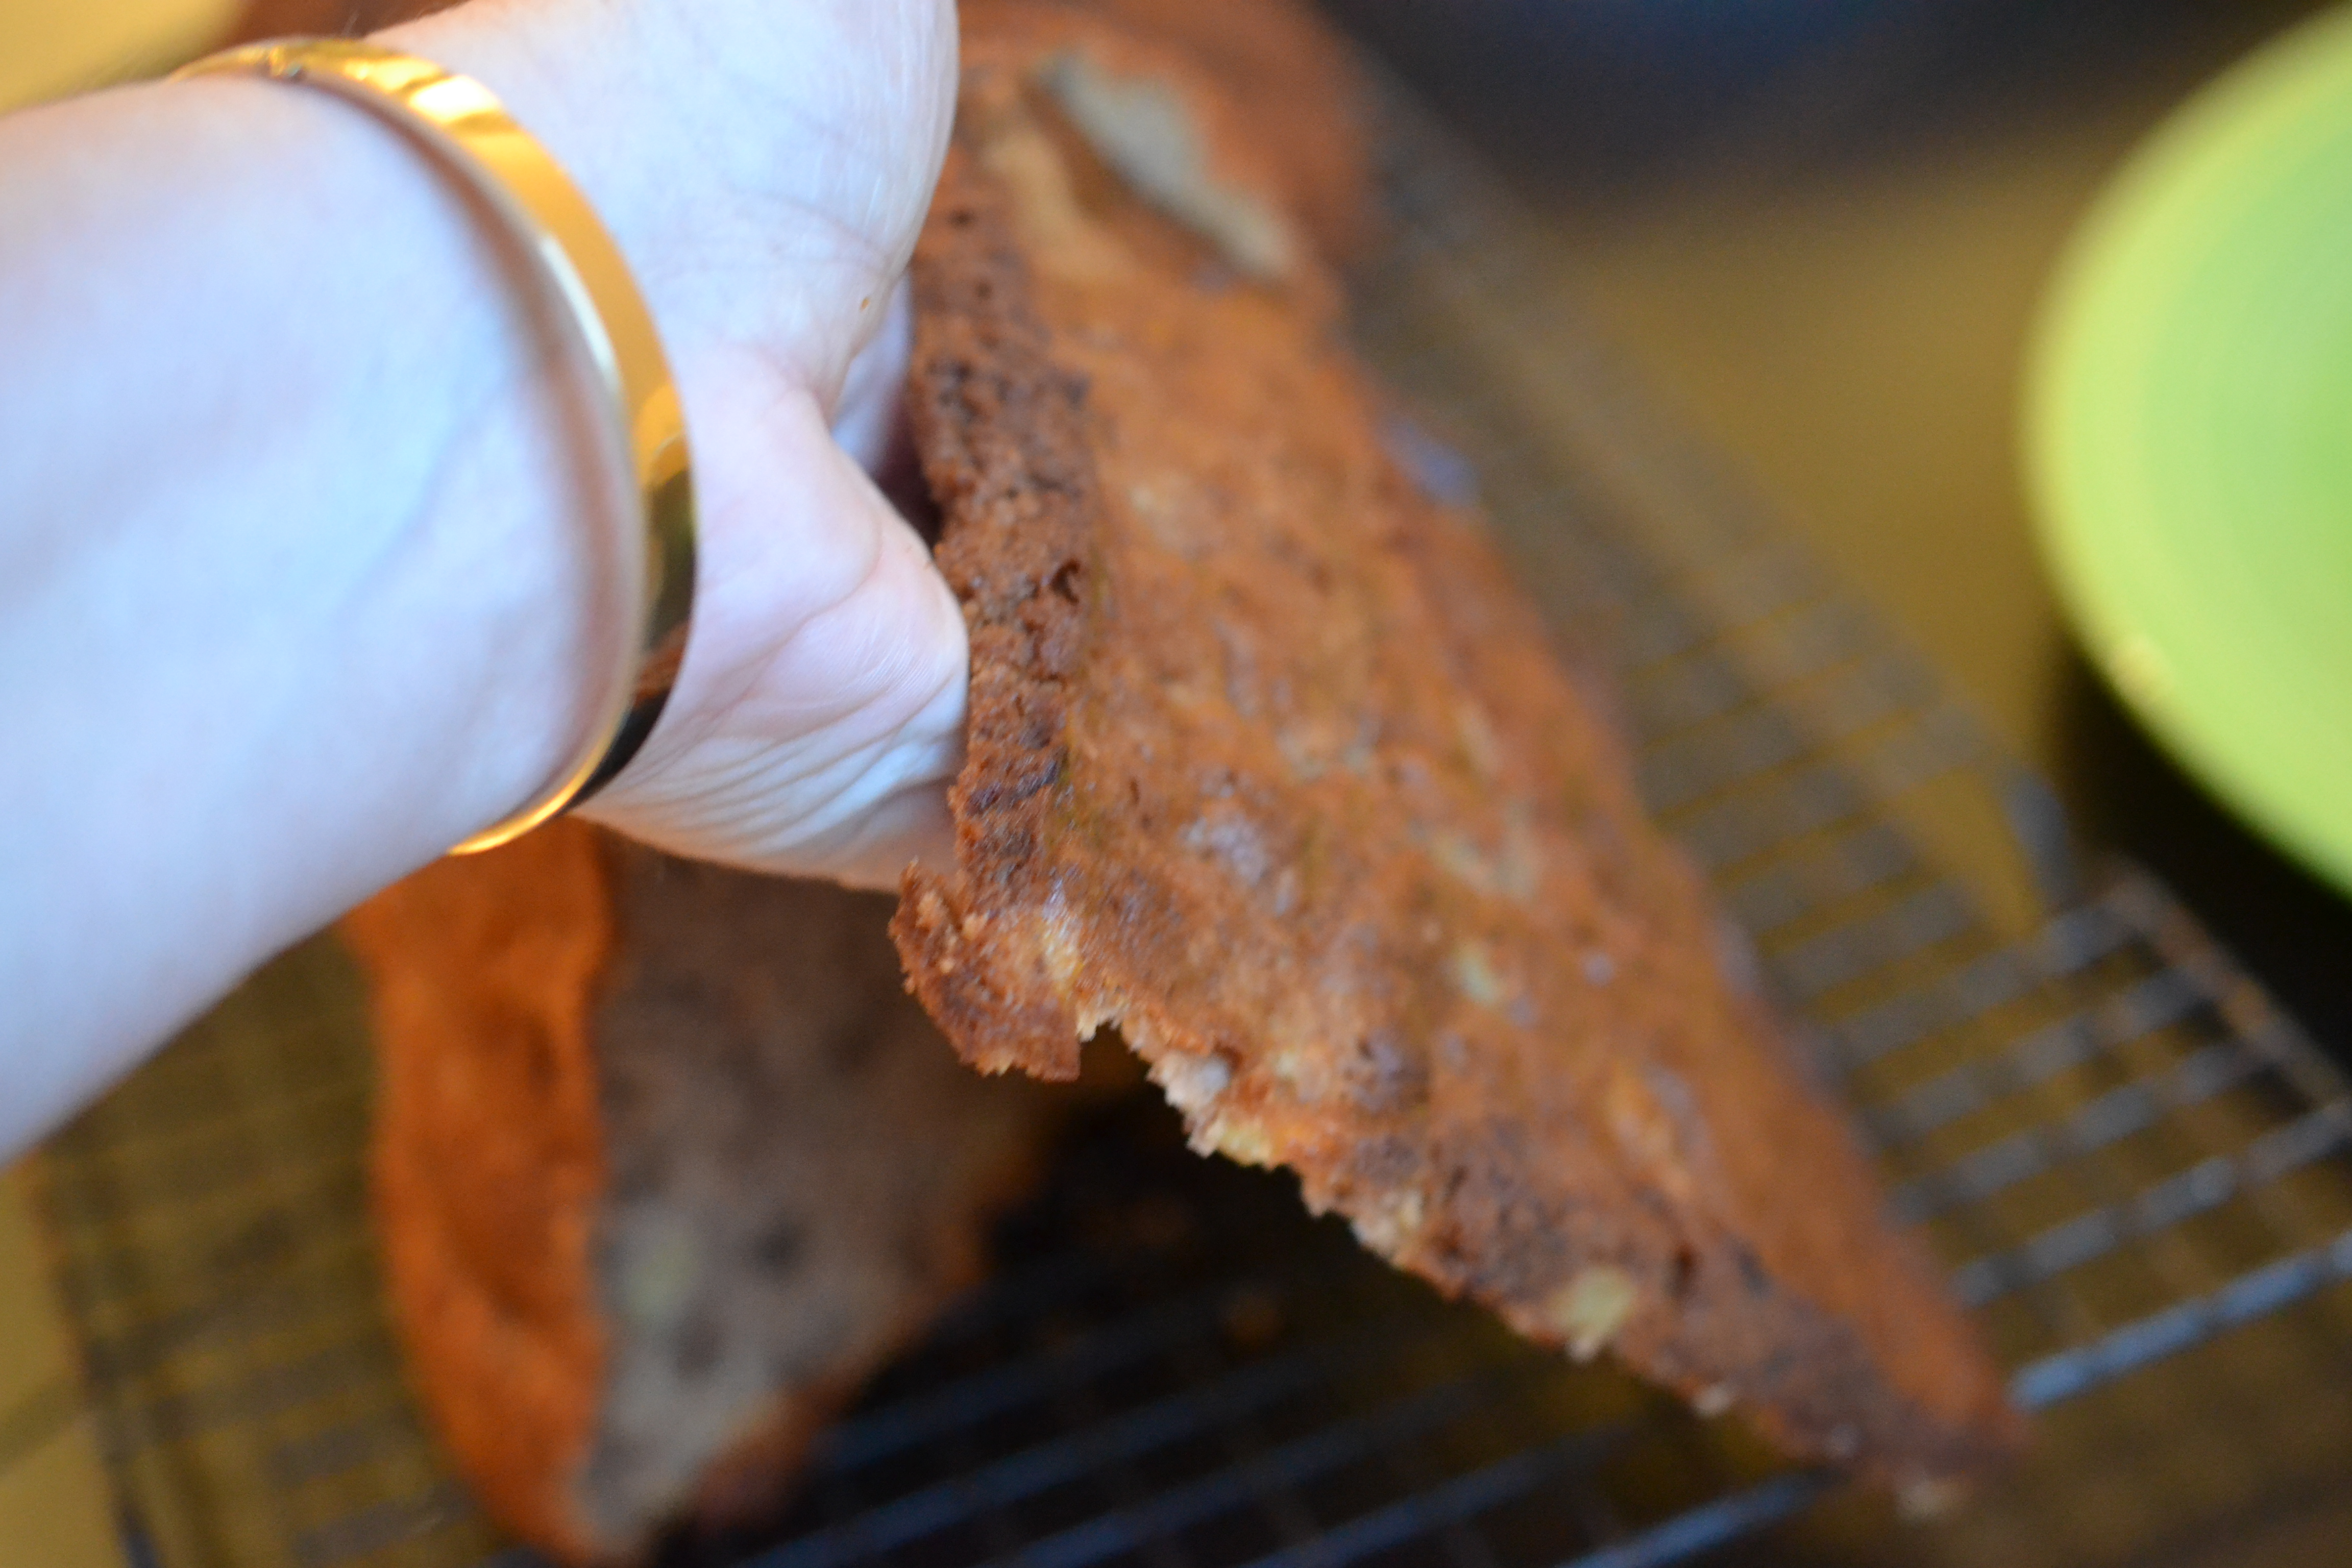
I’m not at all concerned about the crunchy edges – that gets trimmed away before pressing the two halves together.
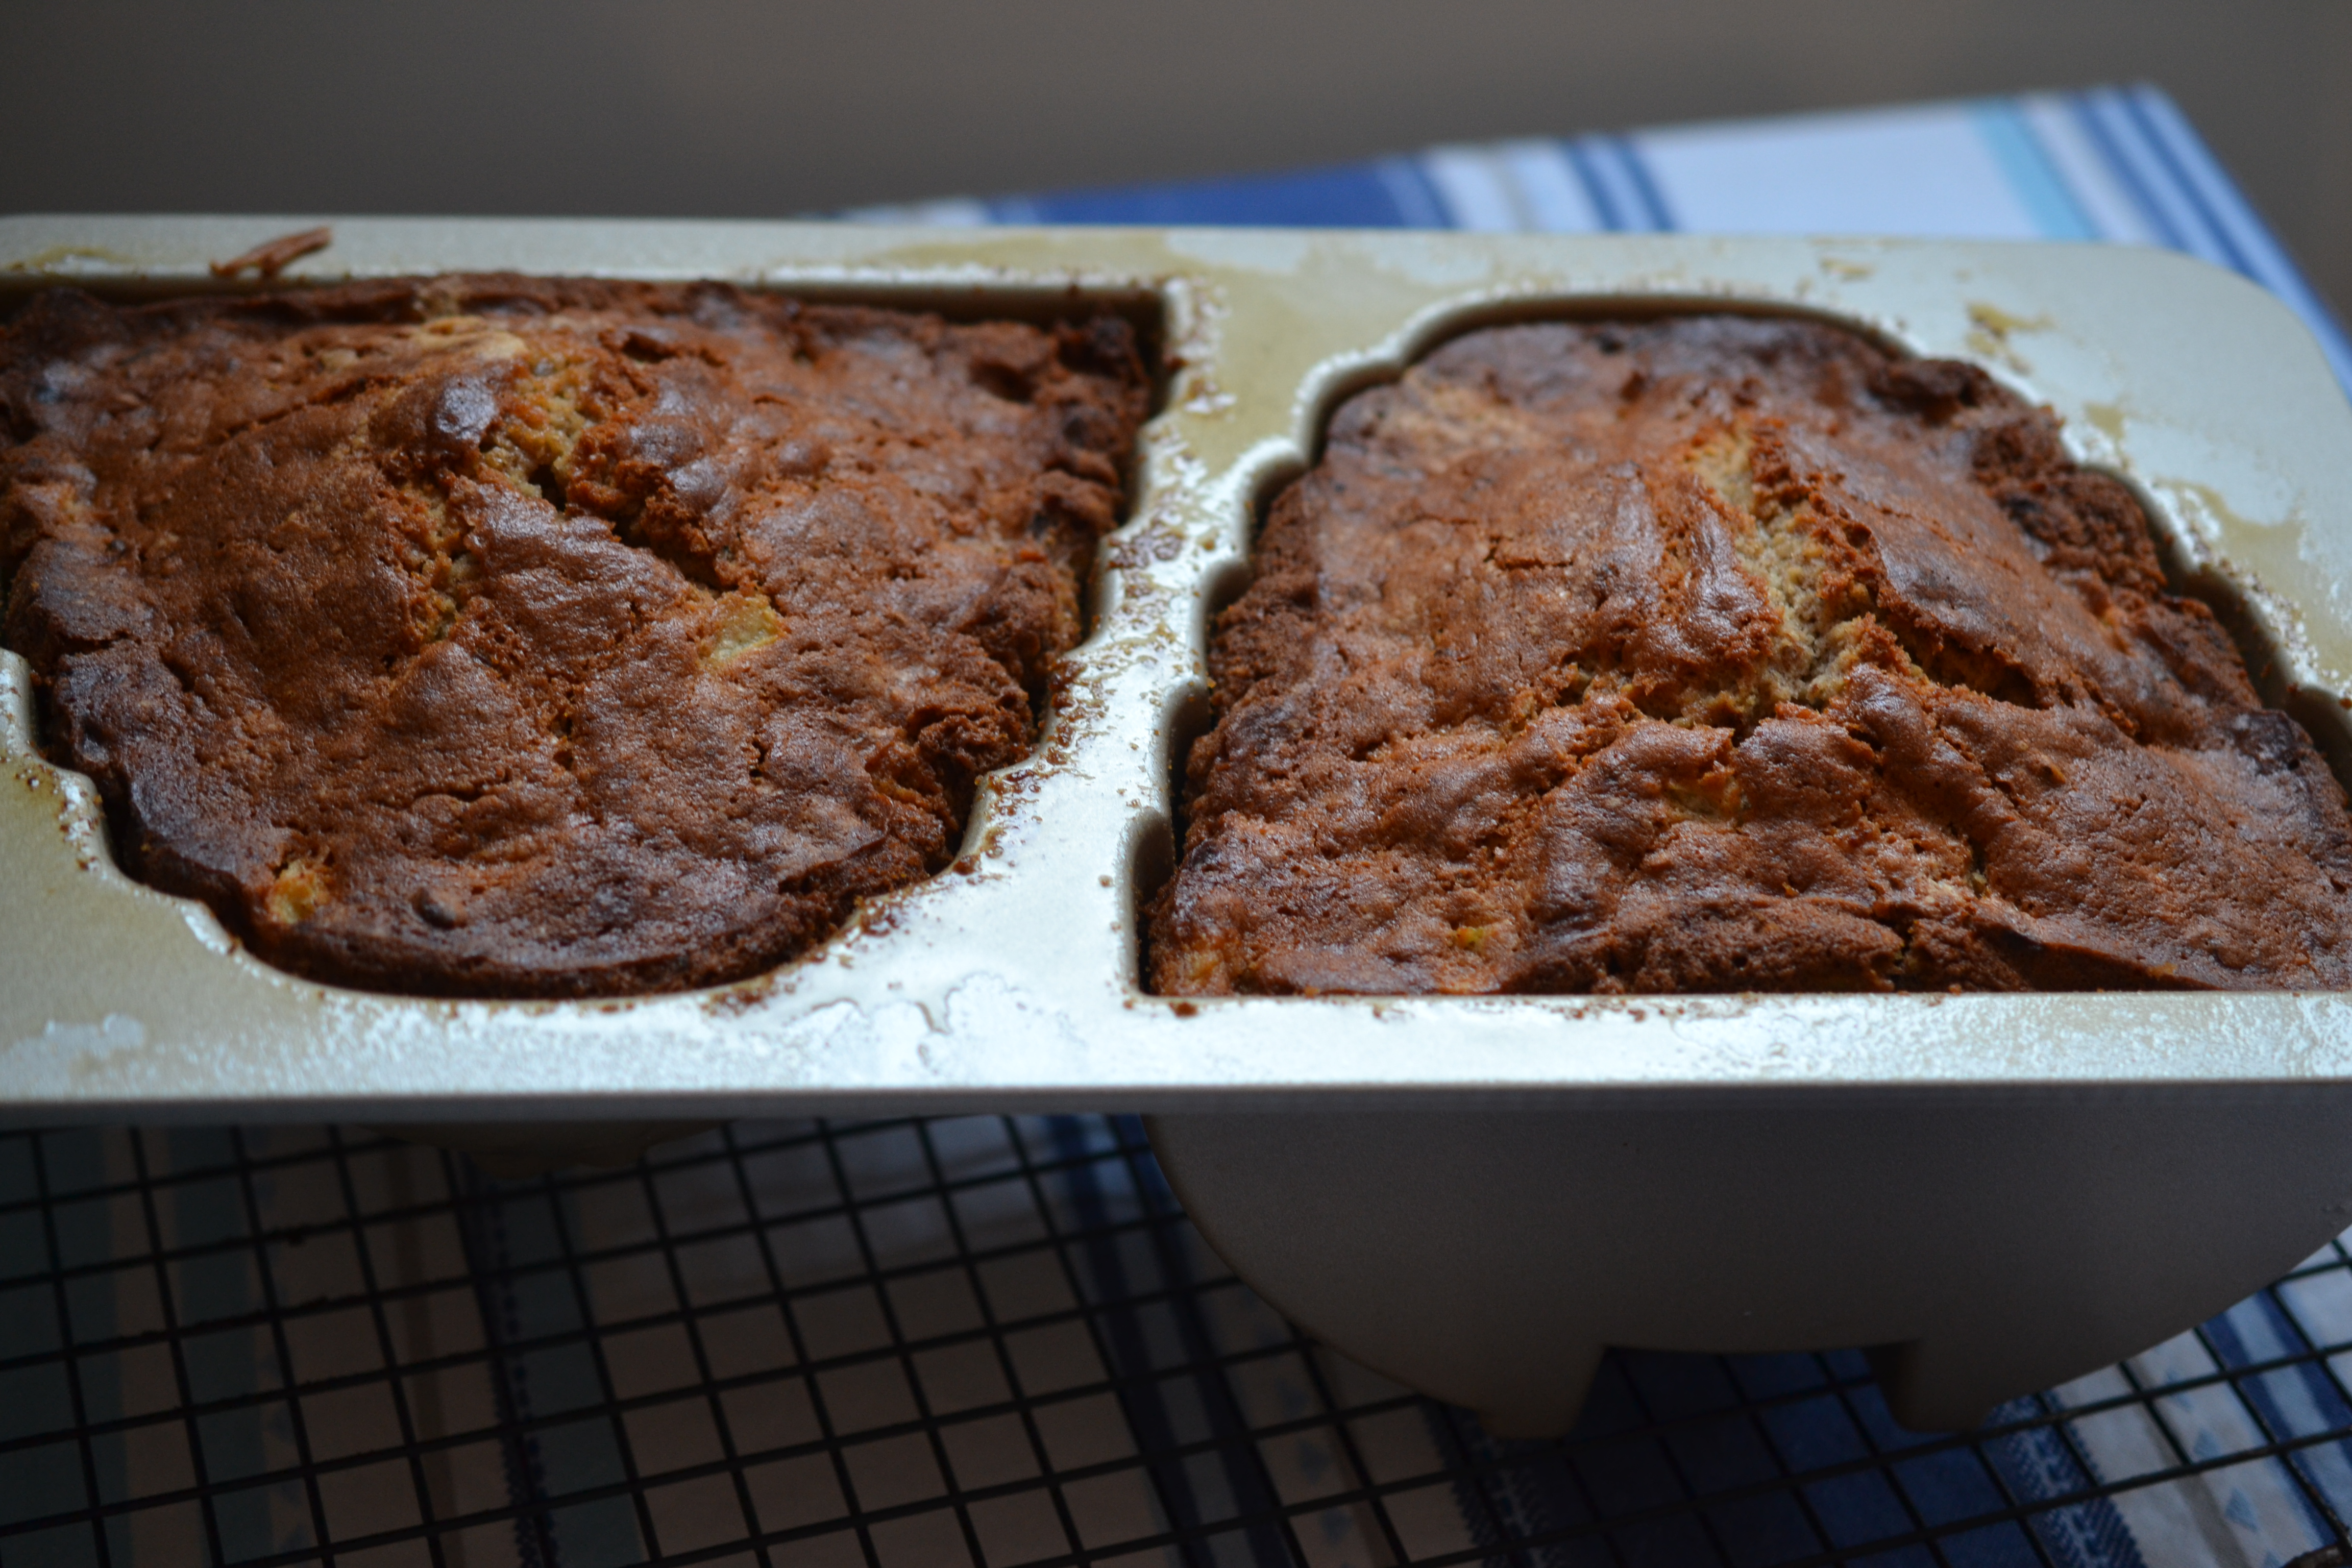
Using a cooking spray with flour is the way to go with this pan. The cake bakes beautifully then slips away from the pan. I couldn’t have hoped for a better outcome.
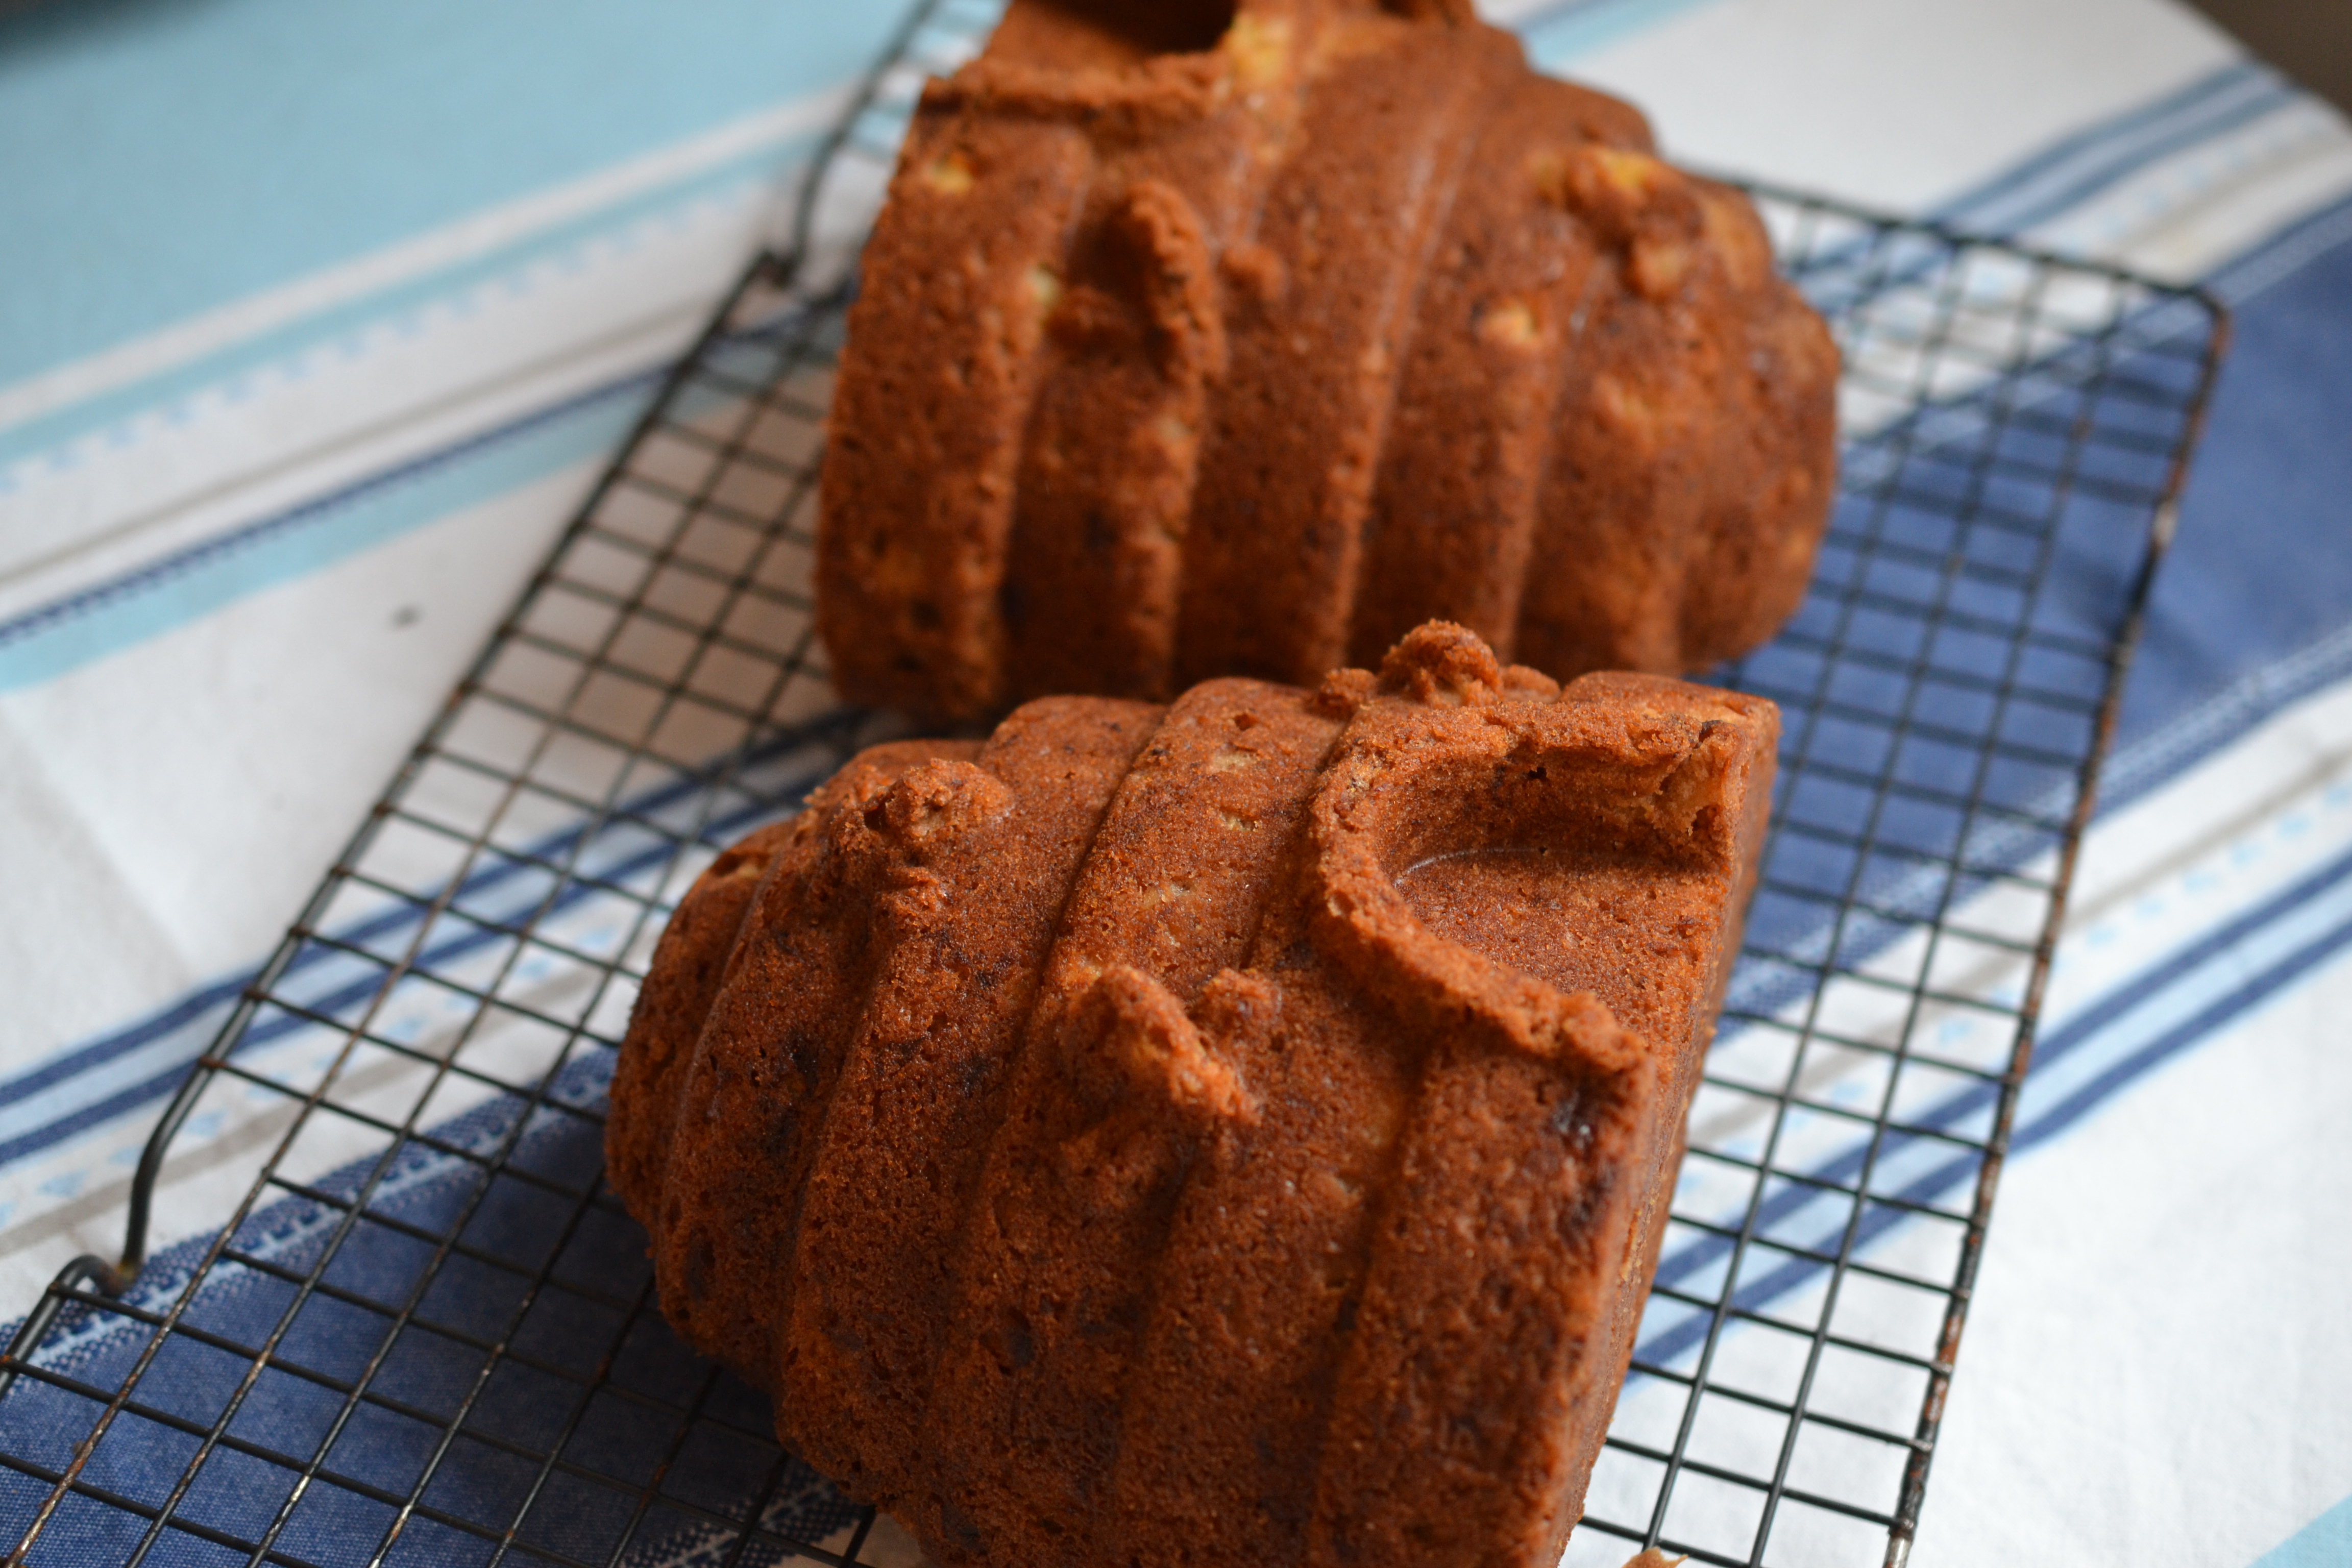
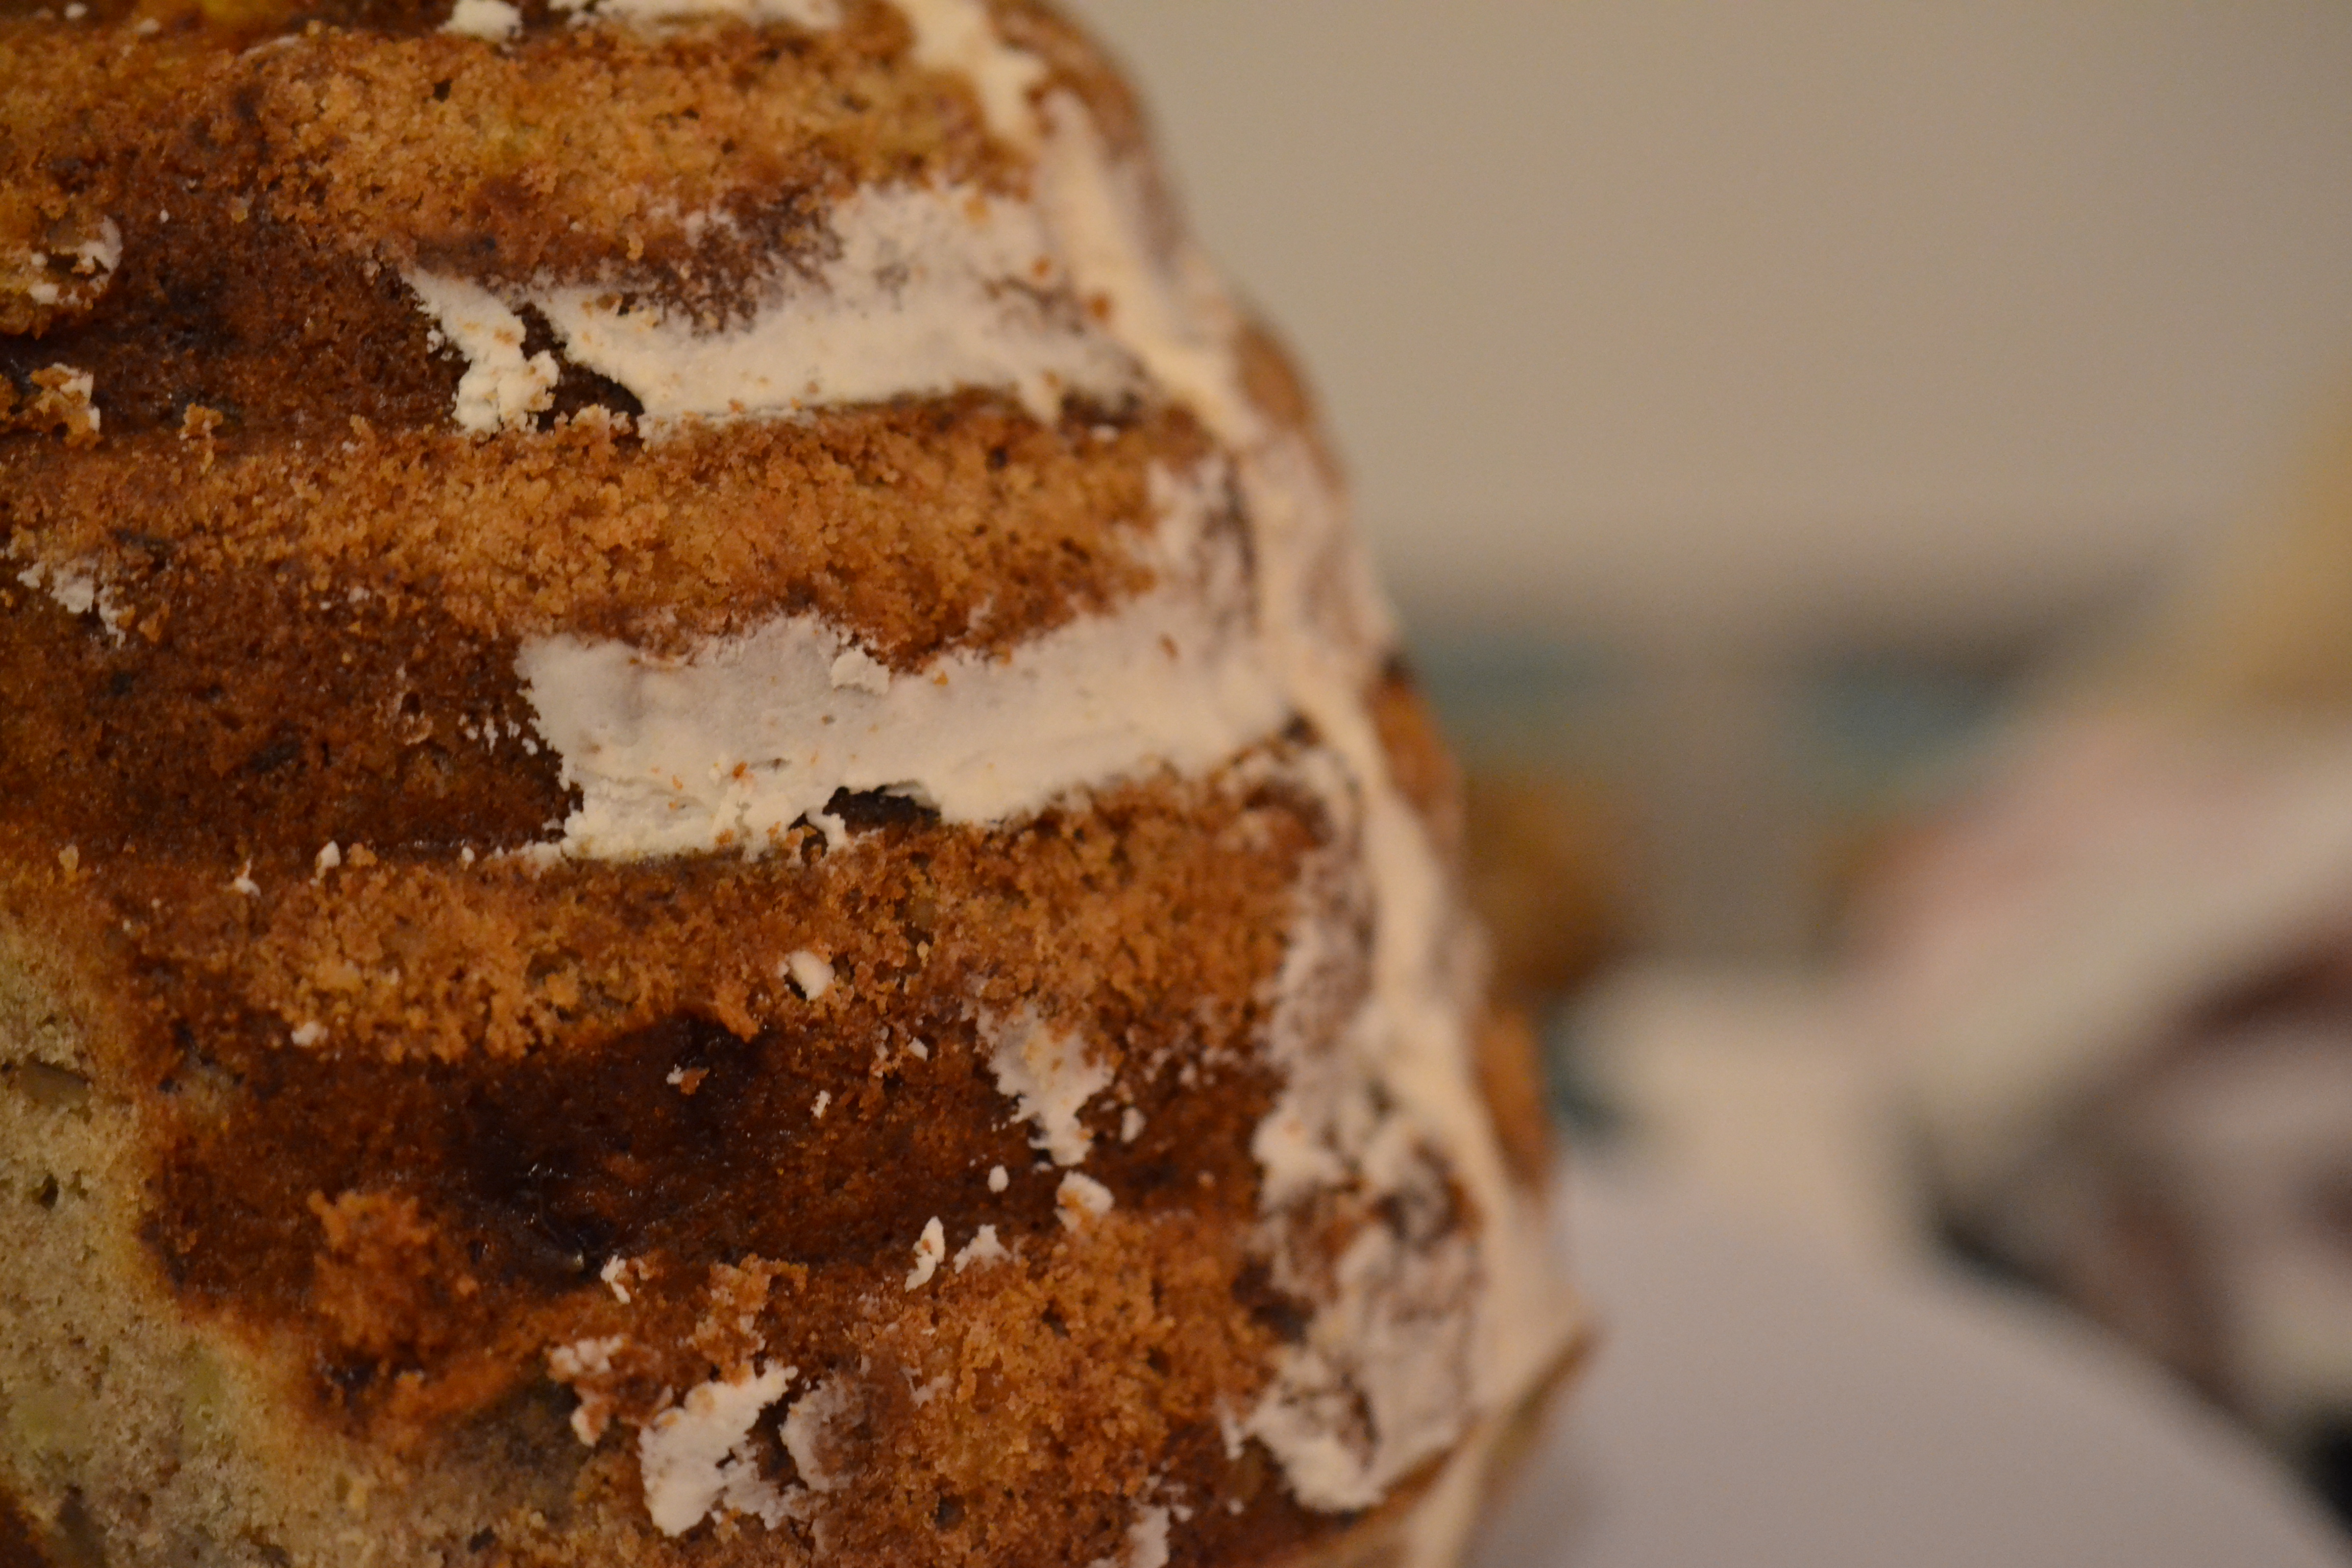
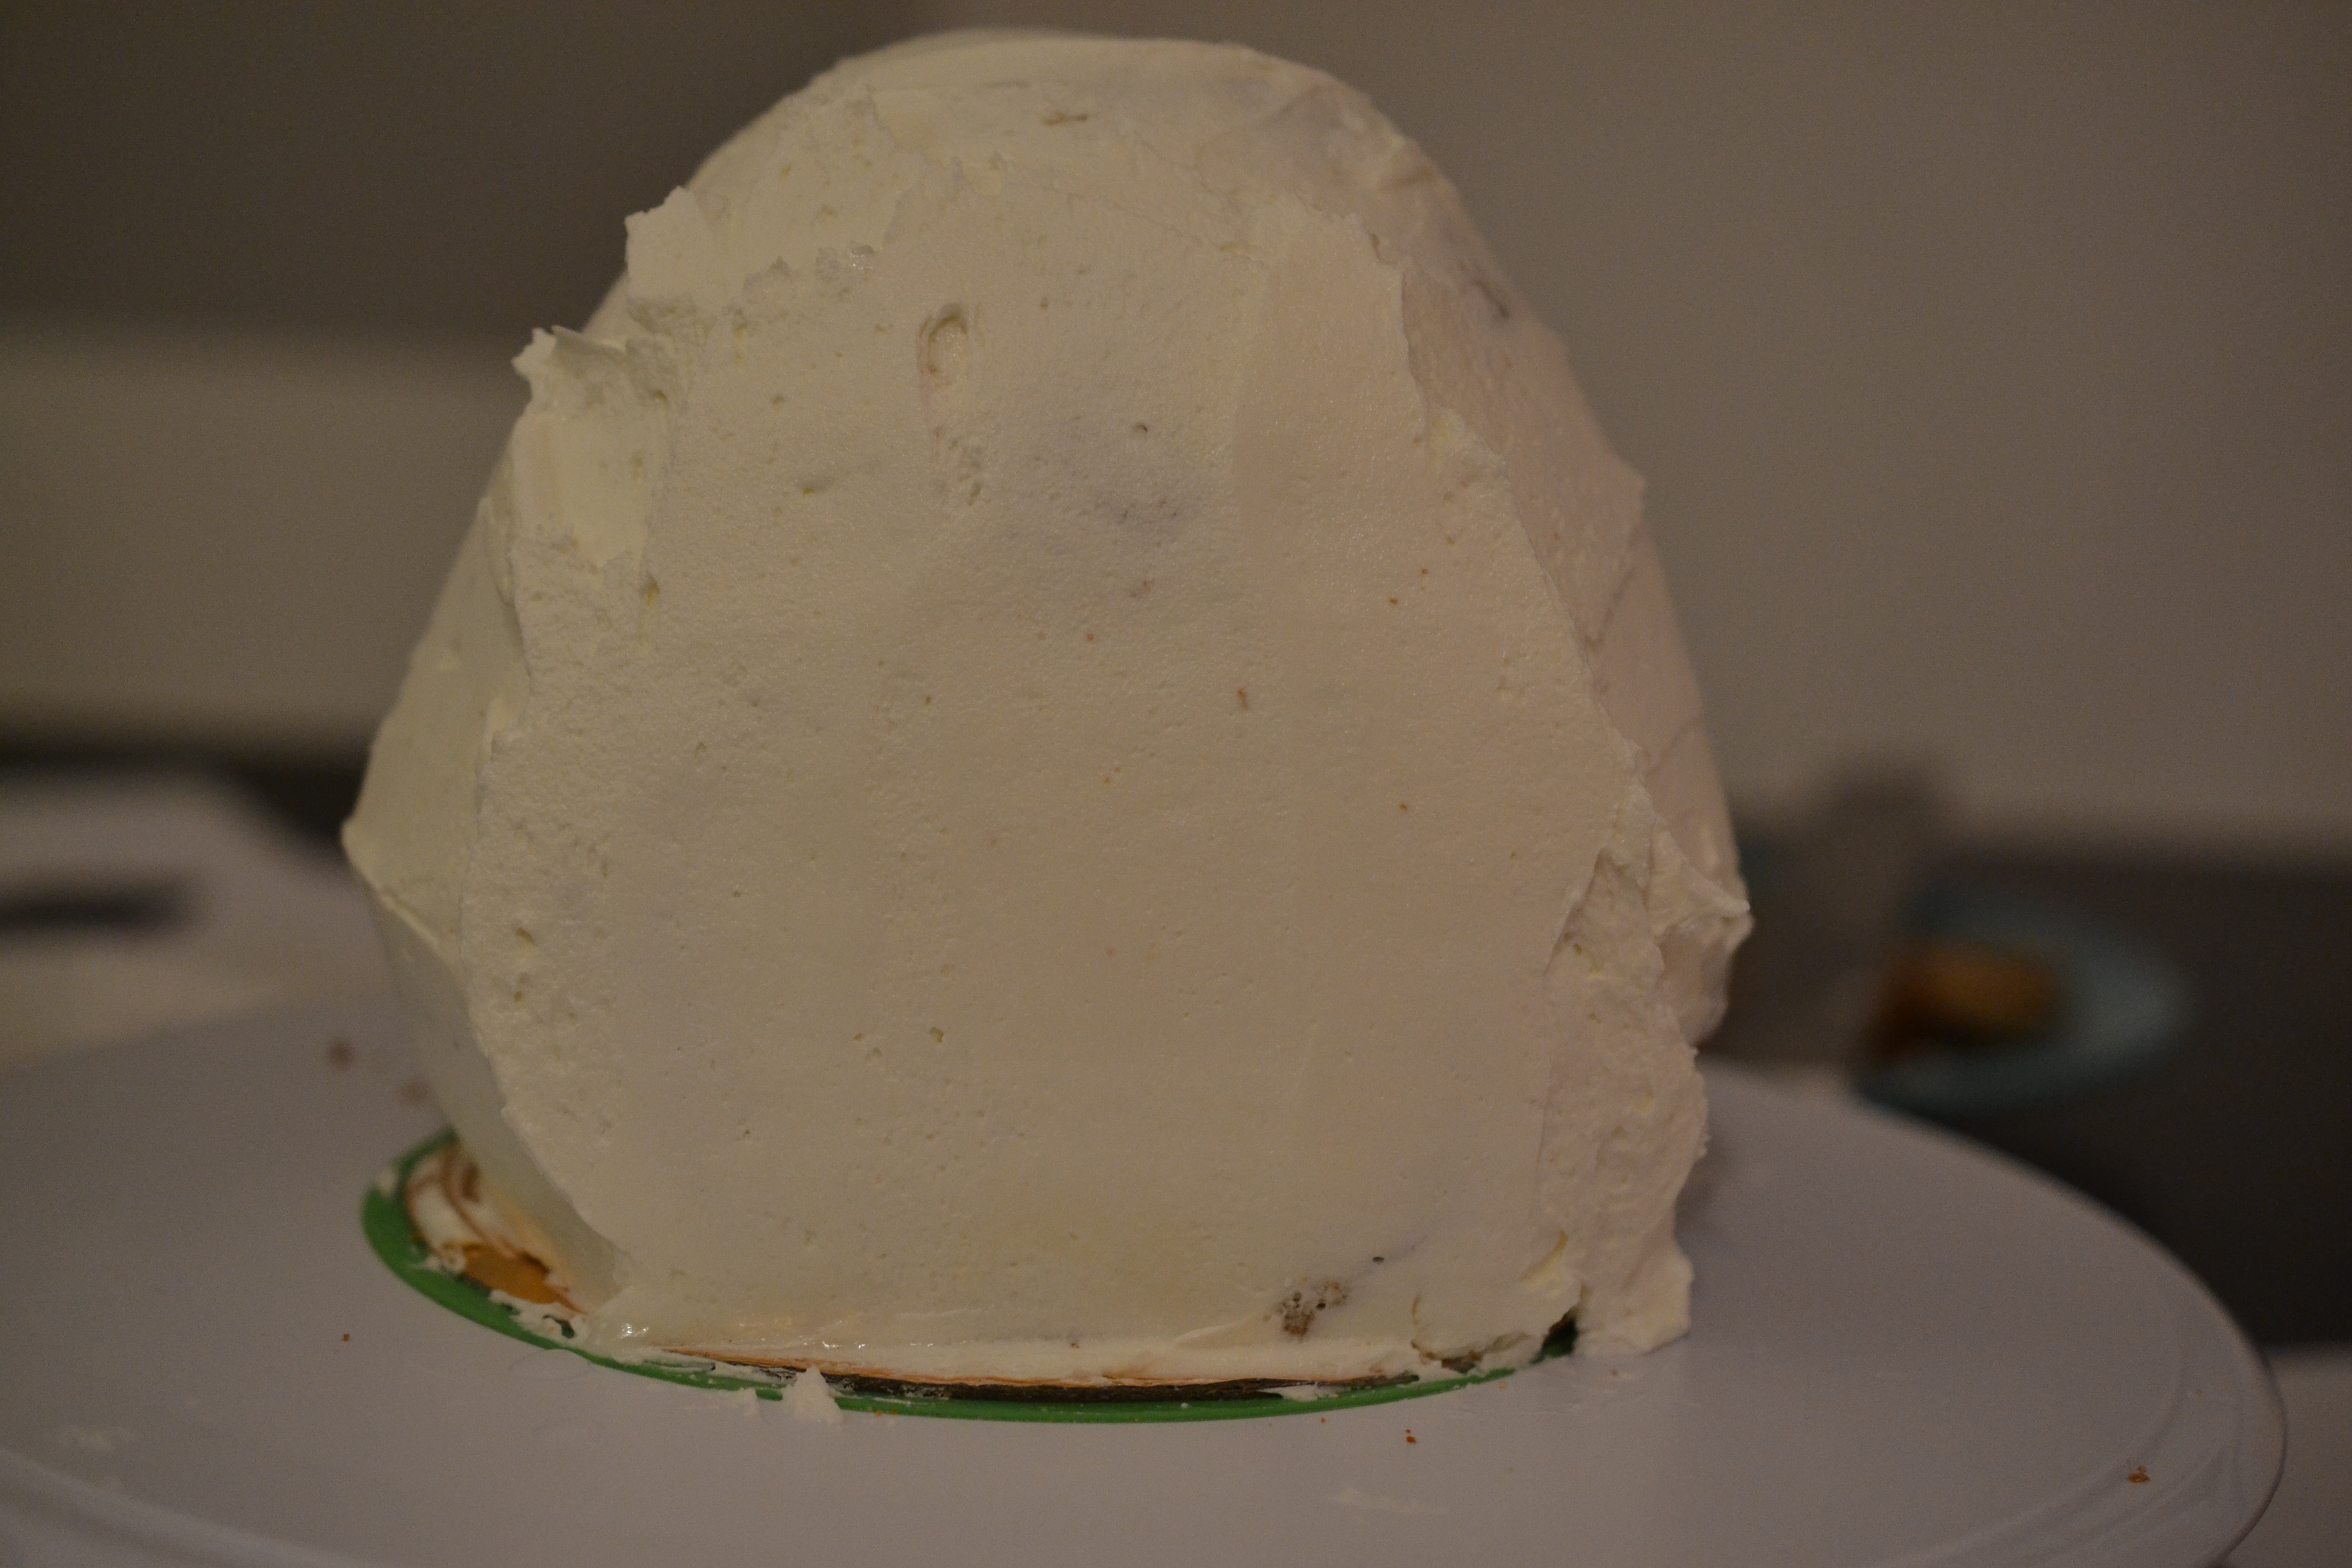
Once cooled, I sliced away the rough edge and applied a stiff vanilla buttercream.
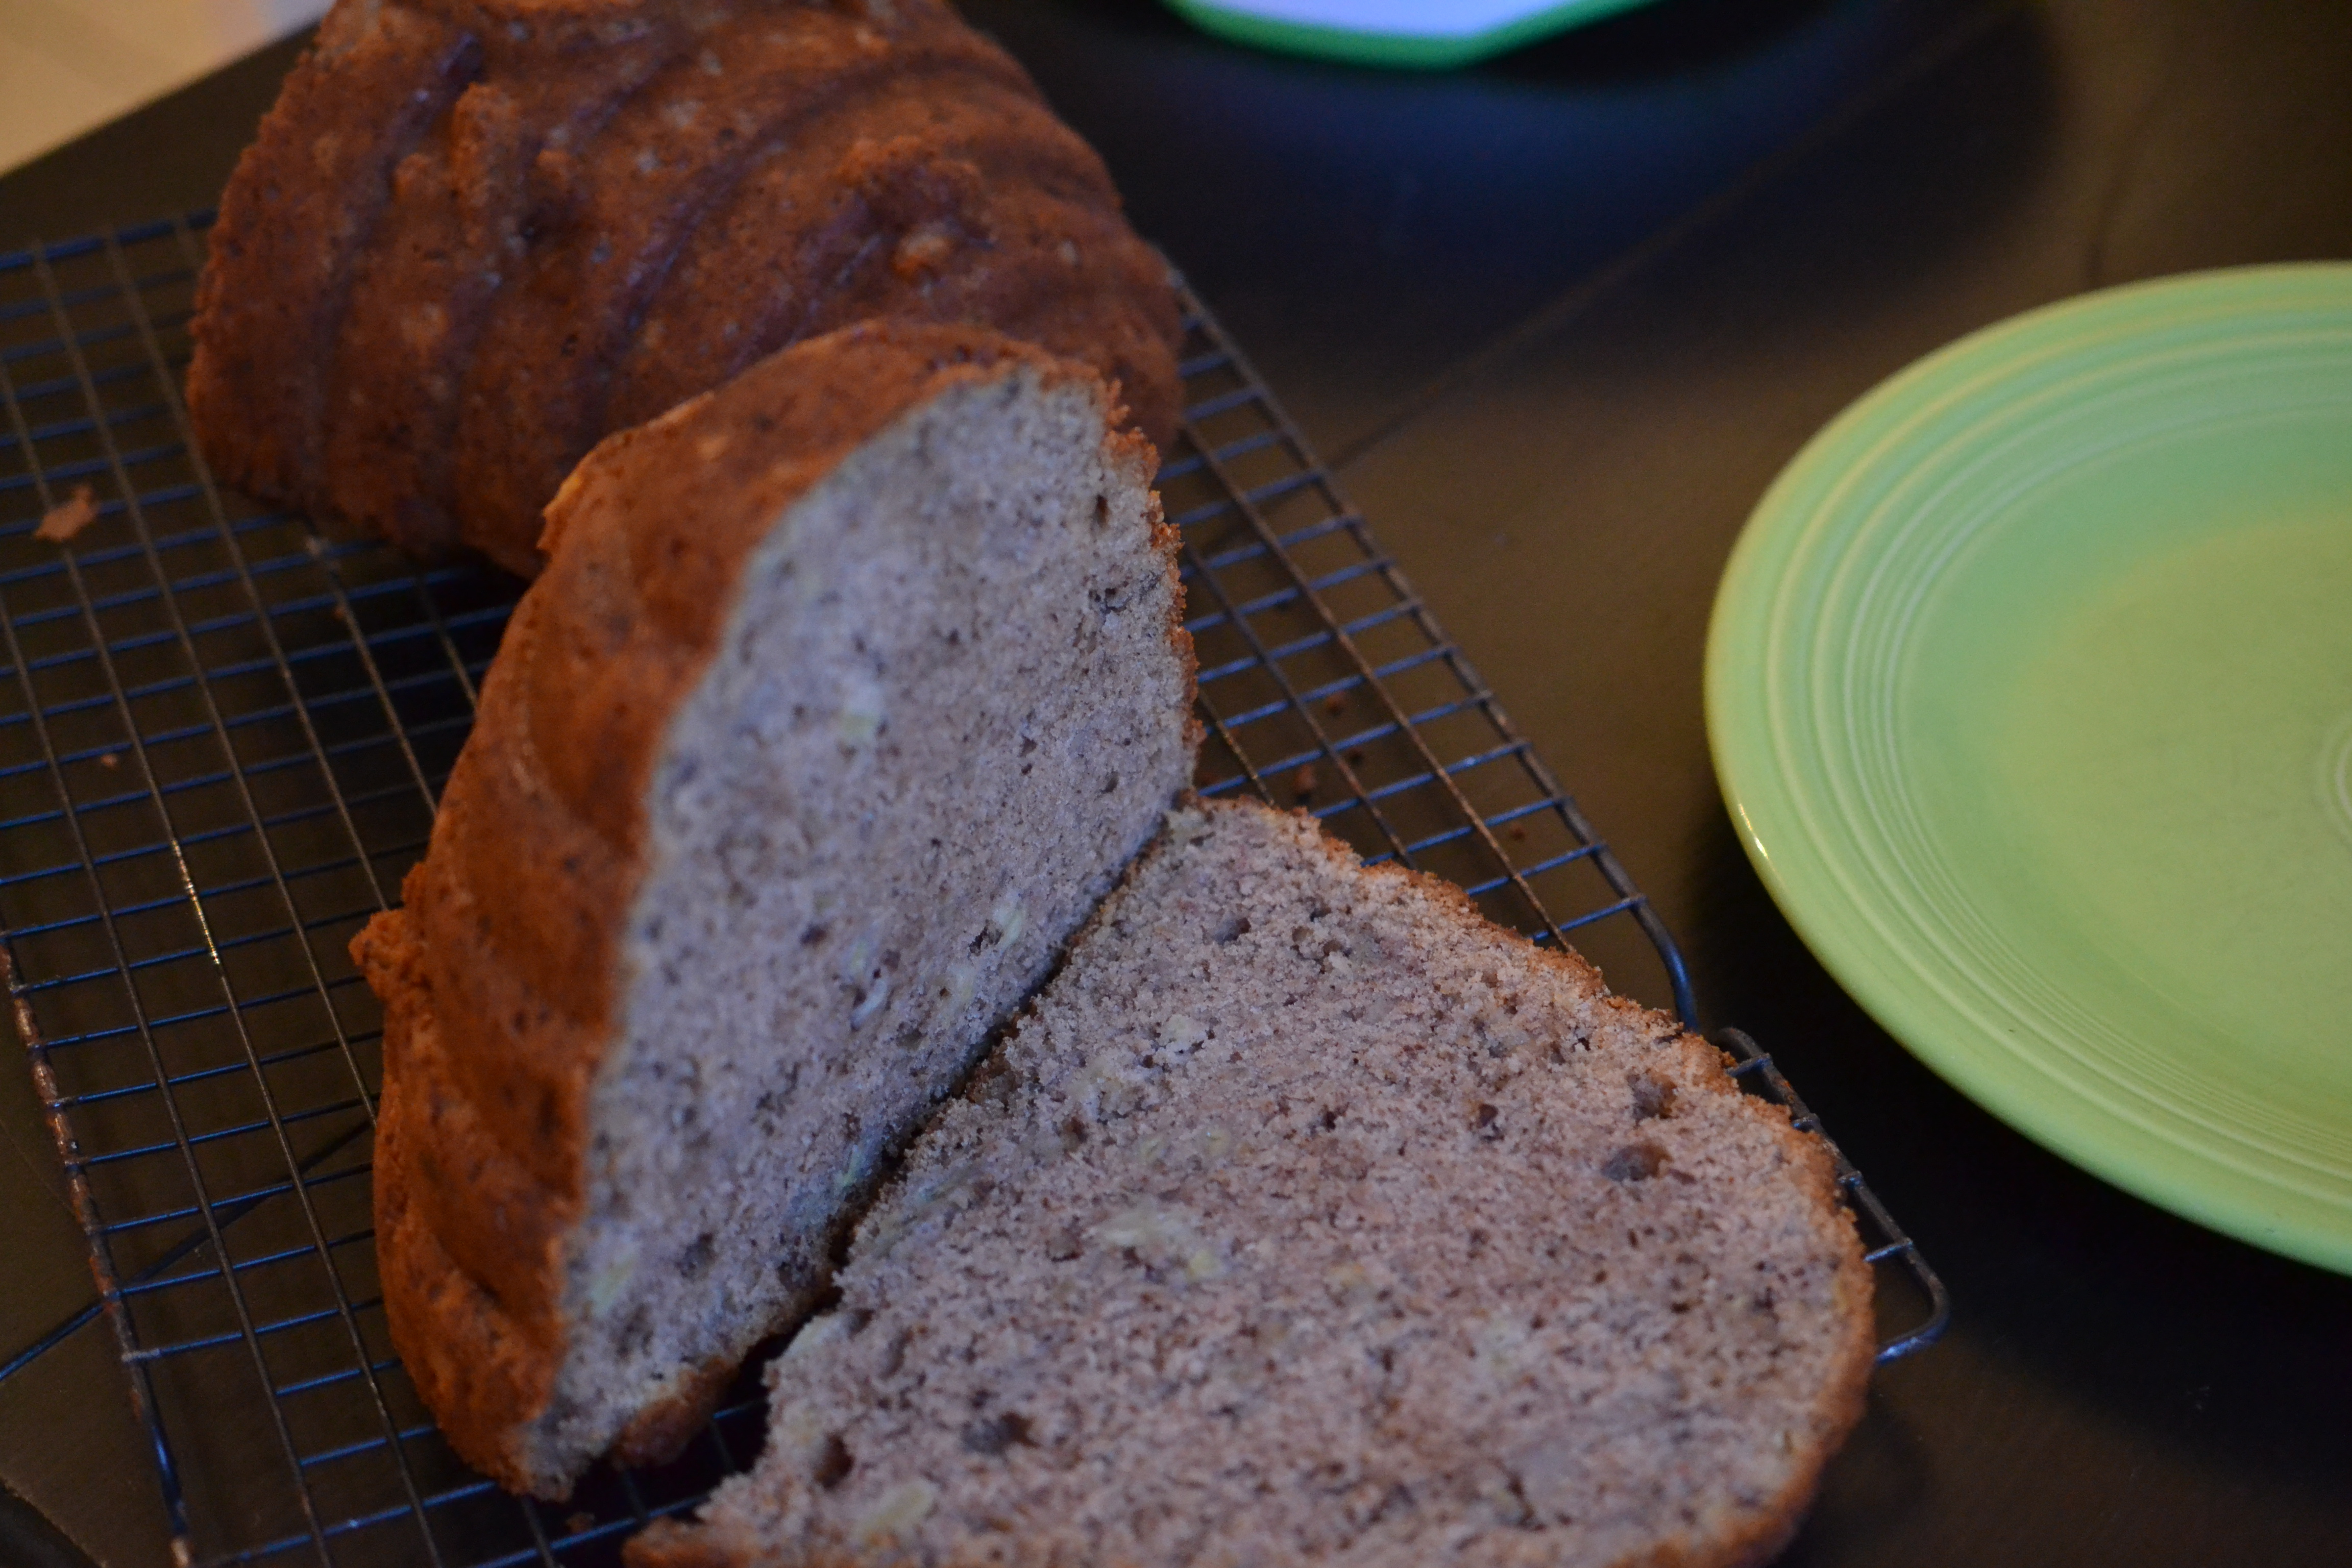
I count on my Homer Laughlin Fiesta Dinnerware at every point during the baking process – mixing, building, and serving.
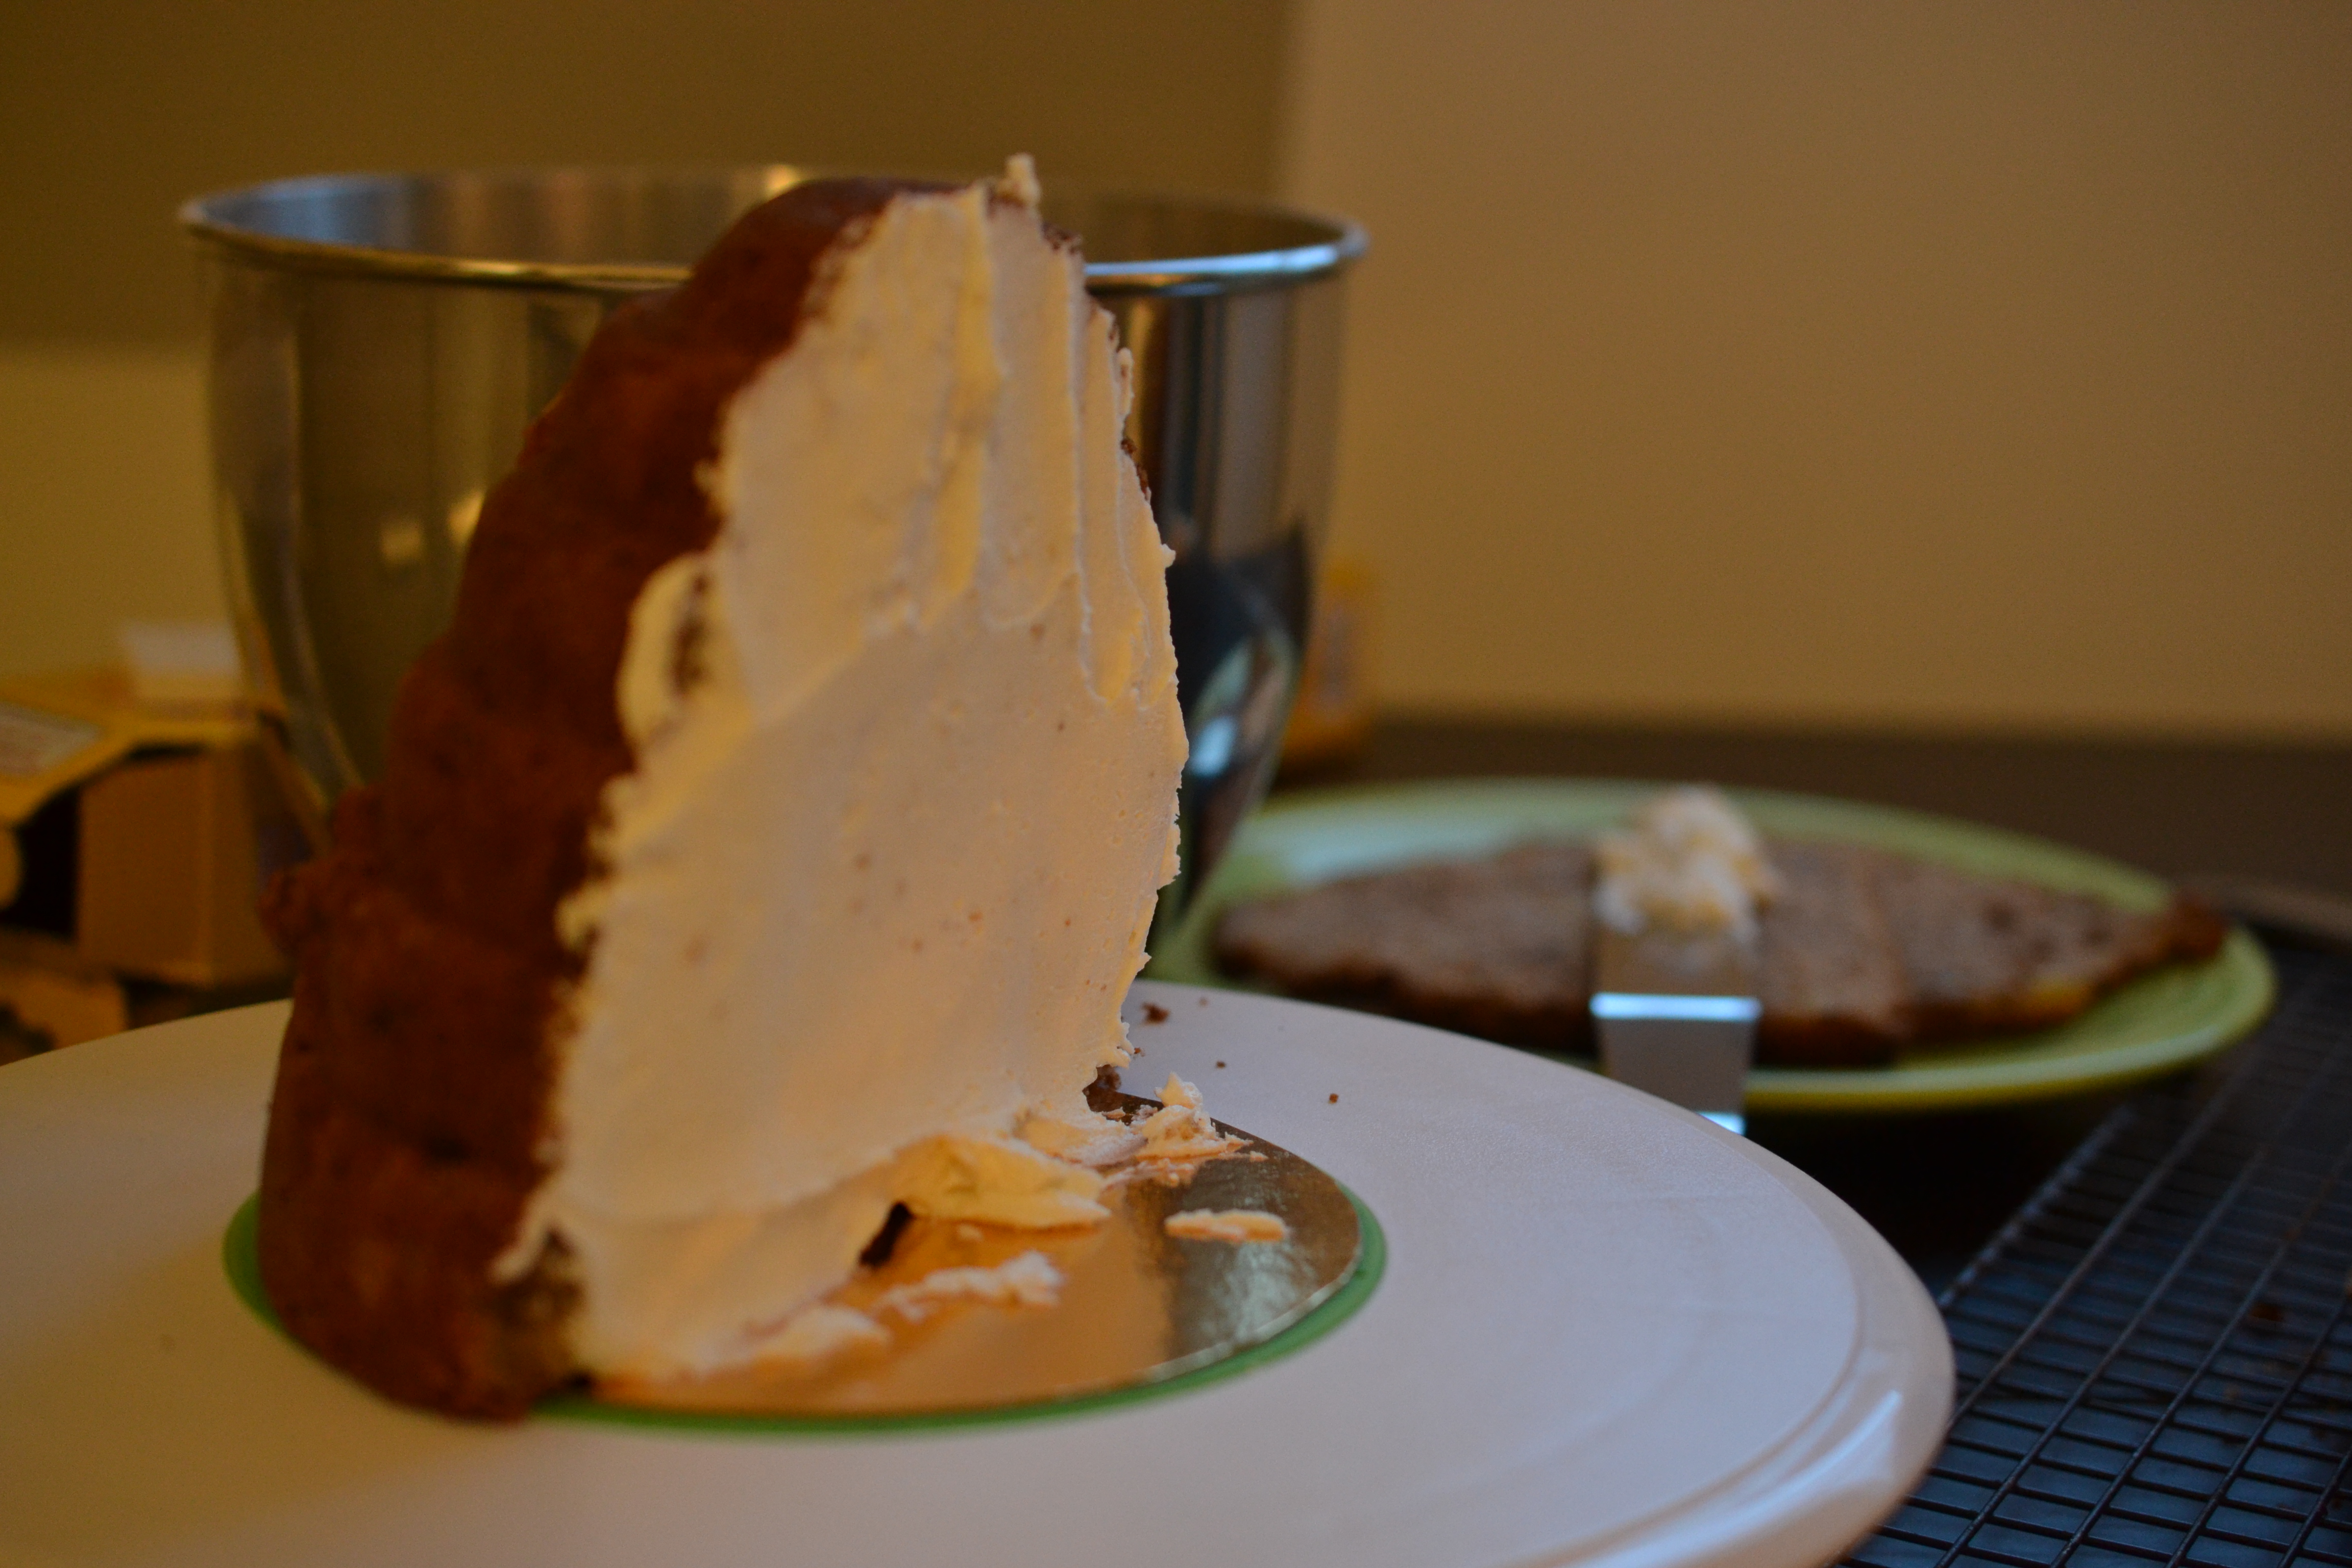
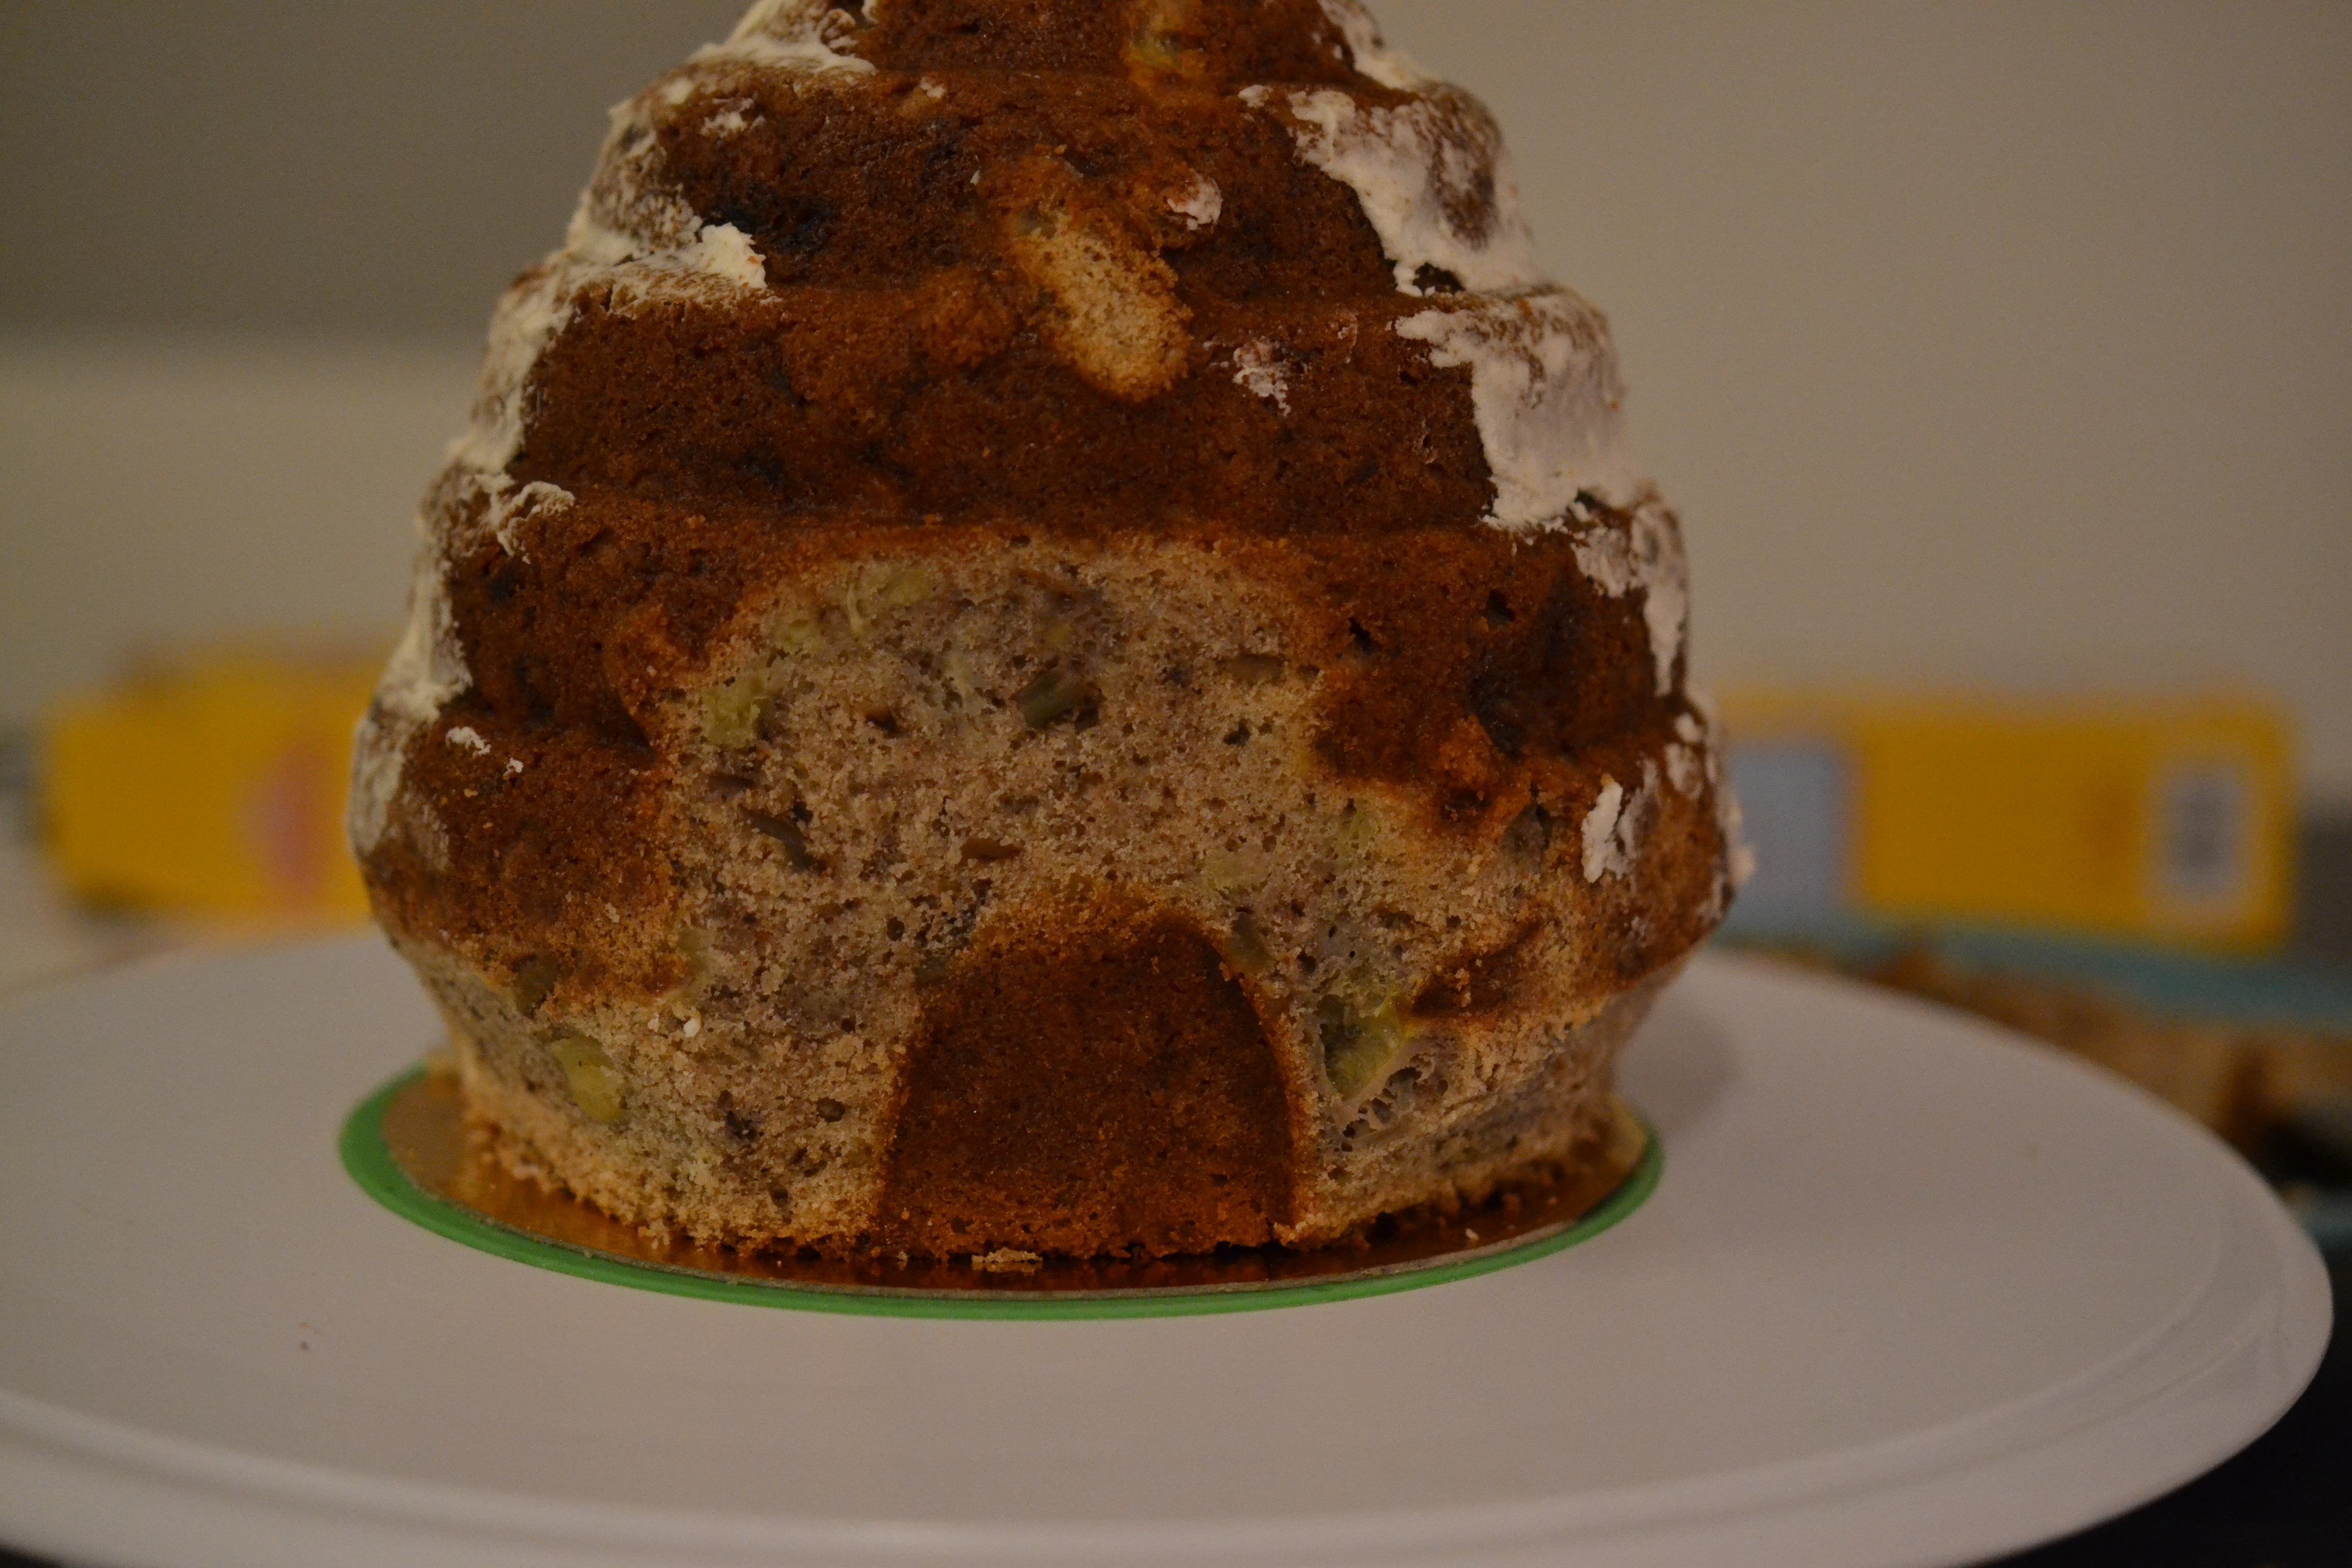
Knowing I would carve away some of the base, I chose to use a smaller cake round. I didn’t want it visible in the final look, but needed it there for support while working on the cake and transferring it to the cake stand.
I opted to not crumb coat at this stage because I wanted to get the carving done first. And before I could carve, I wanted the two halves to be quite sturdy.
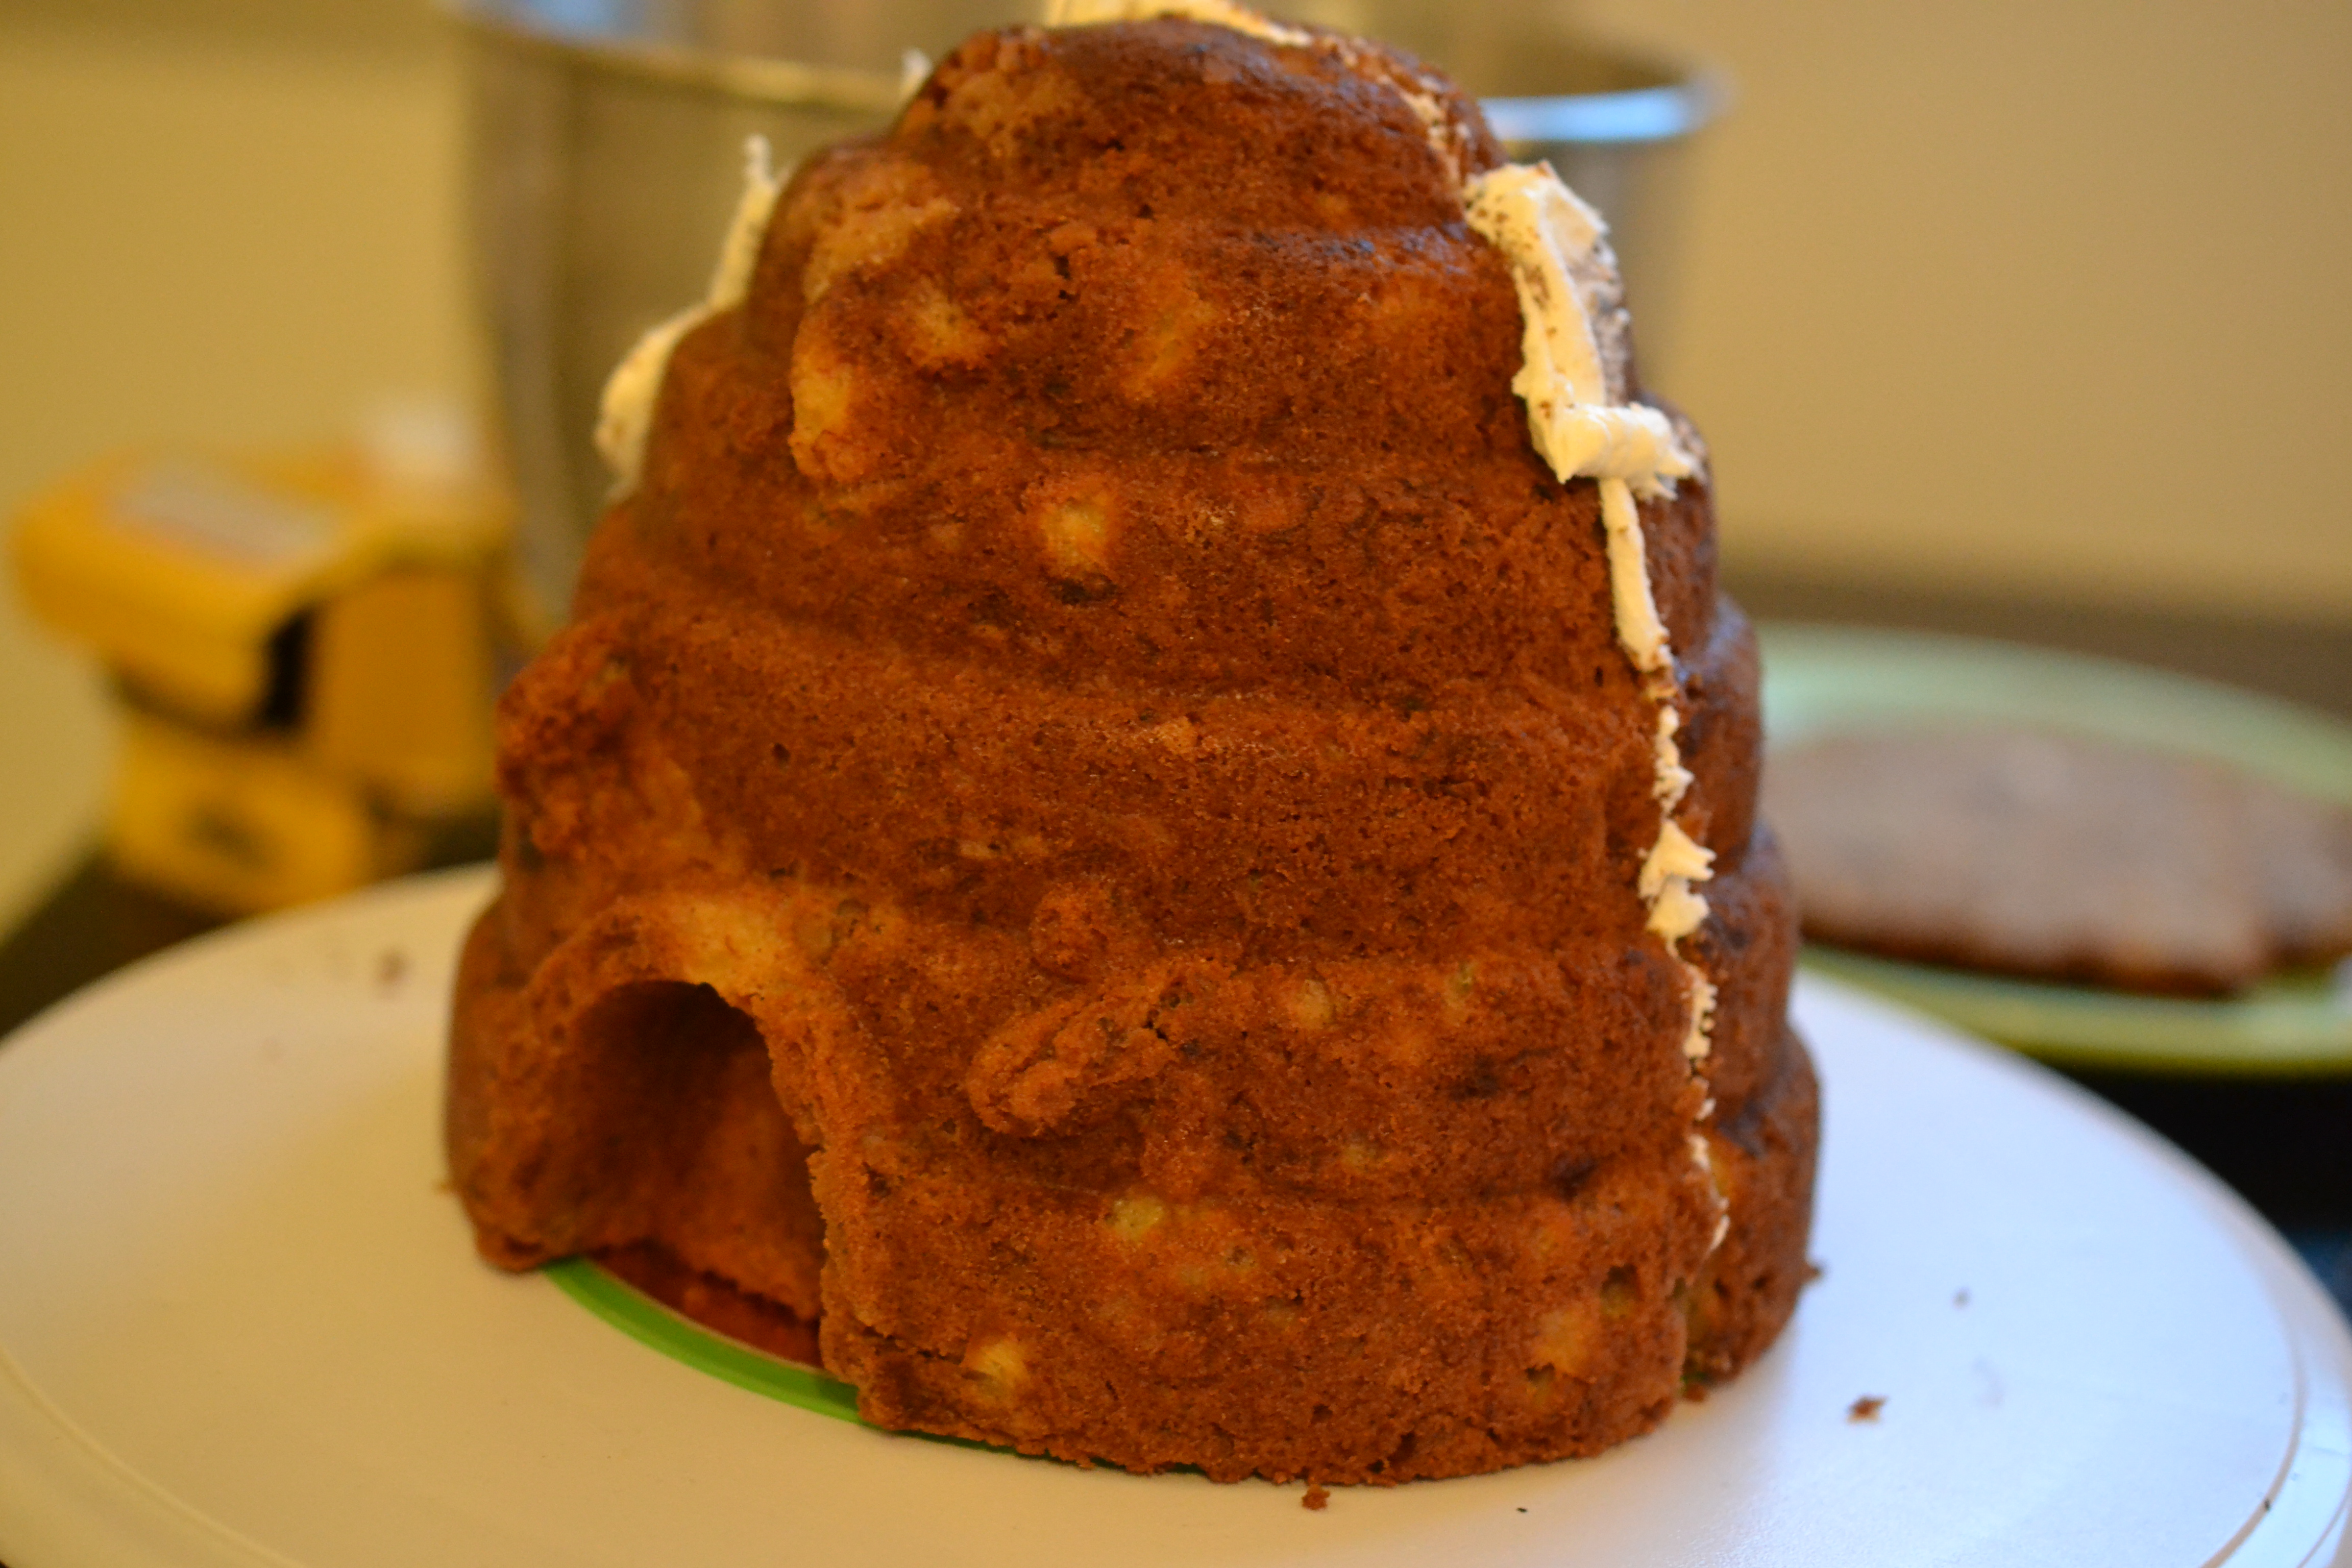
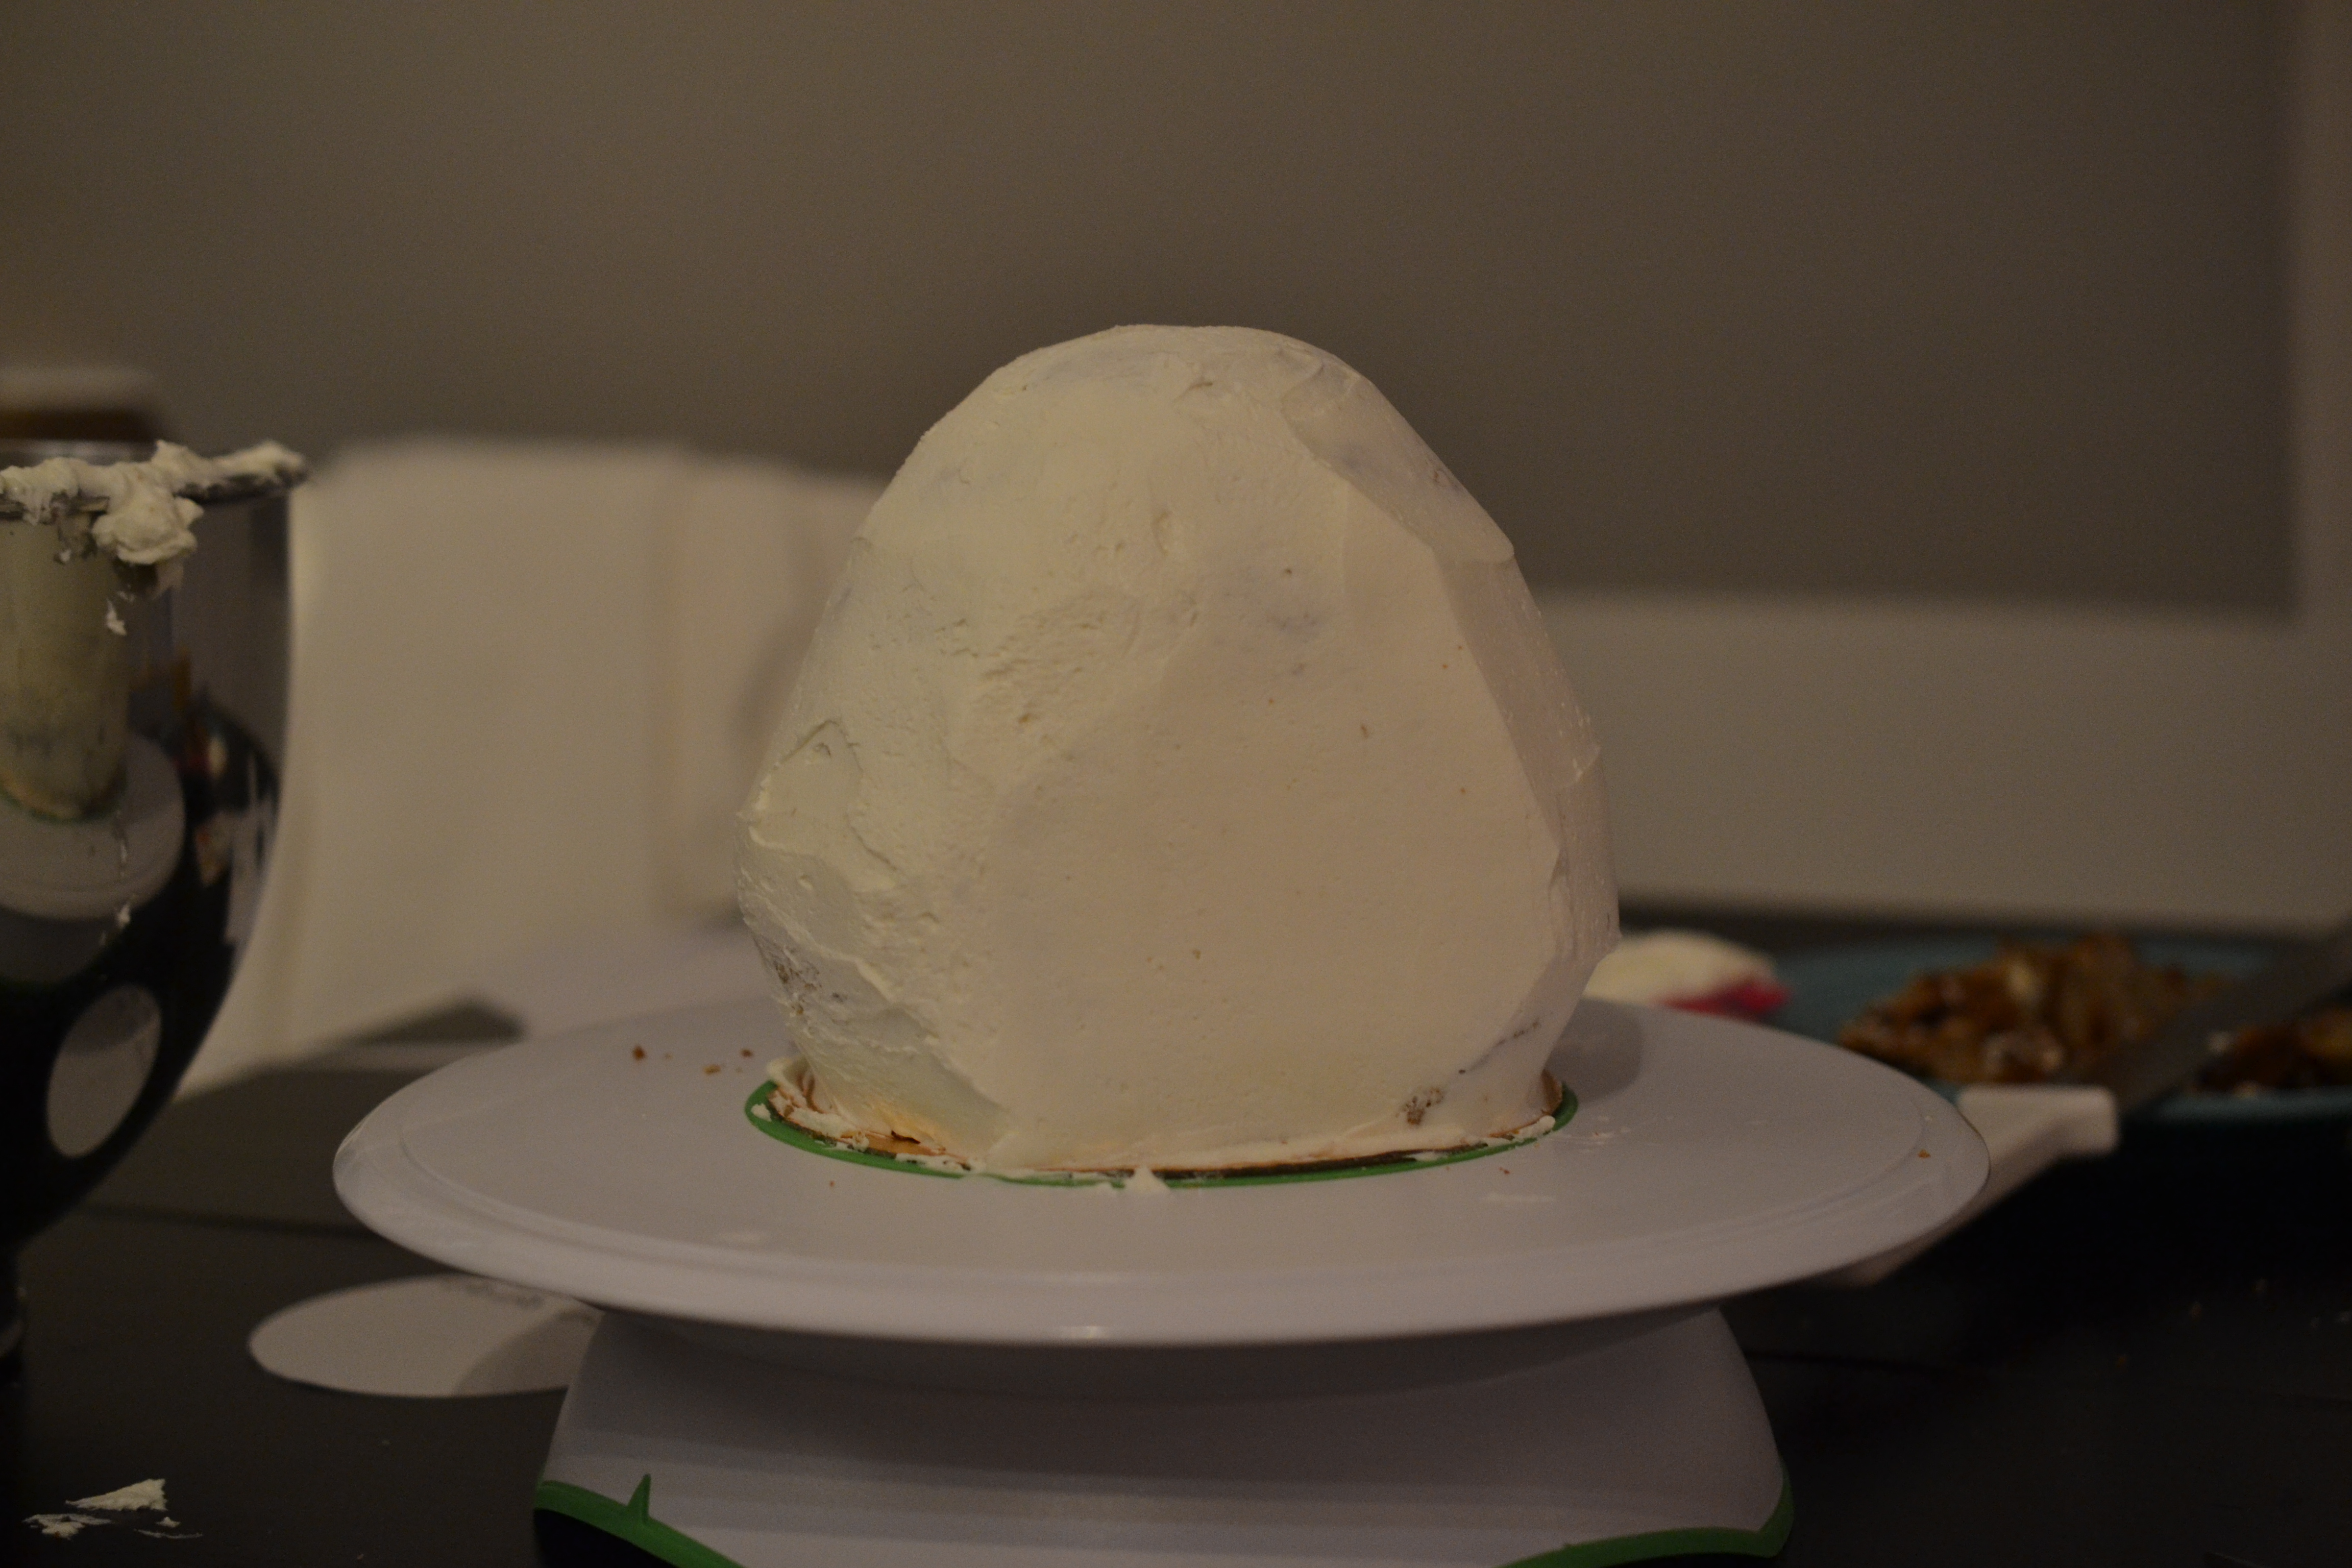
To begin the shaping of the body, I needed to either:
- Build up the front of the body with buttercream to match the beehive opening, or
- Cutaway the opening and flatten the front.
As soon as I flattened the front of Totoro, I knew it was a good route to go. The results were on target.
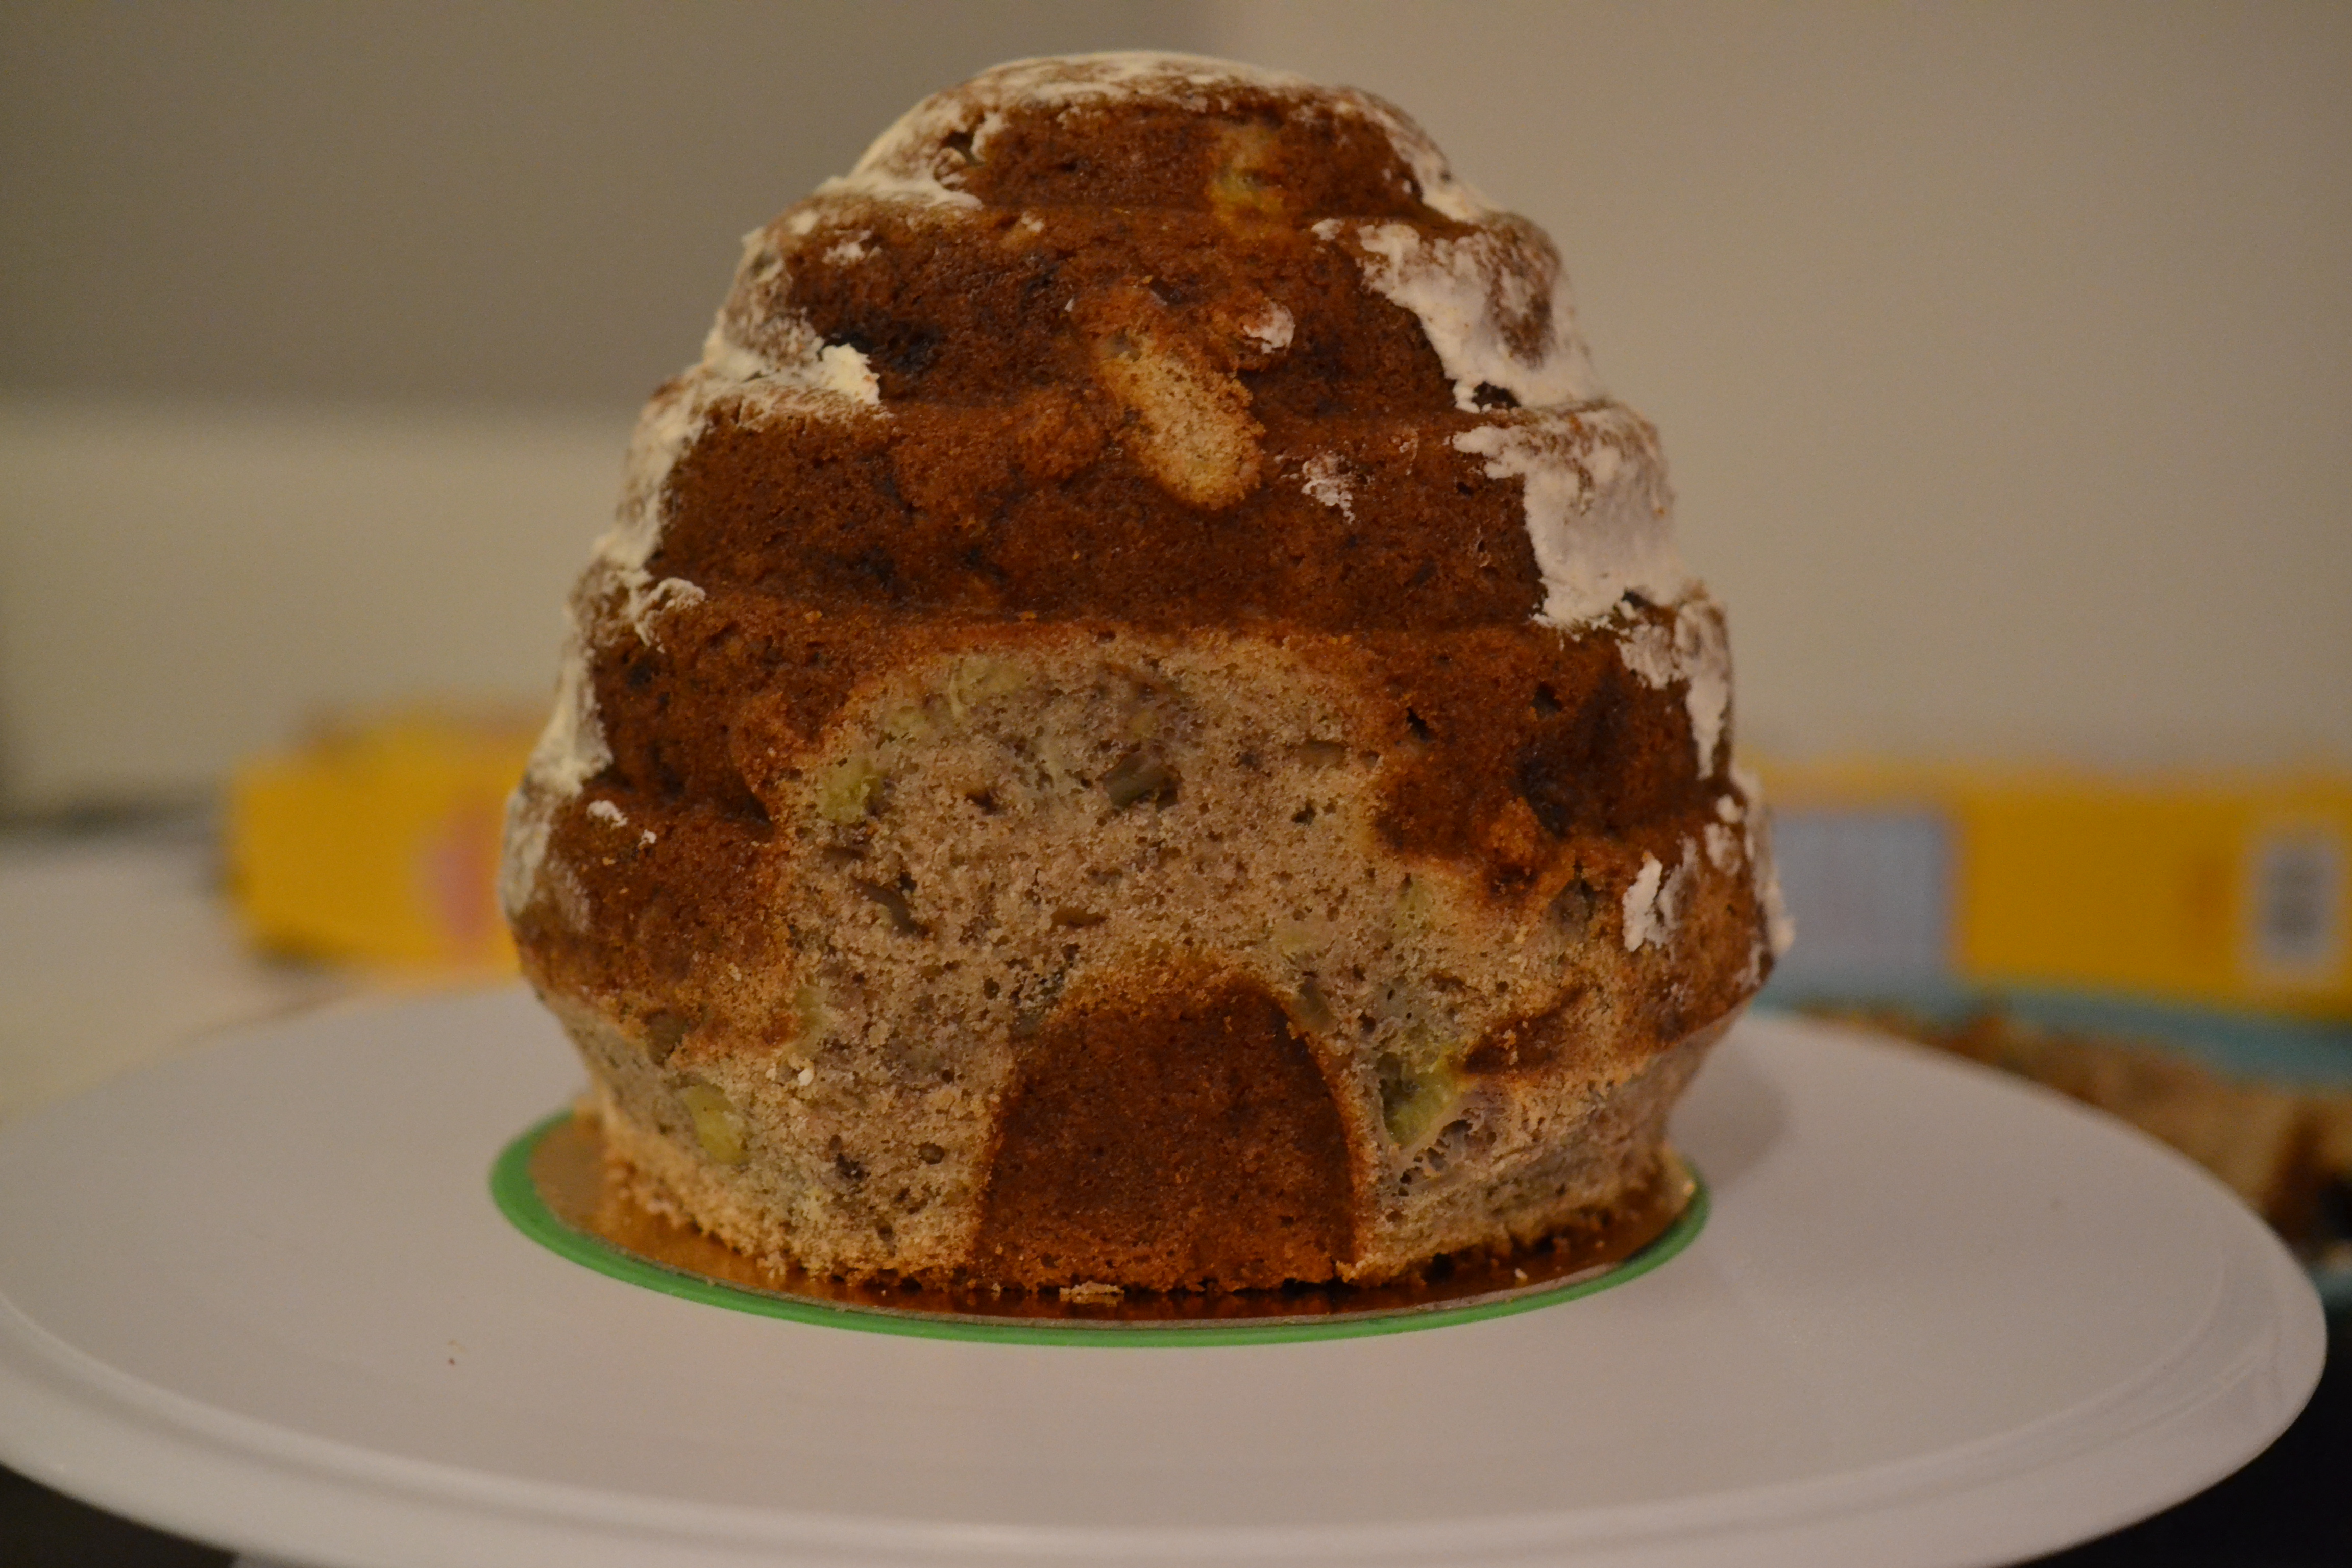
I sliced off the bees, smoothed some ridges, and brought in the base in preparation for the crumb coat. These were really minor adjustments to the form and very little cake was lost.
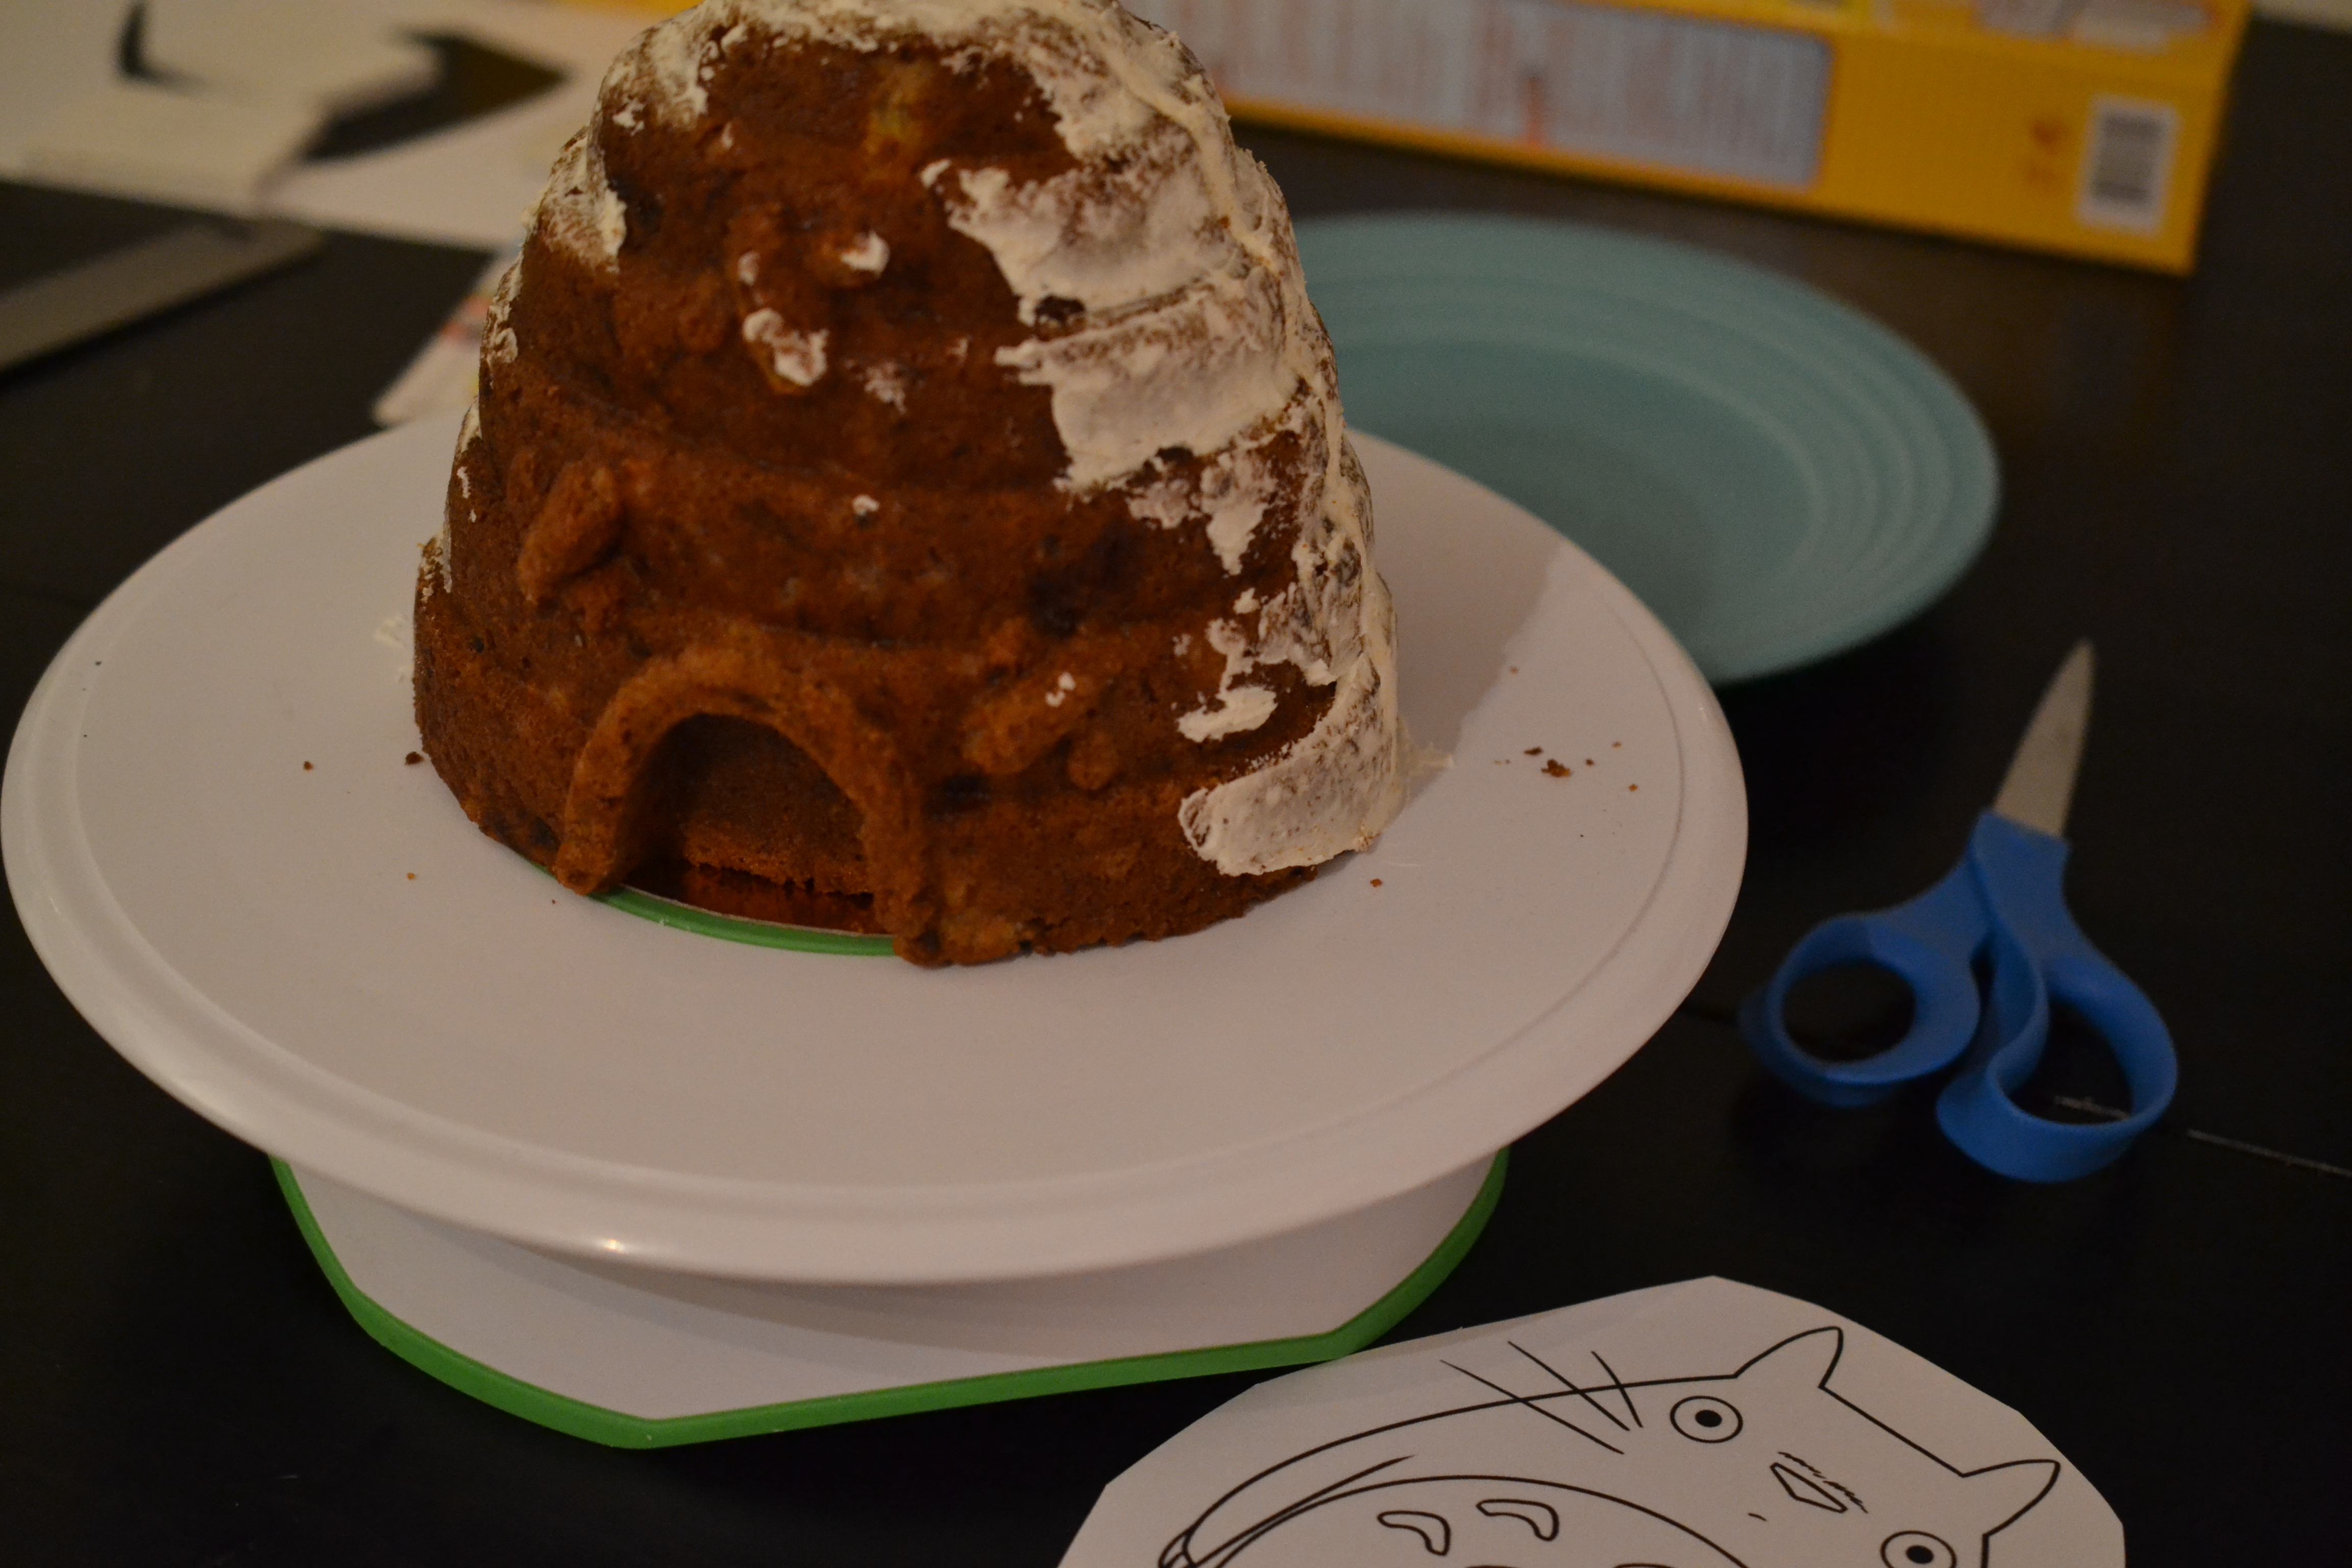
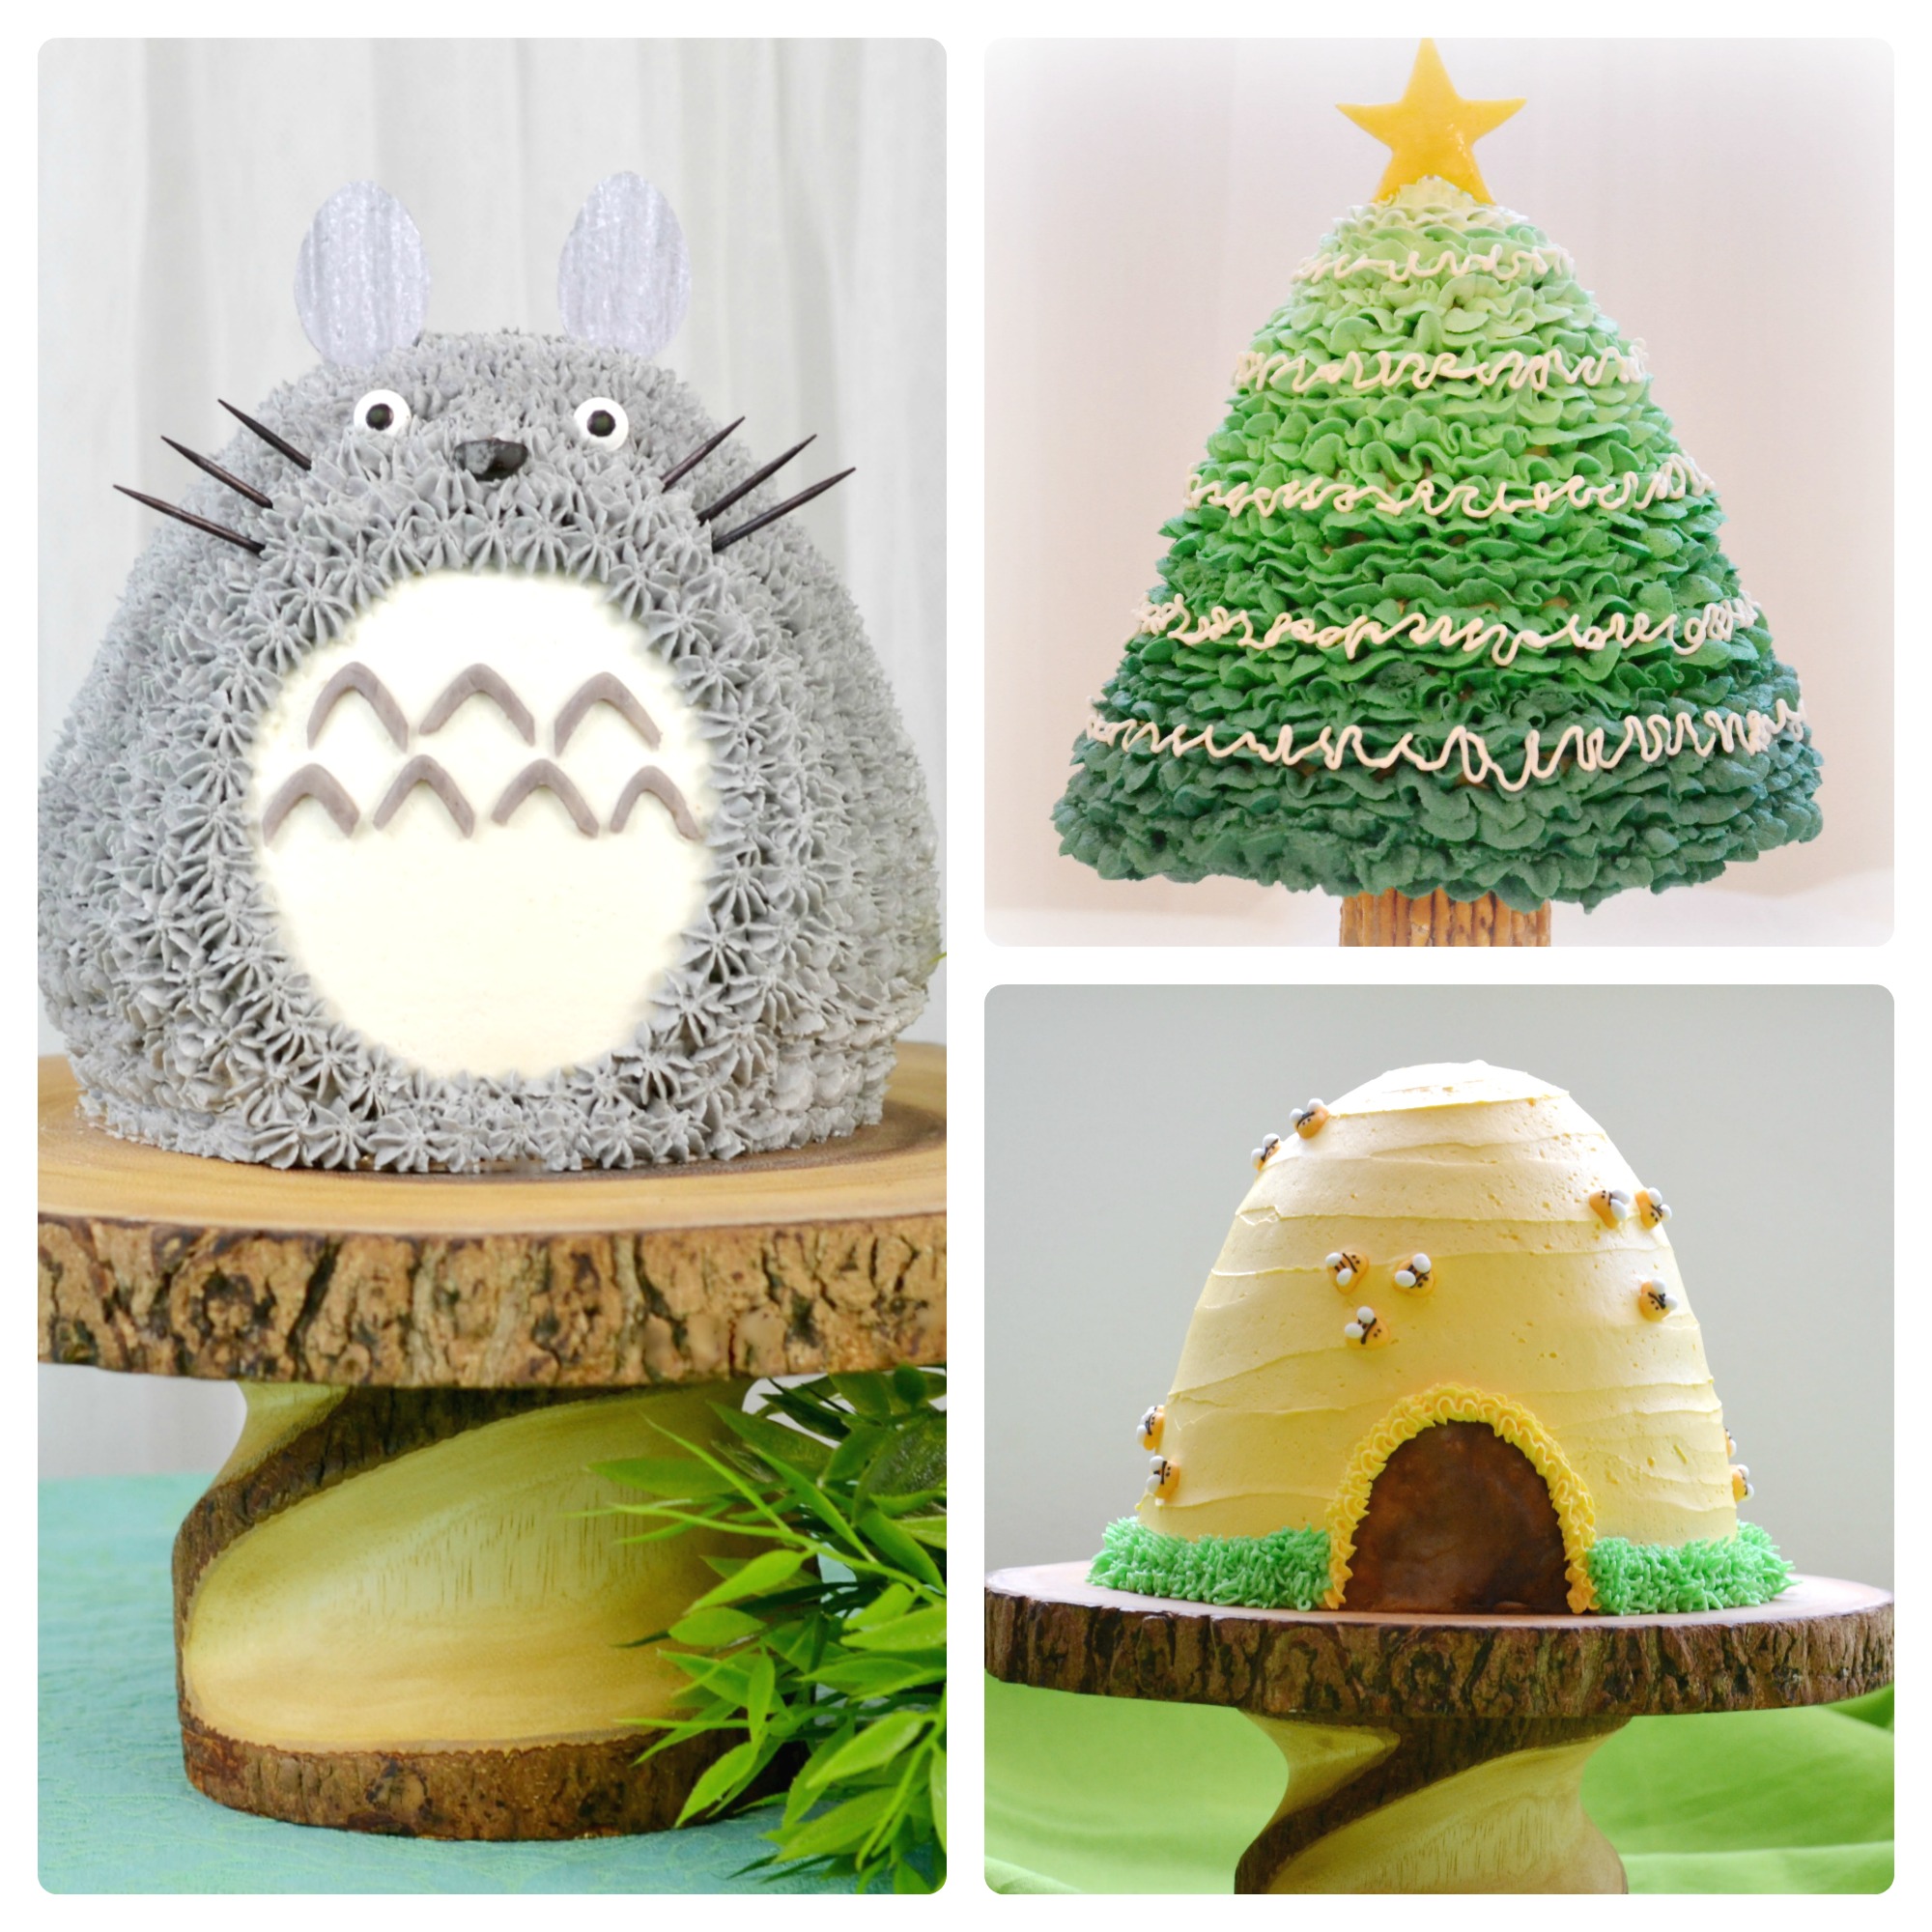
The crumb coat went well, then it was time for a white belly. To get the proportions close, I printed out a Totoro coloring page and sized it to the height of the cake. This was critical in establishing placement of tummy, chevrons, face, and ears.
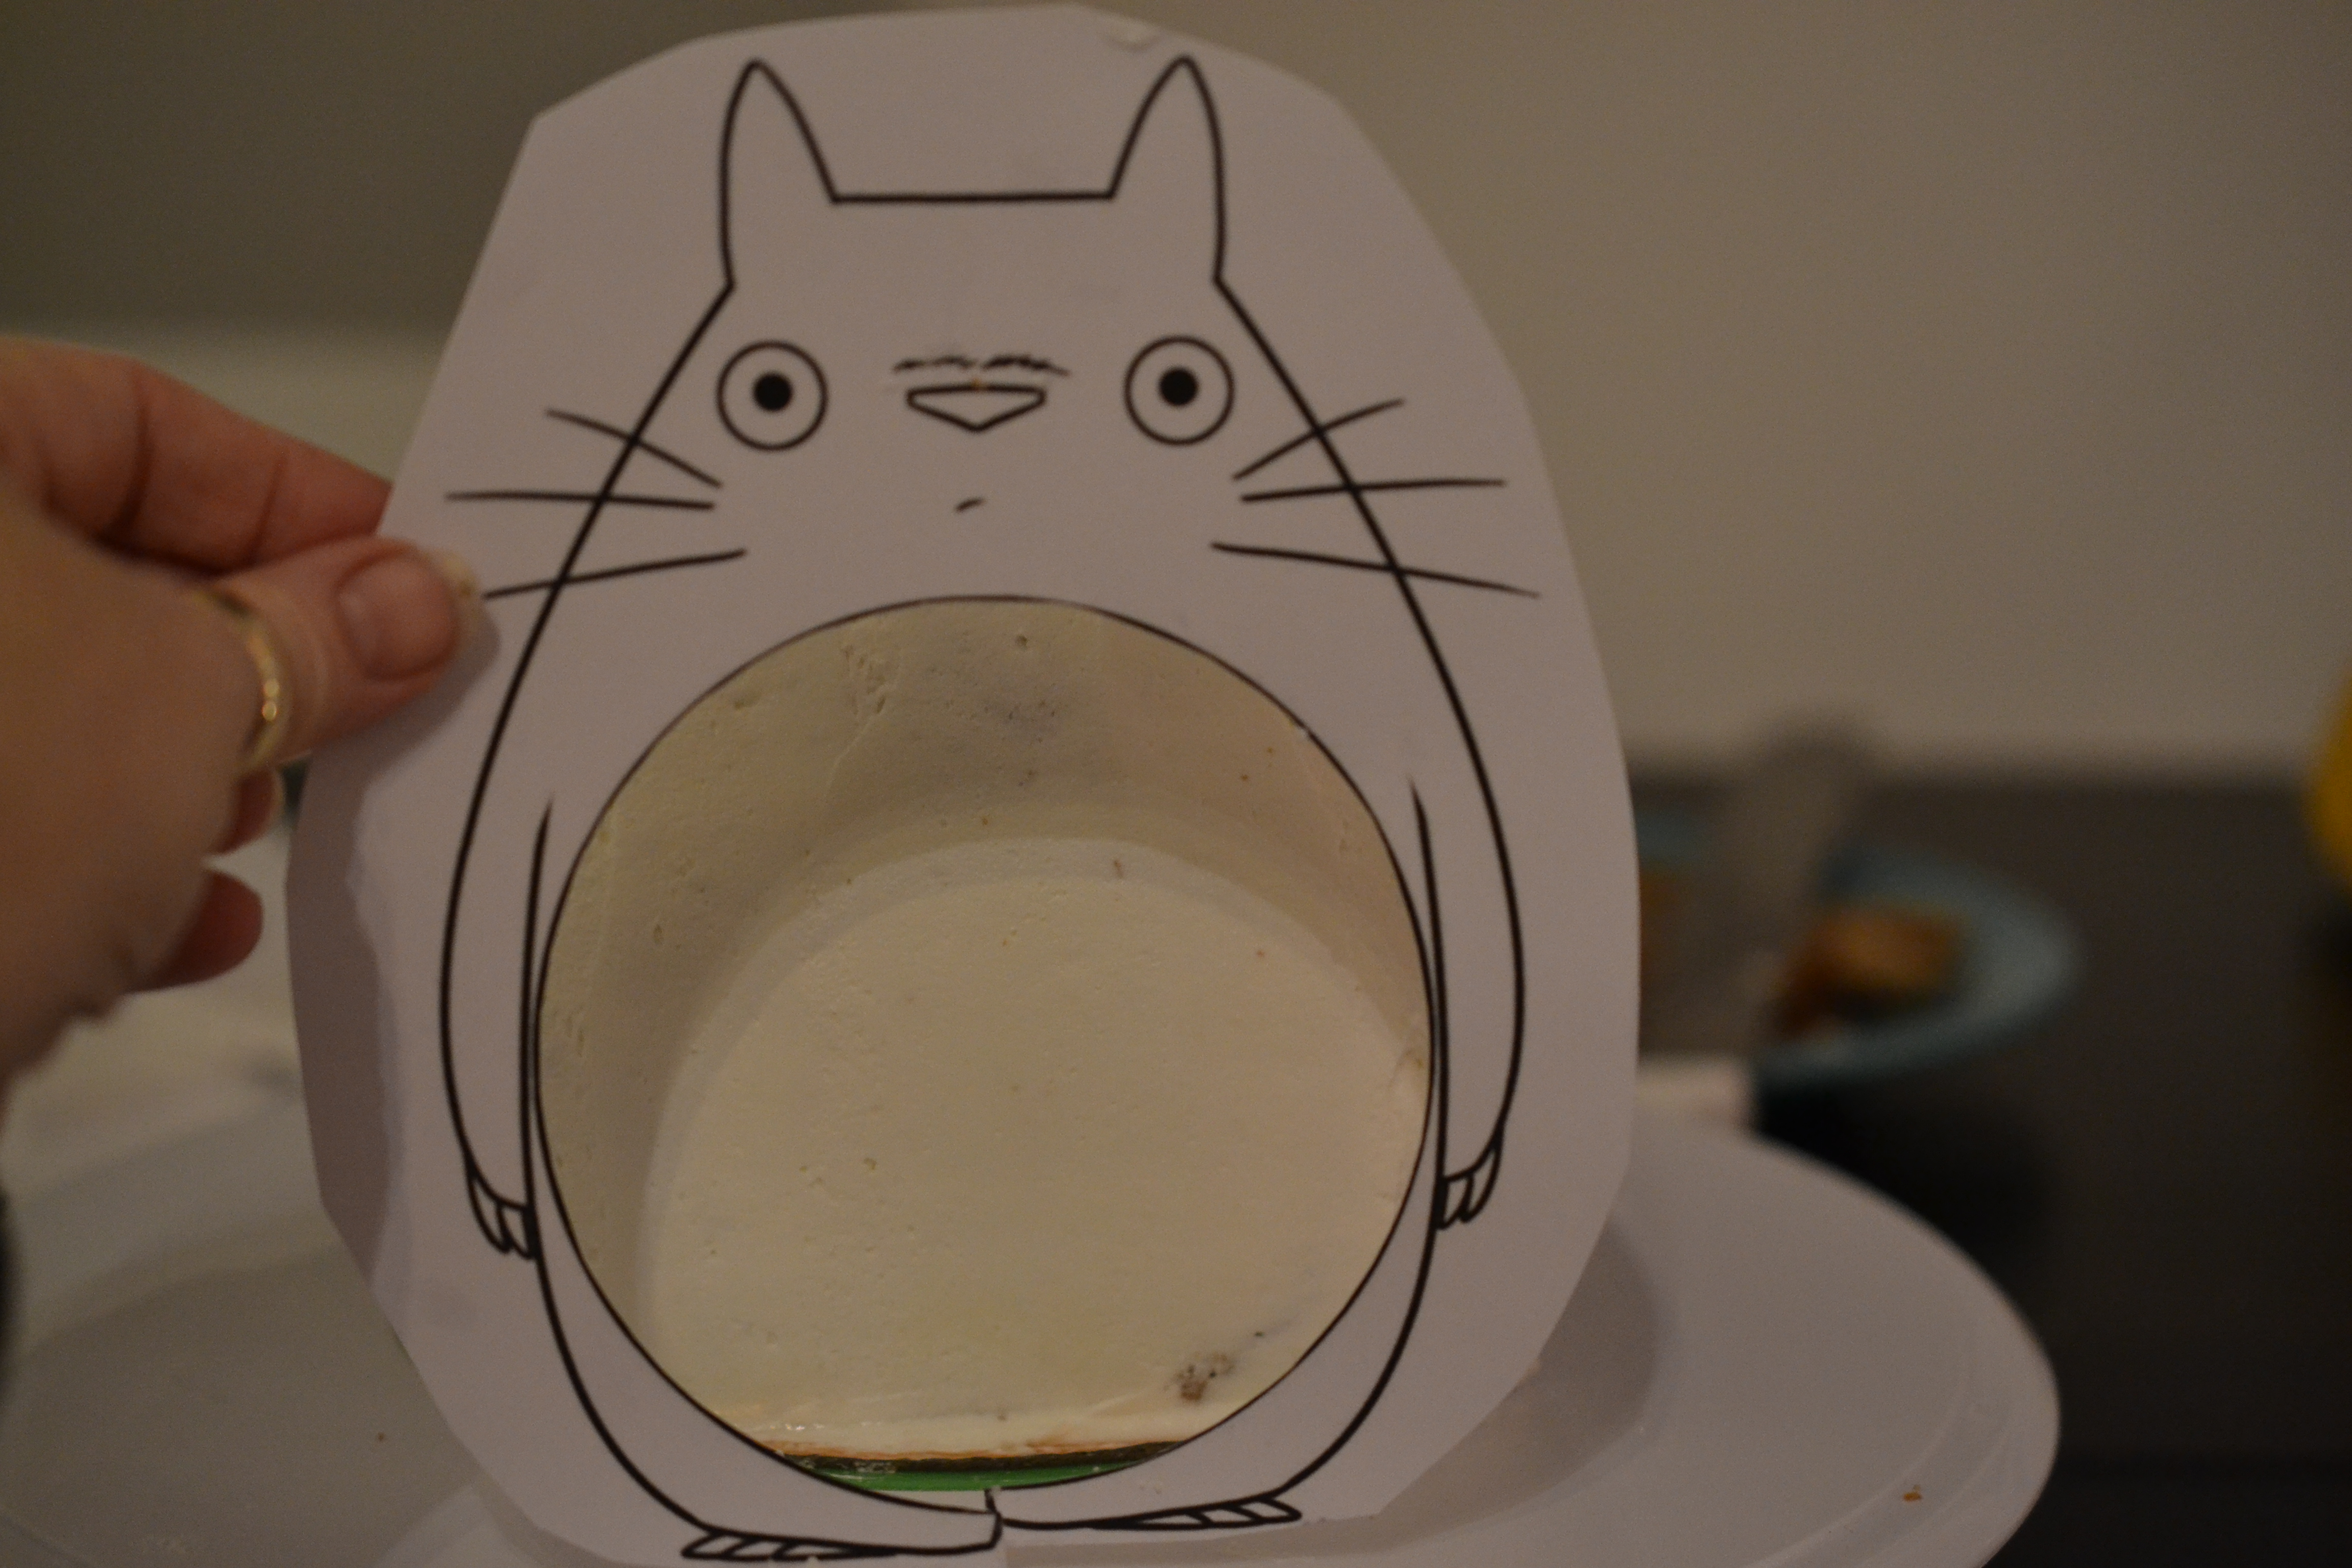
I used a toothpick to trace around the circle; that prevented my work from getting wonky on the outline. Is it perfect? No. But, I liked it just the same.
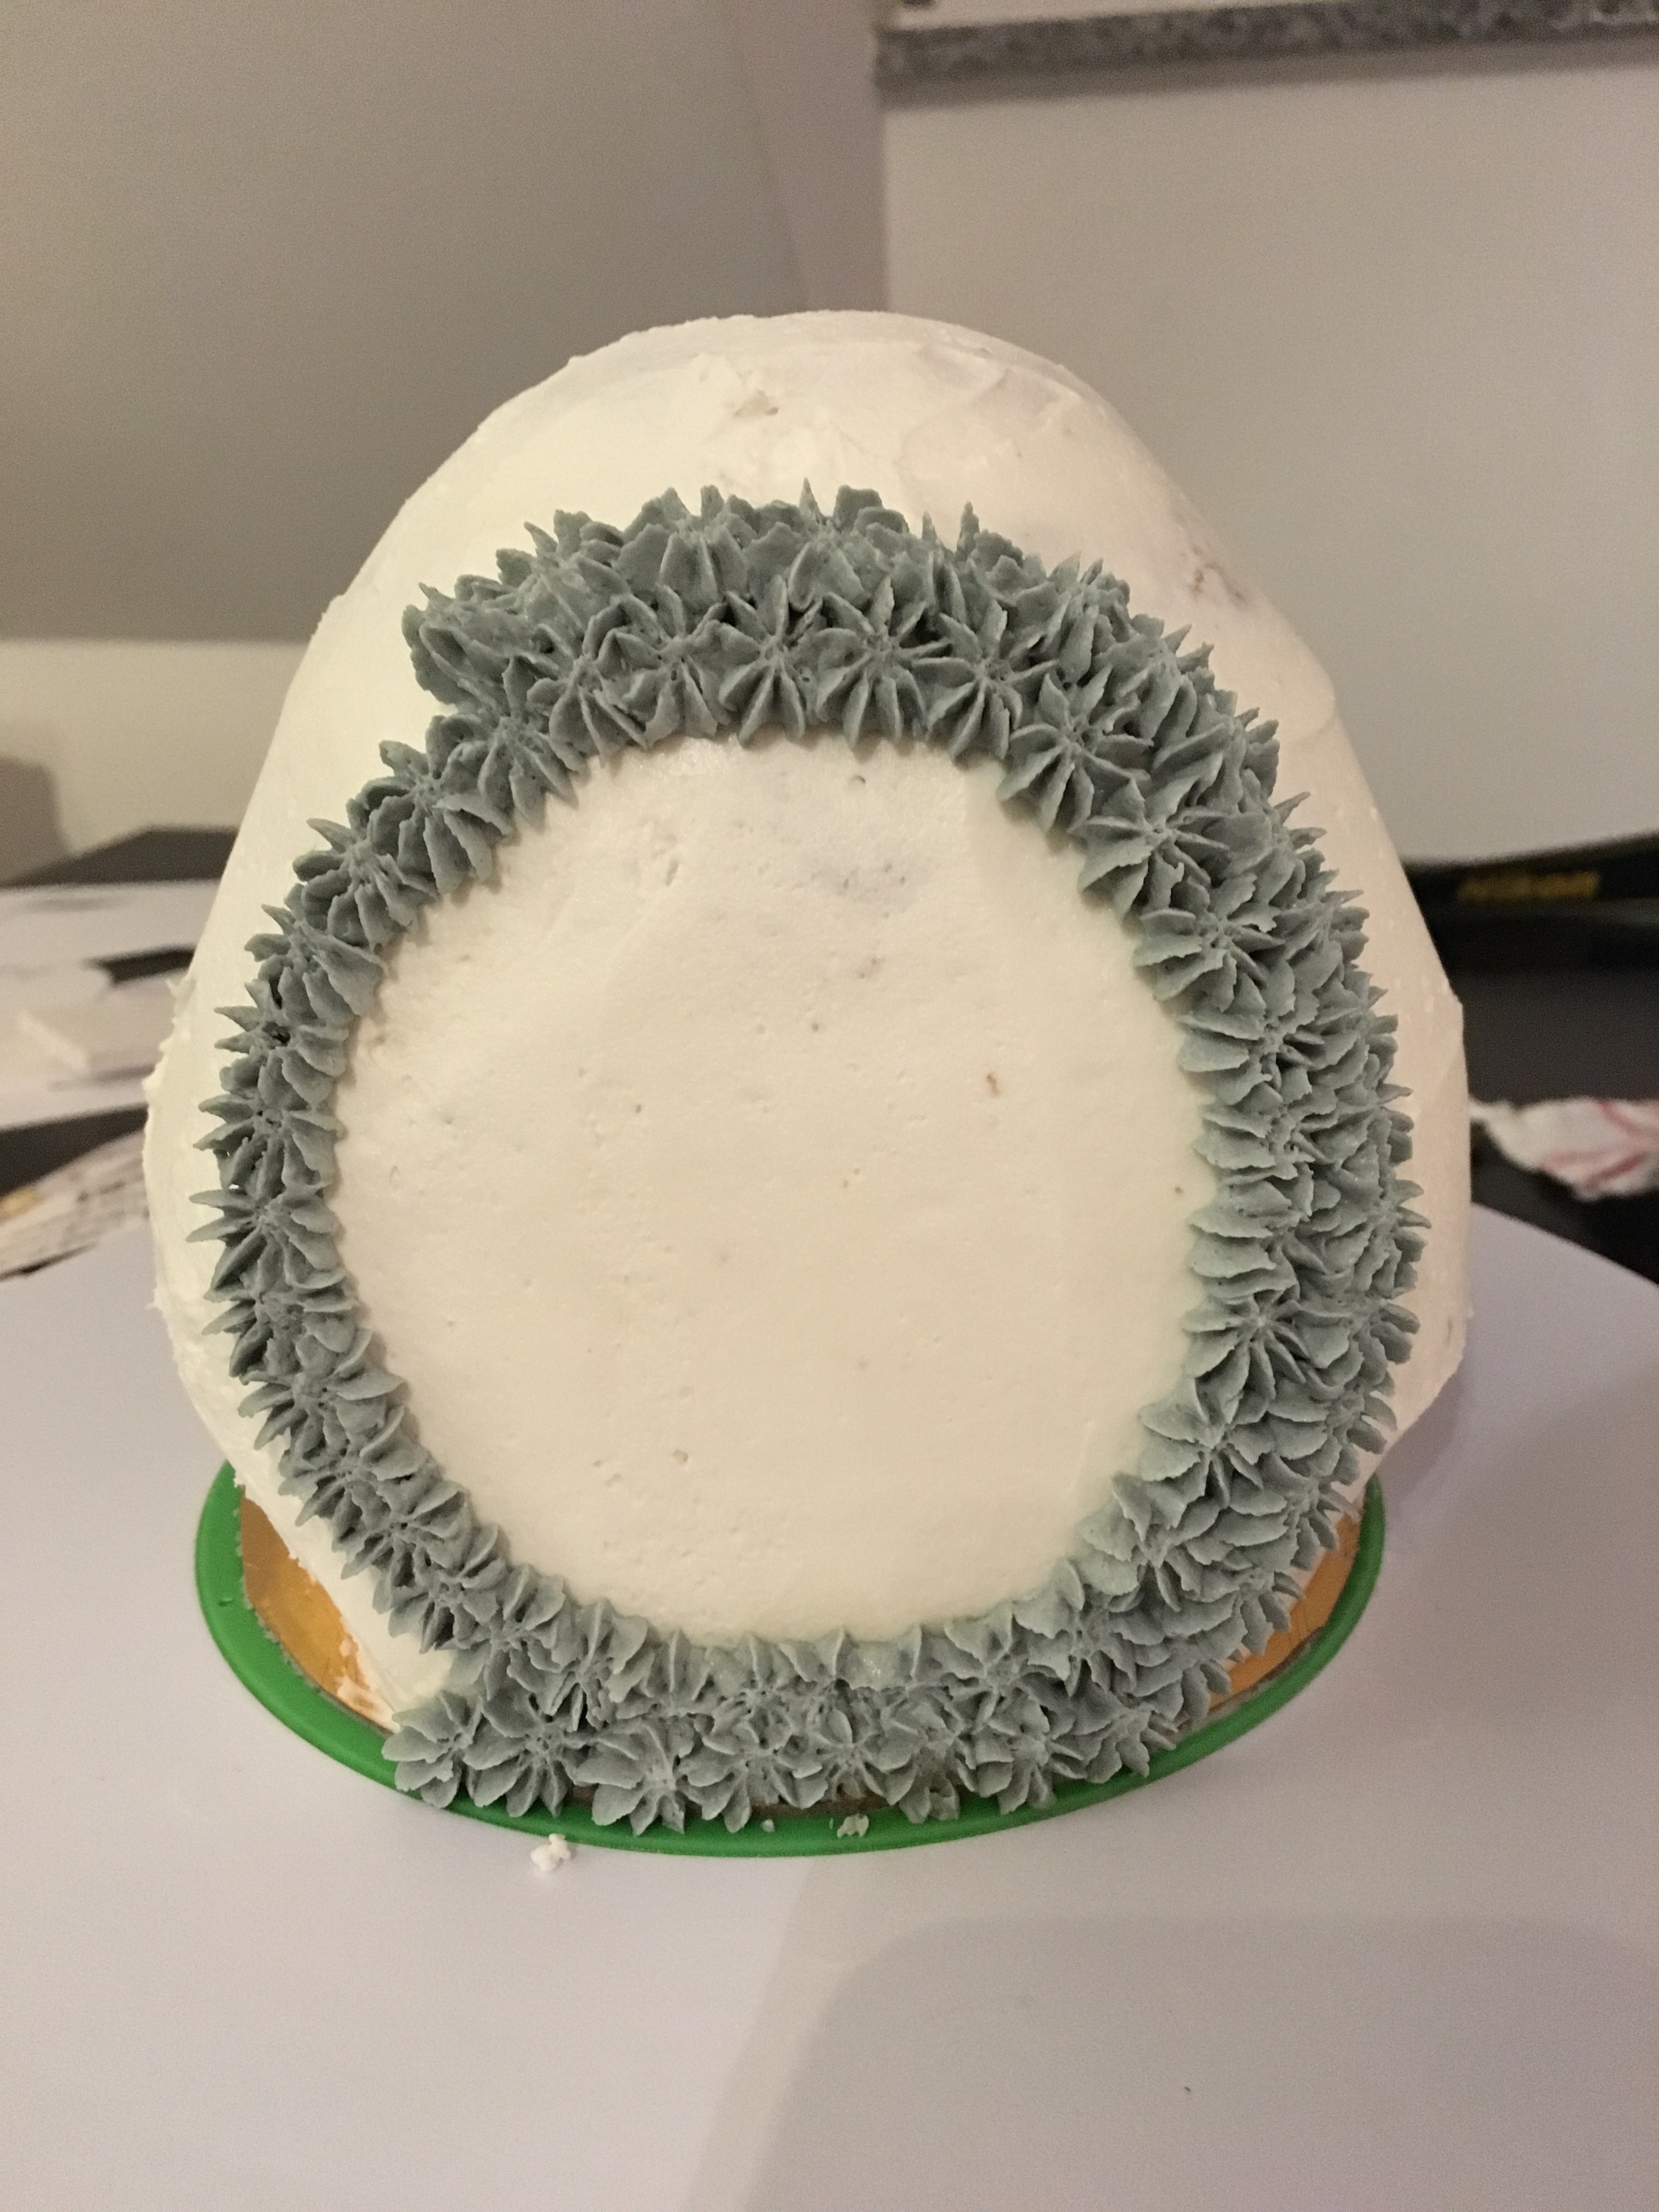
The buttercream was getting very warm in my hand, so I popped it back in the fridge. That accounts for a light variation in color. I’m cool with that.
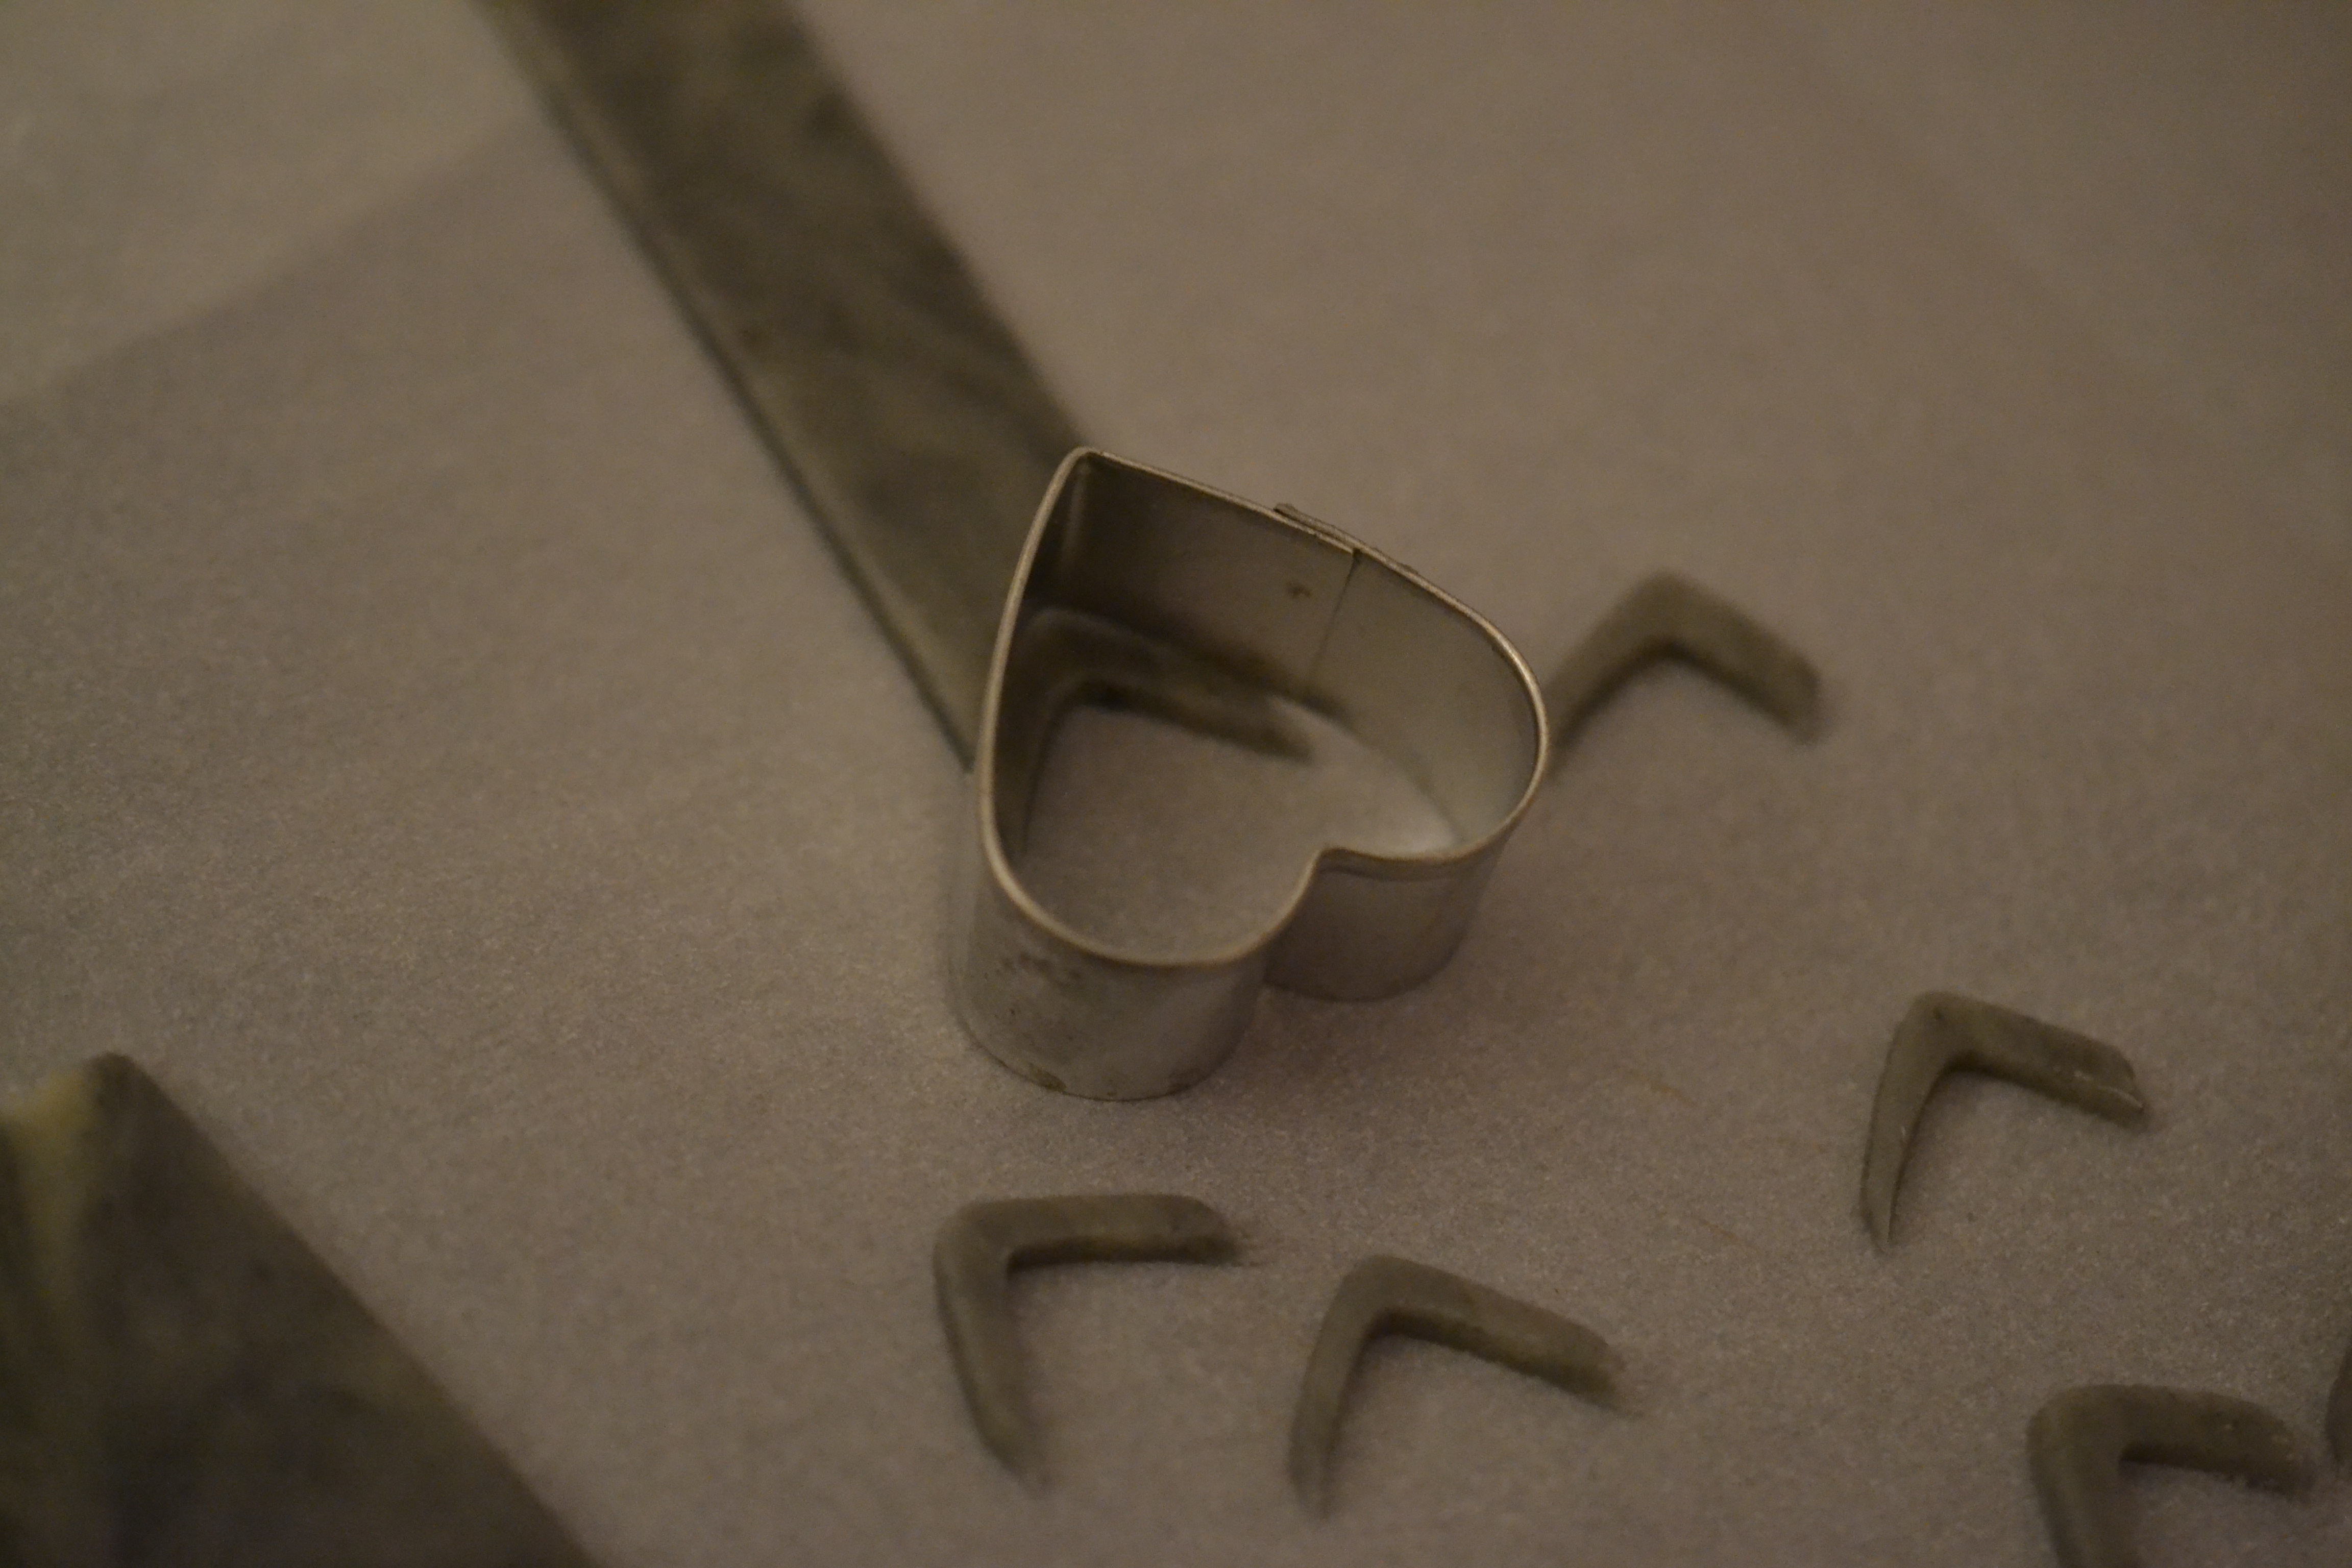
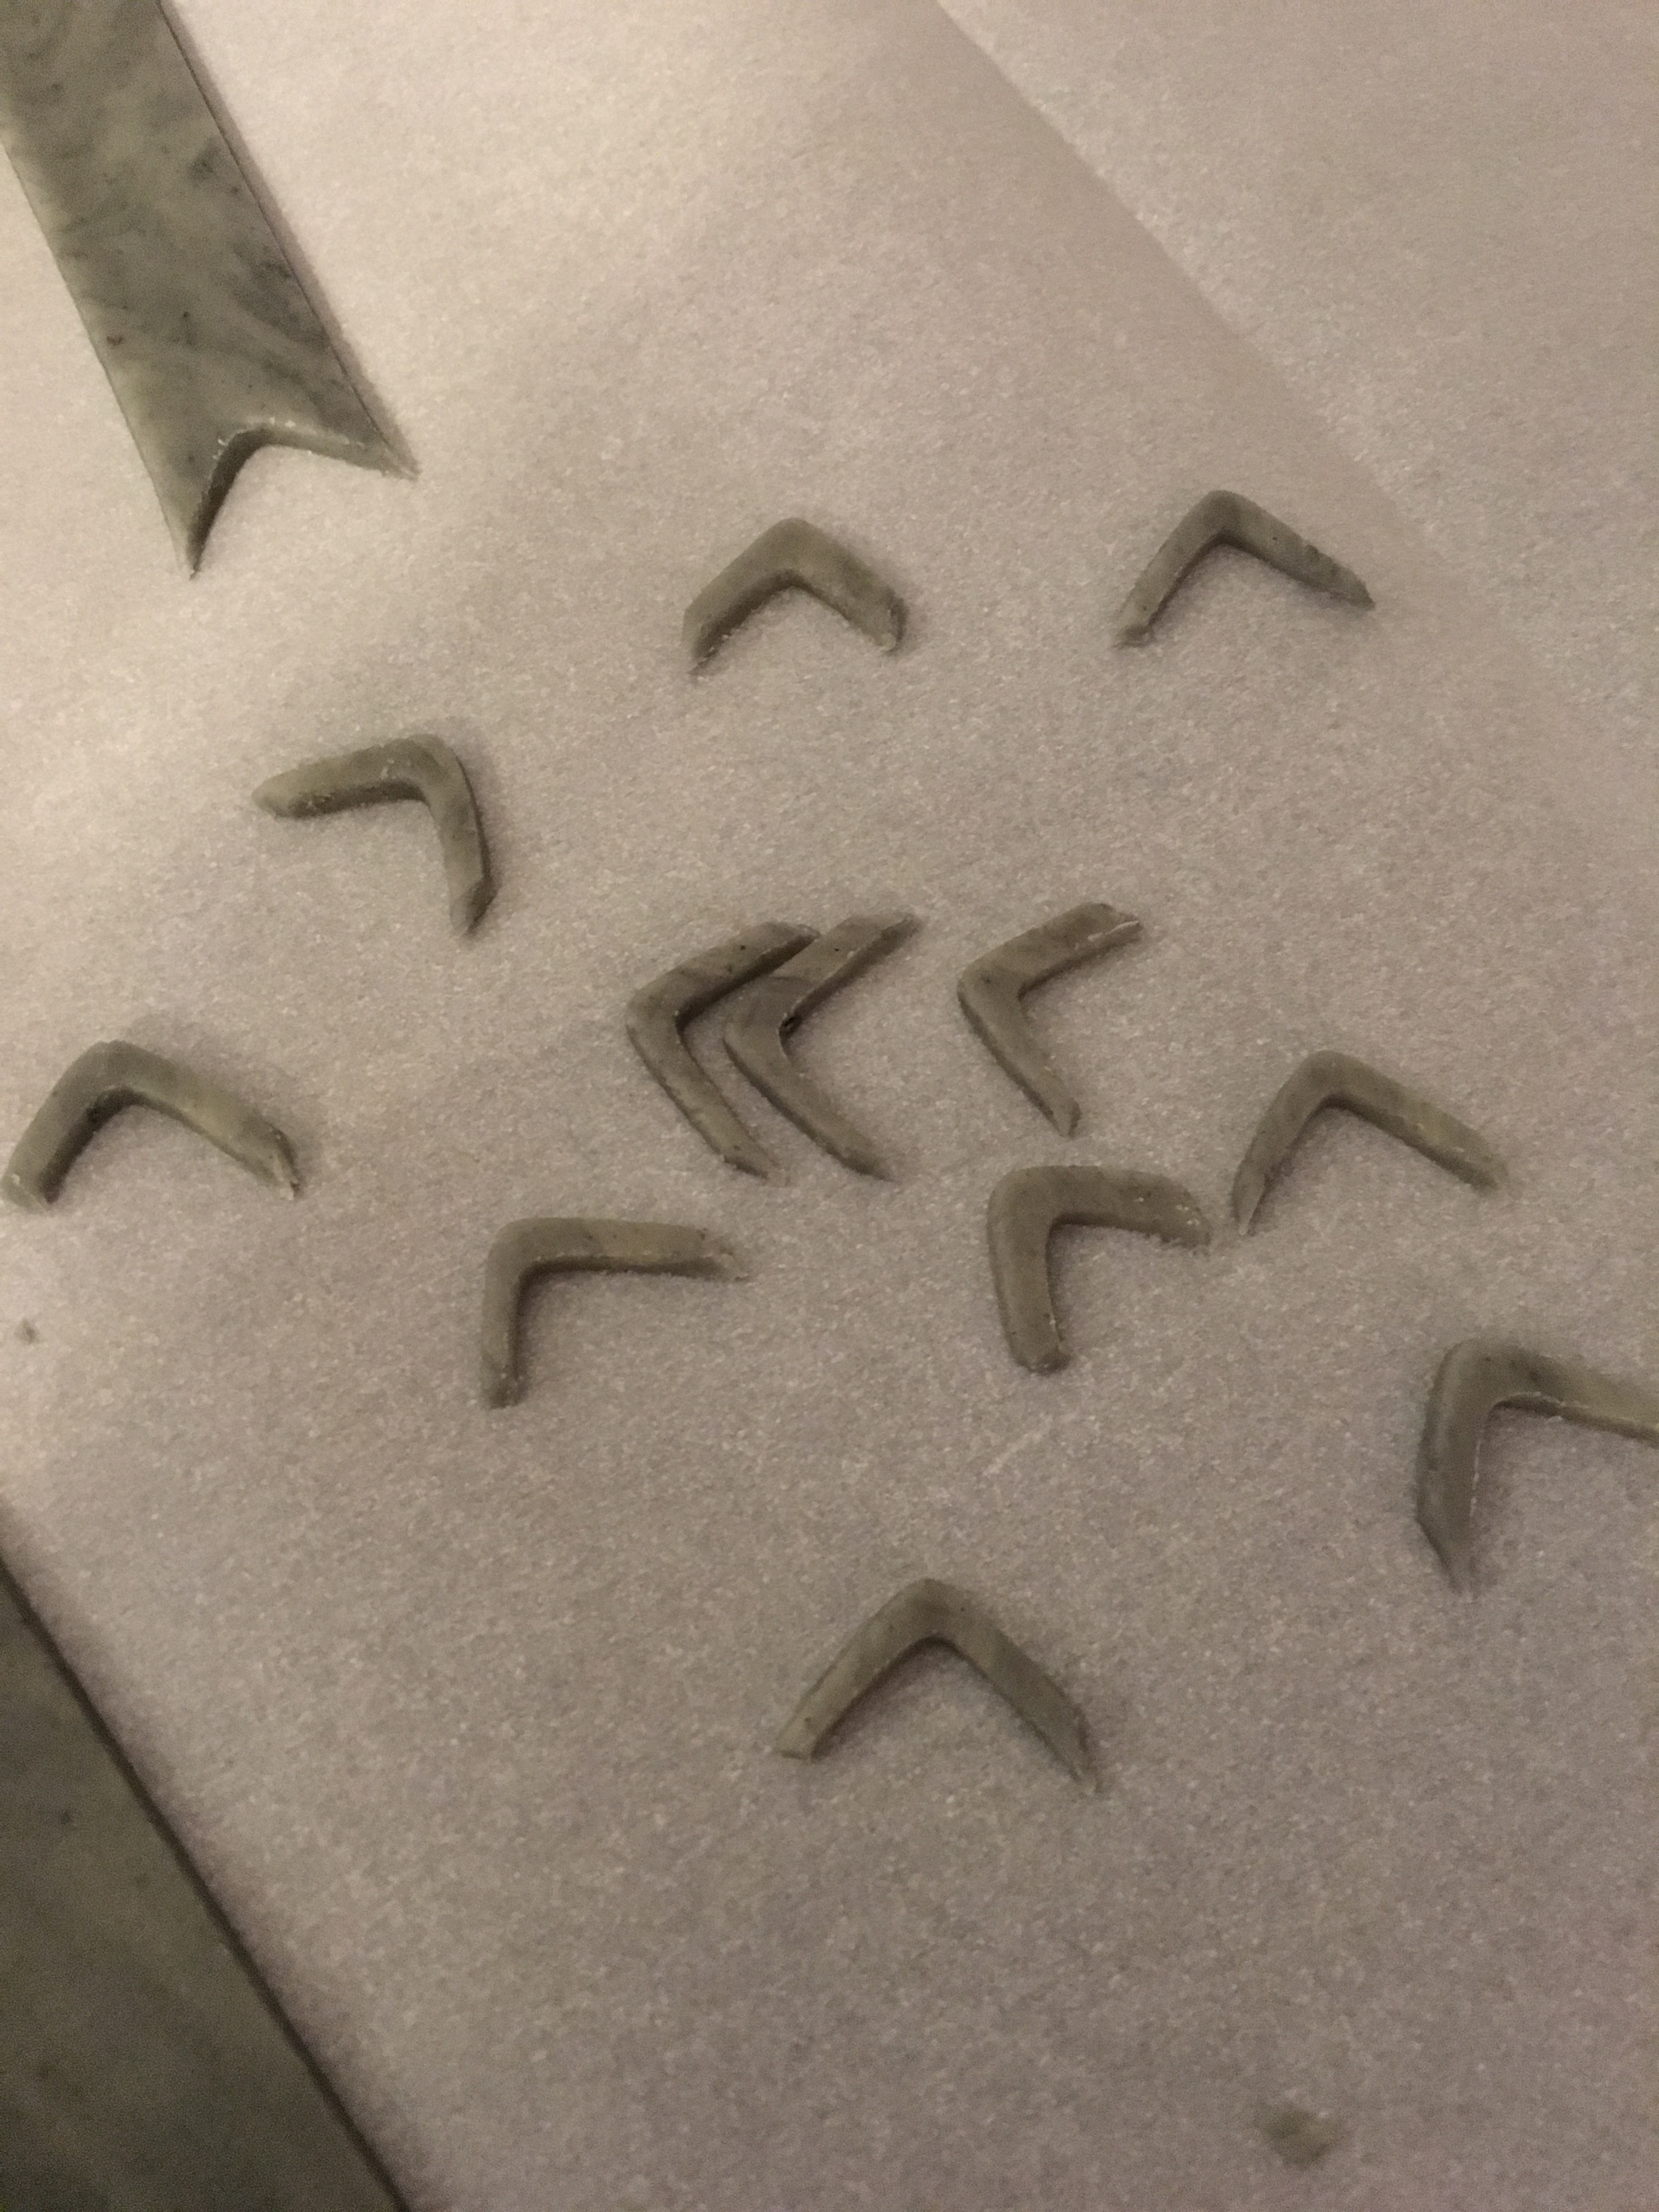
While it was cooling, I went to work on the chevrons. Marzipan came immediately to mind as a wonderful medium for crisp lines and cut-out shapes.
First the marzipan was tinted with very little black coloring gel, rolled into a long strip, sliced 1″ (estimating) wide, and cut using the corner end of a heart-shaped cutter.
The nose is a black M&M cut in half. I widened the center of the googly eyes with an edible black frosting marker.
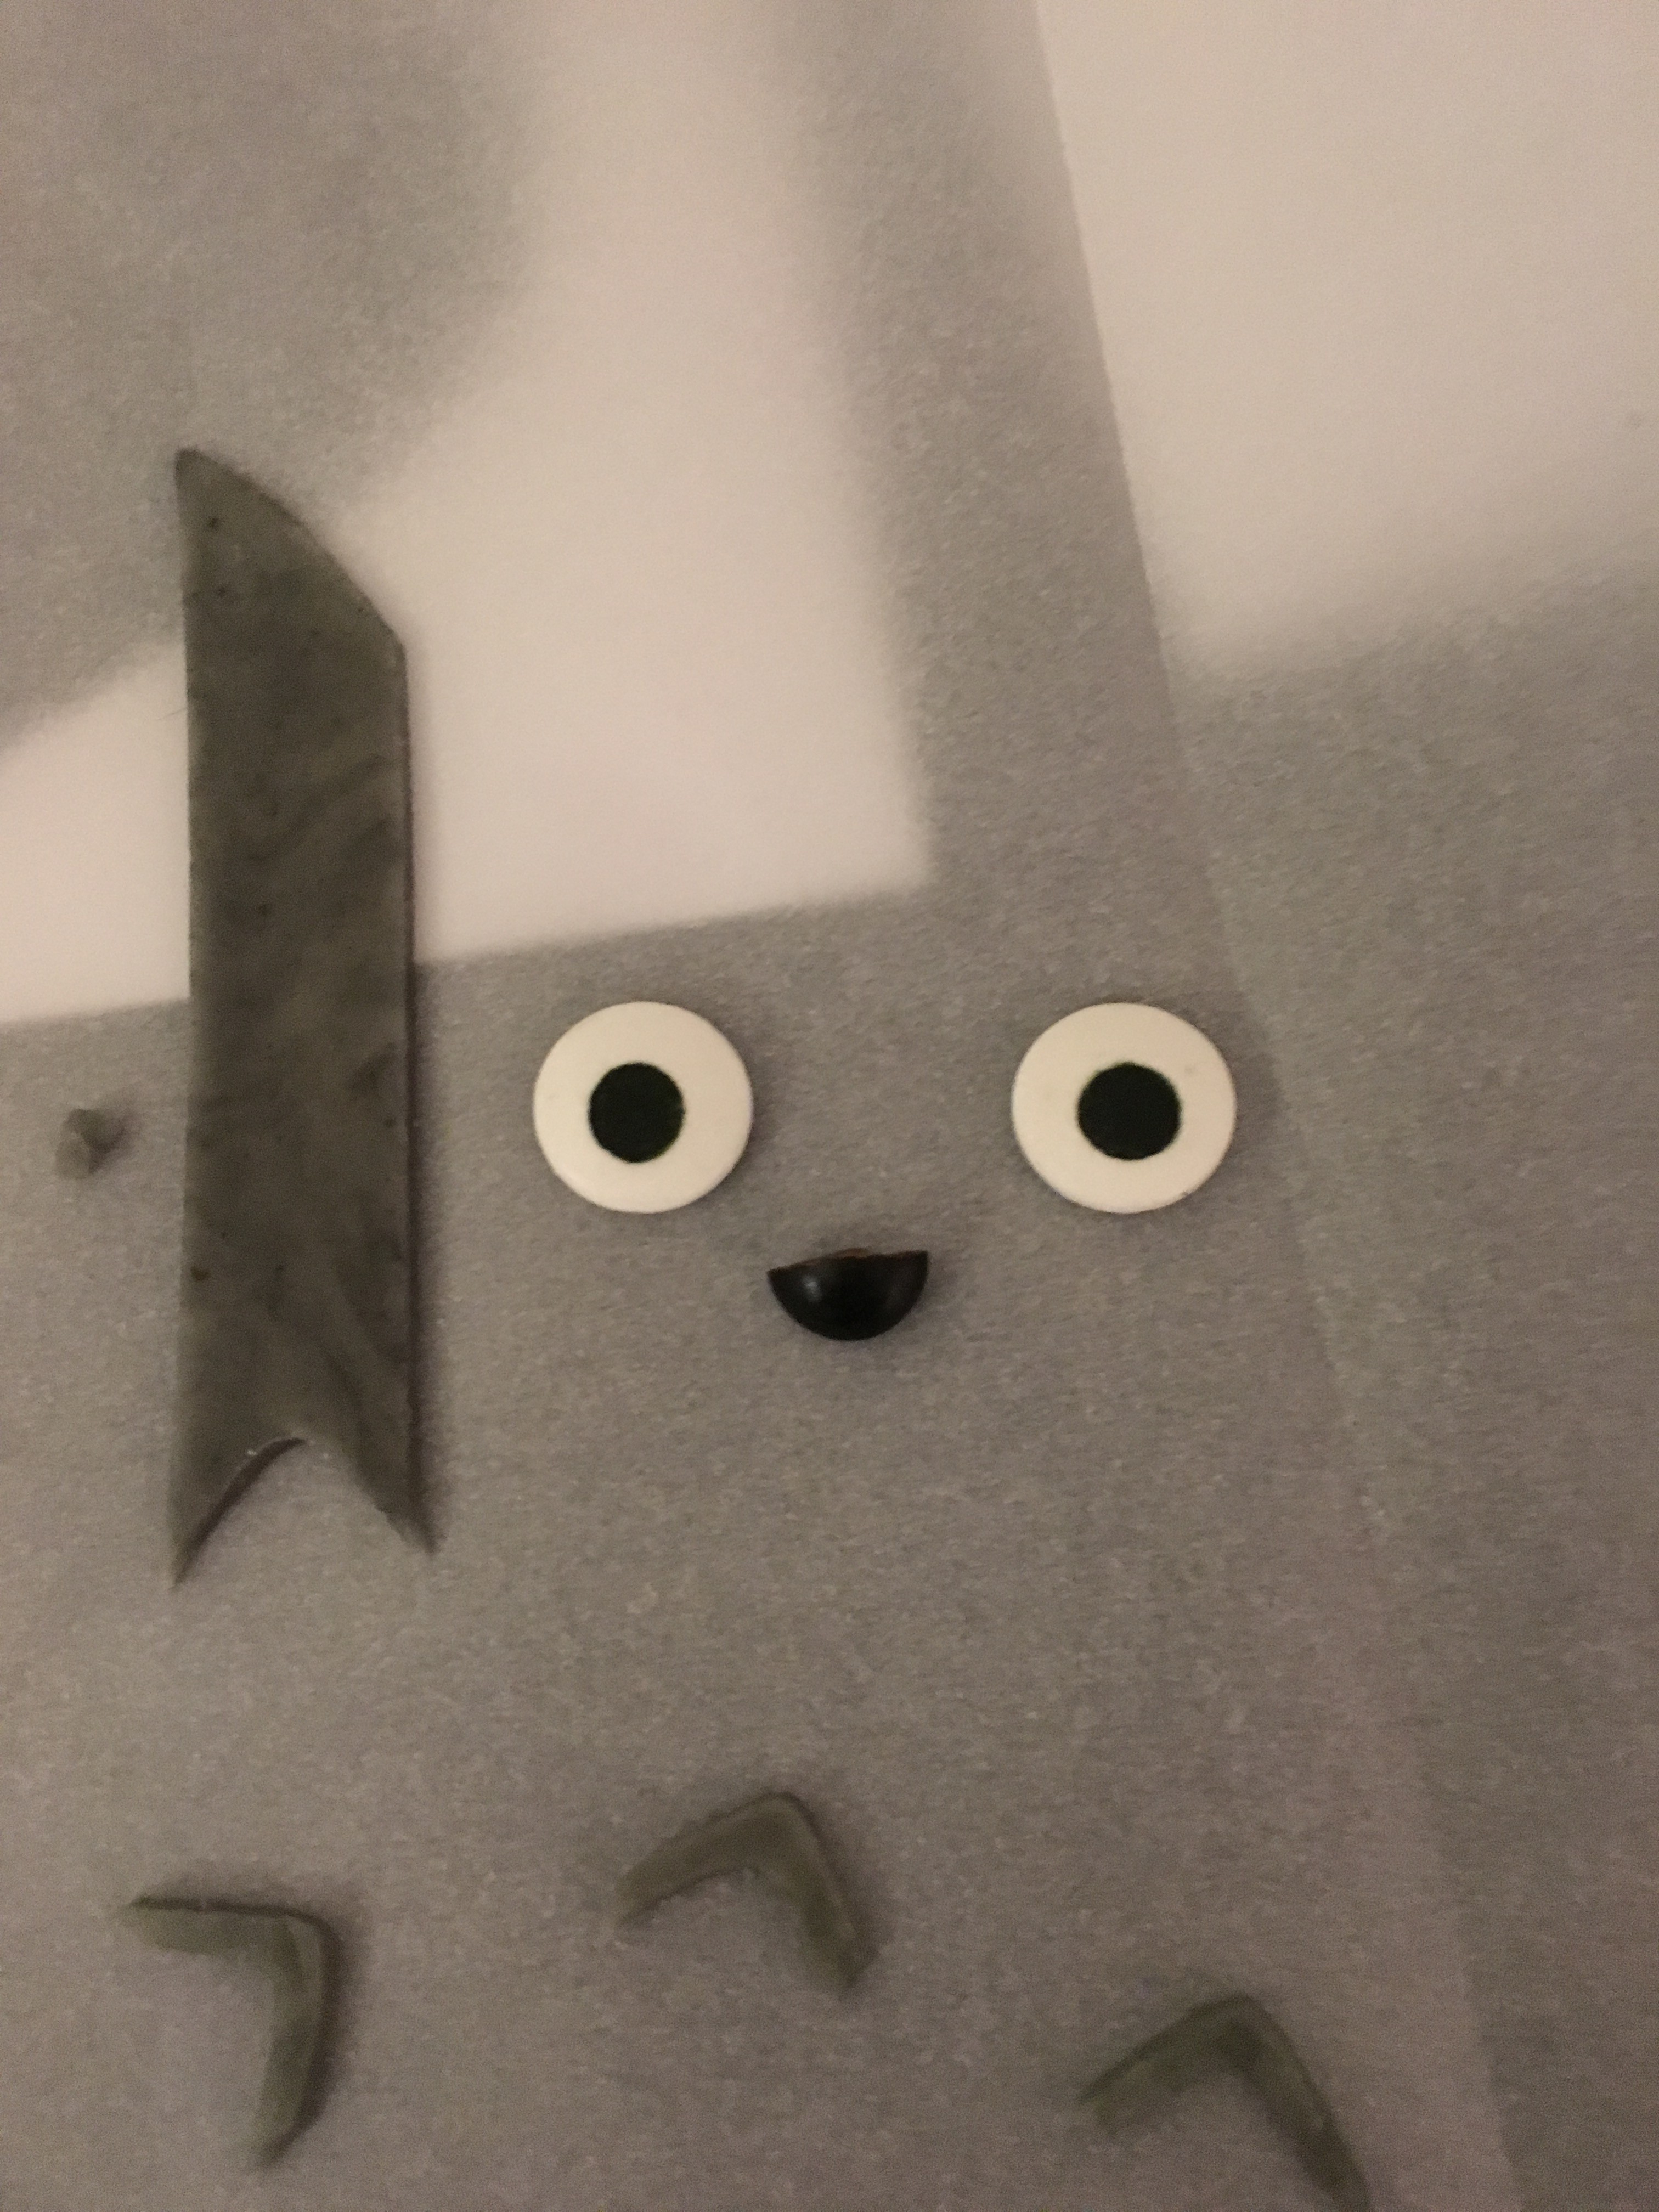
These eyes were too big for this cake and I opted for a small eye that needed a bit of adjusting.
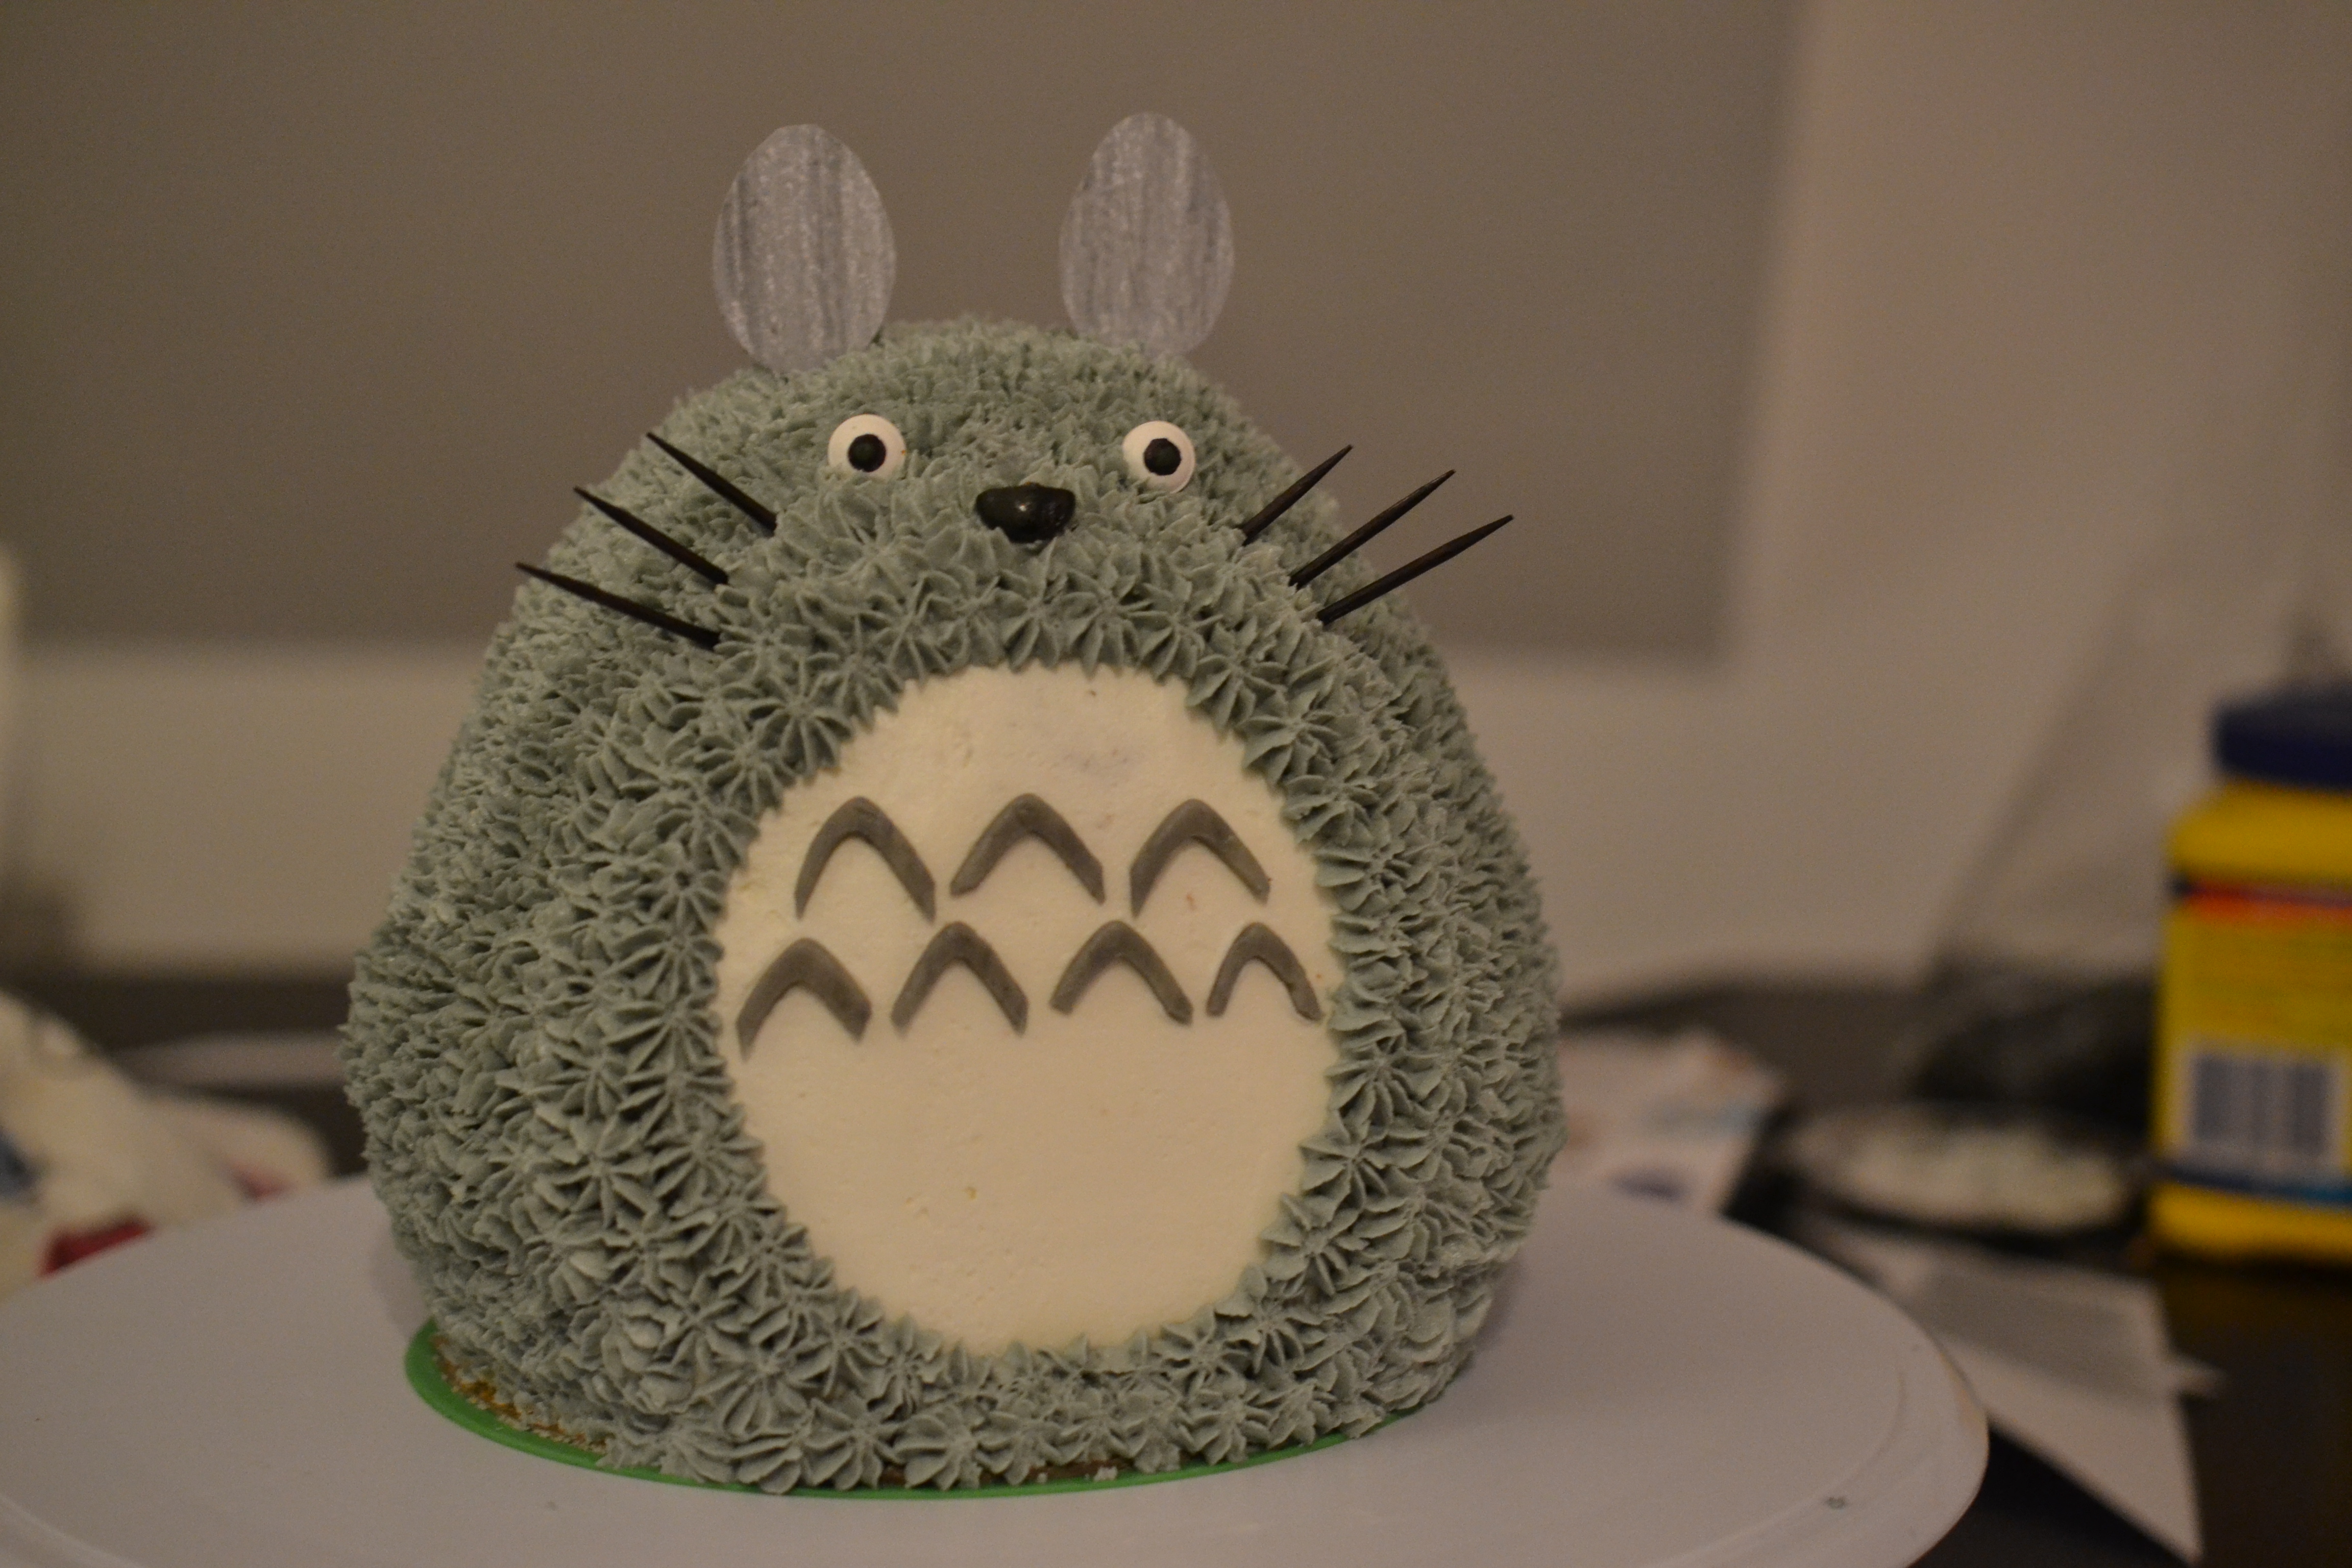
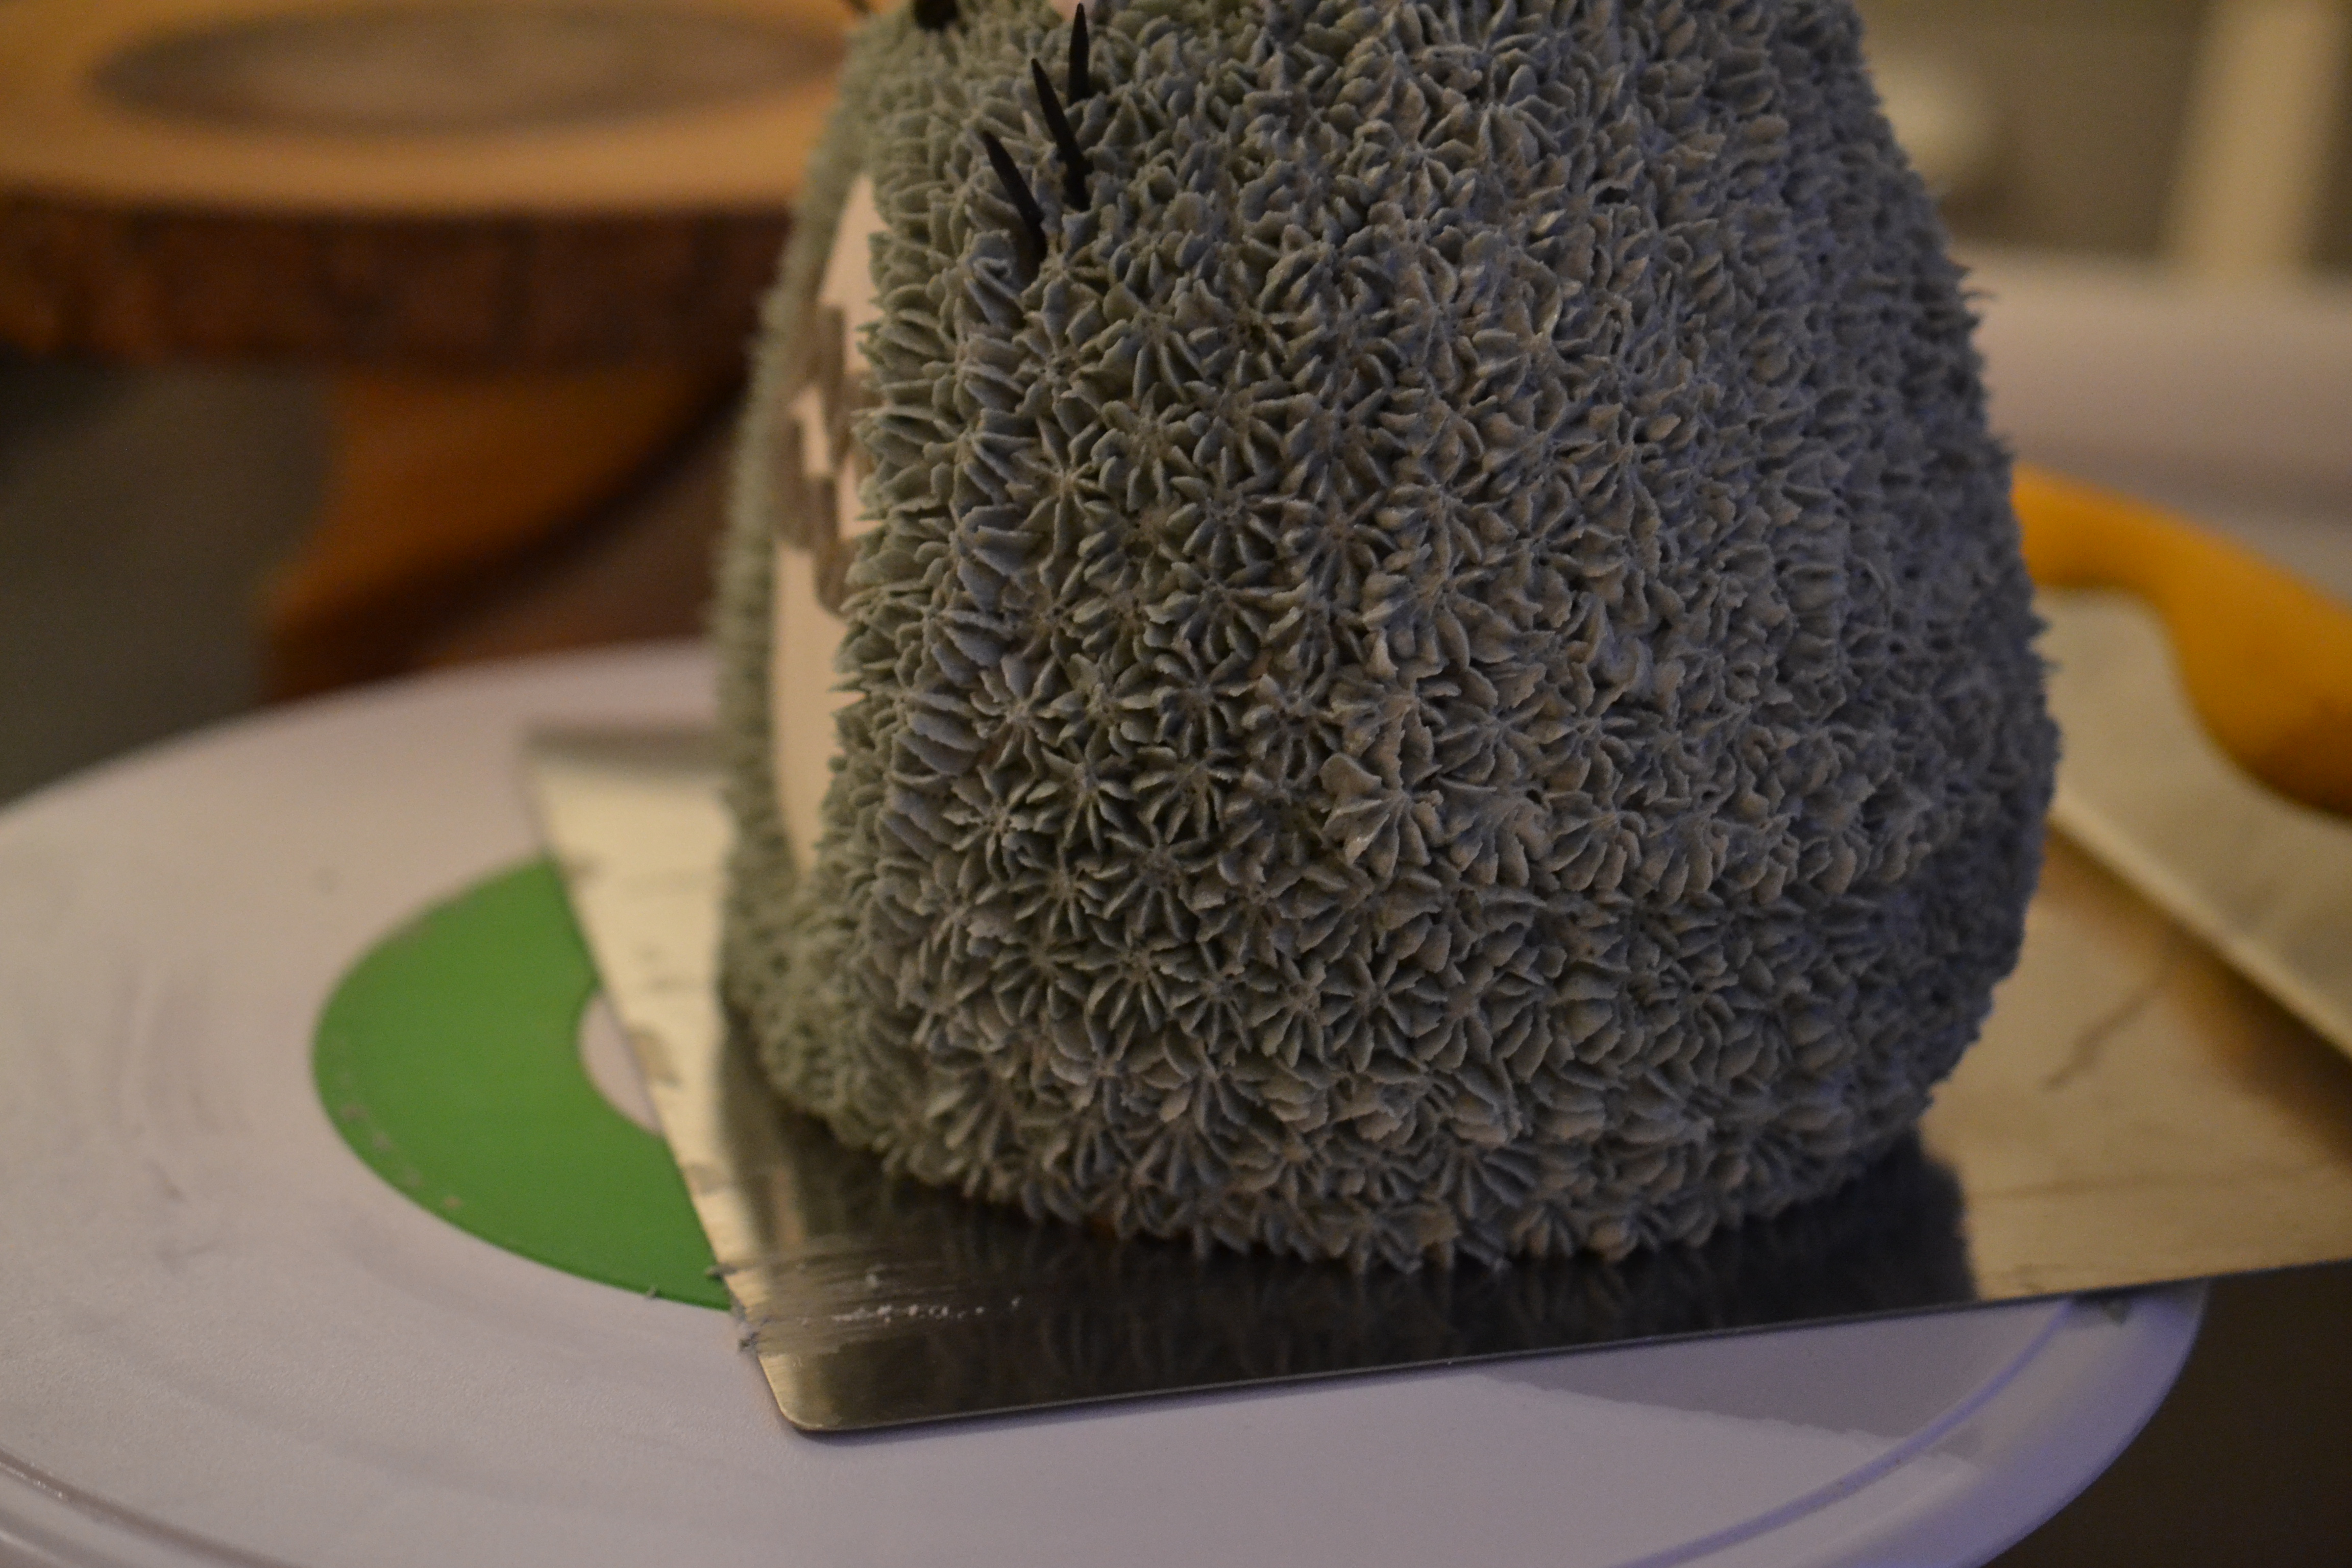
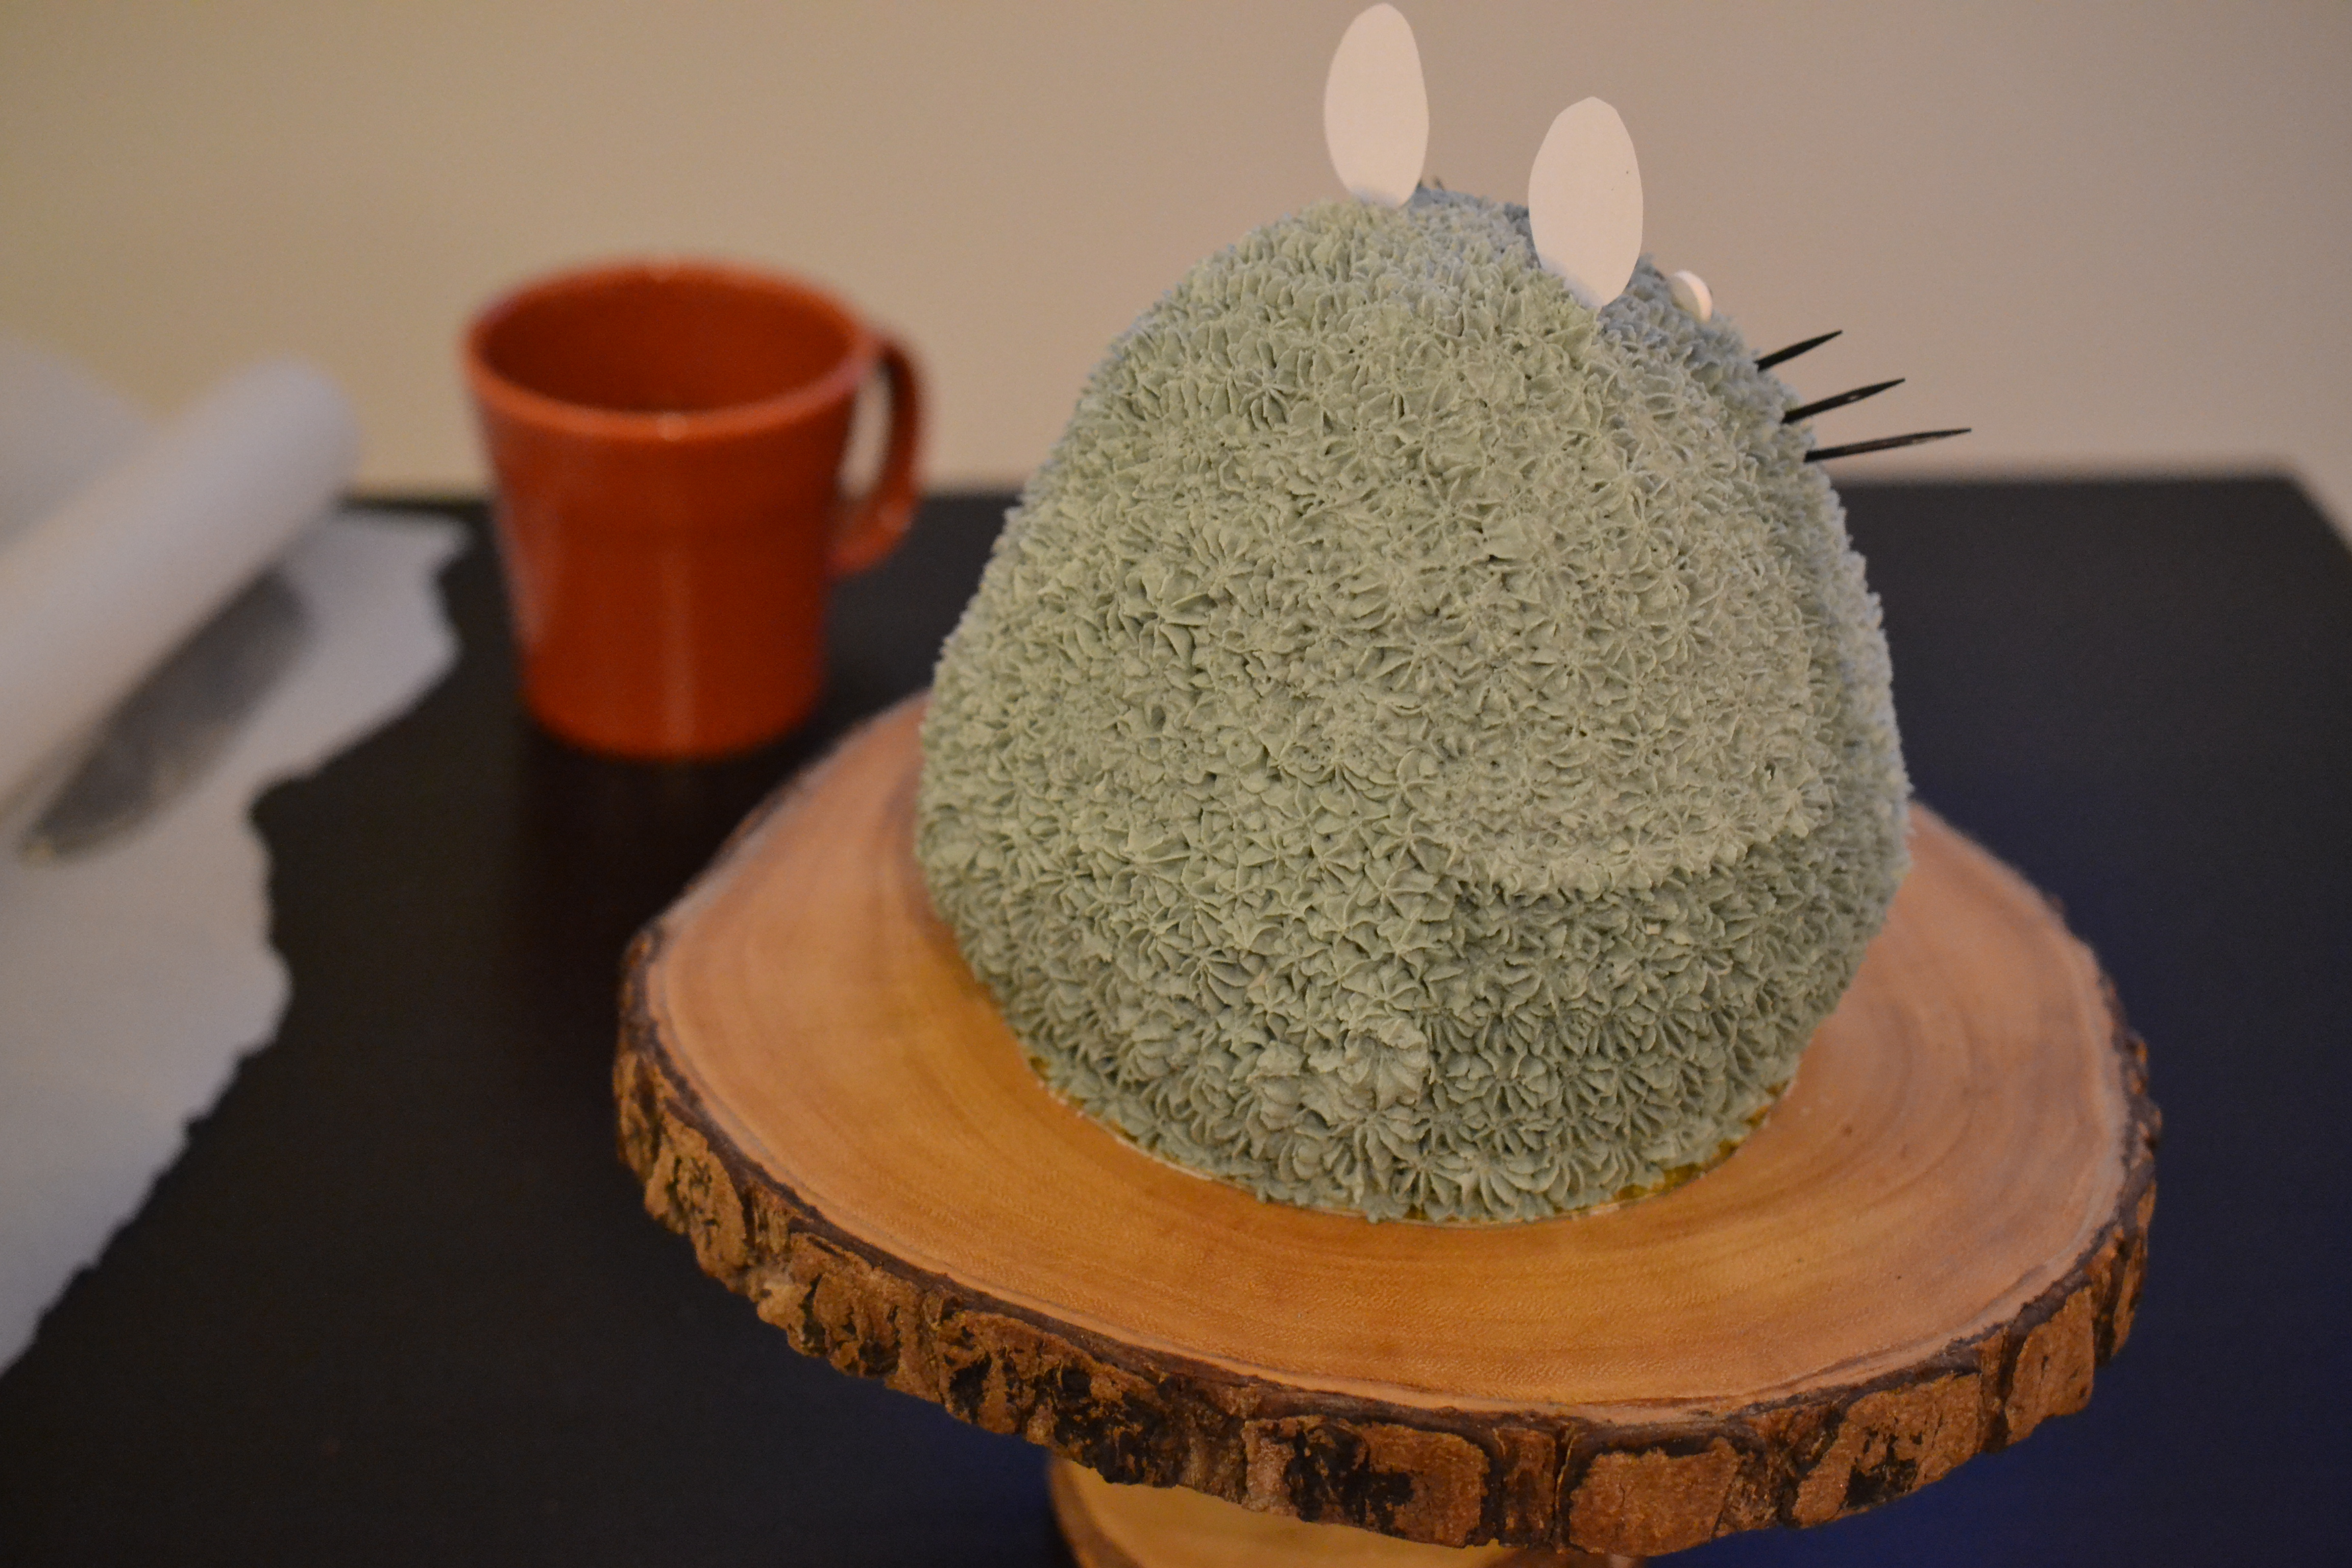
Back to the cake. I used a #22 Wilton Open Star tip. Be patient. It’s worth it.
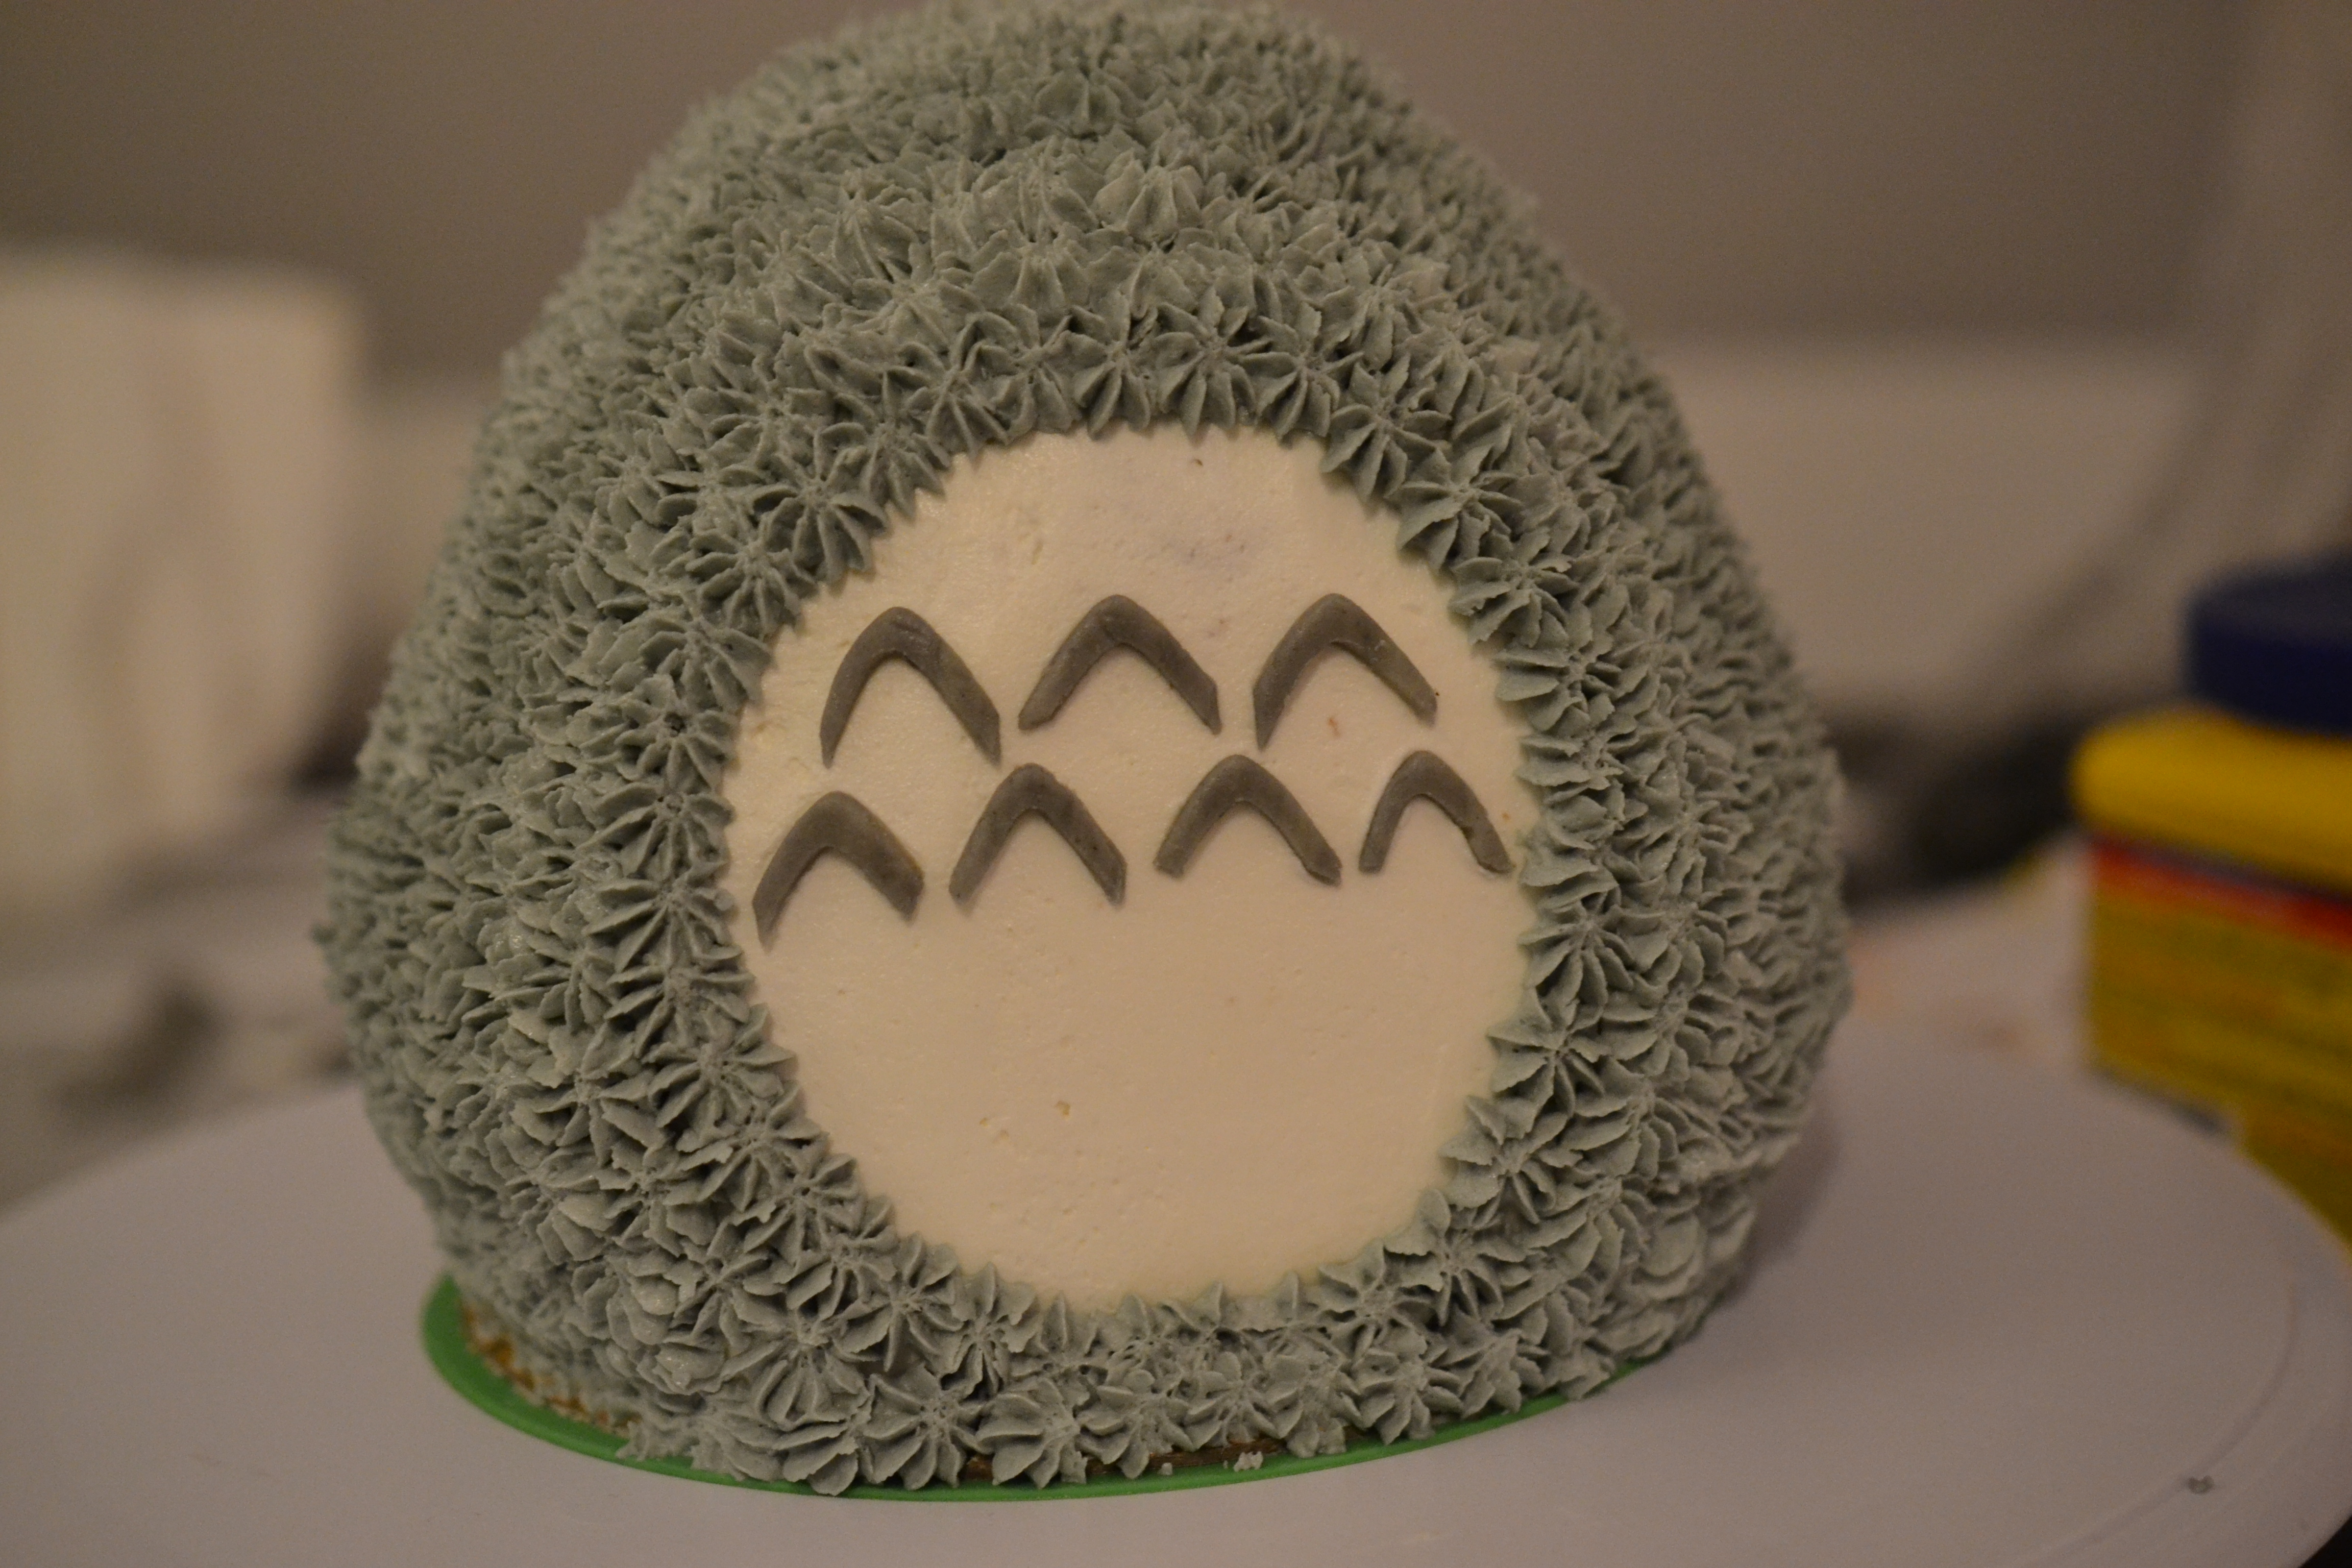
This is looking like Totoro! I was thrilled. But, until a little face is on, it’s still just the idea of Totoro.
We’re getting close, but the look is a bit deranged. After texting my people, it was determined the nose needed to be lowered and the eyes placed better in relation to that adjustment. Also, no whiskers were present.
The ears? There was some card stock in the house which I colored grey/silver with a crayon. I traced a small egg cutter I have and cut them out. Maybe next time I’ll try something fancier, but in this moment… crayons and cardstock was working for me.
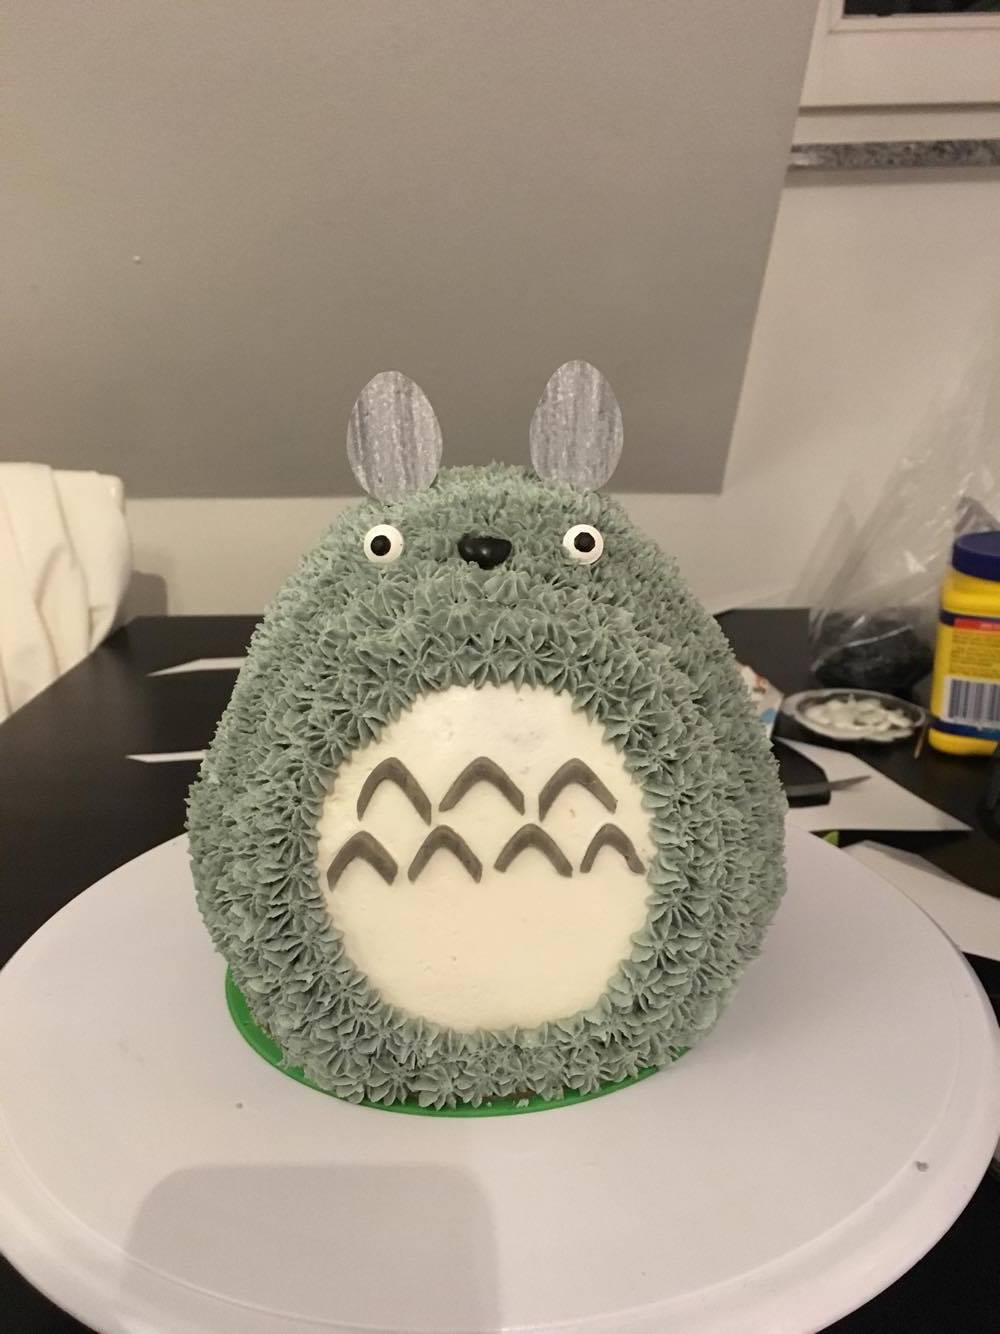
The whiskers are colored toothpicks and I think they add to the overall look.
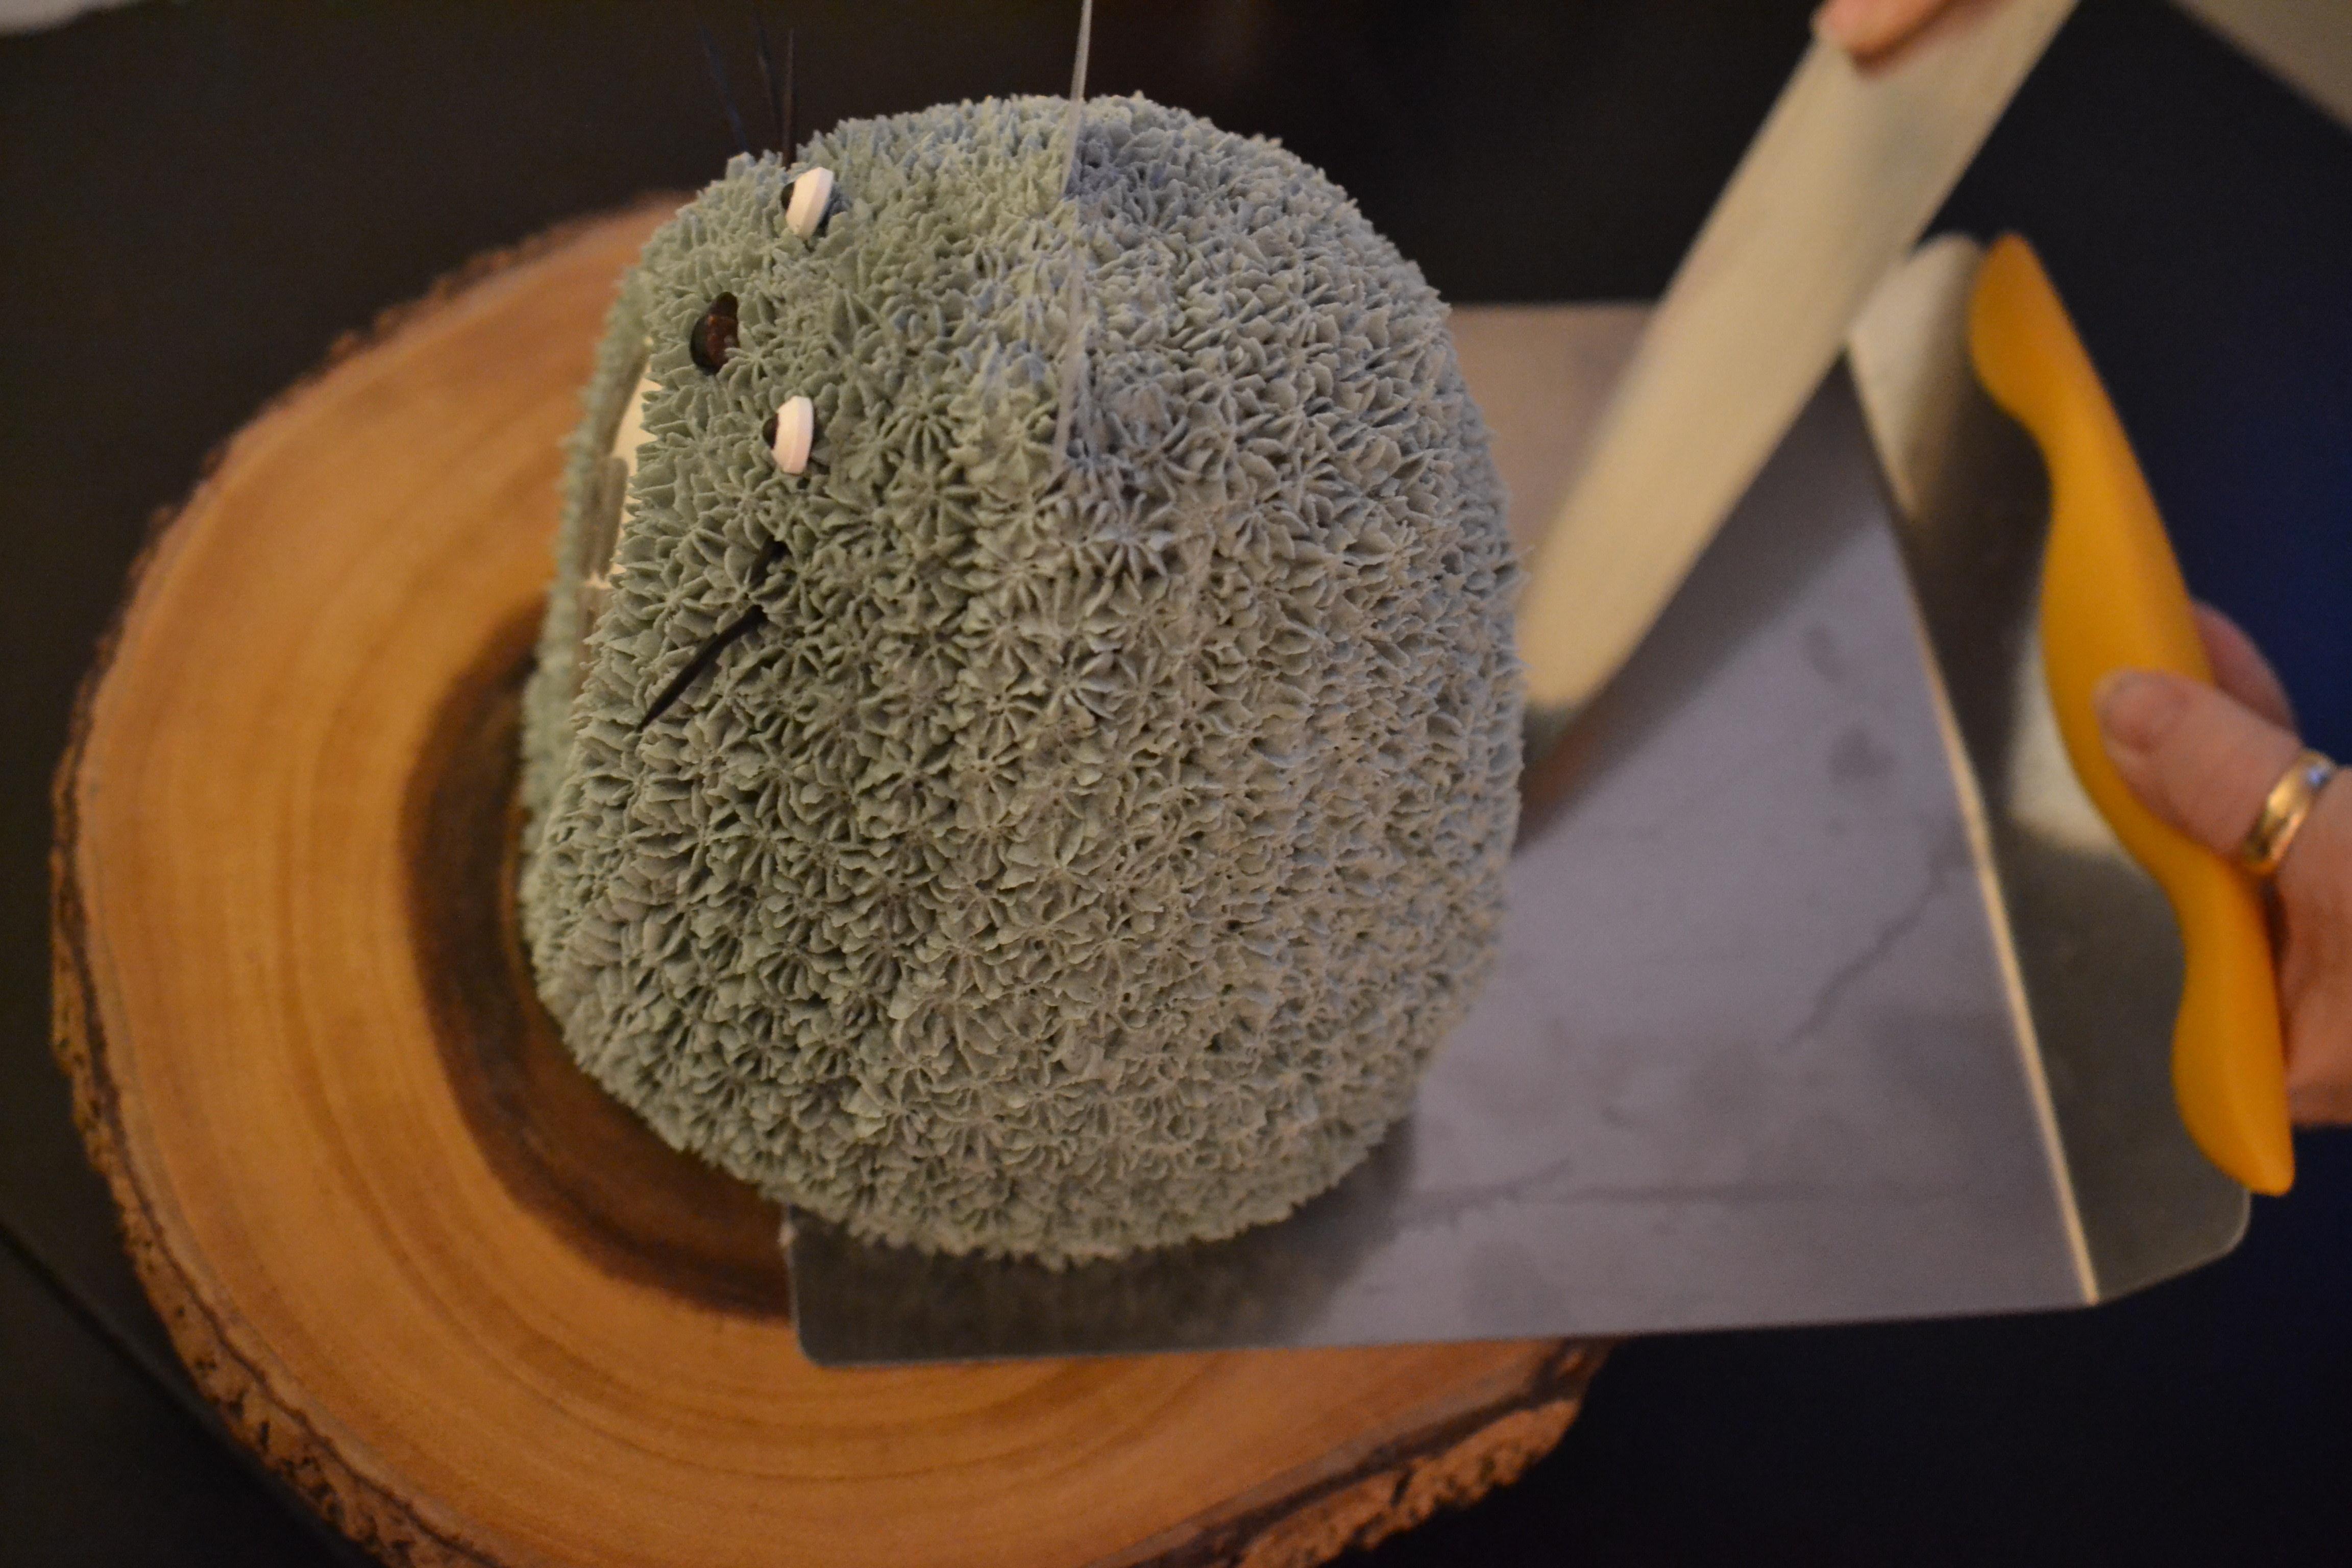
It sat in the cake fridge over night and I photographed it the following morning. I had a terrific tree-stump cake stand….
..but lack in anything that resembles a jungle. I did my best. One of our people texted me, “I love the subtle forest.” I’ll take that compliment all day.
It’s my first attempt at carving an anime character and aiming for a likeness. I was happy with the results and learned so much during this process.
Of course, a cake has a shelf life and needs to be sliced and served.
This endeavor was scary to me (because new) and equally endearing. I felt the love and support of my people as I texted them pics during the build.
I’m grateful for their love and encouragement.
I’m grateful for my life partner and his willingness to help in any way possible.
I’m grateful for sobriety.
Finally, a look at the trio of cakes I’ve made with this one Nordicware Pan. The Christmas Tree and the Beehive (I went to find the link for this Beehive… and I’ve never blogged it – gah). And now, I’m already thinking of more ideas.
So cute! That doll dress pan would also work a treat!
Wow this is so amazing!!